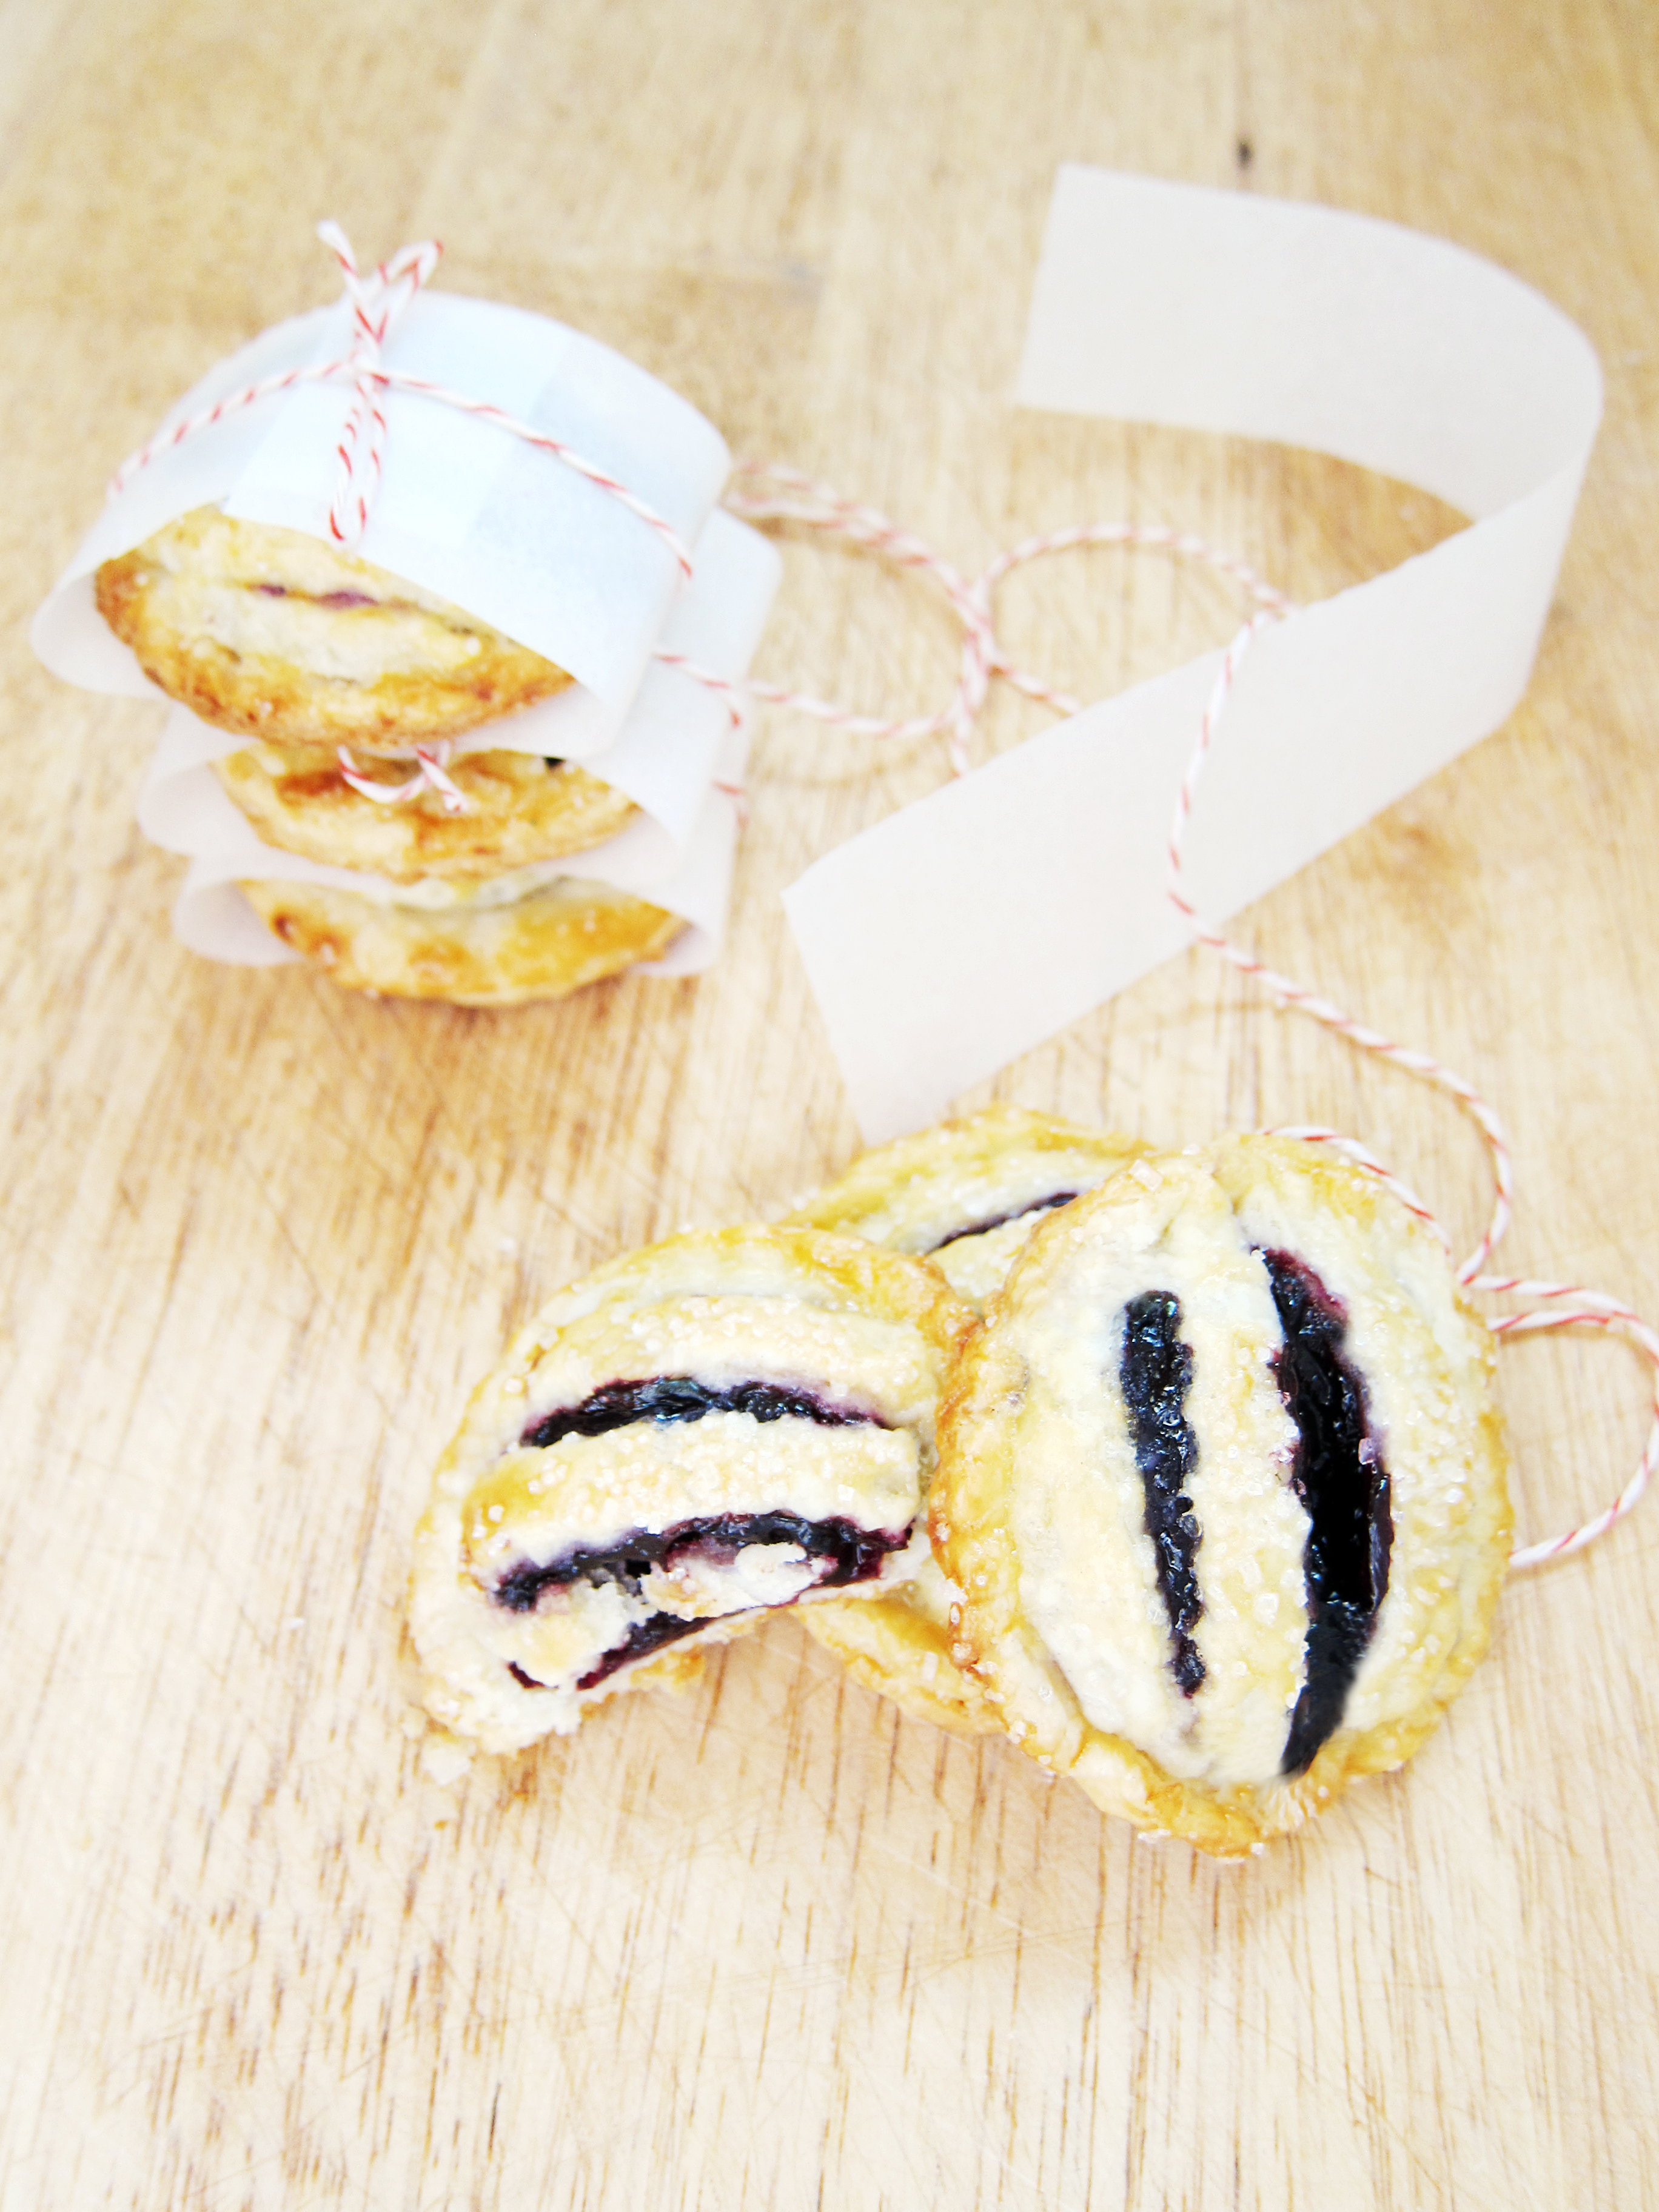
Did you ever eat something so delicious that you make an excuse to eat it again? That’s what kind of happened with these pie cookies.

You see, I made these adorable pie pops for Pi Day and they rocked my socks. The only problem was they were too small. One bite and you were done. I can satisfy myself with eating only one slice of pie because frankly, it is a whole slice of pie. But pie pops? I sat there taste testing them one at a time, and before I knew it there was an embarrassing pile of lollipop sticks.

So if figured, what’s bigger than a pie pop? From that thought, these blueberry pie cookies were born. Still small enough to be adorable but they are at least 2 bites worth, which makes them last a little longer. Unfortunately, this did not solve the eating-more-than-one dilemma because I found out that:
Bigger dough = more filling = more delicious.
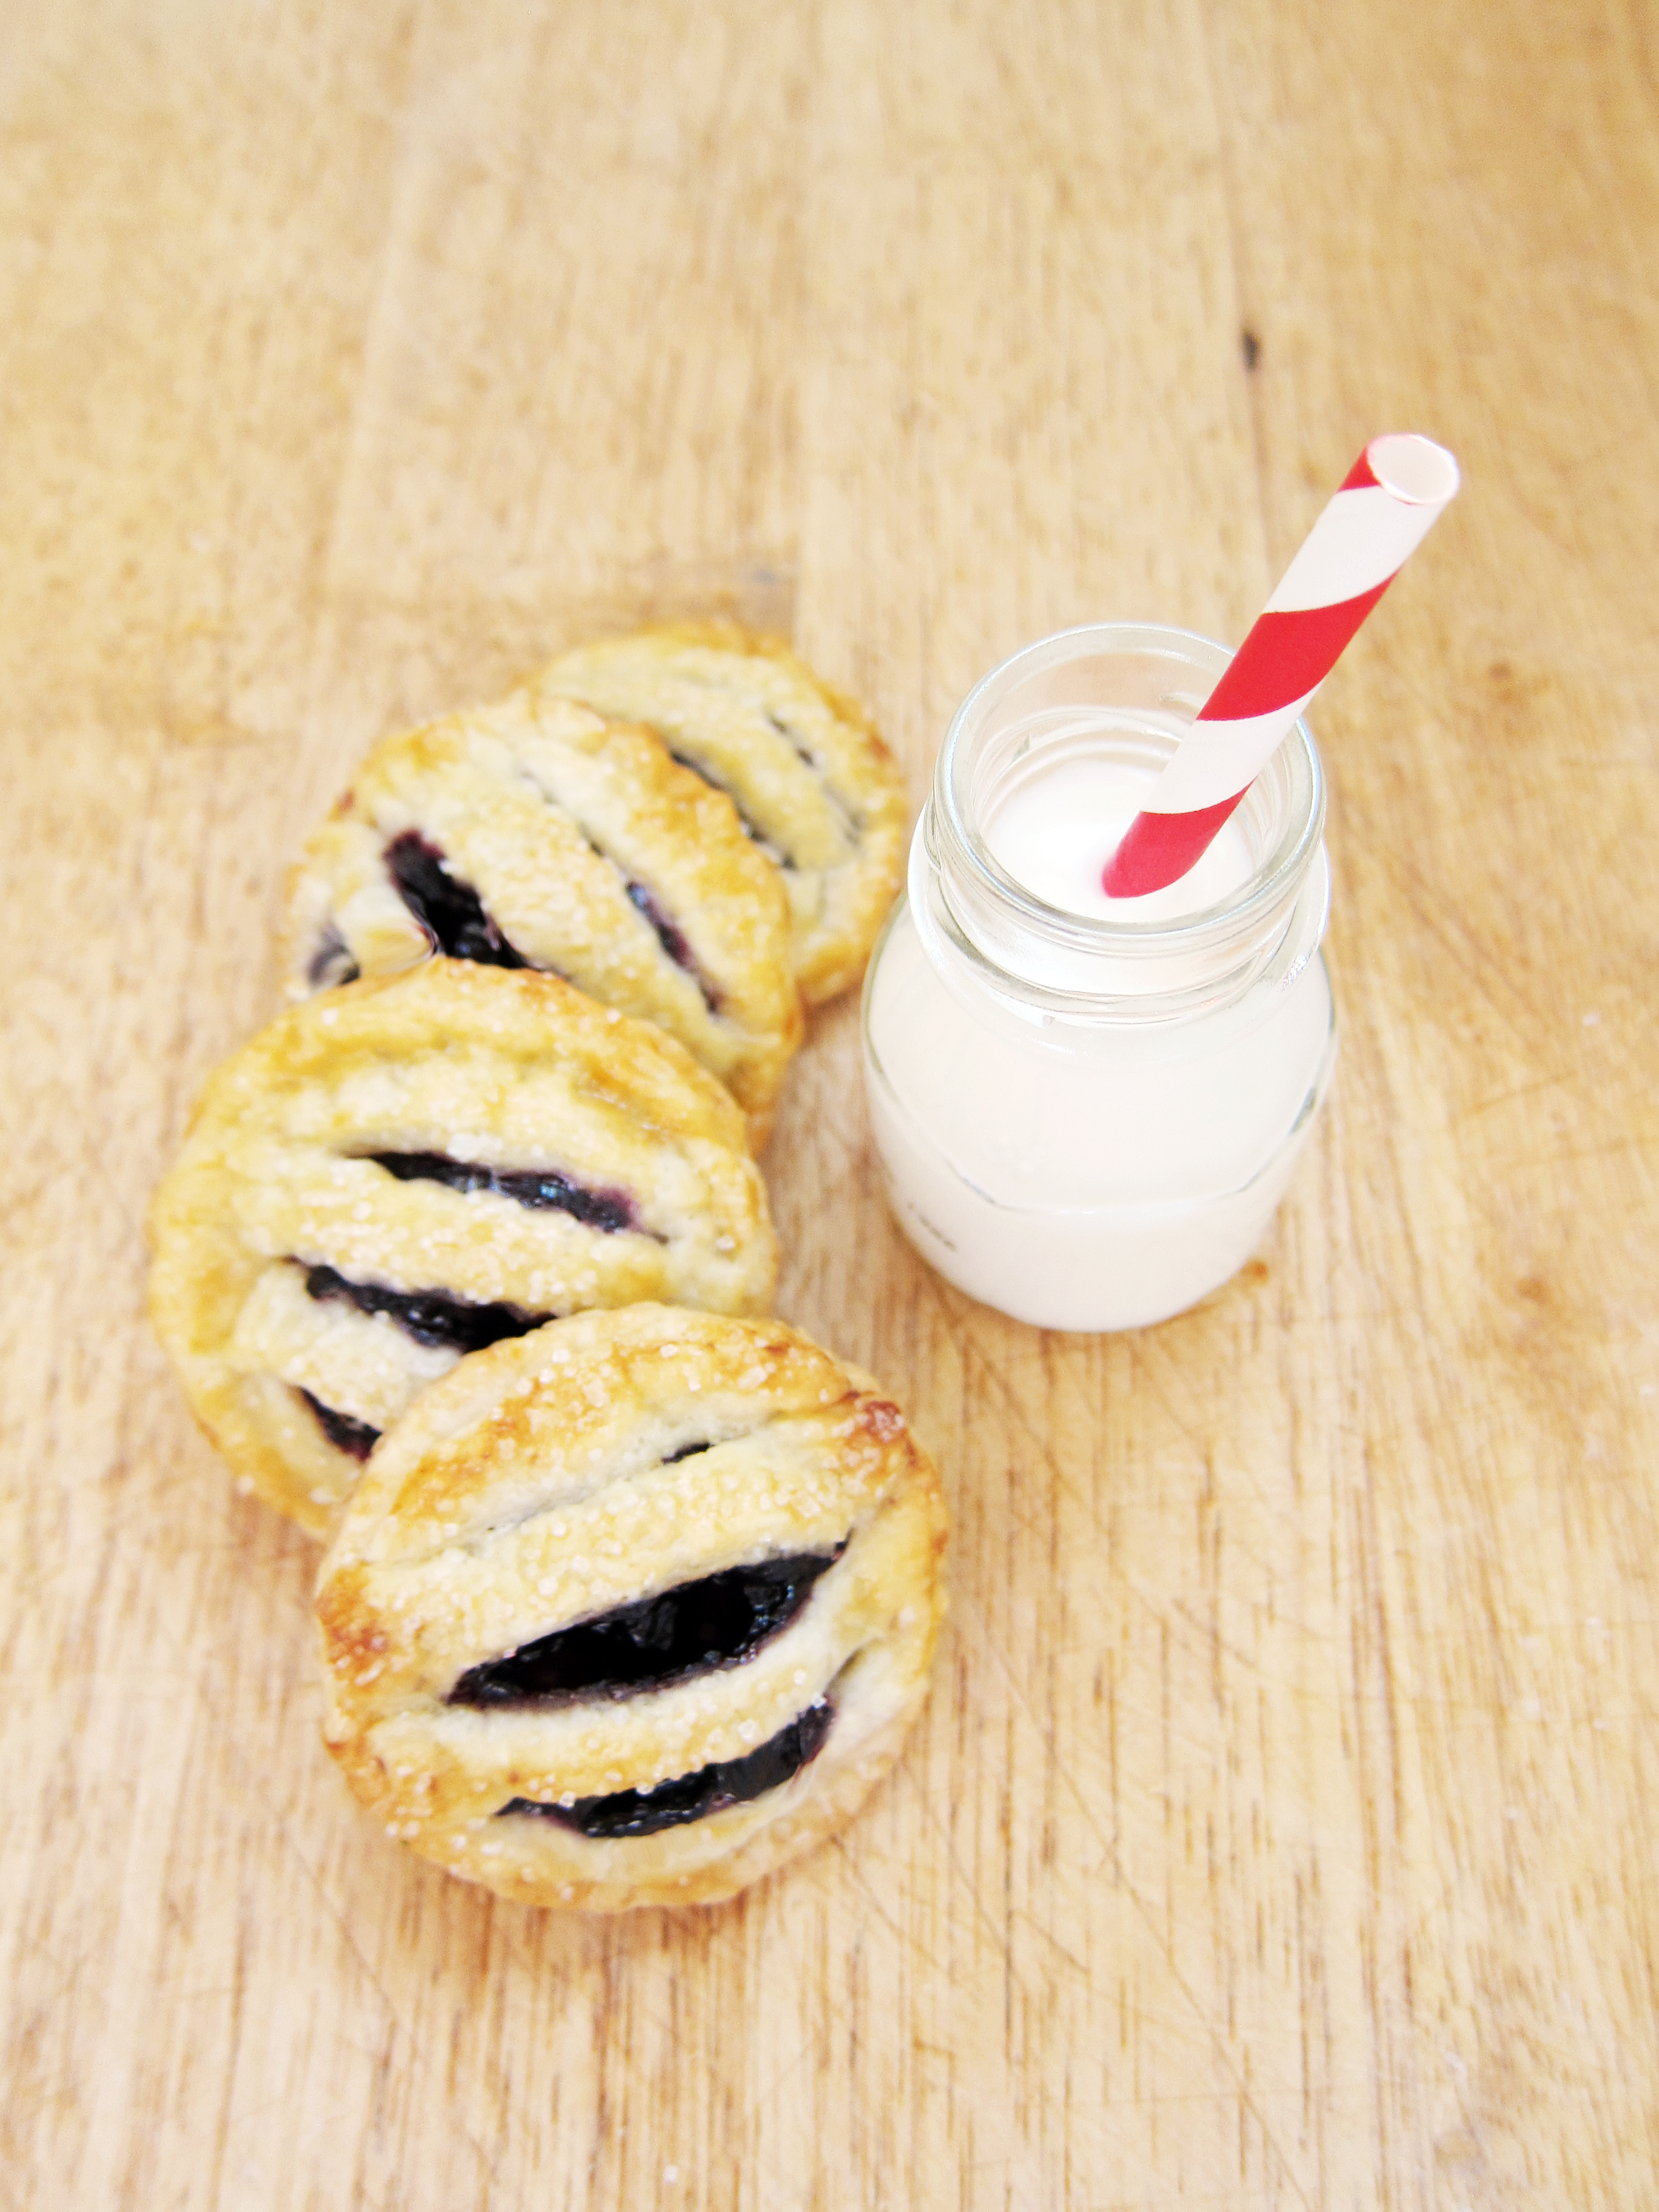
I realized that the cookies don’t look very small in the photo, so here is the milk glass with my cat, Bear, for a size reference. Yes. He is adorable.

Blueberry Pie Cookies
For the Pie Dough:
Ingredients
2 1/2 c. all-purpose flour
2 tbsp. sugar
1 tsp. kosher salt
8 oz. unsalted butter, very cold cut into 1 tbsp pieces
1/2 c. very cold water
Instructions:
- In a bowl of a food processor, pulse flour, sugar and salt together a few times to mix thoroughly.
- Add the butter into the food processor and pulse until butter becomes the size of peas (or smaller).
- Add the cold water and pulse until dough starts to come together.
- Divide the dough into 2 pieces and wrap with plastic wrap and refrigerate for at least an hour.
- While the dough is chilling, make the blueberry filling.
For the Blueberry Filling:
Ingredients:
1 ½ c. of blueberries*, divided
¼ c. sugar
1 tbsp. cornstarch
1 tbsp. water
1 tsp. lemon juice
Instructions:
- In a small pot, combine 1 cup of blueberries with ¼ cup of sugar.
- Bring to a boil and reduce to a simmer until all the berries burst and sugar is completely melted; about 5 minutes. The mixture should look very liquid.
- In a small bowl, mix cornstarch and water until it becomes a slurry.
- Add to the blueberry mixture and cook until it becomes thick. It will become almost paste-like.
- Transfer blueberry mix to a bowl and rest of the blueberries and lemon juice.
- Add more lemon juice if needed.
Assembly:
If the dough starts to become sticky or warm at any point, place into the freezer to firm up for 3-5 minutes before working on it again. This is very important, since the cold butter is what gives you the flaky layers.
Ingredients:
1 Egg, beaten (for egg wash)
Sanding sugar or raw sugar (optional)
- Preheat oven to 350 degrees Fahrenheit.
- Line baking sheets with parchment paper.
- Take out half of the prepared pie dough and roll out until ¼- ⅛ inch thick on a floured surface.
- Cut out pie rounds with a 2 ½ inch round cookie cutter**.
- Reserve half of the pie rounds and cut the rest into 4 strips with a fluted pastry wheel or a pizza cutter (a knife will do too).
- Place a teaspoon of blueberry filling in the center of the reserved pie rounds and place strips of cut pie dough on top. (As shown in above photo.)
- Crimp edges with a fork to seal the two pieces of dough together. (As shown in above photo.)
- Fold the crimped edges together to form a seal for the pie filling. (As shown in above photo.)
- Brush with egg wash with a pastry brush and sprinkle sanding / raw sugar. (As shown in above photo.)
- Place into the freezer for 5 minutes to chill before baking.
- Bake at 350 degrees for 12-15 minutes until golden brown.
- While the first batch is chilling and baking, start working on the second batch with the other half of your prepared pastry dough.
- Cool for 5-10 minutes before consuming.
* I used frozen wild Maine blueberries. They are a lot smaller than your average supermarket blueberries which make them ideal for this filling. If you can find them, use them instead of regular blueberries. They also taste more blueberry-y than regular blueberries (if that makes sense).
** If you cannot find a 2 ½ round cookie cutter or you do not own one, feel free to use a cut out can as your cookie cutter. It works similarly, except you might not get as clean of an edge when you cut out your dough.