Makgeolli Macarons (Feat. Makku)

It’s National Beer Day! While we are currently unable to enjoy a cold one at a bar with our loved ones, we can safely enjoy one at the comfort of our own homes. The silver lining being that we are all responsibly drinking and not driving. If you’ve never heard of makgeolli before, it’s rice beer! It tastes slightly sweet, tart and creamy. It also has a lightly carbonated body that makes it a refreshing drink for any time of day.

I first time I had this refreshing brew was on a trip to South Korea in 2014, on a sweltering summer day. I met up with an old friend at an outdoor food stall at Dongdaemun market and ate sizzling savory Korean pancakes, which we washed down with a swig of chilled makgeolli was perfection. Even back then, I remember associating makgeolli as something that my grandparents drank but within the past year or so, it’s come back as the new and hip craft brew. Makku definitely fits in that category with the modern packaging and it’s fun and fruity flavors (*whispers* I’m partial to the mango). A dear friend of my sister-in-law, Carol Pak, owns it and she reached out to me to make some macarons inspired by Makku flavors for her employees for Christmas, when times were cheerful. I really admire Carol for her work ethic and bravery in bringing her vision to life. With many small businesses, her company took a hard hit with Covid-19. It was heartwarming to see supportive and kind responses on her IG post about her hardship. In general, it’s been a small light of hope to see people pitching in and showing good will whether it be in healthcare, business or hospitality. Recently, Makku announced that they now ship nationwide, so if you have the means to, try something new and give it a go!

Making makgeolli macarons took a few tries of trial and error. Unlike traditional beer or wine, it has a very subtle flavor that is hard to capture. I tried boiling it down to a syrup consistency, which is my tried and true technique for flavoring frosting, but it failed miserably. The resulting syrup was extremely sour and off-putting. The trick is to replace half of the milk with makgeolli. The resulting macaron is unique, subtle in flavor but definitely makgeolli flavored. It hits you especially at the end.

Makgeolli Macarons (Feat. Makku)

For the Macaron Shells:

Ingredients:
212 g. almond meal (aka almond flour)
212 g. powdered sugar
172 g. egg whites, divided to 82 g. and 90 g (aged, if possible)
236 g. sugar
158 g. water

Instructions:

  1. Line two baking sheets with parchment paper or silicone mats.
  2. In the bowl of a food processor, add the almond meal and powdered sugar and pulse until thoroughly combined.
  3. Sift the mixture over a large mixing bowl, throwing out the lumps as they appear.  Add 82 g. of the egg whites and stir until you get a thick mixture.
  4. In a small pot attached with a candy thermometer, combine the sugar and water over medium heat and boil until the syrup reaches 200˚F.
  5. Once the syrup reaches 200˚F, start whipping the remaining 90 g. in the bowl of your stand mixer with the whisk attachment on medium speed until soft peaks are reached.
  6. Once the syrup reaches 248 ˚F, remove the pot off the burner and slowly pour the syrup down the side of the mixing bowl with the egg whites on medium speed.
  7. Once the egg whites are fully incorporated, increase the speed to medium high until egg whites form glossy, stiff peaks.
  8. Mix a ⅓ of the egg white mix to the almond mixture and stir together until the batter is slightly lighter and less pasty.  From then on, fold in ⅓ of the egg white mixture at a time until the mixture “flows like magma”.  The mixture should be smooth and run thick ribbons off the spatula.
  9. With a pastry bag fitted with a ½ in. plain tip, pipe 1¼ – 1½ in. rounds.
  10. The piped batter may have peaks but should smooth away in a minute or two.
  11. Let the batter stand until the tops of the macarons are dry to the touch, about 30 minutes to 1 hour.
  12. Preheat the oven to 325-350˚F.  If your oven tends to run hot go for 325˚F, if not then 350˚F.
  13. Lower the heat to from 350˚F to 300˚F. (If starting from 325˚F, lower to 275˚F.)
  14. Bake 10-12 minutes, until the feet are formed and the tops are smooth.  The macaron shell is done when you slightly wiggle it and it starts to come off of the parchment paper / silicone mat.
  15. Remove pan from oven and reheat oven to higher temperature for 10 minutes before baking the next tray, lowering the temperature when you start baking it.
  16. Continue until you bake all of the macaron shells.

For the Makgeolli Frosting:

Ingredients:
½ c. whole milk
½ c. makgeolli
3 tbsp. flour
⅛ tsp. salt
8 oz. (2 sticks) unsalted butter, room temperature
1 c. sugar
3-5 tbsp. makgeolli, as needed

Instructions:

  1. In a small saucier over medium heat, whisk milk, ½ c. makgeolli, salt and flour until combined.
  2. Continuously whisk mixture until thickened to a pudding like consistency.
  3. Once thickened, strain through a mesh strainer into a bowl with a spatula to remove lumps.
  4. Place a piece of plastic wrap directly on top of the flour mixture (to prevent skin from forming) and put bowl into the fridge until fully cool.
  5. In a mixer bowl fitted with the whisk attachment, mix the sugar and butter on high speed until fluffy and pale about, 5-10 minutes.
  6. Add the chilled flour mixture and continue to whip on high speed until the sugar is completely dissolved and the mixture is no longer gritty, about 5-10 minutes.
  7. Add 3 tablespoons of makgeolli and whip. If the frosting can use more flavor, add more tablespoons without compromising the texture of the buttercream. If you add too much liquid, the buttercream will break down and separate. Err on the conservative side.
  8. Pipe finished frosting onto cooled macaron shells and enjoy.

Pomegranate Coconut Marshmallows and Coconut White Hot Chocolate

Coconut White Hot Chocolate 1As a subscriber to Bon Appètit magazine, I fell in love with their section on holiday desserts in their newest issue. It was filled with such beautiful photographs (seriously, OMG how gorgeous is this cookie wreath?) and unexpected flavor pairings; I had to make something from it. The blood-orange marshmallows were calling my name and that’s where my journey started.
Pomegranate Coconut Marshmallows 1If you’ve never made homemade marshmallows before, I can only describe it as a springier, fluffier, less dense version of the store bought kind. Without the preservatives, the marshmallows melt in your mouth and it is best consumed as soon as possible. While I loved the idea of blood orange marshmallows, I just felt that pomegranates were more of a winter fruit so I substituted pomegranate juice for the blood orange juice and it worked out great. The problem was when I tried to make the coconut half of the marshmallow, it wouldn’t whip up fluffy like the pomegranate layer. I used the low fat coconut milk as the recipe stated and I tried it a second time, using less coconut milk and subbing water for the rest of the liquid stated but again, it did not puff up as it was supposed to.
Pomegranate Coconut Marshmallows 2My “spider-sense” tingled when I first read the recipe thinking that it was odd that there was any kind of fat in a marshmallow recipe. After all, a marshmallow is a stabilized meringue and fats are meringues’ number one enemy. So having two failed batches of coconut marshmallows, I just dumped it on top of the pomegranate layer and hoped for the best. It set alright and the coconut marshmallow was definitely denser than the pomegranate half, but tasty nonetheless.
Coconut White Hot Chocolate 2I had some coconut milk leftover so I decided to make it some white hot chocolate with it. Heat some coconut milk and low fat milk, add some white chocolate Lindt truffles and stir until it melts. You can blend it in a blender if you want some froth too. Top with whipped cream (I uh… whipped mine for a little too long hahaha) and some marshmallows and it’s a flavor bomb that is just rich enough for it to be indulgent but not heavy.
Pomegranate Coconut Marshmallows 3All in all, I think making marshmallows at home is a fun weekend project and people are always amazed when you make homemade candy.  As for packaging, you can always cut them out in fun shapes, or you can cut them into neat squares and put them into treat bags tied with a little ribbon.
Pomegranate Coconut Marshmallows 4Pomegranate Coconut Marshmallows and Coconut White Hot Chocolate

Pomegranate Coconut Marshmallows

Note: I will state the recipe as written by the original author with my adaptations. I’m going to chalk up my coconut layer not forming because my light coconut milk was not “light” enough. I bought it from Trader Joe’s.

Ingredients:

For the pomegranate layer:
3 ¼ tsp. unflavored powdered gelatin
¼ c. cold water
¾ c. sugar
½ c. 100% pomegranate juice
5 tbsp. light corn syrup, divided
red food coloring

For the coconut layer:
3 ¼ tsp. unflavored powdered gelatin
¼ c. cold water
¾ c. sugar
½ c. low-fat coconut milk
5 tbsp. light corn syrup, divided

Assembly:
powdered sugar

Instructions:

For the pomegranate layer:

  1. Spray a 13×9 in. baking pan with nonstick spray and line with parchment paper.
  2. In the bowl of a standing mixer with a whisk attachment, add the ice water and sprinkle the gelatin over it. Let gelatin bloom for 10 minutes.
  3. Meanwhile, in a small saucepan fitted with a candy thermometer, add the sugar, pomegranate juice, 2 tbsp. corn syrup and cook until the mixture hits 230˚F.
  4. Add the remaining 3 tbsp. corn syrup to the gelatin mixture.
  5. When the mixture hits 230˚F, turn on the mixer to high and slowly drizzle the pomegranate syrup down the side of the bowl.
  6. Beat until soft, fluffy peaks form and the bowl is cool to the touch, about 5 minutes.
  7. Beat in a few drops of red food coloring until you reach the color you desire.
  8. Quickly add the pomegranate mixture into the prepared pan and smooth with an offset spatula coated with nonstick spray. Cool.

For the coconut layer:

  1. In the bowl of a standing mixer with a whisk attachment, add the ice water and sprinkle the gelatin over it. Let gelatin bloom for 10 minutes.
  2. Meanwhile, in a small saucepan fitted with a candy thermometer, add the sugar, coconut milk, 2 tbsp. corn syrup and cook until the mixture hits 230˚F.
  3. Add the remaining 3 tbsp. corn syrup to the gelatin mixture.
  4. When the mixture hits 230˚F, turn on the mixer to high and slowly drizzle the coconut syrup down the side of the bowl.
  5. Beat until soft, fluffy peaks form and the bowl is cool to the touch, about 5 minutes.
  6. Quickly add the coconut mixture on top of the cooled pomegranate layer and smooth with an offset spatula coated with nonstick spray. Let set for 12 hours before unmolding.

Assembly:

  1. Dust a cutting board with powdered sugar and unmold the marshmallow slab on top of it.
  2. Dust with additional powdered sugar and cut marshmallows either with a cookie cutter or into 1-2 inch squares.
  3. Package as desired.

Coconut White Hot Chocolate

Ingredients:
⅓ c. low-fat coconut milk
⅔ c. low-fat milk
3 white chocolate Lindt truffles
whipped cream for garnish

Instructions:

  1. Heat coconut milk and milk together until hot.
  2. Stir in Lindt truffles and stir until melted.
  3. Optional: Blend in a blender for froth.
  4. Pour into mug, top with whipped cream, marshmallows and a Lindt truffle.

Marshmallow recipe adapted from Bon Appètit.


Star Wars Day 2014

Star Wars Day 2014 1This is the third year I’ve hosted a Star Wars Day party.  It involves good food with punny names, watching SW movies and SW themed board games.  The first SW party I threw was just a small surprise for a special someone but through the years it’s evolved into a bigger celebration.  I can’t say that I’m a huge fan of Star Wars, but I can say that I love throwing themed parties.  So in a way, I do love Star Wars Day.
Star Wars Day 2014 2Star Wars Day 2014 4
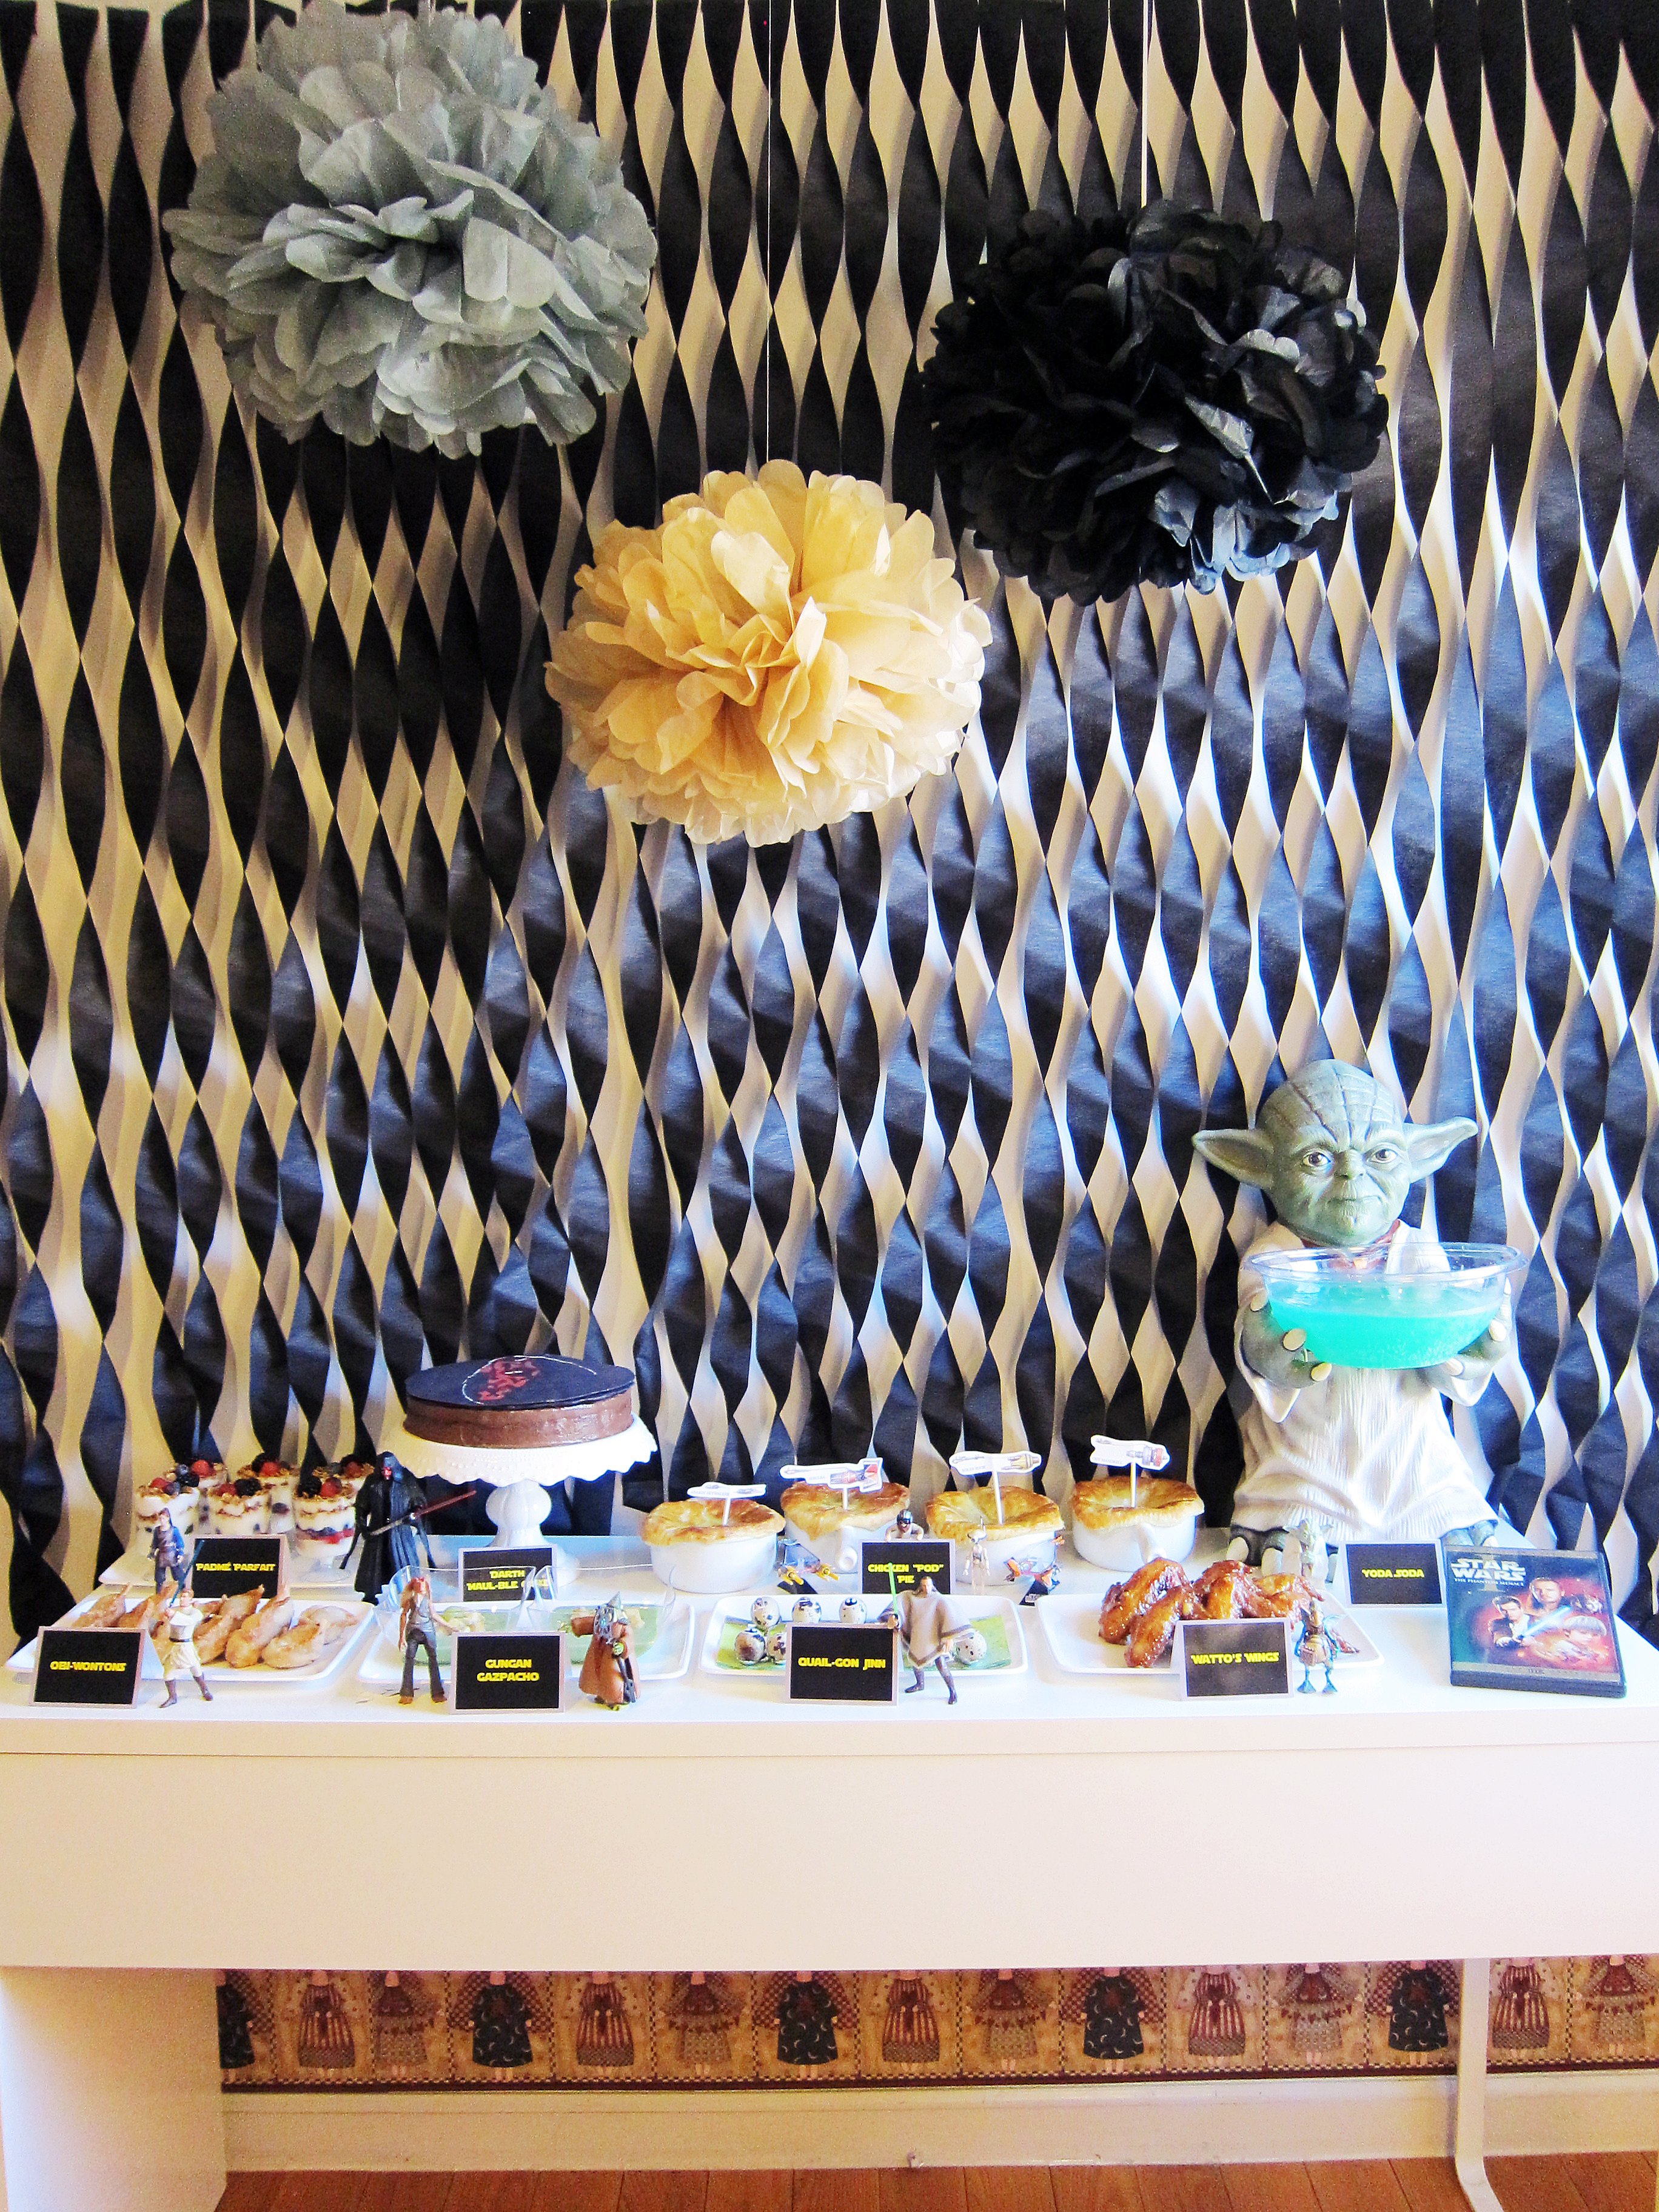
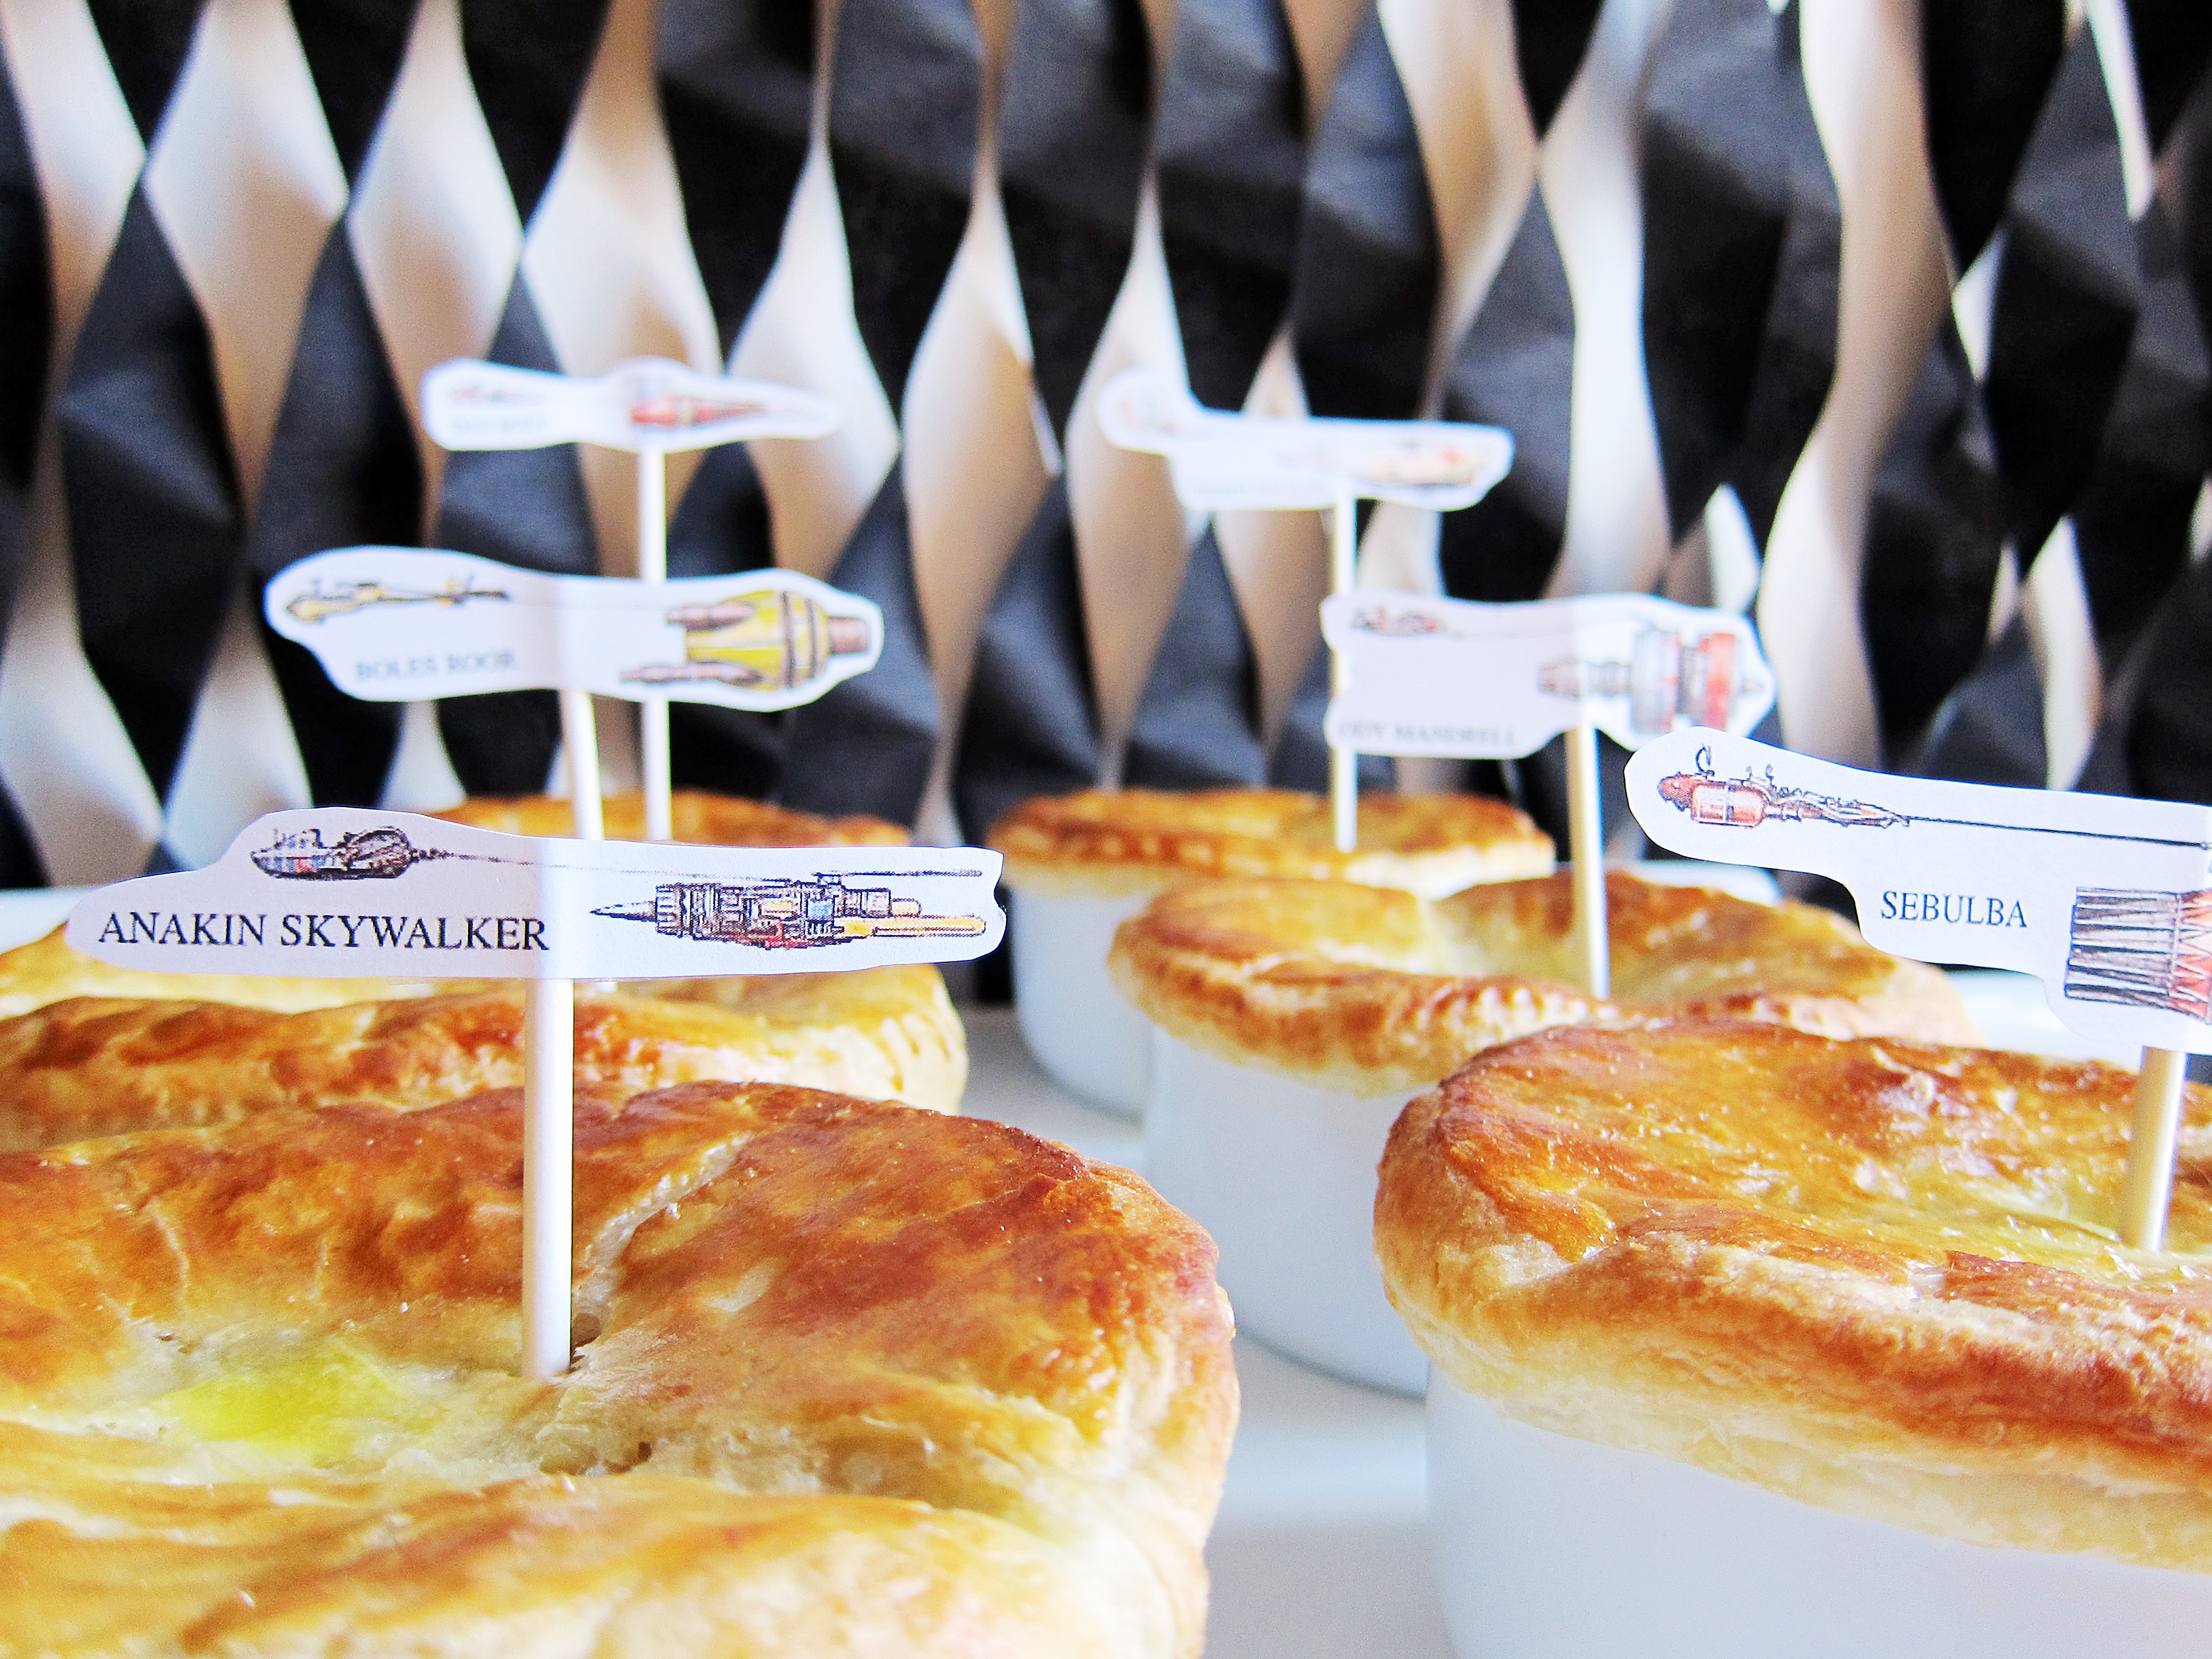
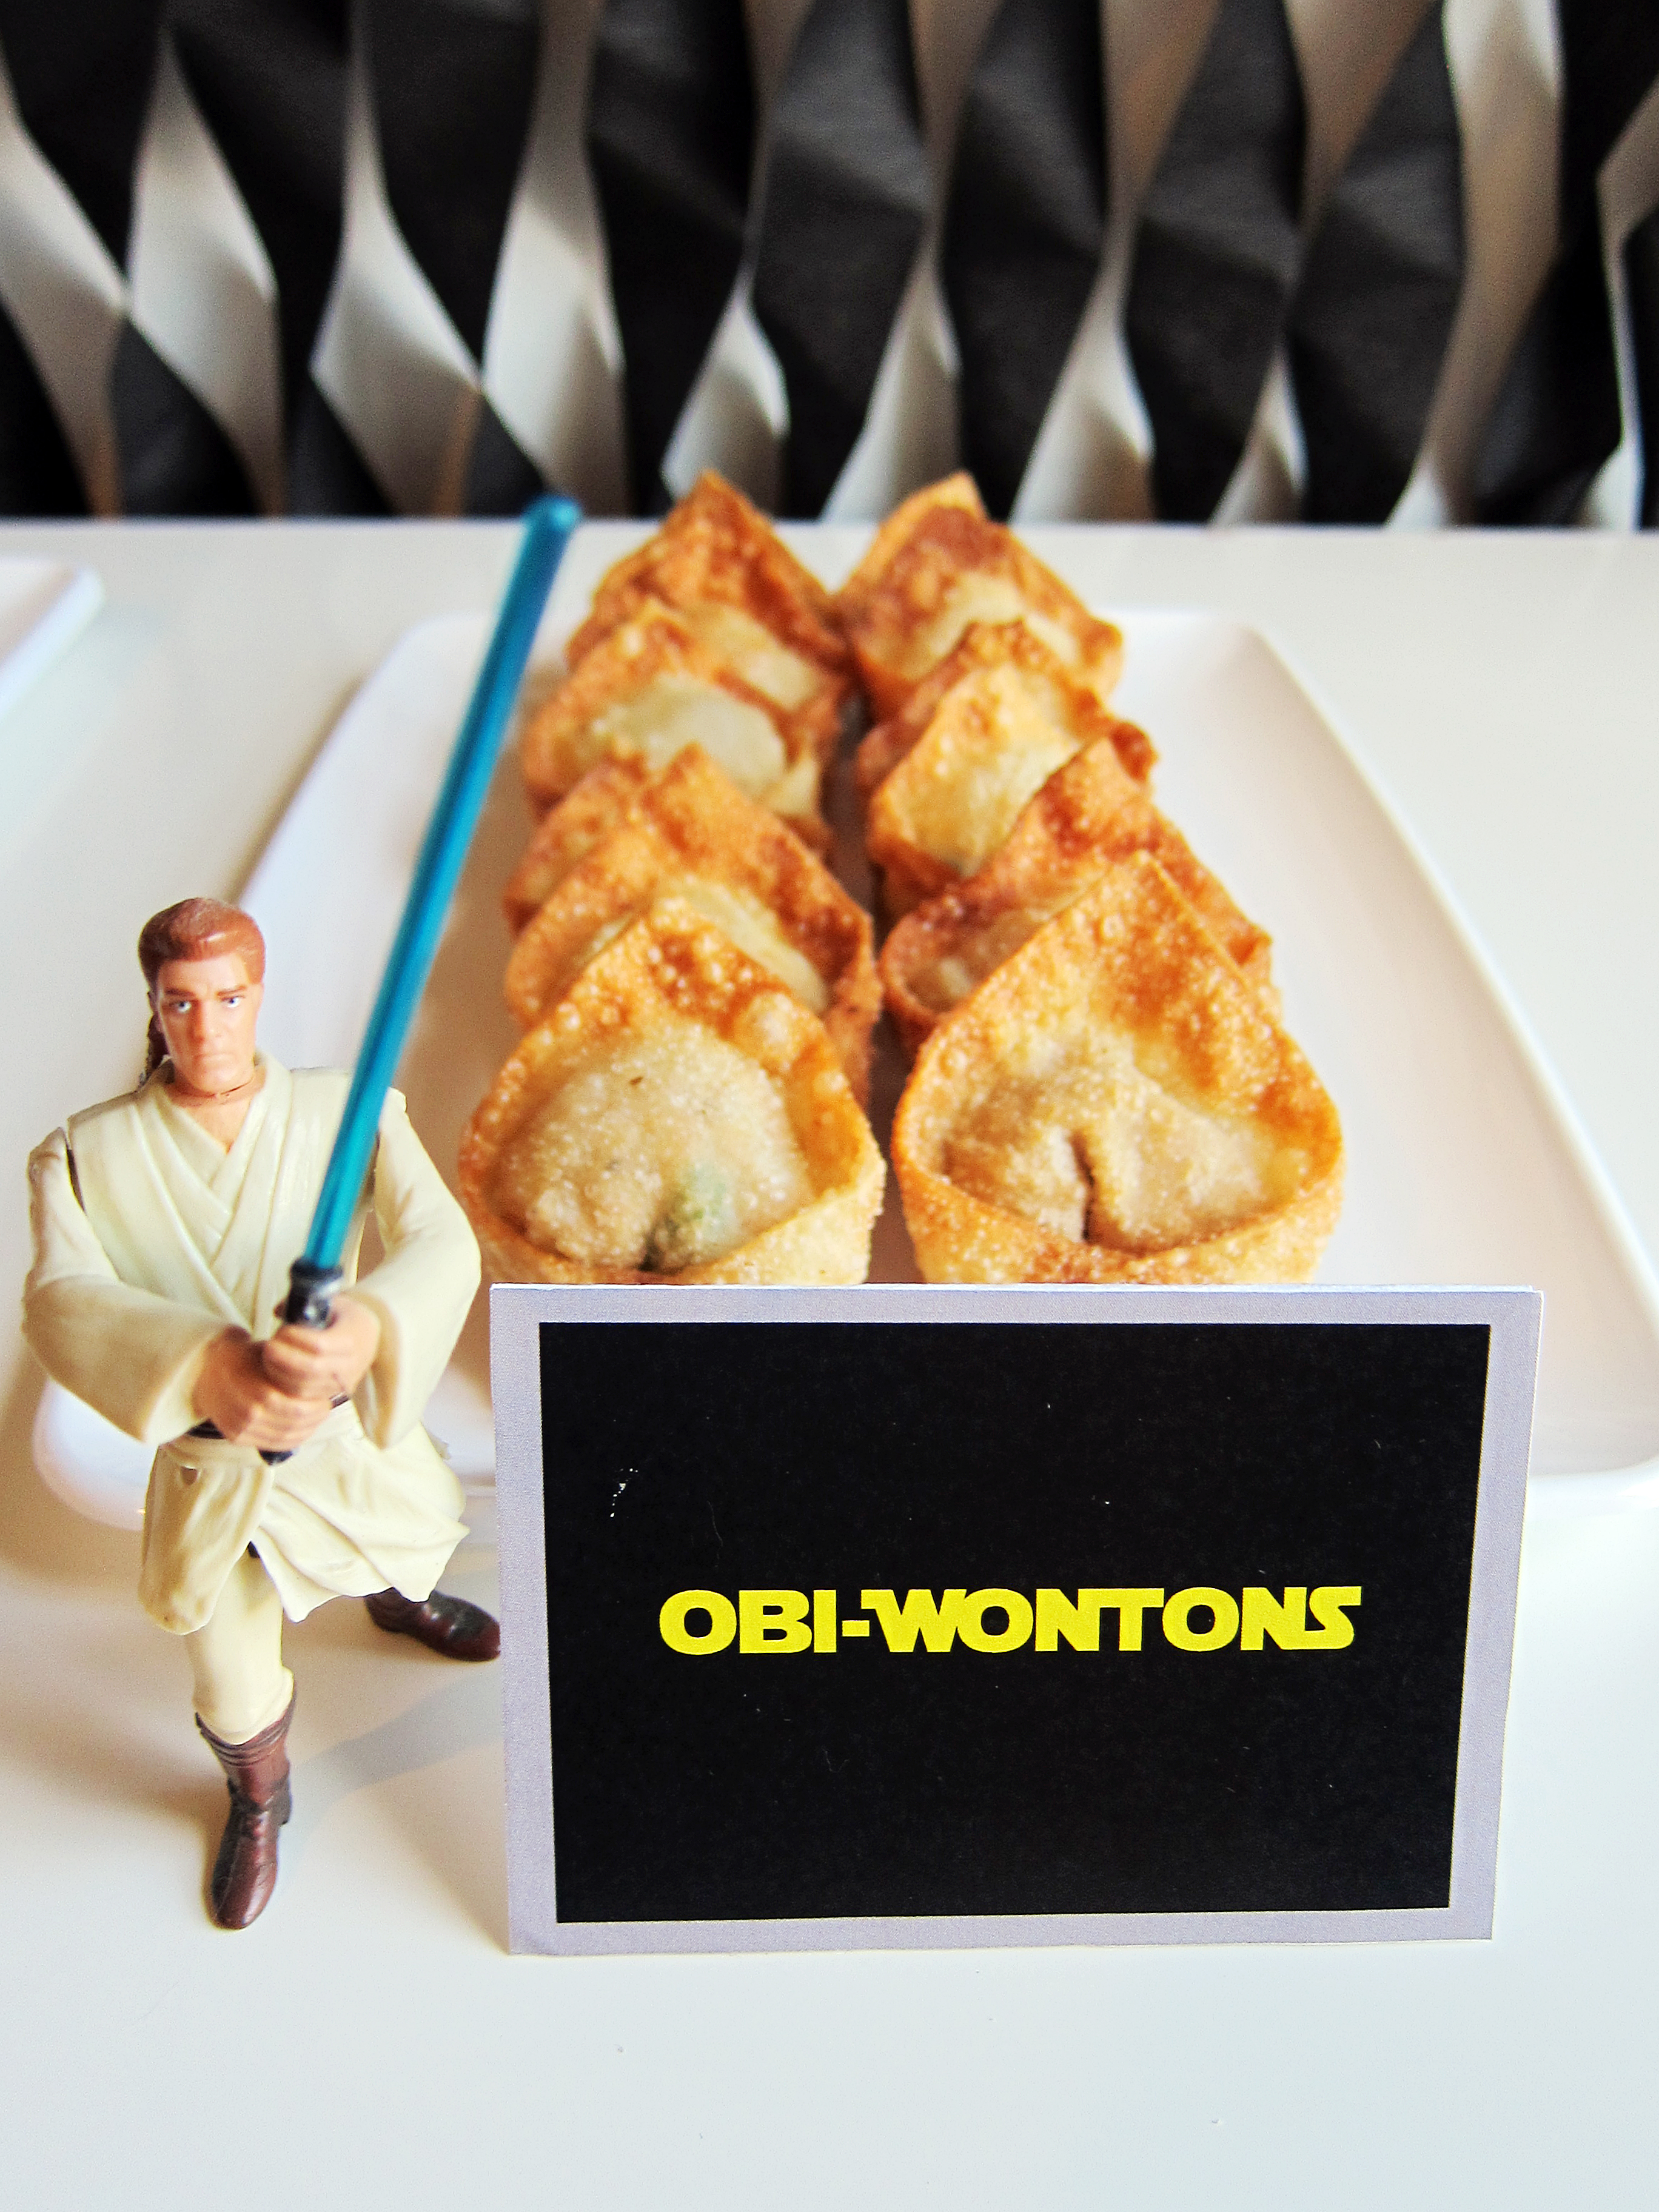
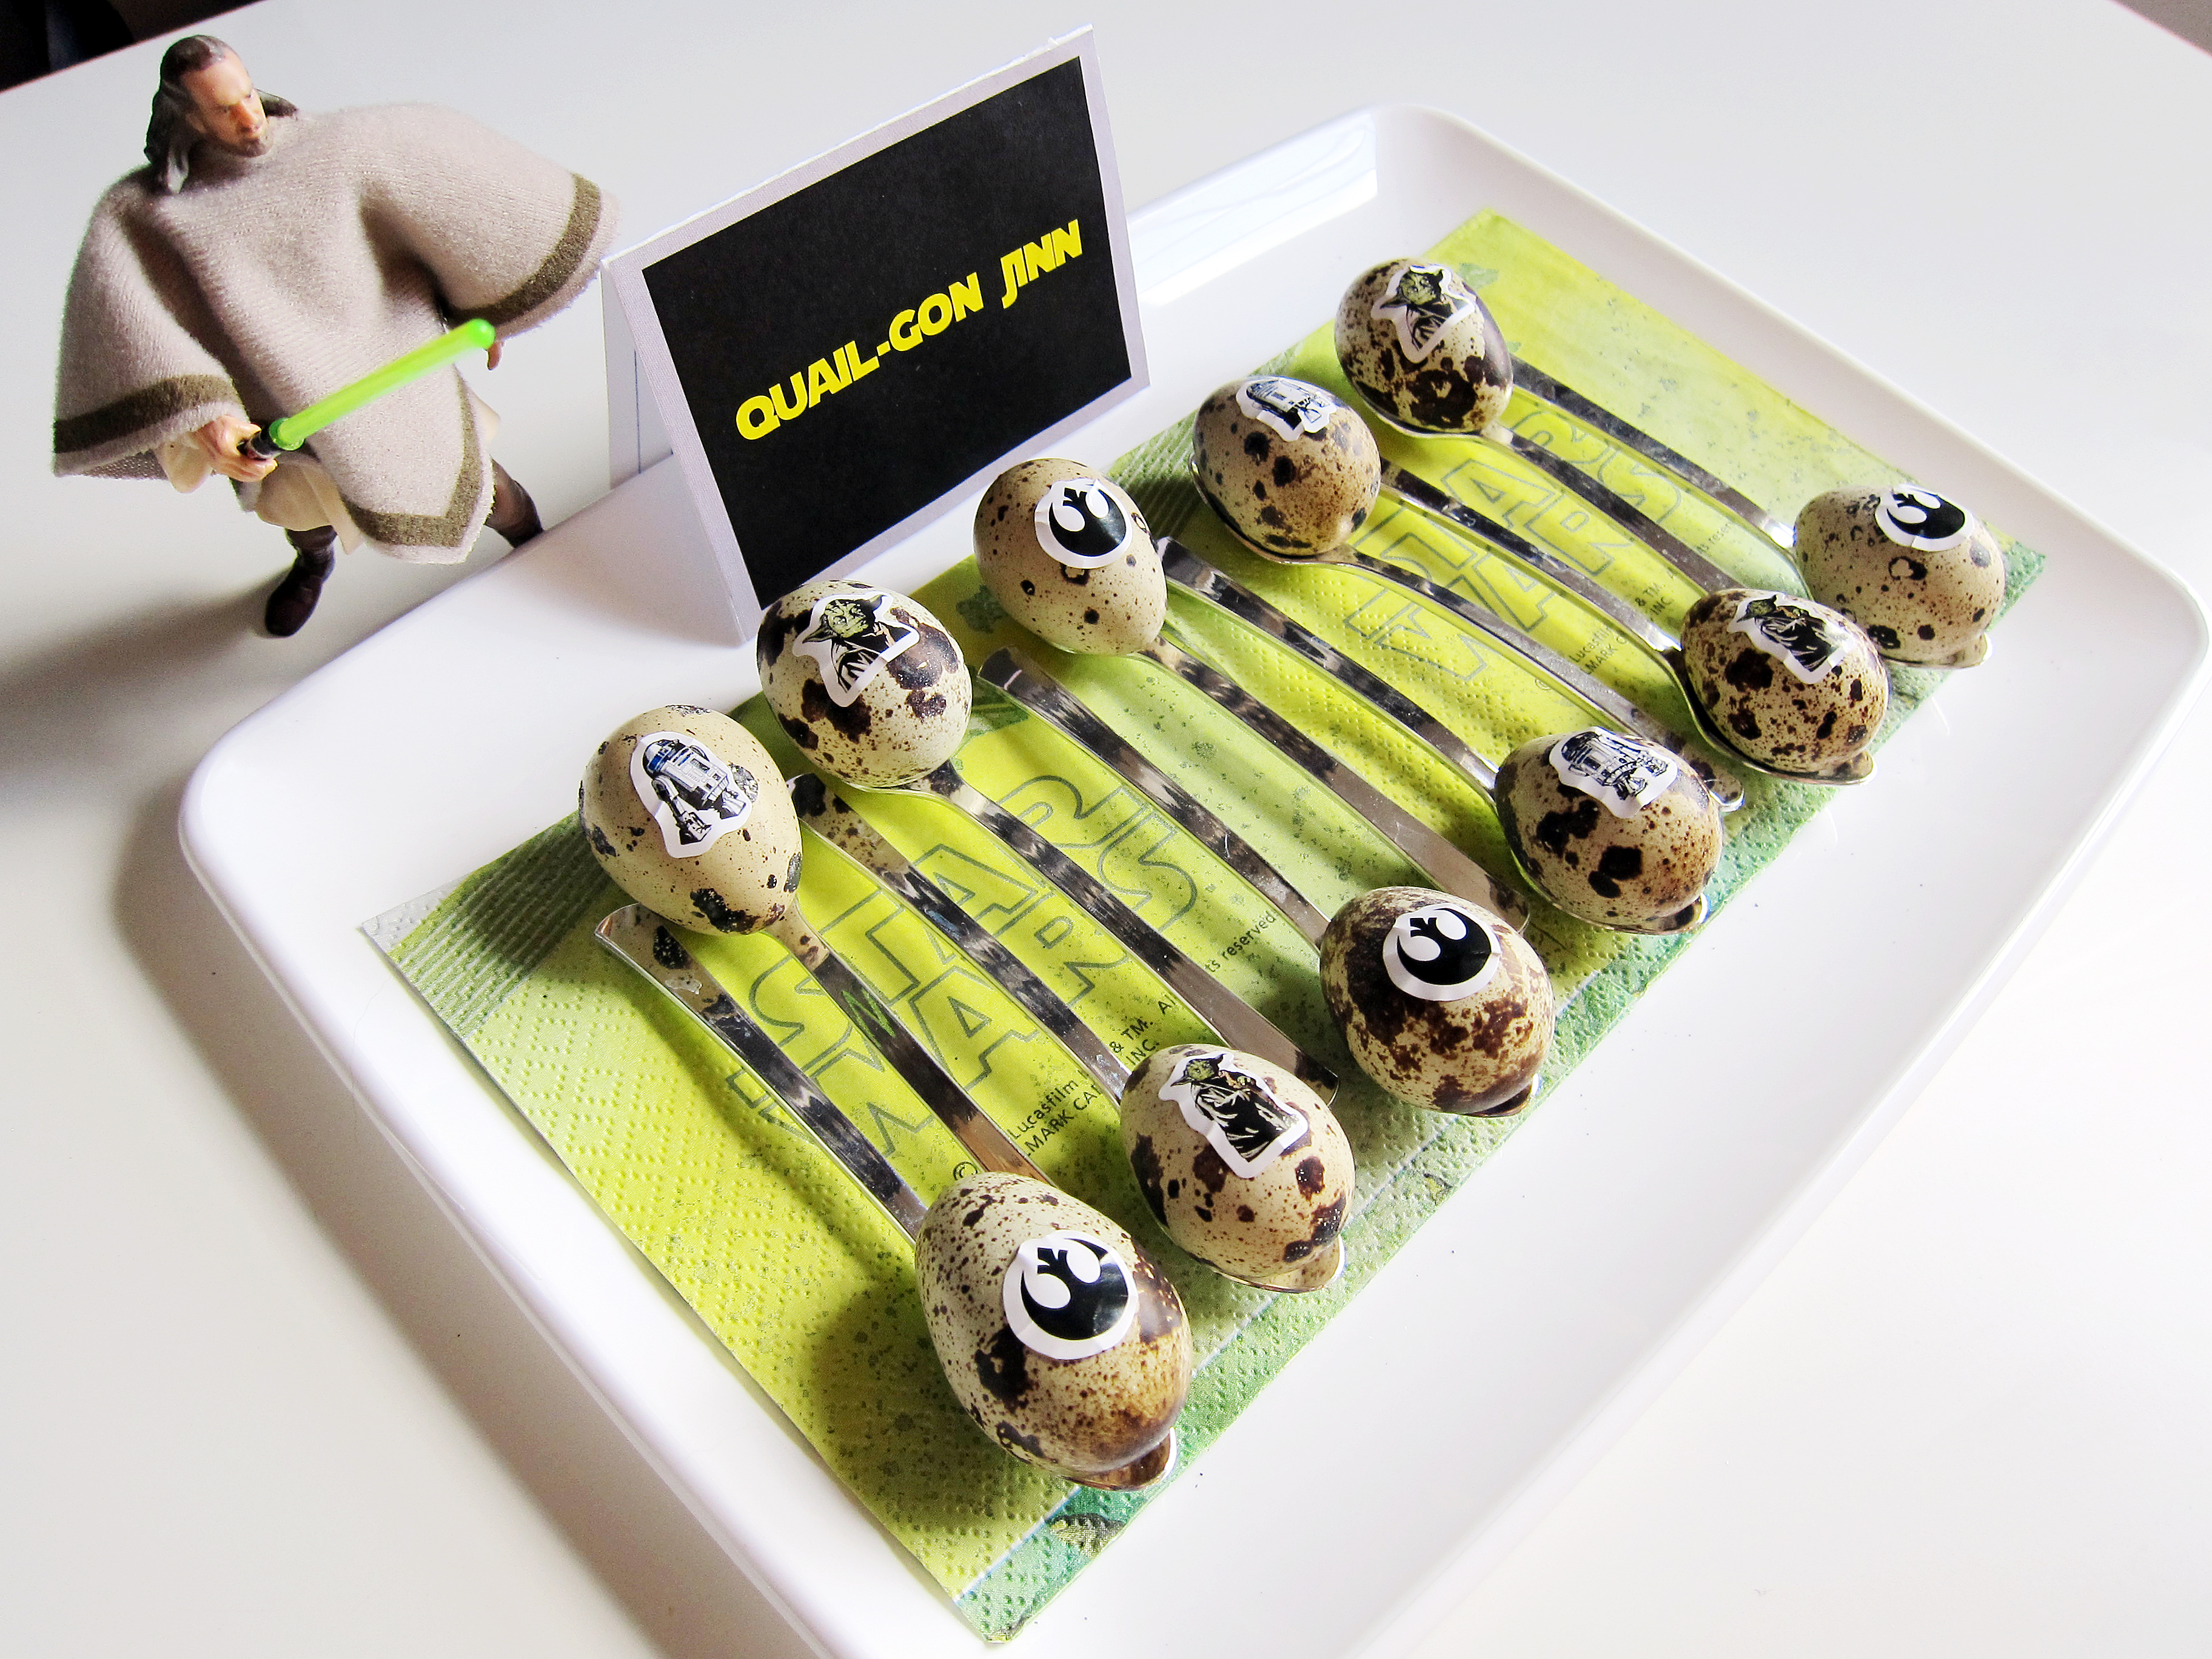
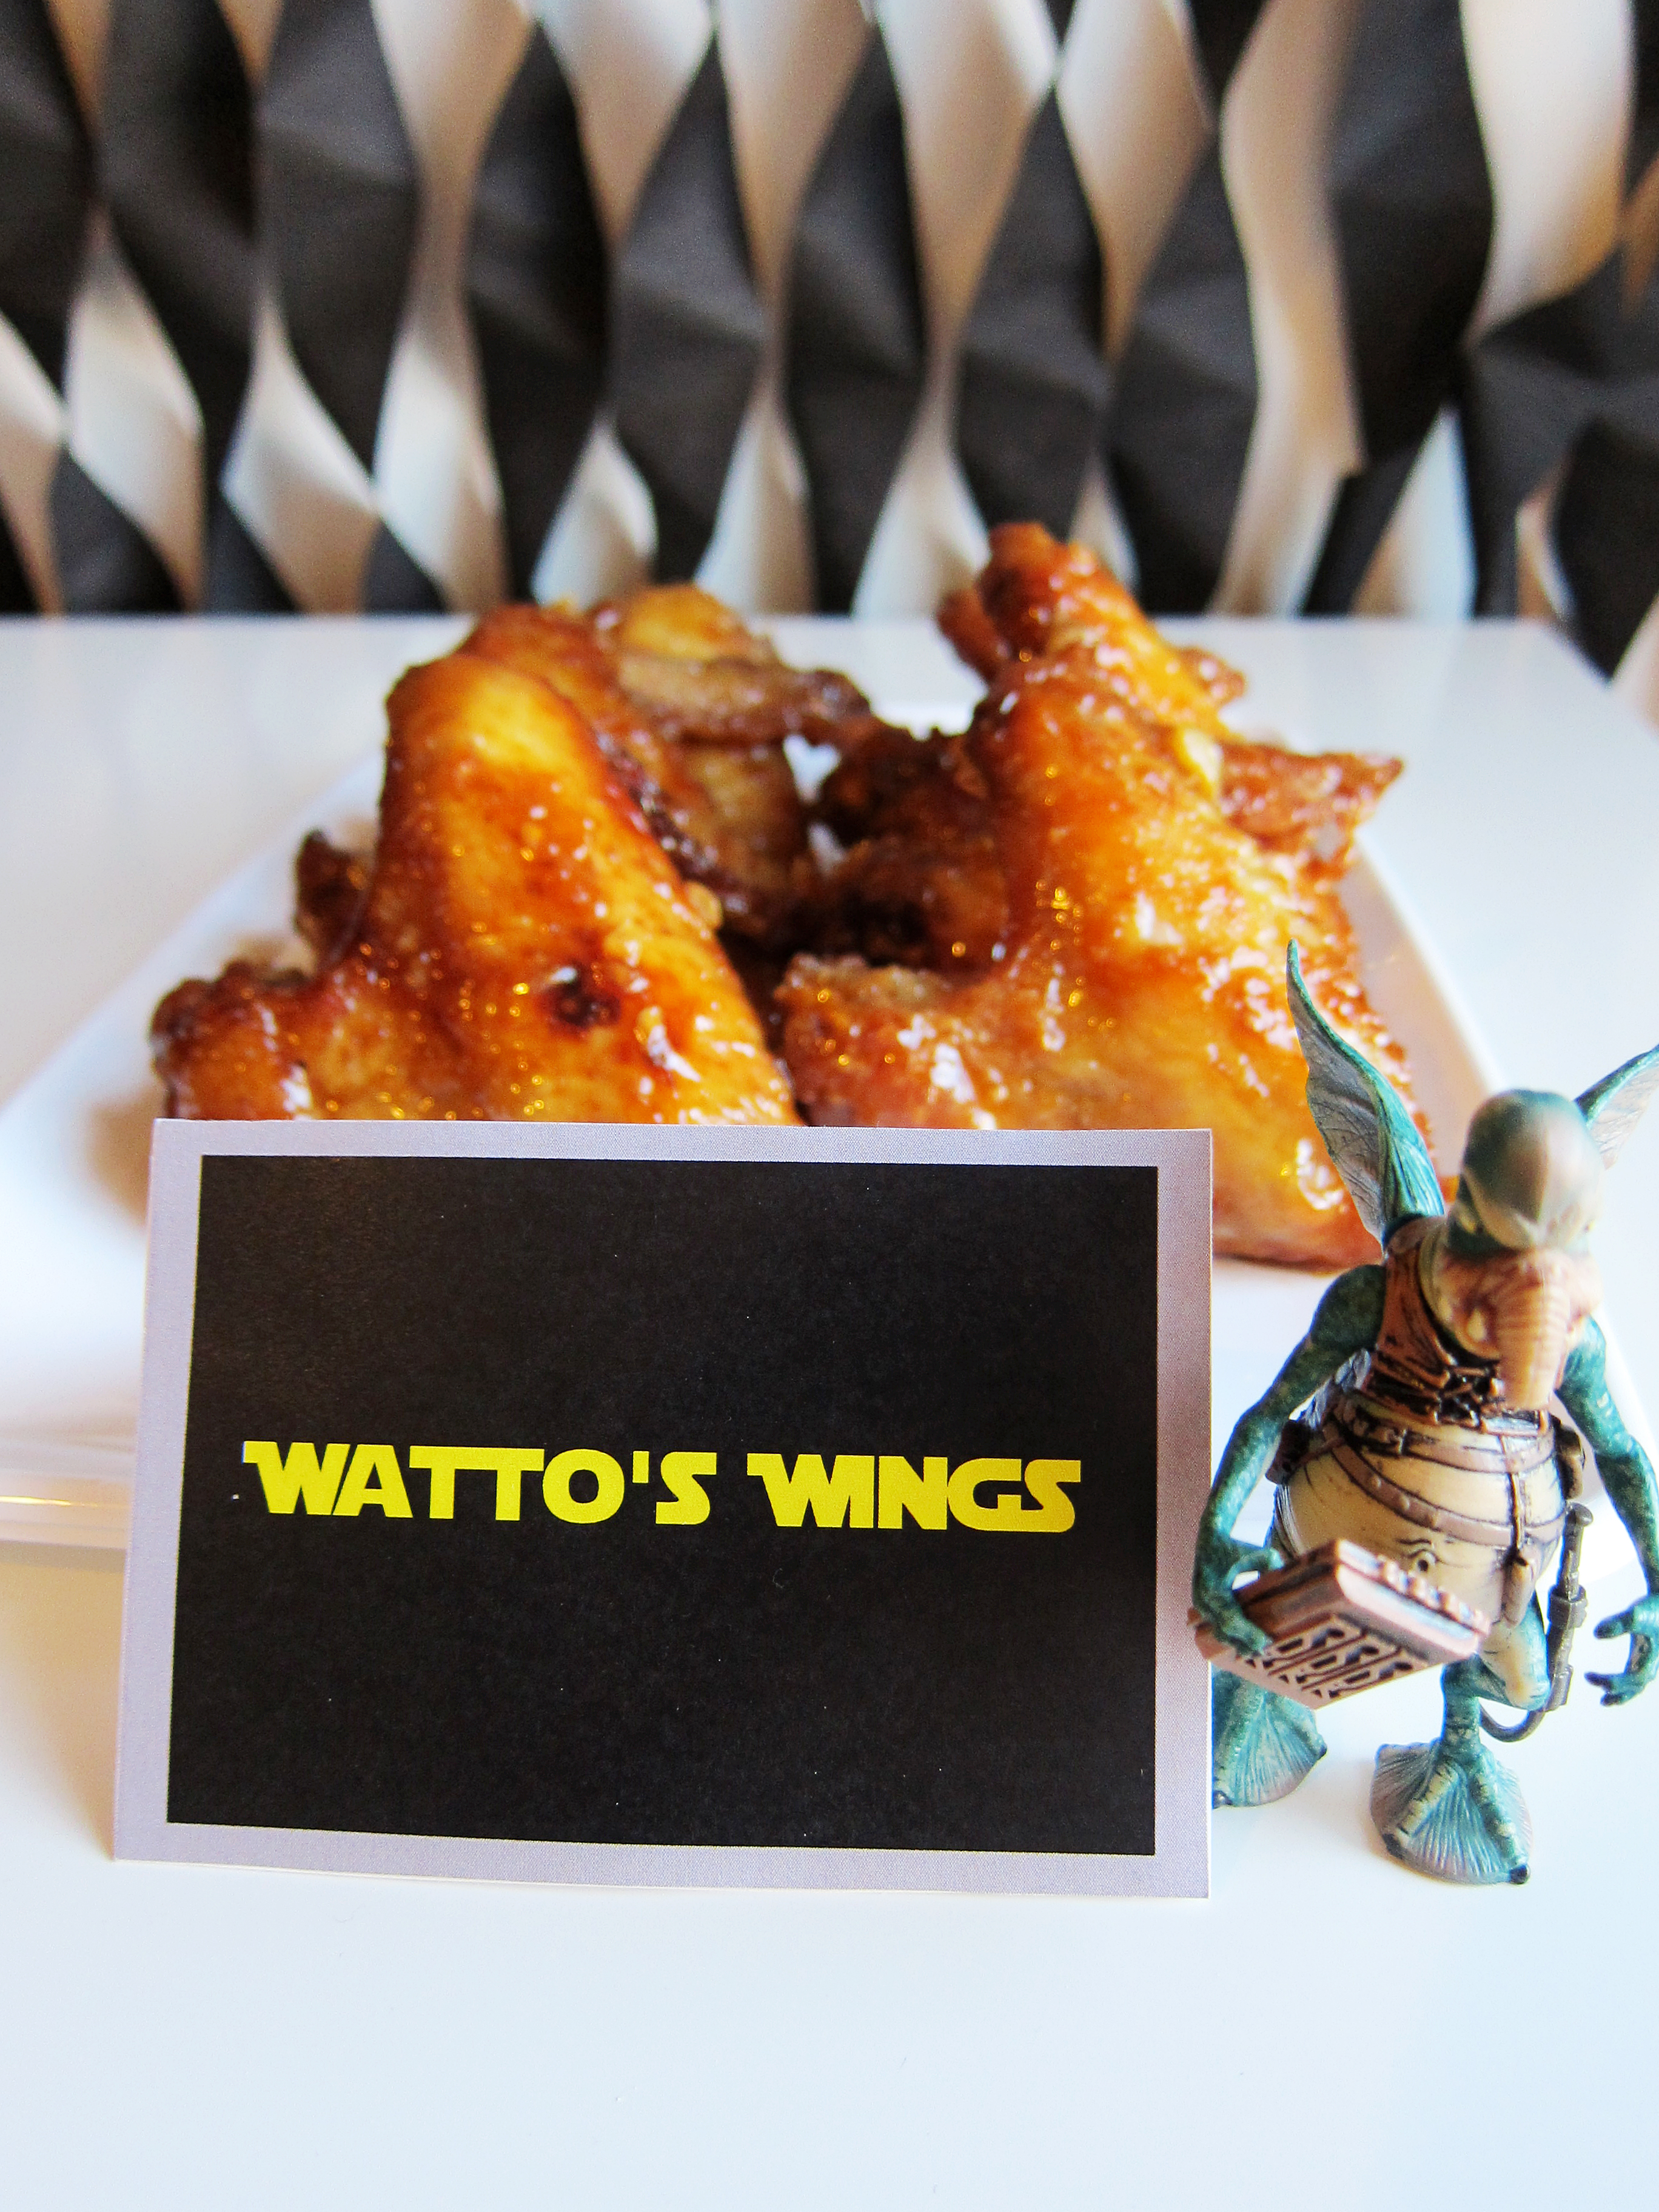
This year‘s party theme was Episode 1: The Phantom Menace, so all of the food and activities were centered on Episode 1 characters and settings.  Here are the things we made for SW Day*:
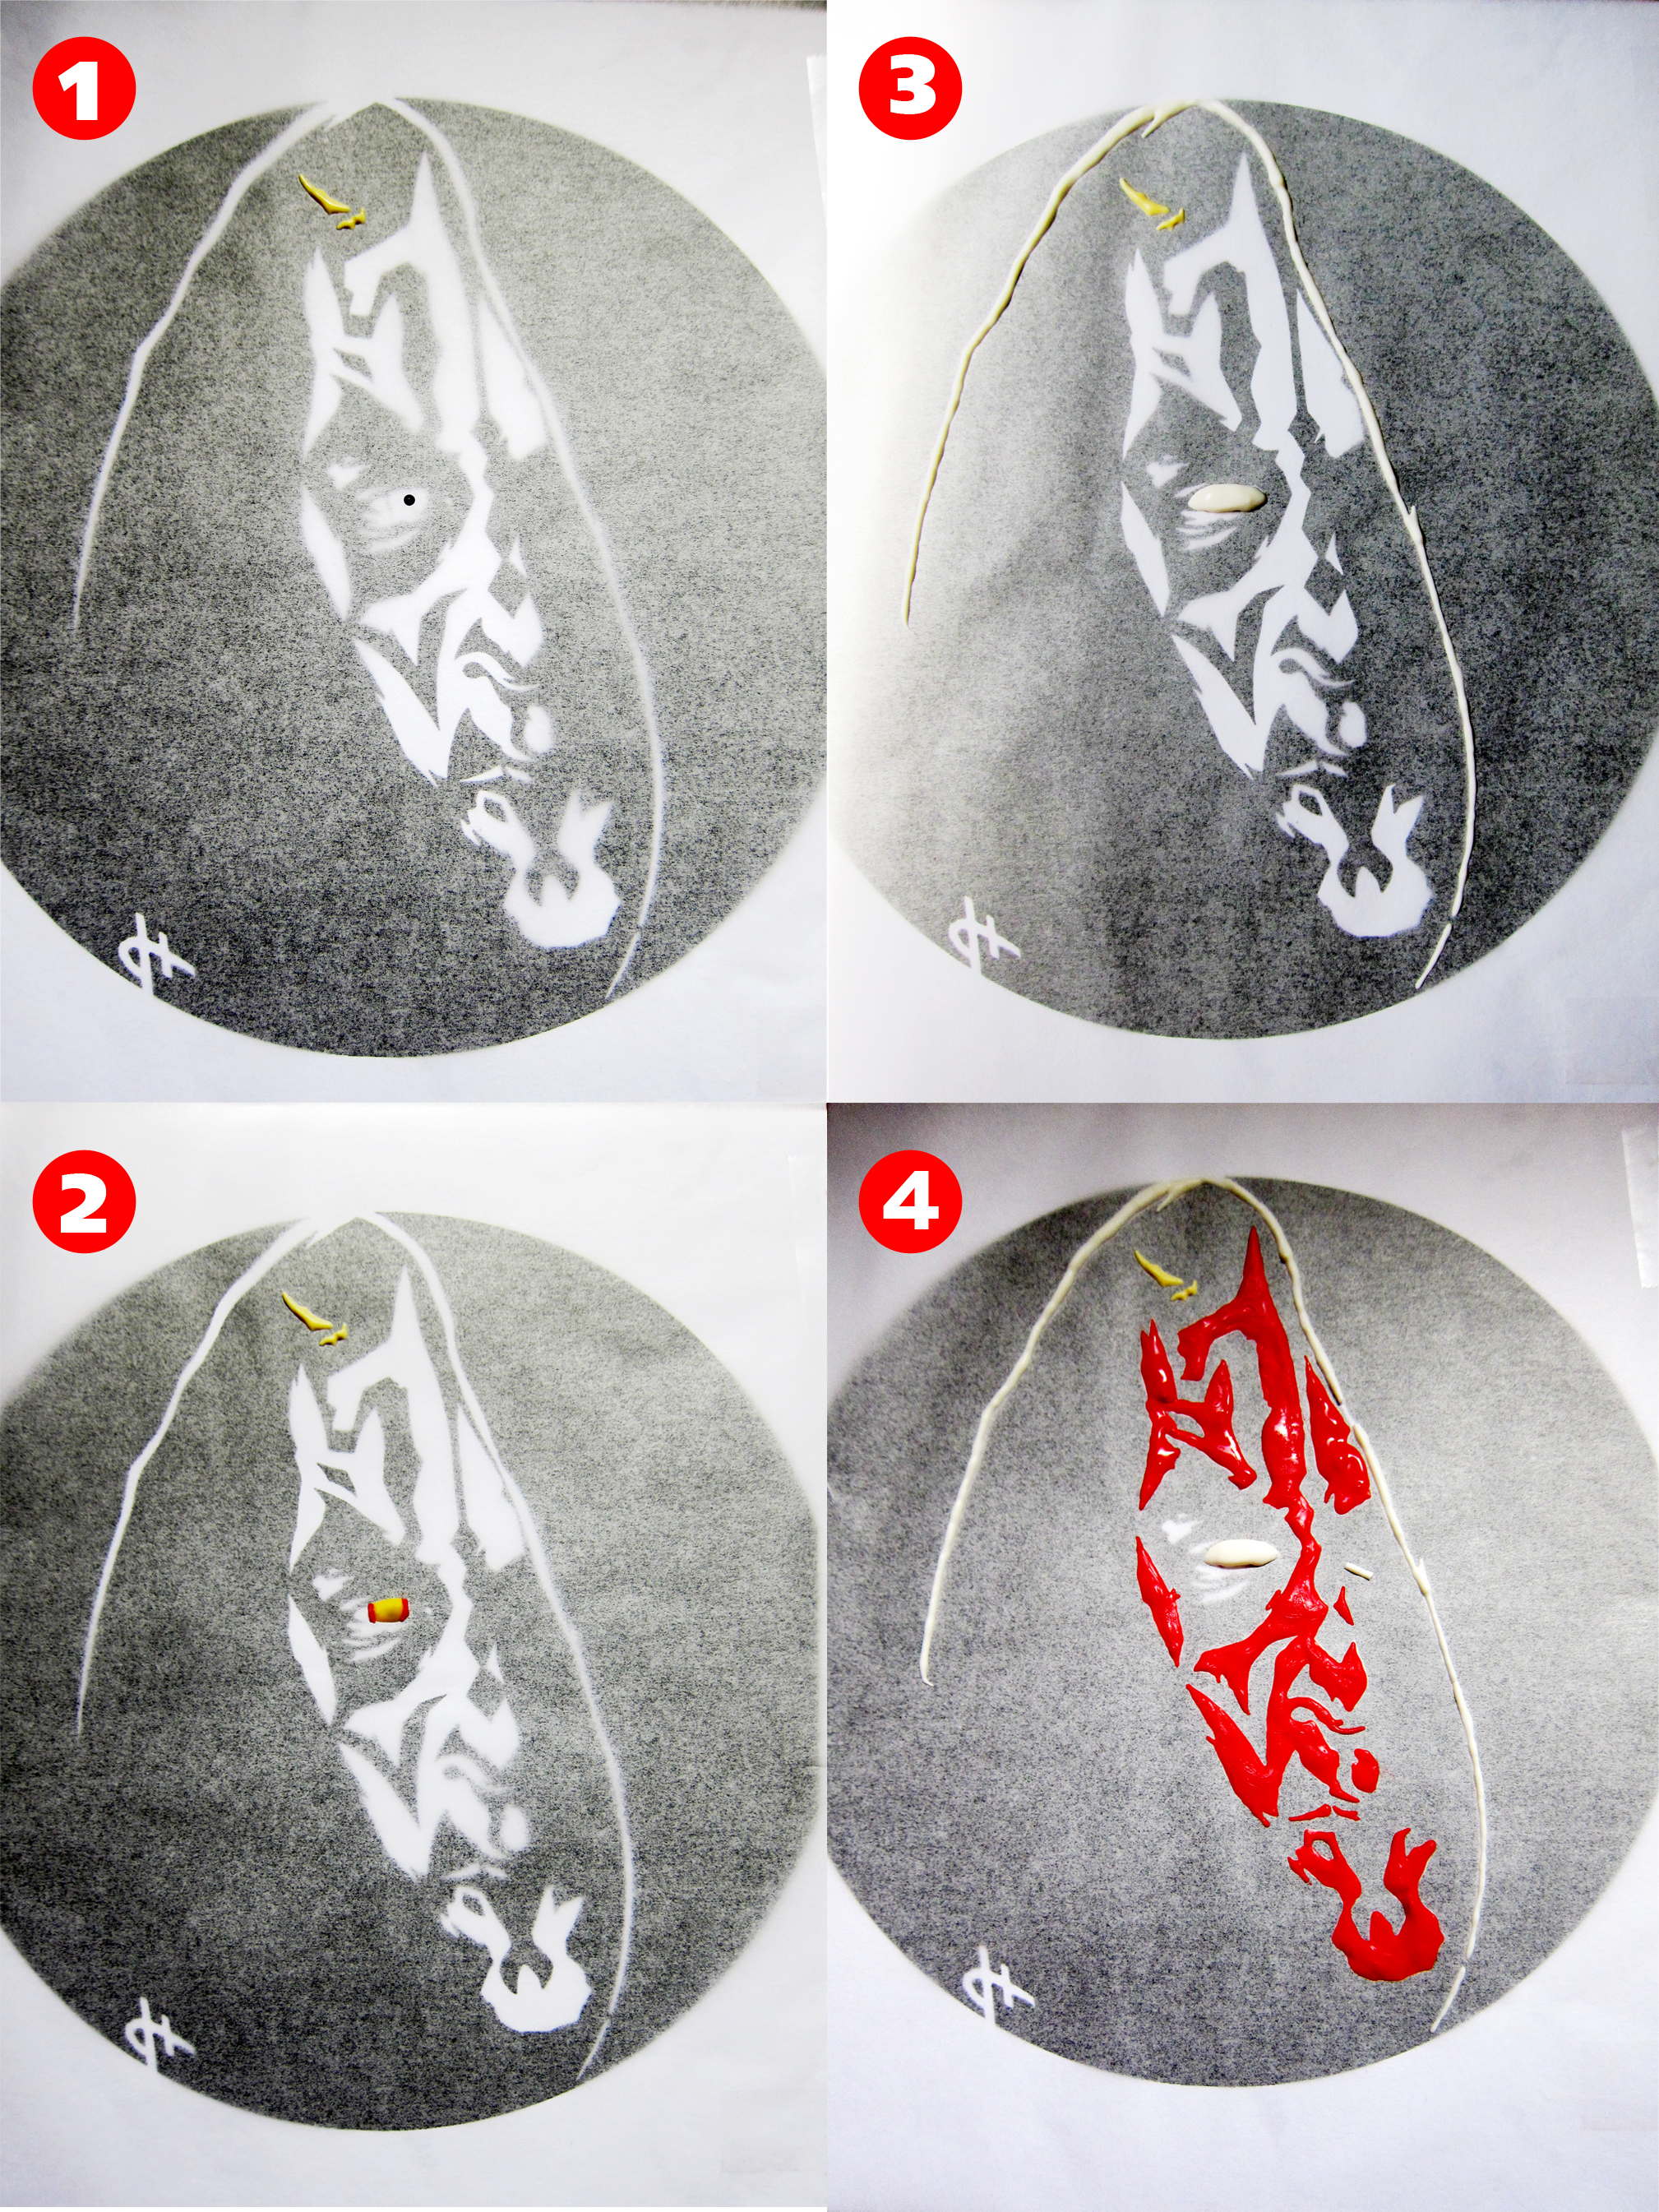
chicken pod piechicken pod pie 2Star Wars Day 2014 7 Star Wars Day 2014 8obi wontons obi wontons 2padme parfaitpadme parfait 2quail gon jinn 1 quail gon jinn 2watto's wings 1 watto's wings 2The centerpiece of the table was my Darth Maul-ble Cake, a marble cake with chocolate frosting and a chocolate transfer of Darth Maul.   There was a small chorus of “wows” when I revealed it.  Chocolate transfers can take a bit of time, but it is straight forward and simple to do.  I used the same technique for this piece and it turned out fabulous.
steps darth maulI think Darth Maul is quite scary.  To be completely honest, I got a wee bit frightened trying to find the right photo for the transfer.  Filling in the chocolate parts was no walk in the park either, he was just as scary.  I know it sounds silly, but if your imagination runs as wild as mine does I’m sure you understand. Revenge of the Six-th indeed. 🙂
Star Wars Day 2014 19Darth Maul-ble Cake

You will need:

1 Chocolate Marble Cake – Recipe Below
1 Batch of Chocolate Frosting – Can be found here
Black Candy Melts
Red Candy Melts
Yellow Candy Melts
White Candy Melts
A mirrored image of this printout in a black circle

Instructions:

  1. Tape the printout onto a baking sheet or any desired flat surface.
  2. Tape a piece of parchment paper over the printout making sure it covers the entire image.
  3. Melt a small amount of black, red, yellow and white candy melts (do not meld the colors together).
  4. Remember, chocolate transfers are all about layering.  Each time you fill out the next step, you will be going over the previously filled portion.
  5. Using either a toothpick or a piping bag fitted with either a #1 or #2 round tip, fill in the pupil of the eye with the black candy melt. (As shown in the above photo.)
  6. Mix the yellow and white candy melt to get a light ivory hue for the horns. Fill in. (As shown in the above photo.)
  7. Once the pupil is set, fill in the iris with the yellow candy melt.  Let set. (As shown in the above photo.)
  8. The outer edge of the iris has a red outline.  Carefully, trace a red border around the yellow candy melt. Let set. (As shown in the above photo.)
  9. Fill in the sclera with the white candy melt.  (As shown in the above photo.)
  10. Fill in the white edge of the hood while the sclera sets. (As shown in the above photo.)
  11. Using the red candy melt, start filling in the mask like patterns on the face.  Try not to lose the detailed edges because that’s what makes the image pop. (As shown in the above photo.)
  12. Once the red candy melt is set, melt some black candy melts.  Make sure it is not piping hot because you will lose some detail if it is.
  13. Smooth over the entire circumference with the black candy melts.  Let completely set.
  14. Place on top of frosted cake and you’re done!

Chocolate Marble Cake

Ingredients:
1⅔ c. all-purpose flour
½ tsp. baking powder
¼ tsp. baking soda
¼ tsp. kosher salt
4 oz. unsalted butter, melted
1 c. sugar
1 egg, room temp
¼ c. Greek yogurt
¾ c. + 1 tbsp. milk, divided
1 tsp. vanilla extract
¼ c. unsweetened cocoa powder

Instructions:

  1. Preheat the oven to 350˚F and prep a 9” cake pan by coating it with nonstick spray and lining the bottom with parchment paper.
  2. Mix melted butter and sugar in a mixing bowl.  Set aside.
  3. In a separate bowl, mix flour, baking powder, baking soda and salt until combined.
  4. Add the egg, Greek yogurt, ¾ c. milk and 1 tsp. vanilla extract to the butter mixture and mix until homogenous.
  5. Add the flour mixture to the butter mixture and fold until smooth.
  6. Transfer ½ of the mixture to another bowl, mix in 1 tbsp. milk and cocoa powder until a thick chocolate batter forms.
  7. Put half of the vanilla batter into the prepared cake pan and spread out.
  8. Pour all of the chocolate batter on top of the vanilla mixture.
  9. Pour the rest of the vanilla batter over the chocolate batter.
  10. Using a toothpick or a butter knife, make swirls all over the cake. Be careful not to over swirl, or you will lose the marbling.
  11. Bake 18-25 minutes until golden brown or a toothpick inserted in the center of the cake comes out clean.

Cake recipe adapted from sally’s baking addiction.


* If you would like detailed info on any of the food I’ve prepared, don’t be afraid to leave a comment or shoot me an email!