 Well it’s here, Star Wars Day! Every year I try to make some sort of Star Wars themed food to celebrate Star Wars Day. In case you didn’t know, it’s on May 4th because it plays on the phrase, “May the force be with you”. Get it? Like “May the Fourth be with you?” What I love the most about Star Wars is how it is intergenerational and timeless. Plus, there are so many characters and worlds that it’s hard to become bored with the series.
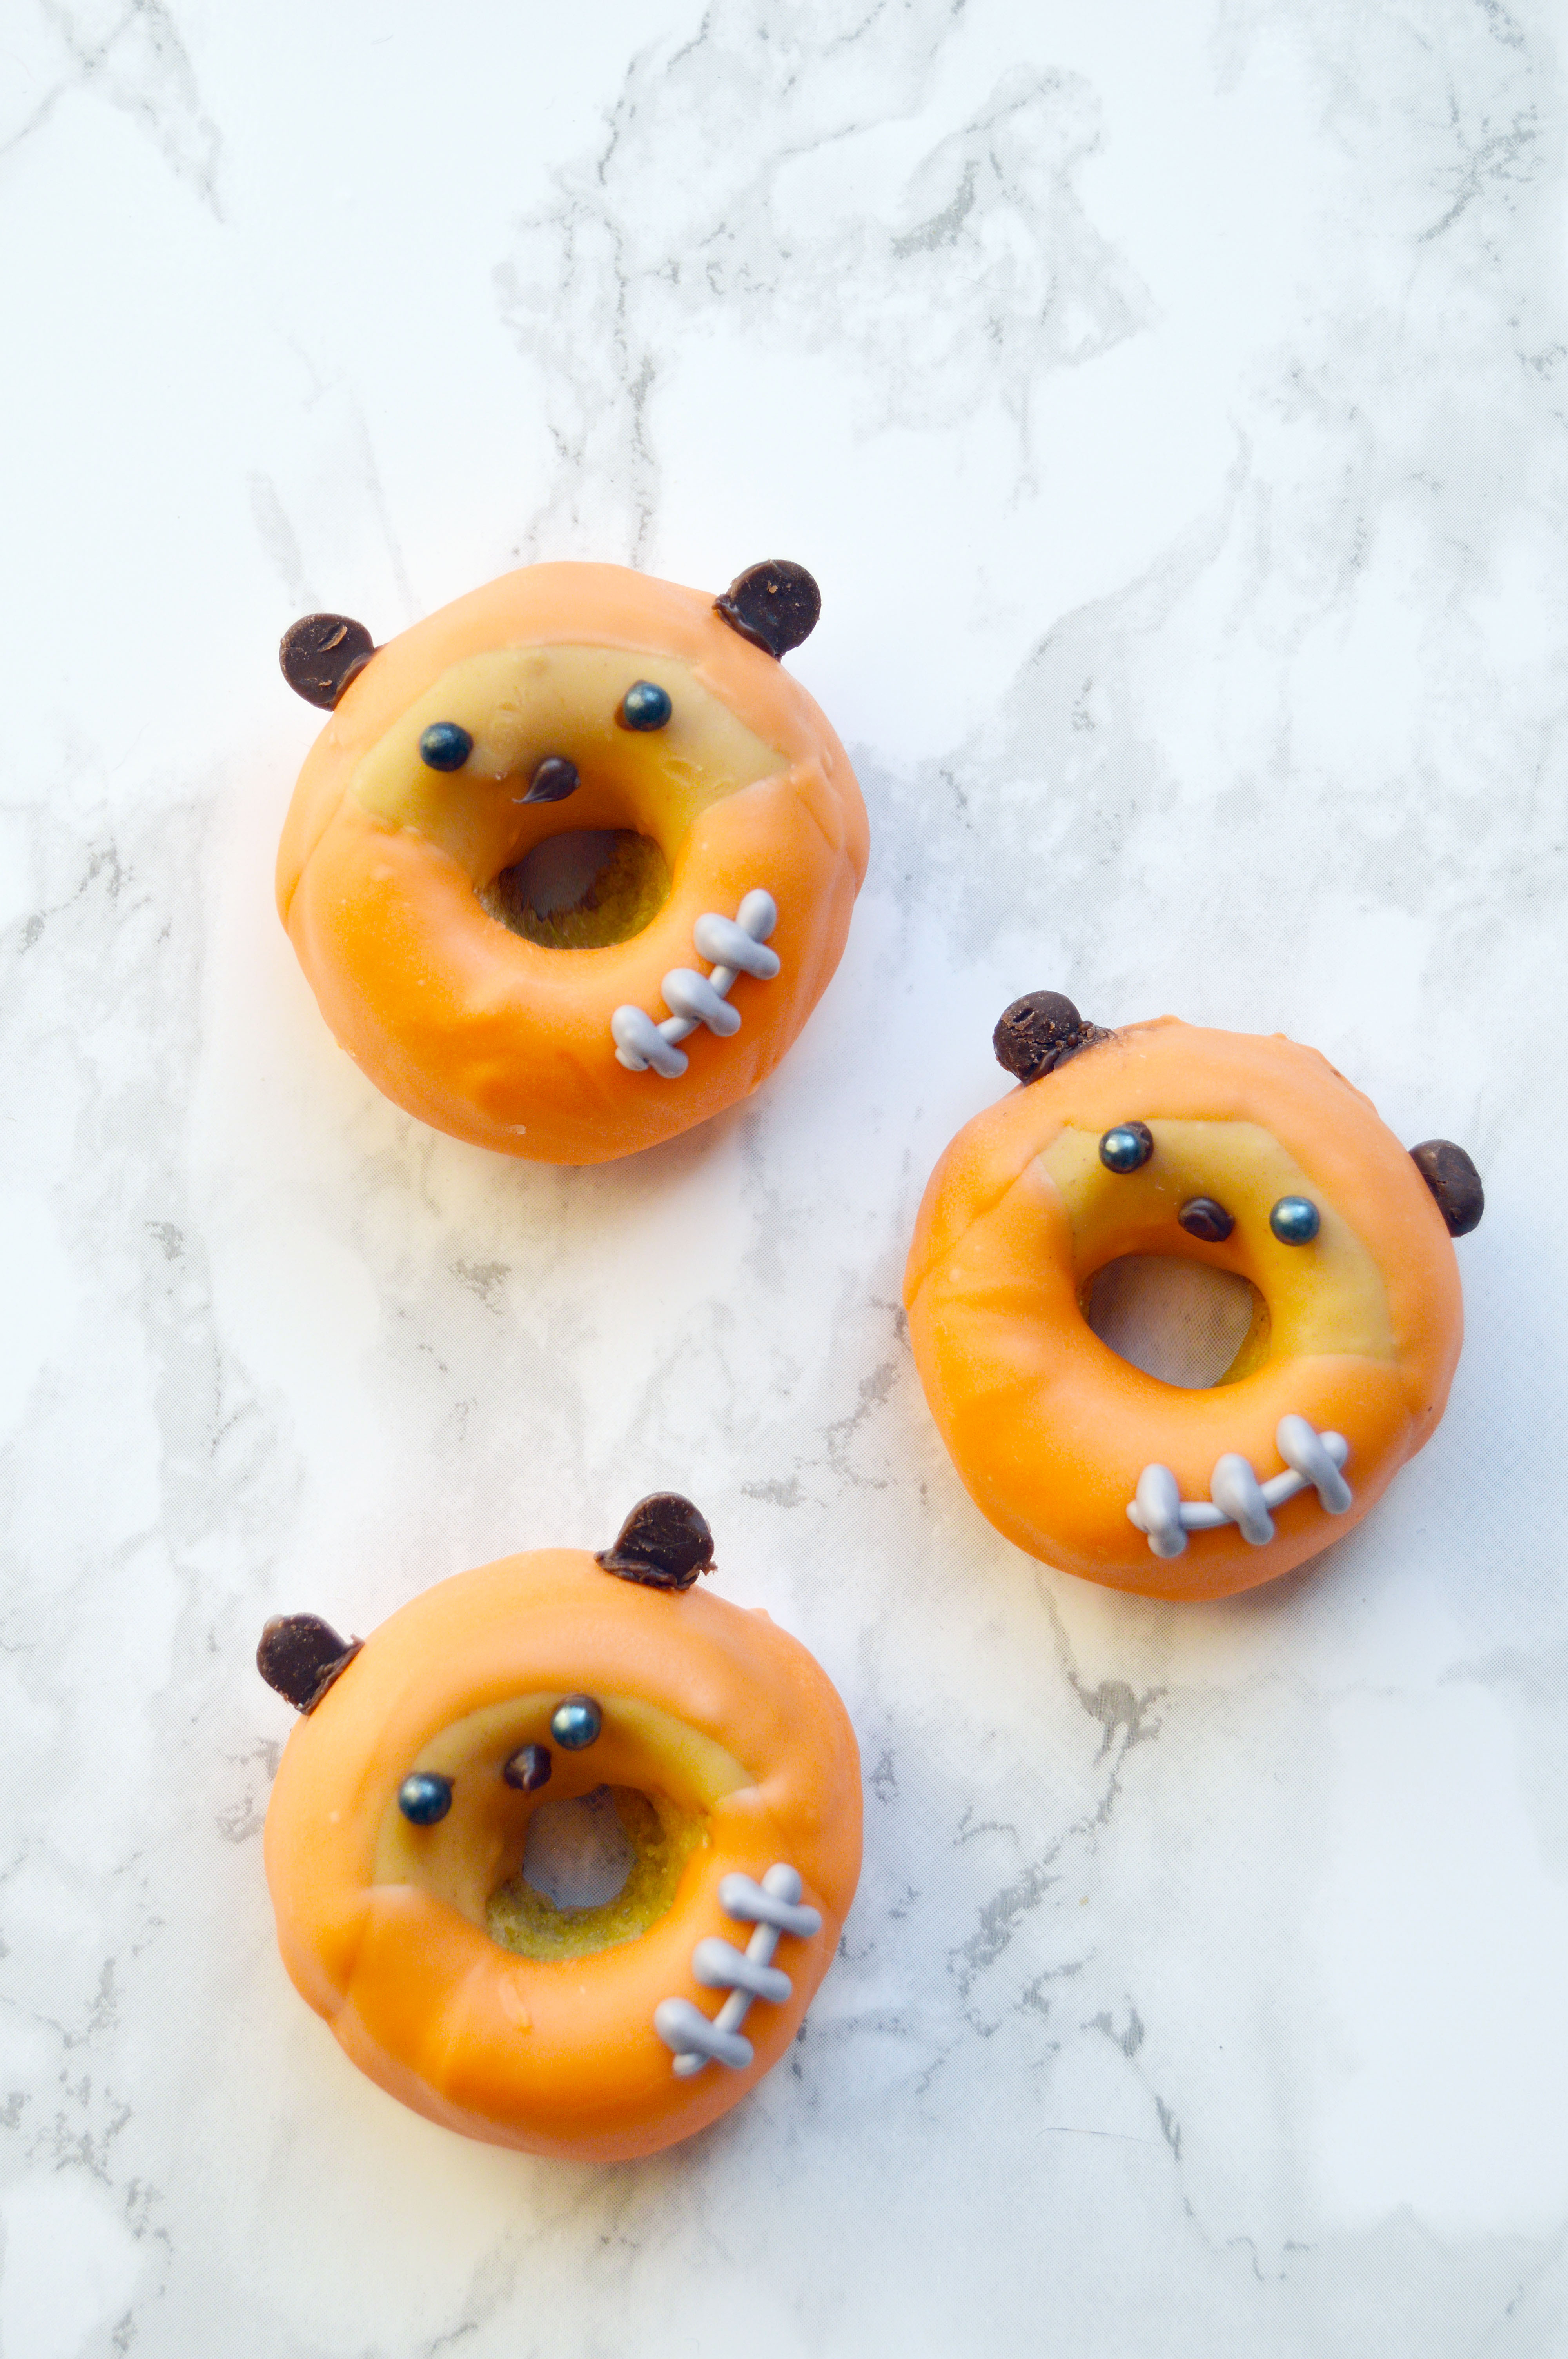
 After talking about hybrid food that involves doughnuts in my last post, I could not get them out of my head. But of course I couldn’t just make regular doughnuts; I had to try my hand at decorating doughnuts. To make them even cuter, I went down a size to mini doughnuts. It was tough to figure out which characters to do because there are so many to choose from, but I decided to go with the classics: Yoda, Princess Leia, Chewbacca, Stormtroopers and Ewoks.
 I think if the doughnuts were bigger, it would’ve been easier to do the details but since they were tiny, it was pretty time consuming to do everything. I was working with teeny tiny holes in my piping bag that kept clogging up with chocolate that hardened too quickly and tiny black pearl eyes that wouldn’t stay on the faces. And because they have more detail than I originally expected, I’m breaking up the post into two parts: a how to of Stormtroopers and Ewoks on this one, and Princess Leia, Yoda and Chewbacca on the next one.
 The doughnut recipe I used tastes like a classic old fashioned doughnut thanks to the ground nutmeg. Fresh ground nutmeg is key here. As someone who is guilty of buying a whole jar of spice for one recipe and then never touching it again for years, I highly recommend you buy the nutmeg whole since it will last you pretty much forever (as long as you keep it in a cool, dry place).
  The recipe I used will make a small batch, so small that you can use a simple hand held mixer for it. Oh, and remember not to overfill your pan or your doughnut will not look like a doughnut. It will look more like a tiny bunt cake. Once they’re covered in chocolate, they taste like the highly addictive Pop’ems. They’re addictive and so easy to eat, it’s a little dangerous.
 Disposable piping bags and plastic cups are your best friends for this project, especially if you plan on tackling more than two characters in one time. Melted chocolate is so annoying to clean off, it’s just not worth the pain if you have to wash off more than 6 colors worth of bowls. The part of me that cares about the environment did cry a little, but in the end laziness and convenience won out. 🙂

Here are some other Star Wars posts that I’ve done:
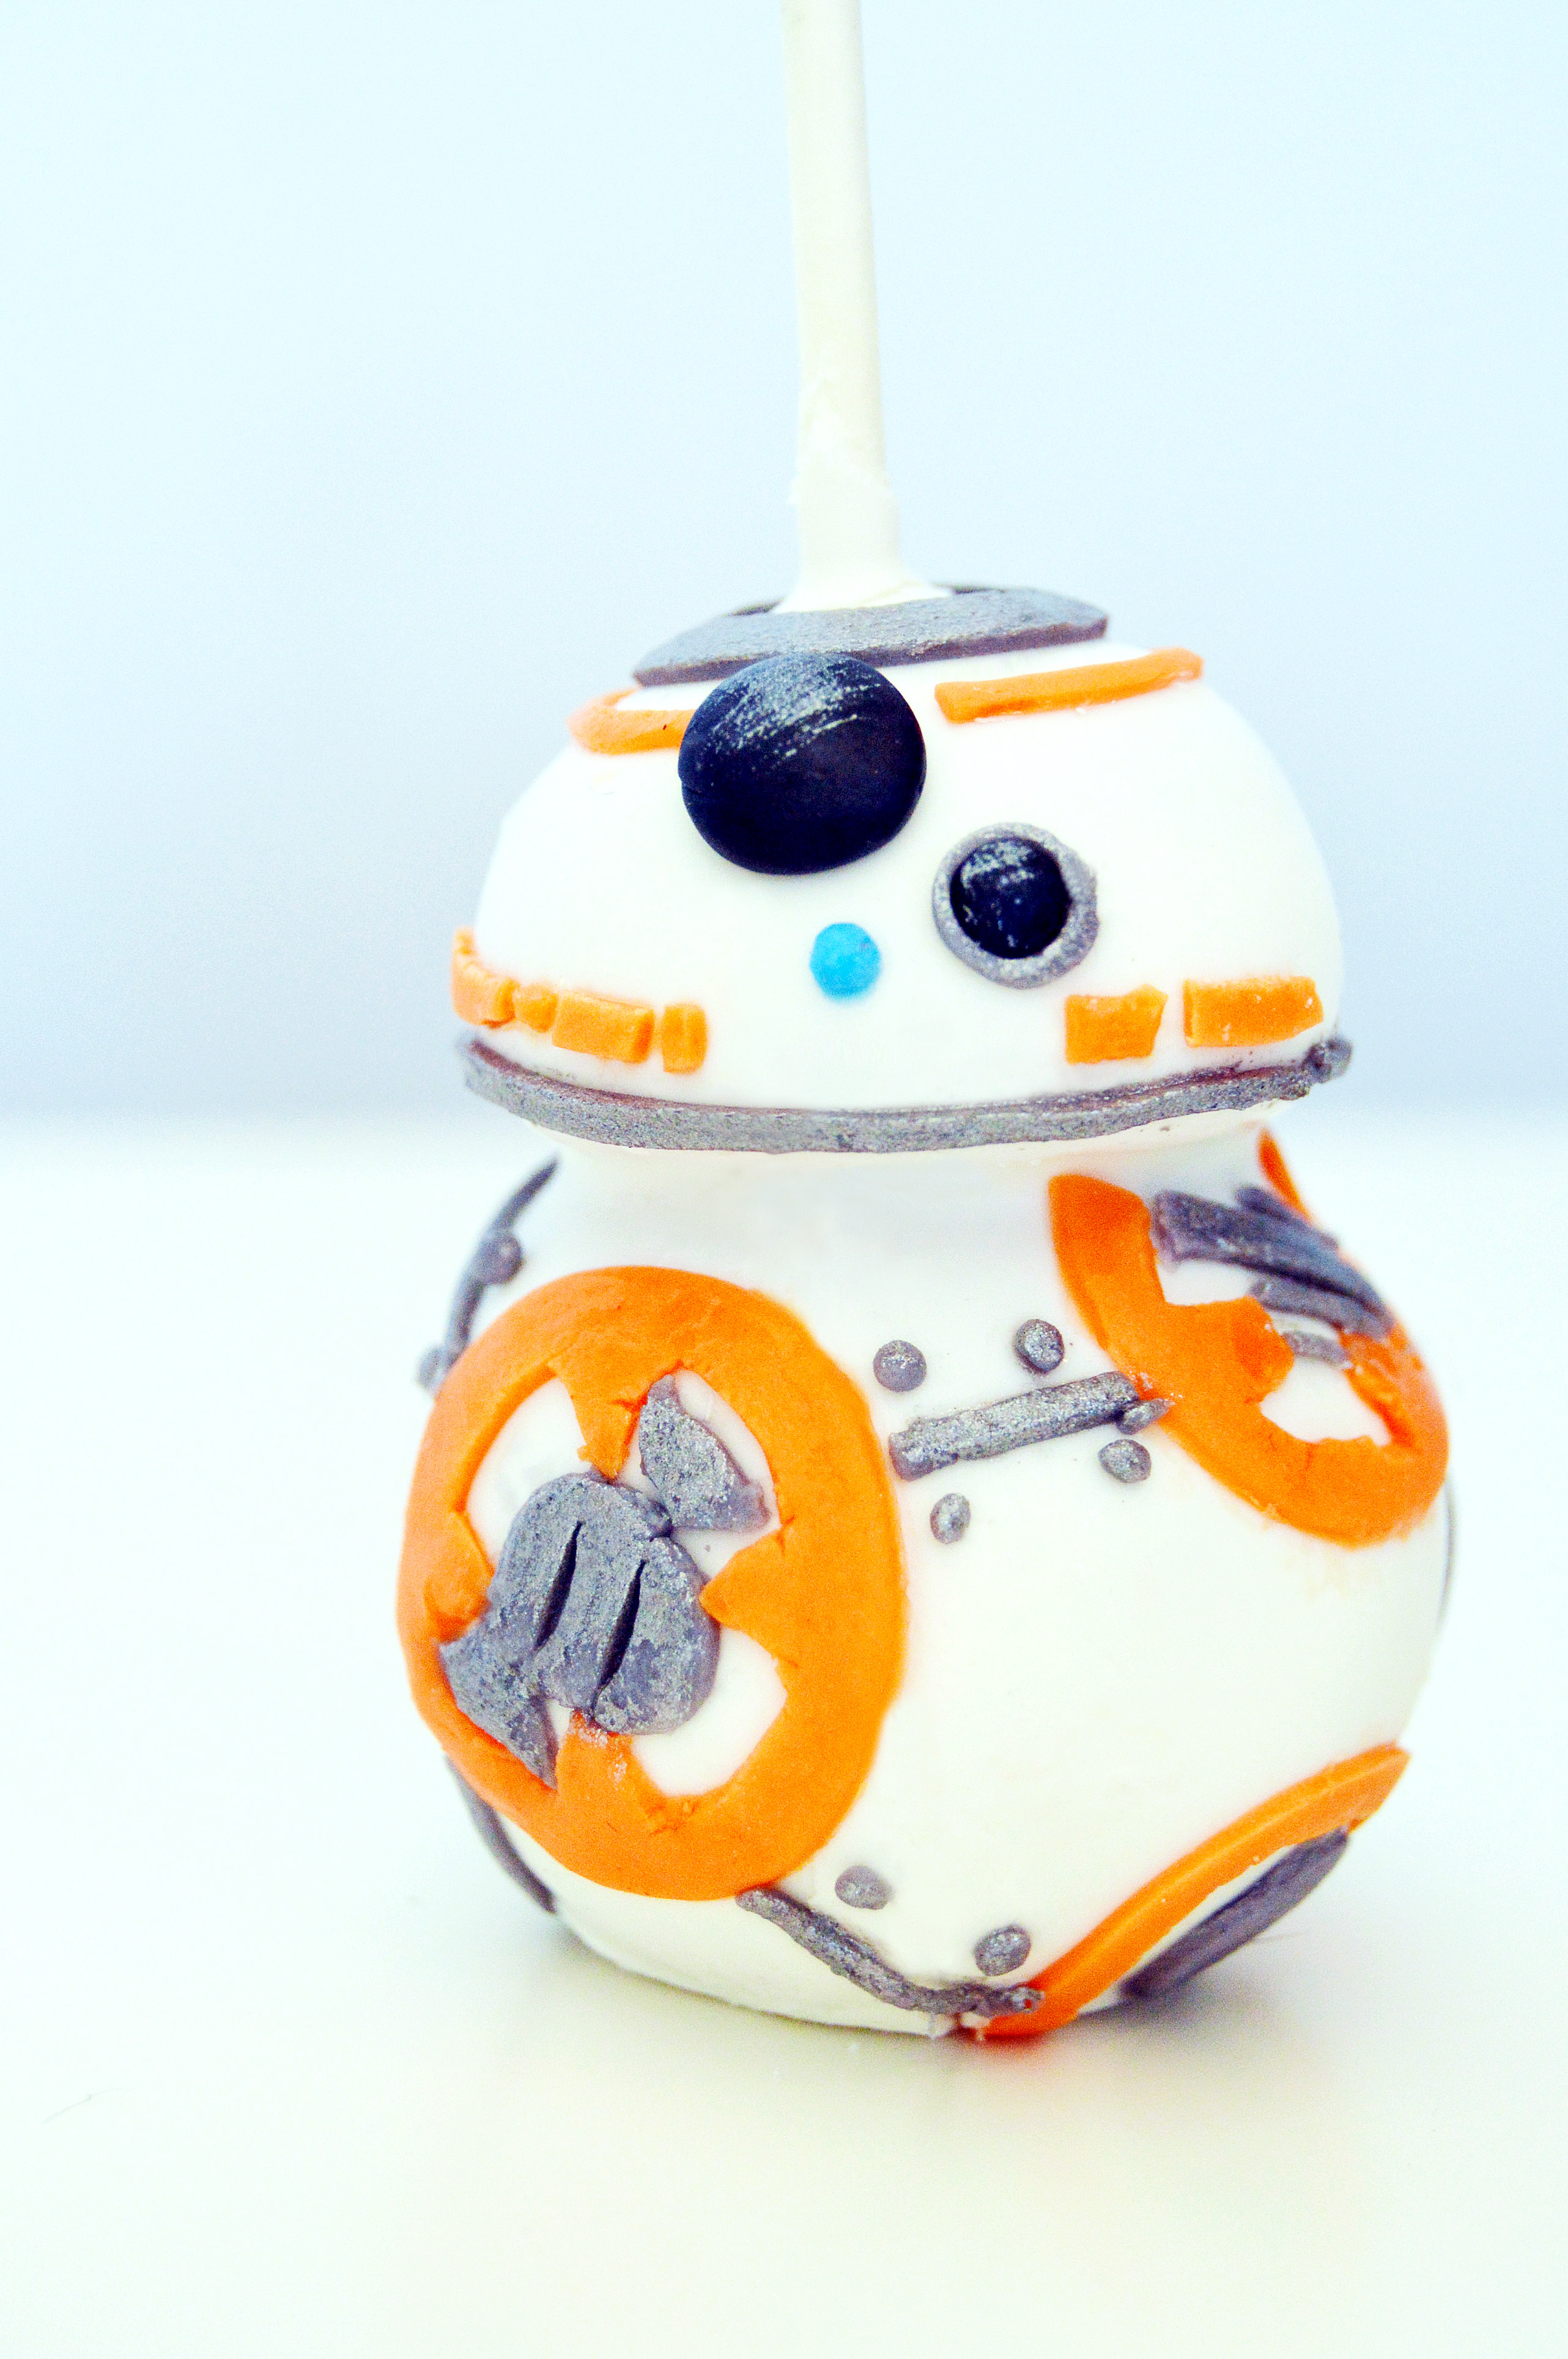
BB-8 Cake Pops
Star Wars Rebel Party
Star Wars Day 2014
Star Wars Mini Doughnuts – Part I: Stormtroopers & Ewoks
For the Stormtrooper Doughnuts:
You will need:
mini doughnuts (recipe below)
white candy melts
black candy melts
silver dragées
Instructions:
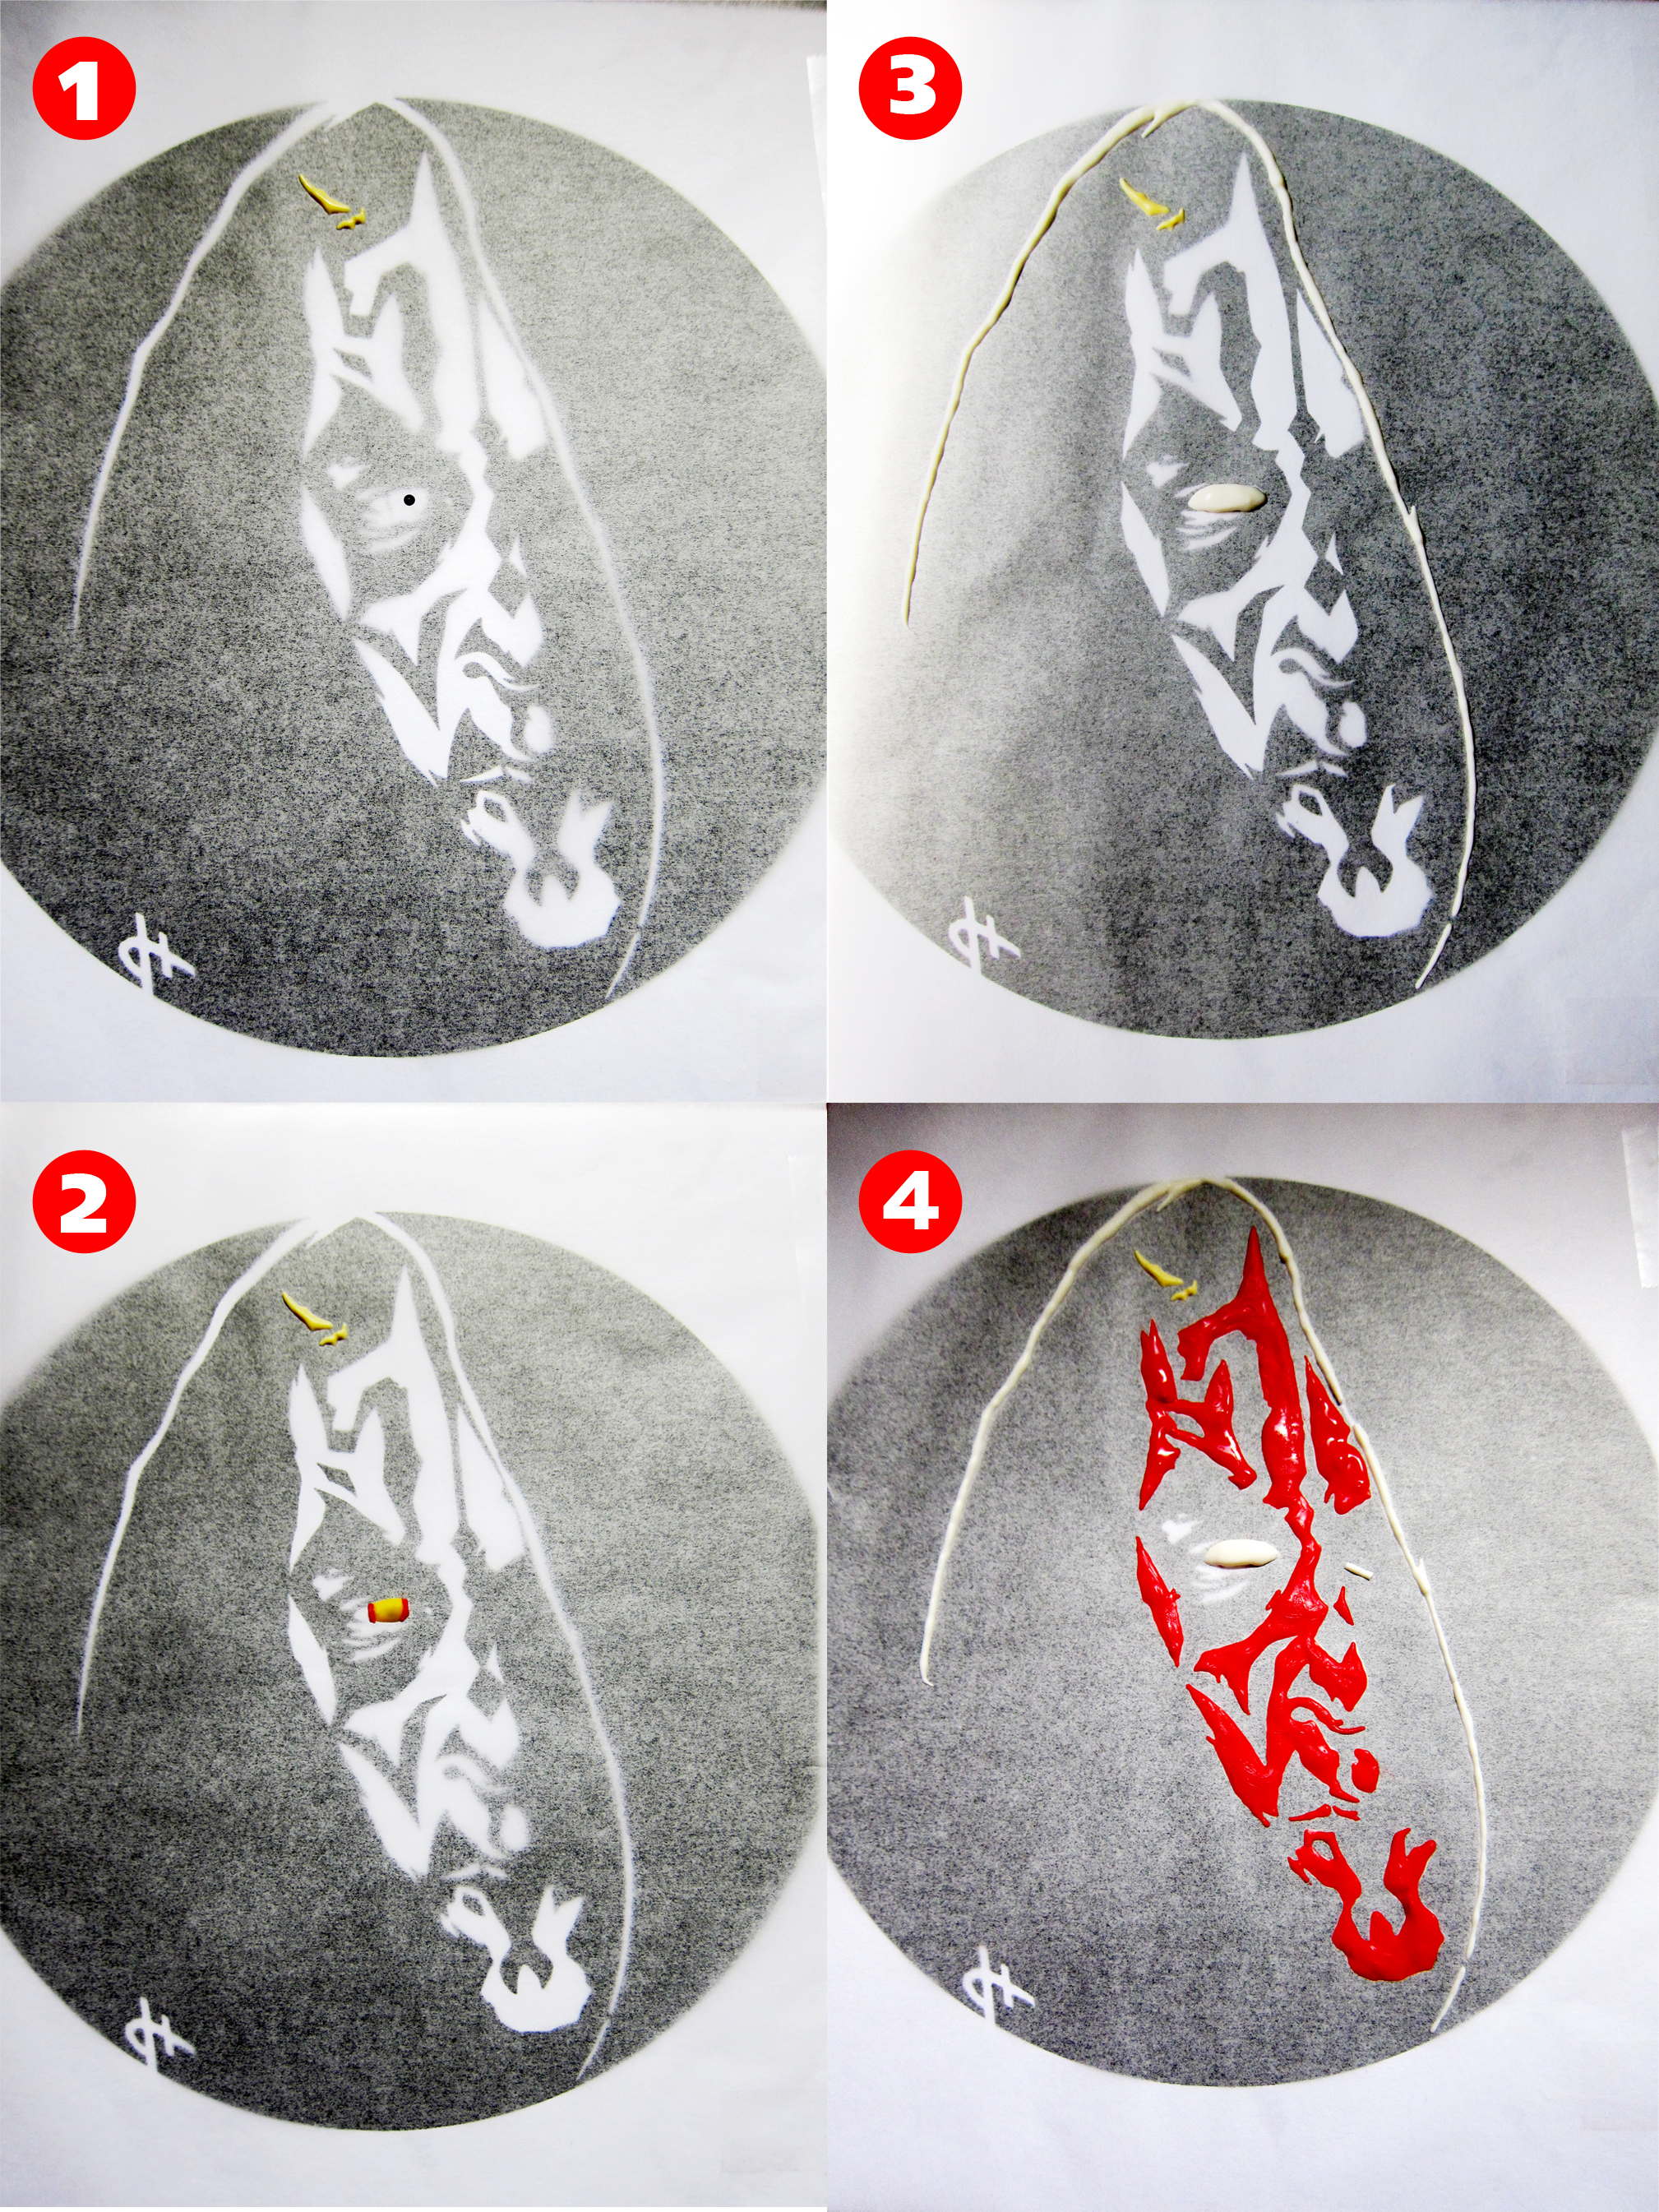
- Melt white candy melts in a small cup, or a bowl.
- Dip one side of doughnut into the melted candy melt. (as shown in picture #1)
- Place two small dots of black candy melt on the bottom half of the doughnut. (as shown in picture #2)
- Before the black candy melt sets, put two small silver dragees on it. (as shown in picture #3)
- Draw a thin horizontal line in the middle of the doughnut with the black candy melt. (as shown in picture #4)
- Draw a black thin horizontal line on the top of the doughnut, about an eight of the way down. (as shown in picture #5)
- Draw two black semi circles below the black top line. (as shown in picture #6)
- Draw a small black triangle in between the two semi circles. (as shown in picture #7)
- Mix a little of the black candy melt into the white candy melt to make a gray candy melt.
- Place two stripes on either side of the doughnut. (as shown in picture #8)
- Place two small dots on either side of the small triangle. (as shown in picture #9)
For the Ewok Doughnuts:
You will need:
mini doughnuts (recipe below)
light brown candy melts
orange candy melts
brown candy melts
black pearls
gray candy melts
Instructions:
- Dip the top half of the doughnut into a cup/bowl of melted light brown candy melt. (as shown in picture #1)
- Once the light brown candy melt sets, dip the bottom half of the doughnut into a cup/bowl of melted orange candy melt. (as shown in picture #1)
- Once the orange candy melt sets, dip the outer top half of the doughnut into melted orange candy melt. (as shown in picture #2)
- Pipe a small round of brown candy melt in the center of the top of the doughnut. (as shown in picture #2)
- While the candy melt sets, pipe small round dots of brown candy melt on parchment paper.
- Attach the small brown dots to the top of the doughnut. (as shown in picture #3)
- Place two small dots of brown candy melts and place two black pearls (as shown in picture #4)
- Pipe one long curve and three short lines along the curve with gray candy melt. (as shown in picture #5)
Classic Baked Doughnut Recipe
makes about 3 dozen mini doughnuts
Ingredients:
2 tbsp. unsalted butter
2 tbsp. vegetable oil
¼ c. granulated sugar
3 tbsp. brown sugar
1 large egg
¾ tsp. baking powder
⅛ tsp. baking soda
¼ tsp. fresh ground nutmeg
¼ tsp. kosher salt
½ tsp. vanilla extract
1 ⅓ c. all-purpose flour
½ c. whole milk
Instructions:
- Preheat oven 350˚F. Spray non-stick cooking spray on your mini doughnut pan.
- In a medium bowl, whip butter, vegetable oil, and both sugars with a hand-held mixer until smooth.
- Mix in egg and milk until completely combined.
- Stir in baking powder, baking soda, nutmeg, salt and vanilla.
- Stir in flour until smooth, do not over mix.
- In a piping bag, fitted with a medium round tip, fill each doughnut cavity about ½ full.
- Bake 5-7 minutes until the doughnuts spring back when you touch it. Do not wait until the doughnut is golden brown, you will over bake it.
- Let cool in pan about 5 minutes and then transfer to a wire rack to completely cool.
- Repeat steps 6-8 until all of the batter is used.
Doughnut recipe adapted from King Arthur Flour.


 The Entire Spread
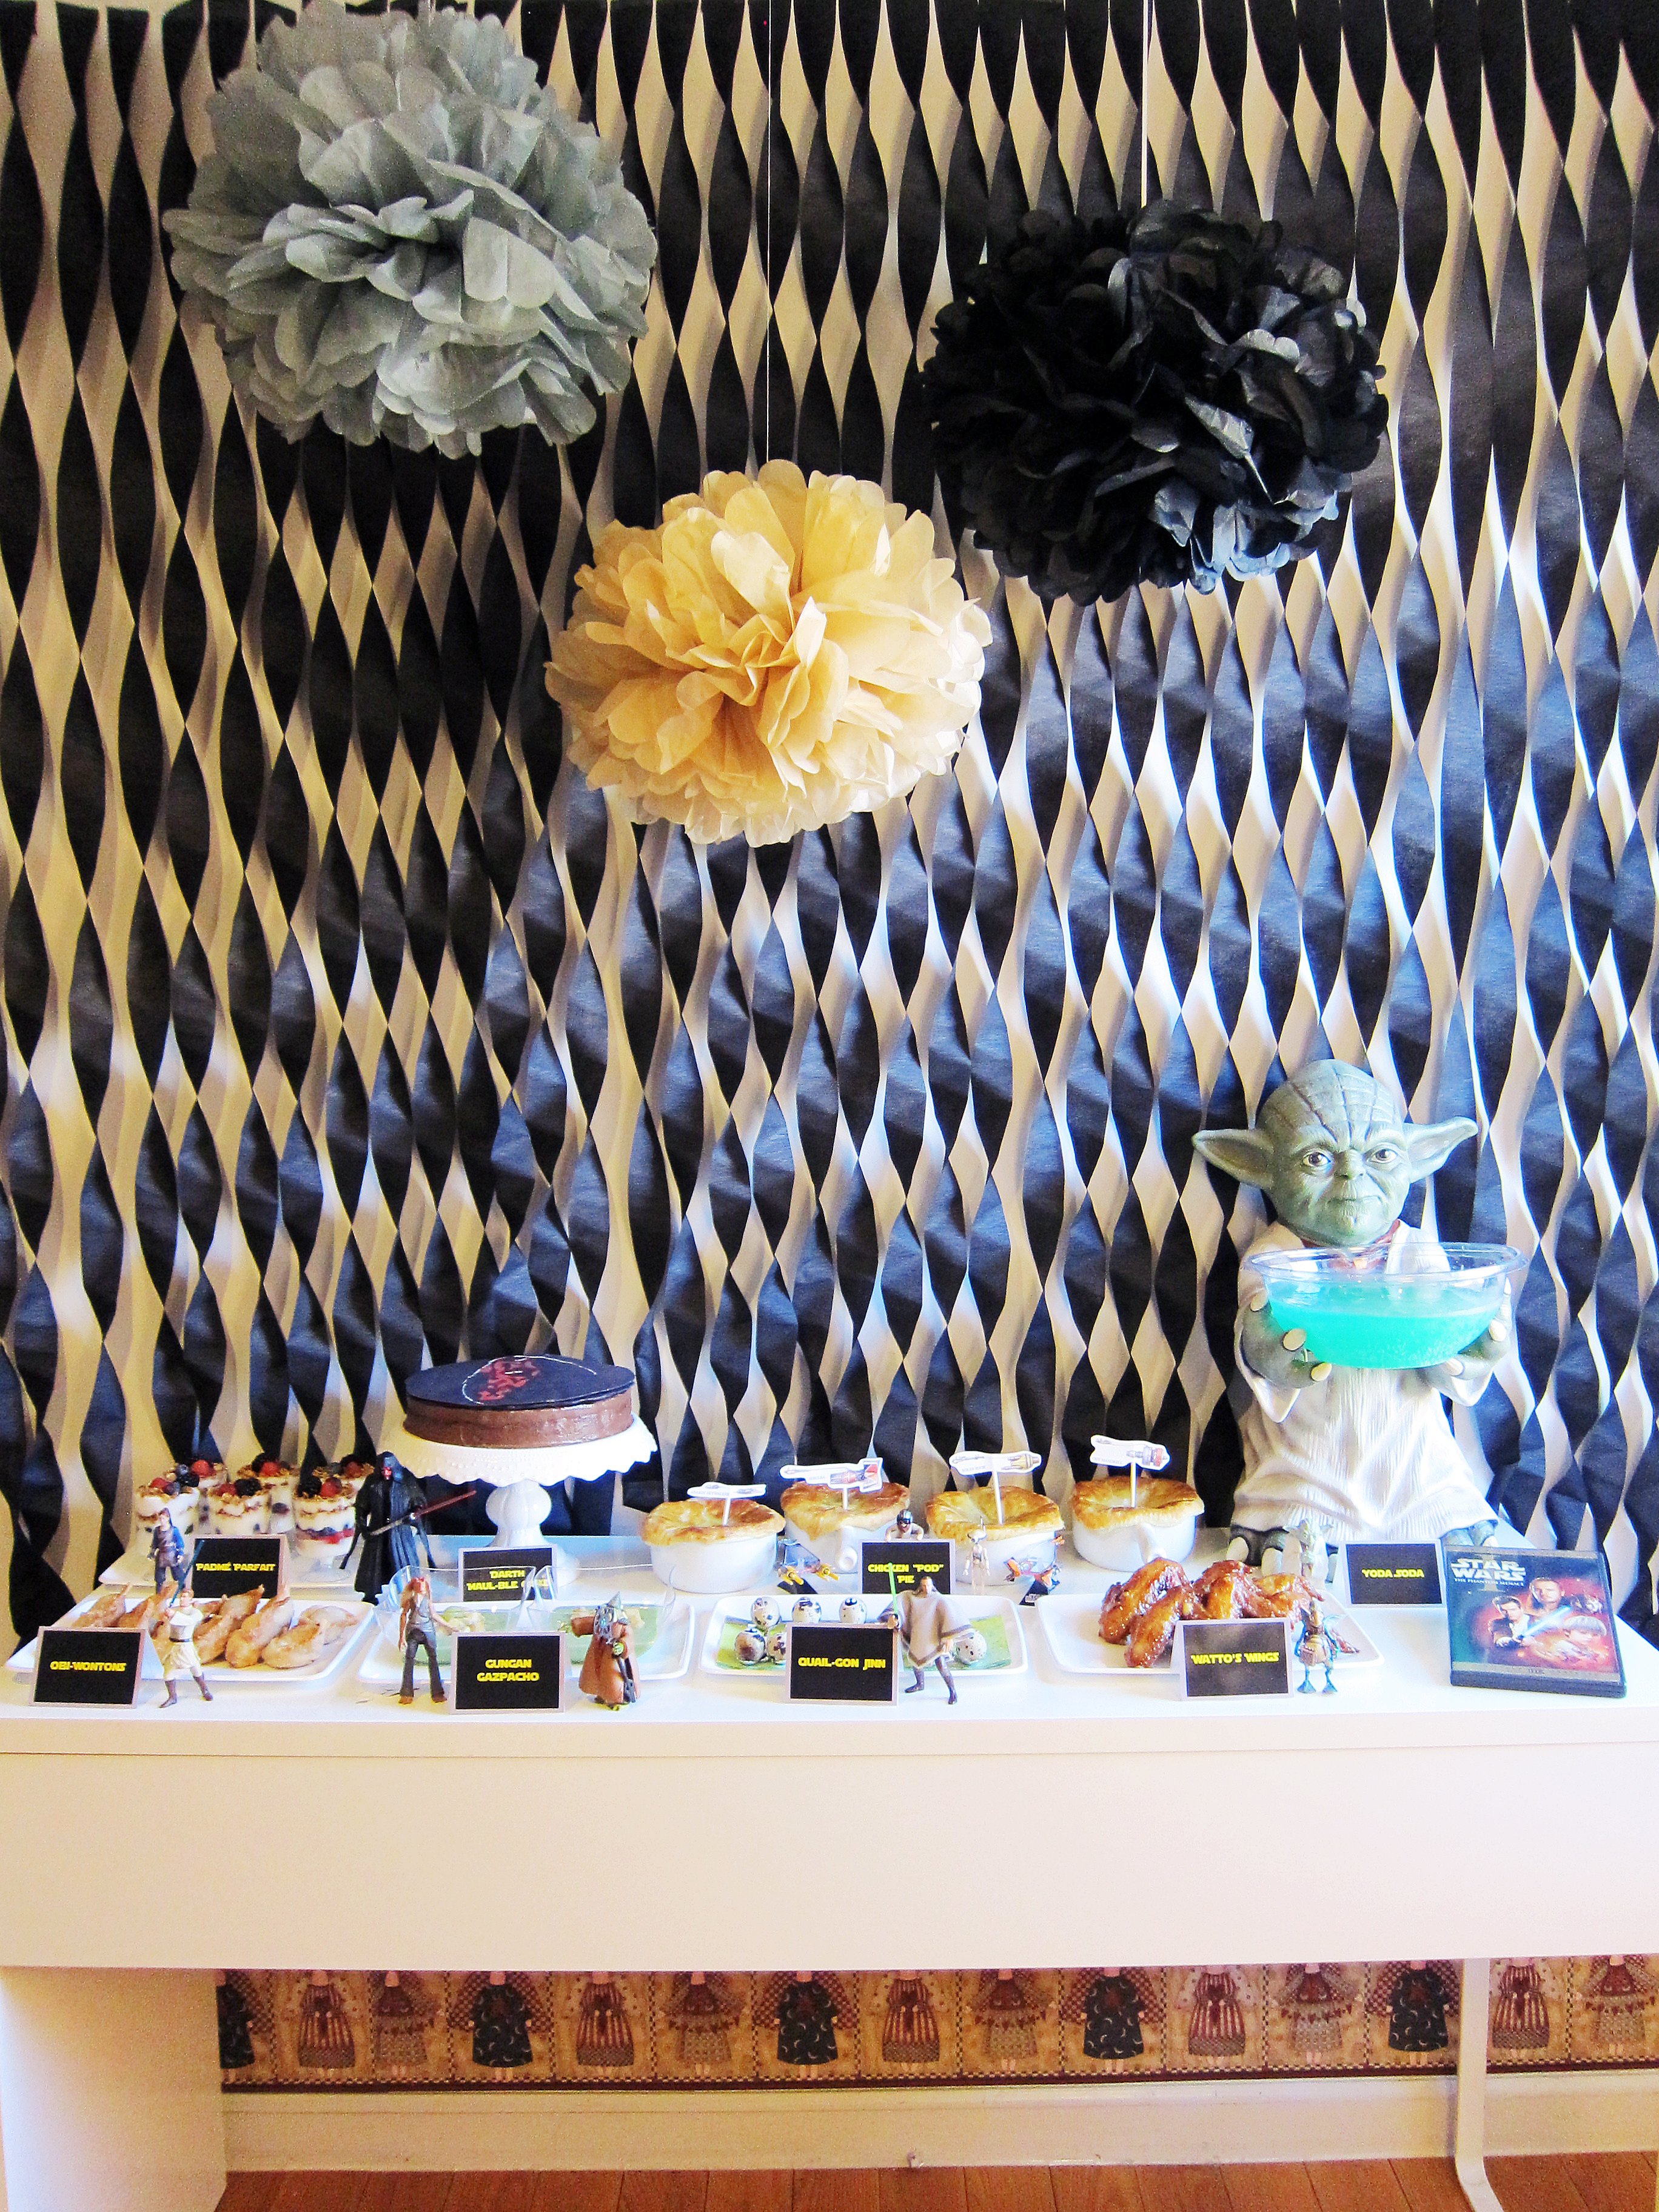

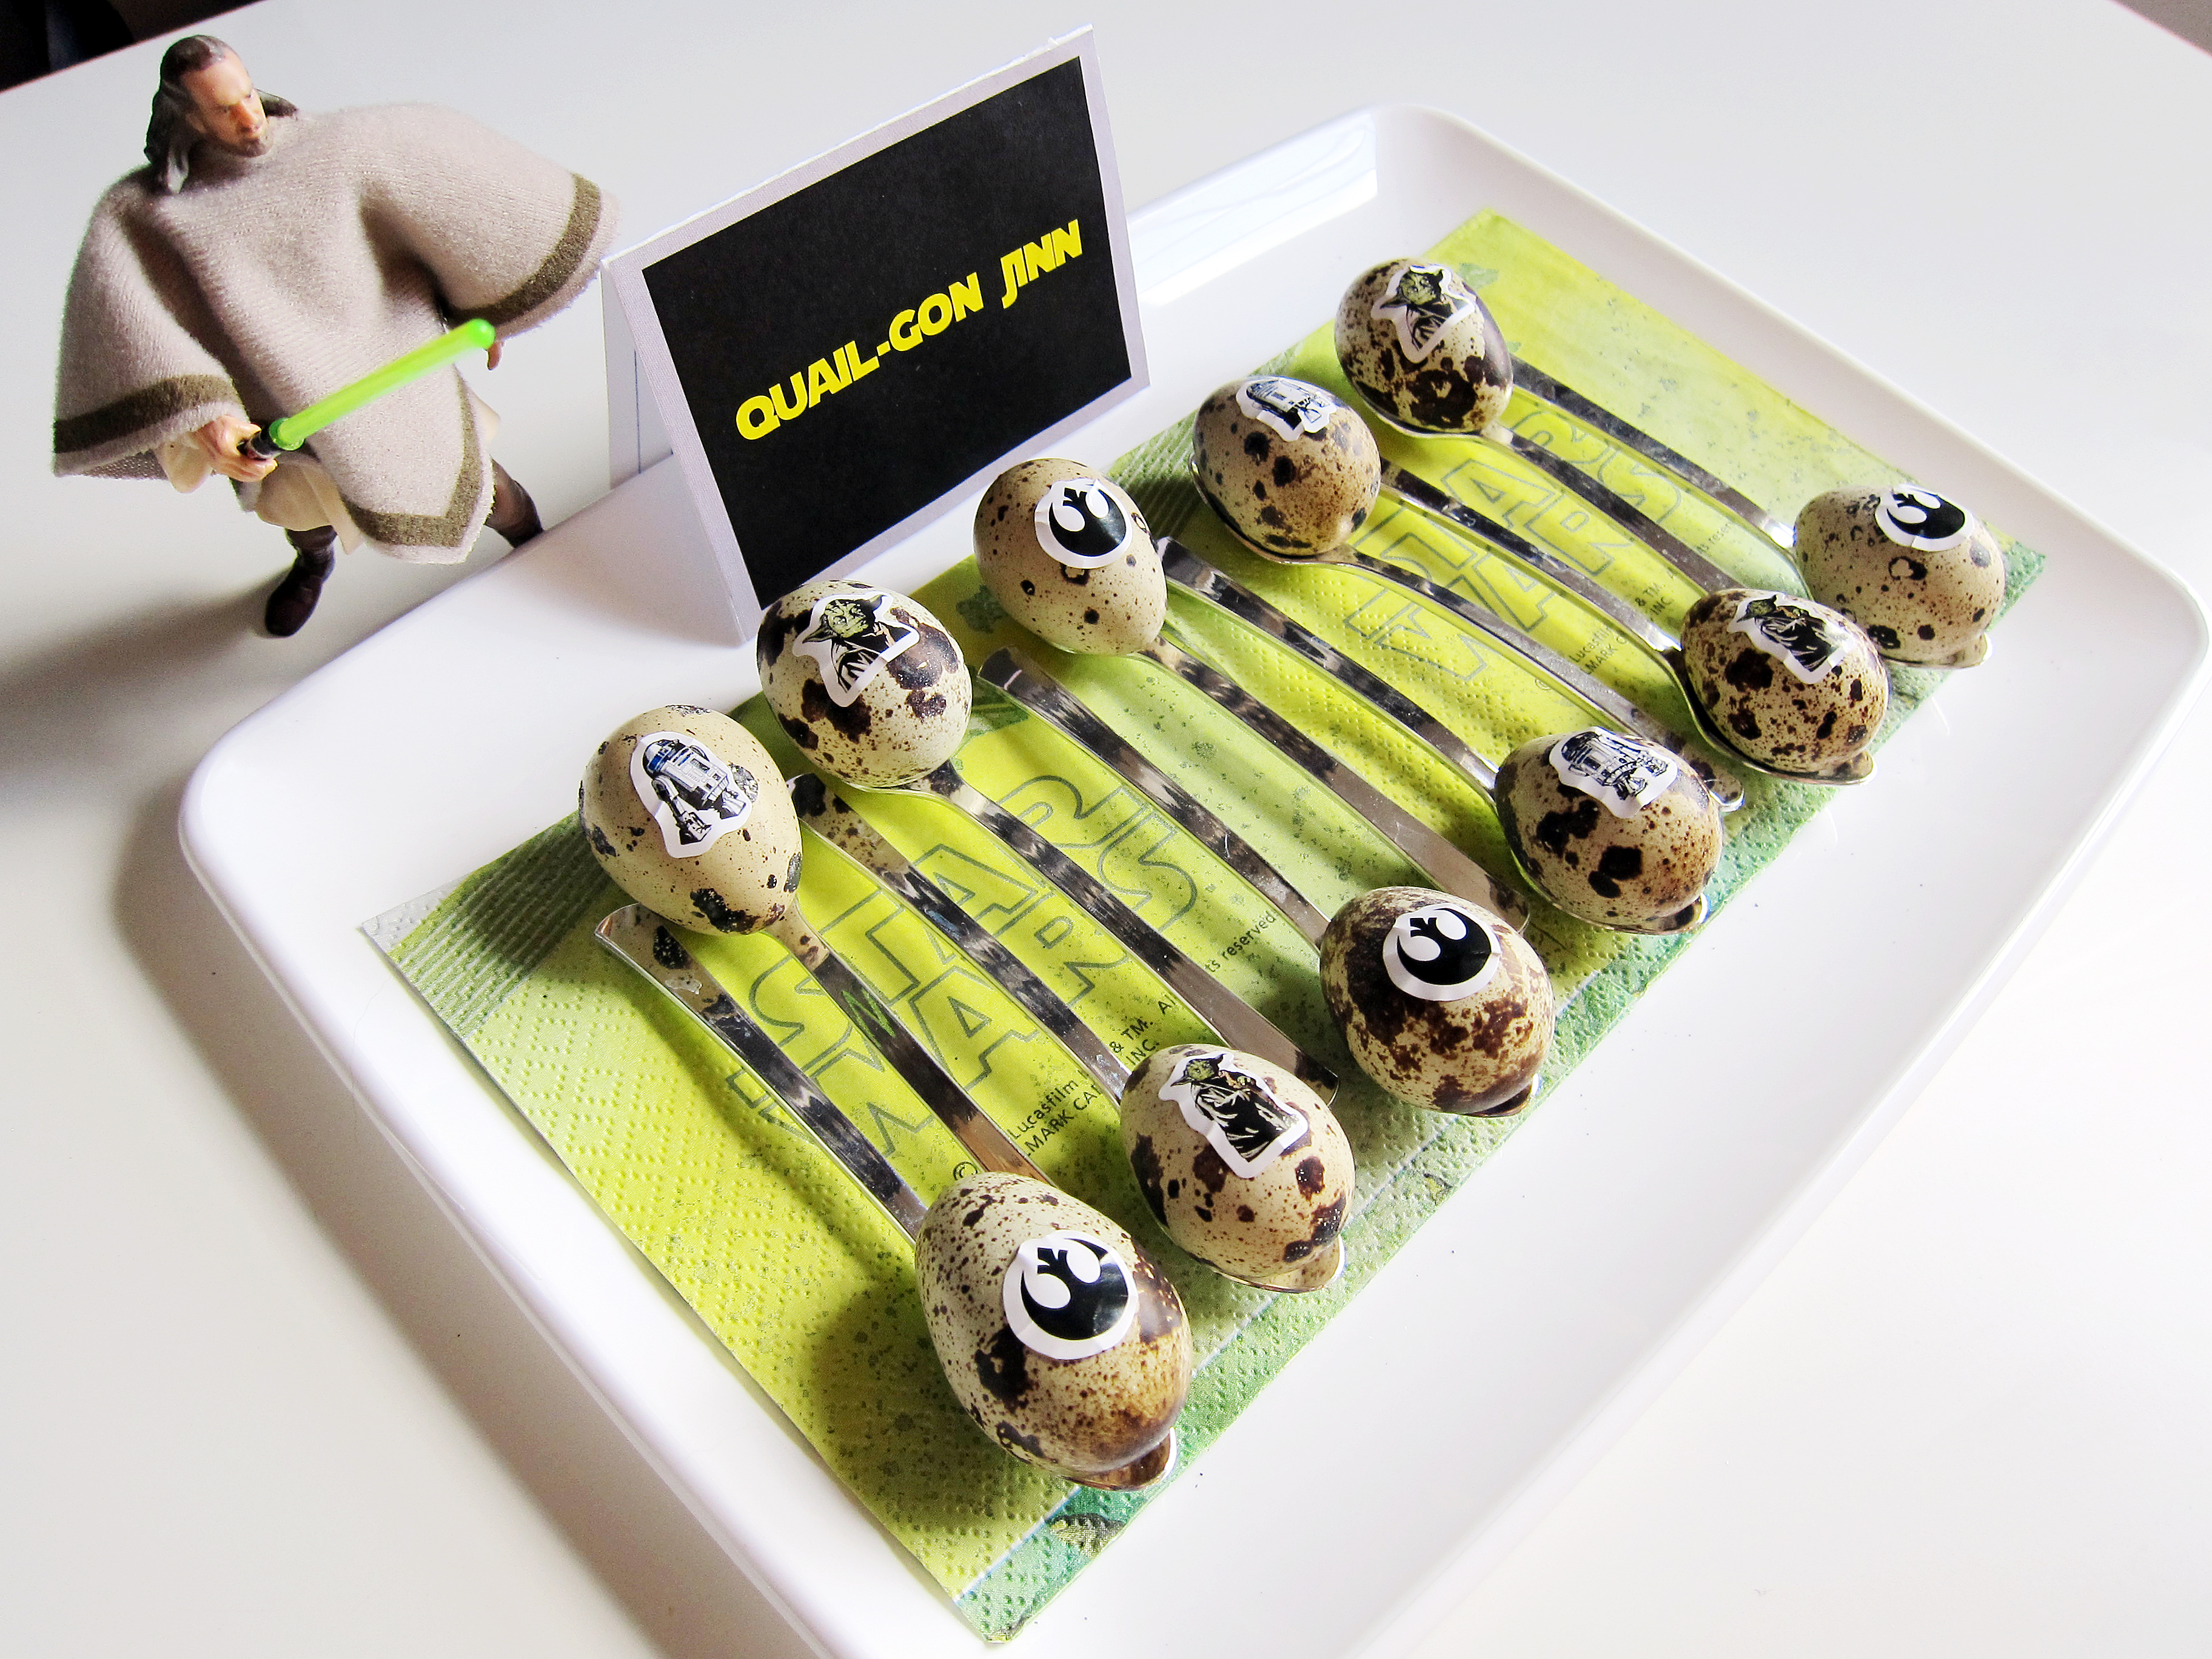
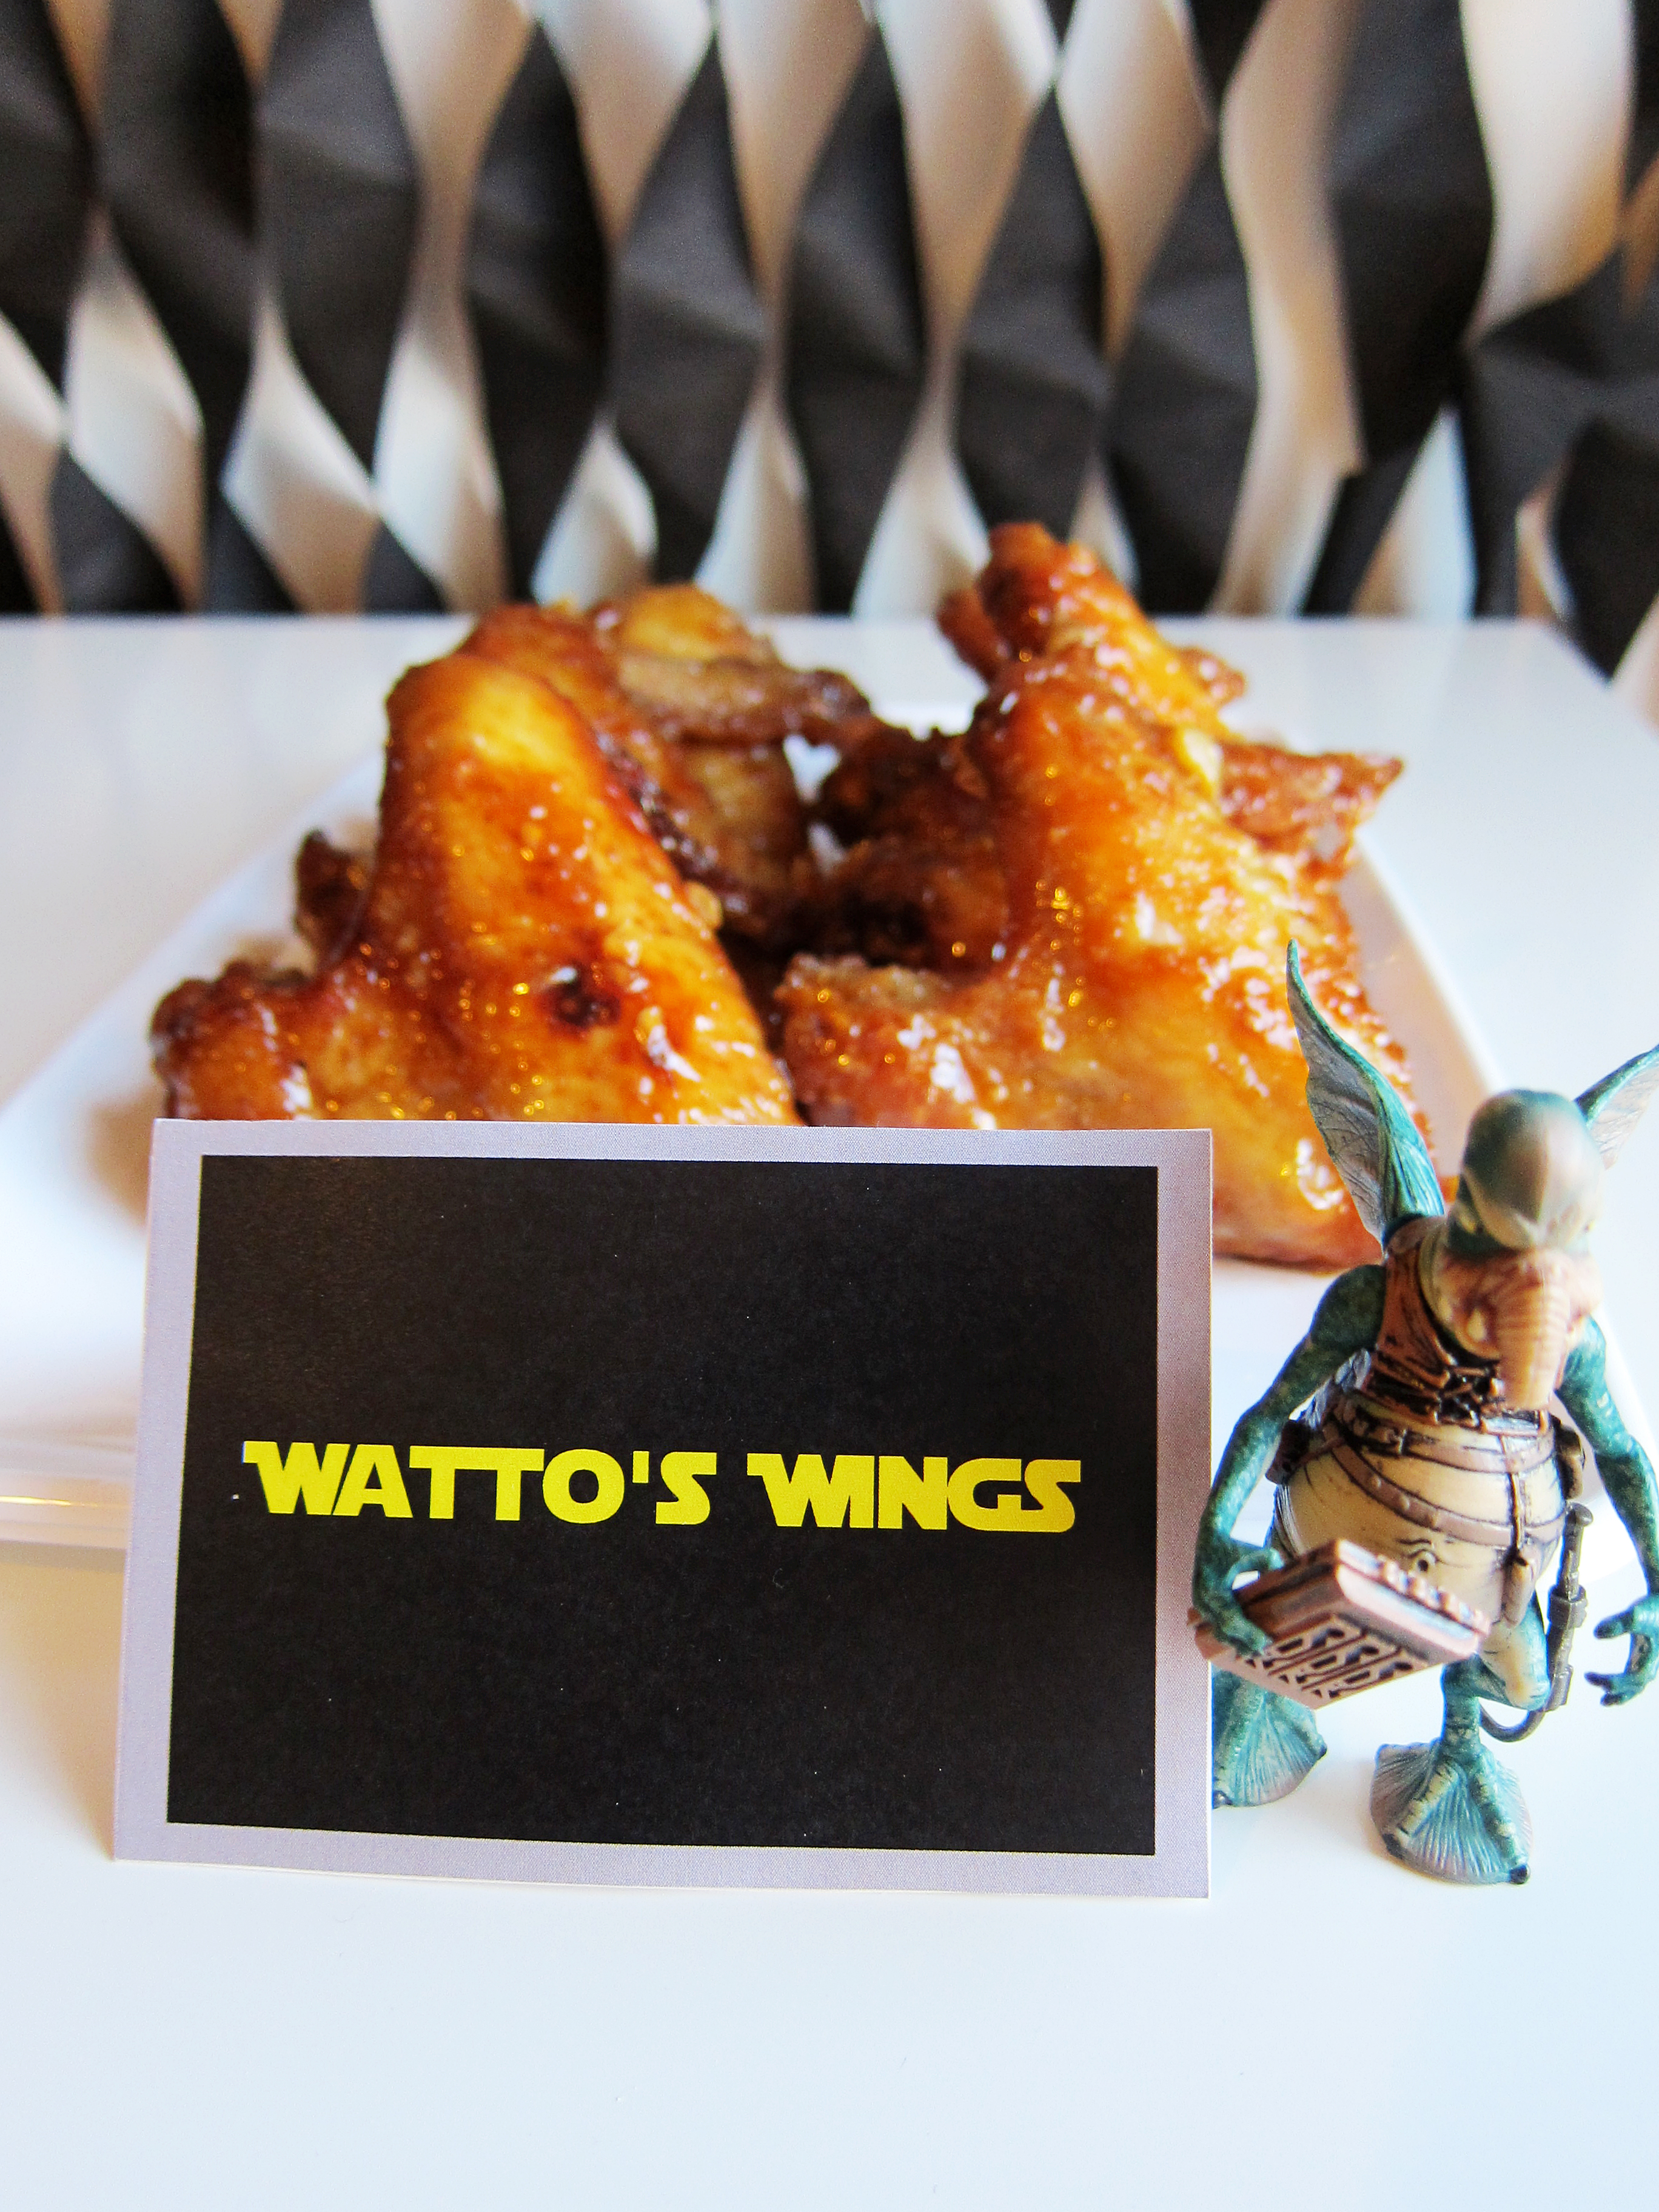
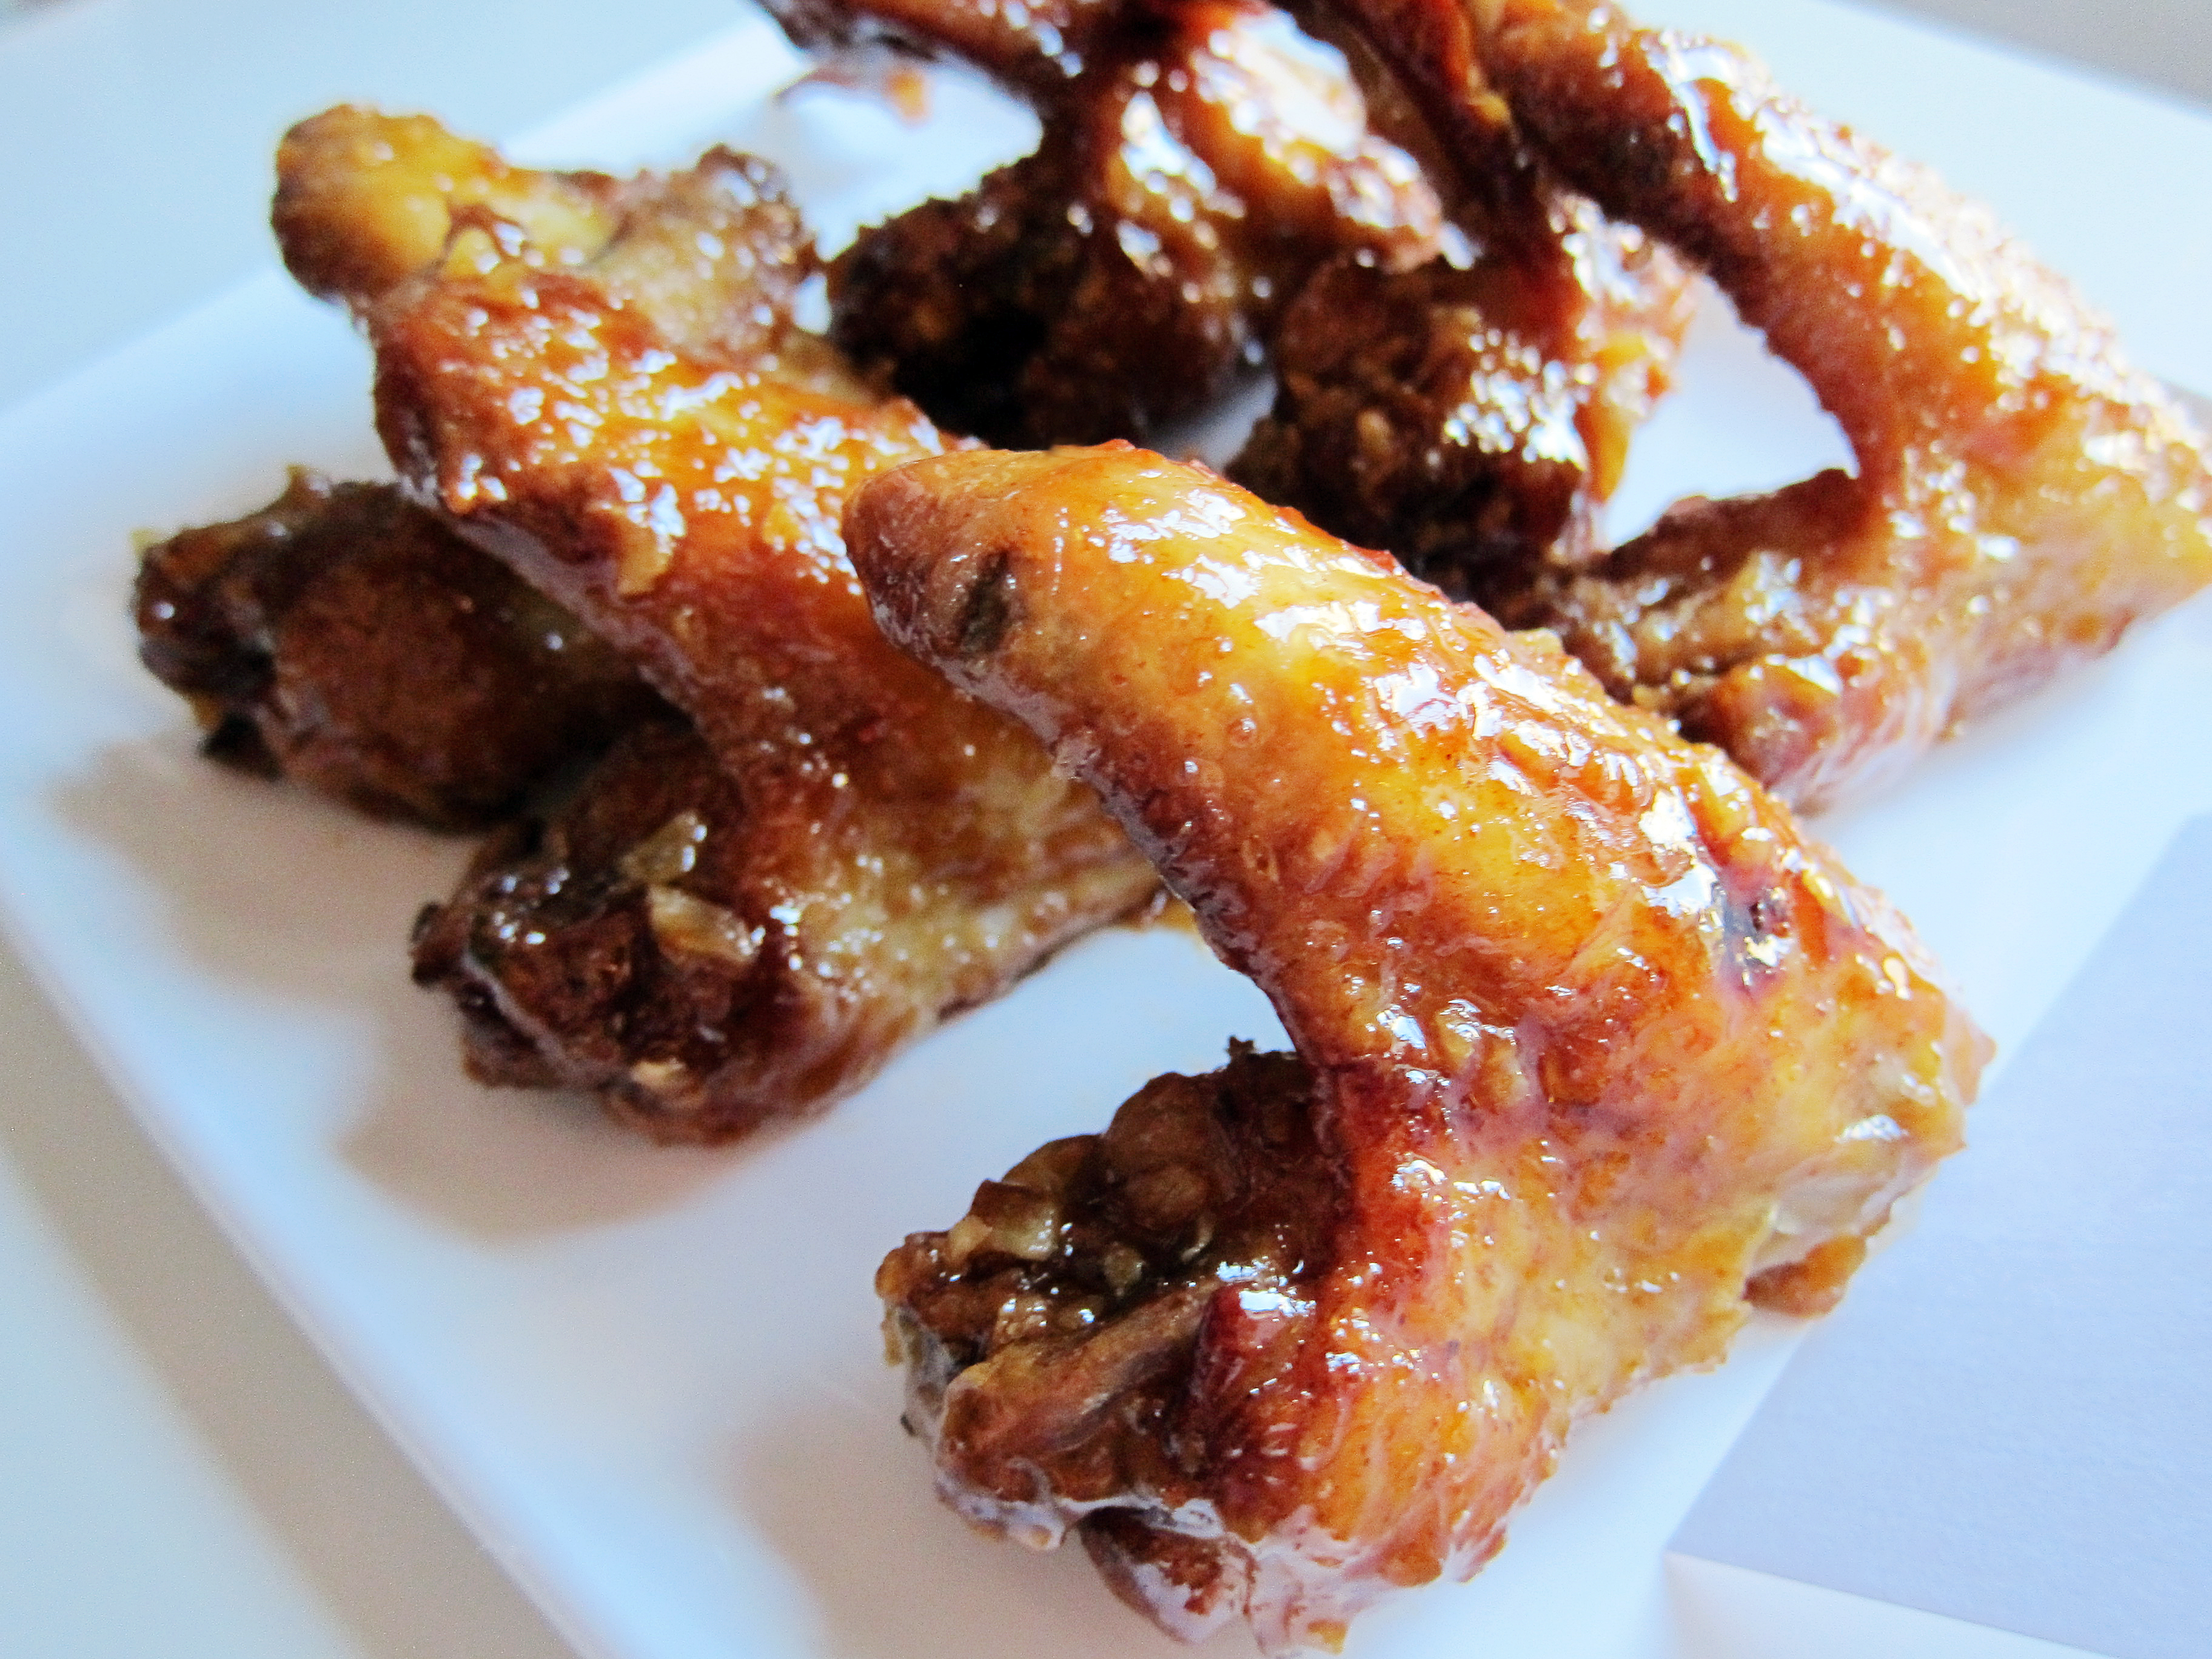
 This year‘s party theme was Episode 1: The Phantom Menace, so all of the food and activities were centered on Episode 1 characters and settings. Here are the things we made for SW Day*:


 Darth Maul-ble Cake
