
 This is the third year I’ve hosted a Star Wars Day party. It involves good food with punny names, watching SW movies and SW themed board games. The first SW party I threw was just a small surprise for a special someone but through the years it’s evolved into a bigger celebration. I can’t say that I’m a huge fan of Star Wars, but I can say that I love throwing themed parties. So in a way, I do love Star Wars Day.

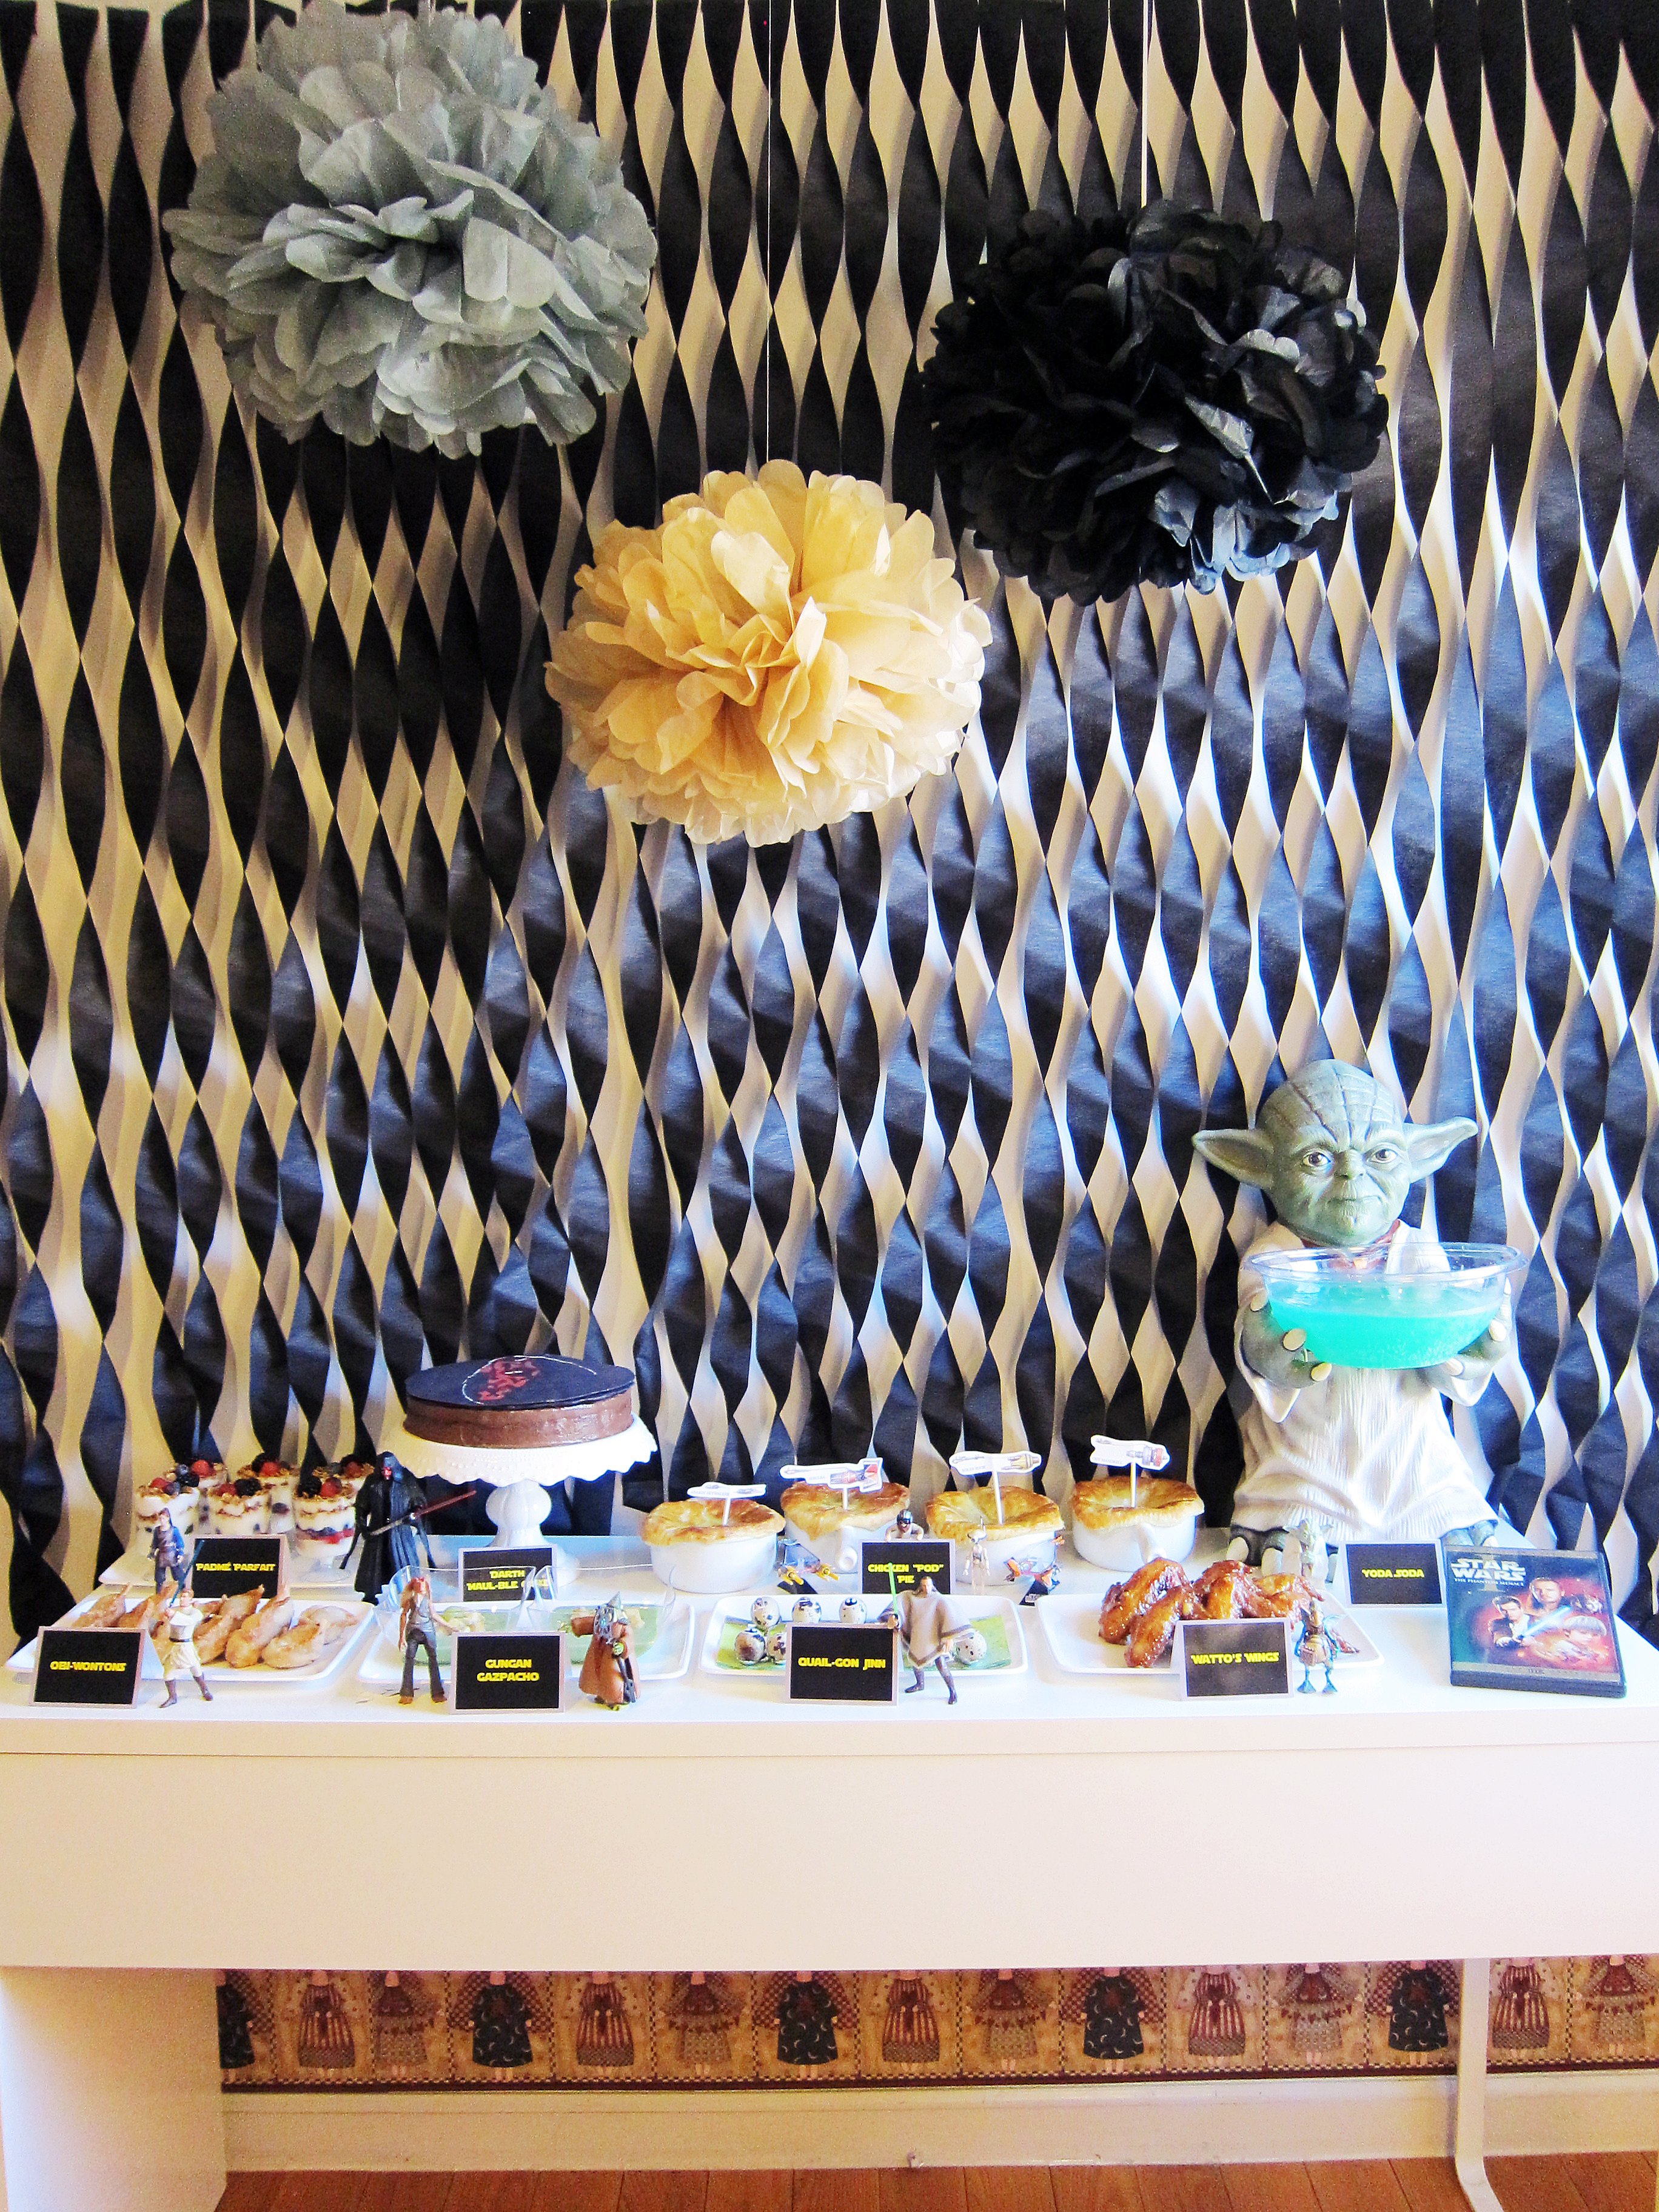
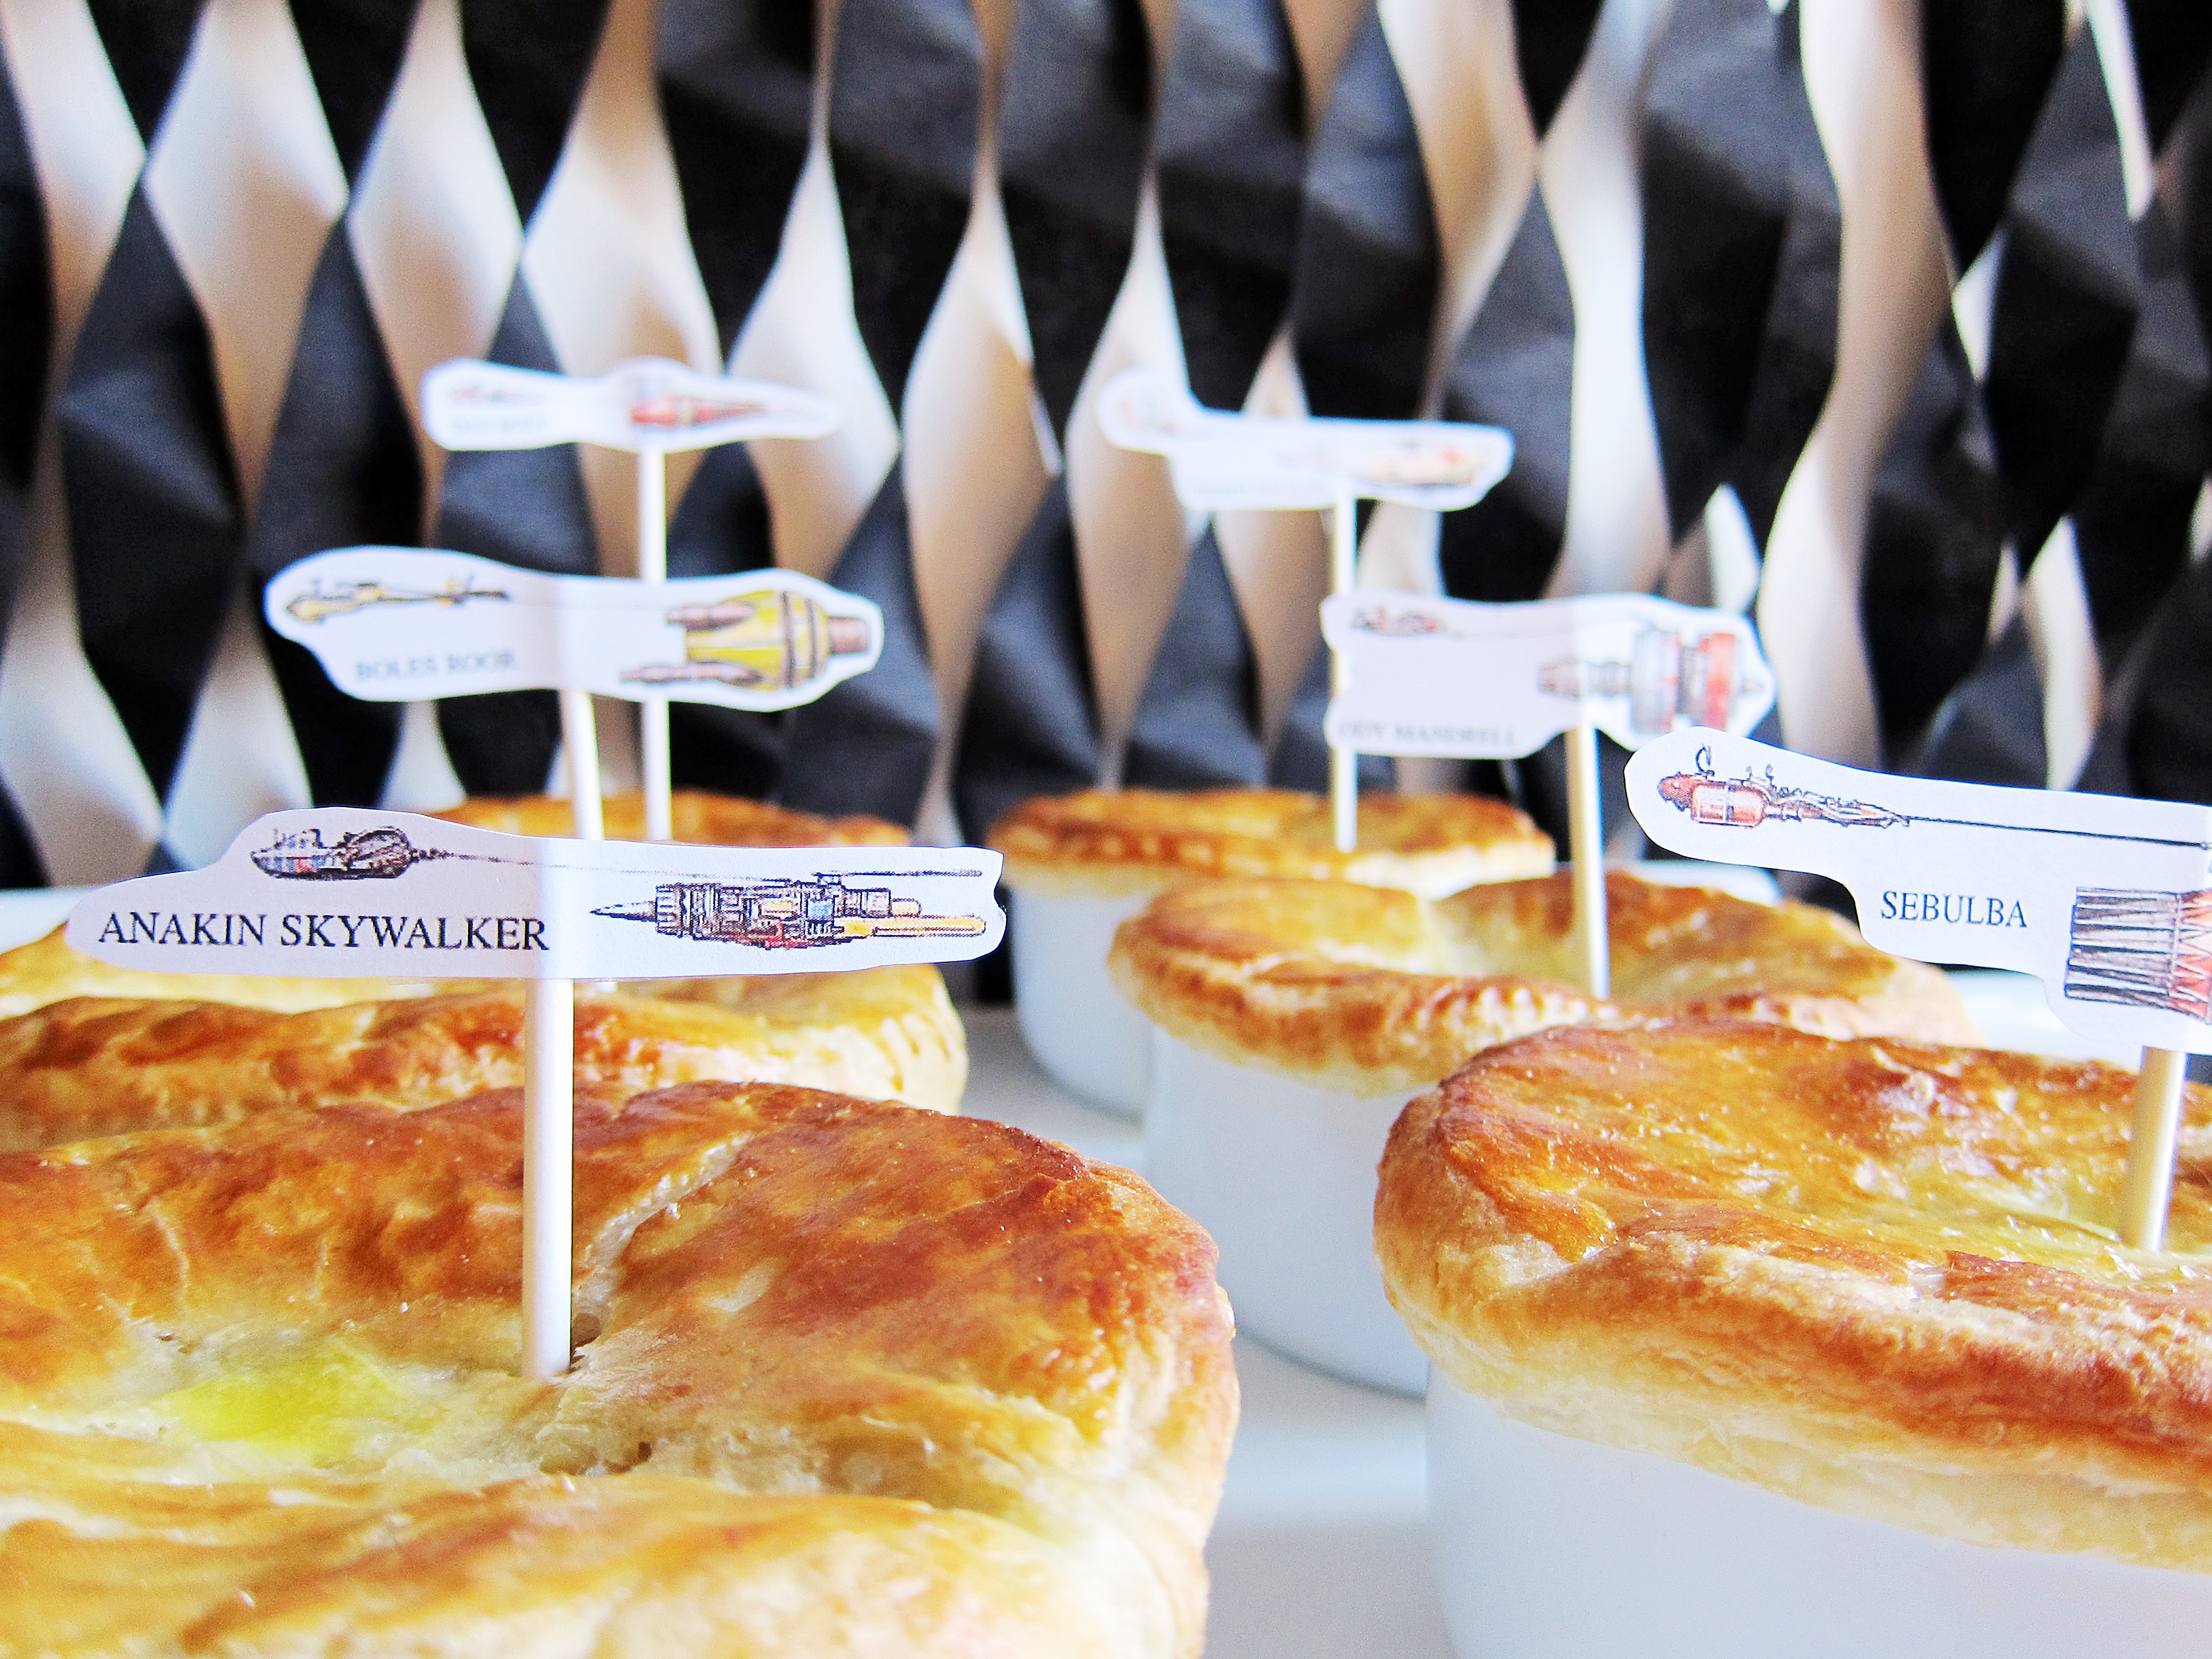
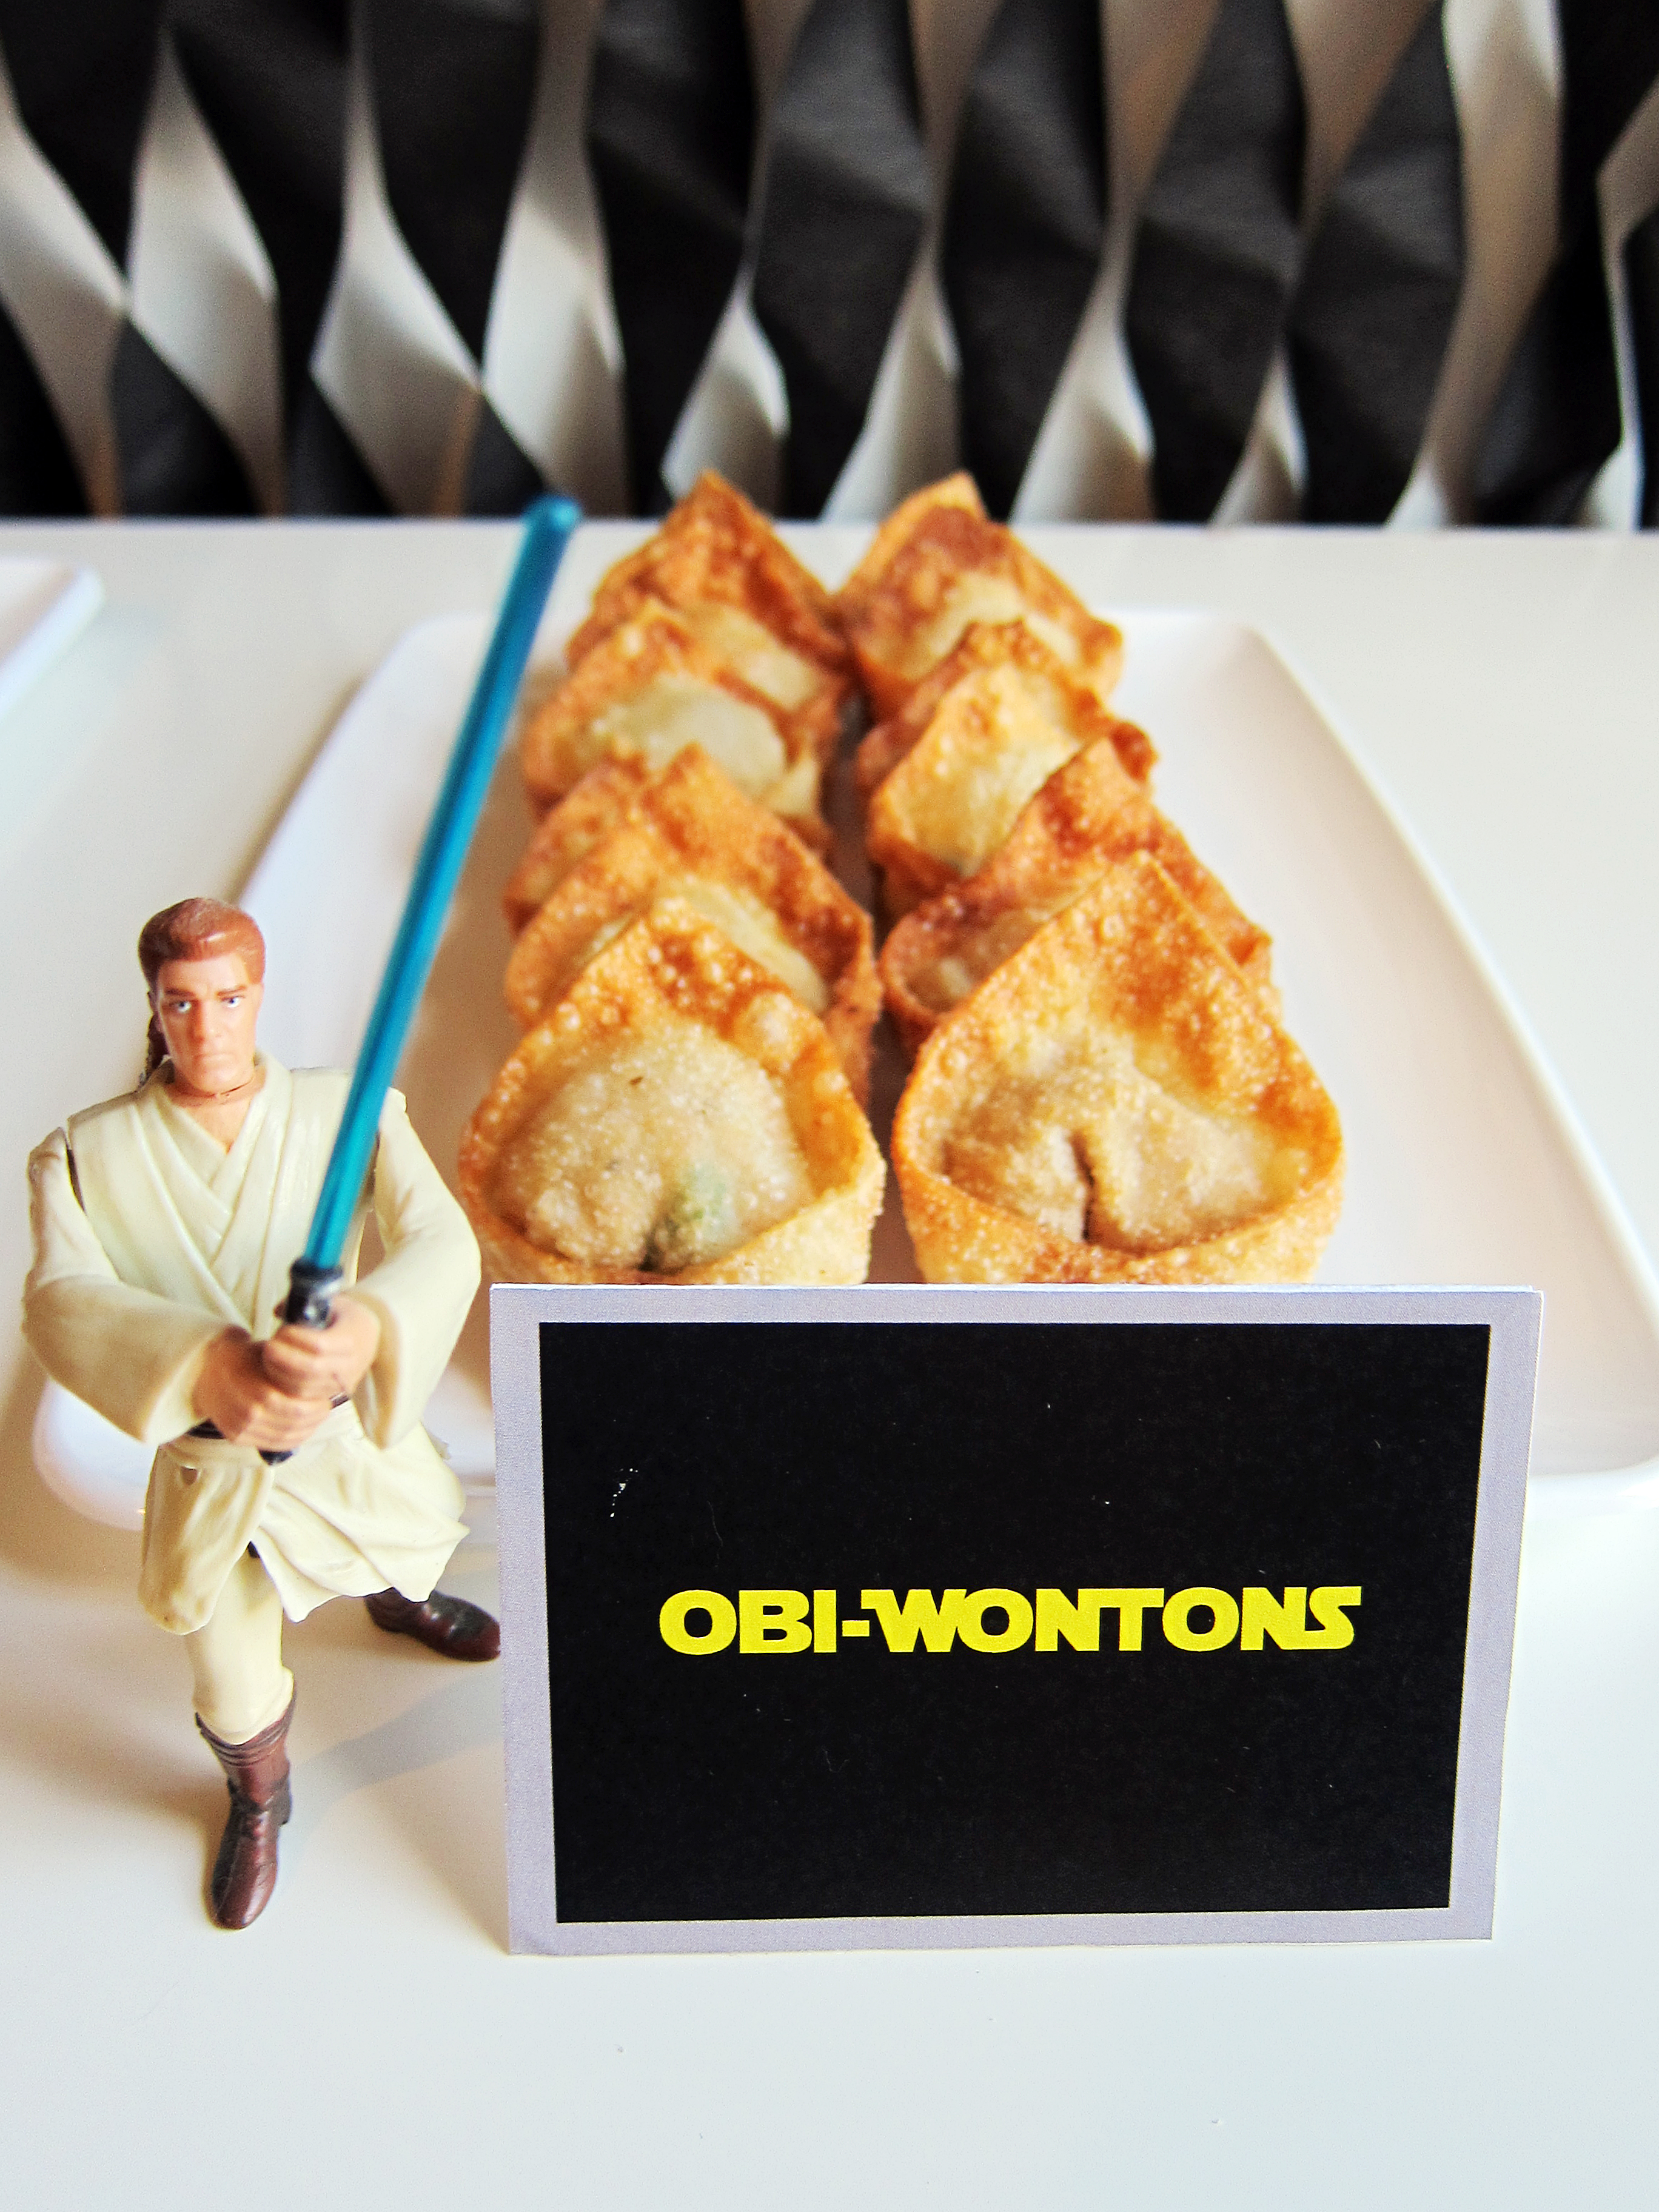
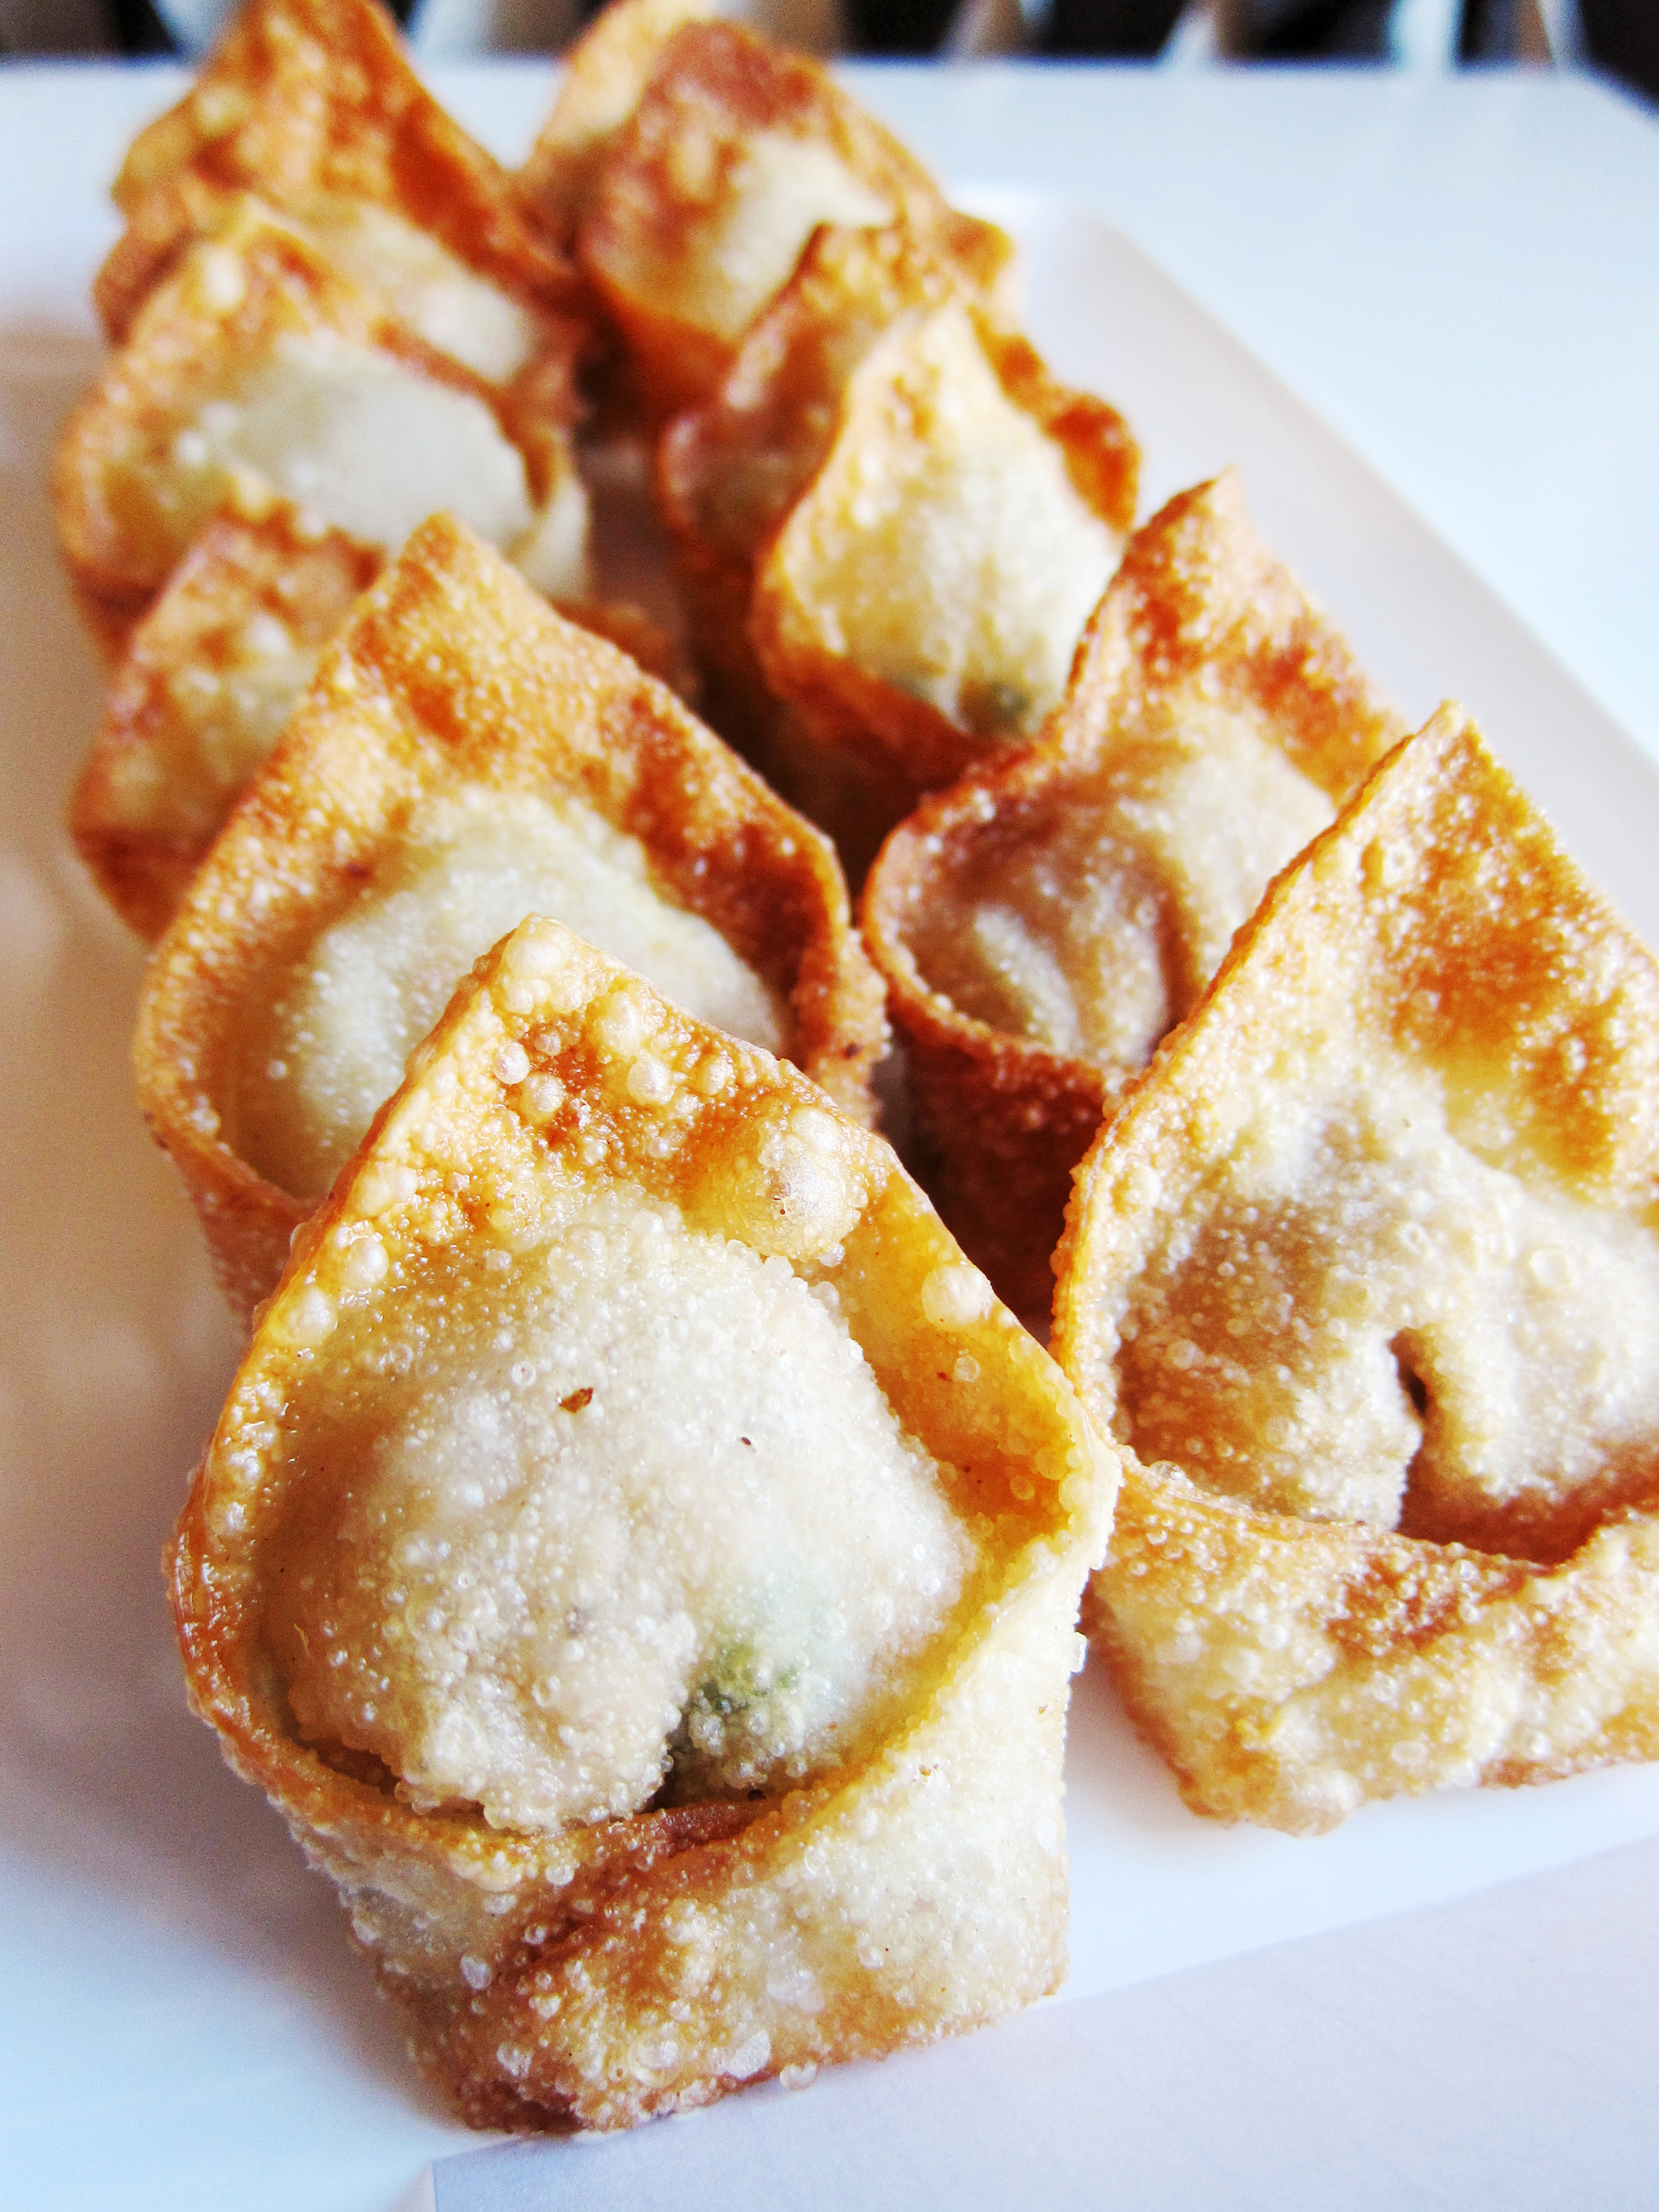
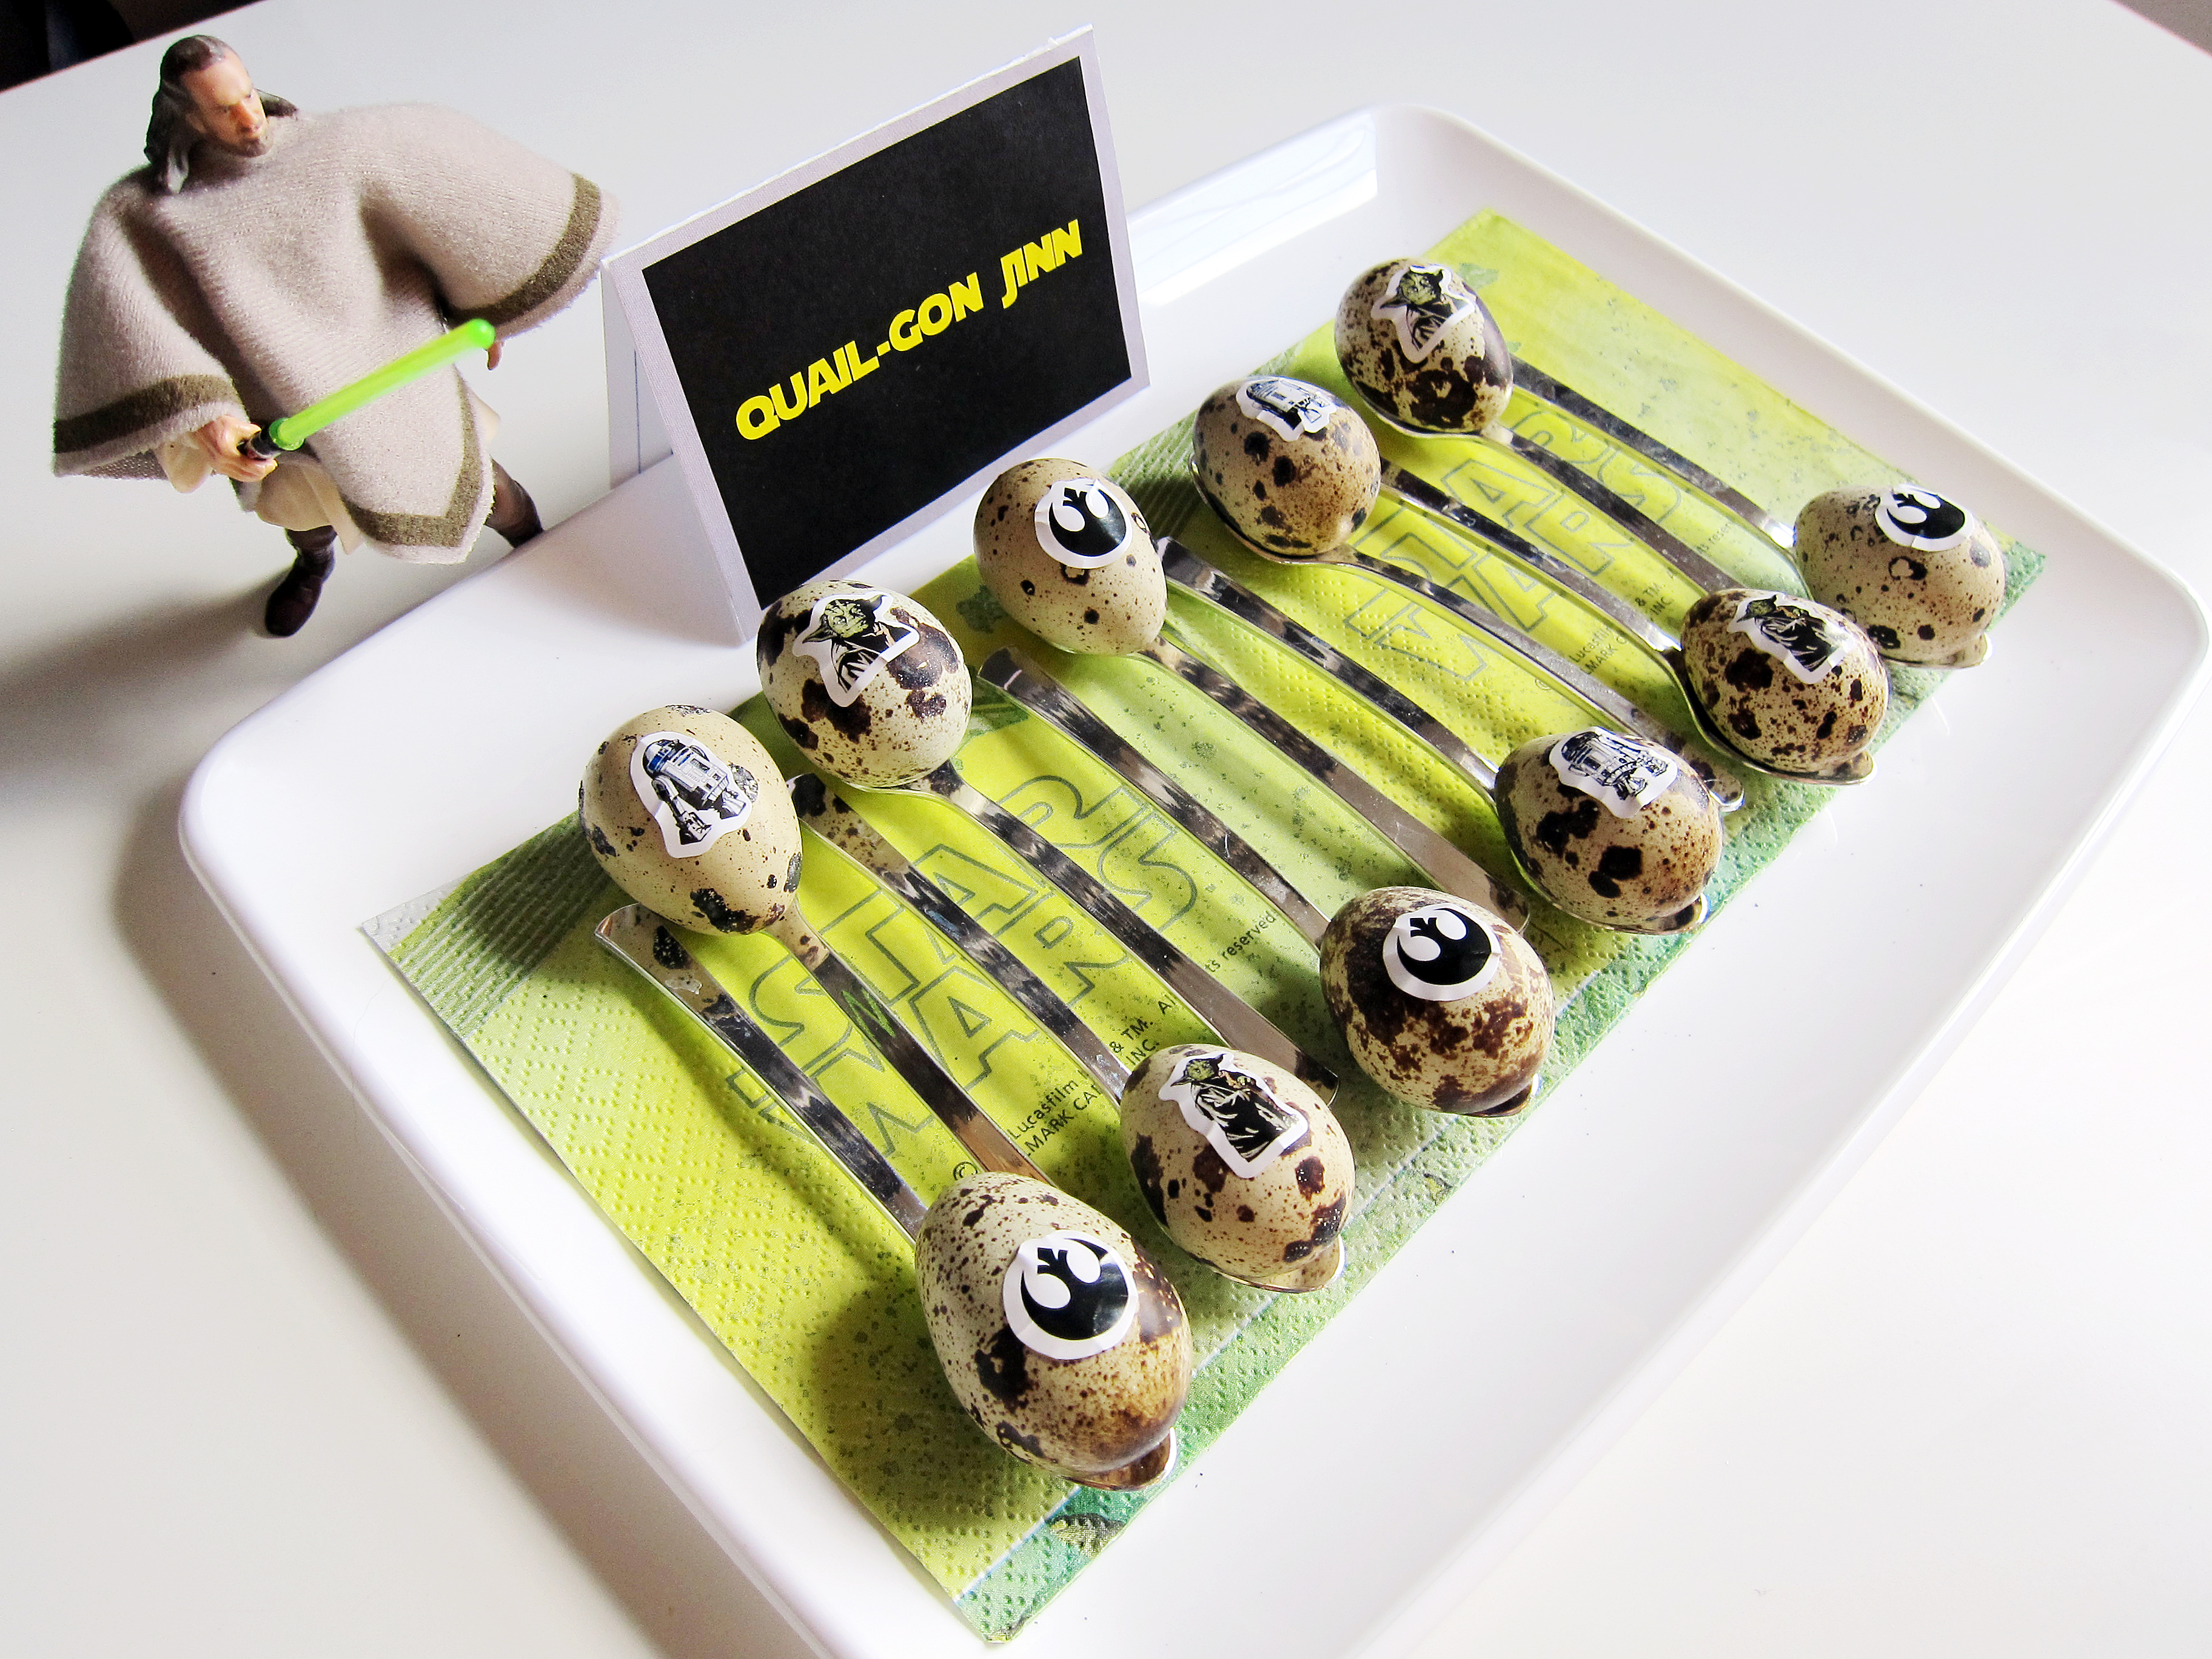
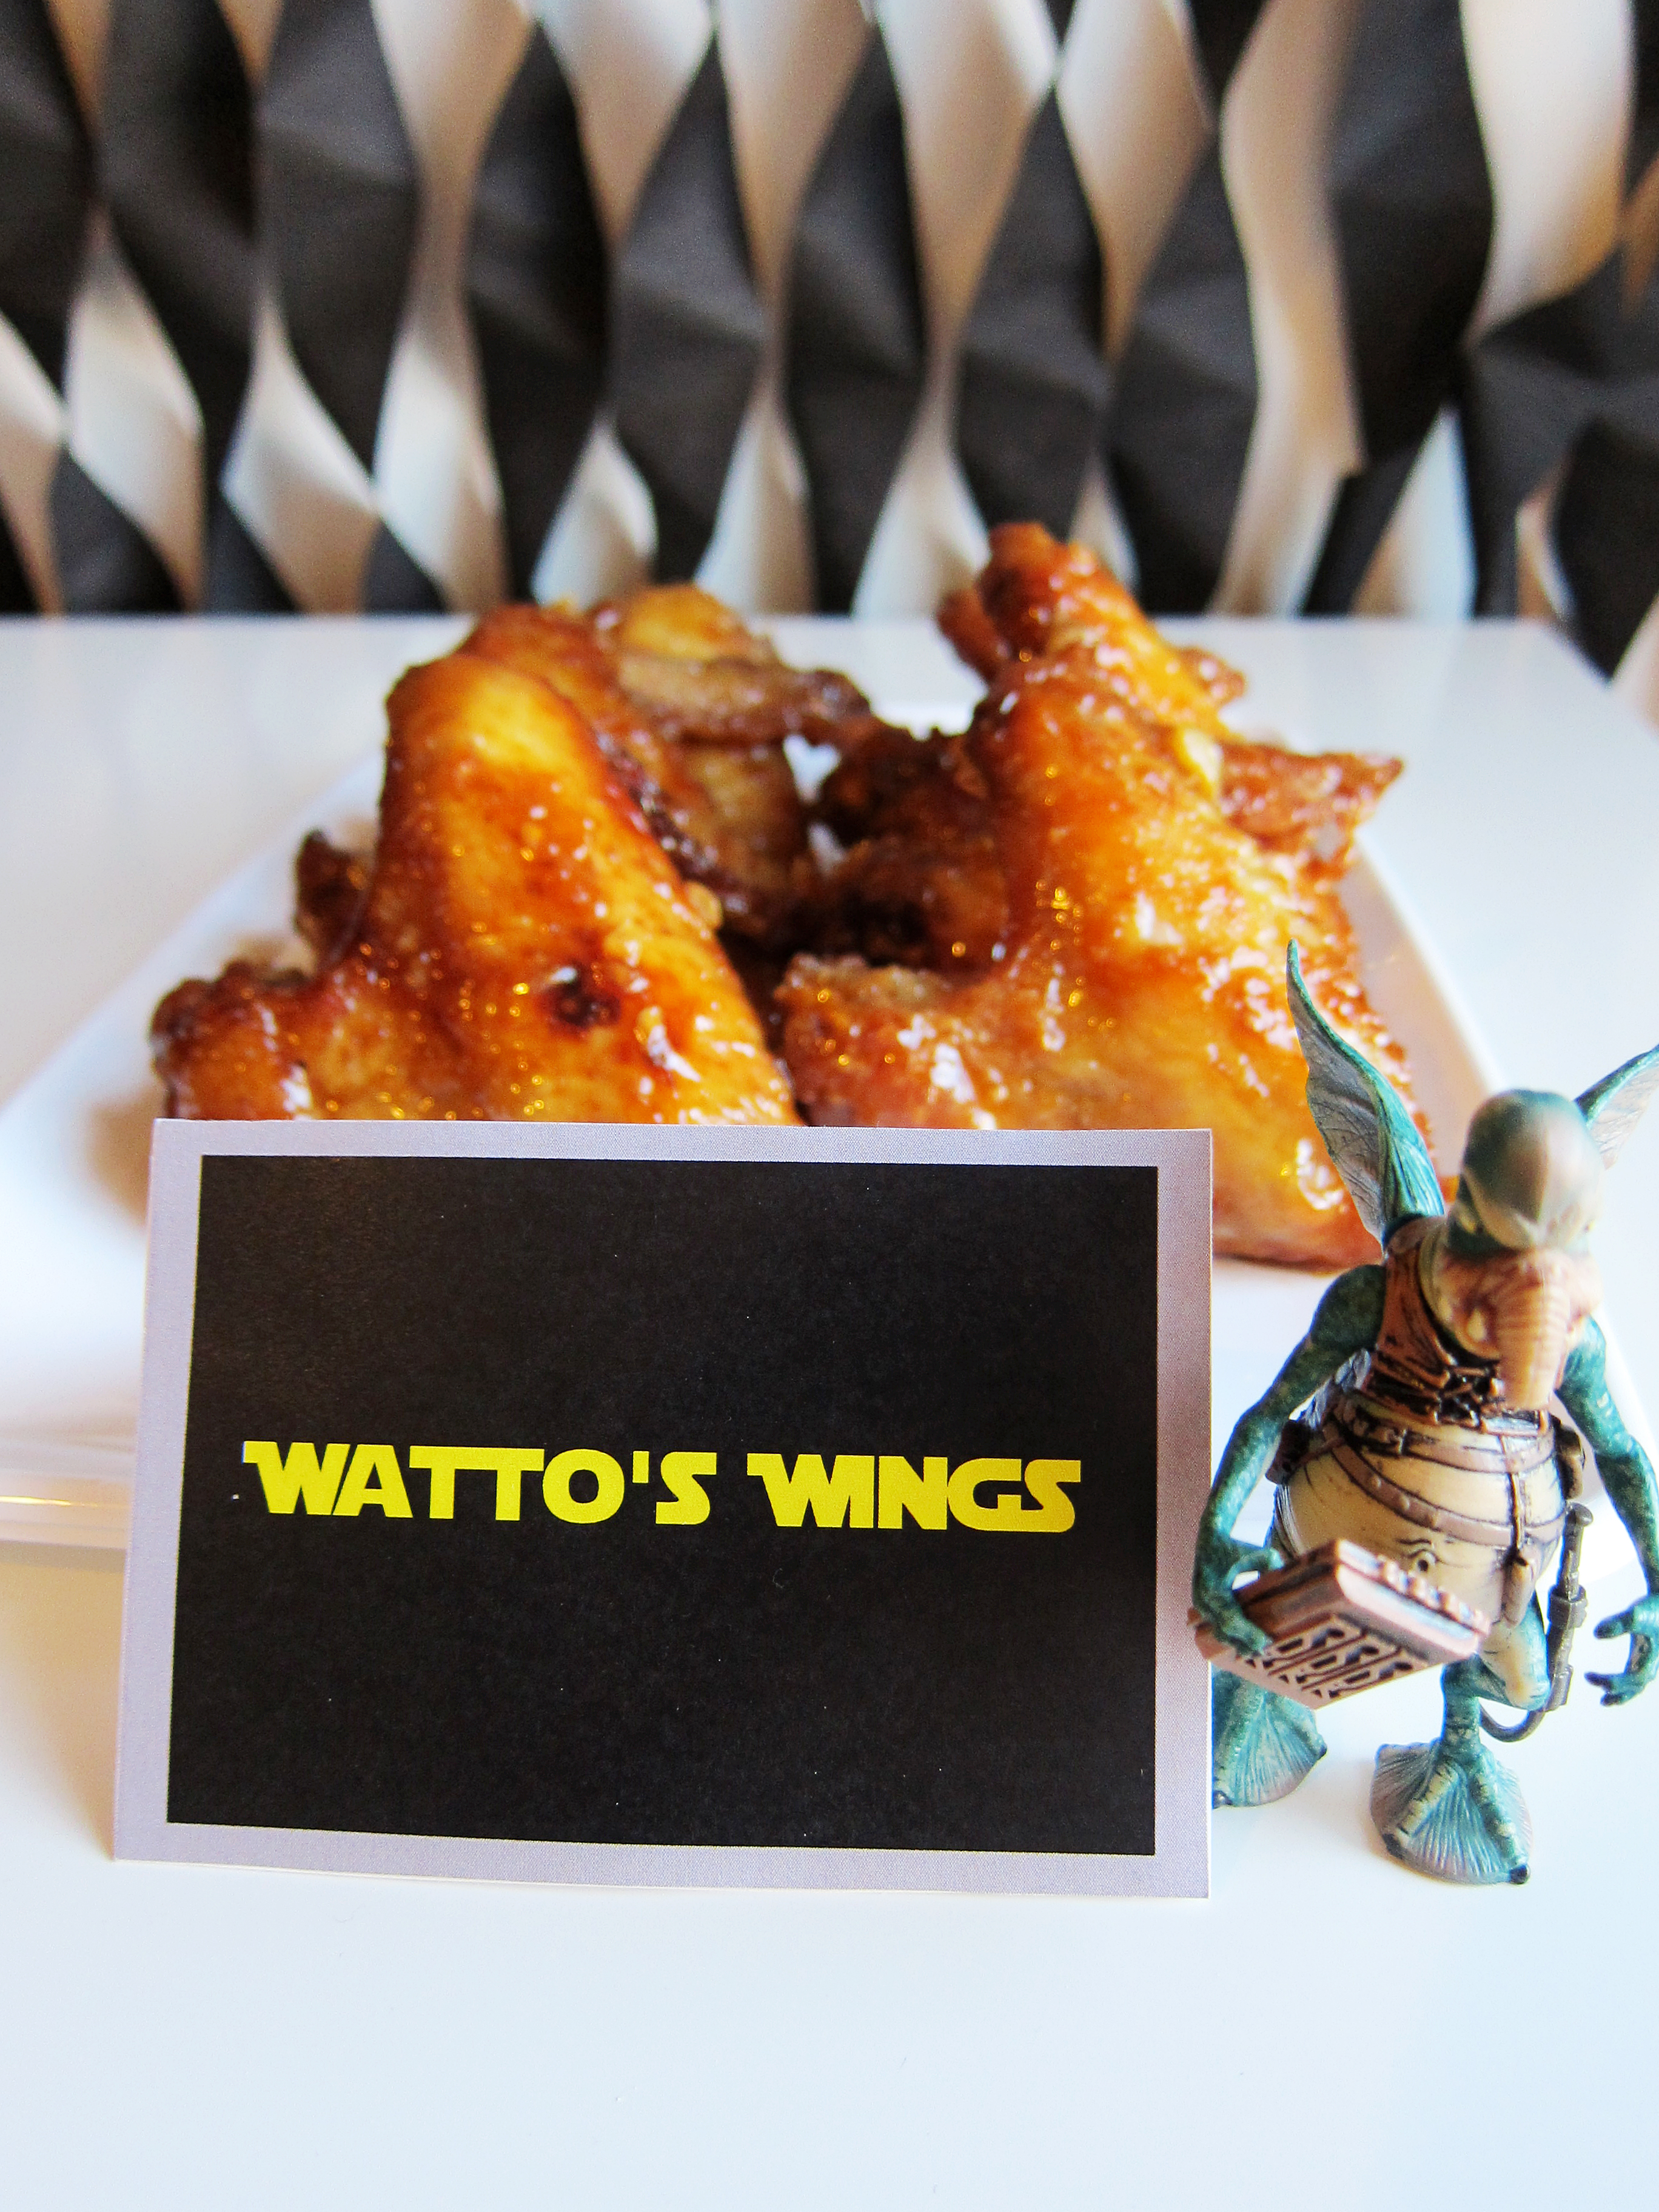
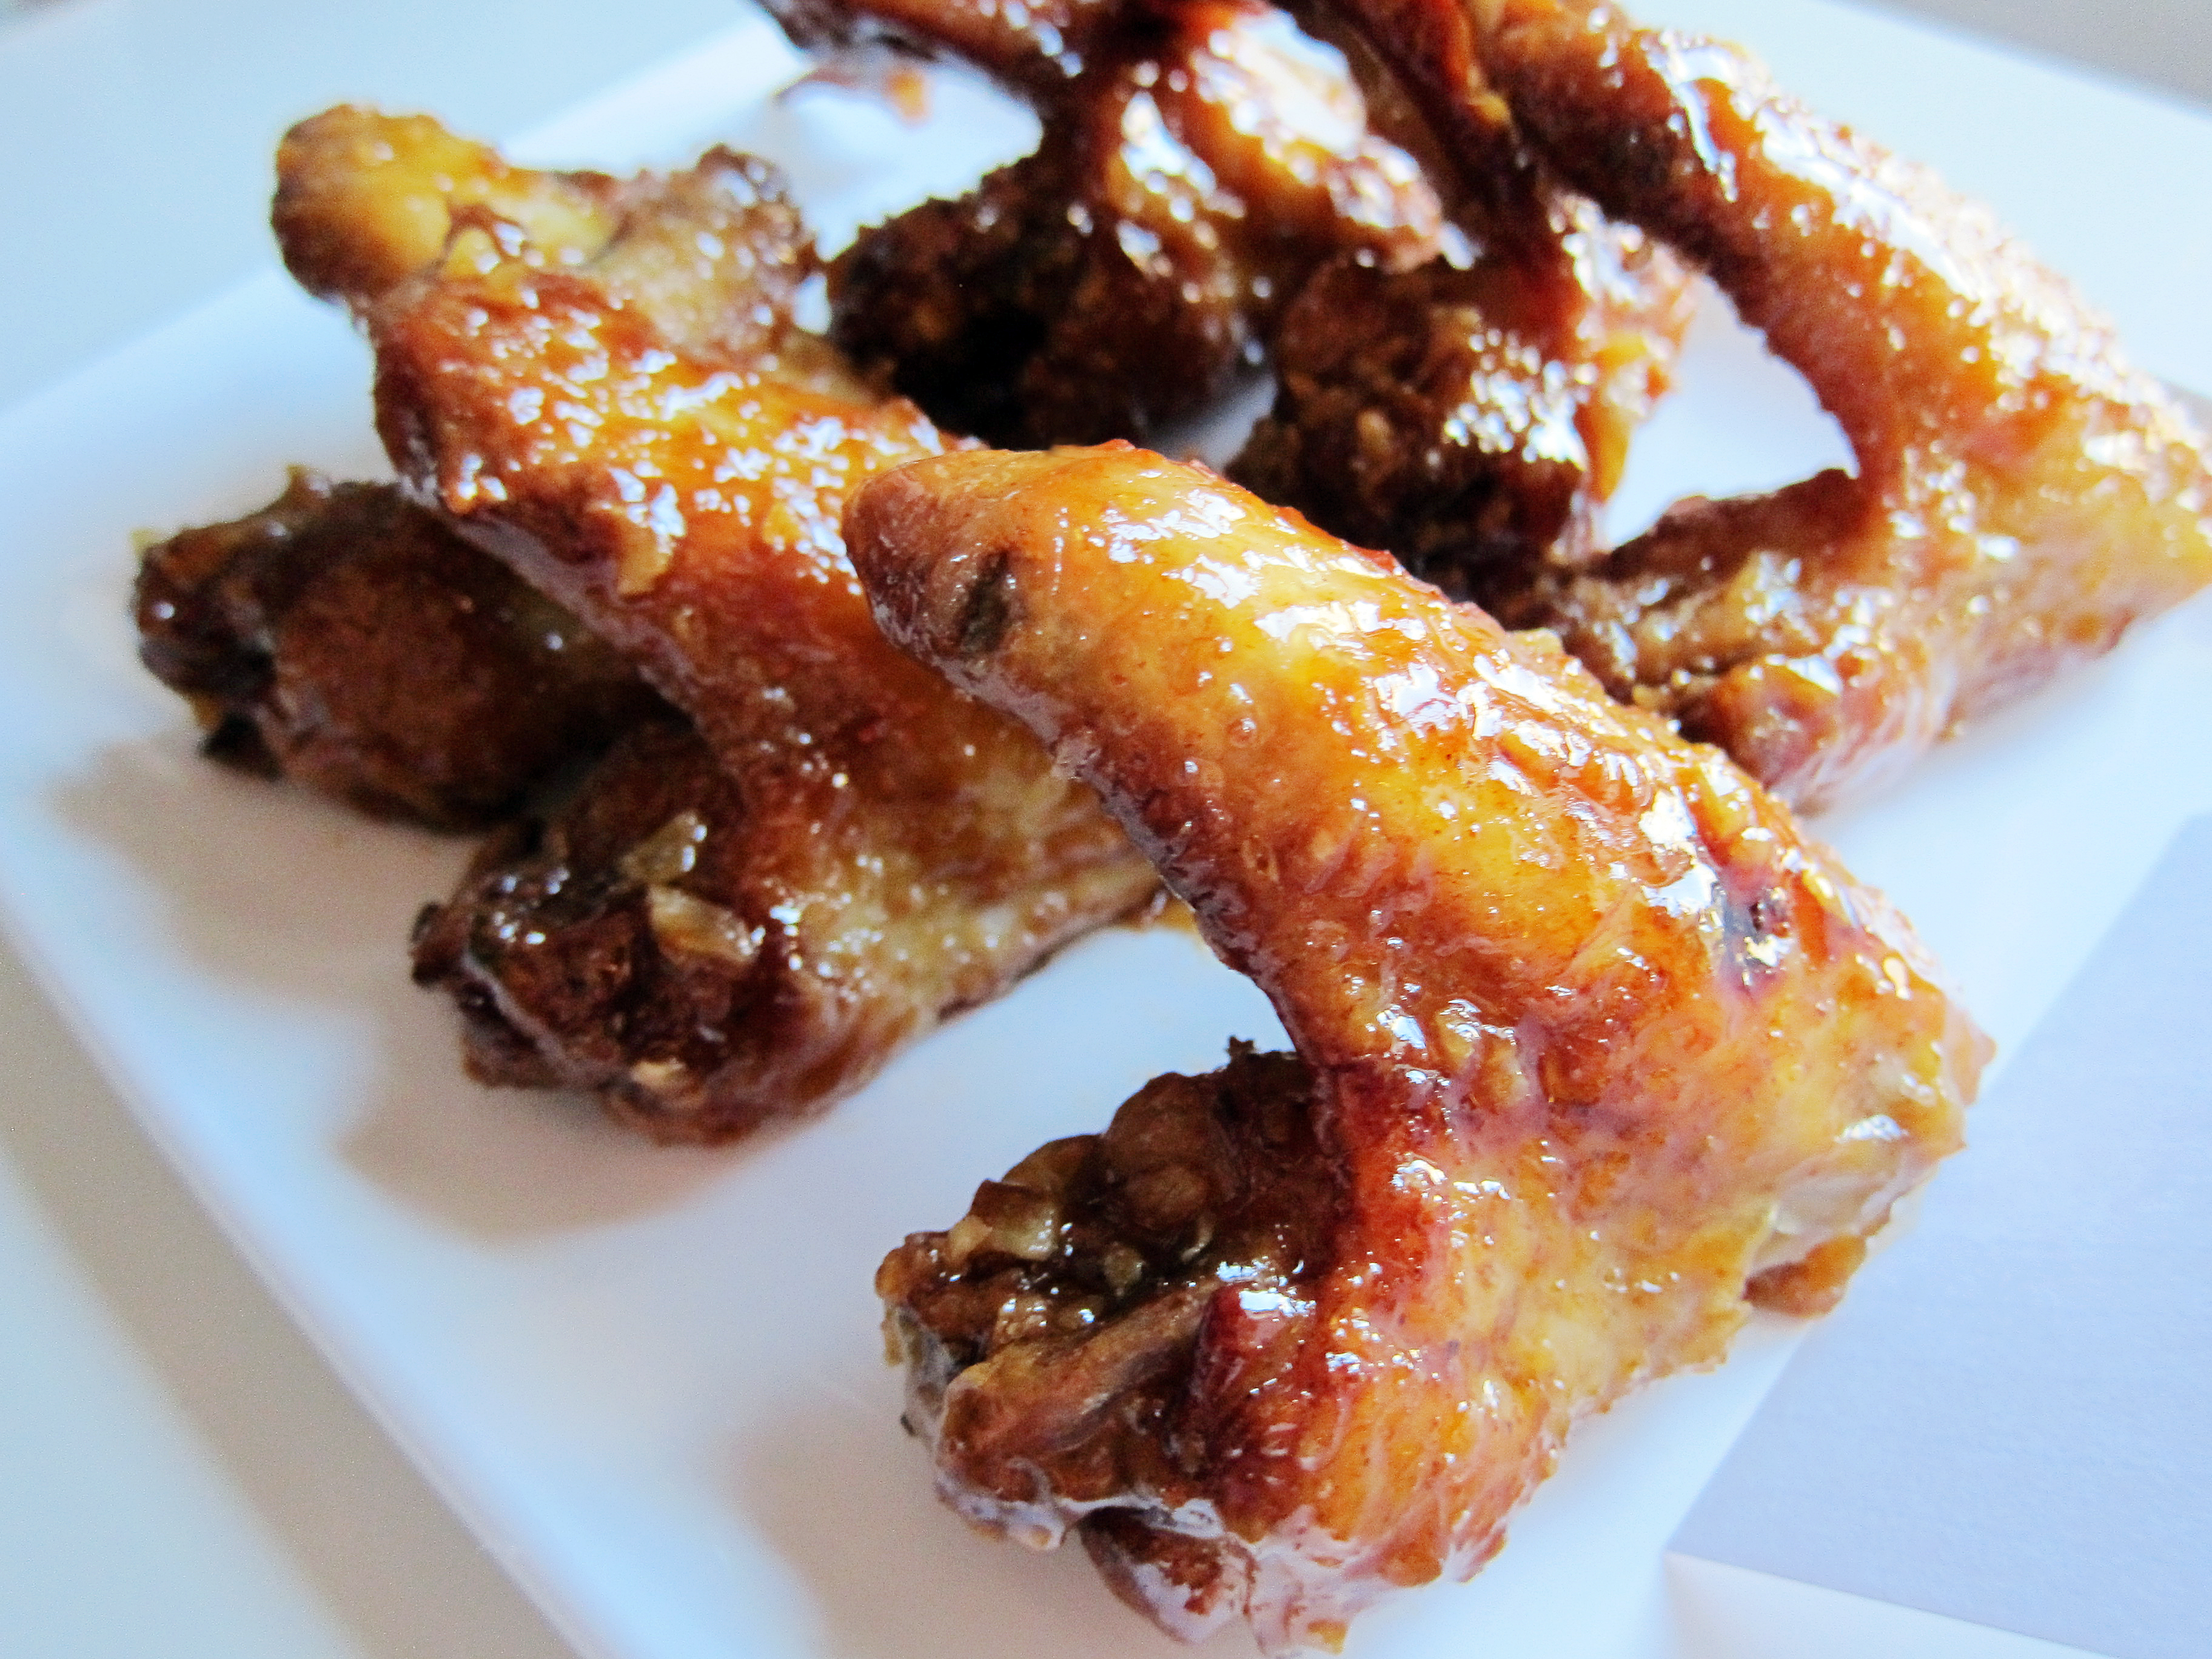
 This year‘s party theme was Episode 1: The Phantom Menace, so all of the food and activities were centered on Episode 1 characters and settings. Here are the things we made for SW Day*:


 The centerpiece of the table was my Darth Maul-ble Cake, a marble cake with chocolate frosting and a chocolate transfer of Darth Maul. There was a small chorus of “wows” when I revealed it. Chocolate transfers can take a bit of time, but it is straight forward and simple to do. I used the same technique for this piece and it turned out fabulous.
 I think Darth Maul is quite scary. To be completely honest, I got a wee bit frightened trying to find the right photo for the transfer. Filling in the chocolate parts was no walk in the park either, he was just as scary. I know it sounds silly, but if your imagination runs as wild as mine does I’m sure you understand. Revenge of the Six-th indeed. 🙂
 Darth Maul-ble Cake
You will need:
1 Chocolate Marble Cake – Recipe Below
1 Batch of Chocolate Frosting – Can be found here
Black Candy Melts
Red Candy Melts
Yellow Candy Melts
White Candy Melts
A mirrored image of this printout in a black circle
Instructions:
- Tape the printout onto a baking sheet or any desired flat surface.
- Tape a piece of parchment paper over the printout making sure it covers the entire image.
- Melt a small amount of black, red, yellow and white candy melts (do not meld the colors together).
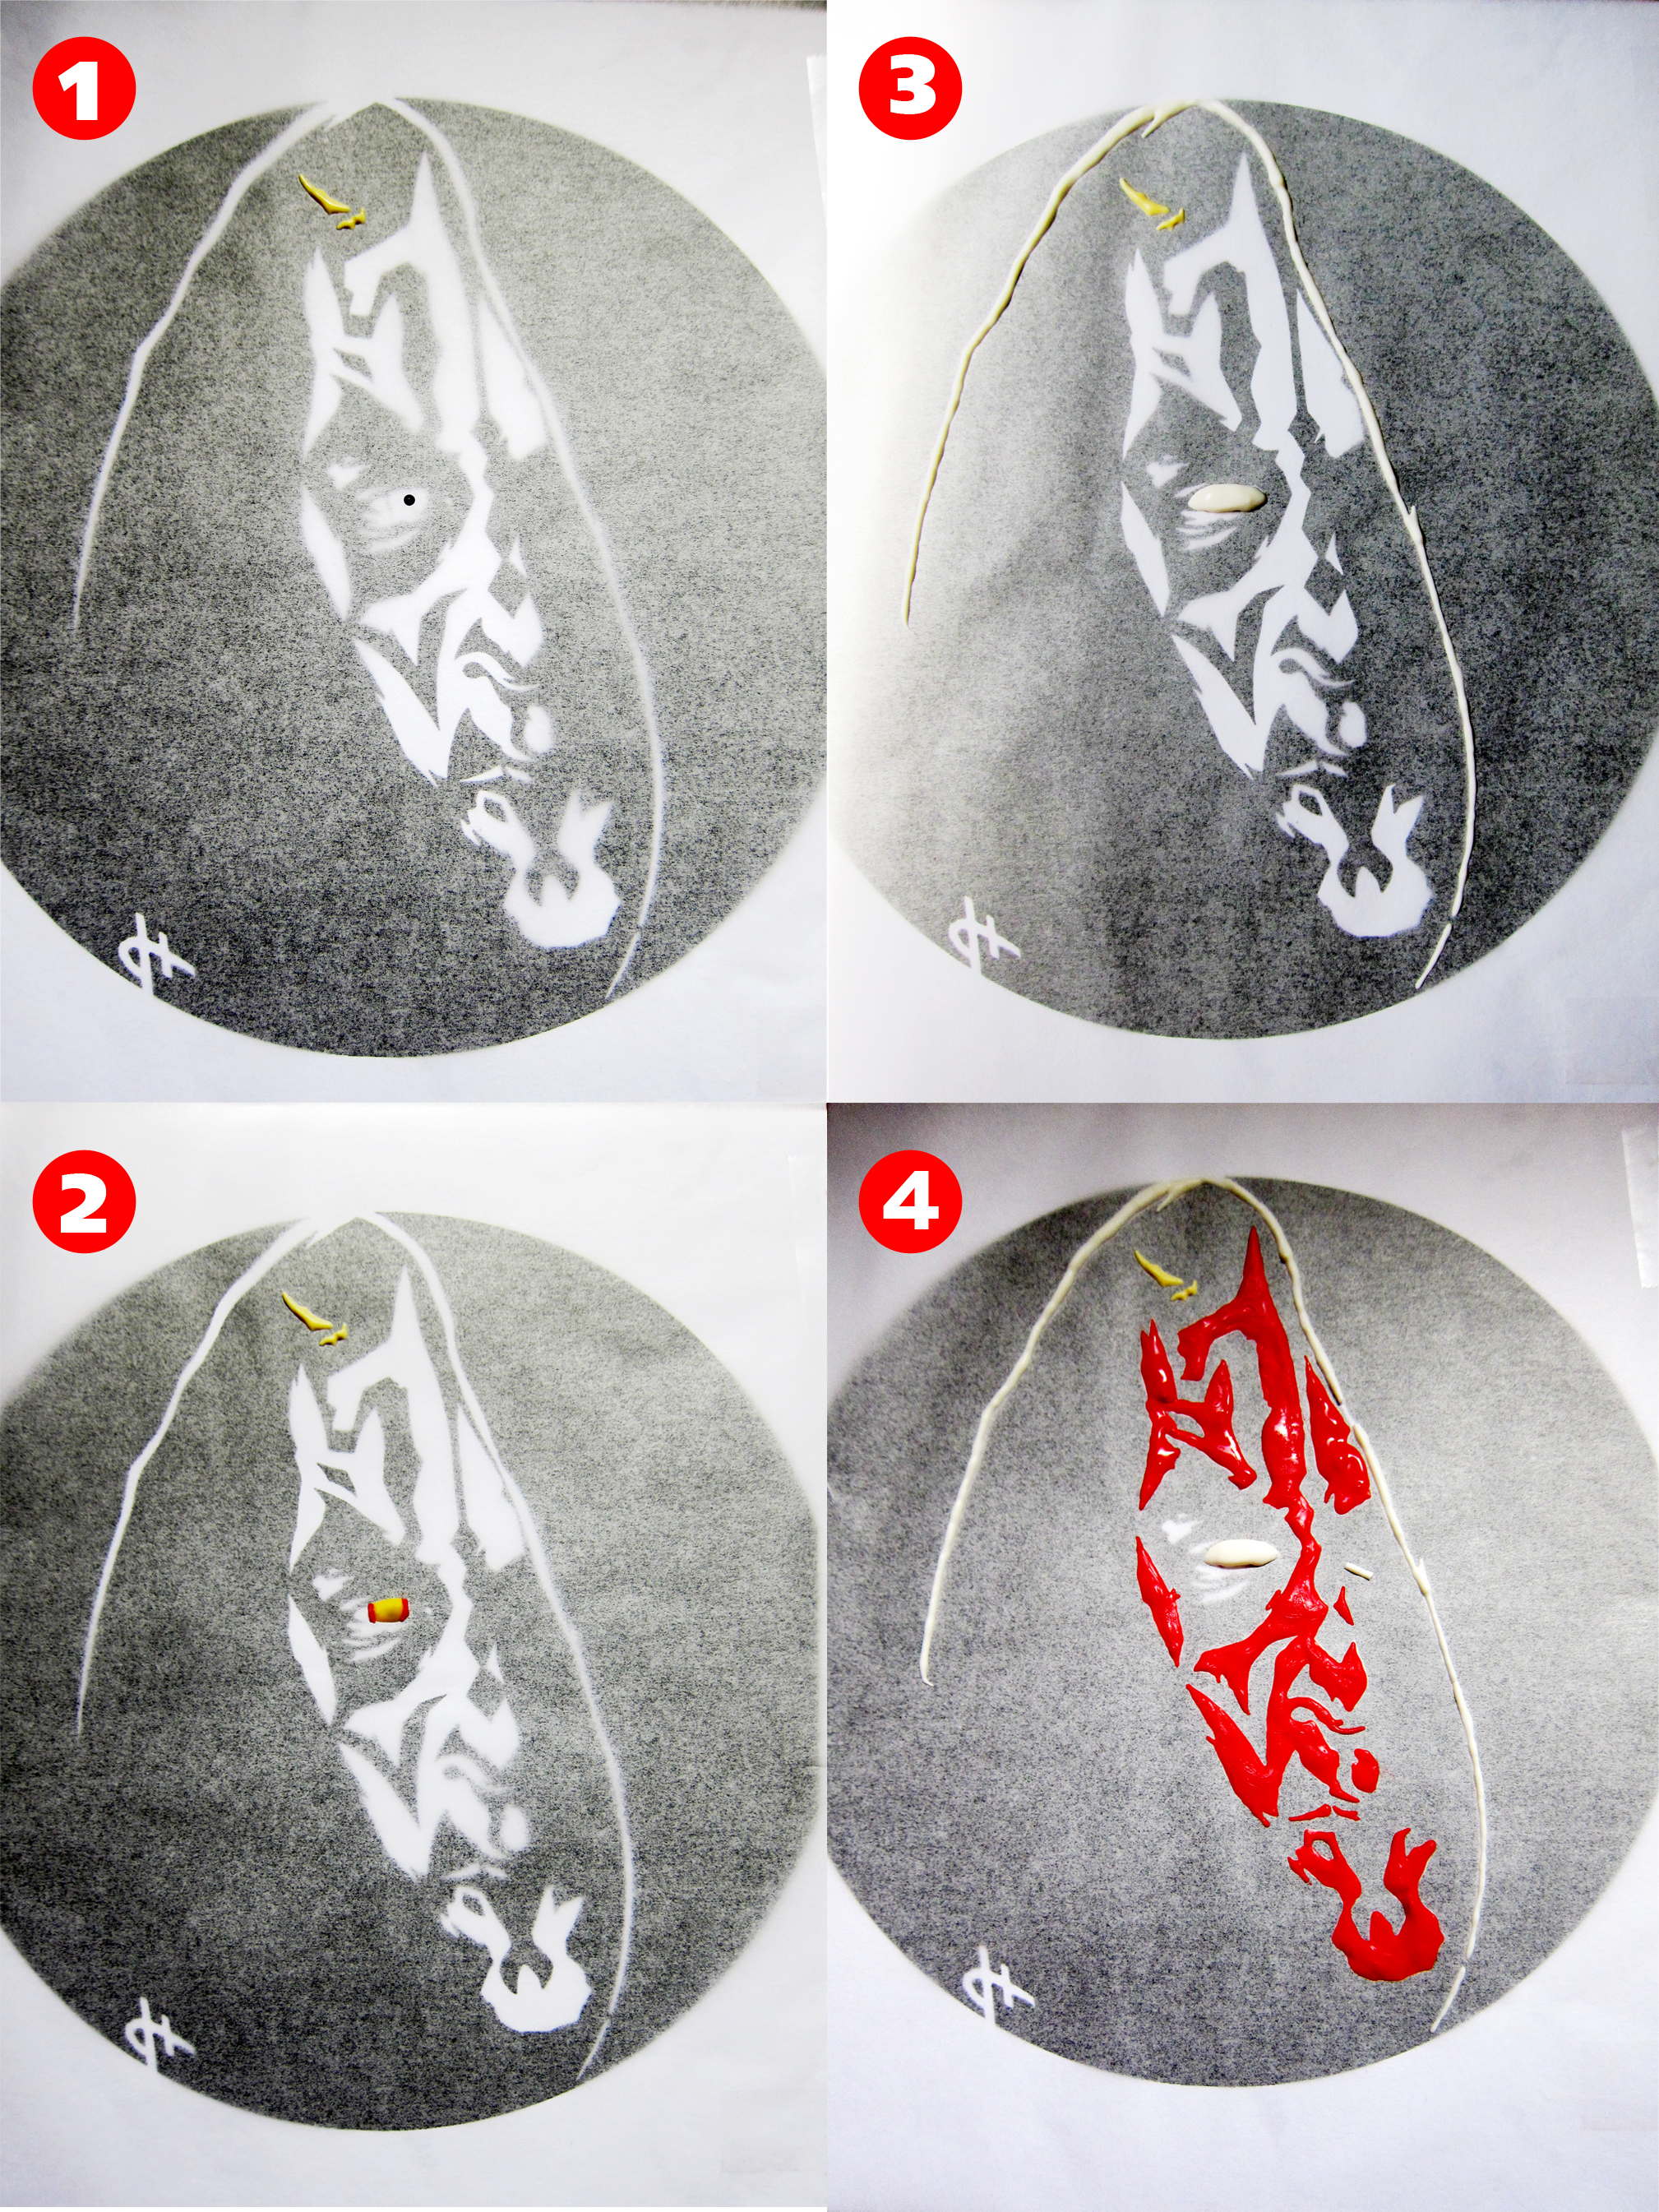
- Remember, chocolate transfers are all about layering. Each time you fill out the next step, you will be going over the previously filled portion.
- Using either a toothpick or a piping bag fitted with either a #1 or #2 round tip, fill in the pupil of the eye with the black candy melt. (As shown in the above photo.)
- Mix the yellow and white candy melt to get a light ivory hue for the horns. Fill in. (As shown in the above photo.)
- Once the pupil is set, fill in the iris with the yellow candy melt. Let set. (As shown in the above photo.)
- The outer edge of the iris has a red outline. Carefully, trace a red border around the yellow candy melt. Let set. (As shown in the above photo.)
- Fill in the sclera with the white candy melt. (As shown in the above photo.)
- Fill in the white edge of the hood while the sclera sets. (As shown in the above photo.)
- Using the red candy melt, start filling in the mask like patterns on the face. Try not to lose the detailed edges because that’s what makes the image pop. (As shown in the above photo.)
- Once the red candy melt is set, melt some black candy melts. Make sure it is not piping hot because you will lose some detail if it is.
- Smooth over the entire circumference with the black candy melts. Let completely set.
- Place on top of frosted cake and you’re done!
Chocolate Marble Cake
Ingredients:
1⅔ c. all-purpose flour
½ tsp. baking powder
¼ tsp. baking soda
¼ tsp. kosher salt
4 oz. unsalted butter, melted
1 c. sugar
1 egg, room temp
¼ c. Greek yogurt
¾ c. + 1 tbsp. milk, divided
1 tsp. vanilla extract
¼ c. unsweetened cocoa powder
Instructions:
- Preheat the oven to 350˚F and prep a 9” cake pan by coating it with nonstick spray and lining the bottom with parchment paper.
- Mix melted butter and sugar in a mixing bowl. Set aside.
- In a separate bowl, mix flour, baking powder, baking soda and salt until combined.
- Add the egg, Greek yogurt, ¾ c. milk and 1 tsp. vanilla extract to the butter mixture and mix until homogenous.
- Add the flour mixture to the butter mixture and fold until smooth.
- Transfer ½ of the mixture to another bowl, mix in 1 tbsp. milk and cocoa powder until a thick chocolate batter forms.
- Put half of the vanilla batter into the prepared cake pan and spread out.
- Pour all of the chocolate batter on top of the vanilla mixture.
- Pour the rest of the vanilla batter over the chocolate batter.
- Using a toothpick or a butter knife, make swirls all over the cake. Be careful not to over swirl, or you will lose the marbling.
- Bake 18-25 minutes until golden brown or a toothpick inserted in the center of the cake comes out clean.
Cake recipe adapted from sally’s baking addiction.
* If you would like detailed info on any of the food I’ve prepared, don’t be afraid to leave a comment or shoot me an email!


Holy shit!! This is incredible!!! *bows down*
Thank you!! 😀
I love it ! 😀 All looks so tasty as well !! Happy belated May the 4th ! 😀
Thank you, Toryn! It was quite a tasty celebration. 🙂
Looks delicious.
Happy Star Wars Day, LesDudis and Ms. Spatula.
Thank you! 🙂
Amazing! That must have been a lot of work. Your friends sure are lucky! 🙂
Thank you! It definitely took some planning and thinking ahead but it was definitely worth it 🙂