 I found something that has changed my life: cook-and-serve flour tortillas from TortillaLand. After reading this post about these tortillas, the first thing I did was do a quick search and found that the only Walmart that carried them were over 10 miles away. Now, I know 10 miles is nothing in other parts of the country, but for me? 10 miles is far, especially when there is a Walmart less than 4 miles away. I almost gave up on them, but I was haunted by their flaky, perfectly puffed up pictures and I had to have them. So I dragged my butt over to the Walmart and acquired a package of it. And as much as I wanted to have them right away, I couldn’t! I mean, yes, I could’ve tossed in a few well-chosen ingredients and called it a day, but these were special and I needed the final product to be as special as its base.
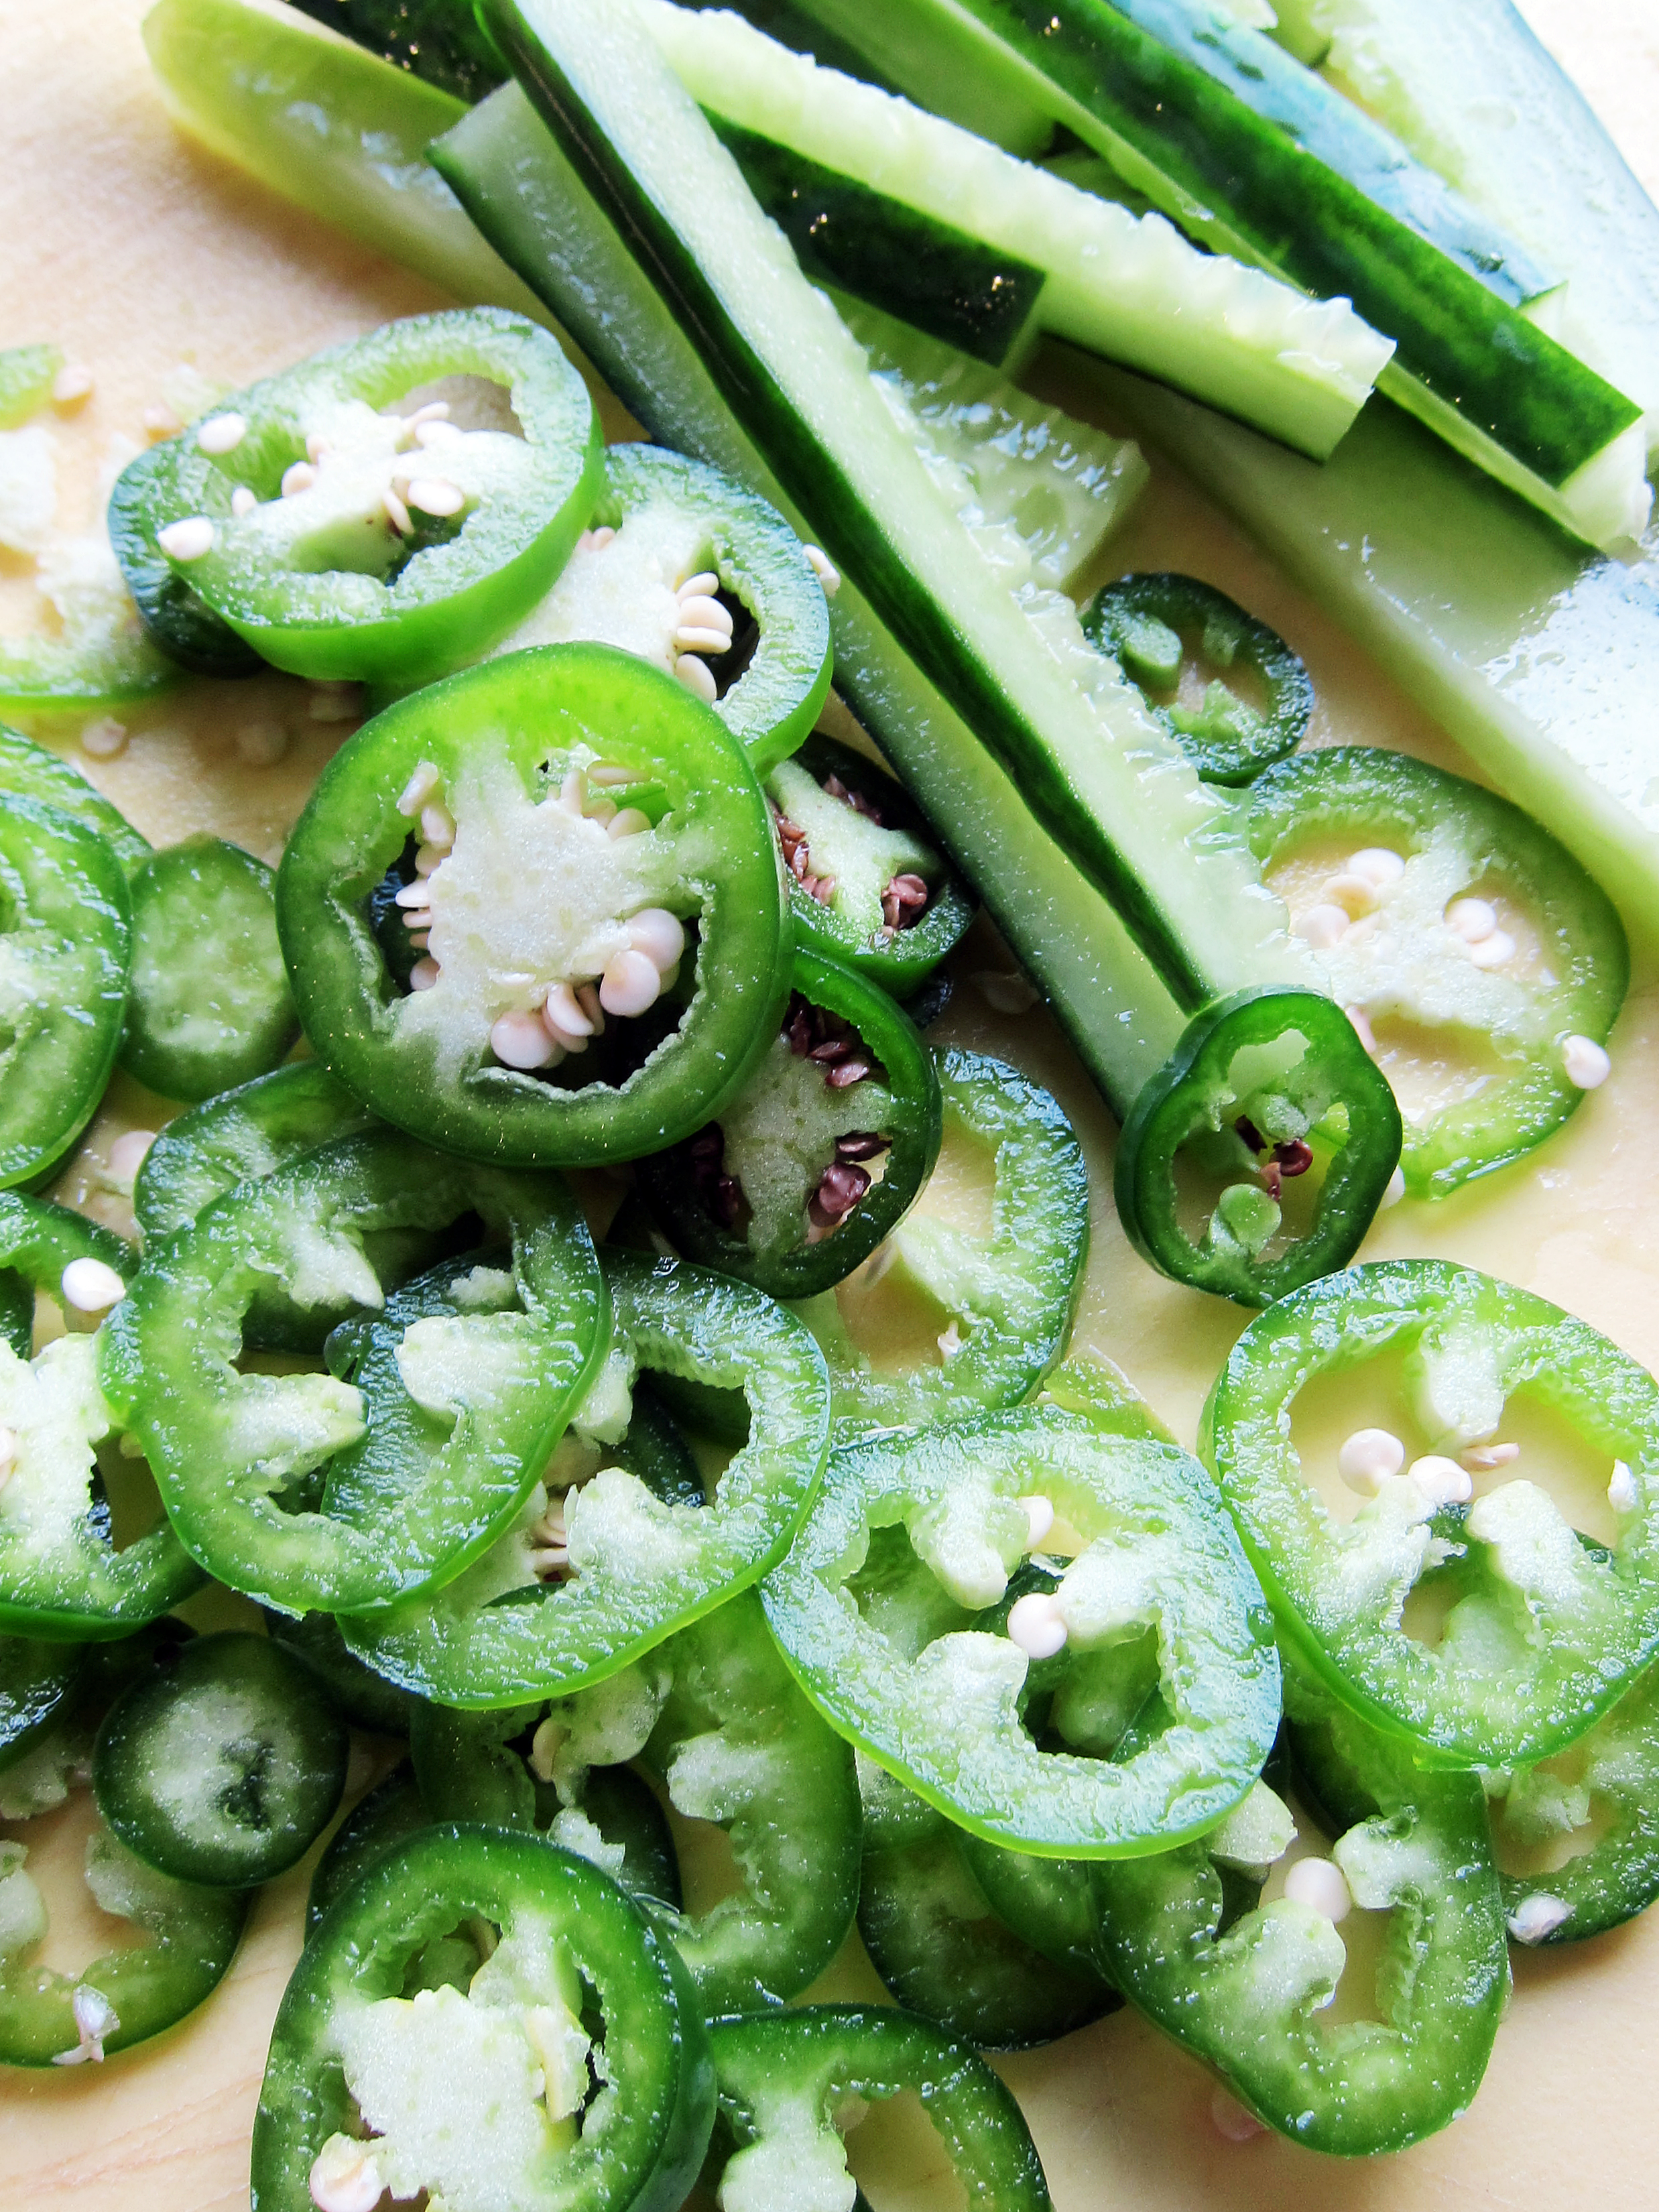
 If you are not familiar with a bánh mì, it is a Vietnamese sandwich that is filled with meat, a mayo-based spread, cucumber, pickled carrots and daikon, cilantro, and chili peppers inside a baguette. If you’ve ever had a great bánh mì, you would know that it is an explosion of flavor and contrasting textures. In this spinoff, the mayo spread is replaced with mozzarella cheese, the bread with the tortilla and the meat with a Vietnamese fish-sauce shredded chicken.
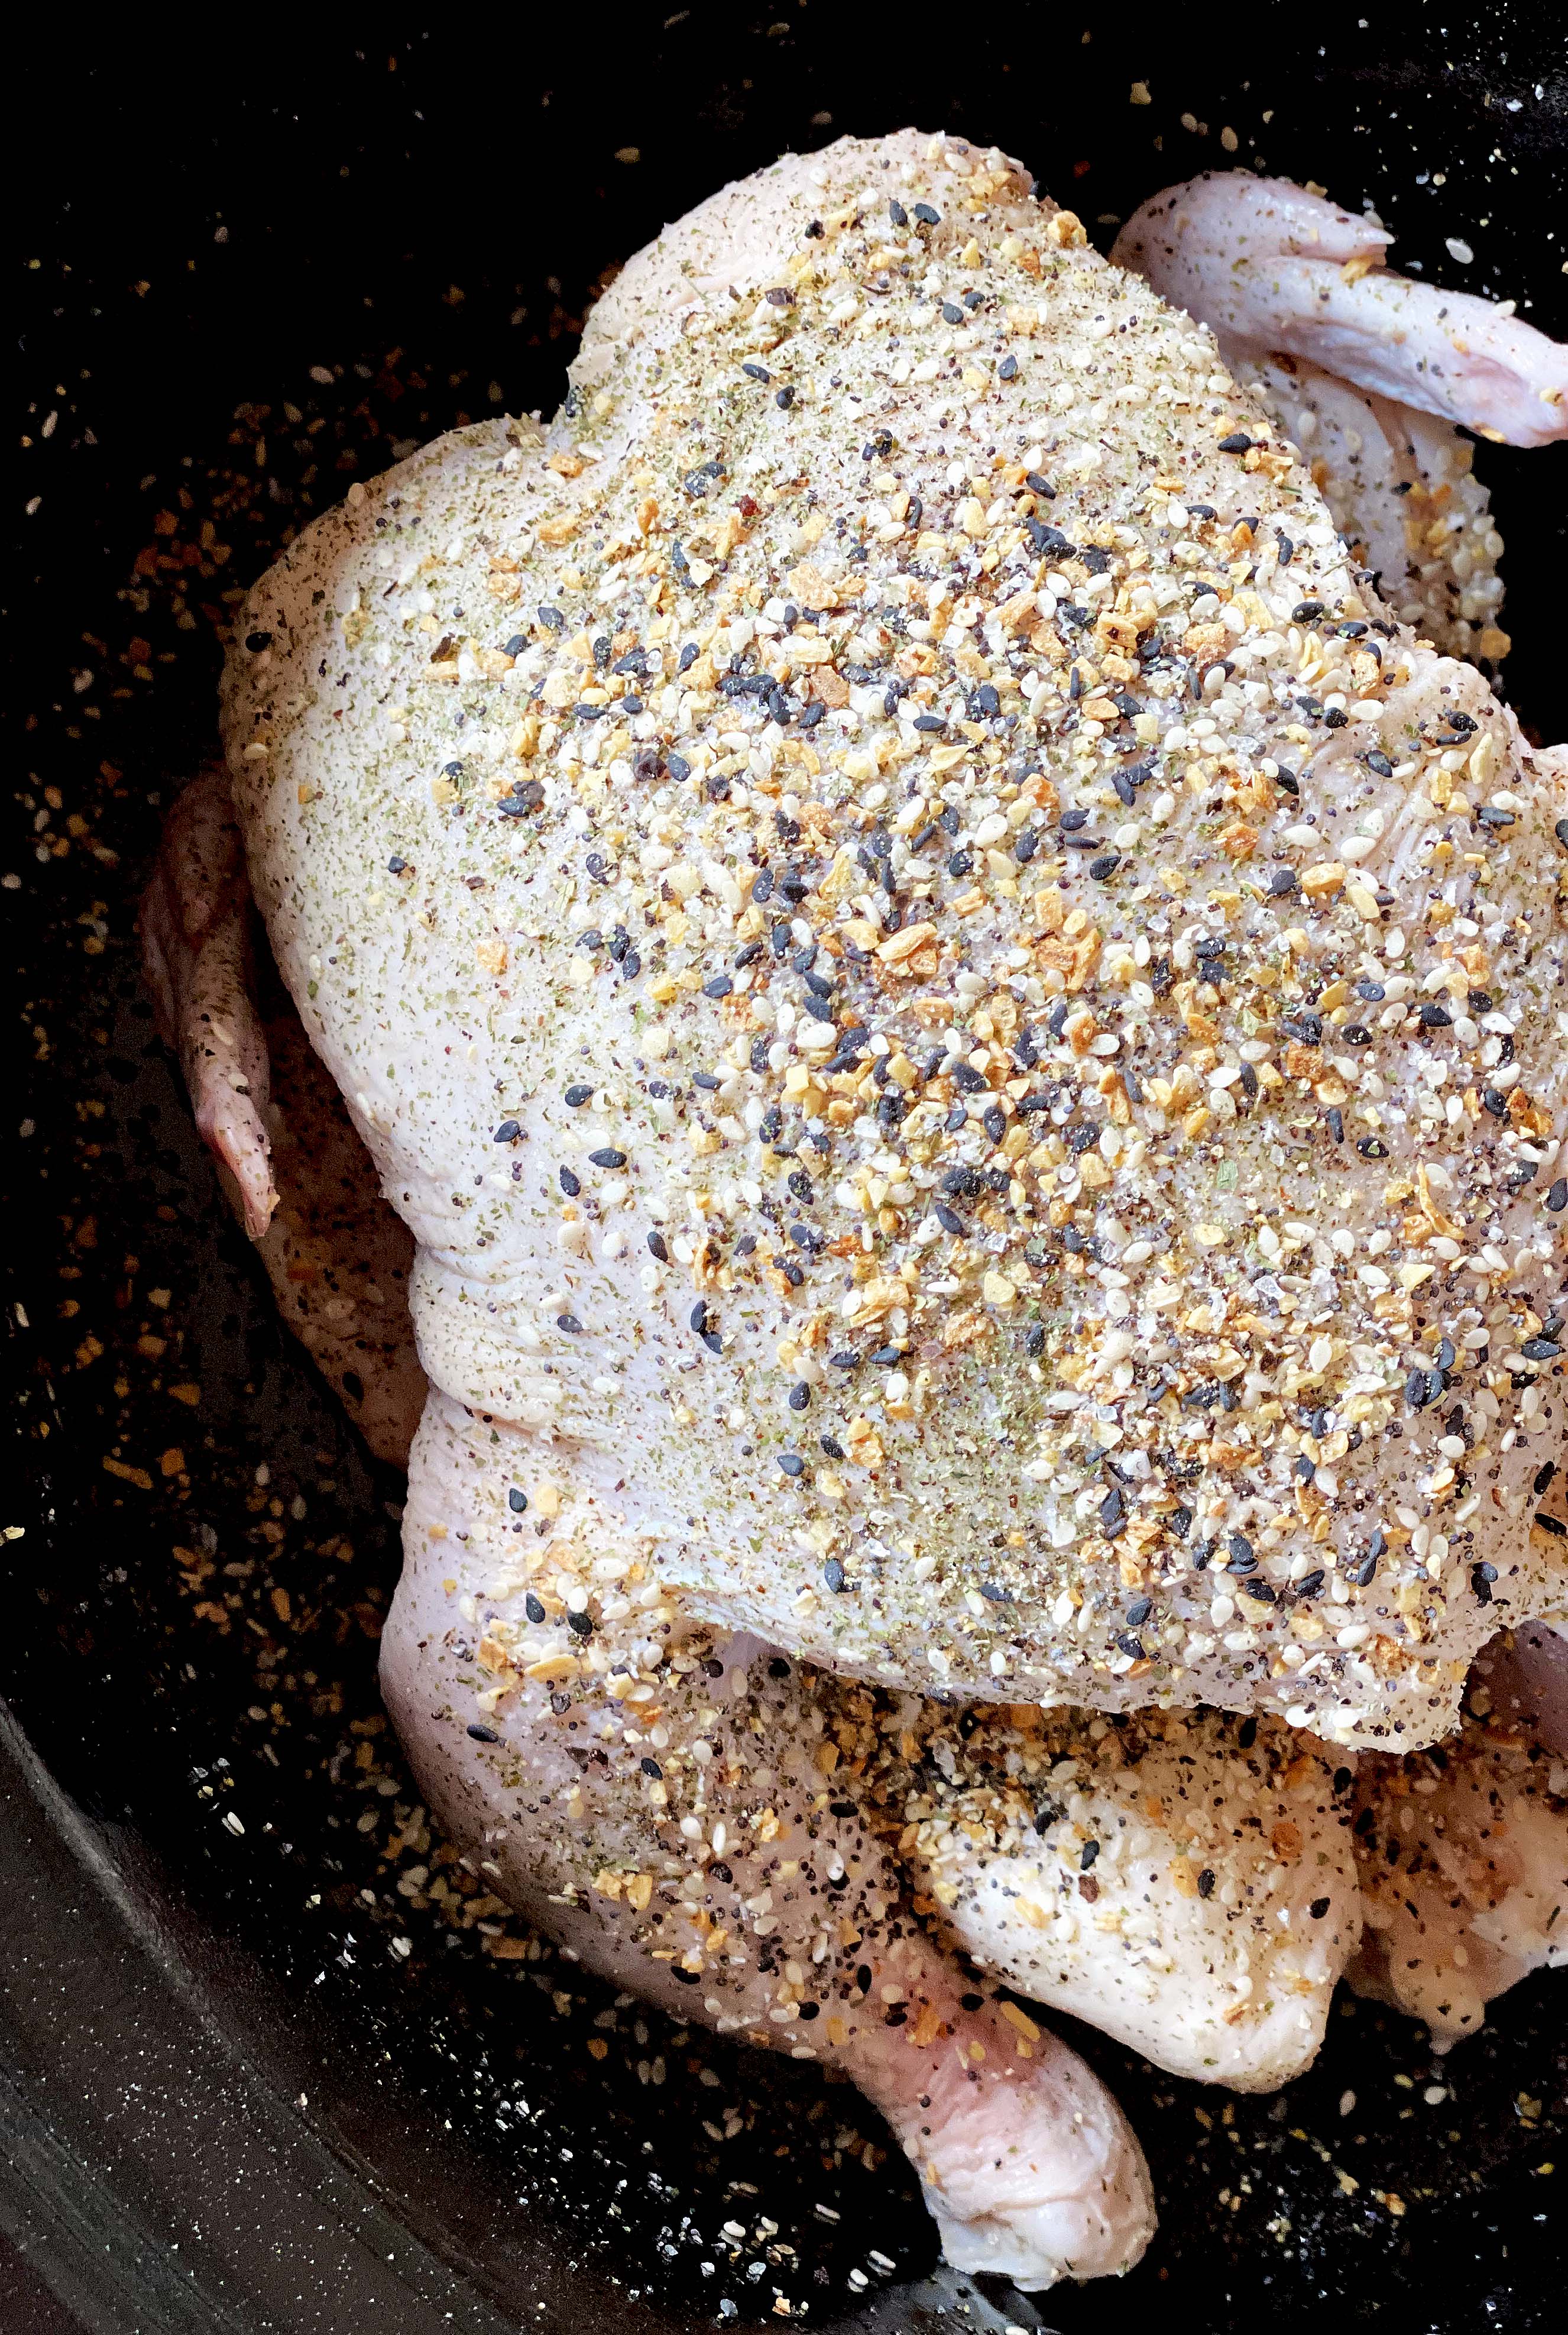
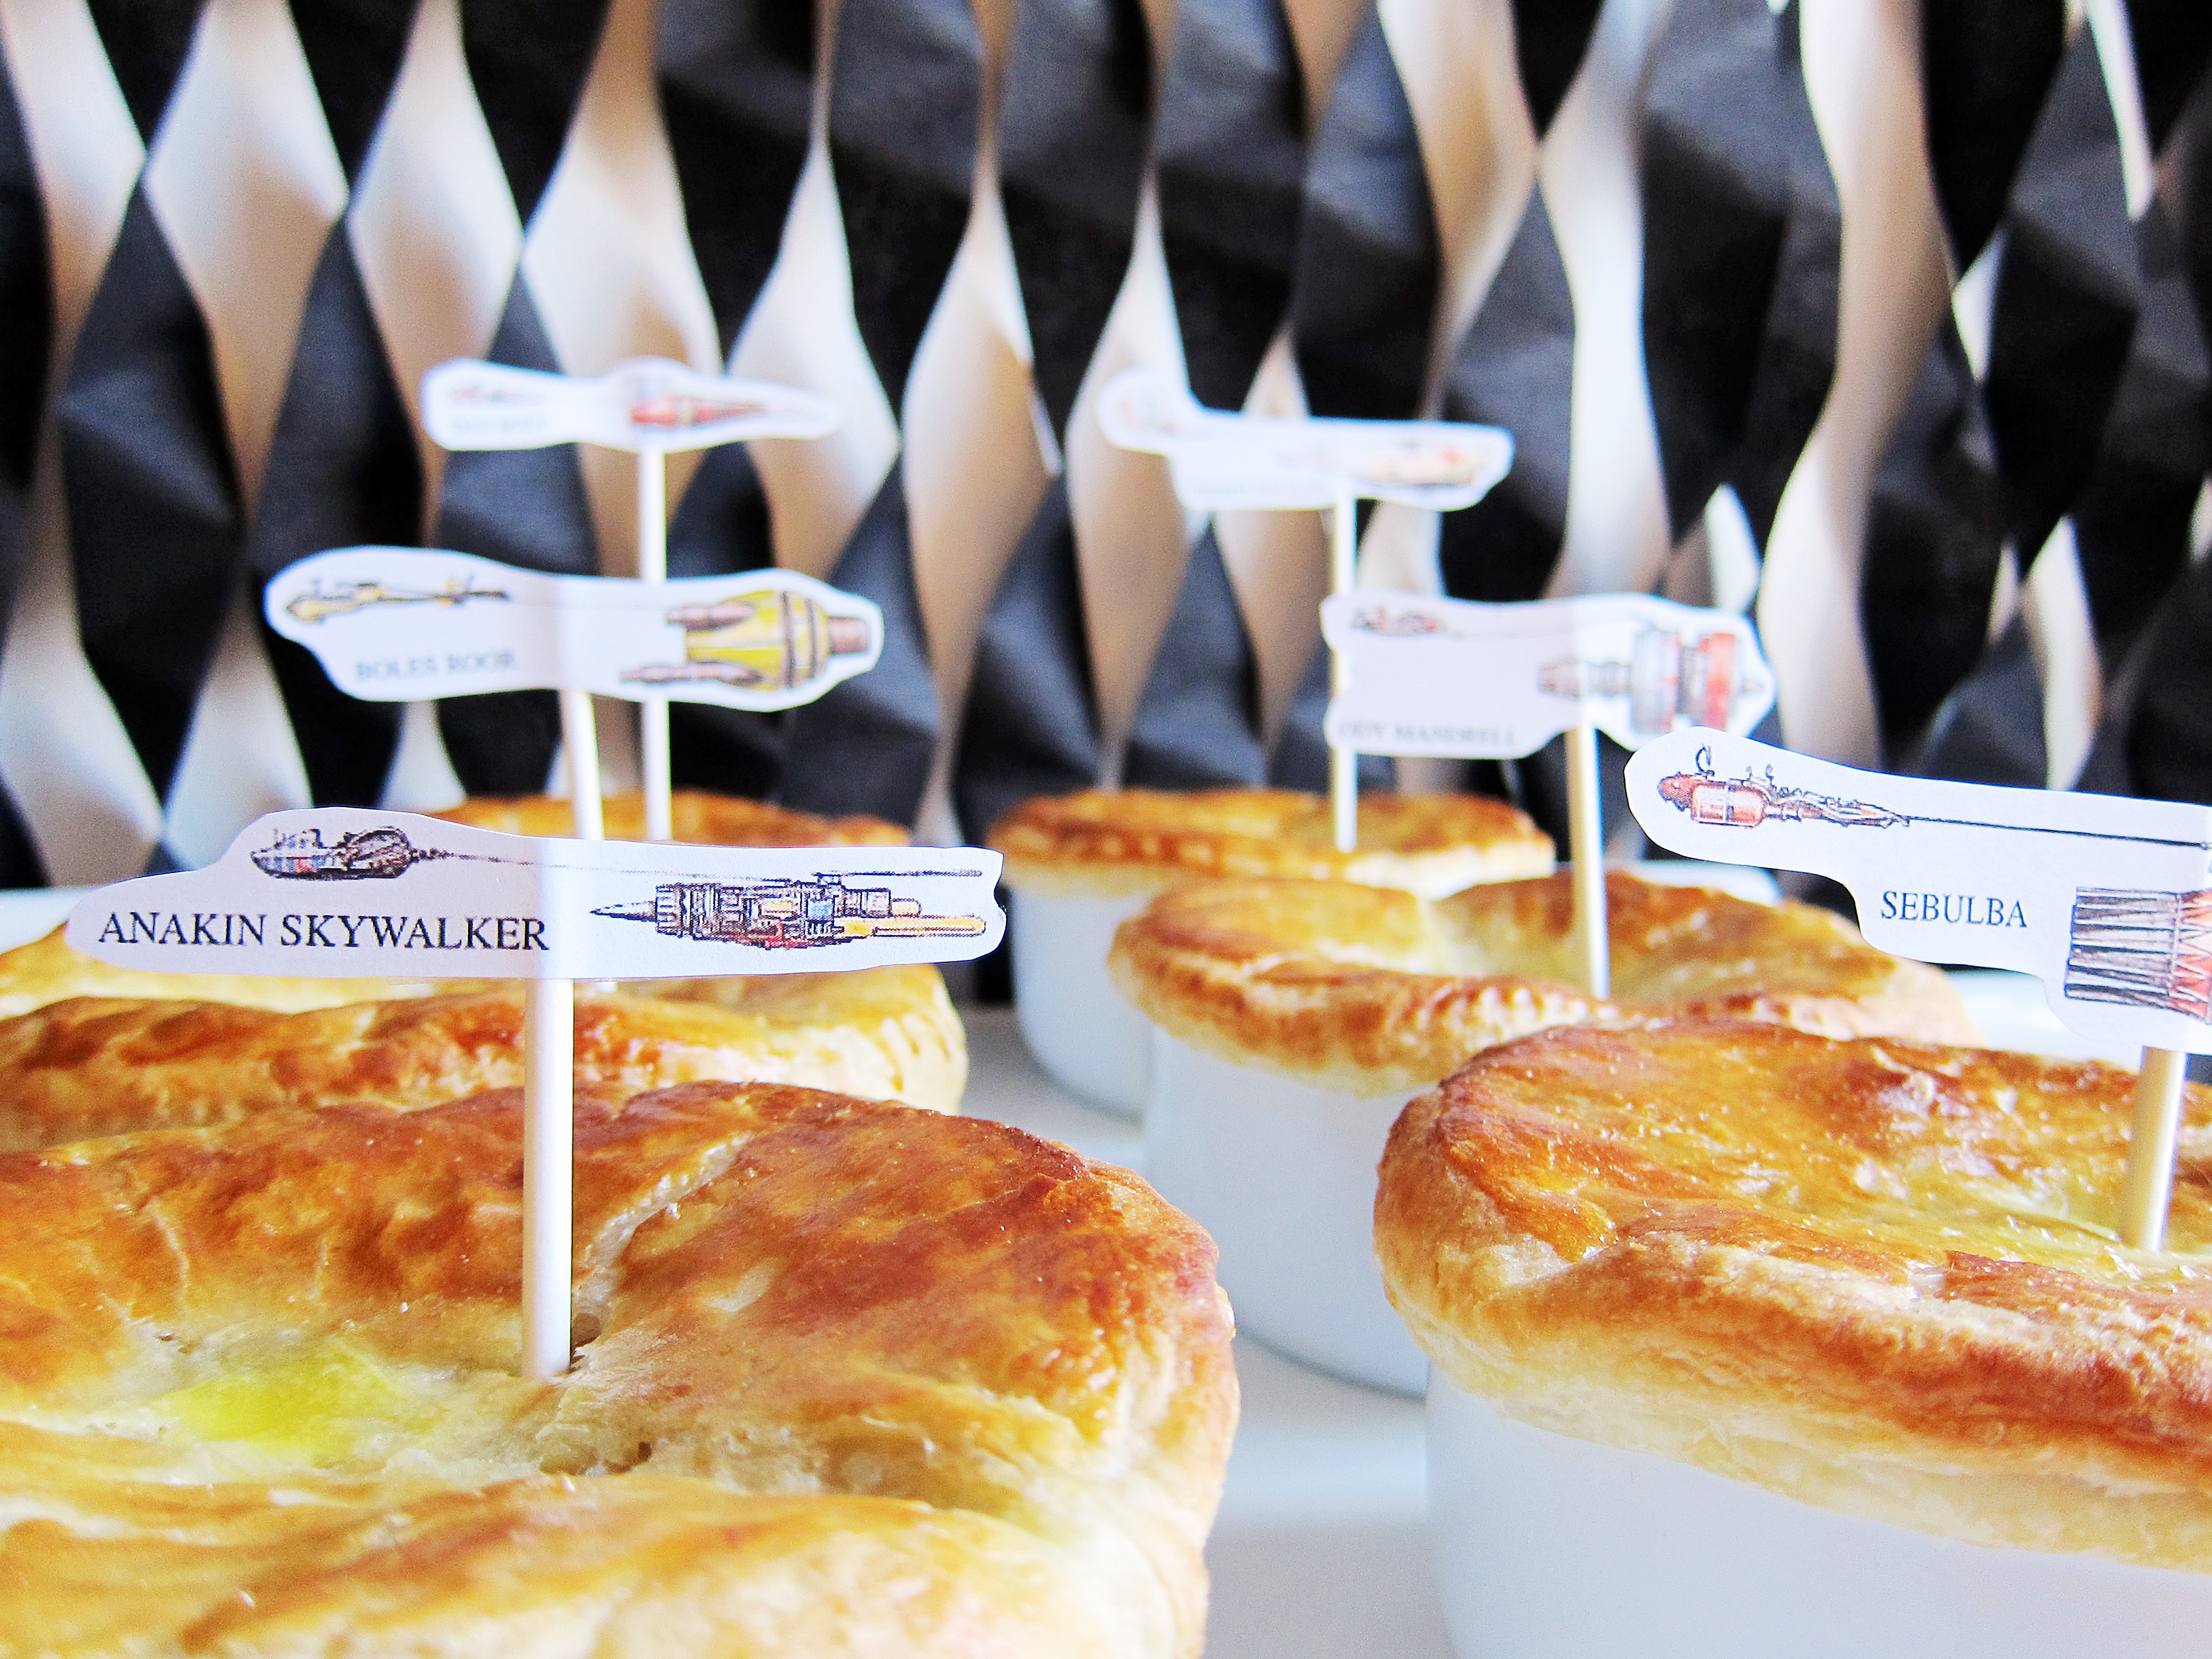
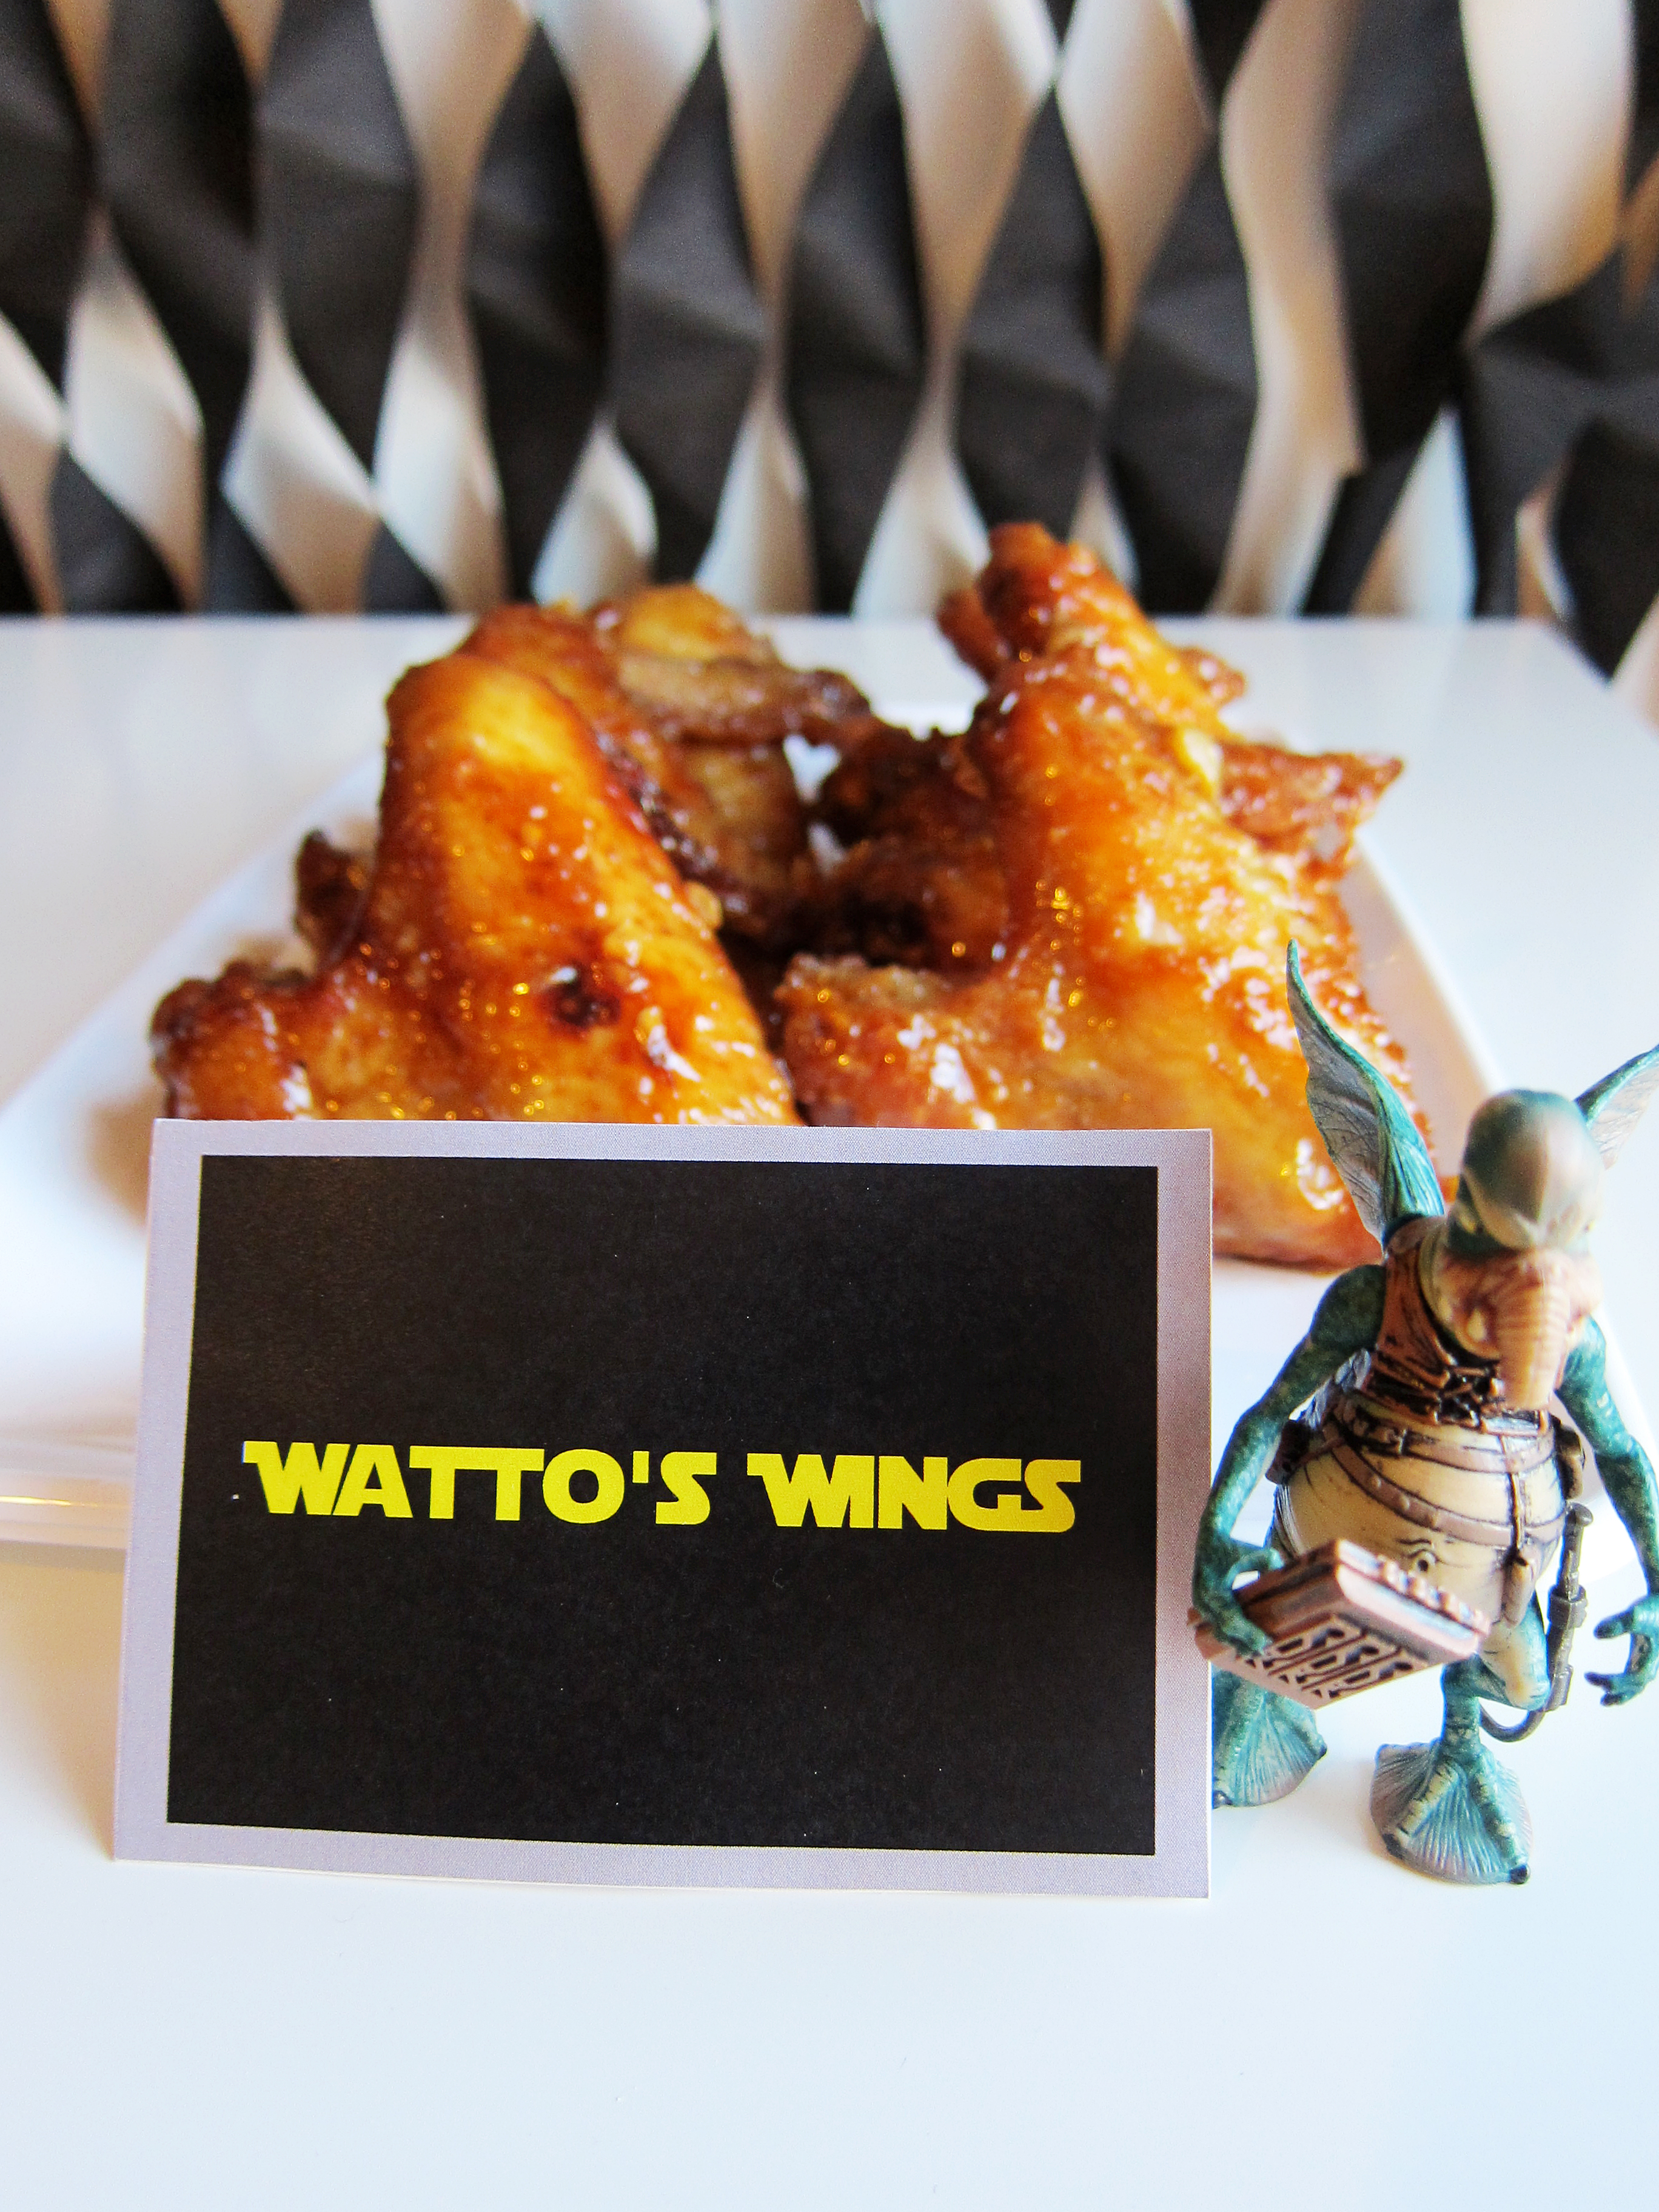
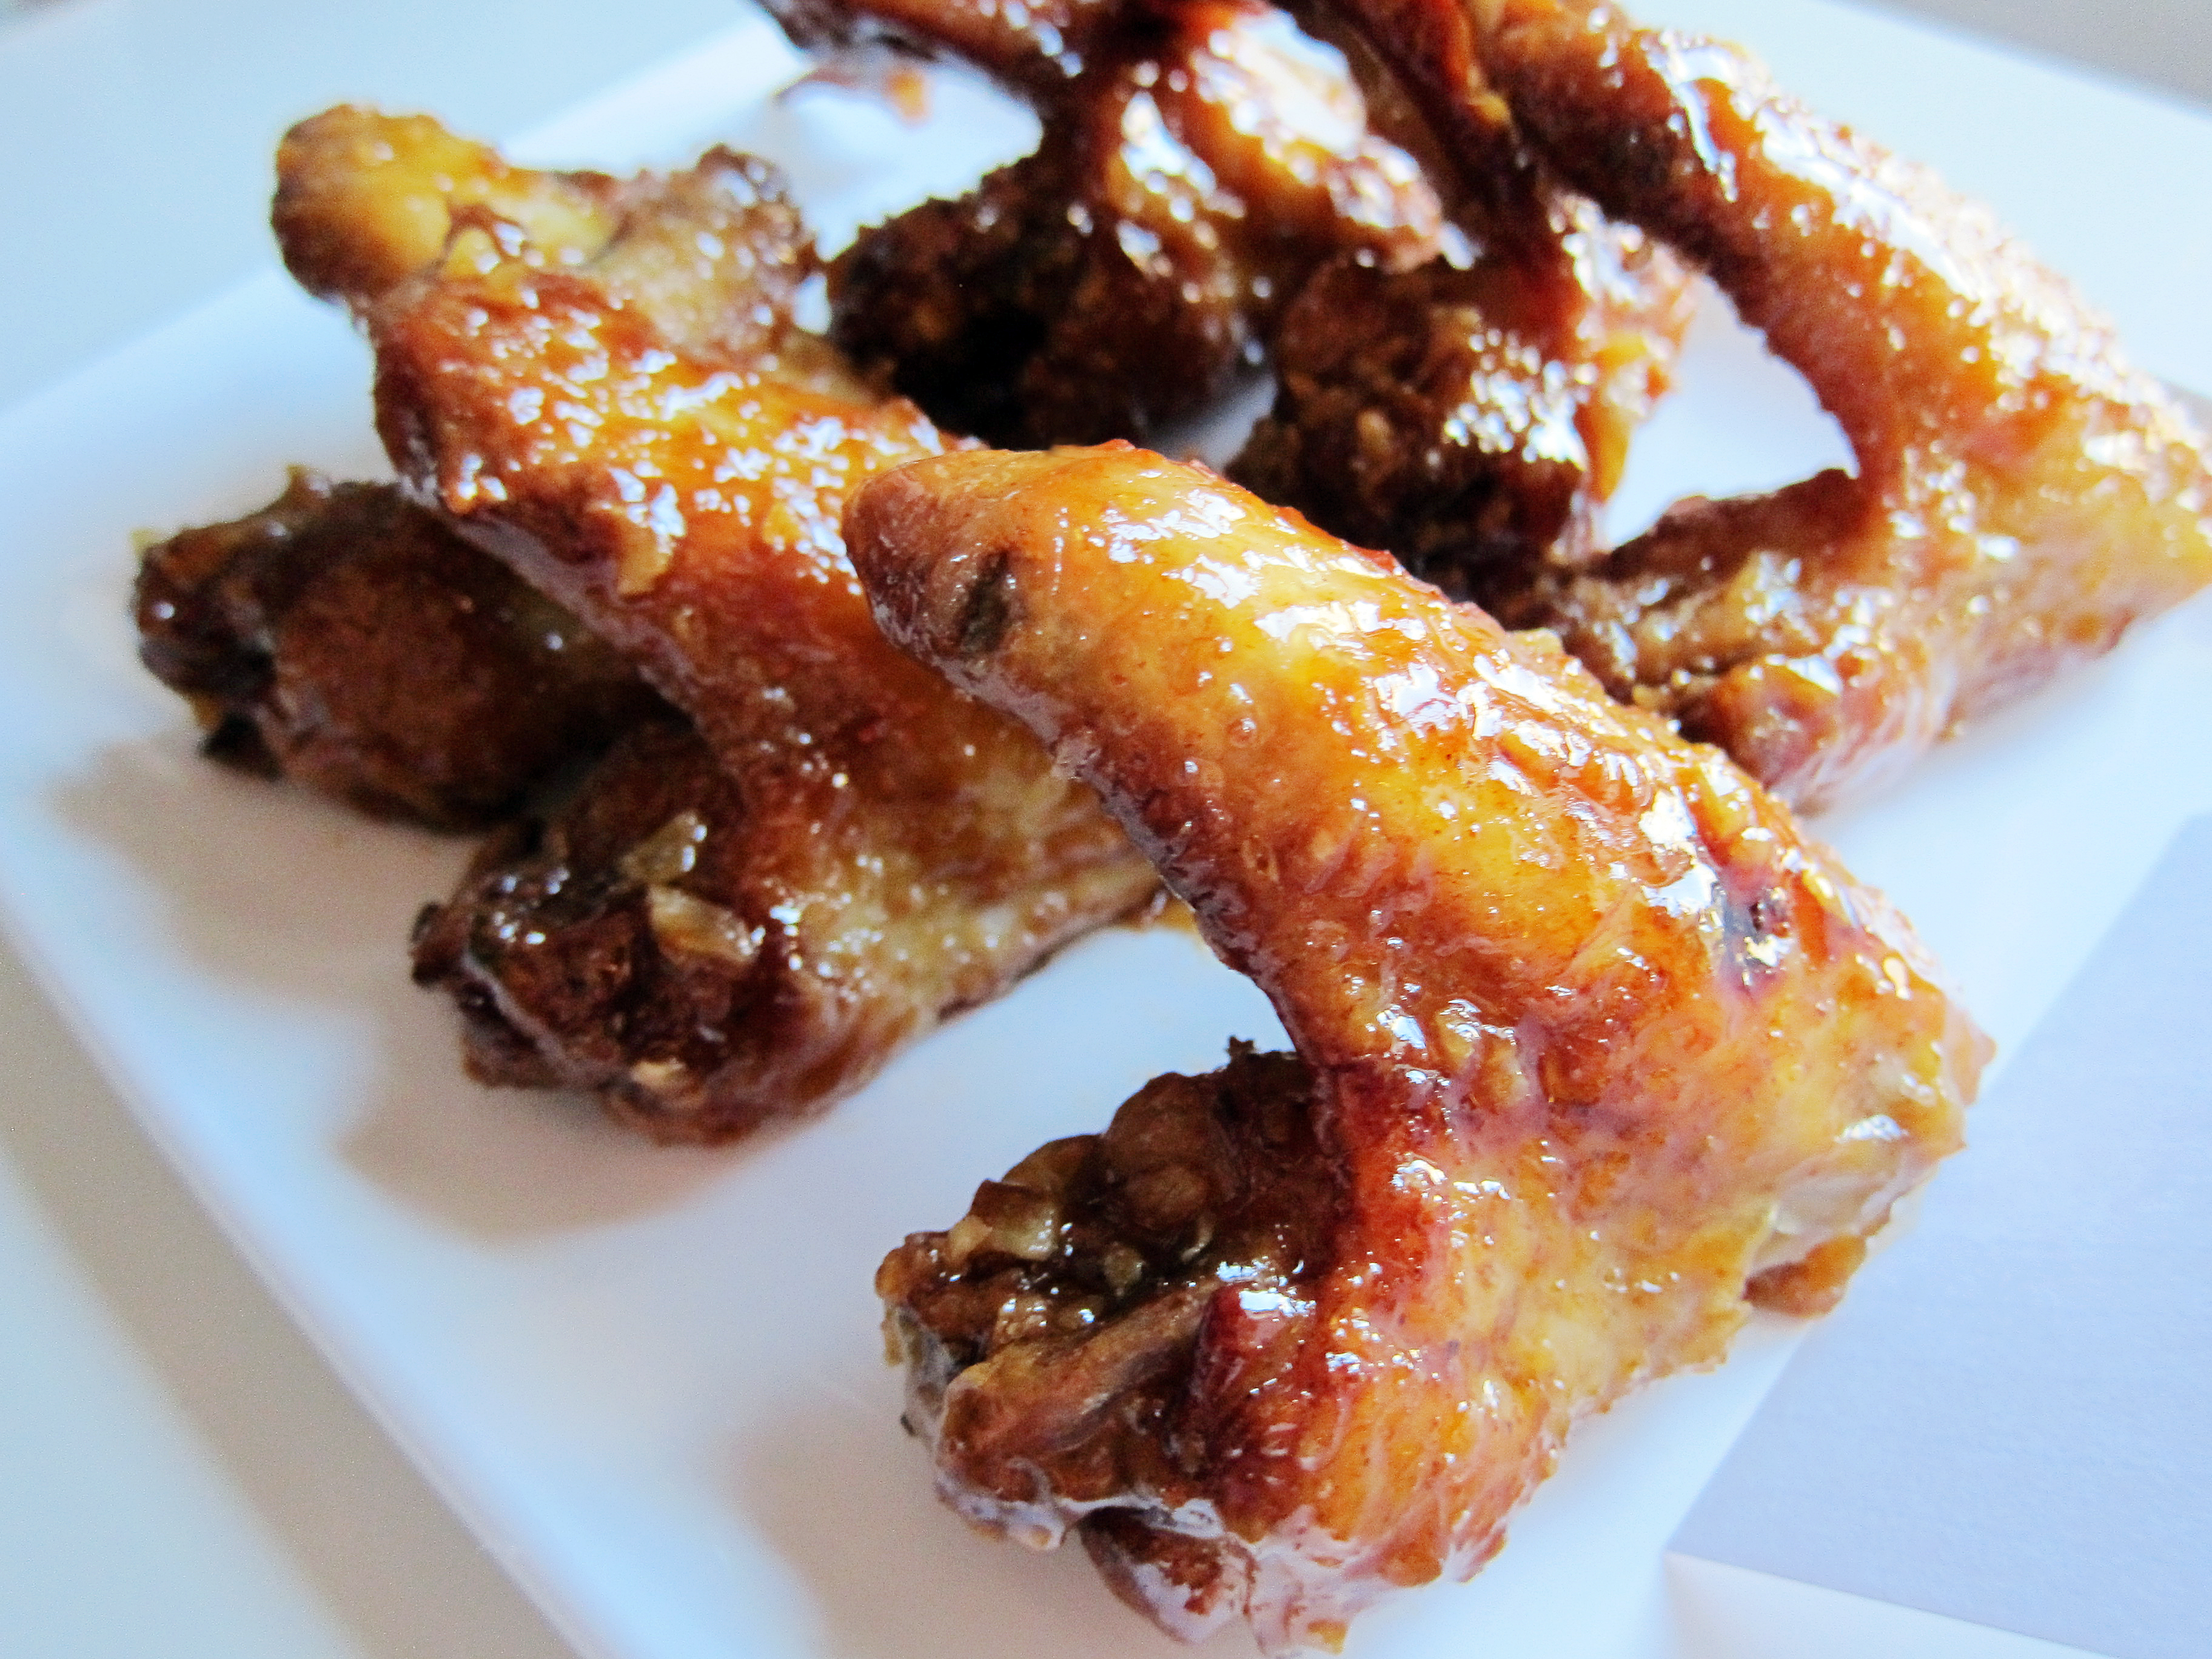
 Before I go on about the awesomeness of this quesadilla, I must warn you about this Vietnamese fish-sauce shredded chicken. It is a modified version of the famous Pok Pok’s wings. I’ve made the fried wings for this year’s Star Wars Day and it was the most delicious chicken wing I’ve ever put in my mouth (and I’ve had my fair share of fried chicken wings). The only downside is it will make your house smell like fish sauce. Now for some people, this might be a deal breaker but I swear to you, it is worth suffering a day of a fish sauce stink for it.
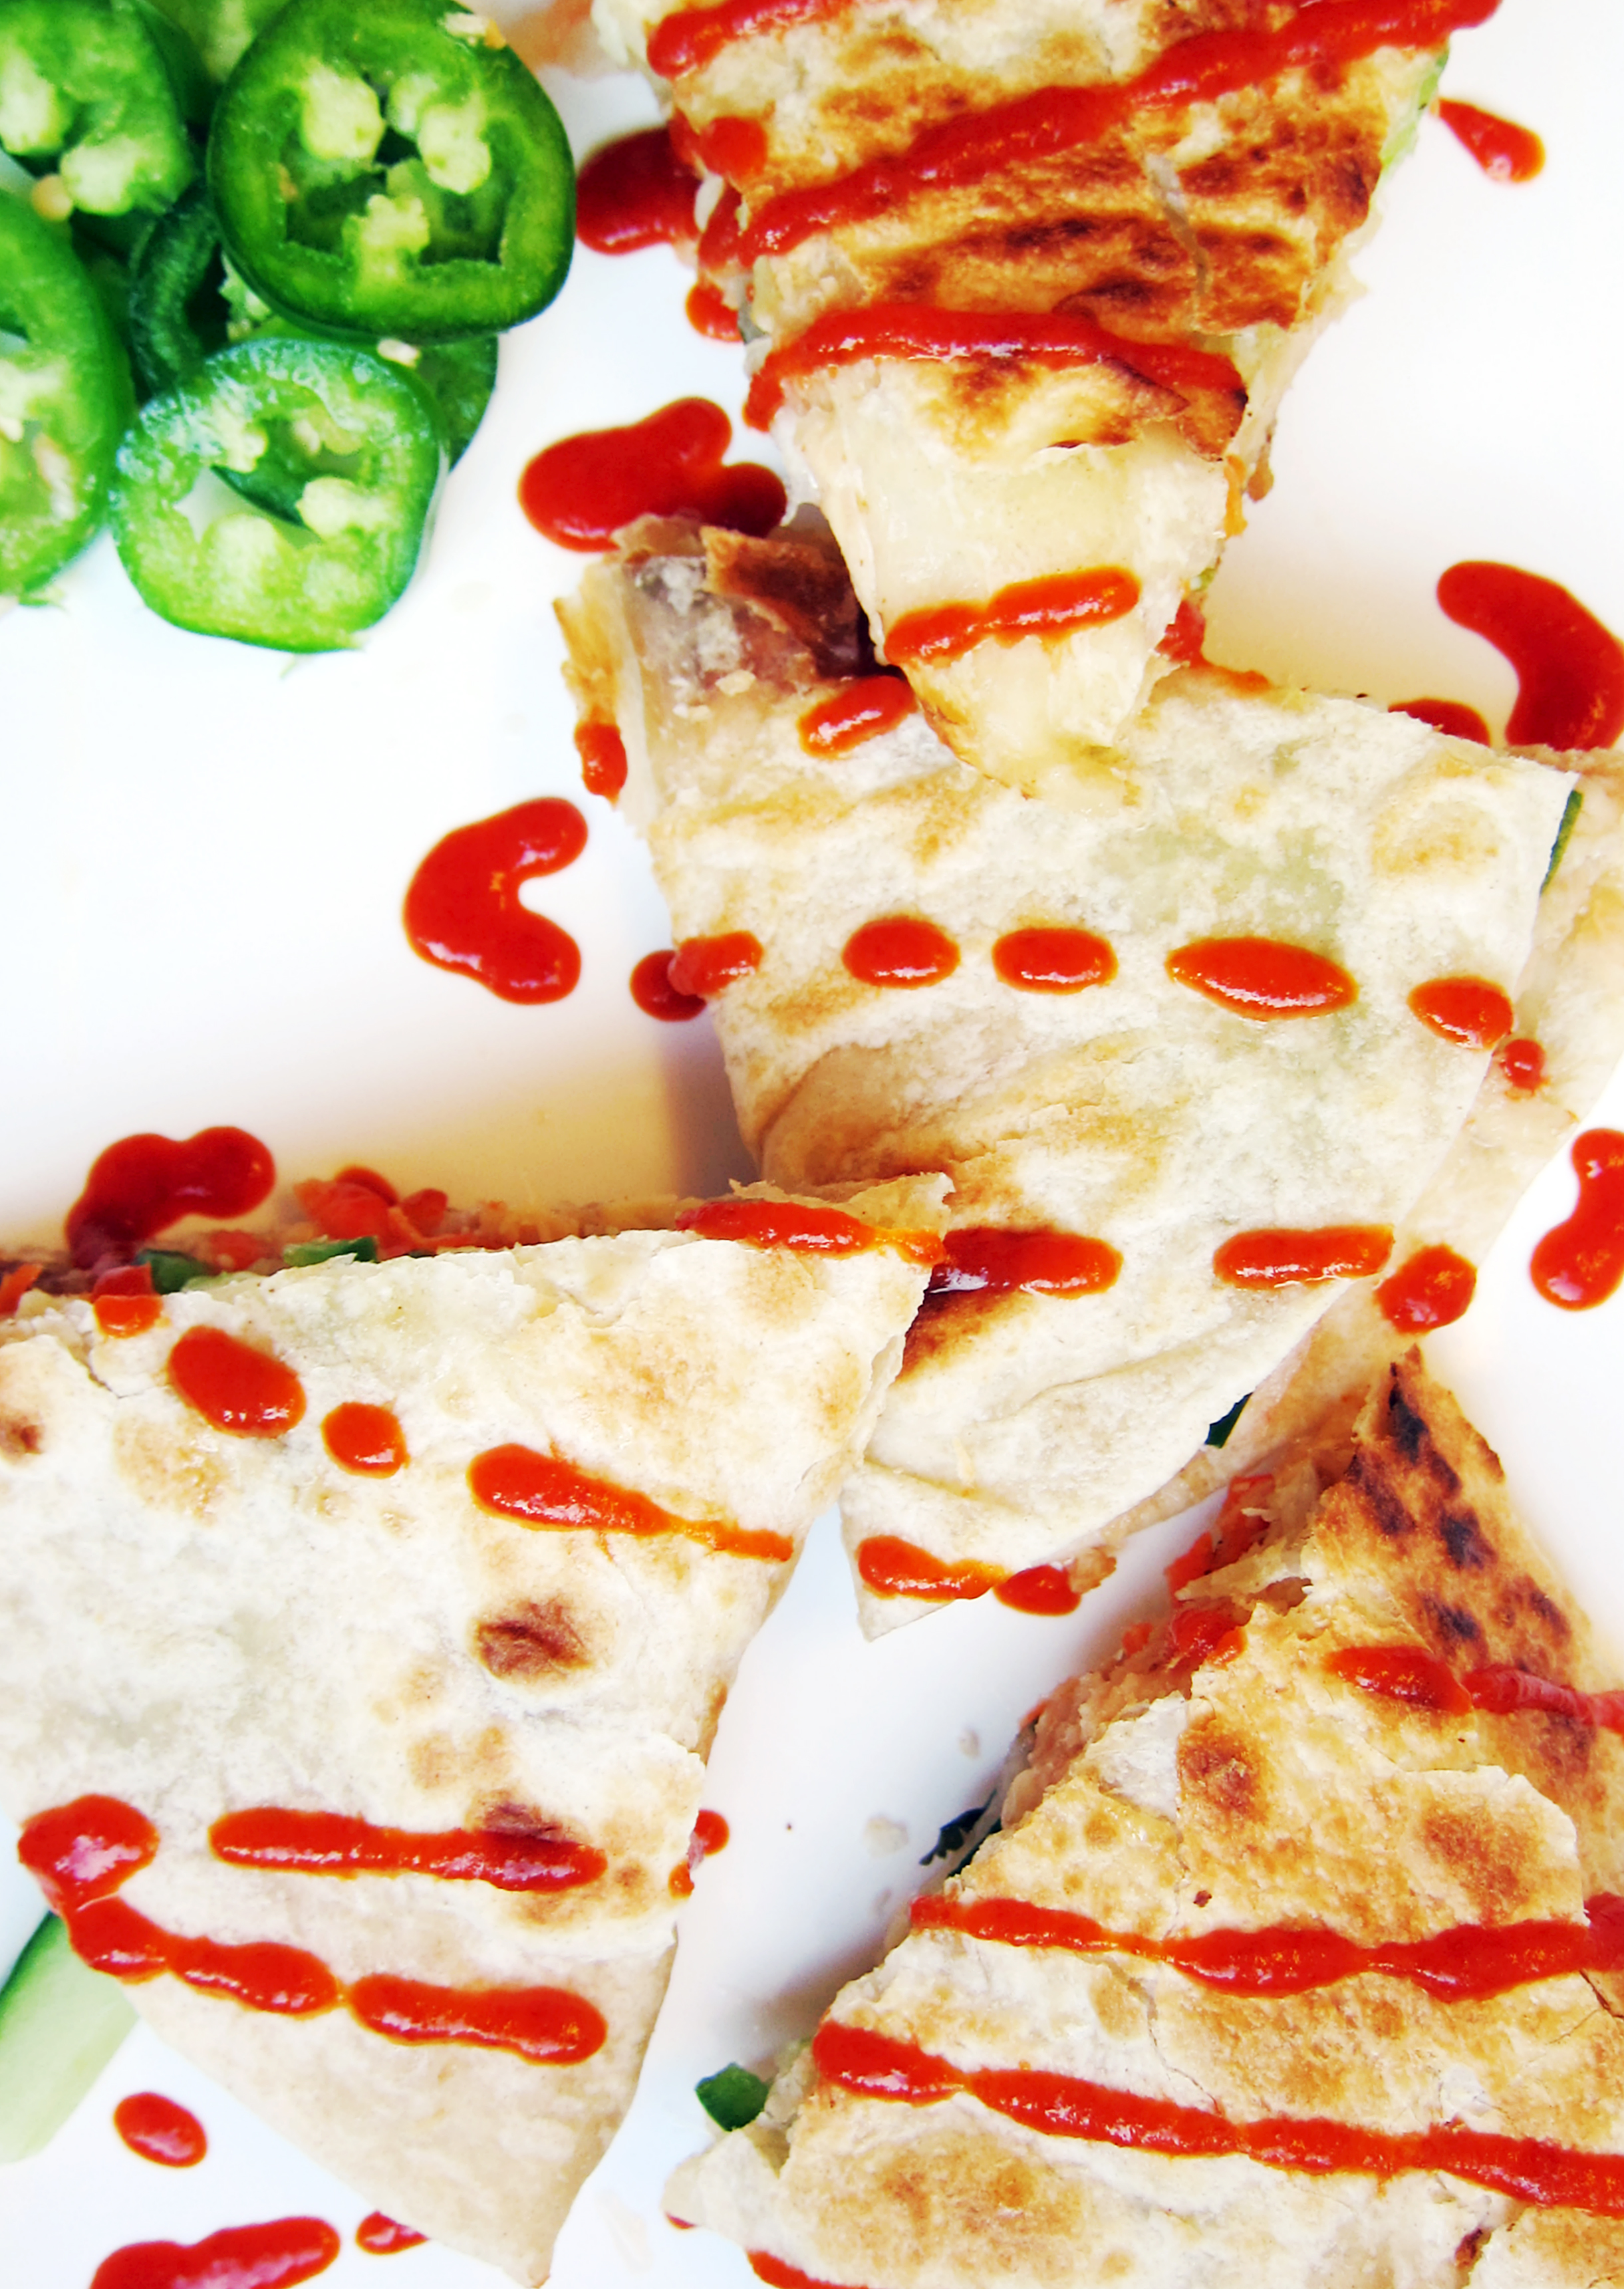
 This is a minimum two-day project. You need a day to pickle the shredded daikon and carrots. It wouldn’t hurt to make the shredded chicken a day before either because it’s a little complicated than the average chicken recipe. But when you bite into that crispy flaky tortilla filled with warm melty cheese, garlicky chicken, tangy pickled vegetables and the crisp crunchy cucumber and jalapeño, it will make you say, “I can eat this every day of my life.” Because I did… every time I made it this week.
 Bánh Mì Quesadillas (Vietnamese Quesadillas)
Pickled Daikon and Carrots
Ingredients:
1 large carrot
1 small daikon
2 tbsp. chopped fresh cilantro
½ c. vinegar
¼ c. sugar
½ c. water
Instructions:
- At least a day before making the quesadillas, grate the carrot and daikon over the large holes in a box grater.
- Heat vinegar, water and sugar together until sugar dissolves.
- Place carrot, daikon and cilantro in a heatproof bowl and pour the vinegar mixture over the vegetables.
- Once cooled, marinate in the refrigerator for at least 24 hours.
Vietnamese Fish-Sauce Shredded Chicken
Ingredients:
8 large cloves of garlic
½ tsp. kosher salt
¼ c. warm water
½ c. fish sauce
½ c. sugar
1 ½ lb. chicken, cooked and shredded
Instructions:
- Finely mince the garlic and place into a small bowl.
- Sprinkle salt over it and add warm water to the bowl and stir. Let rest for 5 minutes.
- Pour the garlic mixture over a sieve and push the garlic to extract as much juice as possible. Reserve the garlic juice and garlic bits separately.
- Stir fish sauce and sugar together with the garlic juice until sugar is dissolved.
- In a small pot, pour a few tablespoons of oil and heat until oil shimmers.
- Fry the reserved garlic bits until it turns golden brown and drain on a paper towel.
- Add the fish sauce mixture into the small pot and simmer until it becomes a thick sauce.
- Once thickened, pour over the shredded chicken and mix until completely covered.
- Add the fried garlic pieces and mix thoroughly.
Assembly
Ingredients:
pickled daikon and carrots
Vietnamese fish-sauce shredded chicken
seedless cucumbers, sliced into thin strips
mozzarella cheese, shredded
jalapeño, sliced thinly
flour tortillas*
Instructions:
- Heat a nonstick pan over medium heat.
- Toast the tortillas on both sides. (If using the cook and serve tortilla, cook the tortilla on both sides.)
- Spread mozzarella cheese evenly across a tortilla and melt.
- Once the cheese has melted, spread the shredded chicken over half of the tortilla.
- Layer the pickled daikon and carrots, followed by the cucumber and then the jalapeños.
- Fold tortilla in half and press down to secure the fillings.
- Remove from pan and cut into wedges.
- Enjoy
* I highly recommend the cook-and-serve flour tortillas from TortillaLand.
** Picked daikon and carrot adapted from All Recipes.
*** Vietnamese fish-sauce shredded chicken adapted from Pok Pok by Andy Ricker.


 Whenever I decide to make tacos, I usually buy more corn tortillas than I need and freeze the leftovers for another day. If you toast it over a (clean) gas burner, it reheats well and becomes soft and pliable in the middle and toasty crisp on the edges. I happened to have some frozen corn tortillas in the freezer and decided to make quick tacos.


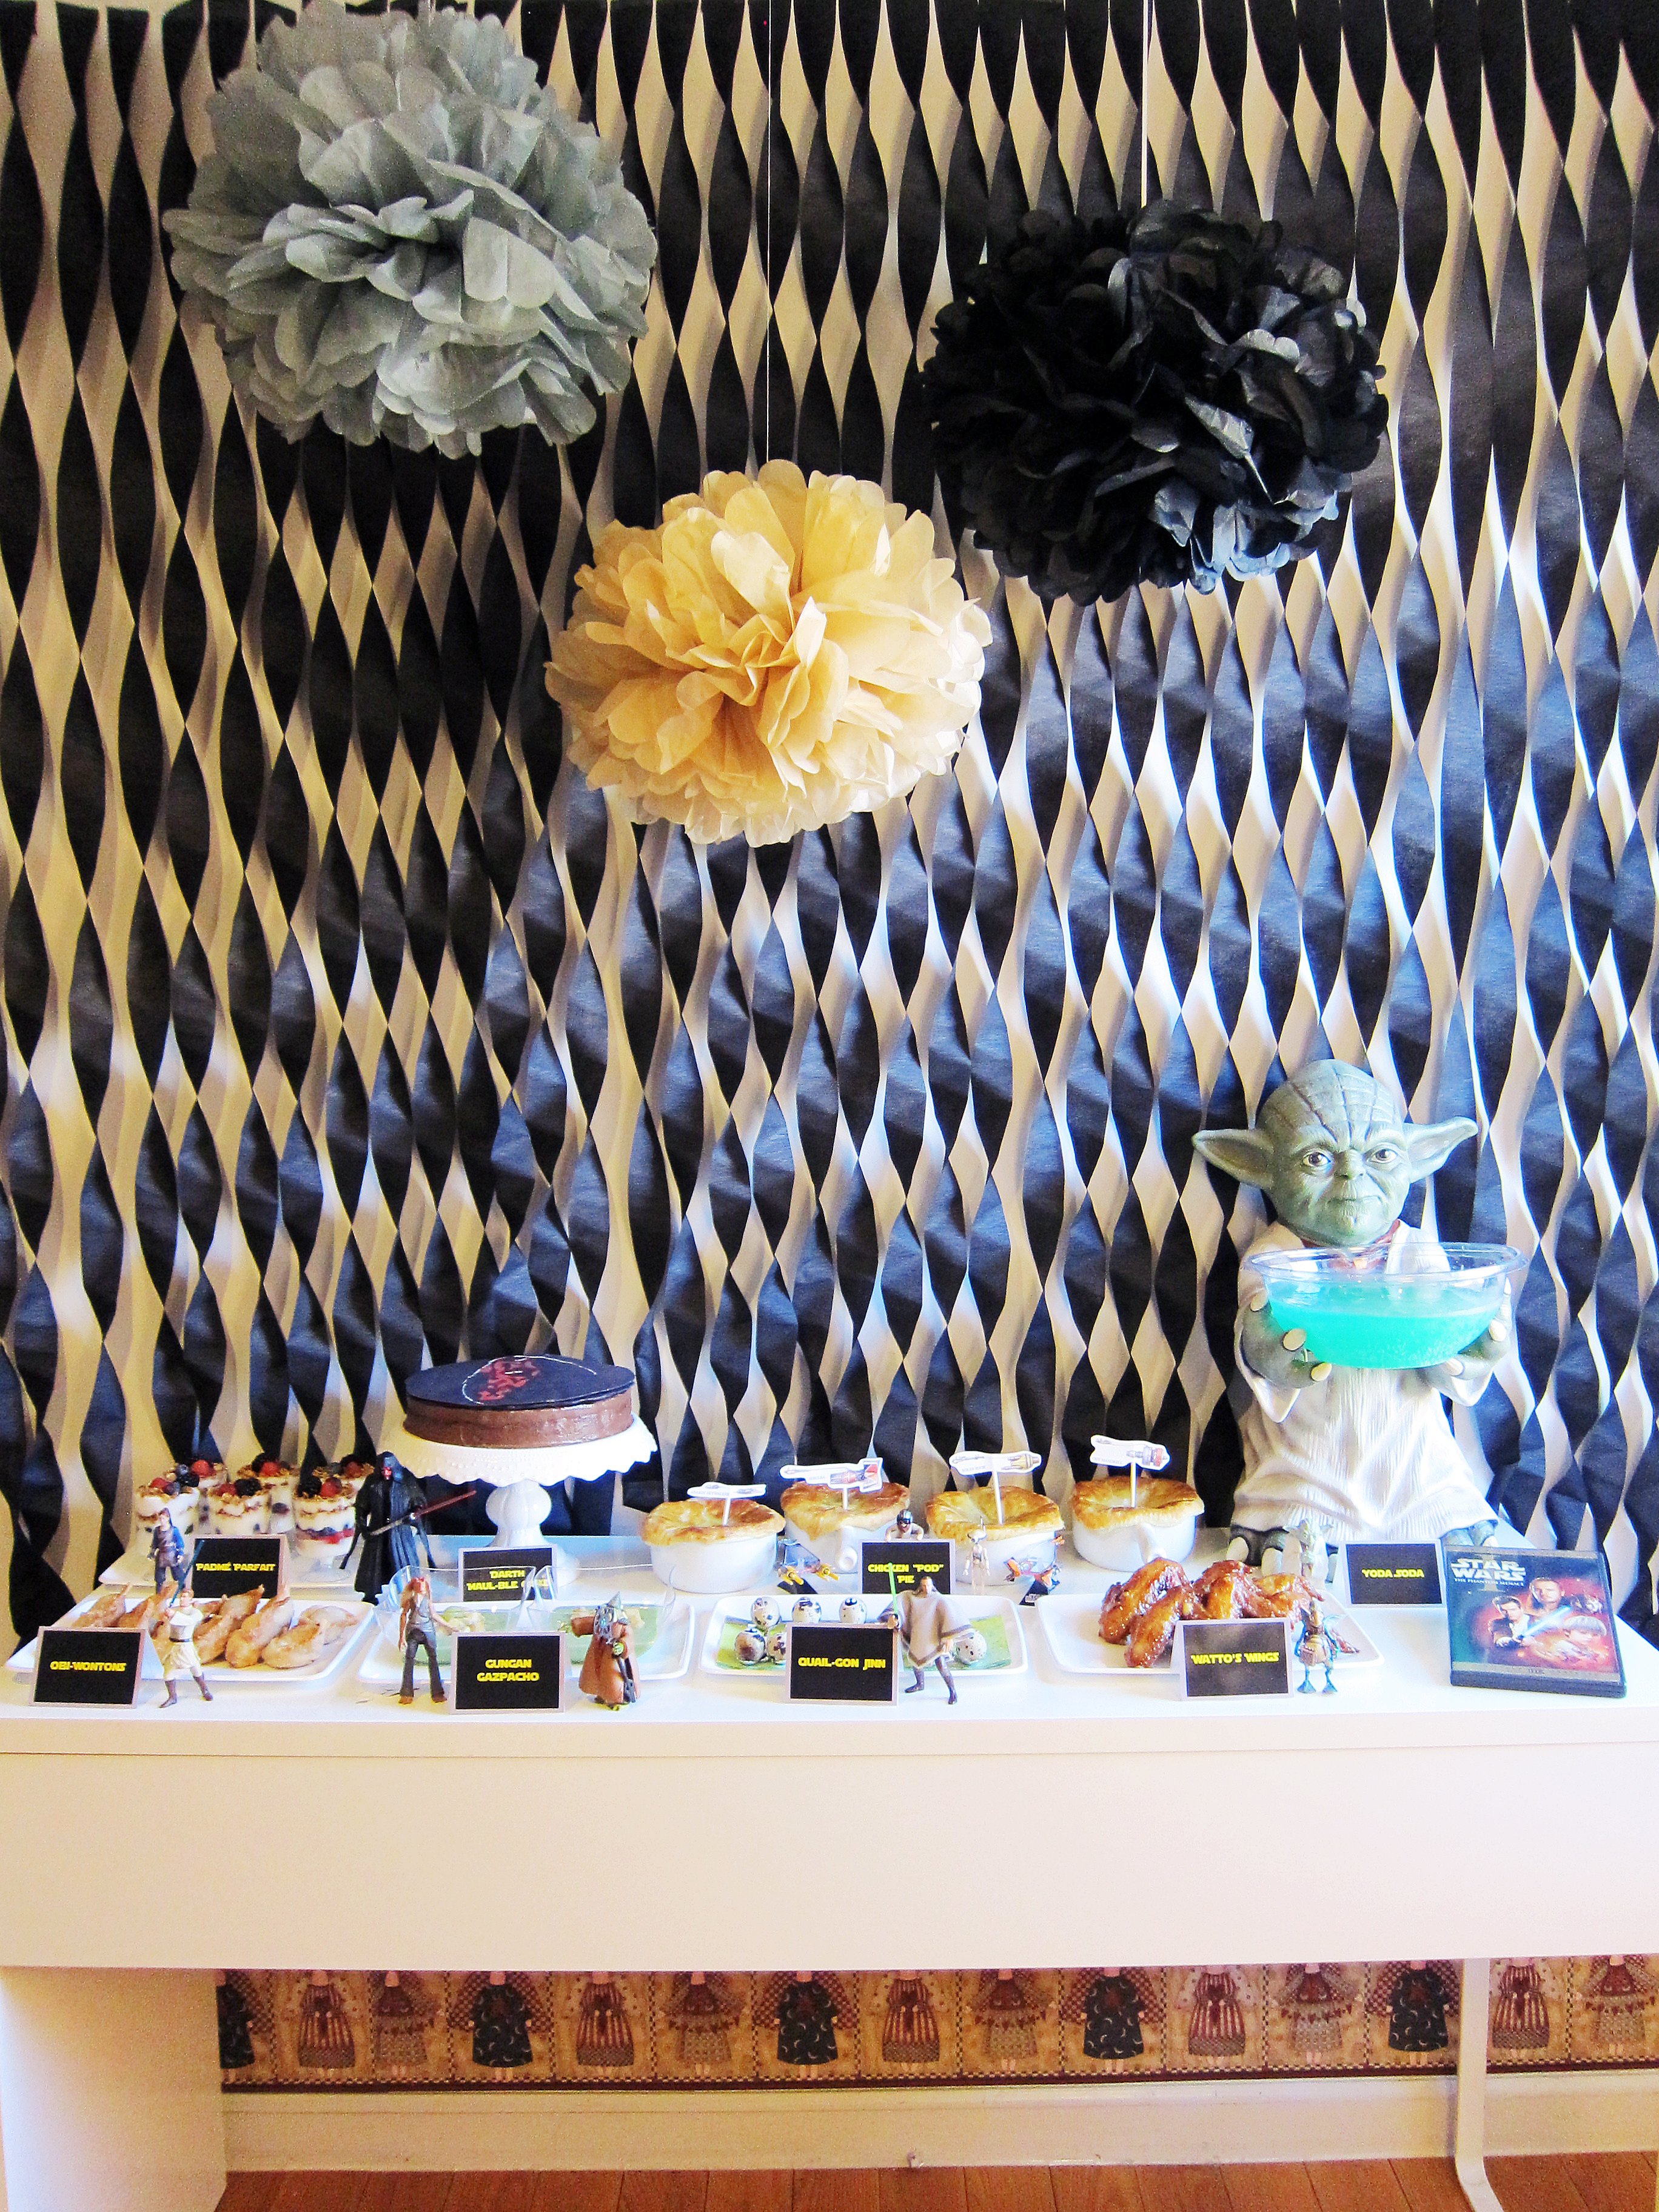

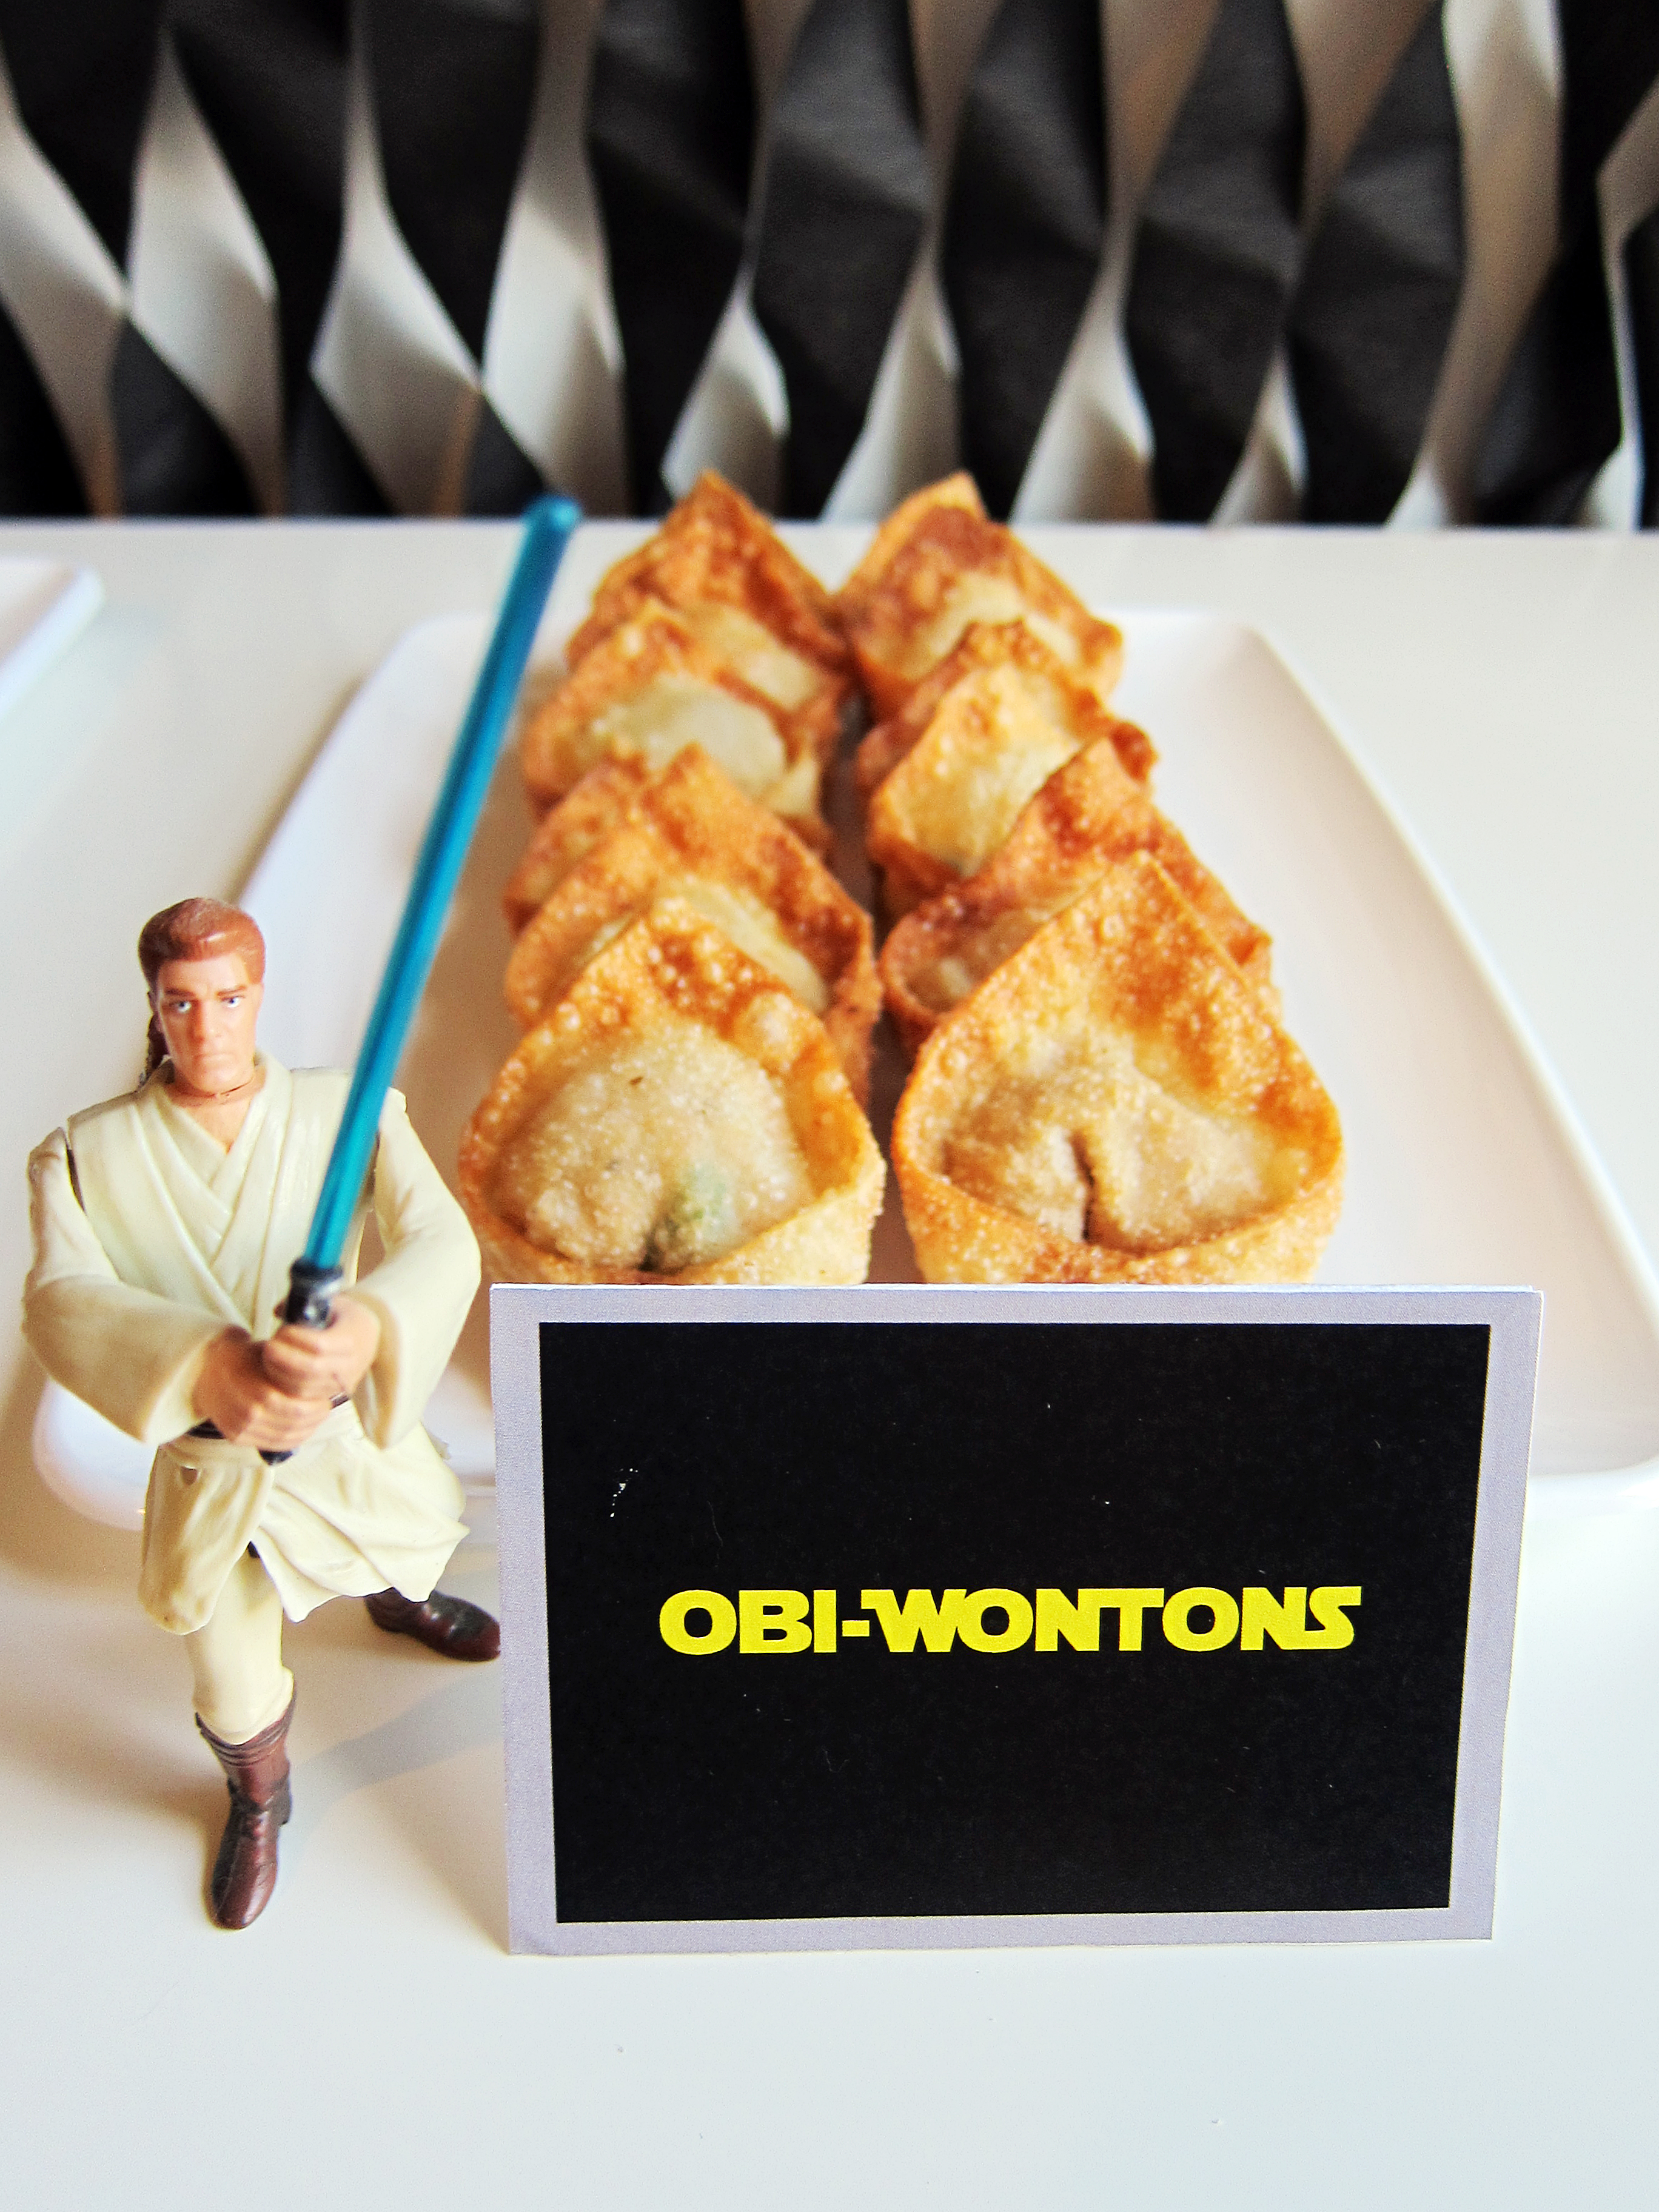
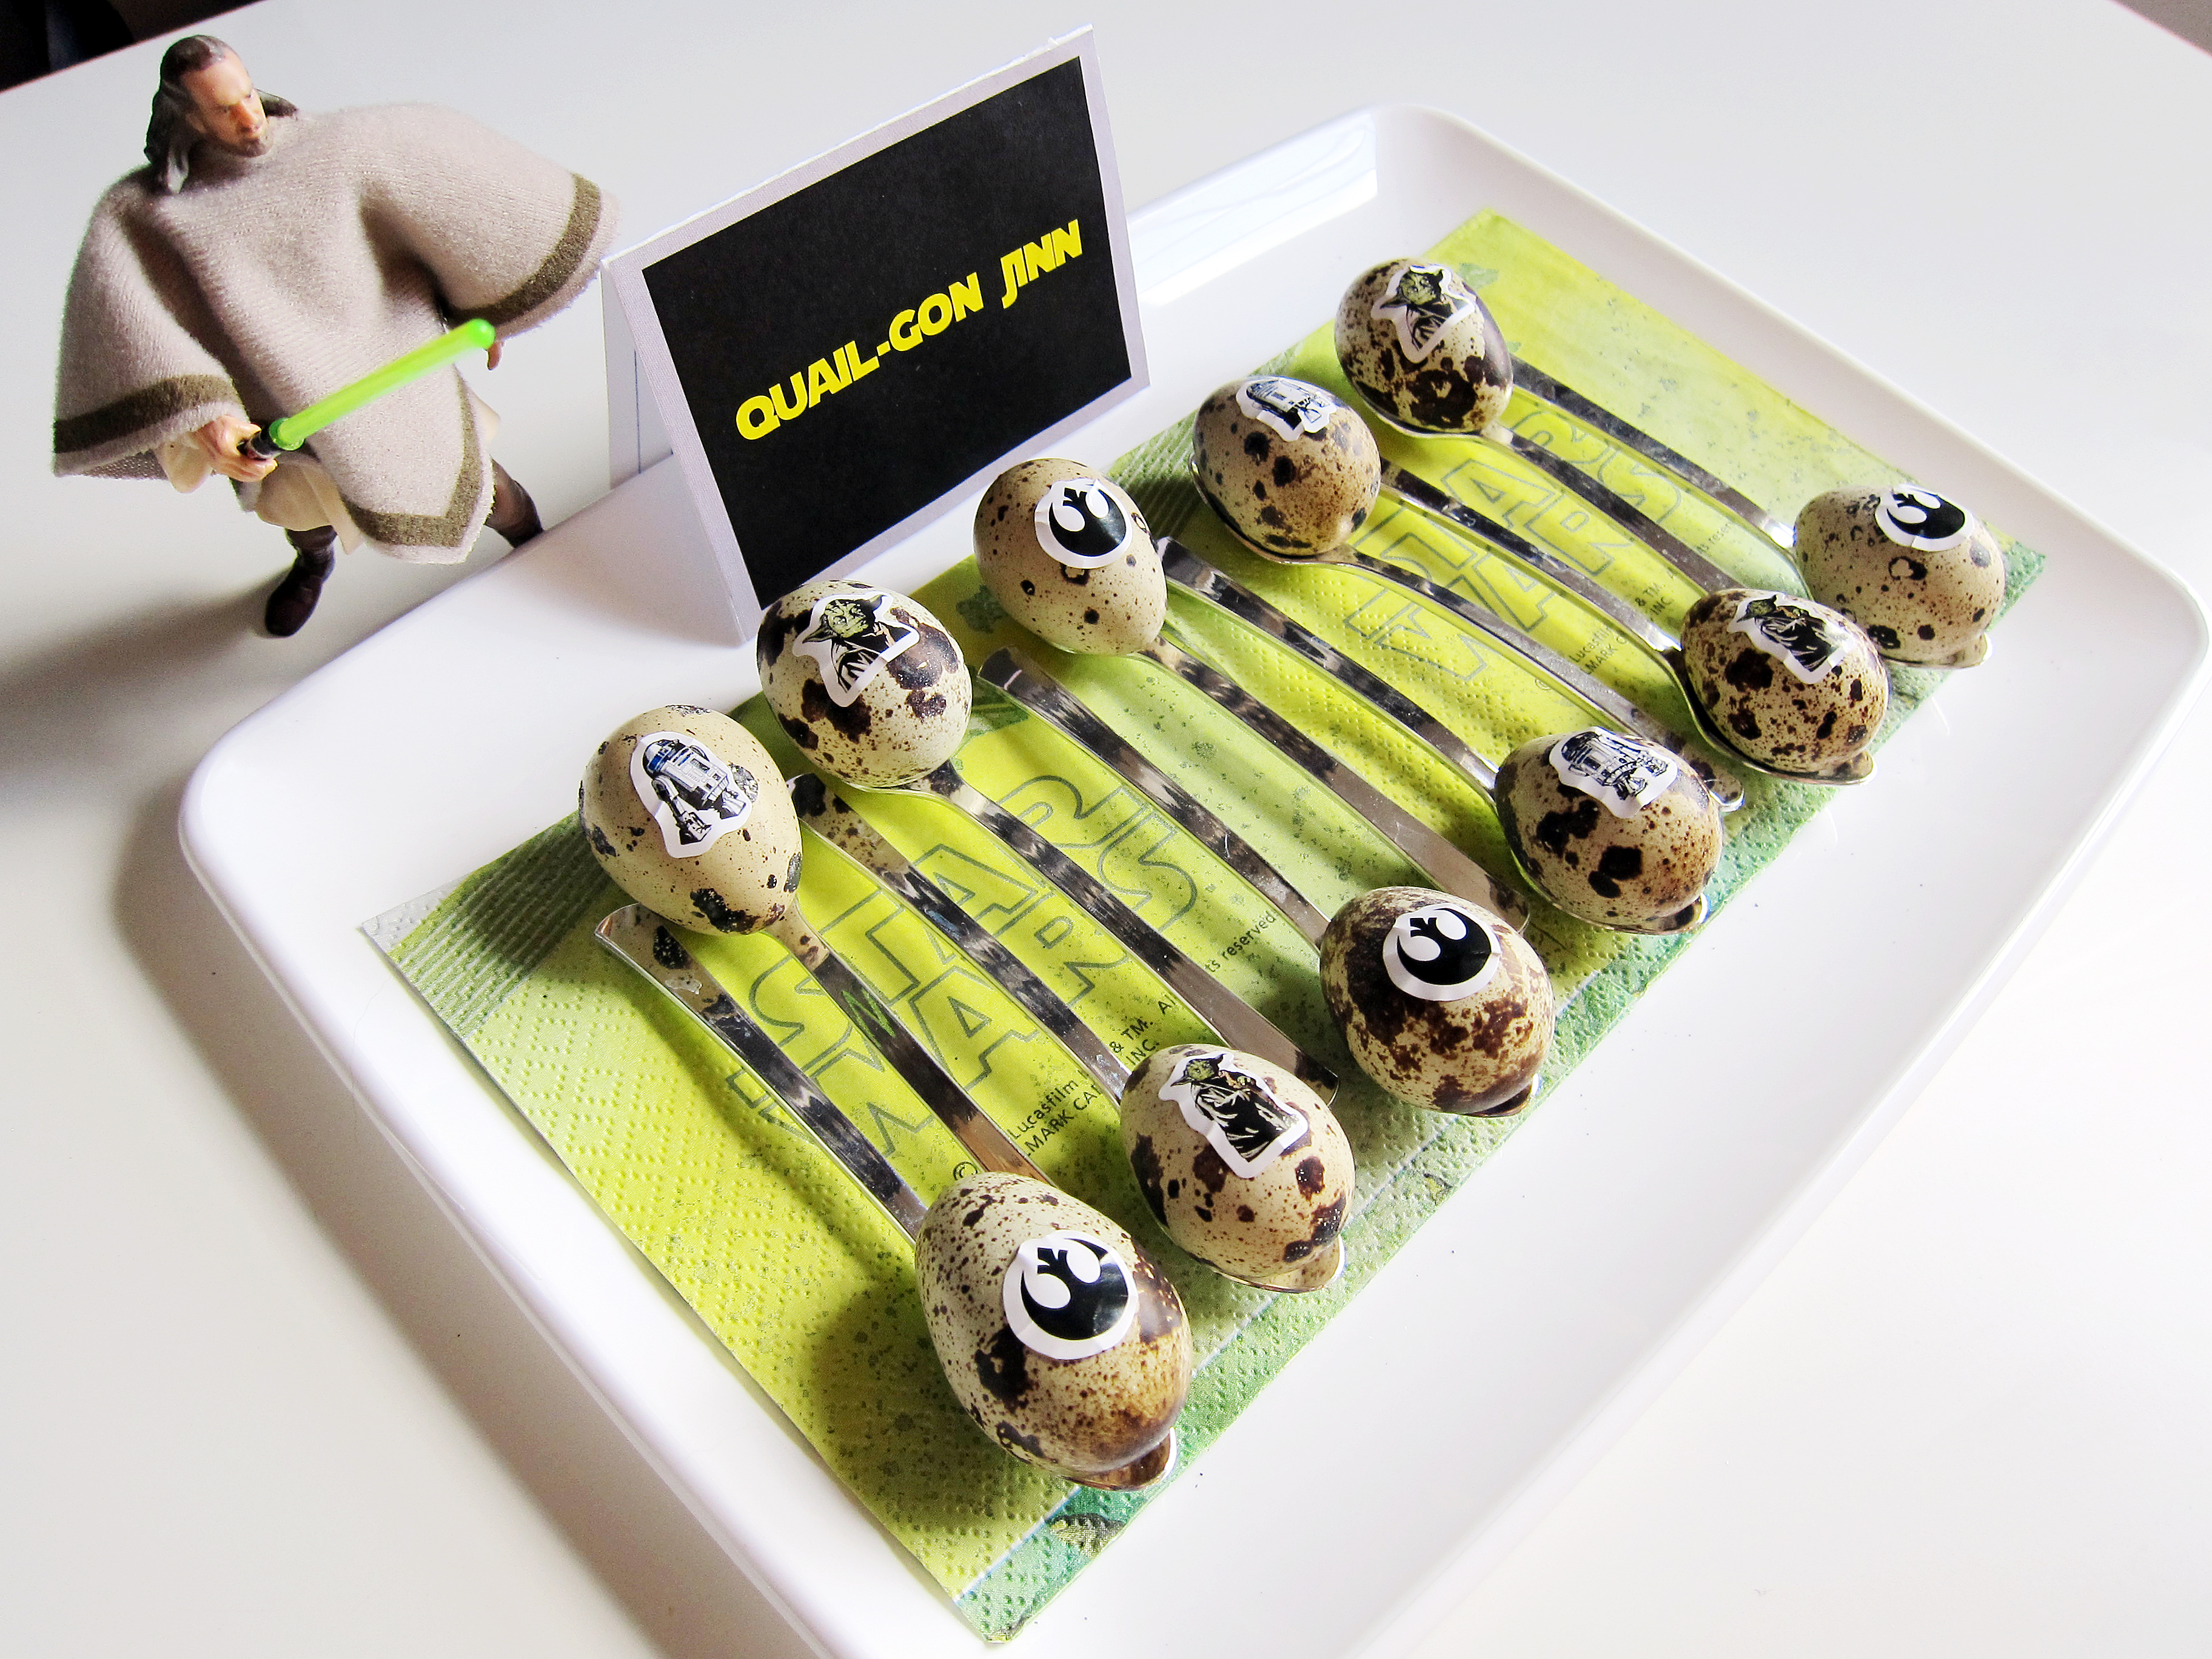
 This year‘s party theme was Episode 1: The Phantom Menace, so all of the food and activities were centered on Episode 1 characters and settings. Here are the things we made for SW Day*:


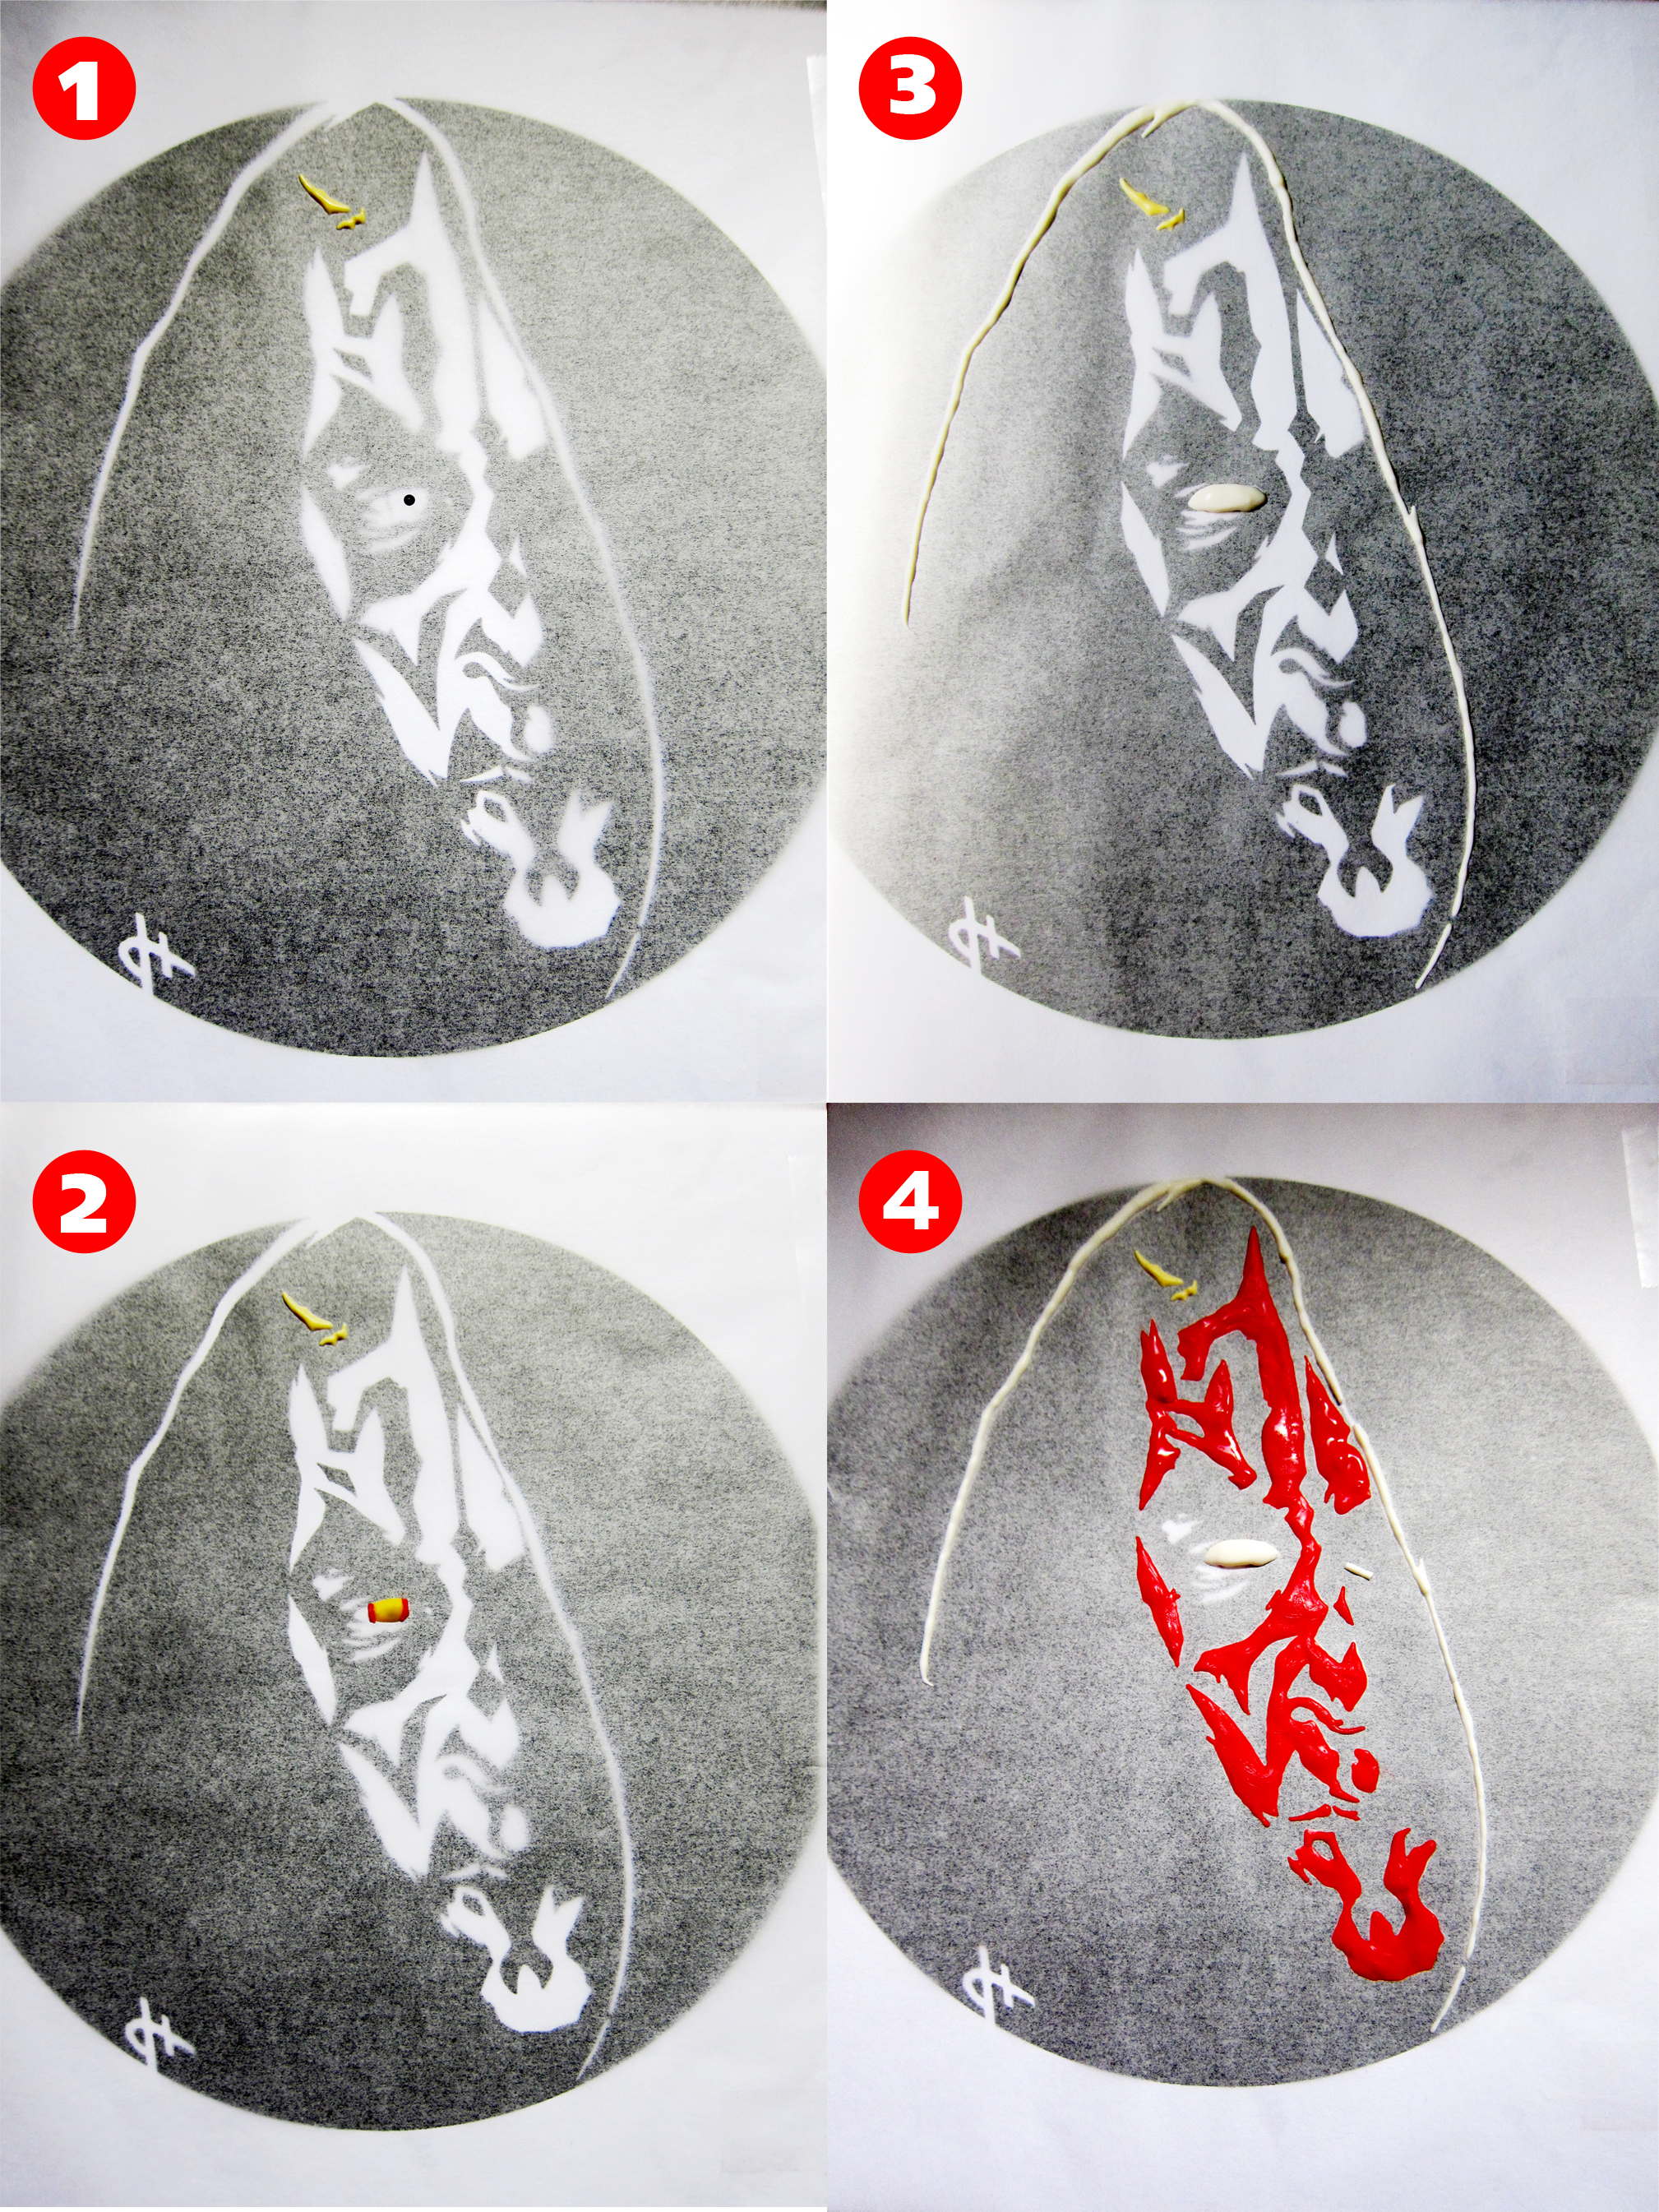
 Darth Maul-ble Cake
