 If you’ve been a reader of my blog, you would know that I’m kind of a Star Wars fan. If you haven’t, you might want to check out a couple of parties I’ve thrown (here and here). So you can imagine how excited I am for the next installment to the Star Wars Series. (Very.)
 I swear I got goosebumps the first time I saw the trailer. But what caught my eye the most was the glimpse of the new droid, BB-8. At first, I thought it was a head rolling on a soccer ball, but it’s not. It’s a droid and a really cute one too. When I saw that they released a BB-8 droid, I was very tempted to buy it. But then what would I do with it? It would probably sit there collecting dust or I could make Bear chase it around. I think I would rather put the money towards a new pair of shoes. But then again, it’s like a functioning mini droid. Ahh… first world problems.
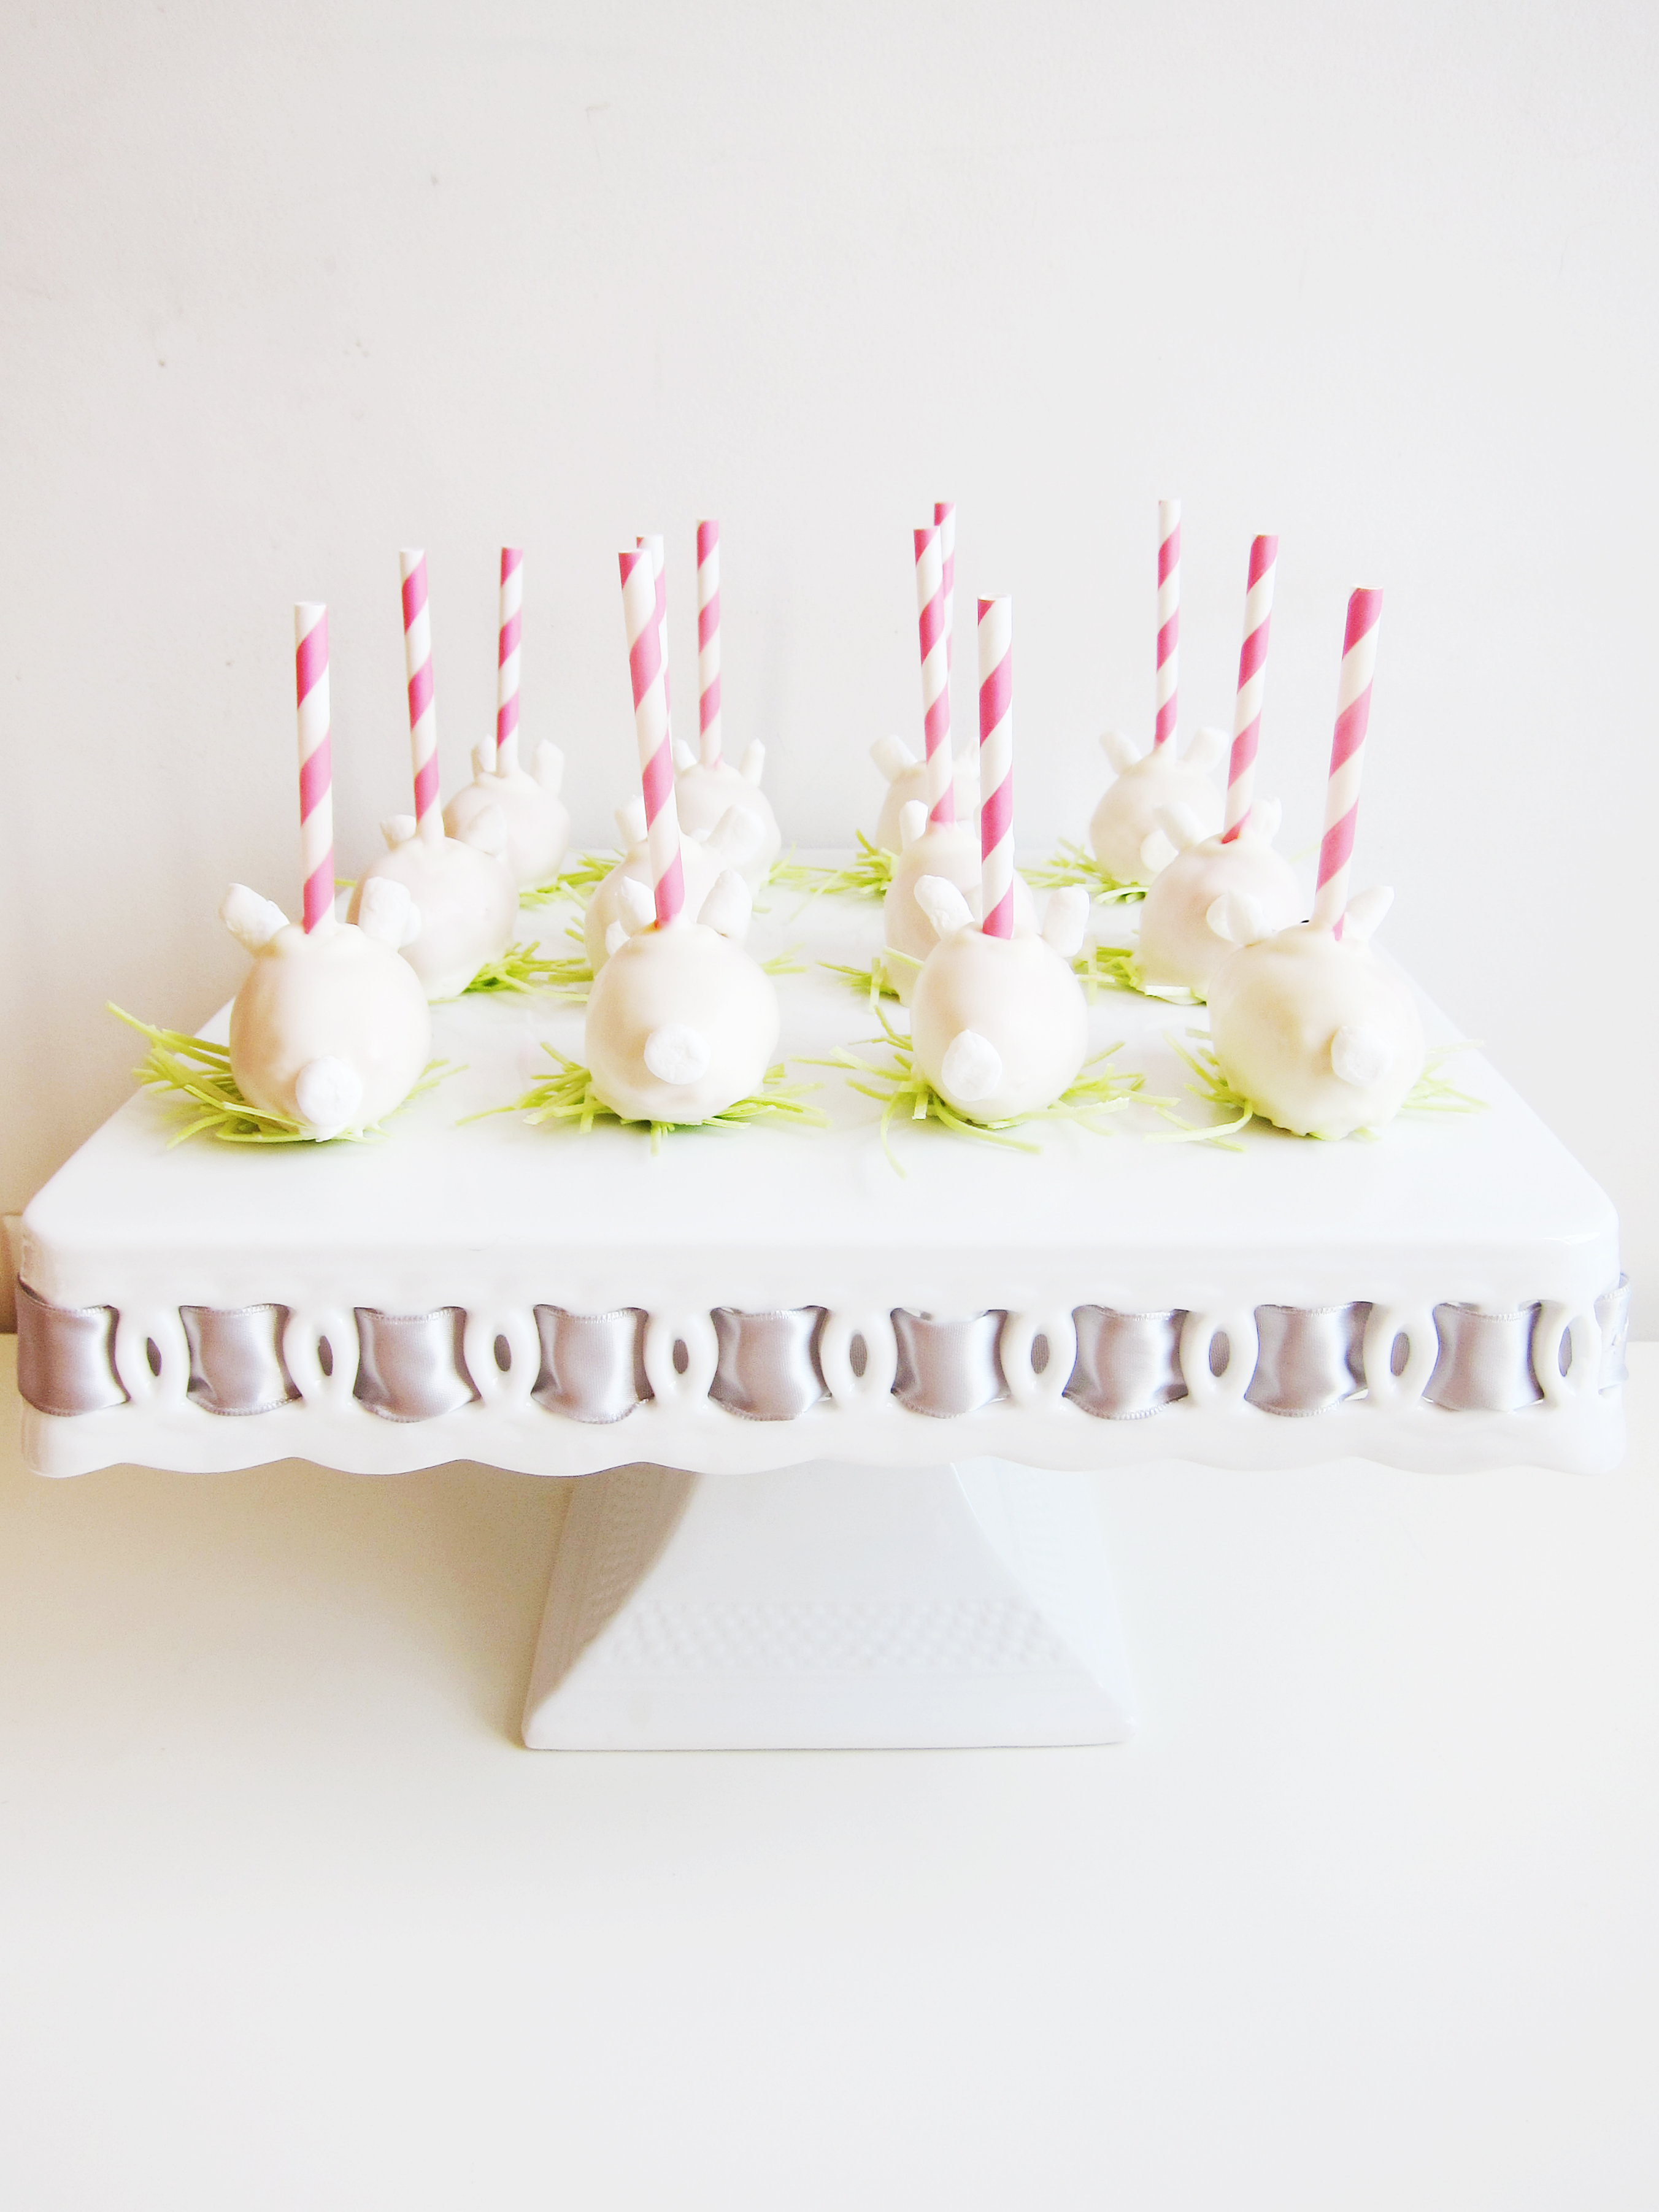
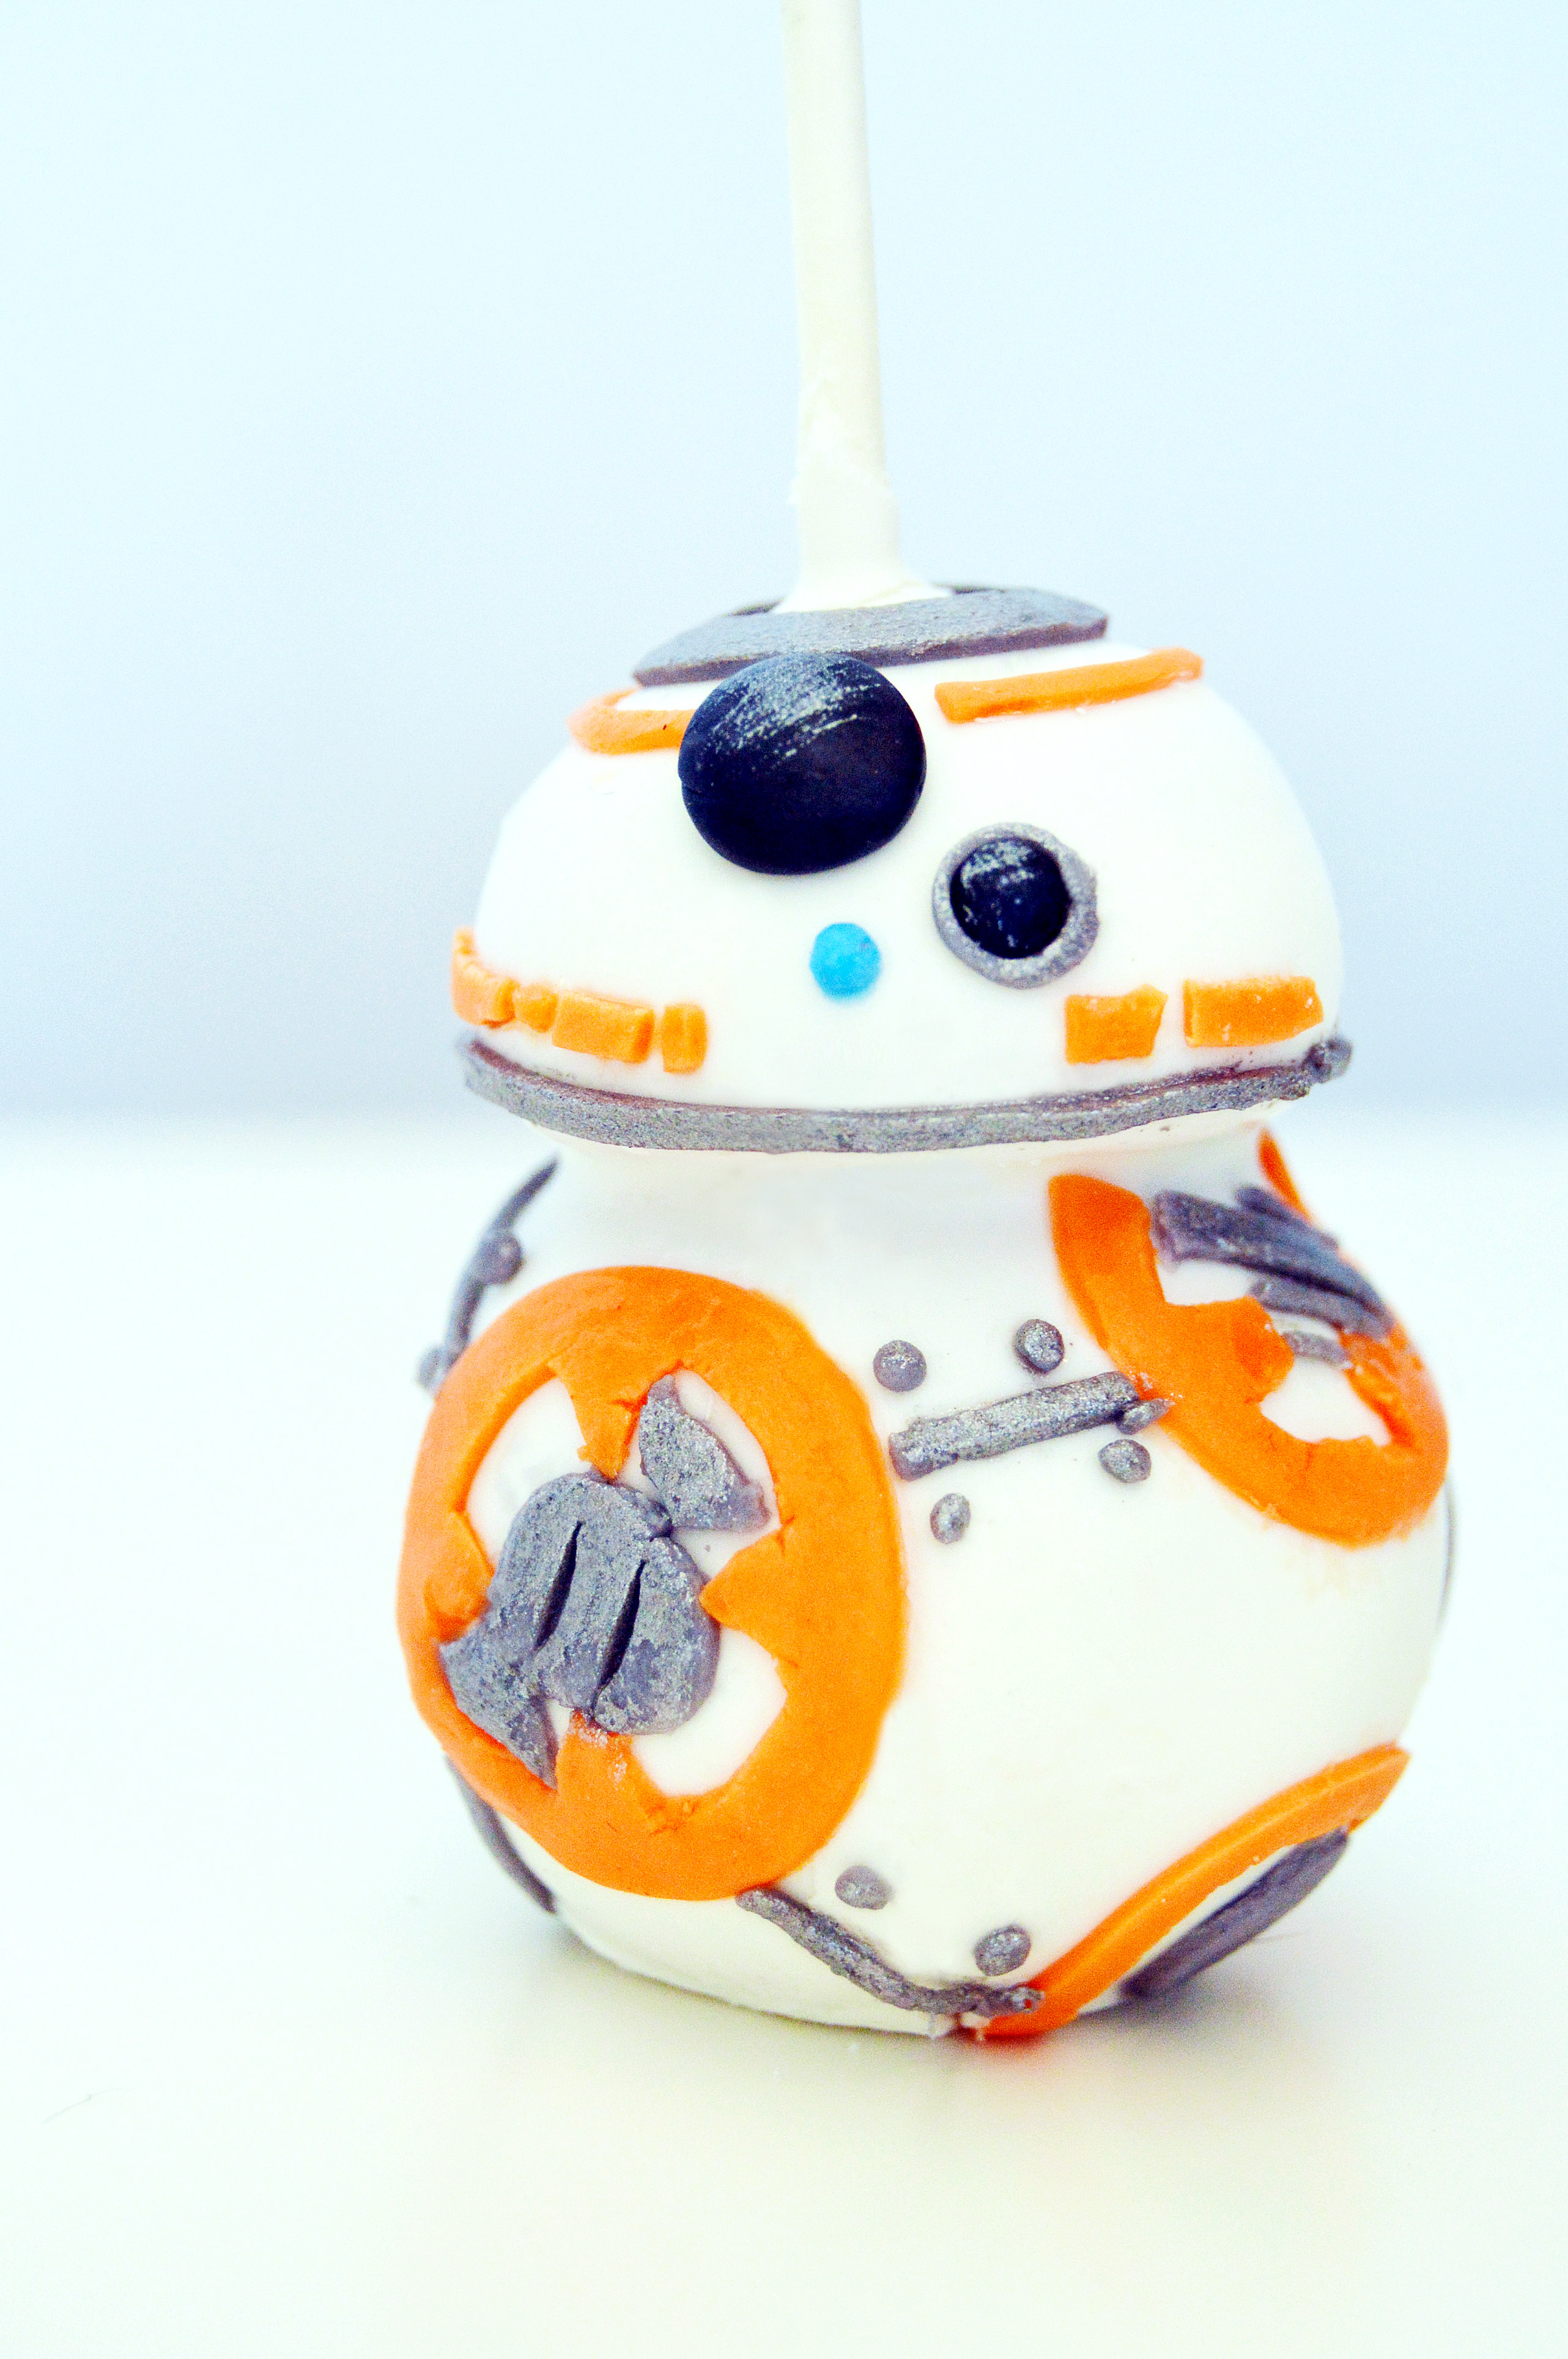
 So I built myself a mini droid of my own, a cake pop. A ridiculous, time-consuming but adorable cake pop. Now, if I can only get it to roll around on its own…

BB-8 Cake Pops
You will need:
1 batch of vanilla cake (or boxed cake if you prefer)
1 batch of vanilla frosting (or canned frosting if you prefer)
cake pop sticks
white candy melts
gray fondant
blue fondant
orange fondant
black fondant
water, to attach the fondant
thin paintbrush
silver shimmer dust (edible)
vodka
x-acto knife (highly recommended to cut out tiny shapes)
- Crumble cake to cake crumbs and add in frosting ¼ c. at a time, until you get a play dough consistency. You want to make sure you work in the frosting completely, and that every crumb is mixed evenly.
- With ¾ of the cake dough, roll 1 ½ tablespoon sized balls. With the ¼ of the cake dough, roll 1 tablespoon sized balls. Chill thoroughly.
- Remove from fridge and using floss or a sharp knife, cut the 1 tablespoon sized balls in half (this is the head).
- On a cake pop stick, insert the half sphere cake ball followed by the round 1½ tablespoon sized cake ball. (As shown in the picture above. Picture 1)
- Melt white candy melts and coat the entire cake pop completely.
- Set it to the side to dry and set. Continue with other cake pops until all of them are coated. (As shown in the picture above. Picture 2)
- From this point forward, use the thin paintbrush and water to glue the fondant pieces onto the cake pop.
- Cut out a thin gray stripe of fondant and wrap around the top of the cake pop. (As shown in the picture above. Picture 3)
- Round out a pea-sized black fondant and shape it to a hemisphere and attach it slightly below the center of the gray stripe. (As shown in the picture above. Picture 4)
- Cut out a very thin orange stripe of fondant and wrap around below the gray fondant stripe stopping at the upper third part of the black fondant. (As shown in the picture above. Picture 5)
- Round out a small head of a pin sized black fondant and attach it diagonally from the pea sized black fondant. (As shown in the picture above. Picture 6)
- Cut out a very thin gray stripe and wrap around the circumference of the head of BB-8. (As shown in the picture above. Picture 7)
- Cut out tiny squares and rectangles from the orange fondant and attach it above the very thin gray stripe, on the outer third of the cake pop. (As shown in the picture above. Picture 8)
- Use a small dab of blue fondant and attach it below the pea sized black fondant. (As shown in the picture above. Picture 9)
- Cut out ¾ in. circles and cut out an “x” shape in the center. Attach it to the bottom left hand corner of the cake pop. (As shown in the picture above. Picture 10)
- Attach another circle to the upper right hand corner of the cake pop, cutting out the top portion. (As shown in the picture above. Picture 11)
- Cut out a small orange stripe and attach it to the bottom right hand corner of the cake pop. (As shown in the picture above. Picture 12)
- Using the gray fondant, cut out a small pea sized gray circle. Cut into thirds and place inside the center of the orange circle on the left hand corner. (As shown in the picture above. Picture 13)
- Cut out two small triangles and place on the opposite ends of the small gray circle. (As shown in the picture above. Picture 14)
- Cut out some random stripes of thin gray fondant and place on the center of the orange circle in the upper right hand corner. (As shown in the picture above. Picture 15)
- Cut out small gray circle and place in center of orange circle in the lower right hand corner. (As shown in the picture above. Picture 16)
- Cut out thin gray fondant stripes, and connect orange circles. (As shown in the picture above. Picture 17)
- Using tiny pieces of gray fondant, dot the corners of the gray fondant stripes, making “rivets”. (As shown in the picture above. Picture 18)
- Using a very thin strip of gray fondant, outline the smaller black dot on the head. (As shown in the picture above. Picture 19)
- Mix few droplets of vodka into the silver shimmer to create edible silver paint.
- Using a very thin brush, paint the gray fondant of the cake pop to give it a metallic sheen. You can also give a swipe of paint to the black circles to give it dimension. (As shown in the picture above. Picture 20)