 Why is s’mores a “summer” thing? Toasted marshmallows and melty chocolate seem more suited for winter, no? Because I like it so much, I decided to go homemade on all the components of it. I’m not knocking on my ol’ standby of Honey Maid graham crackers, Jet-Puffed marshmallows and Hershey’s chocolate, but sometimes a girl’s gotta do some from-scratch projects.
 I guess (for most people) the deciding factor boils down to: is it worth it? I won’t lie that the store-bought s’mores are almost as good and are way quicker to make, but do you see the char on that homemade marshmallow? You just can’t get the same toast on a ready-made version. If there was one component of the cookie that is worth making, it would be the marshmallows. The texture and flavor is unbeatable when compared to its commercial counterpart.
 A couple of notes about making marshmallows: 1) It is very sticky. Do not wrestle with it or try to get every bit out of the mixer. 2) Gelatin smells. When you whip up the gelatin and hot sugar mixture, it will smell awful. It’s hard to explain…but to me, it kind of smells like a farm? (I once took a class in college that required me to take care of a cow. It takes me back to that experience every time.) Either way, it is not a pleasant smell, but it will dissipate when the mixture cools. 3) You NEED a thermometer. There is no way around it. My thermapen might be the most used kitchen gadget and is worth every penny. Please, do not try and buy the $10 thermometers on Amazon. I promise you, you will not regret it.
 Homemade graham crackers are more flavorful and you can cut them into any shape and thickness that you want. Plus, you know every single ingredient that goes in it. And as for the chocolate coating, you can use way better quality chocolate. Oh! I tried using the sous vide cooker to temper chocolate and I’m not kidding, the best way to do it, EVER. We were having lunch as a group the other day and I was talking smack about my sous vide cooker… how it takes forever, how it’s only good for making steaks. But after this experience, I take it all back. I’m sorry I talked smack about you, I love you forever.
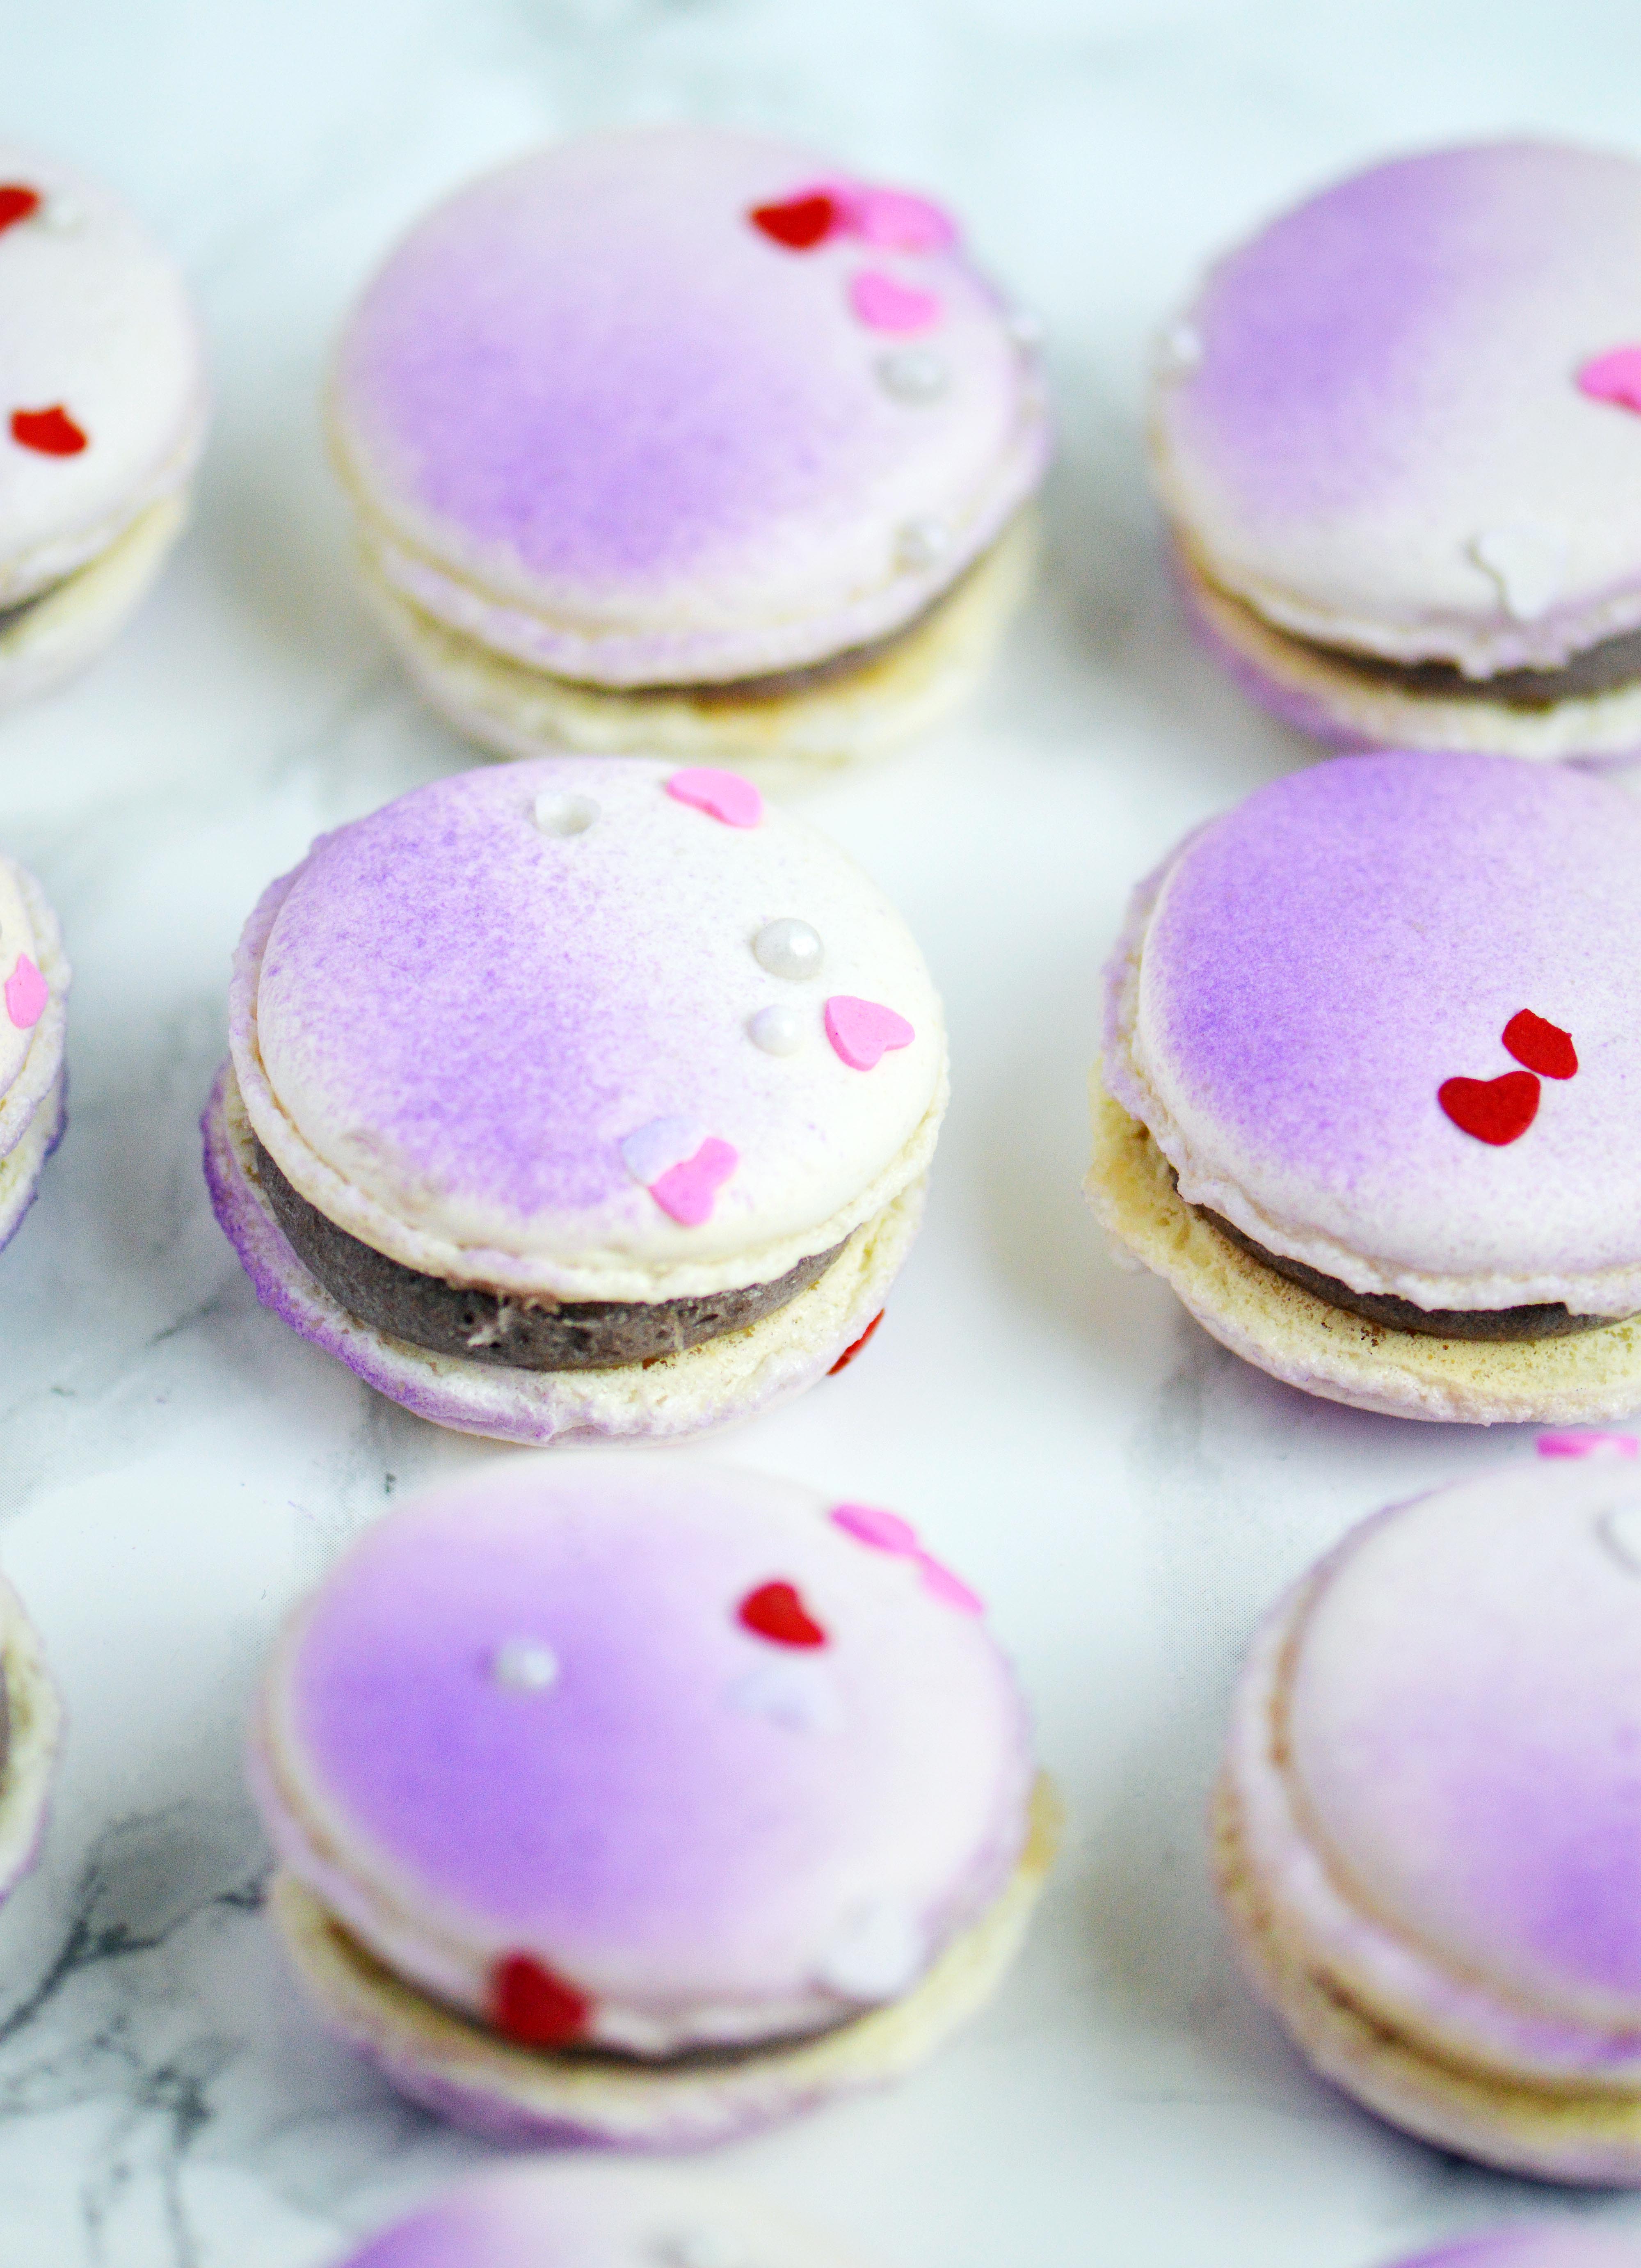
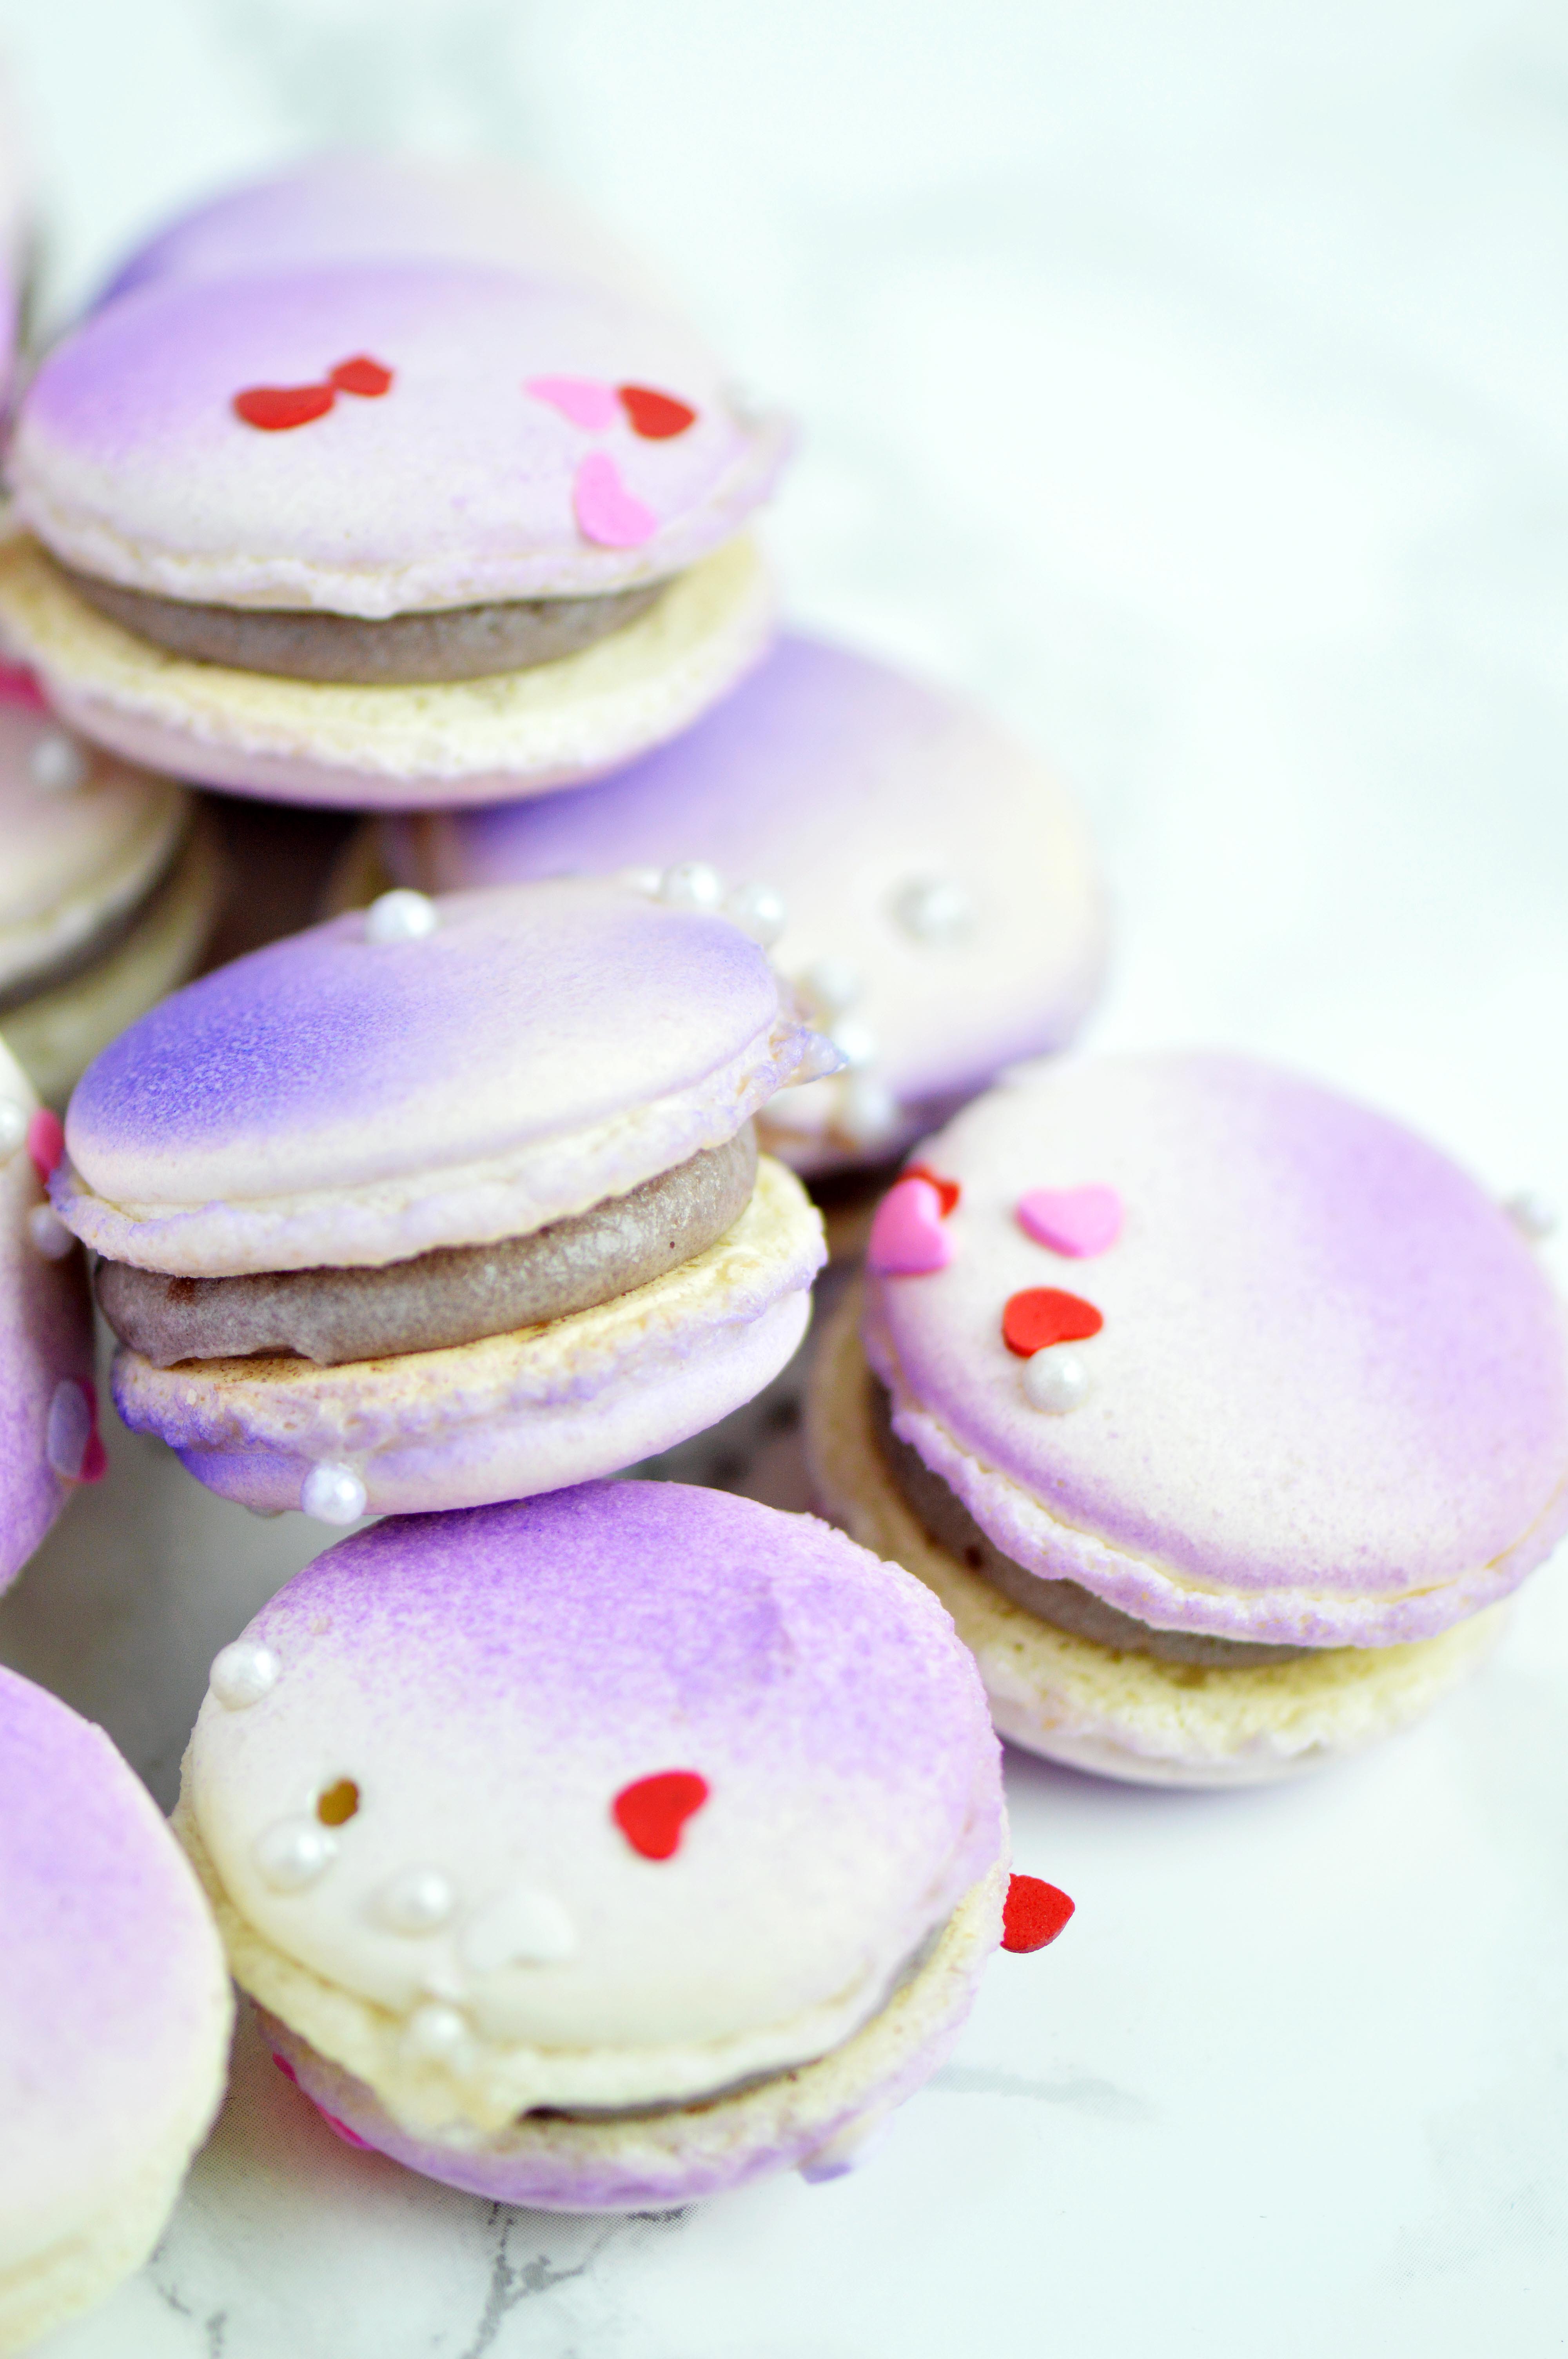
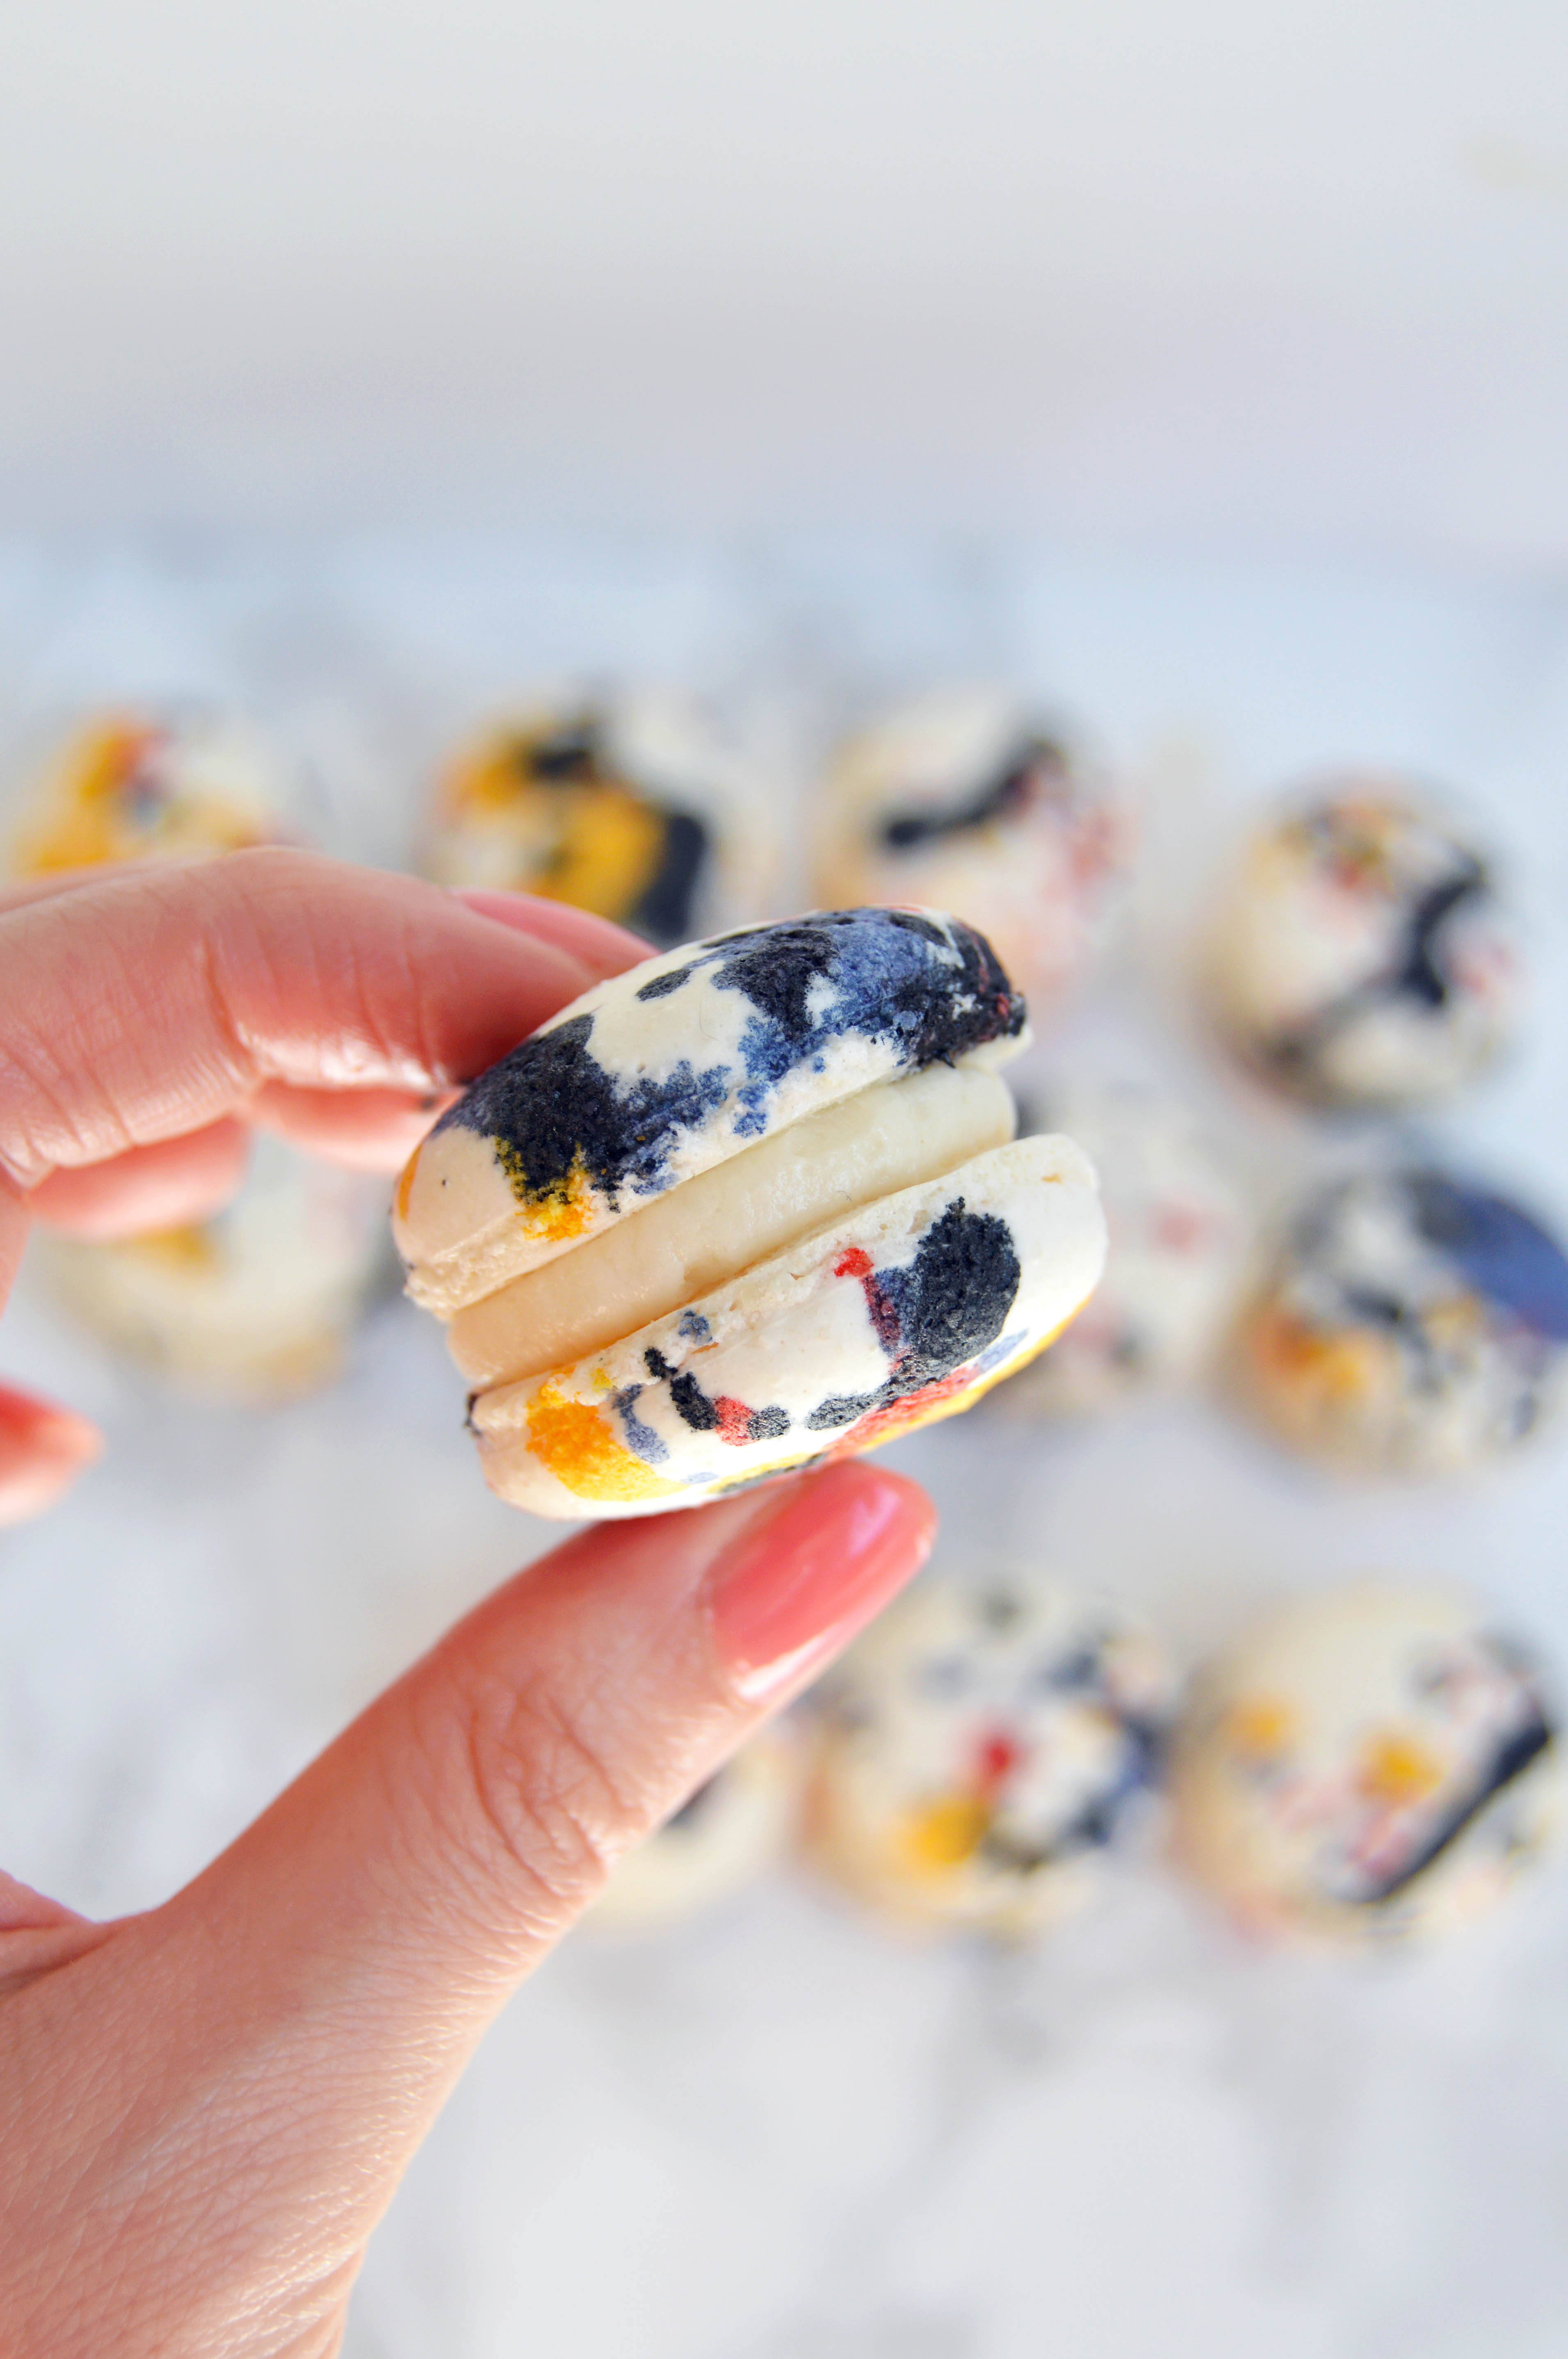
 S’mores is one of my favorite cookies because it combines everything I like: crisp cookie, a soft-chewy marshmallow and rich chocolate. So I decided to share it with you guys along with a bunch of other cookies from my very talented blogger friends! Seriously, the list is outrageously delicious. If a recipe stands out to you, please visit and show them some love!
S’mores Cookies
You will need:
Homemade graham crackers (recipe below)
Homemade marshmallows (recipe below)
8 oz. chocolate, tempered (I used the sous vide method here)
Toppings, optional
Instructions:
- Put all the chocolate in a tall container for easier dipping. I used a 2-cup pyrex measuring cup.
- Have a sheet pan lined with a parchment paper ready.
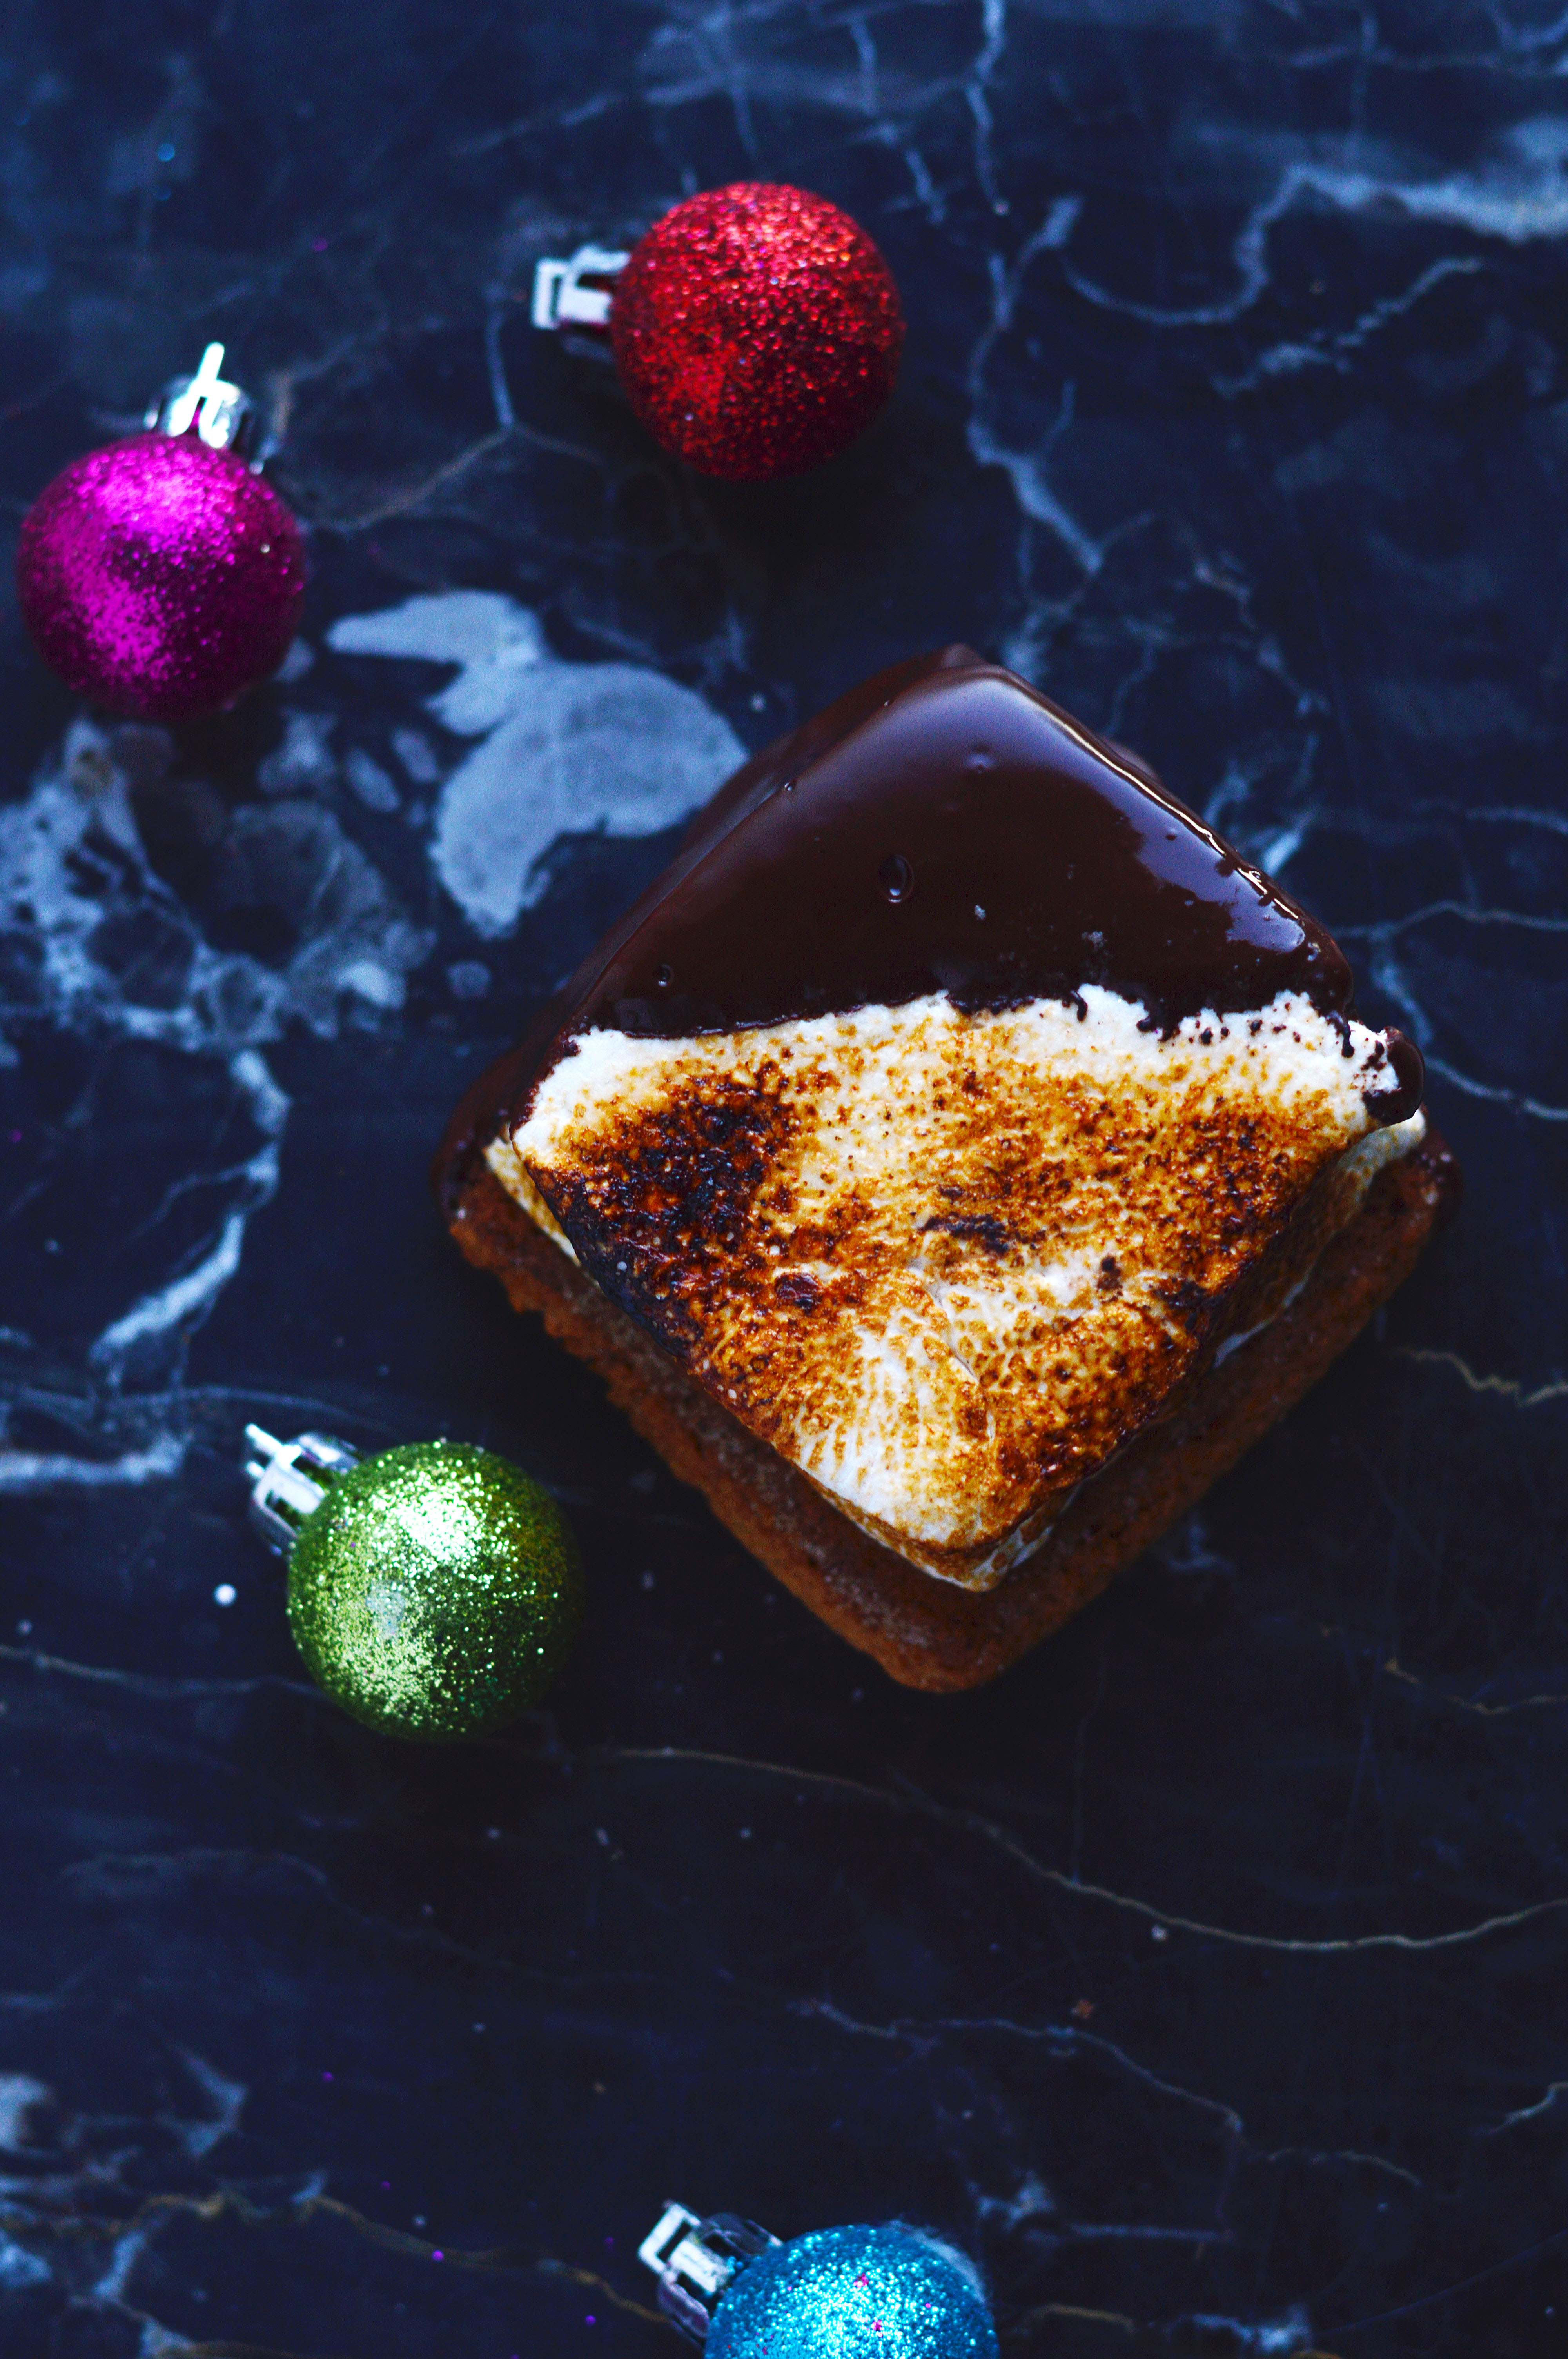
- Place one square of marshmallow on top of the graham cracker and lower both on an angle so you get a crisp line. Work quickly so your chocolate doesn’t fall out of temper.
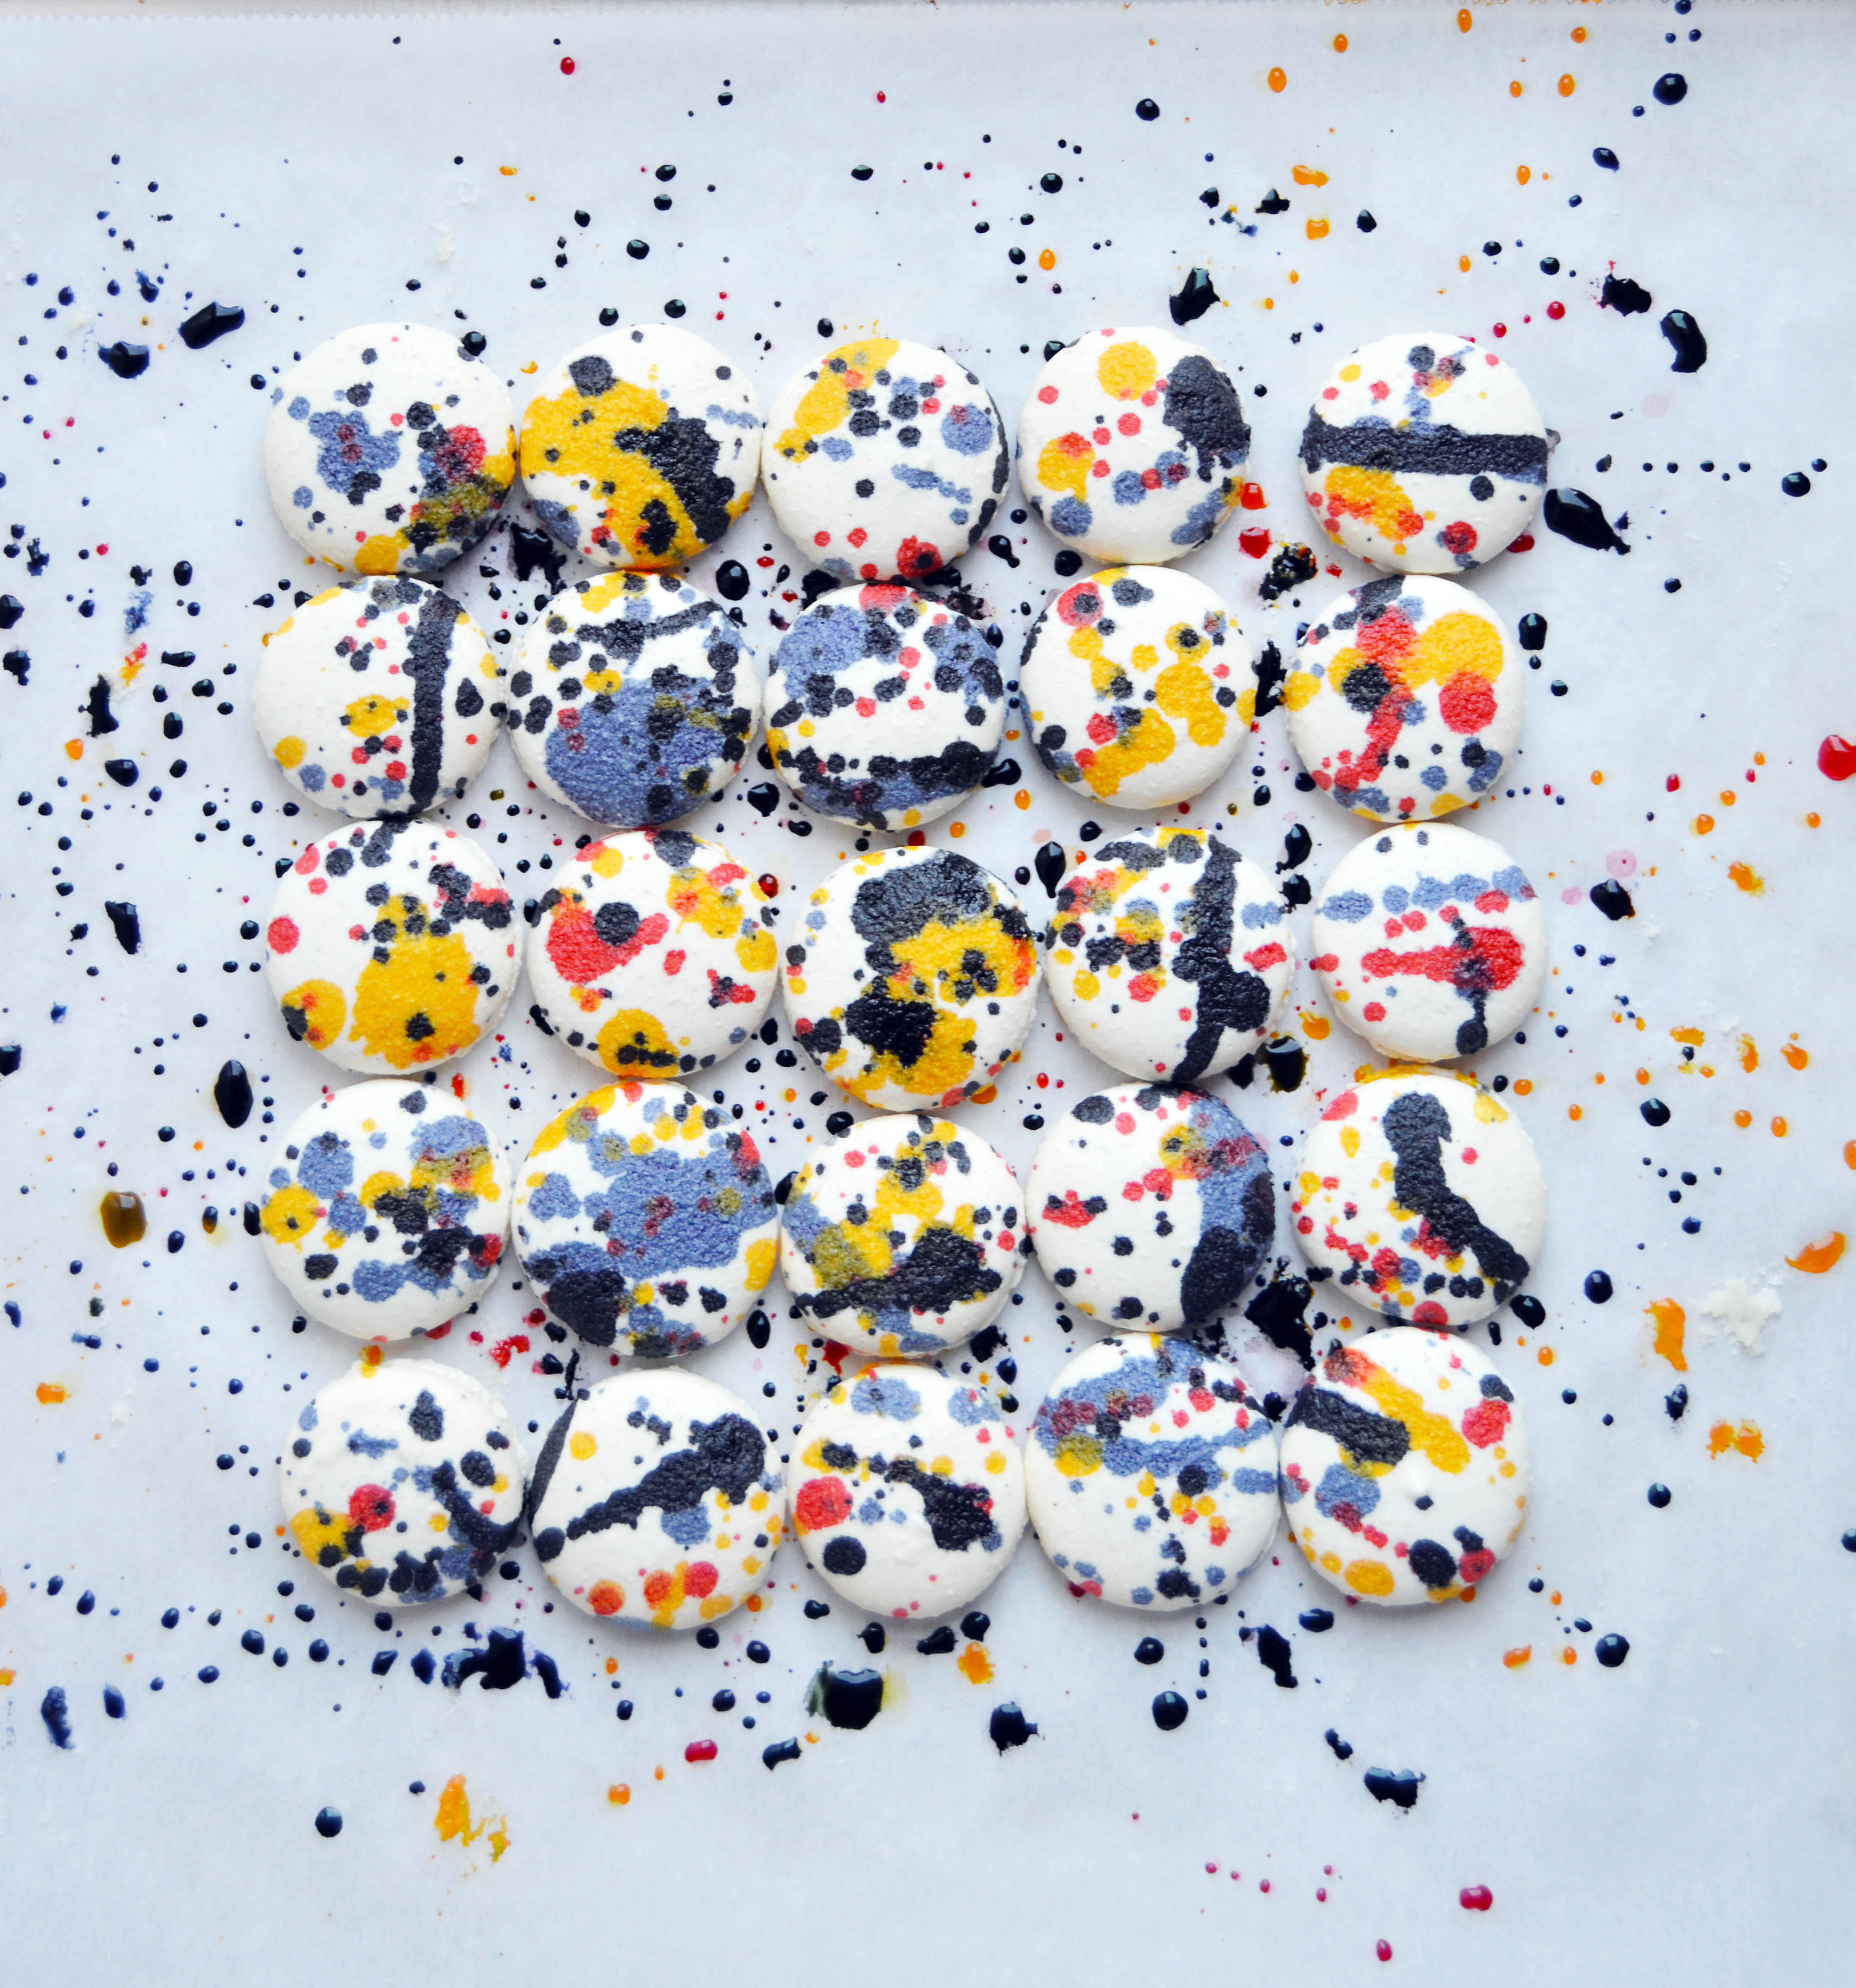
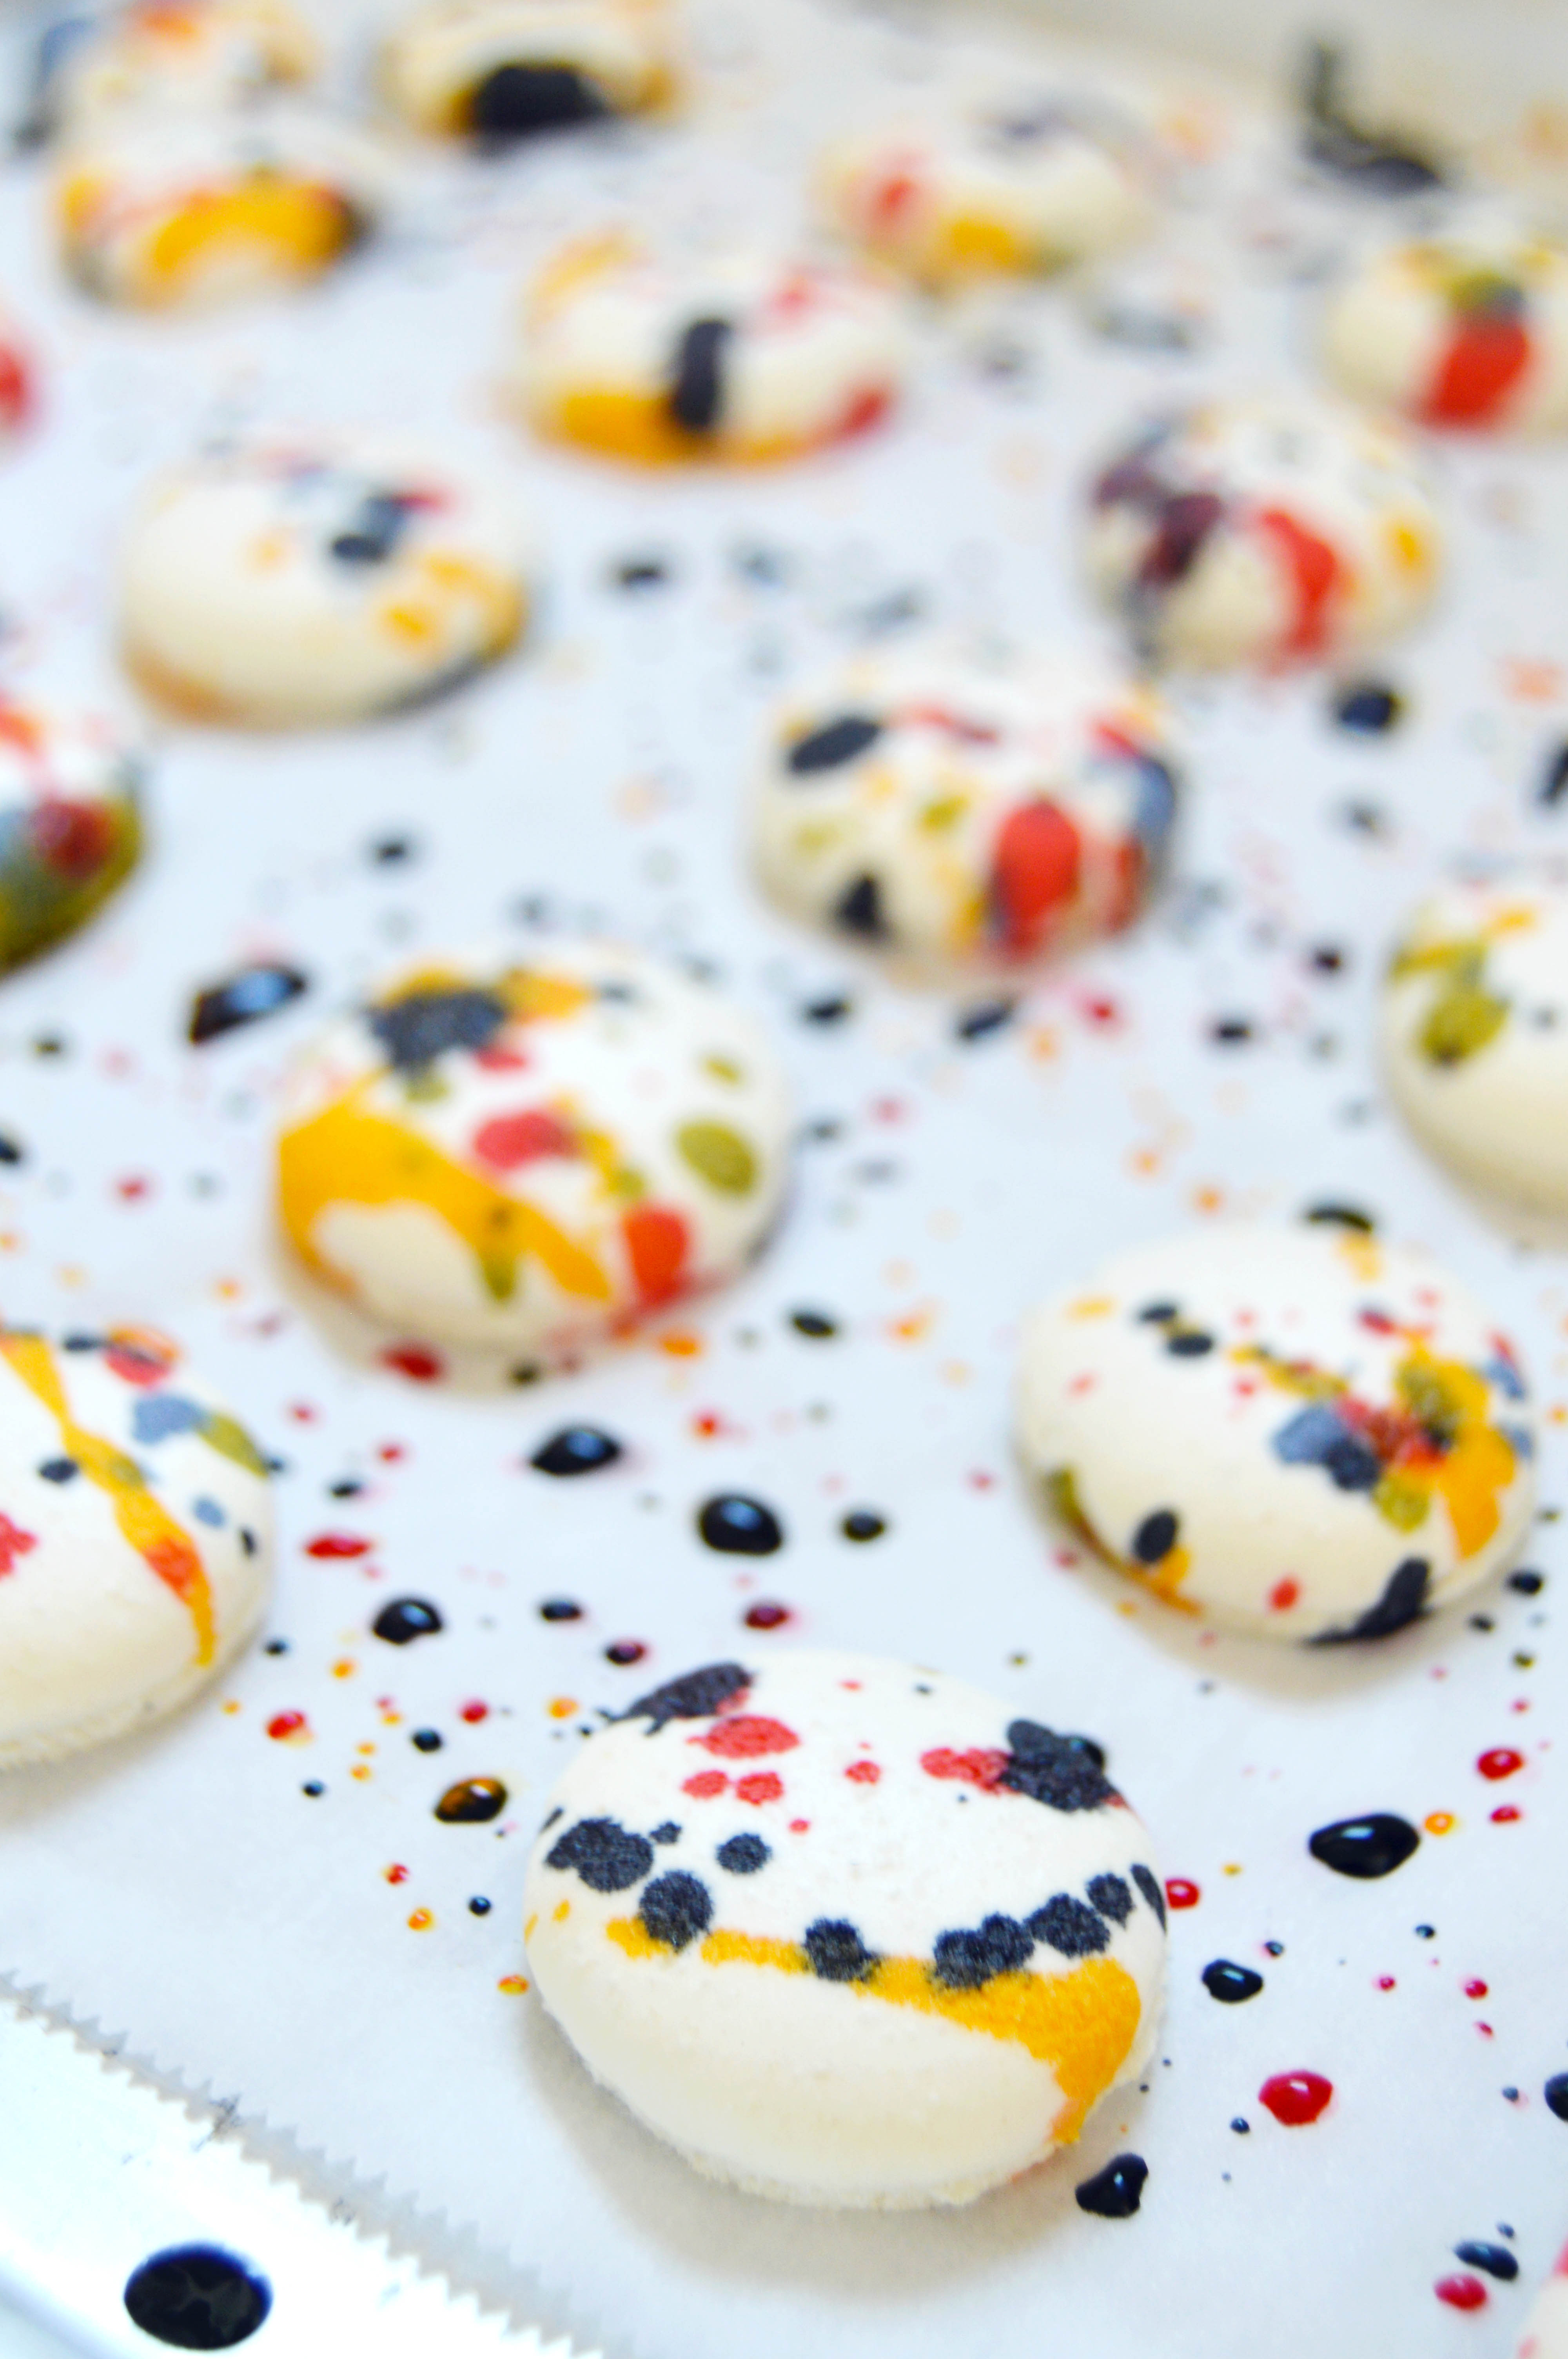
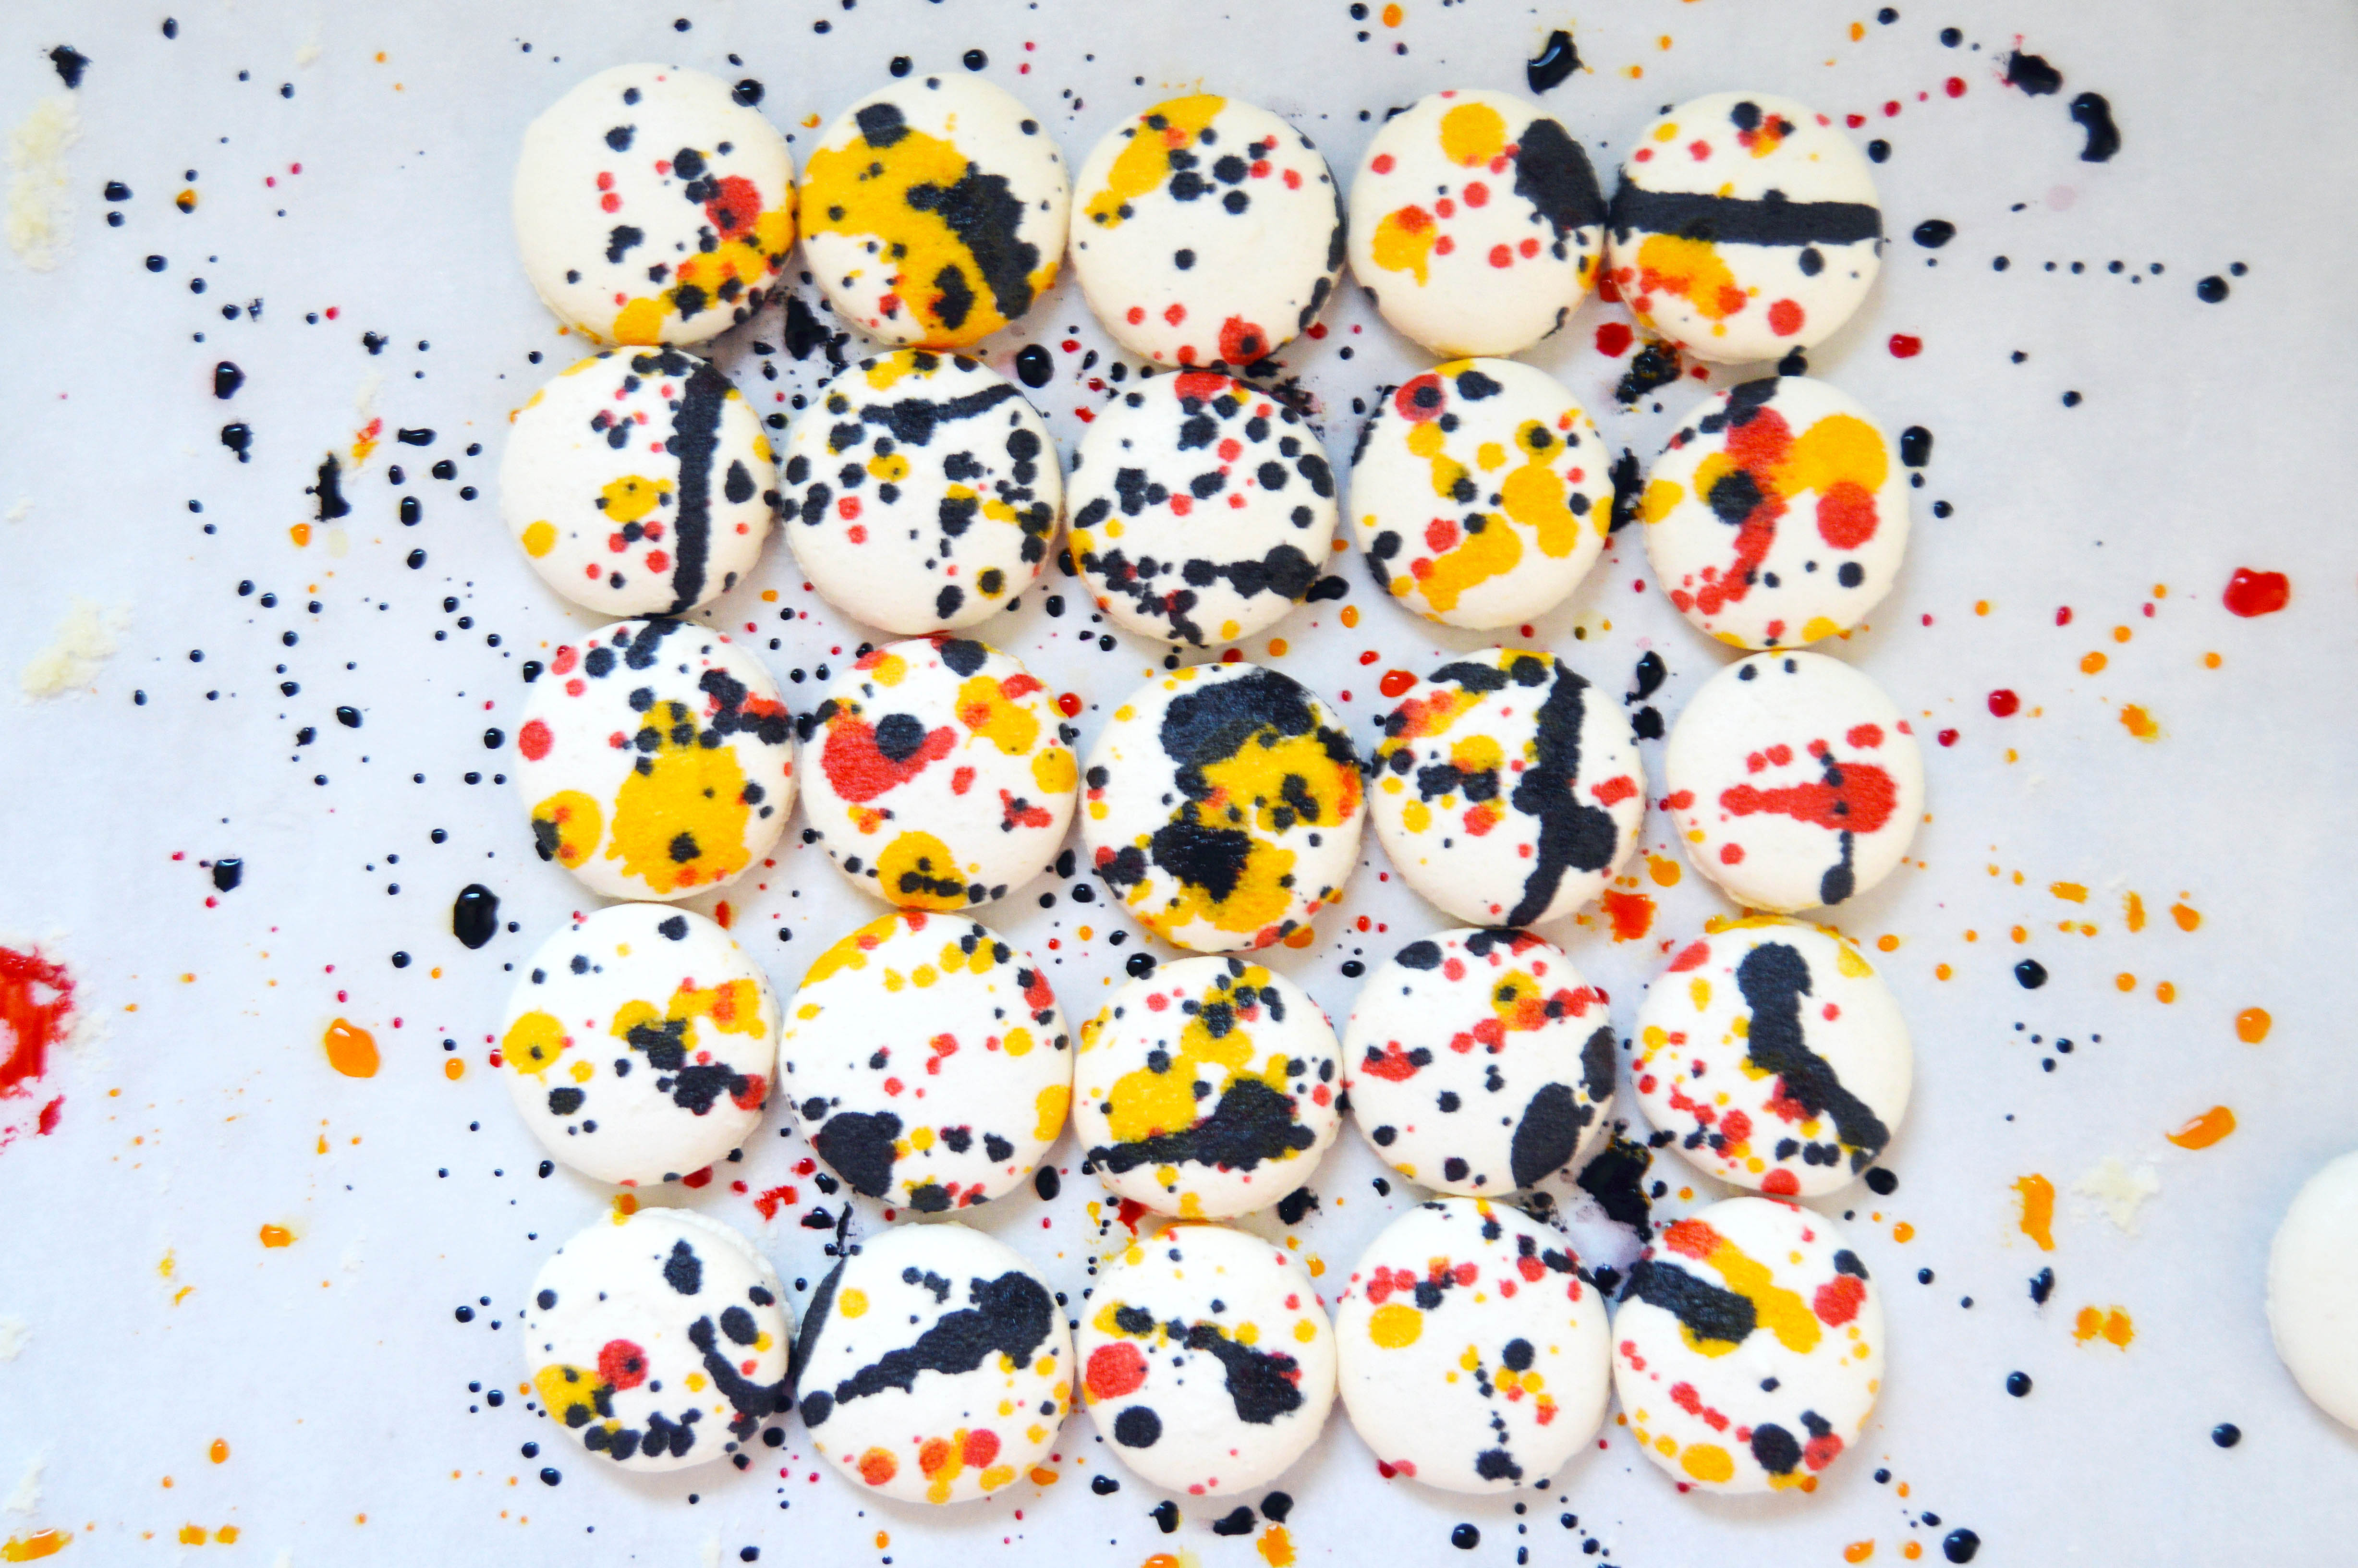
- Sprinkle the chocolate covered side with any toppings you want. Above, I used nonpareils, freeze dried strawberries, royal icing poinsettias, and flaky salt. The flaky salt looked the least impressive, but tasted the best.
- Let set. Toast marshmallow with a kitchen torch before eating for best taste. The chocolate melts a little when you toast the marshmallow, giving you the s’mores effect.
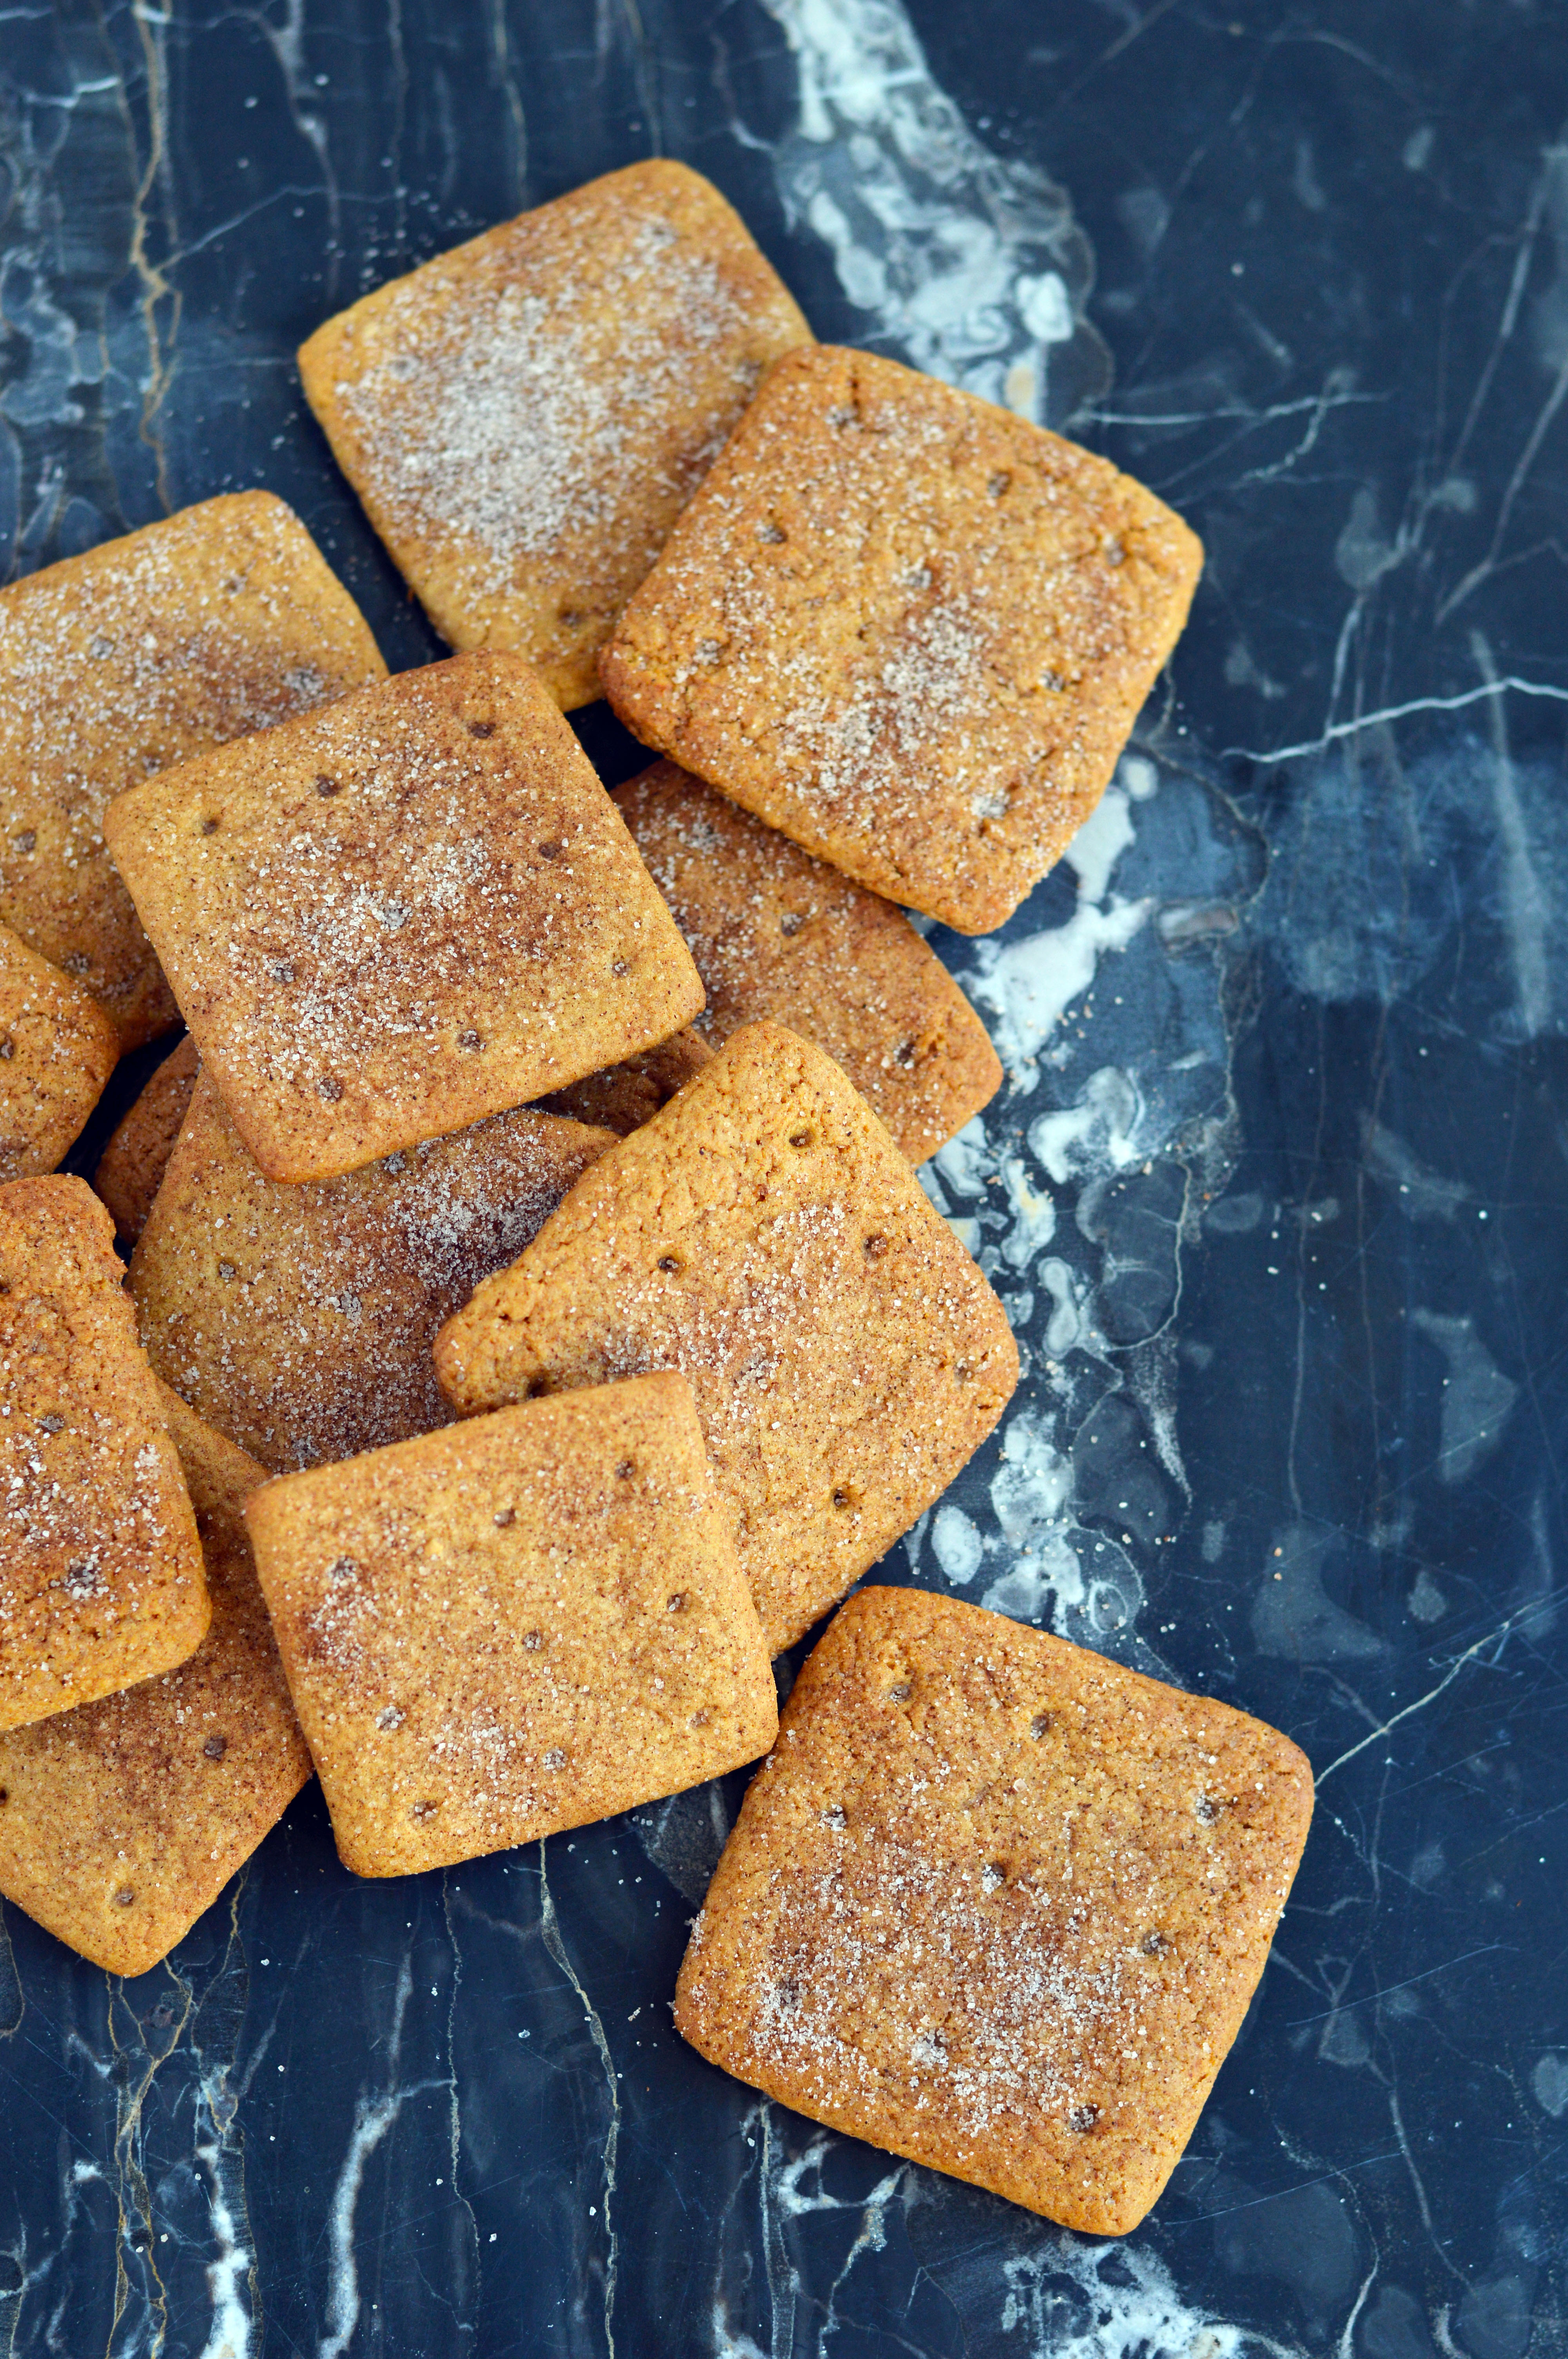
Homemade Graham Crackers
Ingredients:
2 ½ c. plus 2 tbsp. all purpose-flour
1 c. dark brown sugar, lightly packed
1 tsp. baking soda
¾ tsp. kosher salt
7 tbsp unsalted butter, cut into 1-inch cubes and frozen
1/3 c. honey
5 tbsp. whole milk
2 tbsp. vanilla extract
Cinnamon-Sugar Topping:
3 tbsp. sugar
1 tsp. ground cinnamon
Instructions:
- In a food processor fitted with the steel blade, pulse together the flour, brown sugar, baking soda and salt.
- Add in the chunks of frozen butter and pulse until the mixture looks very crumbly, or a coarse meal.
- In a small bowl, mix the honey, milk and vanilla extract and add it to the flour mixture.
- Pulse the mixture until the dough barely comes together. Do not over process, the cookies will become tough.
- Wrap the dough in a large piece of plastic wrap. The dough will be sticky, so try to avoid using your hands and use the sides of the plastic wrap to form the dough into a large rectangle. Refrigerate the dough for two hours, or overnight.
- Take the dough out and divide it in half, refrigerate the half that you are not using.
- Roll out the dough (remember, the dough is sticky, so use flour as needed) about ⅛ inch thick, and use a square 2 ½ inch cutter to cut out squares.
- Place them on a baking sheet lined with parchment paper.
- Take the thicker end of a skewer and poke nine holes in each square, like a cracker.
- In a small bowl, mix the sugar and ground cinnamon for the topping.
- Sprinkle the tops of the cookies with the topping and refrigerate for about 30-45 minutes until firm. Repeat with the remaining dough. Once you cut out all the squares, put the scraps together and re-roll and cut out more squares.
- Preheat the oven to 350˚F and bake the cookies about 10-15 minutes, or until the cookies are golden brown.
Homemade Marshmallows
Ingredients:
3 envelopes of unflavored gelatin
1 c. ice cold water, divided
1 ½ c. sugar
1 c. light corn syrup
¼ tsp. kosher salt
1 tsp, vanilla extract
¼ c. powdered sugar
¼ c. cornstarch
Instructions:
- Place the gelatin into a bowl of a standing mixer fitted with the whisk attachment. Add ½ c. ice water and let bloom.
- In a small pot either fitted with a candy thermometer (or not, if you’re using an instant-read thermometer), combine ½ c. water, sugar, corn syrup and salt.
- Heat mixture over medium high heat and cook until the mixture hits 240˚F, which should take about 6-8 minutes depending on the type of pot you used and the heat of the stove.
- Once the mixture hits 240˚F, take it off the heat and start your mixer on low speed.
- Add the hot sugar to the gelatin mixture slowly, avoid hitting the whisk.
- Once all of the sugar is mixed in gradually raise the speed of the mixer to high.
- Mix for about 12-15 minutes, or until the side of the bowl is luke warm and the mixture becomes very thick. Add in the vanilla in the last minute of mixing, taking care to lower the speed while you add it in, so you don’t fling extract everywhere (like I did. Ha!).
- Prepare an 8×8 pan, with high sides (at least 2 inches), by spraying the inside with nonstick spray and lining the inside with parchment paper.
- Spread the sugar mixture into the 8×8 pan using a silicone spatula also sprayed with nonstick spray. Try to smooth it down the best you can.
- In a small bowl, mix the powdered sugar and cornstarch together. Use a mesh strainer to dust the top of the marshmallow mixture and wrap with plastic wrap overnight to cool and set. Save the rest of the powdered sugar mixture for the next day.
- When the marshmallow is set, overturn it on a cutting board dusted with the powdered sugar mixture.
- Use a 2 ½ in. square cutter to cut out squares of marshmallows. Dust the cutter with the powdered sugar to avoid sticking.
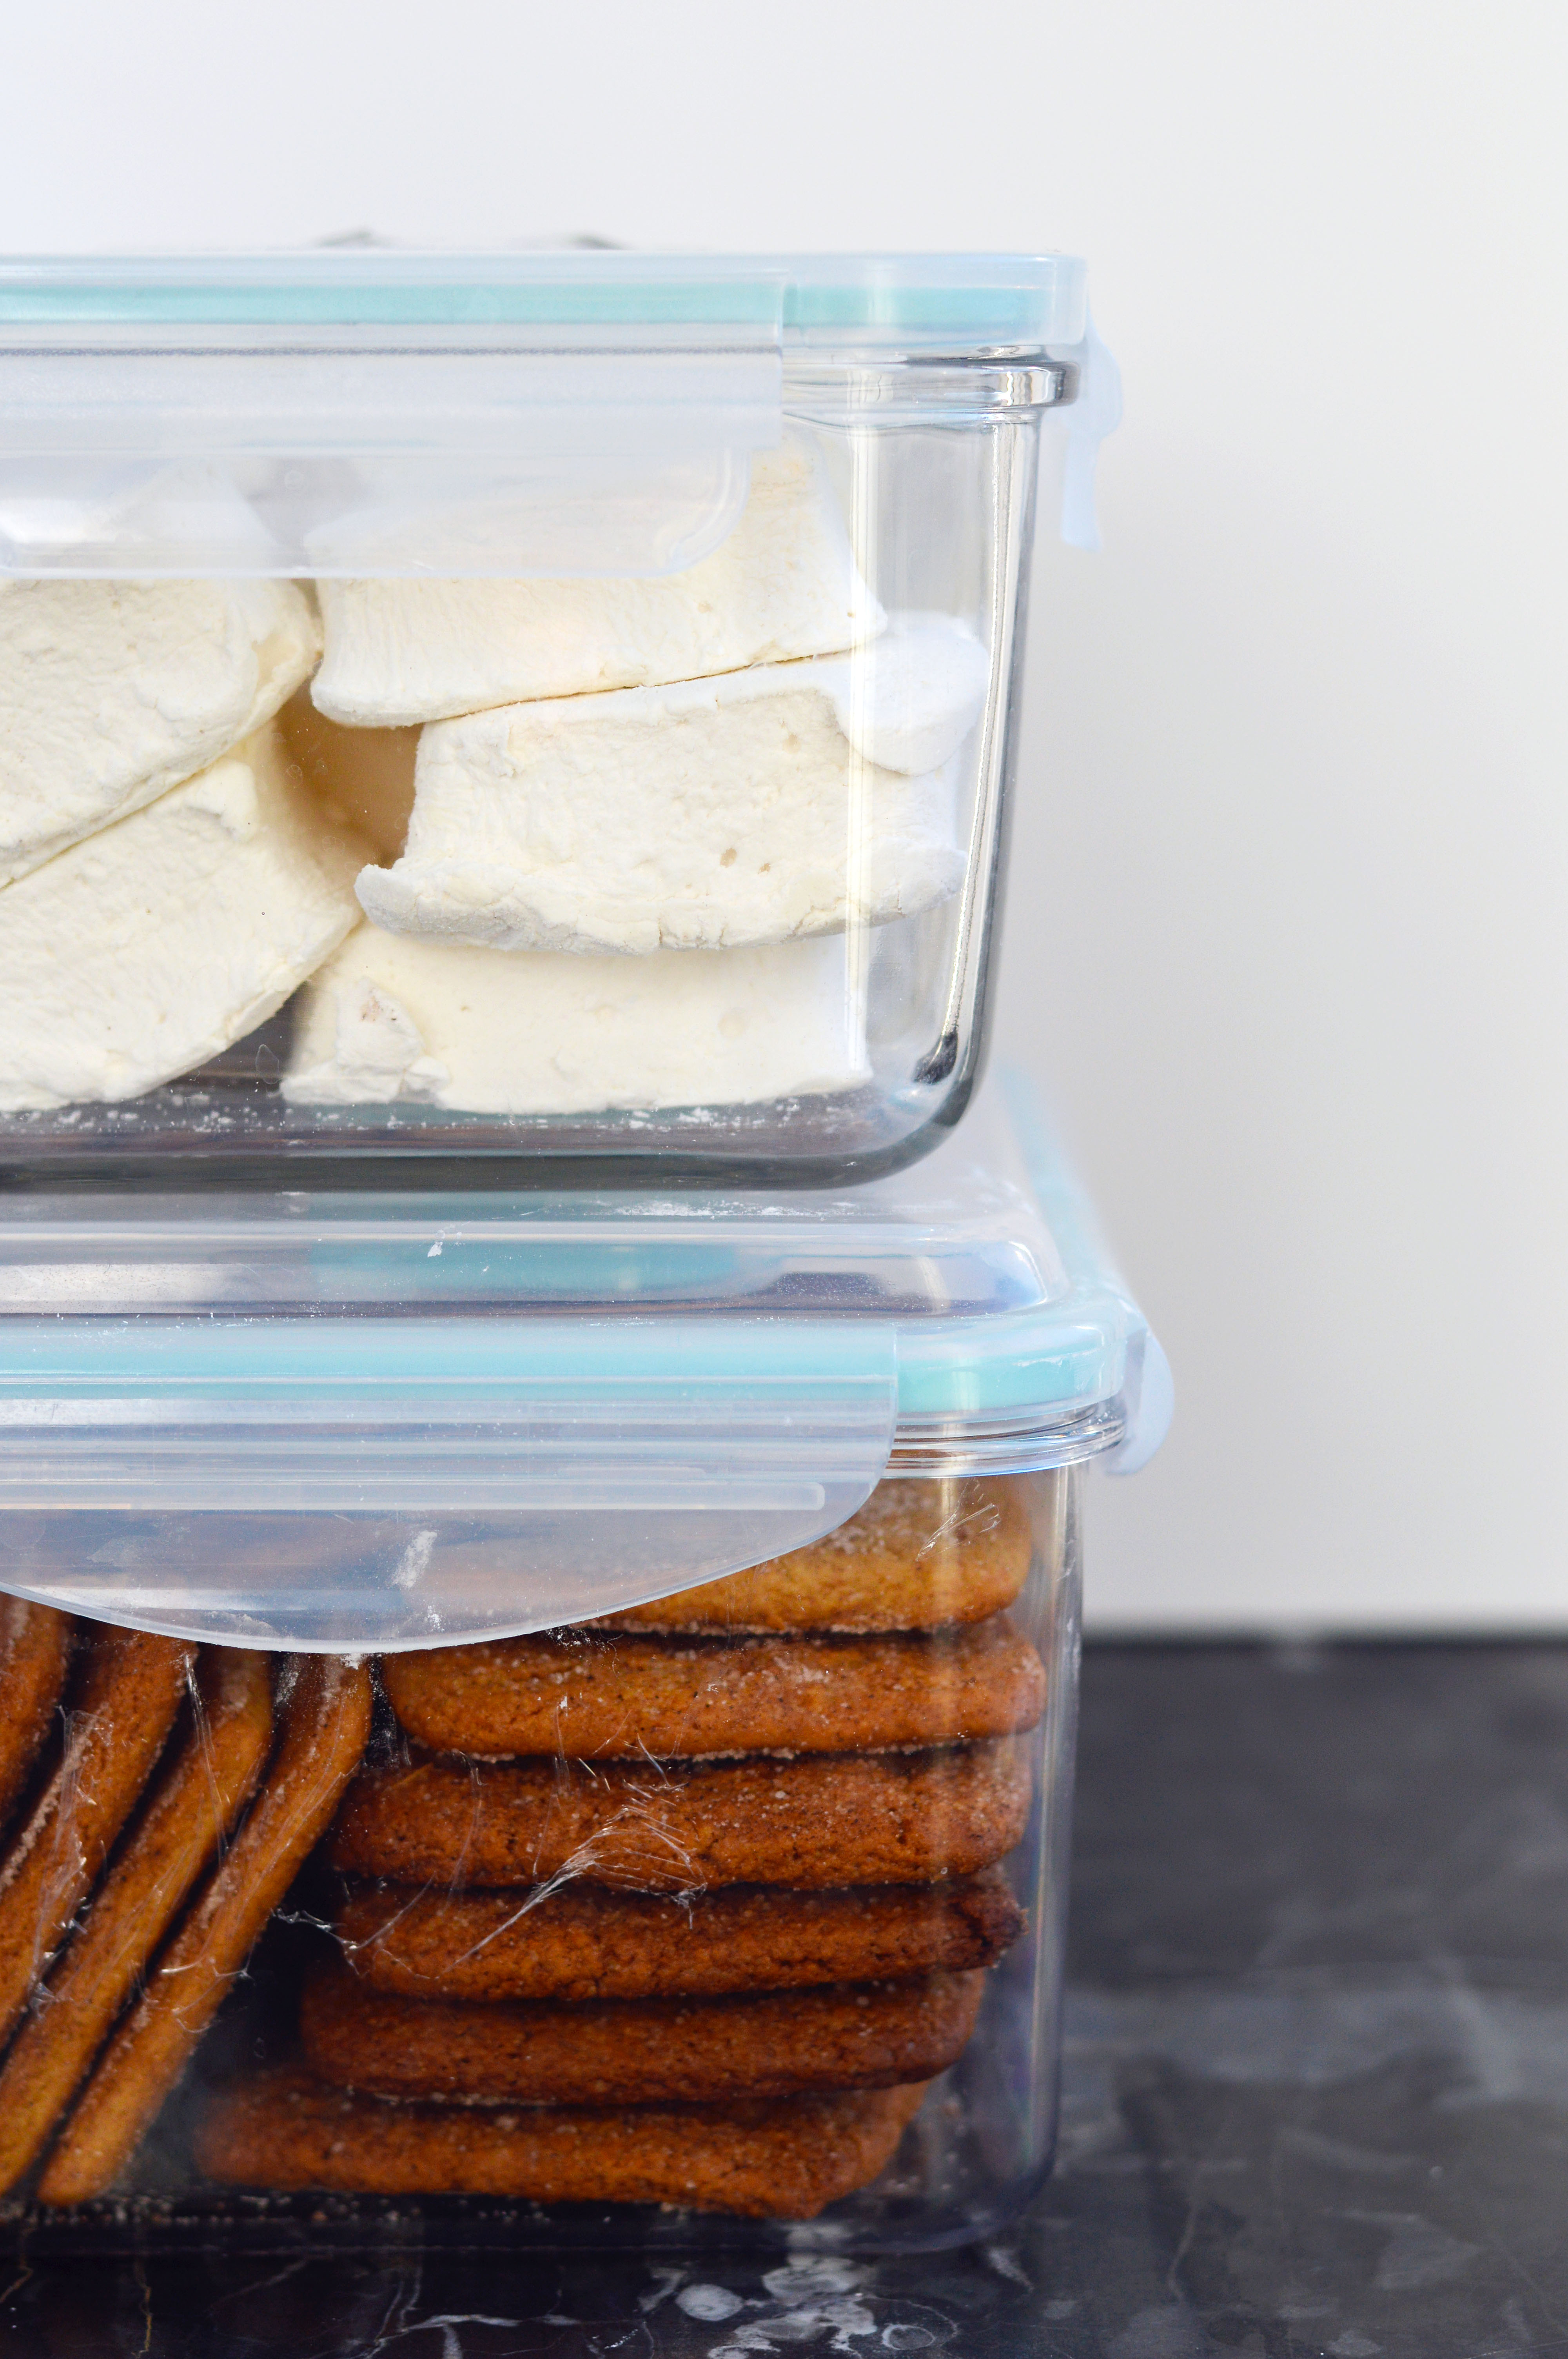
- Store in an airtight container.
Graham cracker recipe adapted from the smitten kitchen.
Marshmallow recipe adapted from the food network.

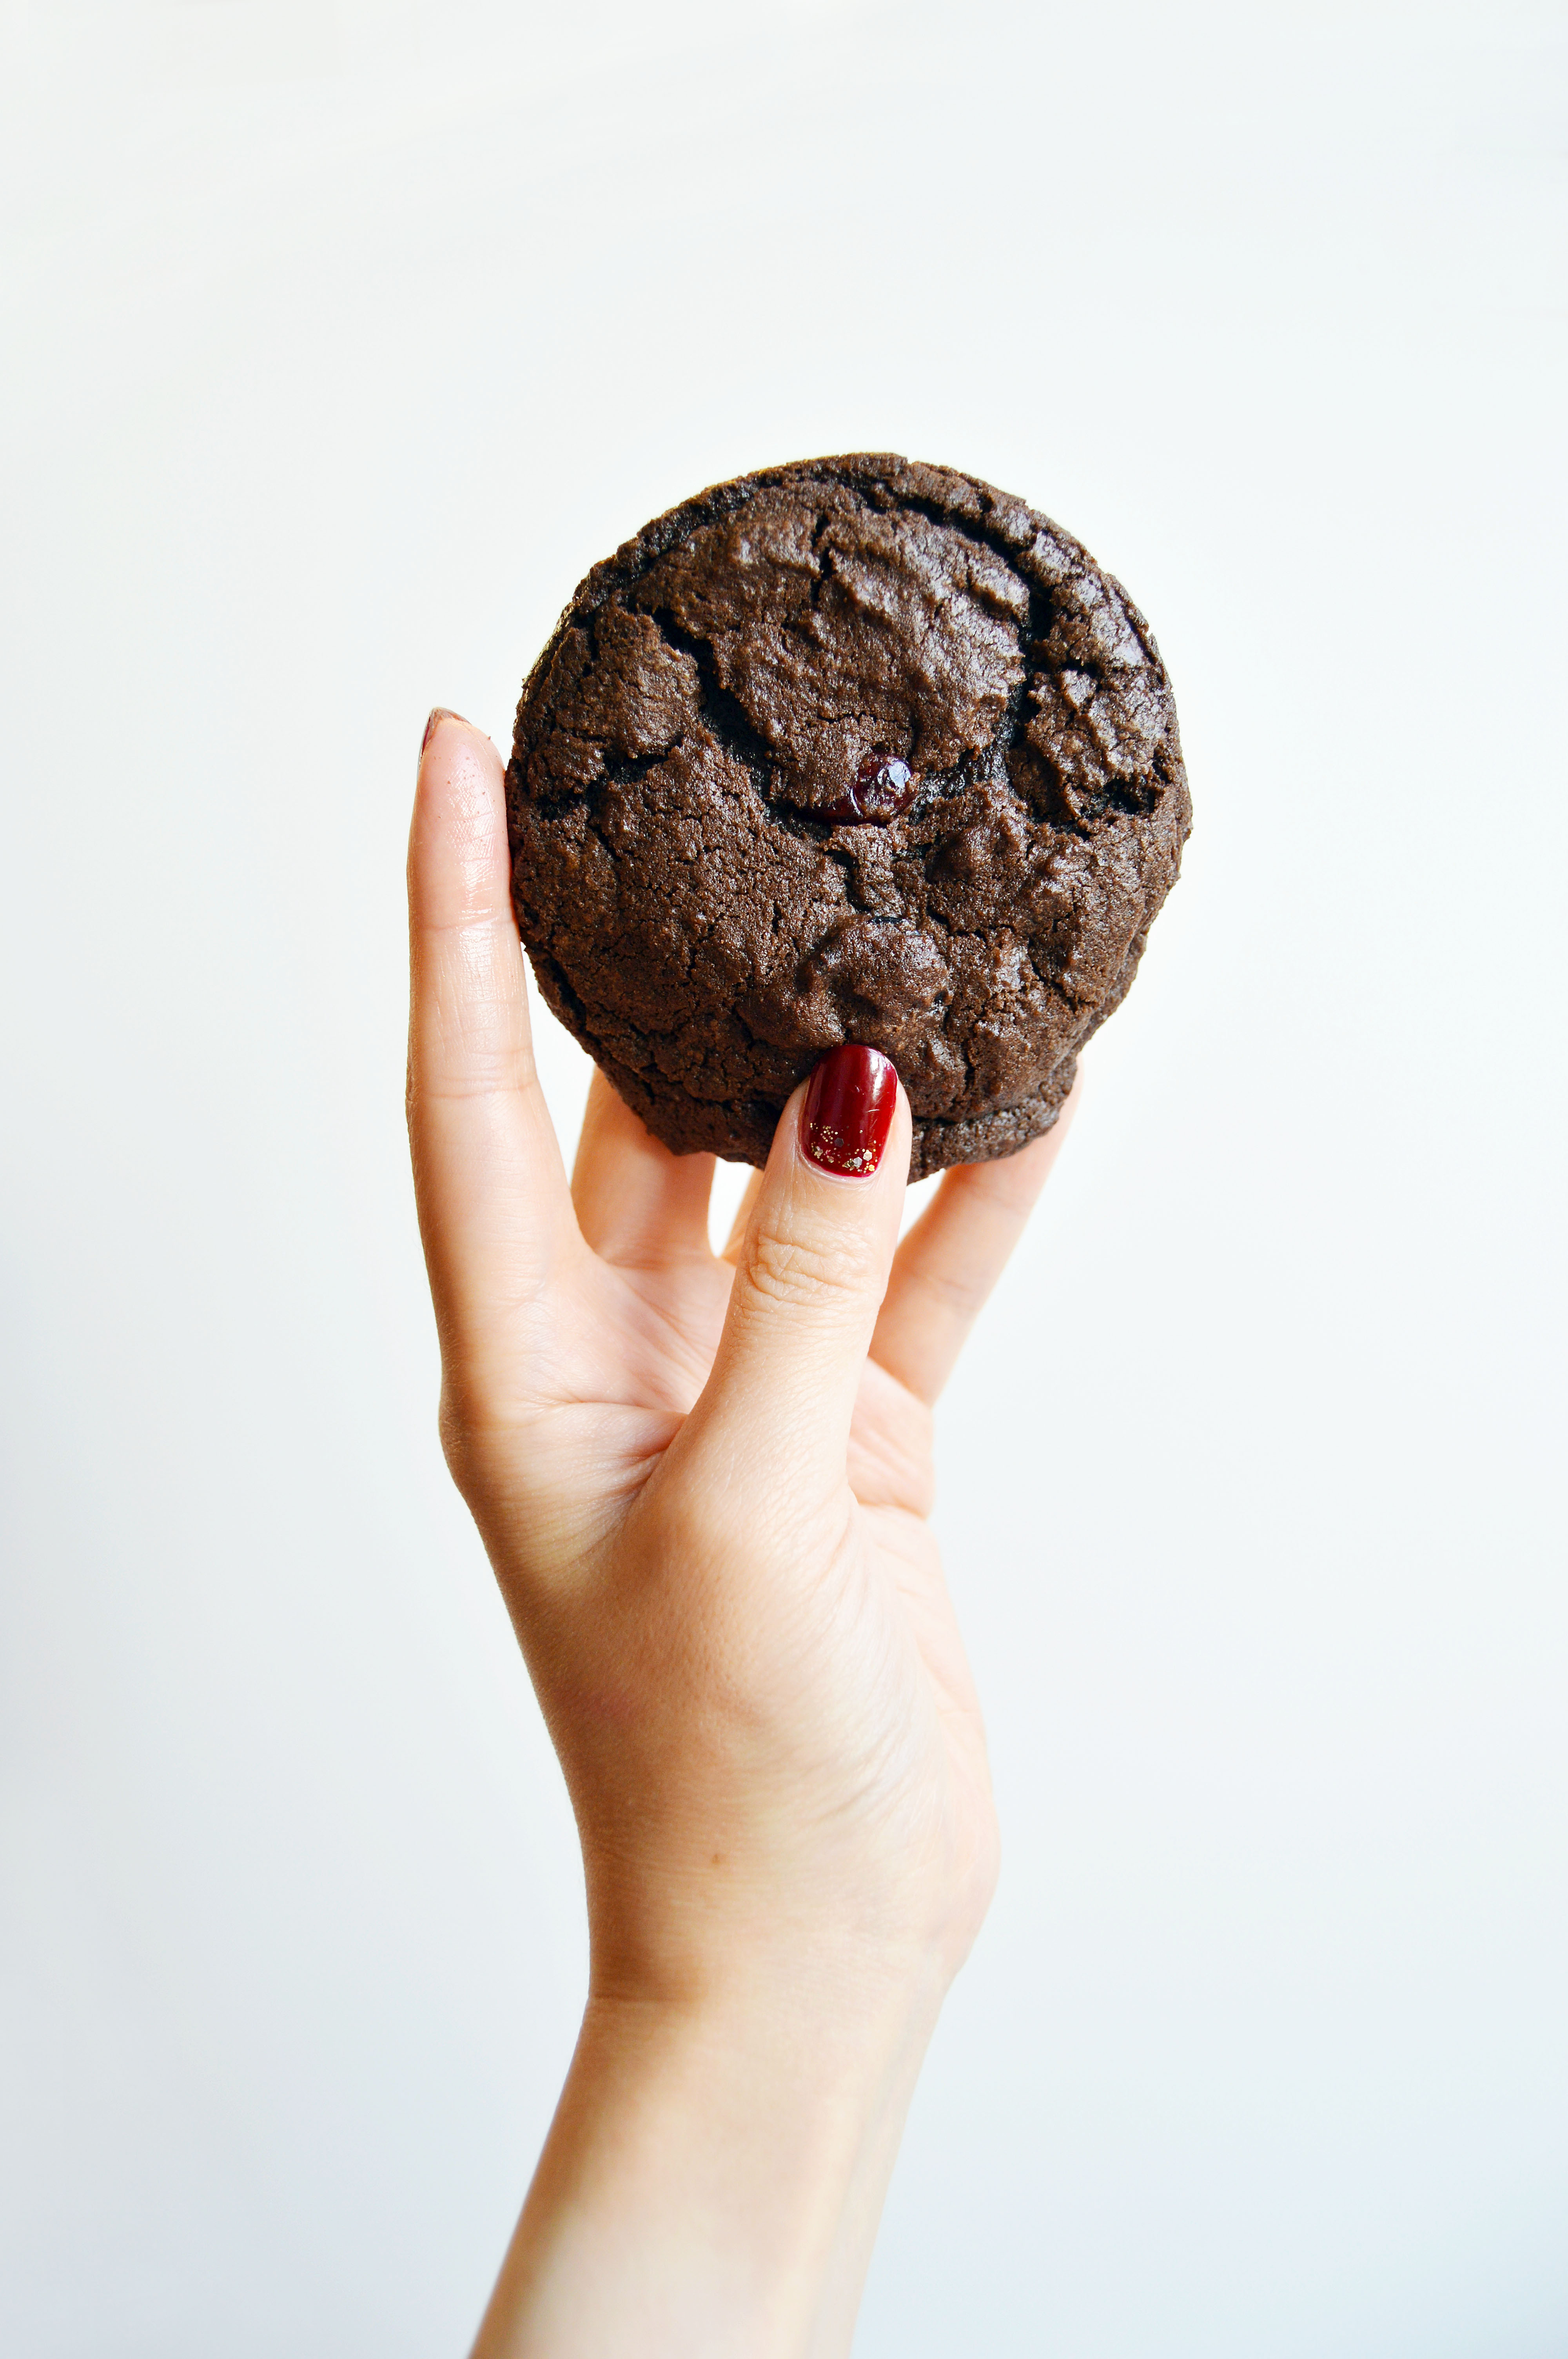
 Chocolate chip cookies made with chocolate chunks are the best cookies. There, I said it. I’m not saying I would say no to any other cookie. But, when I have the choice, I will always go with chocolate chip. Why do I say chocolate chunks > chocolate chips? I like the larger bites of chocolate and how they generally taste and look better. So far, my perfect salted chocolate chunk cookies have yet to find a contender. Of course, there are other versions of it that are different and perfectly divine, like this one from a couple of years ago that took the internet by storm.
 So why the heck am I sharing another chocolate chip cookie recipe, you ask? Because this one is the most delicious “healthy” chocolate chip cookies I’ve ever had. A ridiculously short ingredient list (8!), gluten free, and refined sugar free make them almost a miracle cookie. You don’t have to refrigerate the dough or wait for butter to soften (because there is none), and the dough comes together quicker than it would take you to read this post.
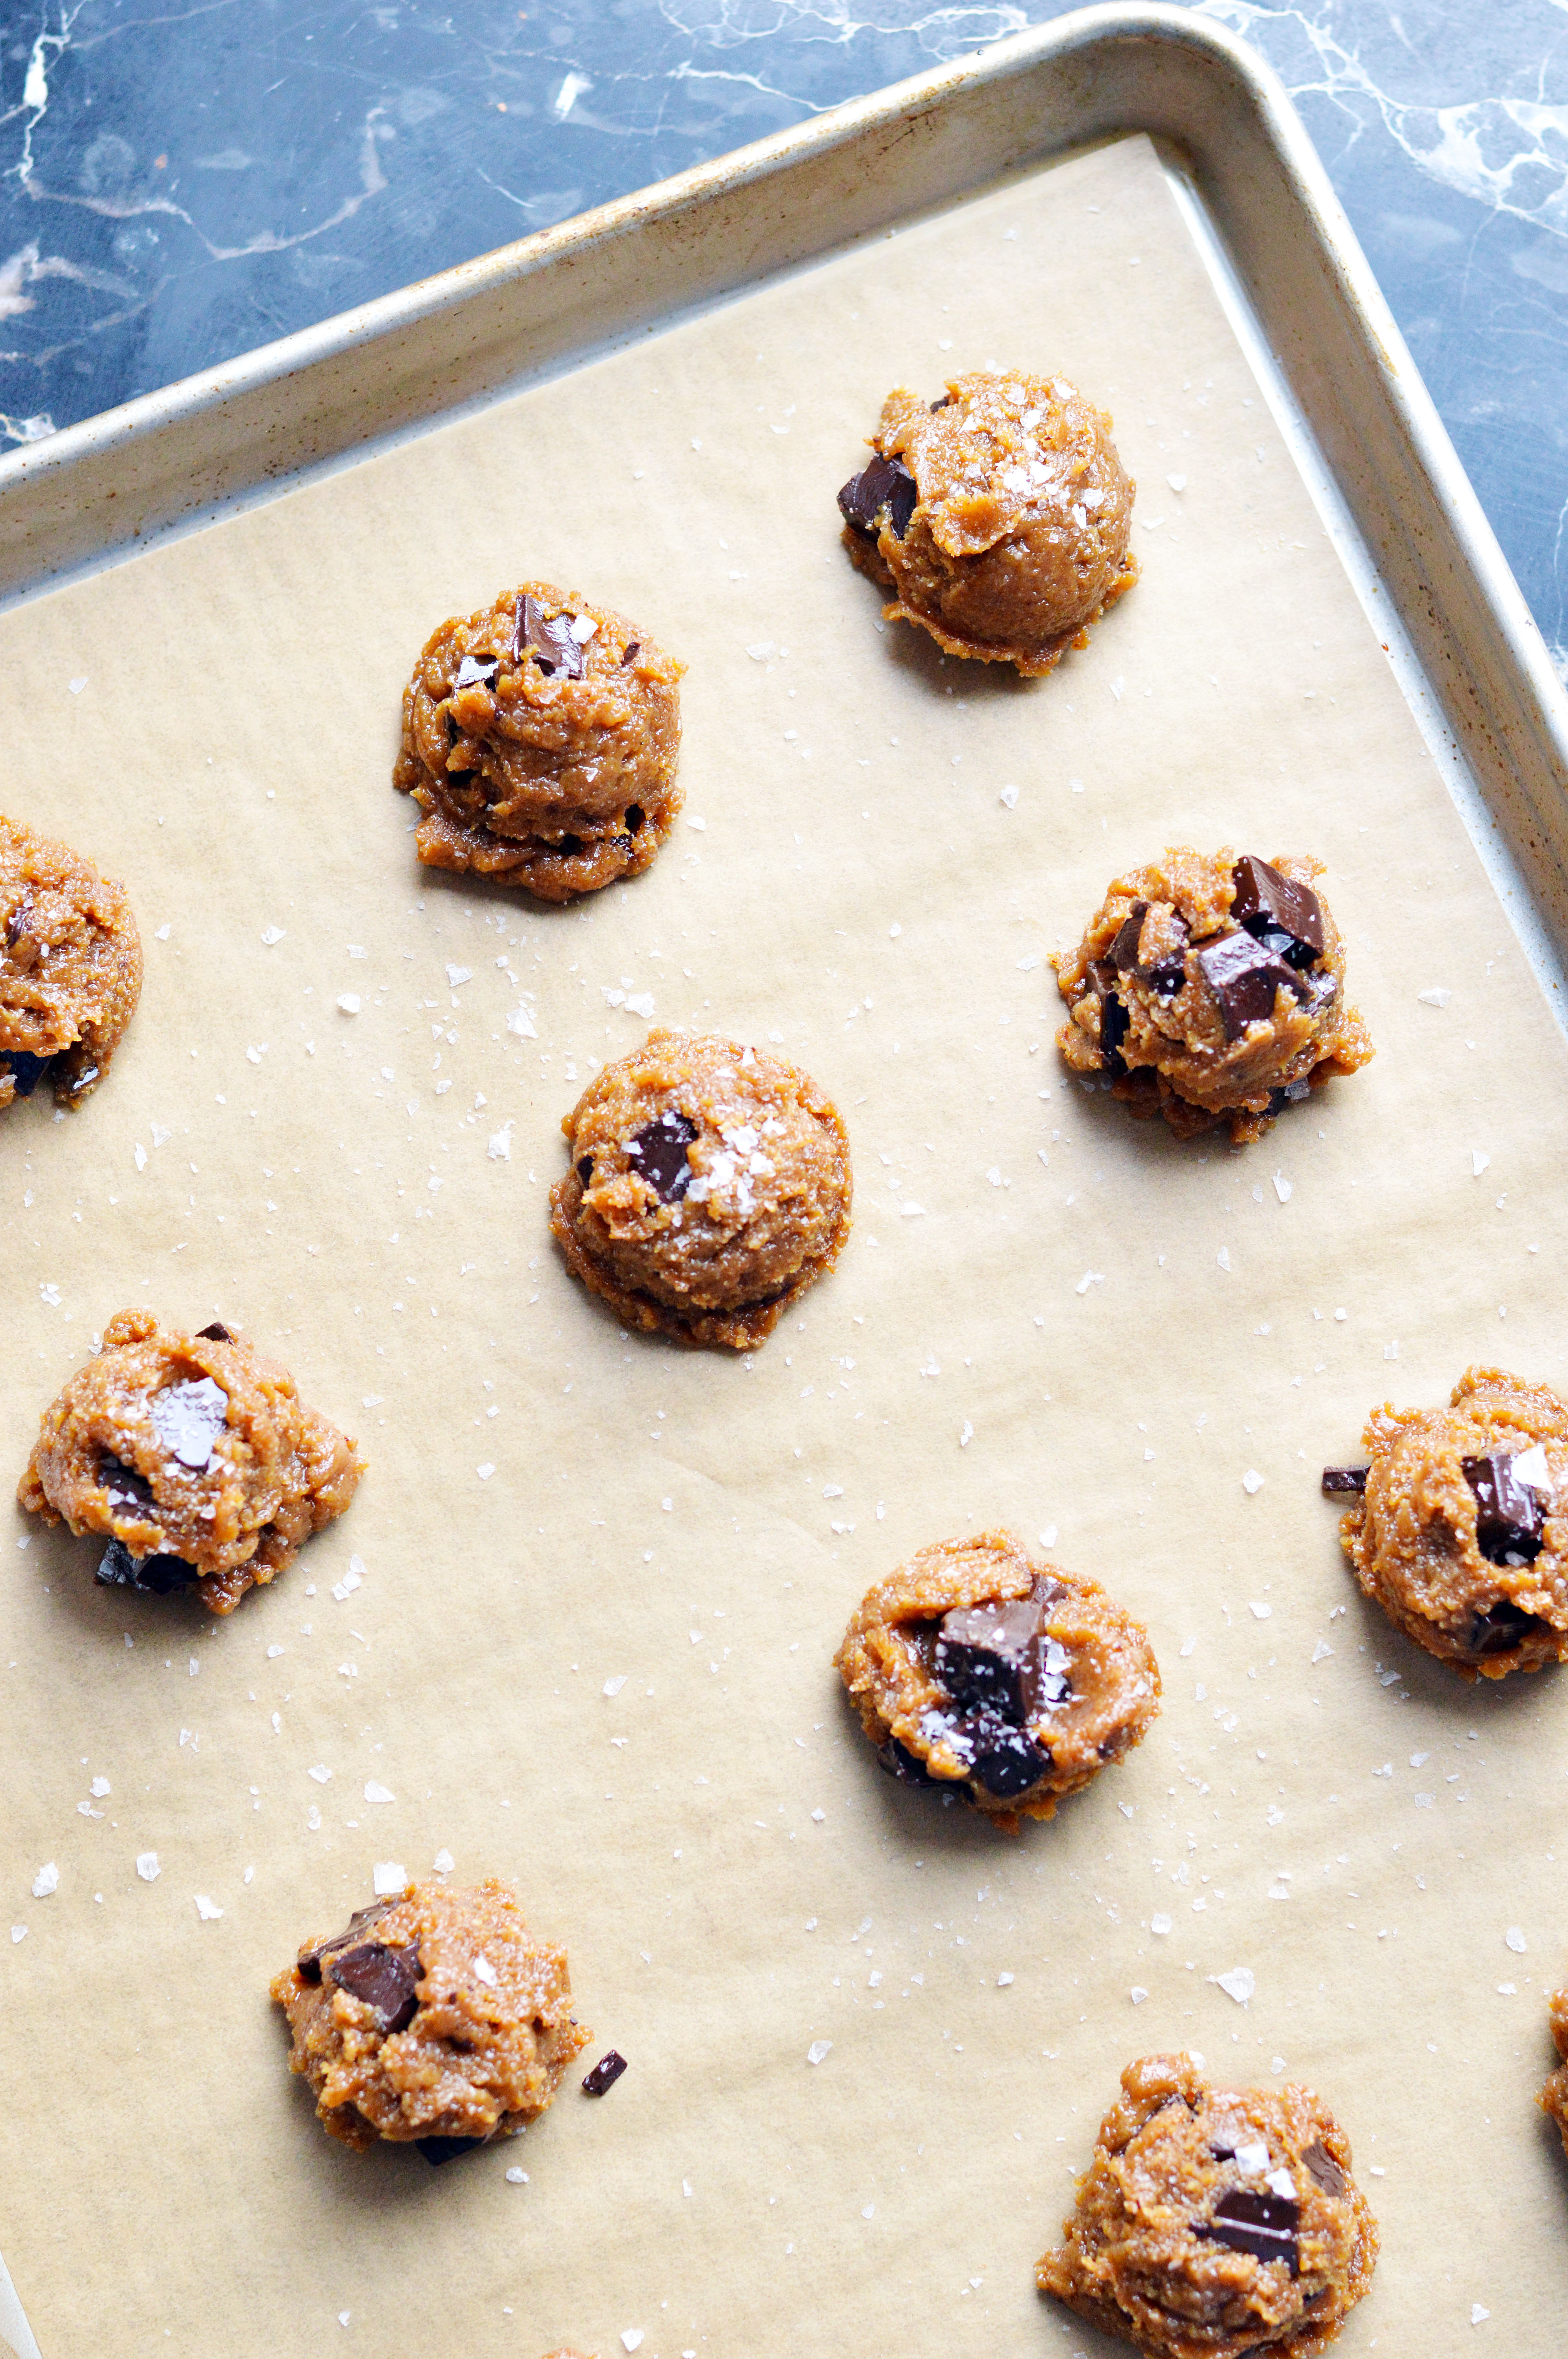 I will be honest in saying that no, these do not taste exactly like chocolate chip cookies made with butter and flour, but it is a great alternative to it. Goes great with coffee and is a nice afternoon snack. It also stays soft for days thanks to the tahini. However, just because they are more nutritious than a regular chocolate chip cookie, they are not low-calorie! So please remember to just have a cookie or two and not eat the whole batch (<= This is scarily easy to do. That’s why I pack it up and try to give it away asap.).


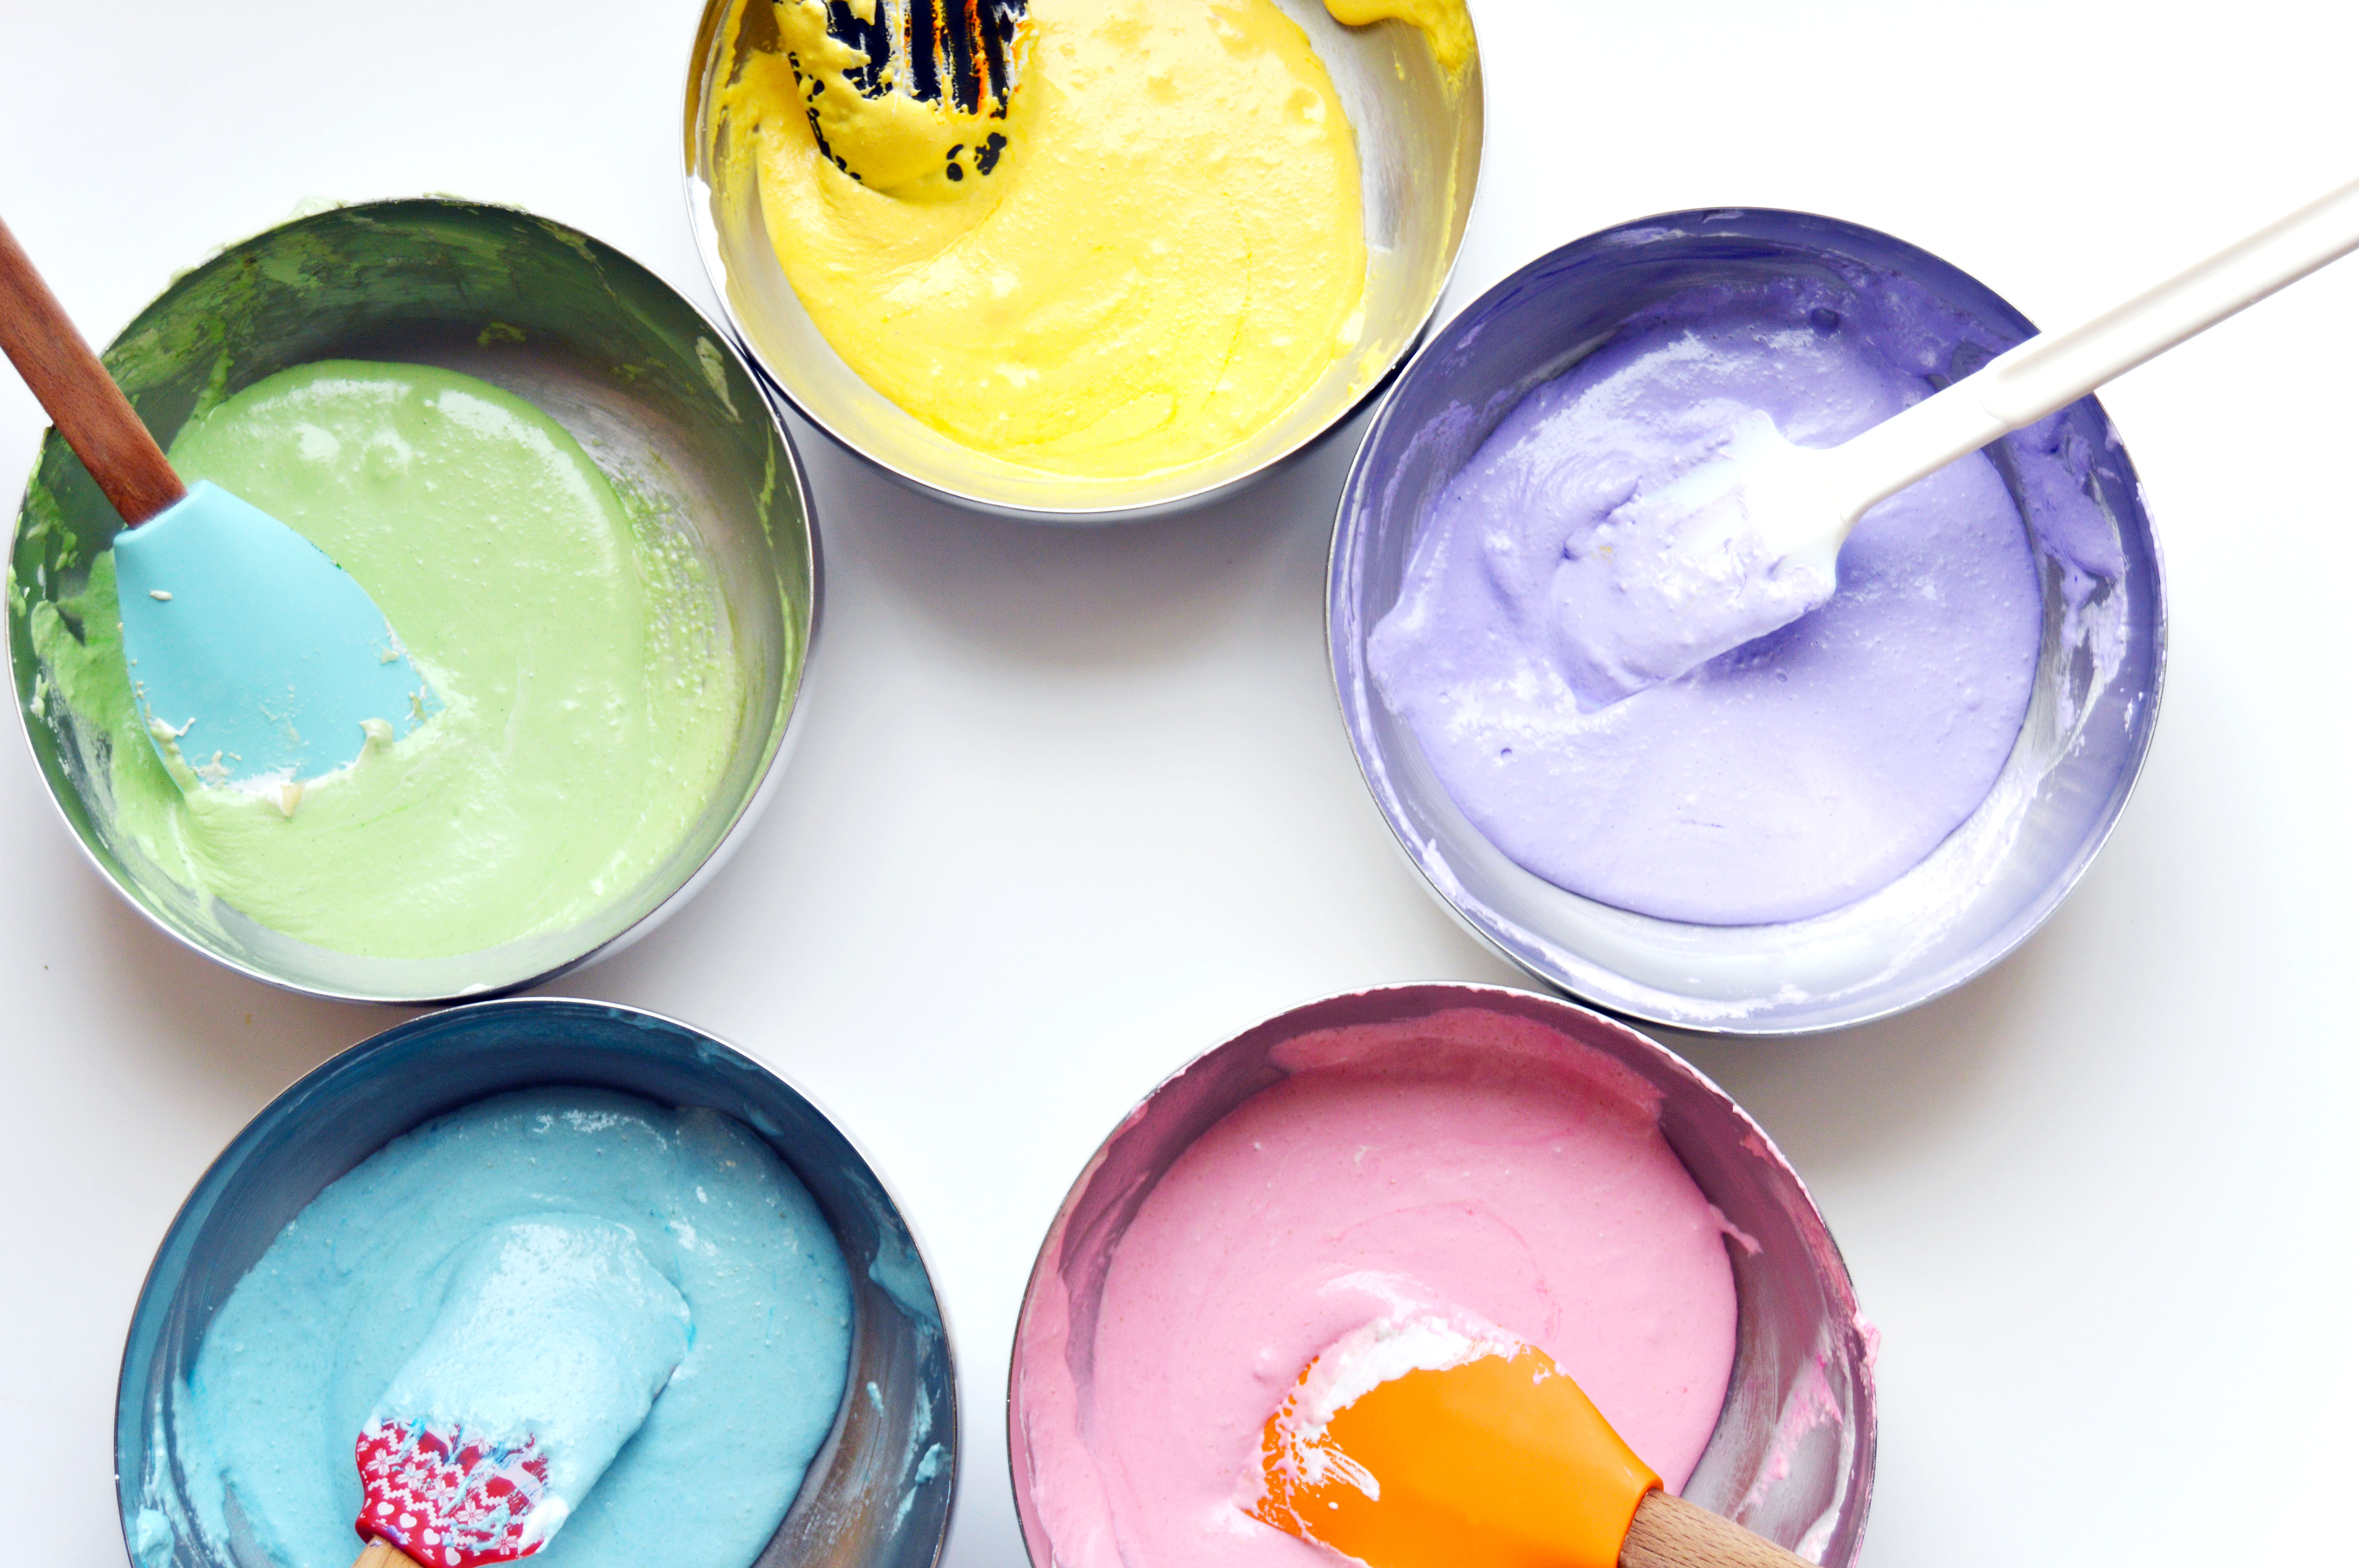


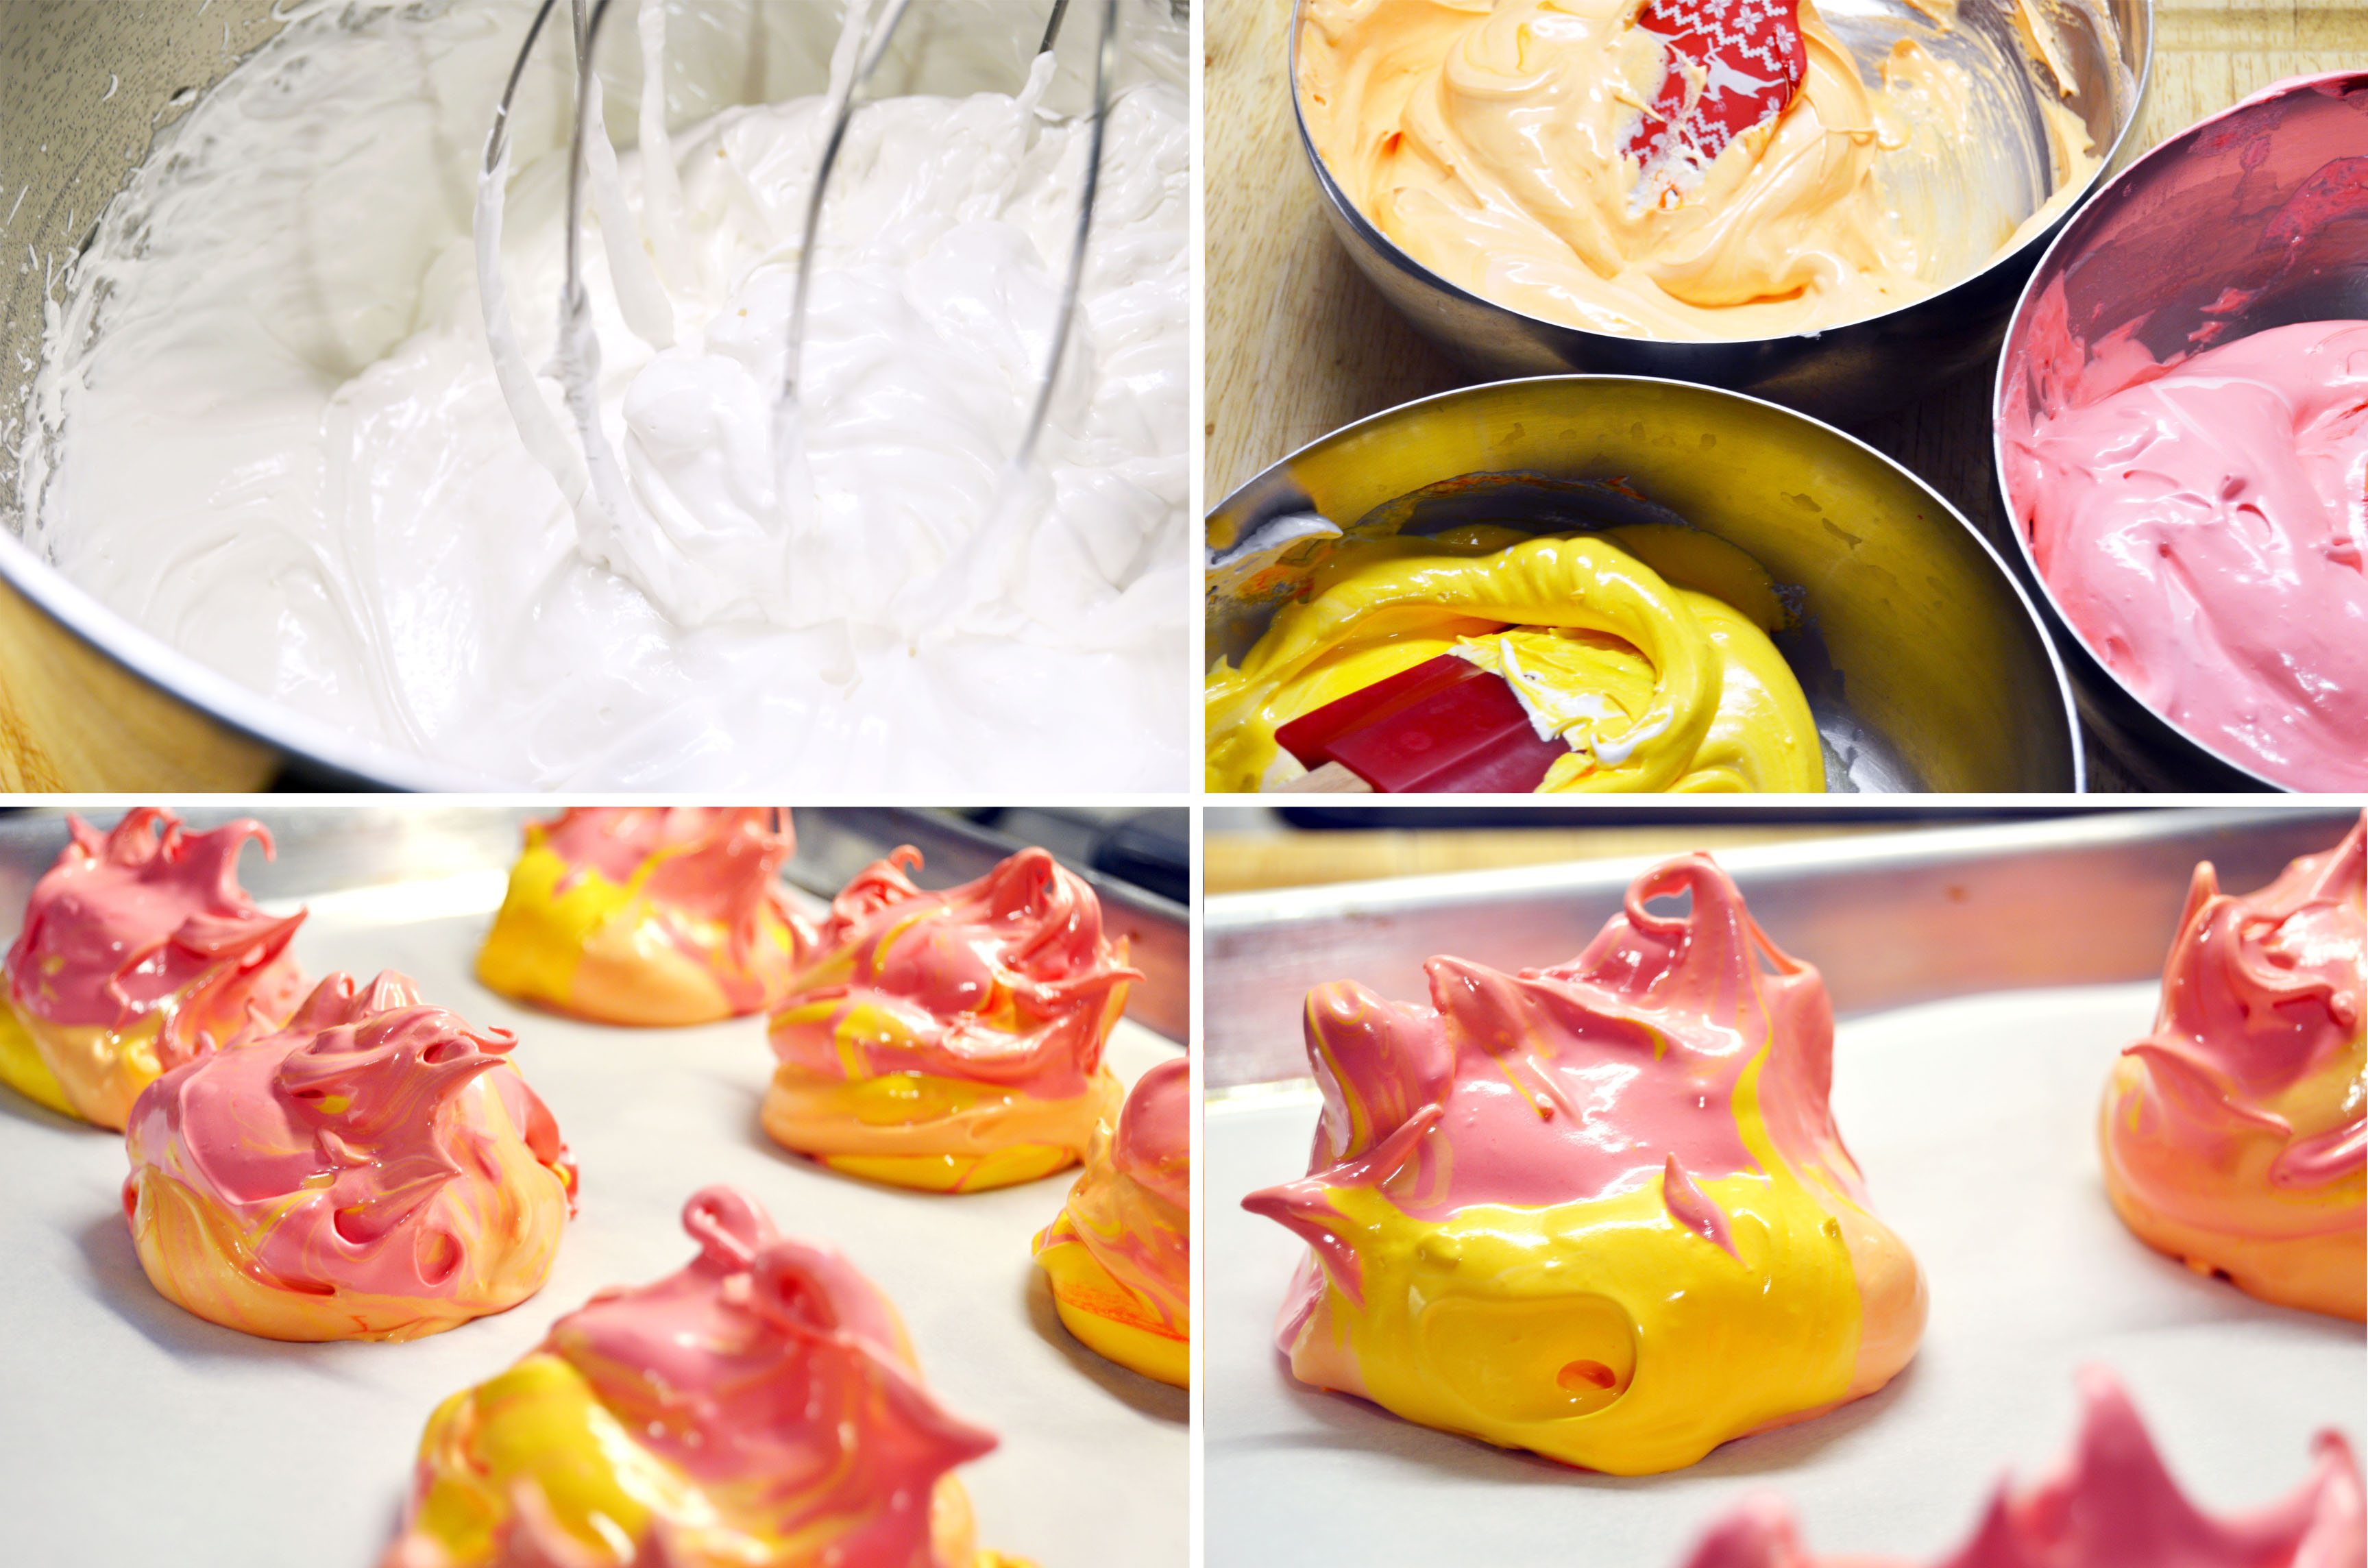
 The meringue recipe I’m sharing is delicious and can be flavored with different extract or add-ins, but this time I chose to keep it simple by tinting it in different colors and shaping it so it has a flame-like body. Stirring the gel food coloring does deflate the meringue a bit and spooning it onto the parchment paper in layered dollops seems to produce a few cracks in the meringue. This is just a theory because I’ve made this recipe before and it produces very white, no-crack meringues when piped into little shapes.
 I wanted the meringues to be super vibrant, but this is as bright as I could get them without compromising the structure of the meringue batter. As for the inside of the meringue, the color is much more vibrant on the inside and I am in love with it. Color and small crack issues aside, the meringues are melt-in-your-mouth crisp and has a wonderful marshmallow-y chewy interior. It’s love at

