
 Here comes Peter Cottontail, Hoppin’ down the bunny trail… was the song that was running through my head when I thought of this cake. Can you imagine the look of surprise people will give you when you cut into this? Unfortunately for me, my family saw every step of the assembly and expected it when I cut into this cake. Learn from my mistake, and keep it secret when you give it a try.
 The great thing about this technique is that it is adaptable to many holidays and special occasions. Off the top of my head, you could do tulips for Mother’s Day, a bat for Halloween, and even alternating red, white, and blue stars for Independence Day. I think I may be giving away future blog posts so I’ll just stop here.
 My only caveat to you is: 1) measure to make sure your cutouts will fit into the loaf pan (both horizontally and vertically) and 2) to keep your cutout design simple because you will lose the finer details when the cake bakes. Other than that, I hope you have fun trying this cake! Don’t worry, at this point I’m so tired of bunnies and Easter eggs, you will probably not see any more posts of them until next spring. 😀
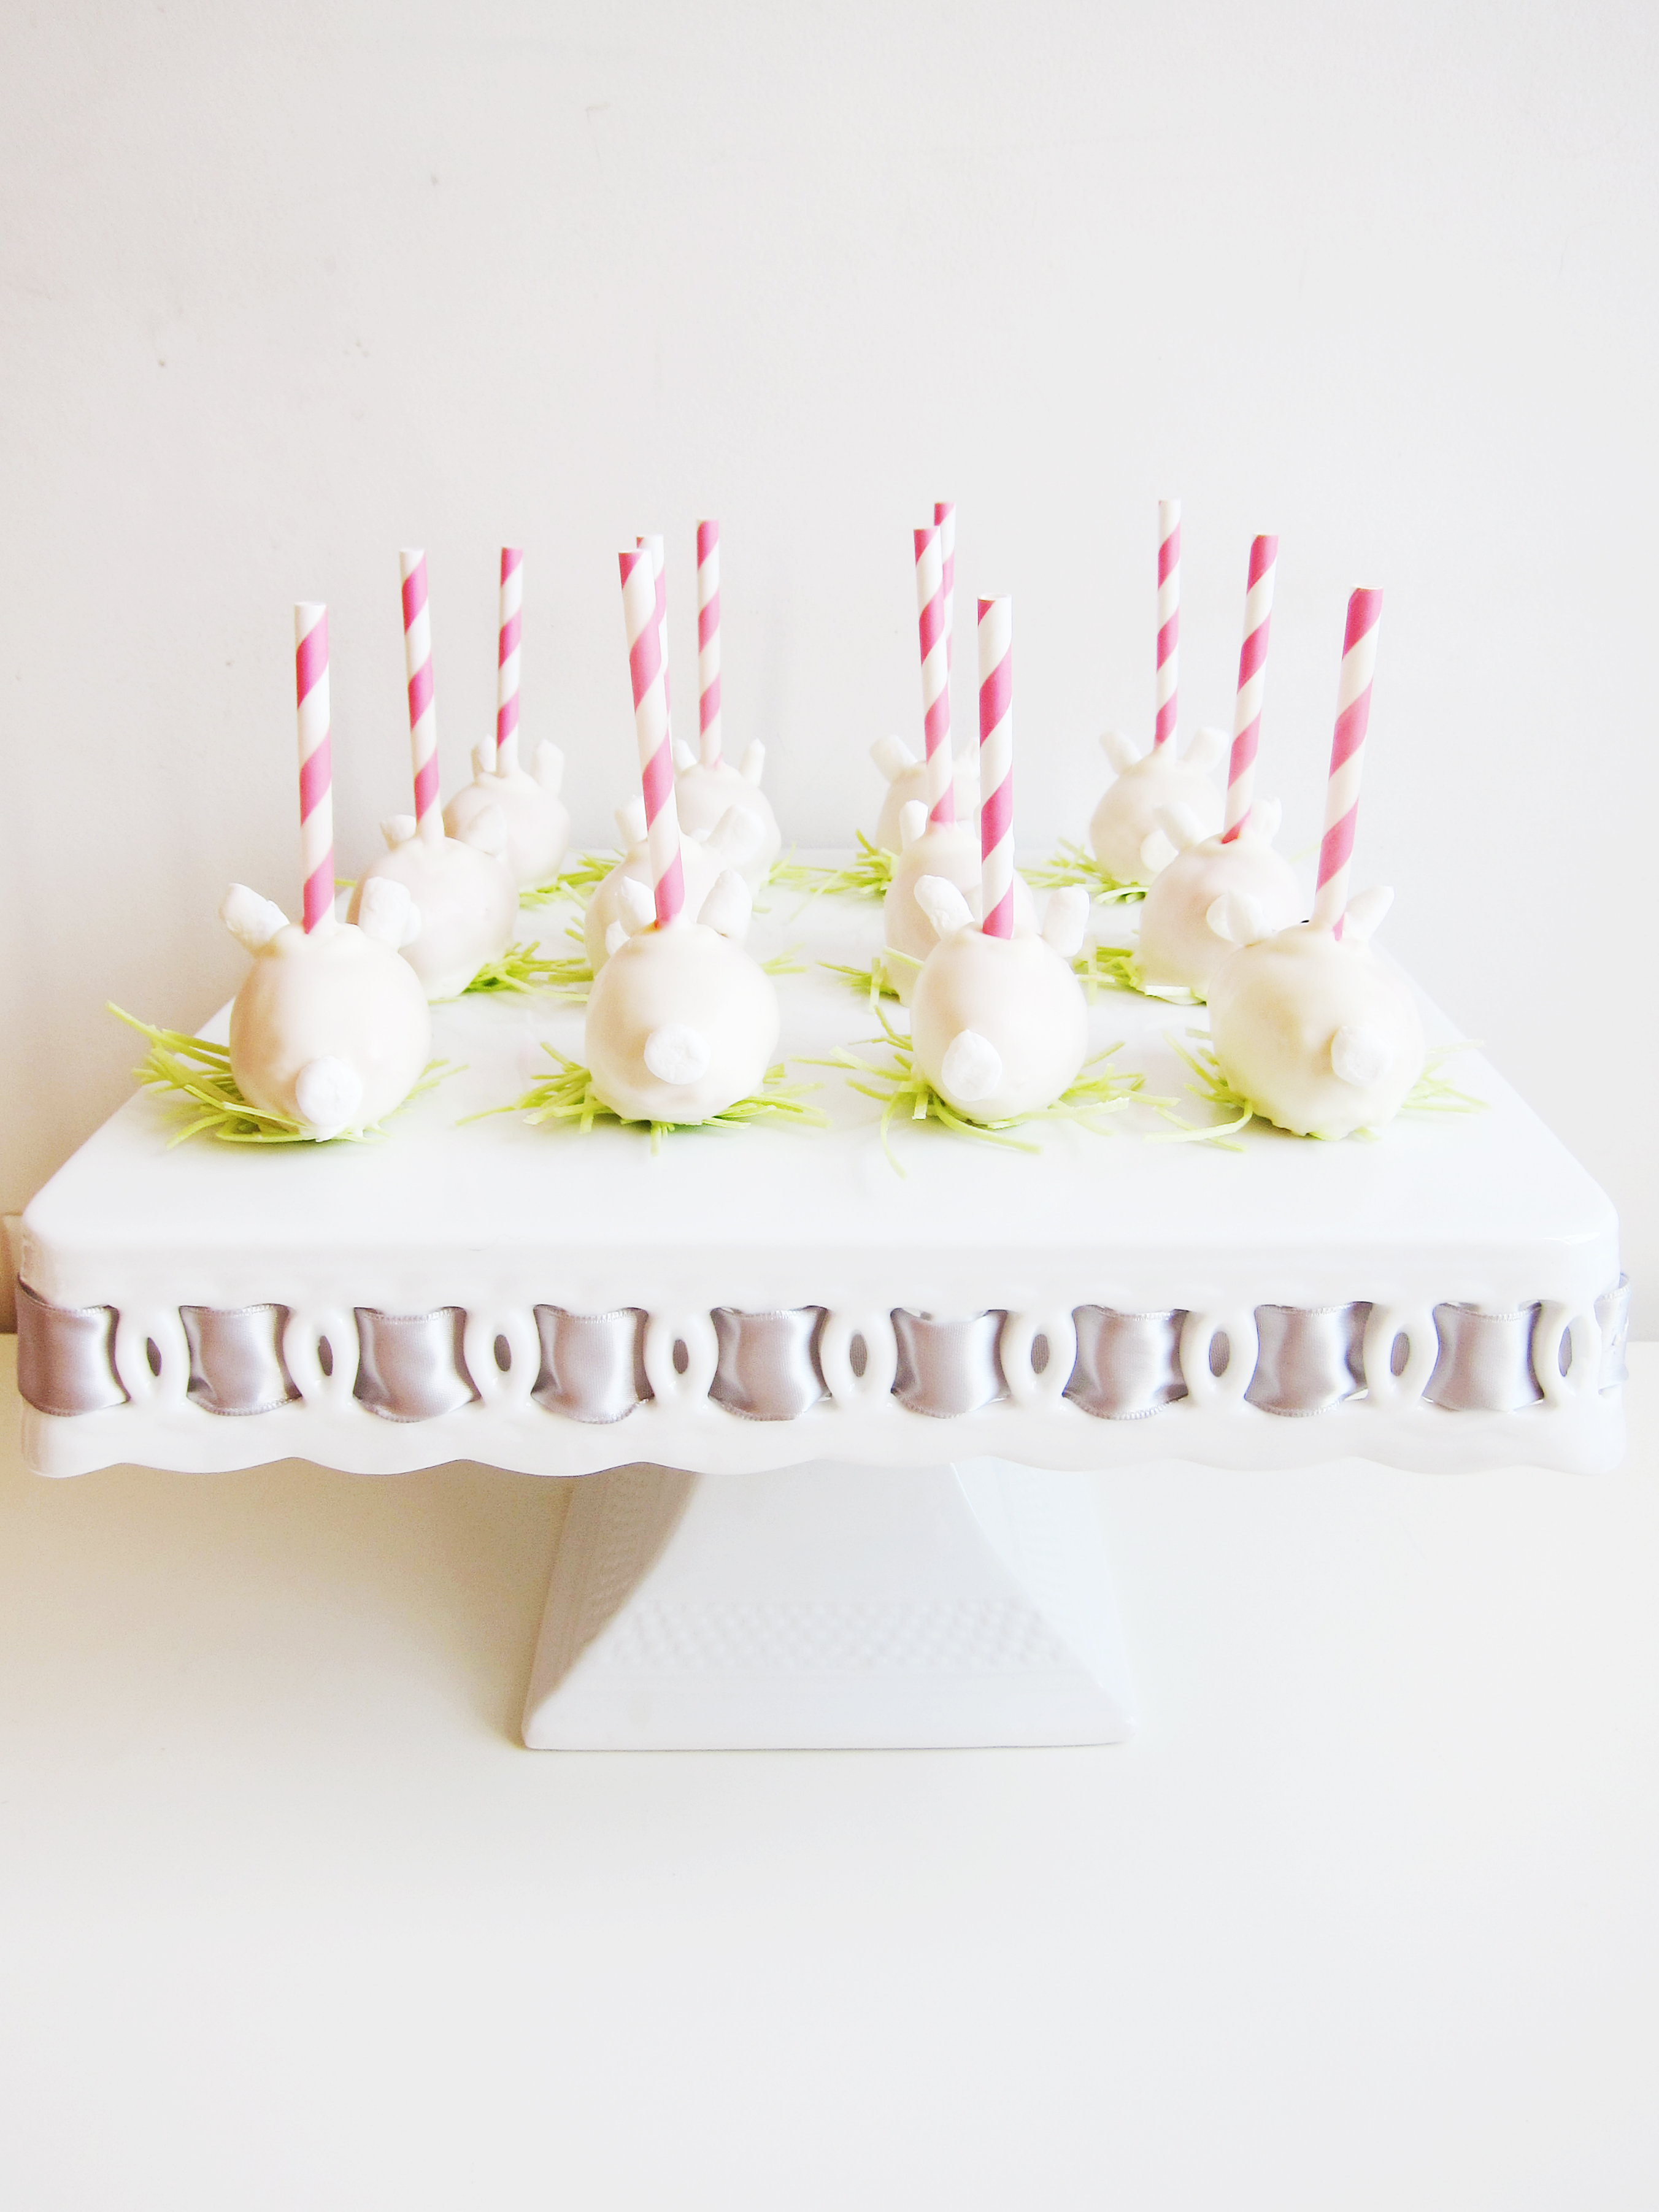
Easter Bunny Surprise Cake
You will need:
1 Batch of Pink Sheet Cake
1 Batch of Yellow Cake
1 Batch of Green Frosting
1 Batch of Chocolate Frosting
Bunny Cookie Cutter
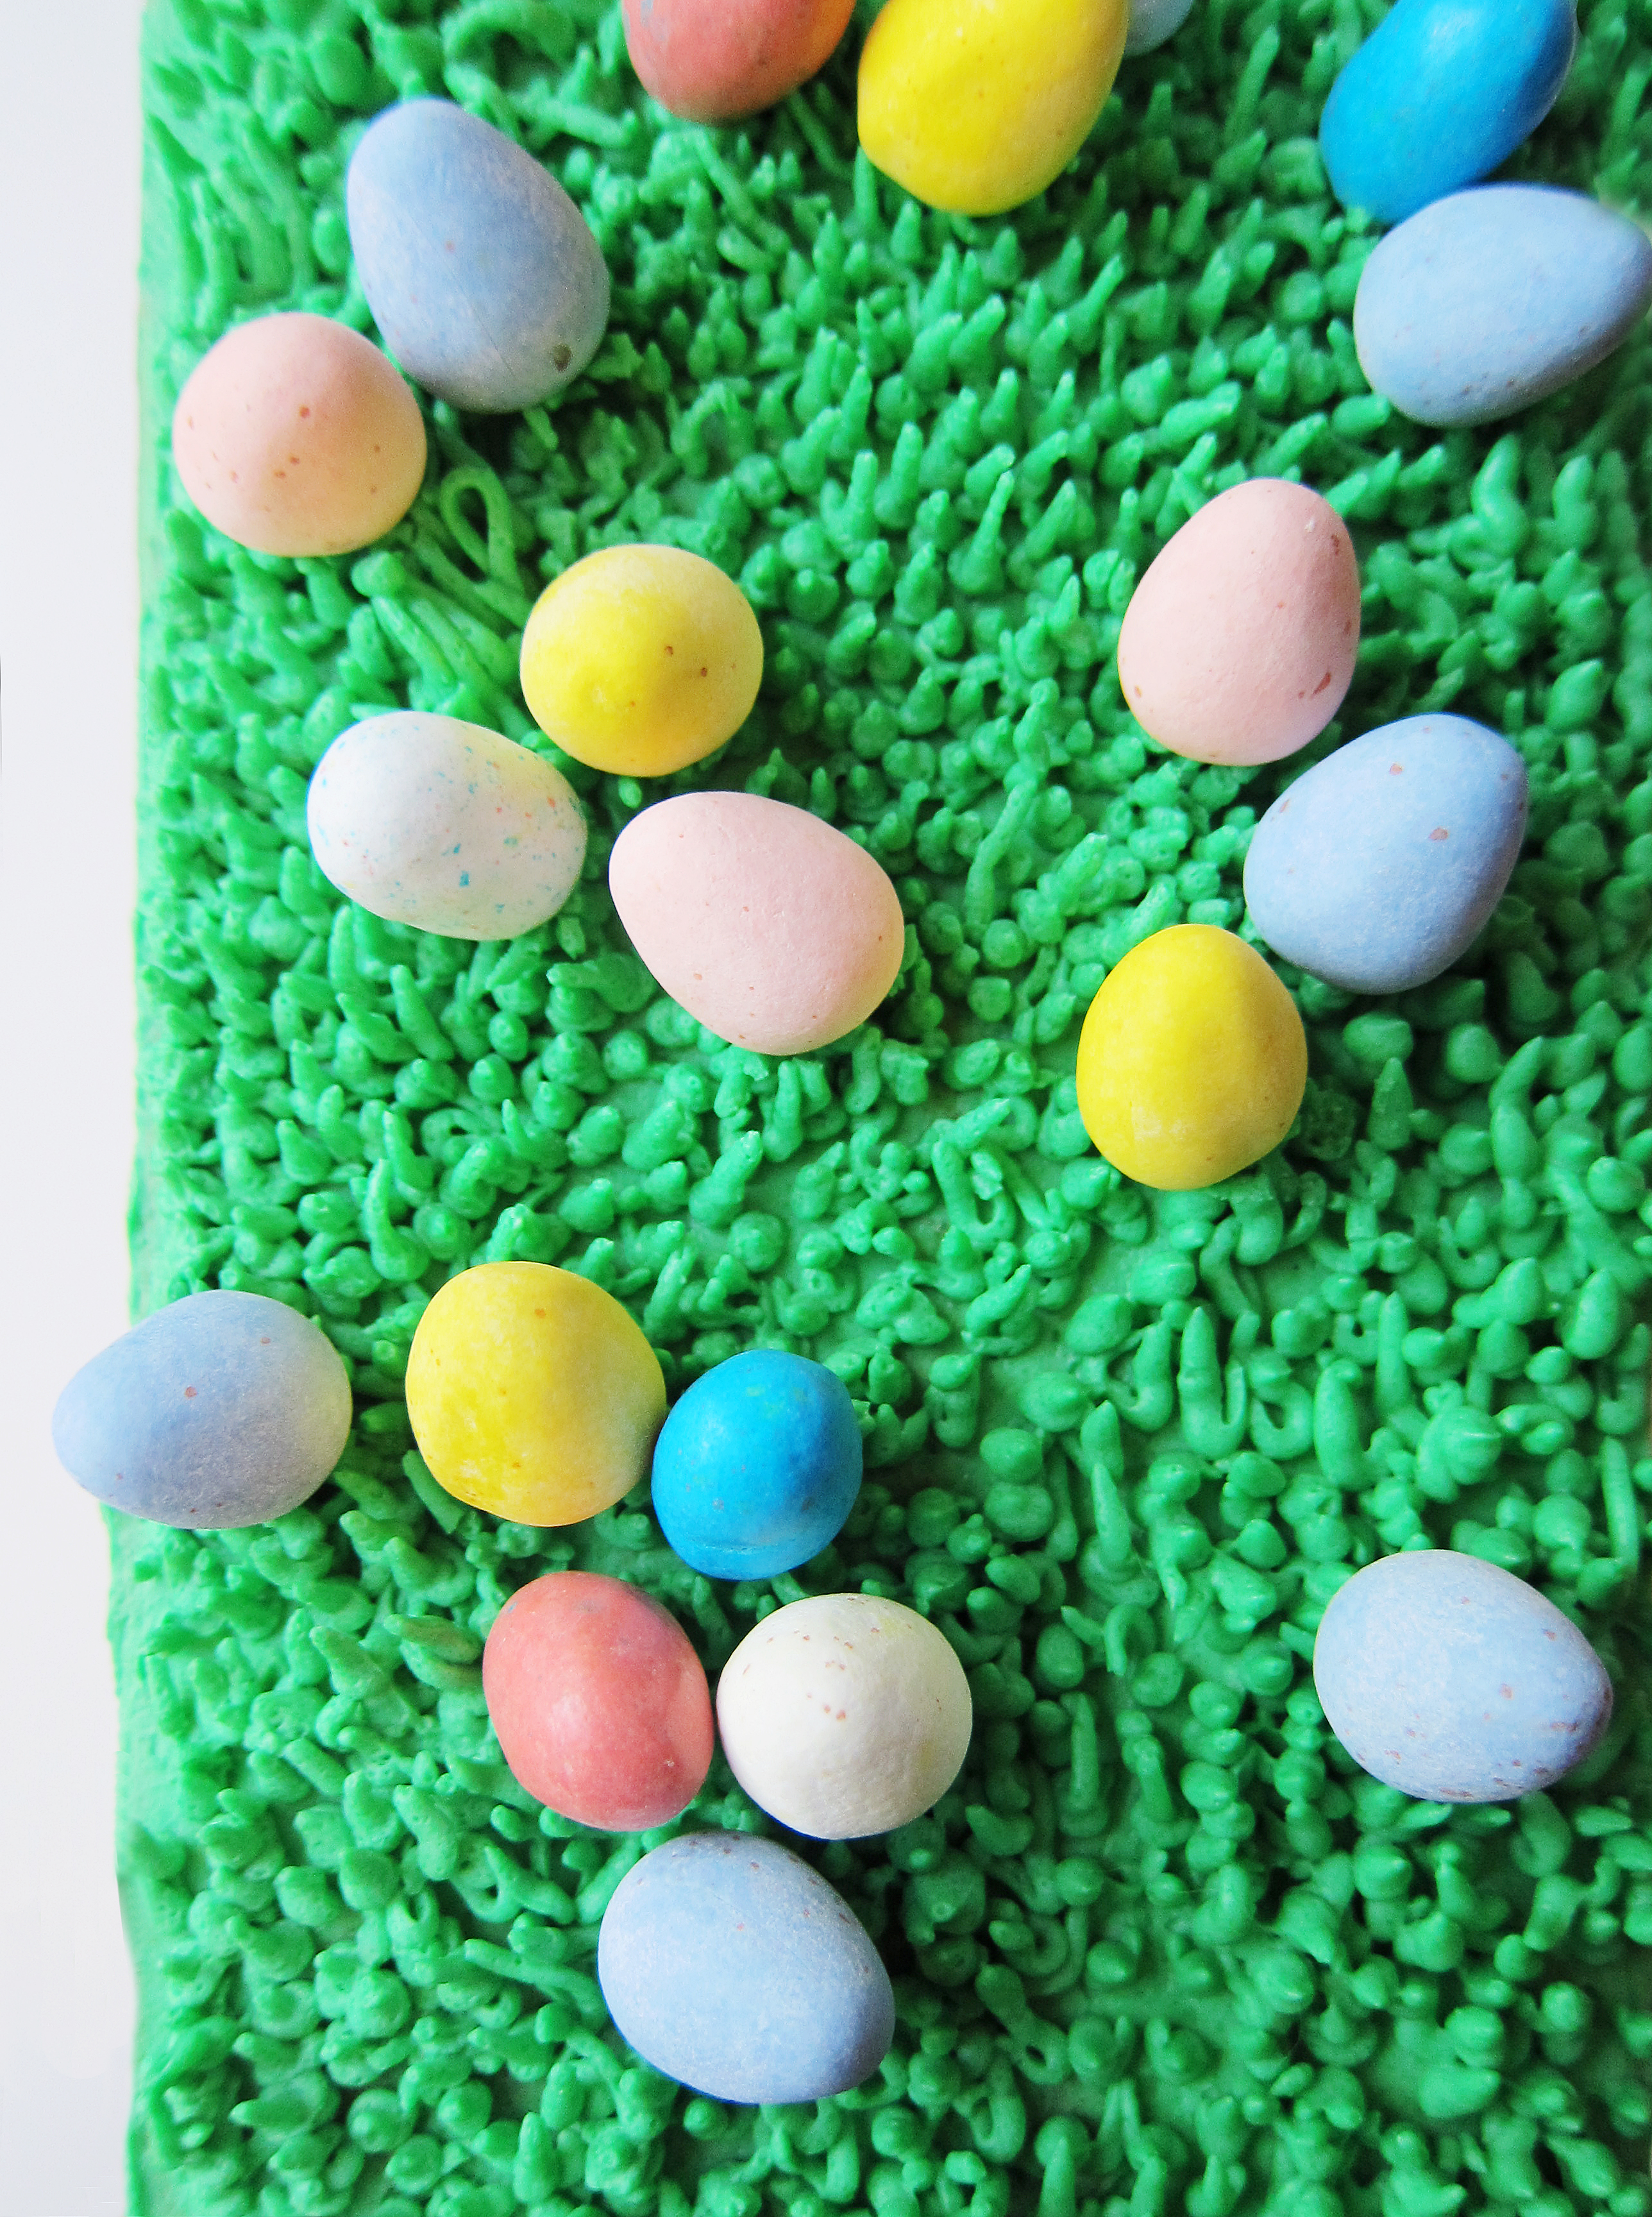
Mini Chocolate Eggs
Grass Frosting Tip (Optional)
Pink Sheet Cake
Ingredients:
1 ½ c. all purpose flour
1 c. sugar
½ tbsp. baking powder
⅛ tsp. salt
¾ buttermilk, divided
4 oz. unsalted butter, room temperature
2 eggs, room temperature
1 egg yolk
¼ tsp. vanilla extract
Pink gel food coloring
Instructions:
- Preheat the oven to 350˚F and line a sheet pan with parchment paper or a silicone mat.
- In a bowl of a standing mixer with the paddle attachment, add flour, sugar, baking powder, and salt. Mix until combined.
- On low speed, add ½ c. buttermilk and butter and mix until combined.
- In a separate bowl, whisk eggs, egg yolk, ¼ c. buttermilk, and vanilla extract until homogenous.
- On low speed, slowly add the egg mixture to the flour mixture.
- Increase speed to medium, and mix until combined.
- On low speed, add pink food coloring until desired color is reached.
- Spread batter onto the sheet pan until fully covered.
- Bake 10-12 minutes until cake is set.
- Let cool.
- Cut out bunny shapes. (as shown above)
- Chill in freezer.
Yellow Cake
Ingredients:
1 c. cake flour
1 c. all-purpose flour
1 ⅓ c. sugar
¾ tbsp. baking powder
⅛ tsp. salt
1 c. buttermilk, divided
6 oz. unsalted butter, room temperature
3 eggs, room temperature
1 egg yolk
½ tsp. vanilla extract
Instructions:
- Preheat the oven to 350˚F and line a loaf pan with parchment paper.
- In a bowl of a standing mixer with the paddle attachment, add flour, sugar, baking powder, and salt. Mix until combined.
- On low speed, add ¾ c. buttermilk and butter and mix until combined.
- In a separate bowl, whisk eggs, egg yolk, ¼ c. buttermilk, and vanilla extract until homogenous.
- On low speed, slowly add the egg mixture to the flour mixture.
- Increase speed to medium, and mix until combined.
- Spread batter until ¼-½ in. up the loaf pan.
- Stack the chilled cake cutouts side by side, horizontally, without any spaces in between.
- Place the stacked cake cutouts into the center of the cake pan, carefully making sure no gaps form in between.
- Spread rest of the batter into cake pan.
- Bake 30-45 minutes until cake is done or until a toothpick inserted into the center comes out clean.
- Let cool in pan for 10 minutes, and then flip onto a cooling rack until completely cool.
Chocolate Frosting
Ingredients:
⅔ c. all-purpose flour
⅓ c. cocoa powder
1 c. milk
⅛ tsp. salt
8 oz. butter
⅔ c. sugar
8 oz. chocolate, melted and cooled
½ tsp. vanilla extract
Instructions:
- In a saucier pan, put milk, salt, cocoa powder and flour and whisk until combined on medium heat.
- Continuously whisk mixture until thickened to a pudding like consistency.
- Once thickened, strain through a mesh strainer into a bowl with a spatula to remove lumps.
- Place a piece of plastic wrap on top of the flour mixture and put into the refrigerator until fully cool.
- In a mixer bowl fitted with the whisk attachment, mix the sugar and butter on high speed until fluffy and pale about, 5-10 minutes.
- Add the chilled flour mixture and continue to whip on high speed until the sugar is completely dissolved and the mixture is no longer gritty, about 5-10 minutes.
- Add the vanilla extract and melted chocolate and mix until combined.
- Smooth chocolate frosting over the loaf cake, and place in the freezer
Green Frosting:
Ingredients:
½ c. whole milk
¼ c. flour
⅛ tsp. salt
2 oz. unsalted butter, room temperature
½ c. sugar
¼ tsp. vanilla extract
green gel food coloring
Instructions:
- In a saucier pan, put milk, salt and flour and whisk until combined on medium heat.
- Continuously whisk mixture until thickened to a pudding like consistency.
- Once thickened, strain through a mesh strainer into a bowl with a spatula to remove lumps.
- Place a piece of plastic wrap on top of the flour mixture and put into the fridge until fully cool.
- In a mixer bowl fitted with the whisk attachment, mix the sugar and butter on high speed until fluffy and pale about, 5-10 minutes.
- Add the chilled flour mixture and continue to whip on high speed until the sugar is completely dissolved and the mixture is no longer gritty, about 5-10 minutes.
- Add the vanilla extract and mix until combined.
- Add green frosting until desire colored is reached.
- Add a thin layer of green frosting to top of cake.
- Chill cake in freezer for 3-5 minutes.
- Optional: Put the green frosting into a piping bag fitted with the grass frosting tip and pipe grass all over top of chilled cake.
- Garnish top of cake with mini chocolate eggs.

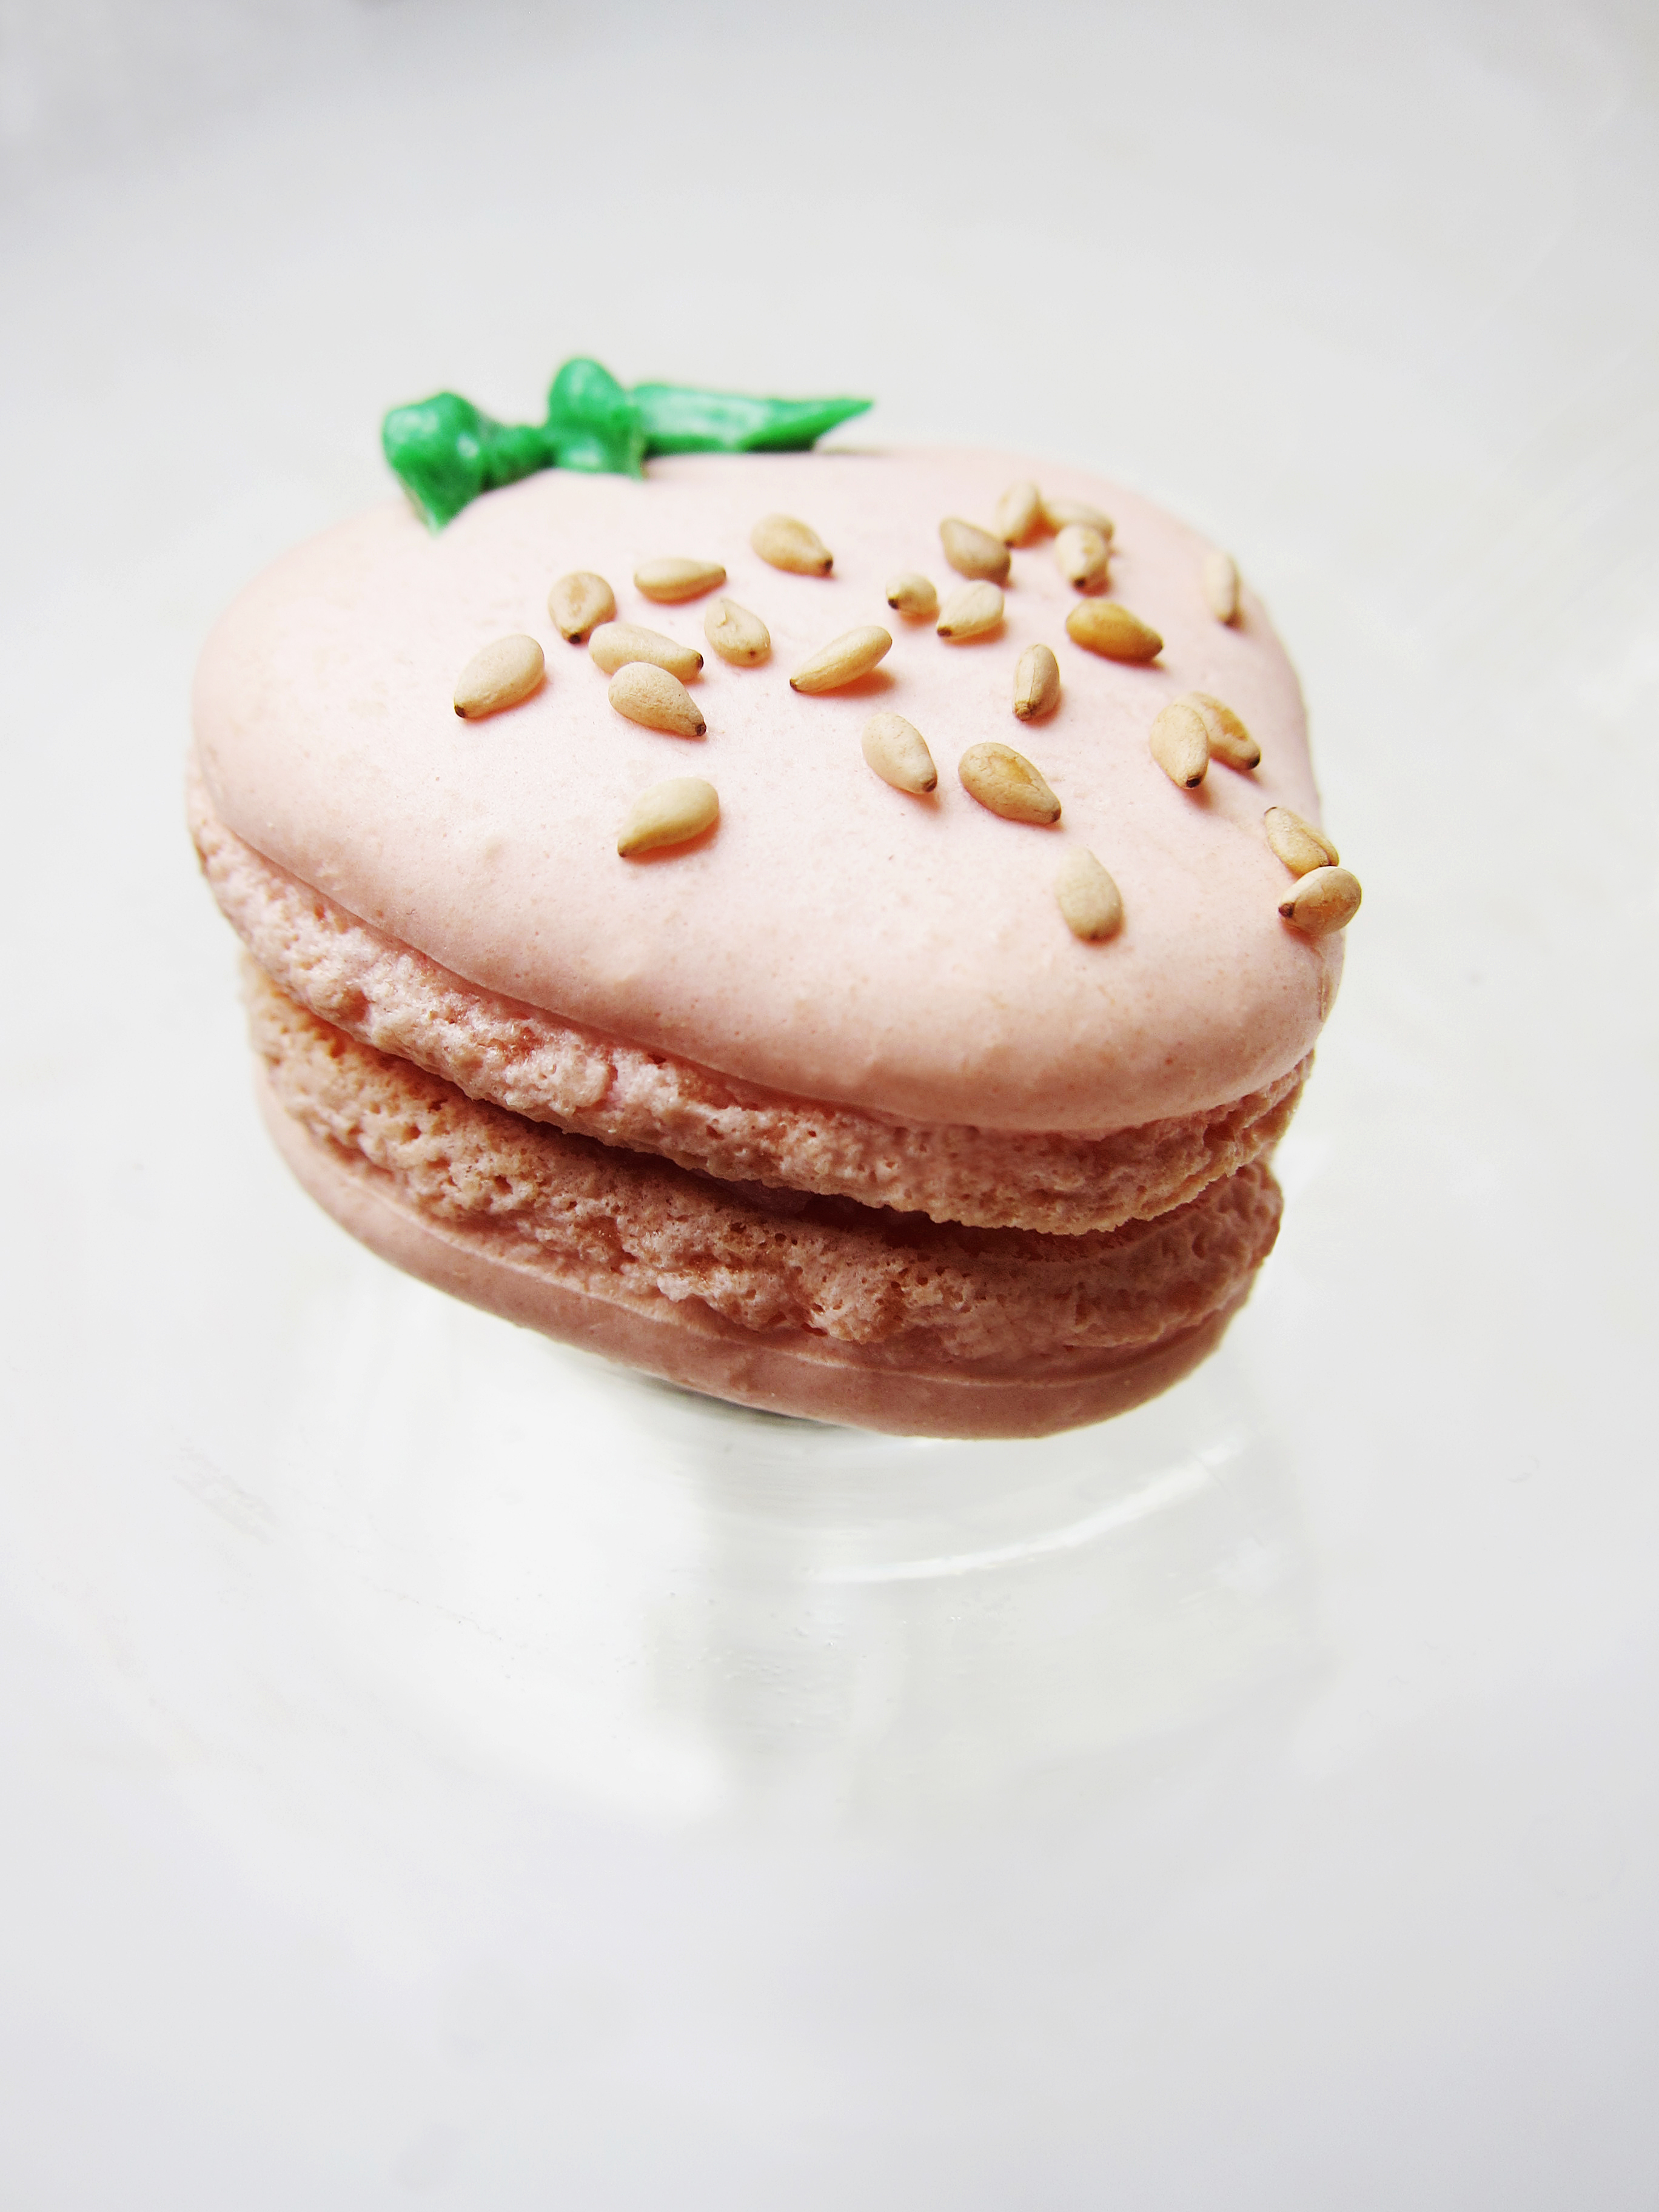
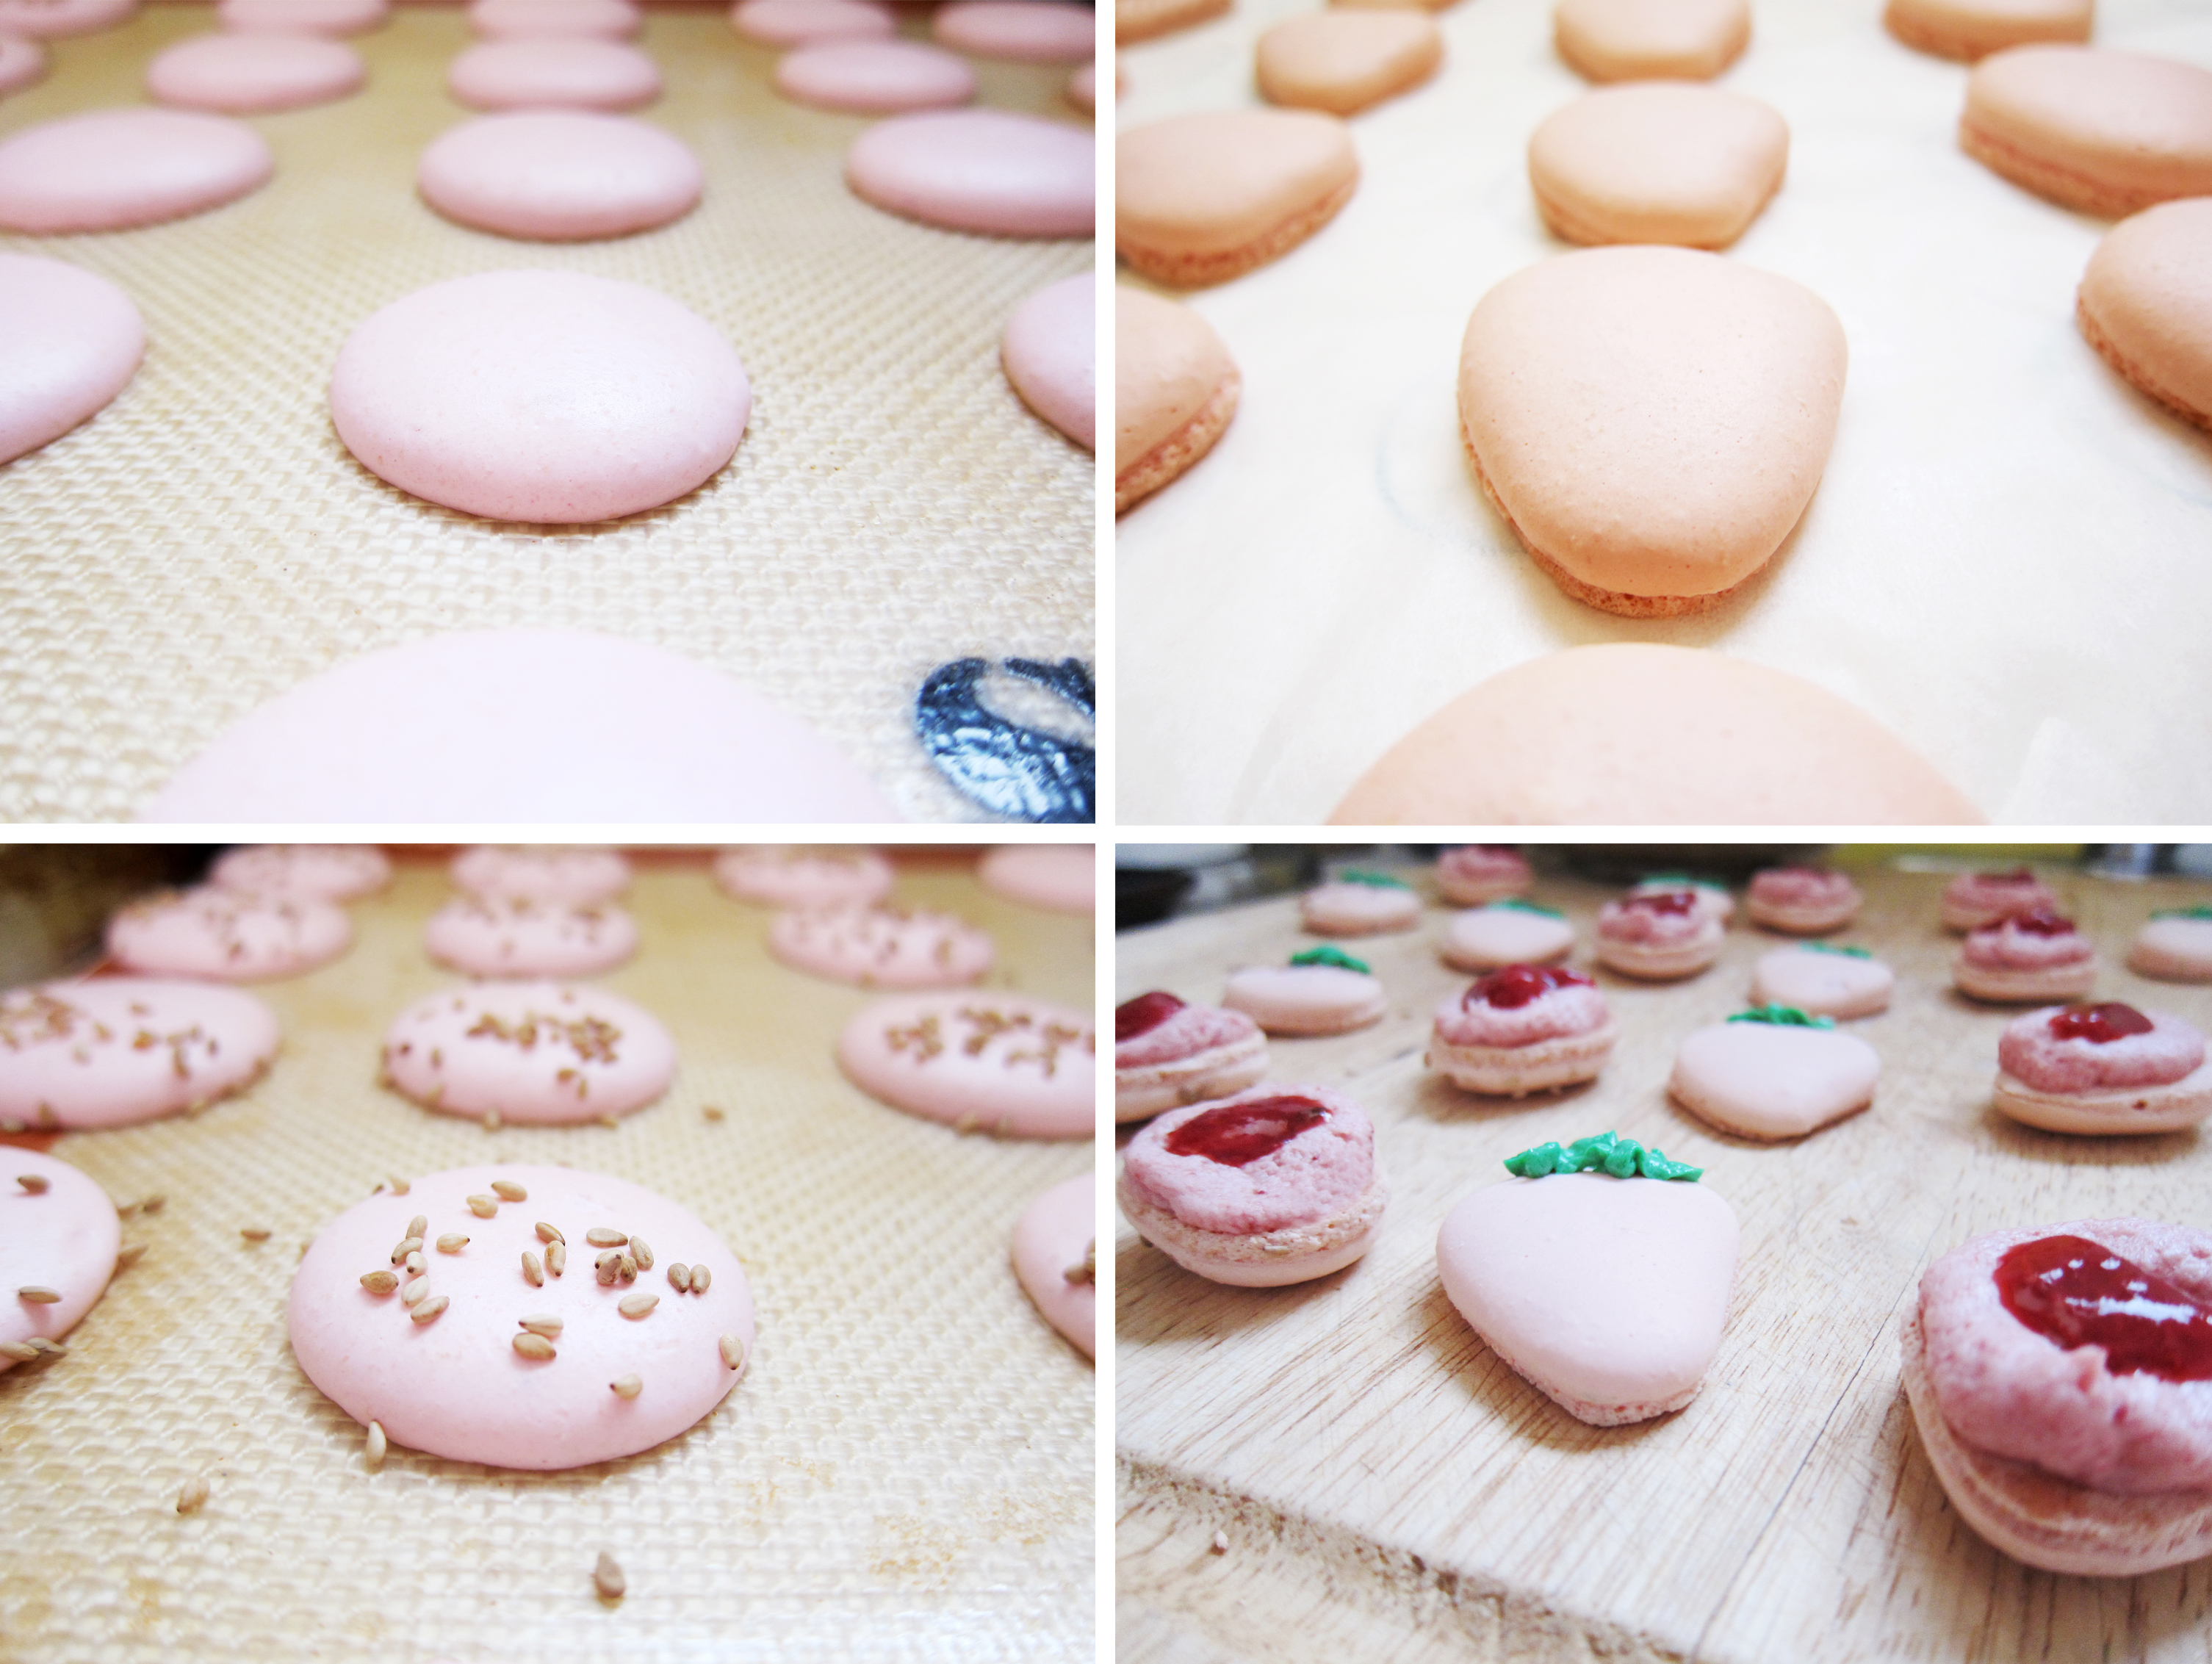
 I must warn you; this is not a cookie that you bake on a whim. You must premeditate your actions and read through the recipe a few times before taking the dive. You must weigh out your ingredients, sift your flour mix, age your egg whites, and I don’t recommend making this on a humid day. Do I sound bossy? I just don’t want you to waste your expensive almond flour because those bags aren’t a dime a dozen. I love you, my readers and best of your luck on your quest!


 But then there is a small cluster of us who like them all: chocolate, vanilla and strawberry. We stand in front of grocery freezers and ice cream parlors for minutes on end trying to choose. “They all sound good!” “I can go for all of them!” We secretly like having to share with someone who is in the chocolate or vanilla faction just to avoid making a final decision.


