 I’ve been taking a lot of baking orders for the past year. Not so often that it’s been unmanageable (or even often enough that I’d say it’s profitable), but enough that most of my spare time was spent creating for others. Only recently did I realize I was in a baking rut. I wasn’t making fun things that were inspiring to me. Yes, I tried out new recipes and that is always good but it never tapped into my creative side. So I’ve made a decision on making things for just me (and you, if you are reading this). What does this look like? Probably a smattering of posts of things that I like but mostly will be centered on a series of subjects that I am a fan of. All of the recipes that I’m sharing will be just as delicious, only that they’d reflect the selected theme. So I’m excited to announce that I’m kicking off this season with The Gaming Series.
 I’ve loved video games when my brother got his very first Gameboy. I’m talking about that grey box with the monotone green screen. My three siblings and I would crowd around that one tiny screen and watch each other play for hours. Going forward, my younger brother and sister would eventually lose their interest, but my other brother and I would continue with our fandom for years.
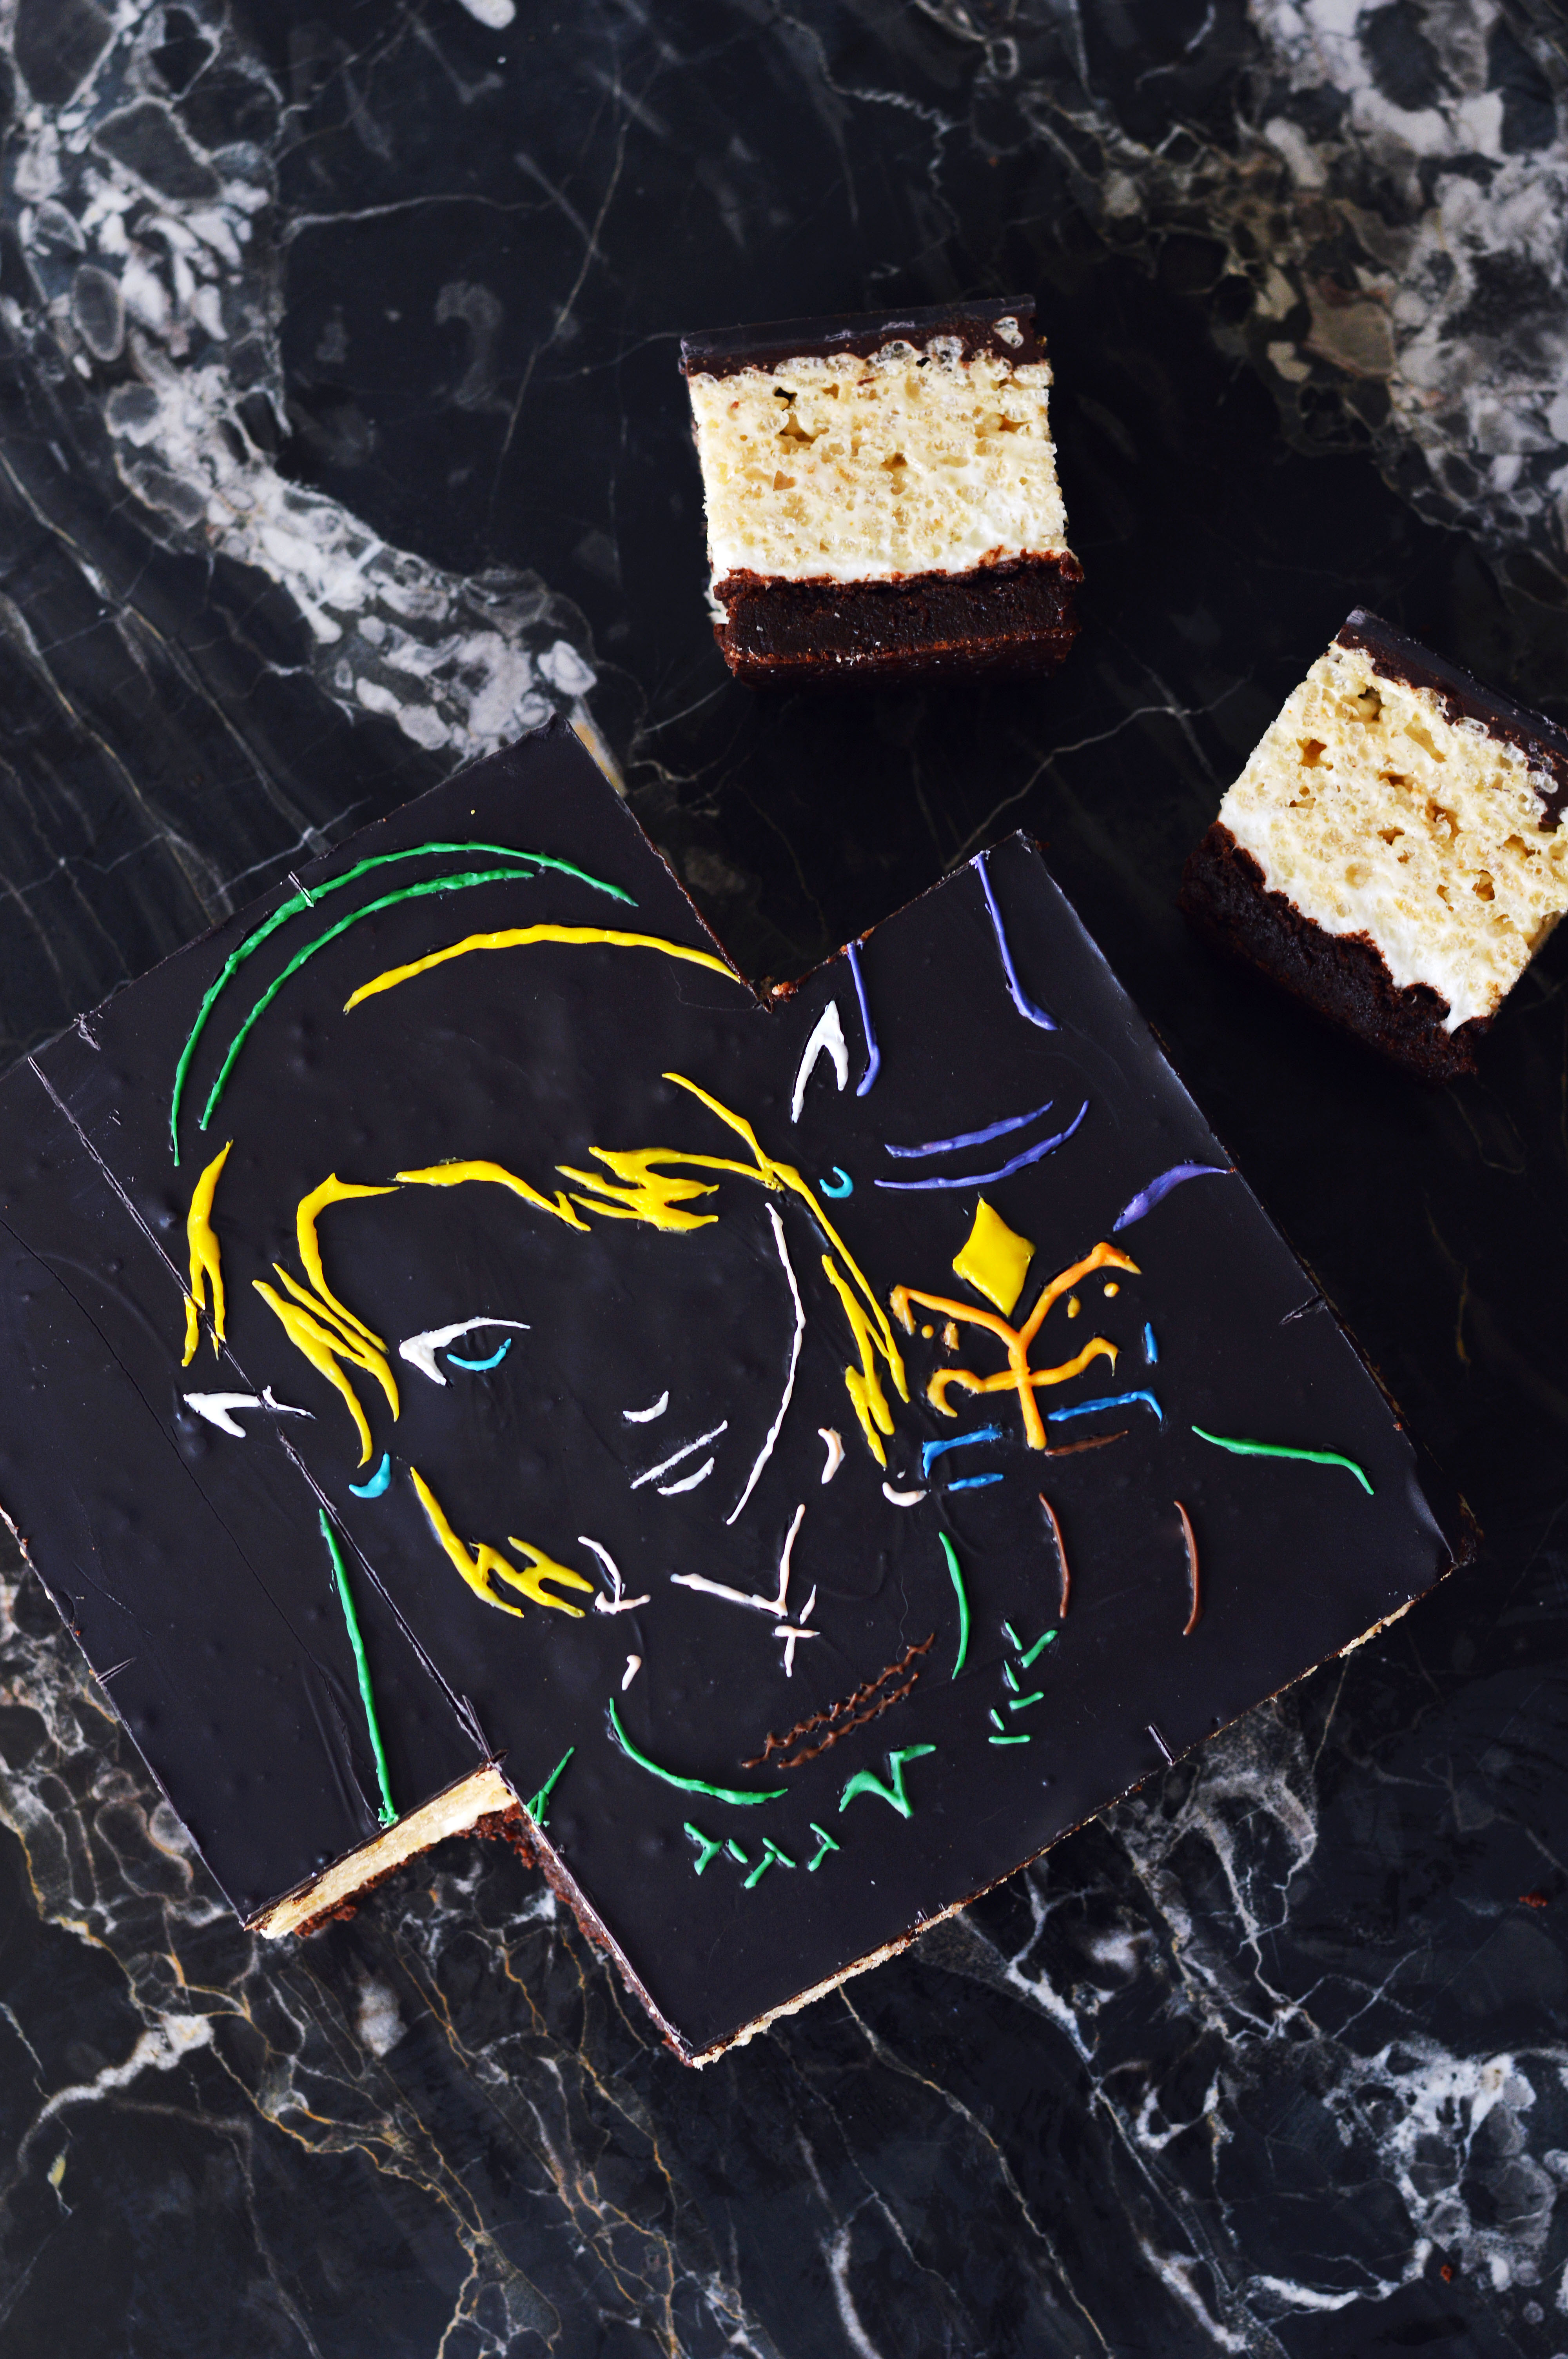
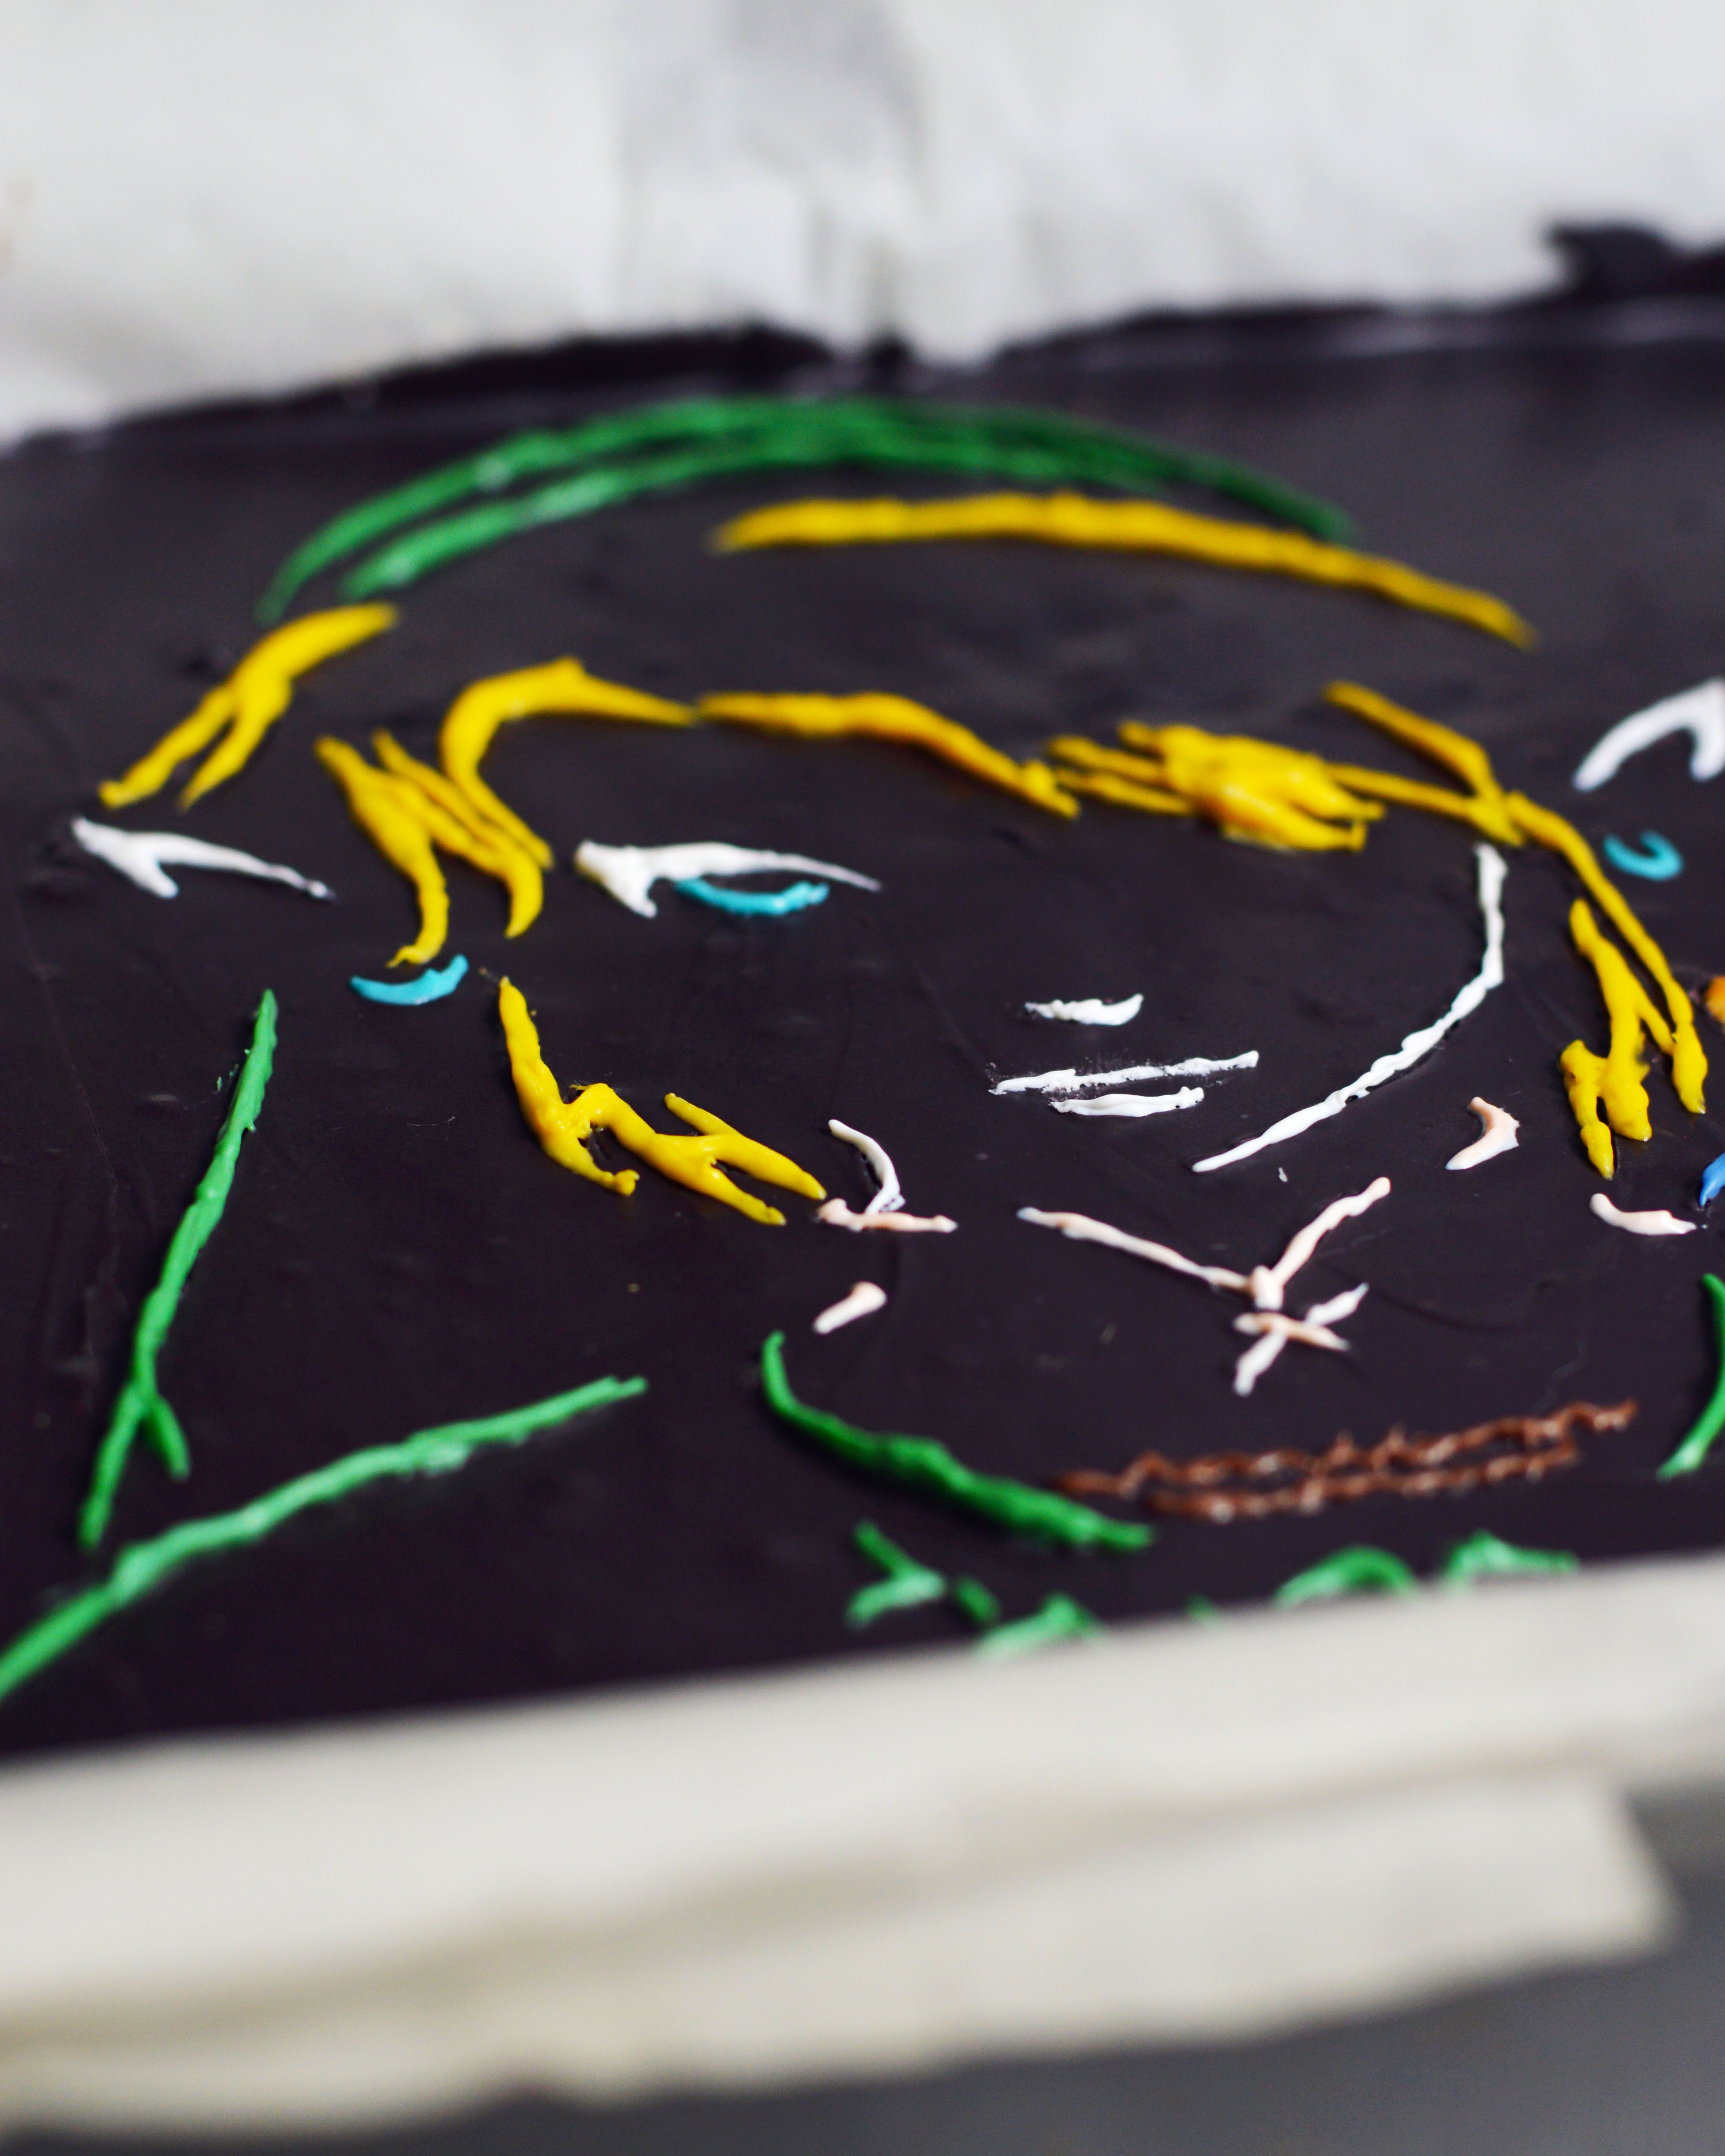
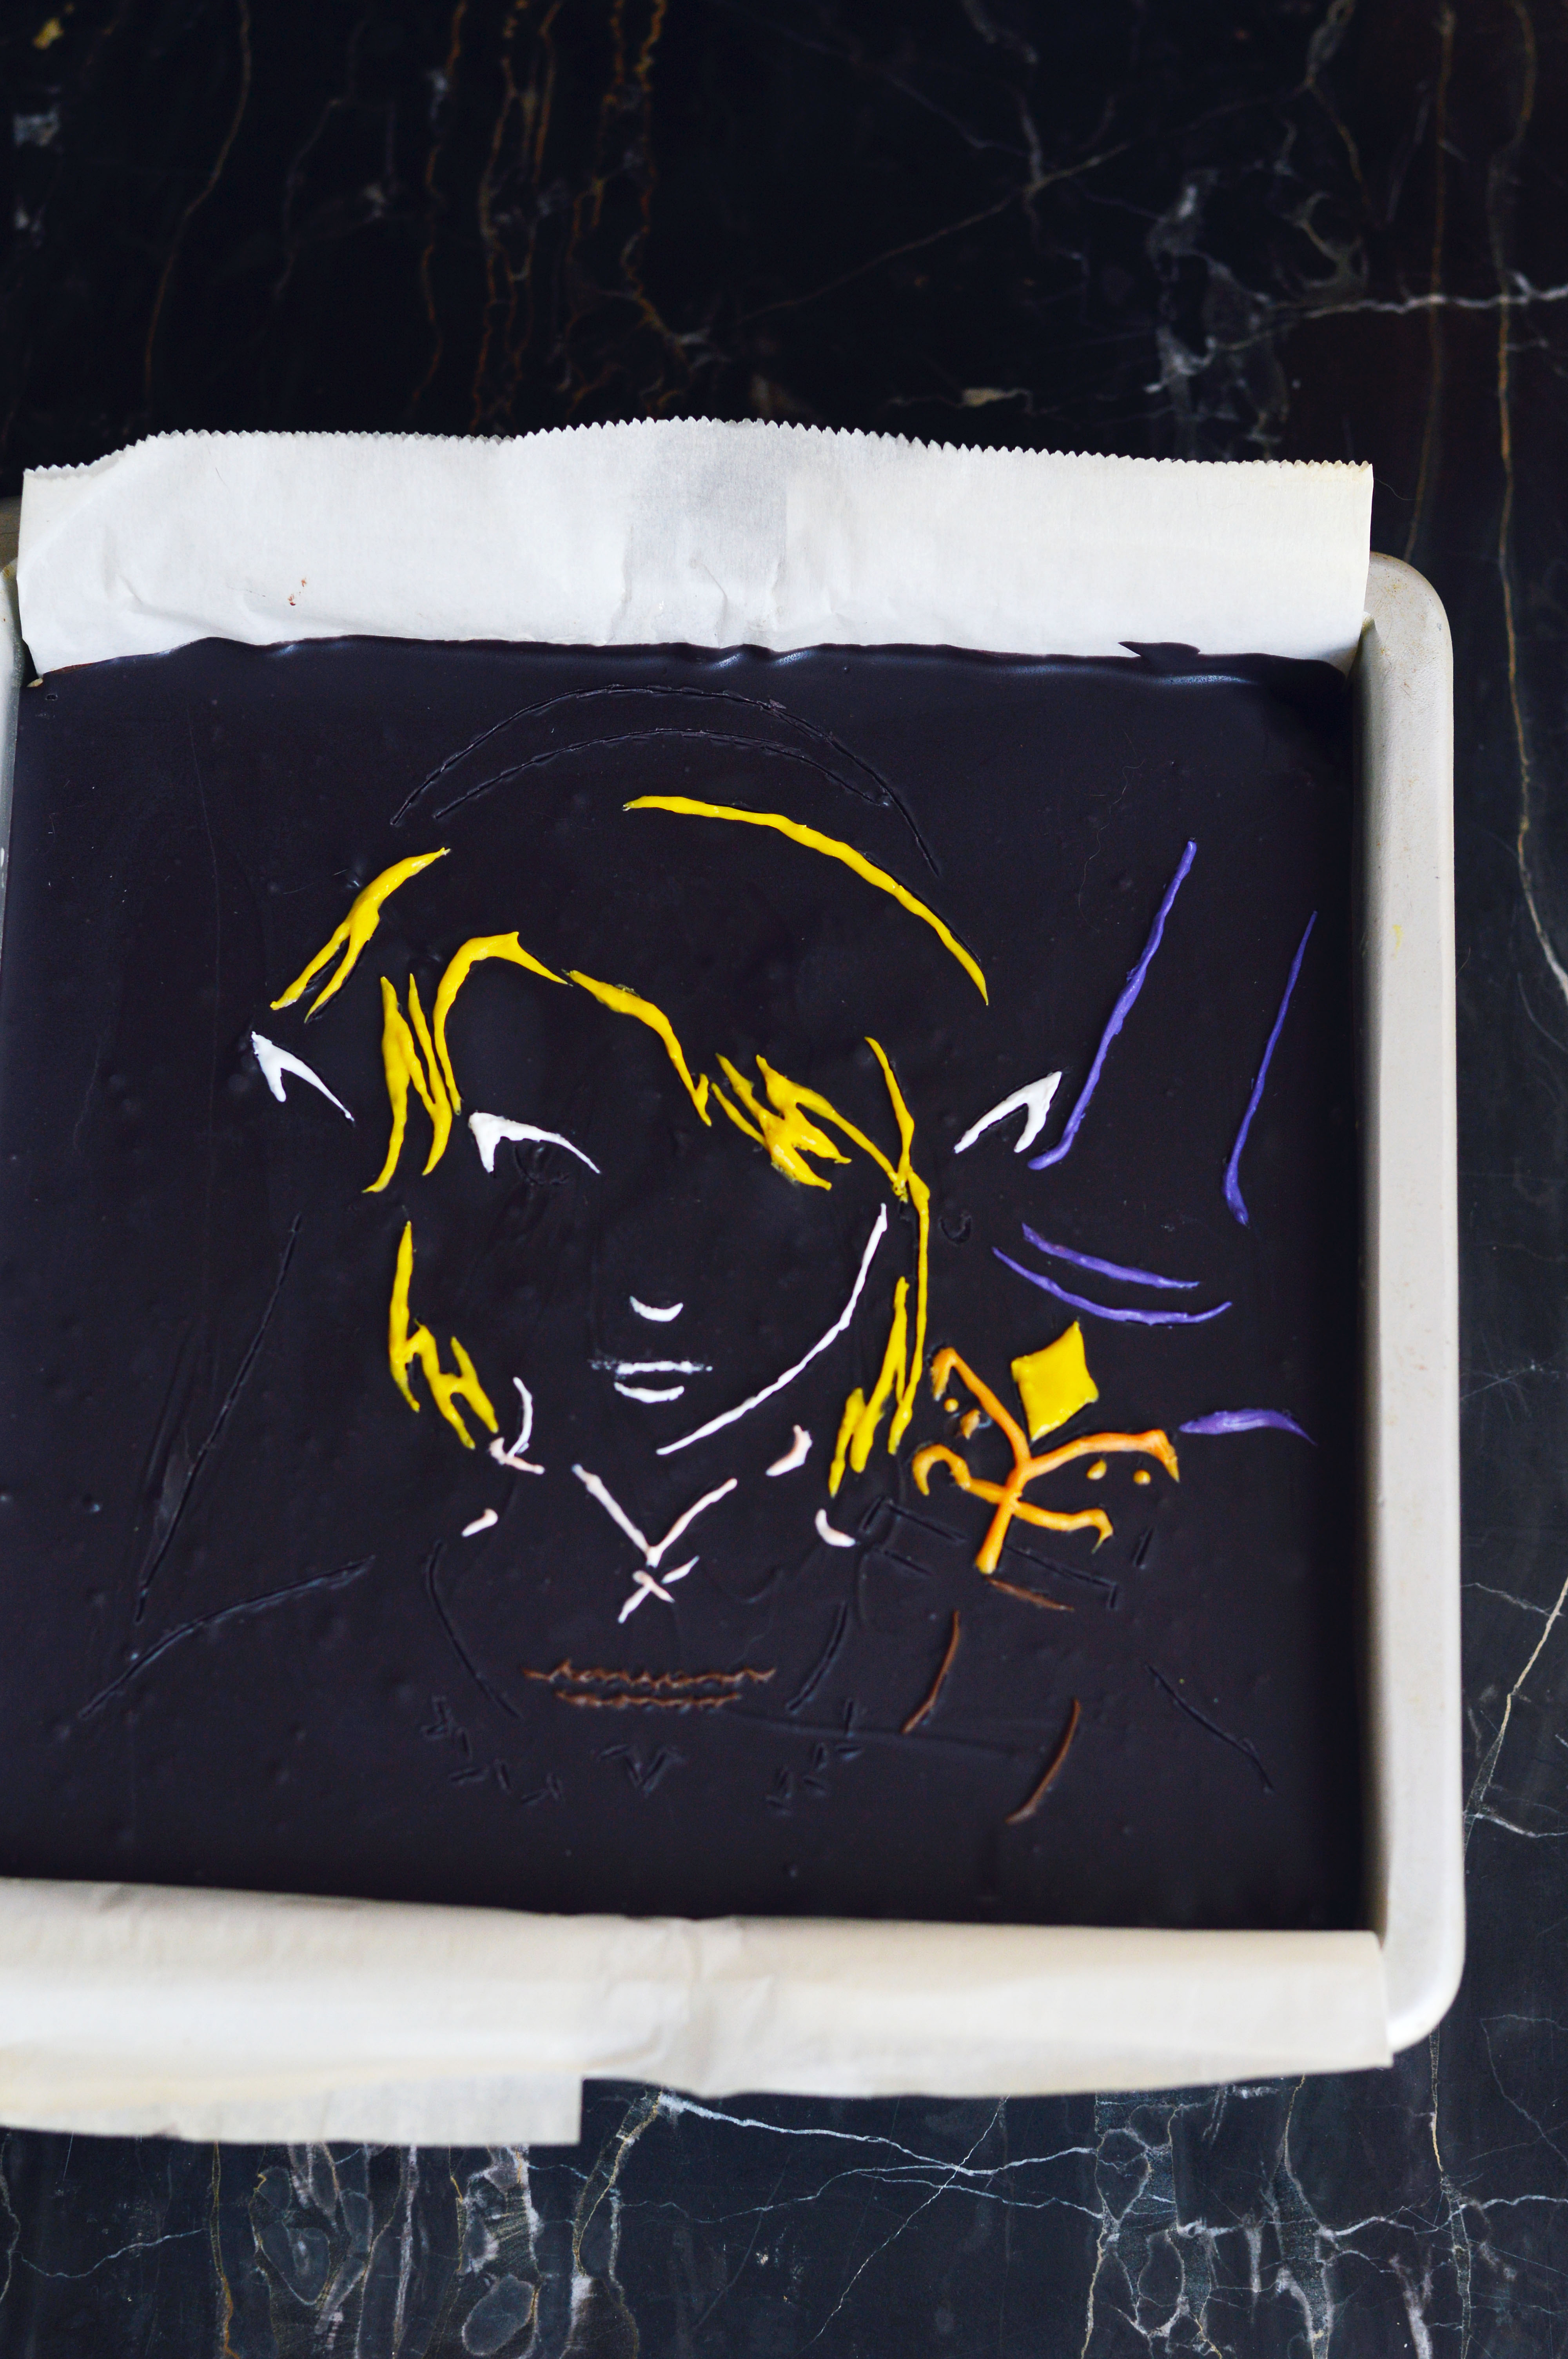 Our very first console was a Nintendo 64, and The Legend of Zelda: Ocarina of Time was the first RPG that we played. Because the game is meant for one player, I would be the backseat driver to his playing. And even though I rarely physically held the controller, I was every bit as immersed and taken by the storyline and the gameplay. I could almost feel the heat of Death Mountain, the cool waters of Lake Hylia and the dryness of the Haunted Wasteland. I wanted to ride on Epona and drink a gallon of Lon Lon Milk. Link was probably my first video game crush. (Even now that blonde hair and blue eyes makes my heart sway a bit.) So unsurprisingly, my first post is of Link.
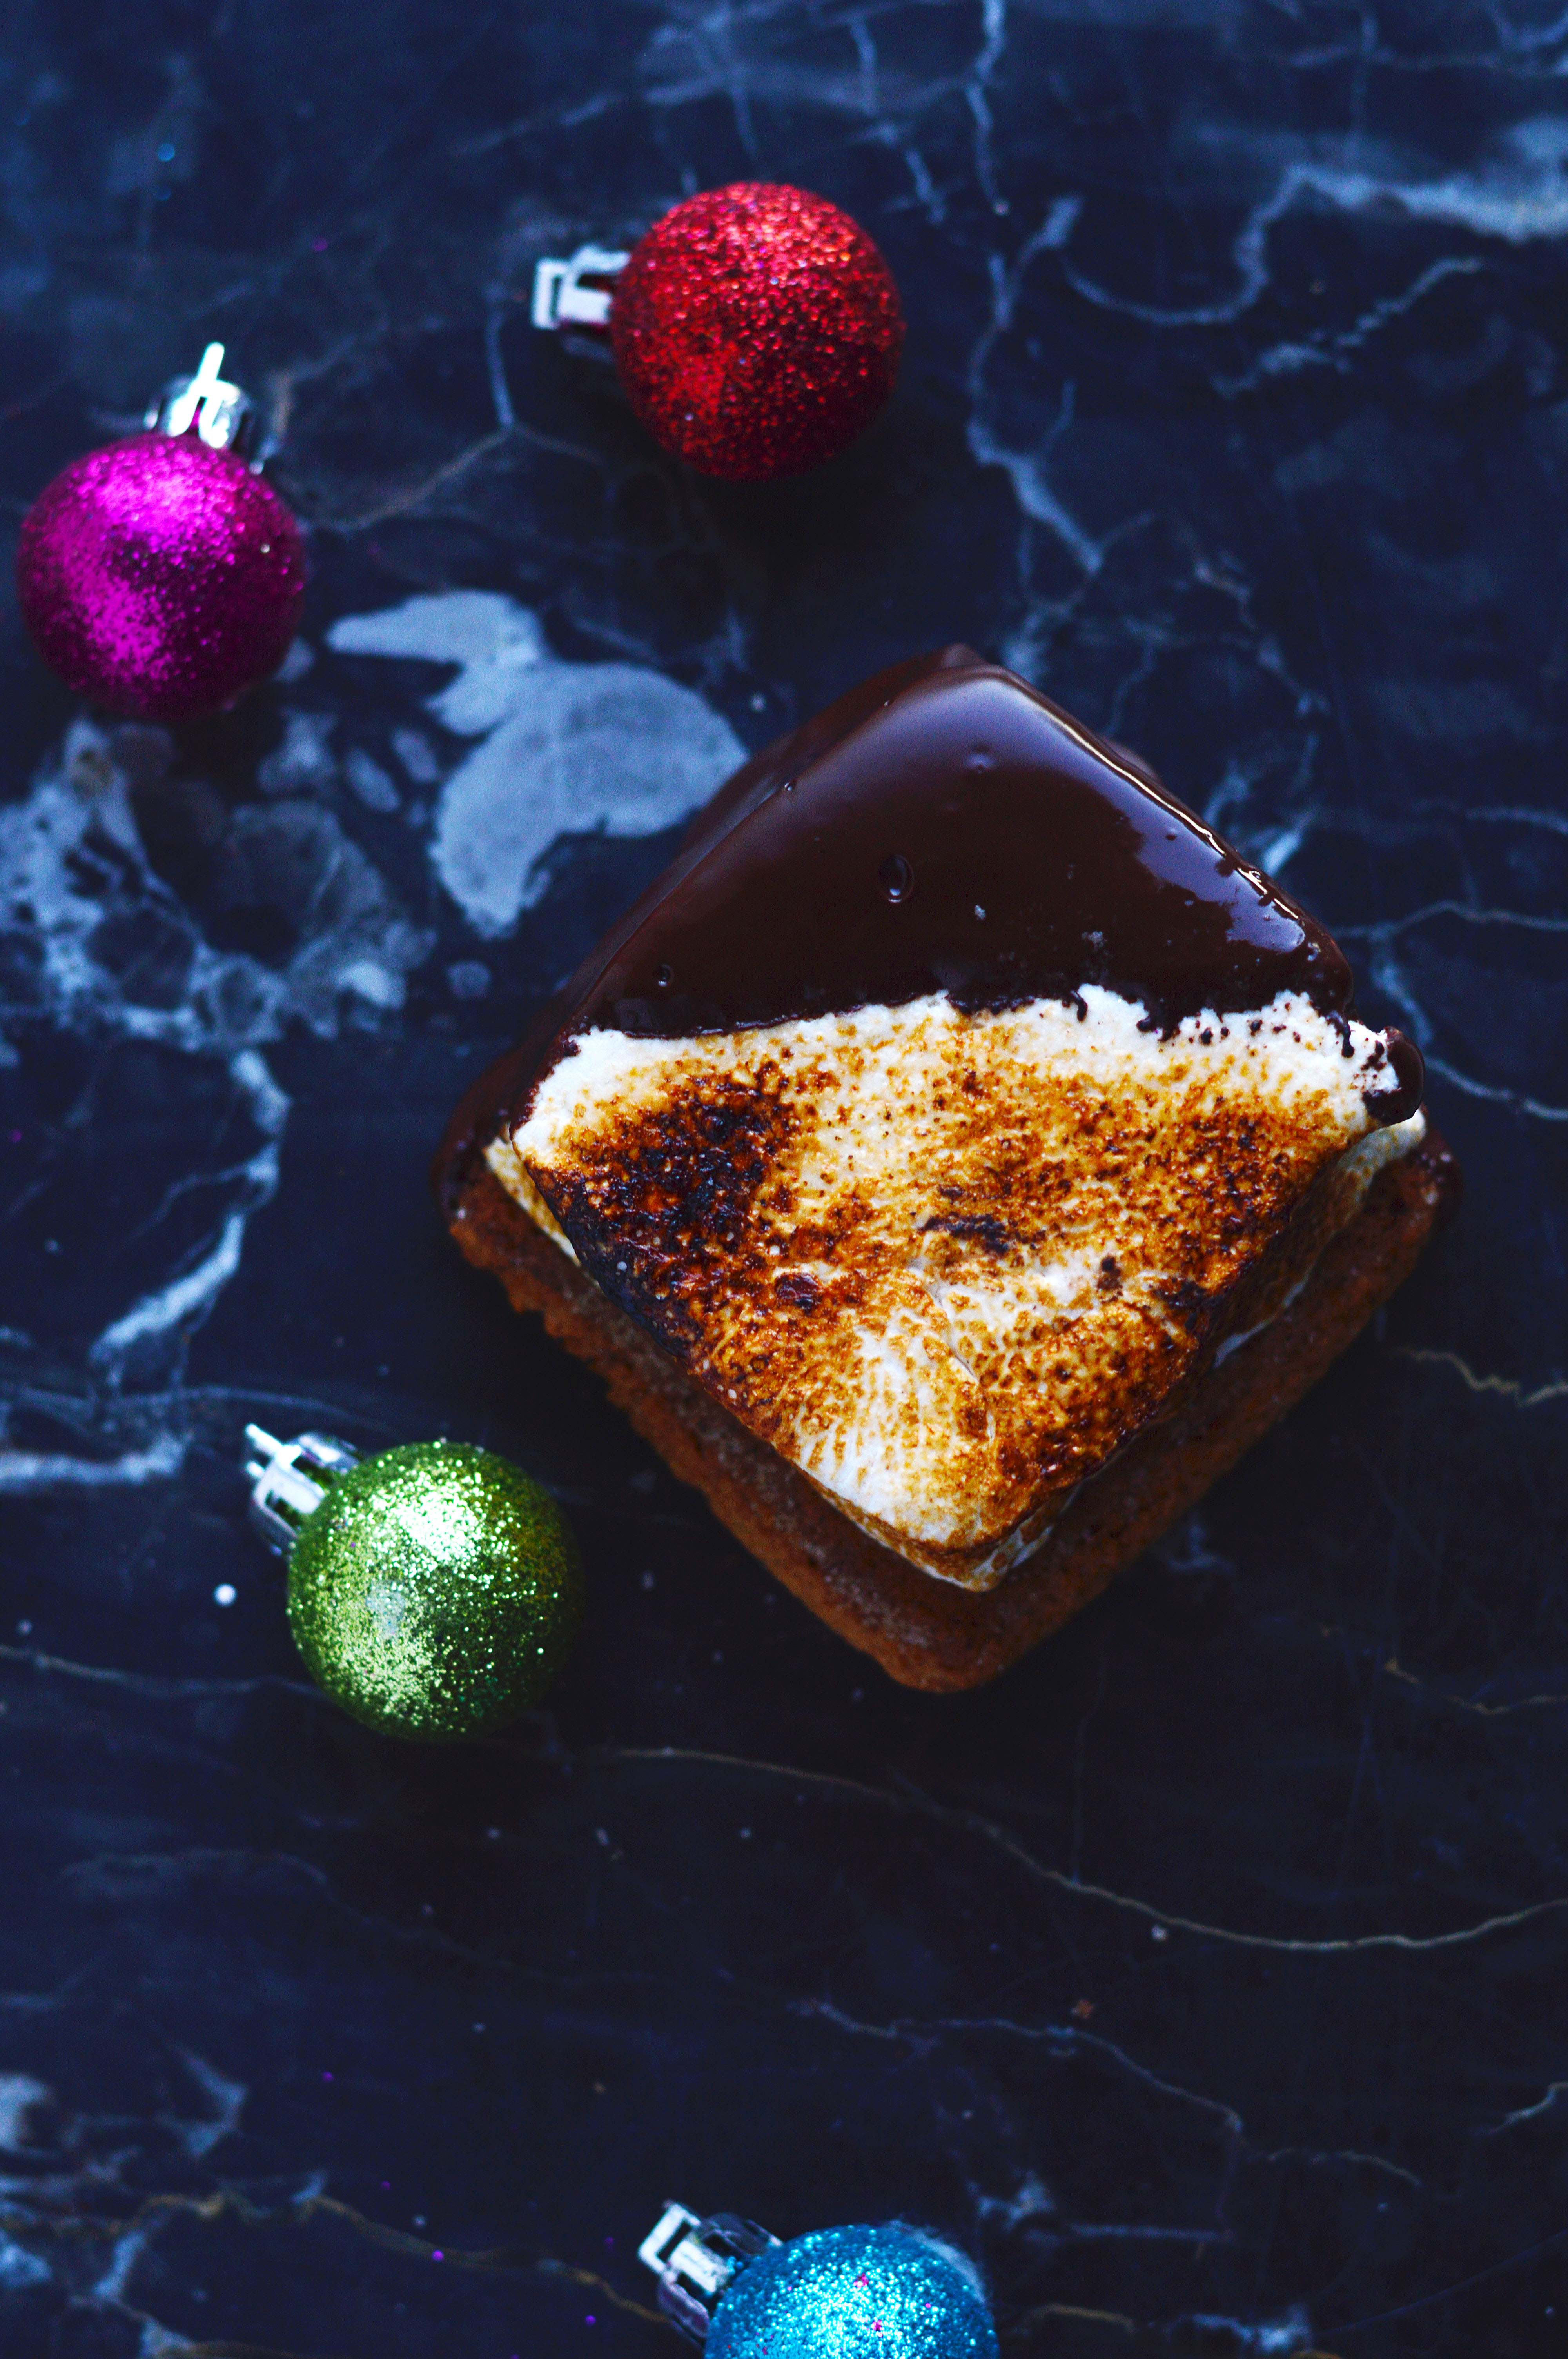
 First, I have to let you know this recipe is the bomb. The light, crispy, chewy and slightly salty brown butter rice krispy treat offsets the smooth, fudgy brownie base in the best way. Second is that I just love how the candy melts pop against the black background. I have to thank @emilylynncantera because her artwork is what inspired this project.
 I hope you enjoyed the post and I’m looking forward to continuing this journey with you. The hint for the next theme has to do with a certain fungi kingdom.
Link Brownies
You will need:
Brownies (recipe below)
Salted Brown Butter Rice Krispies (recipe below)
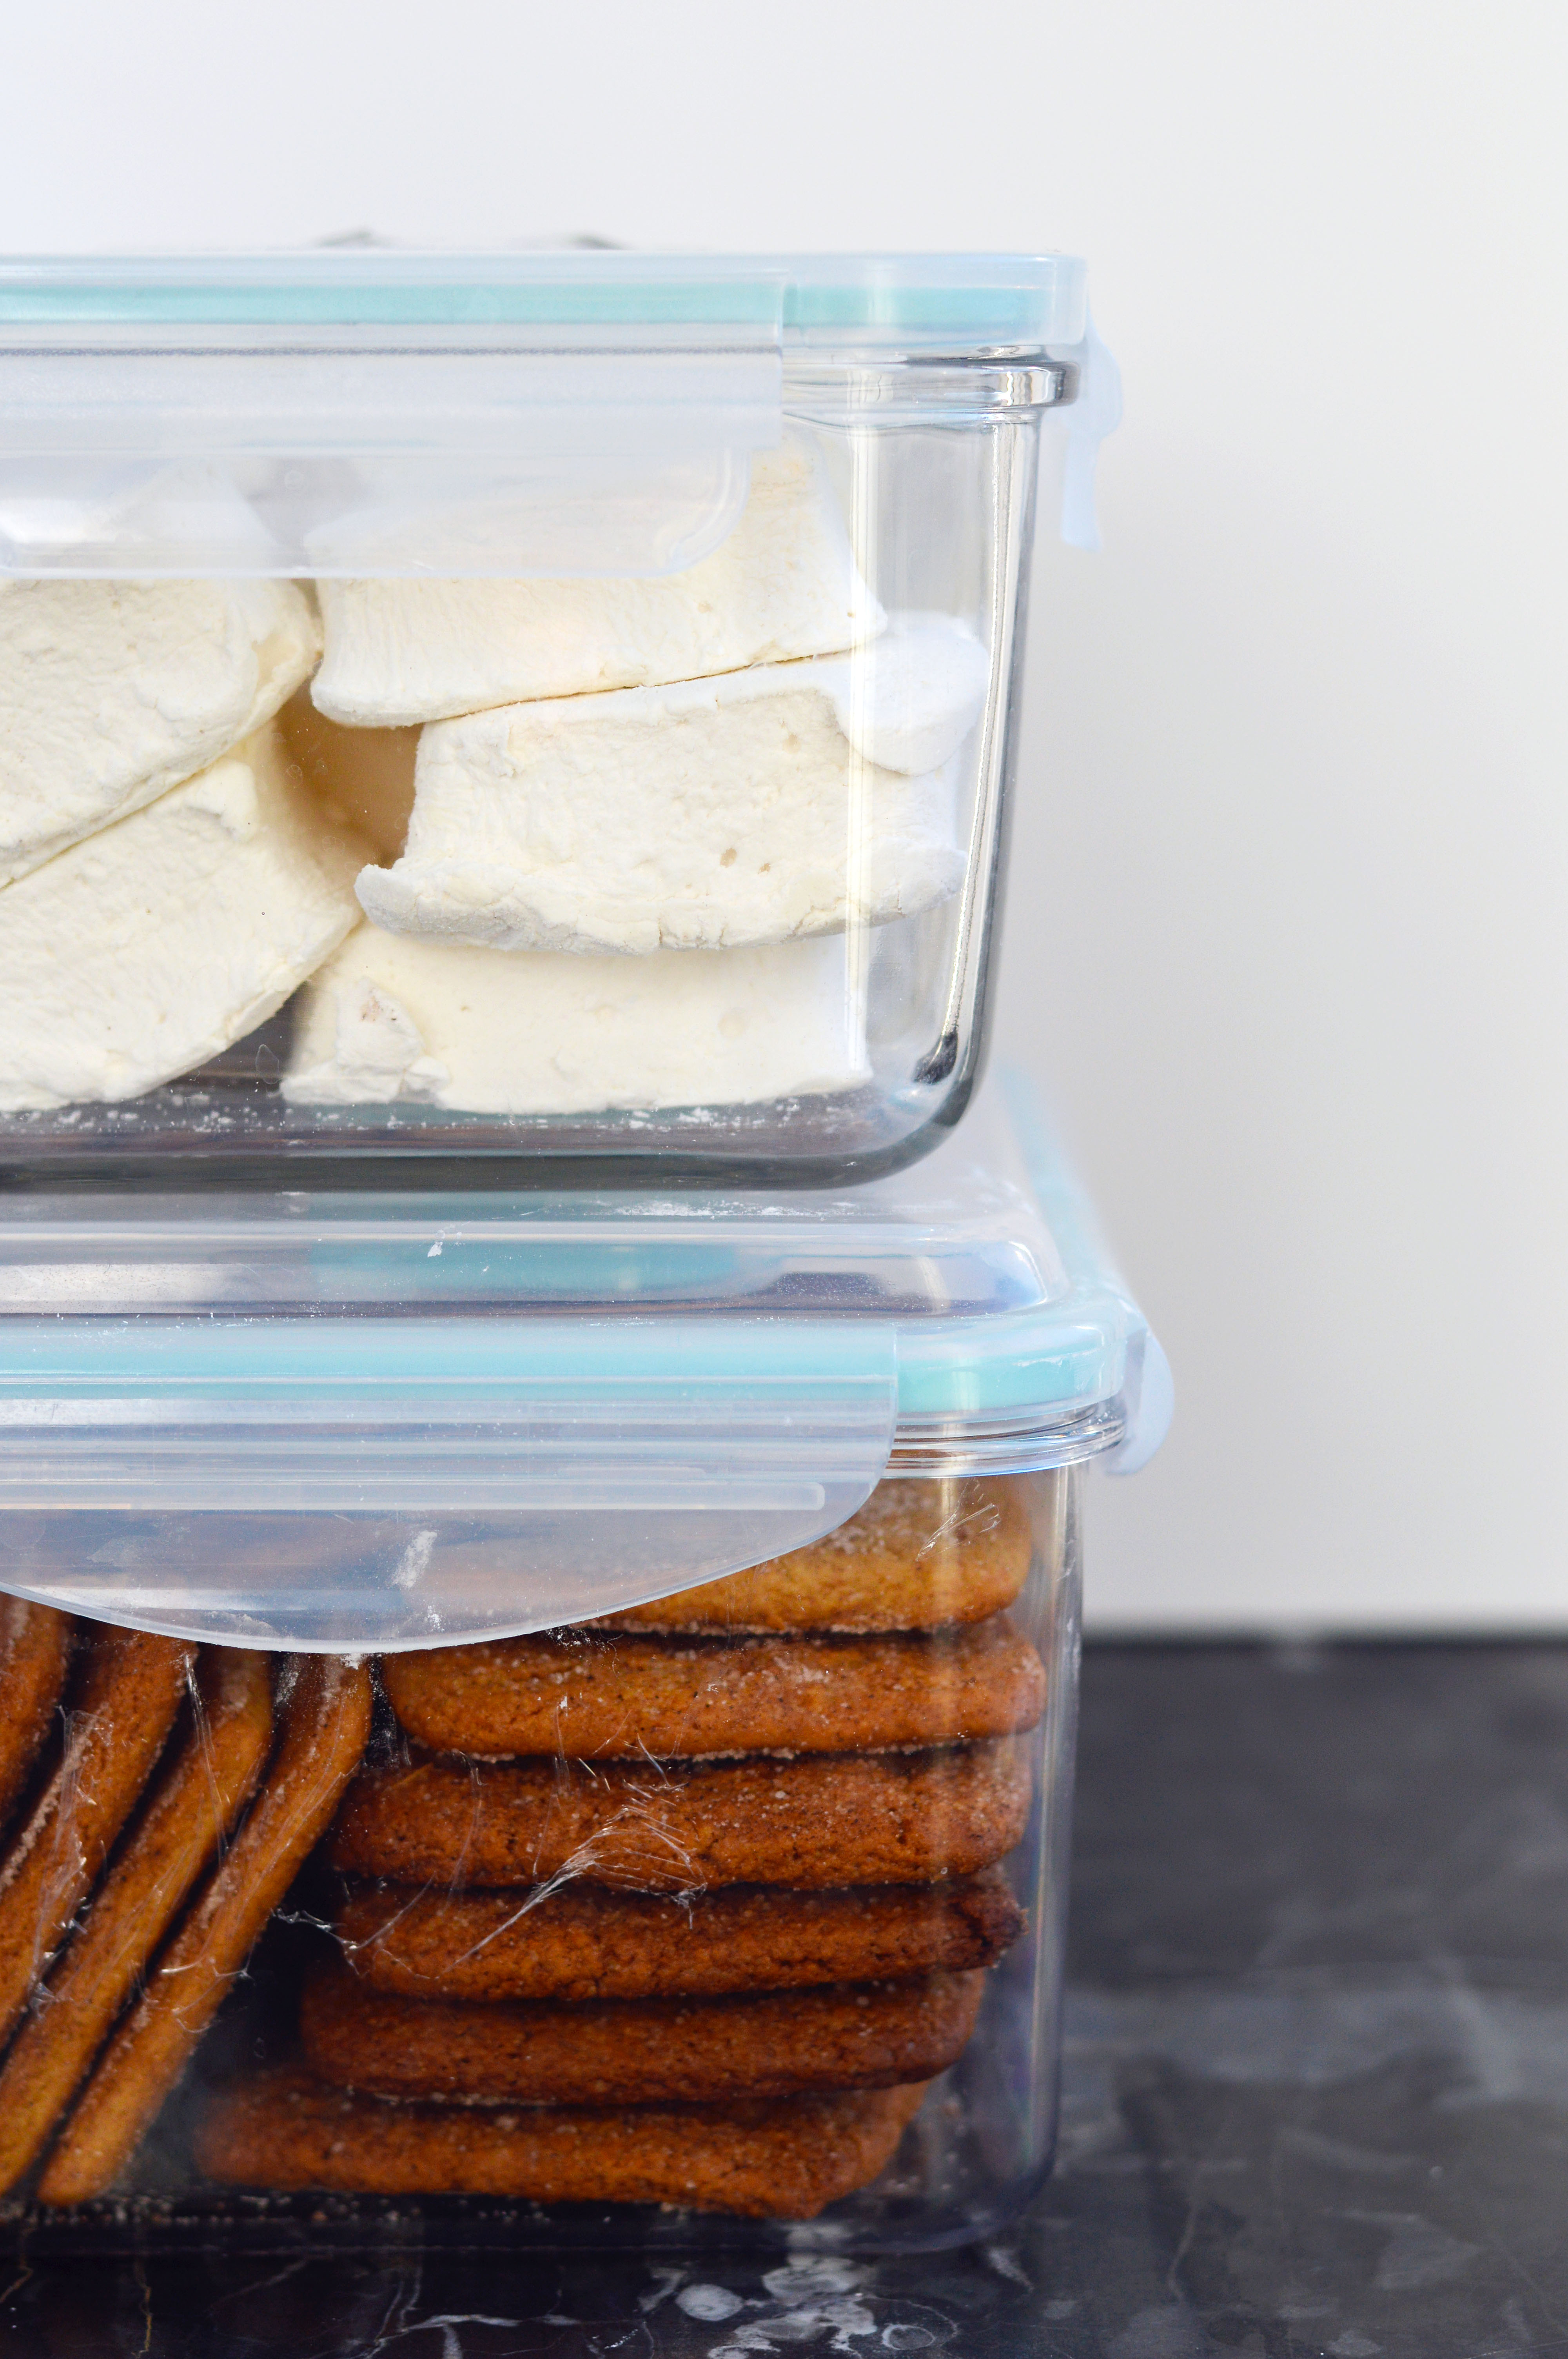
2 to 3 cups Mini Marshmallows
Candy Melts in Black, Brown, Purple, Yellow, Orange, White, Green and Blue
Link Stencil
Instructions:
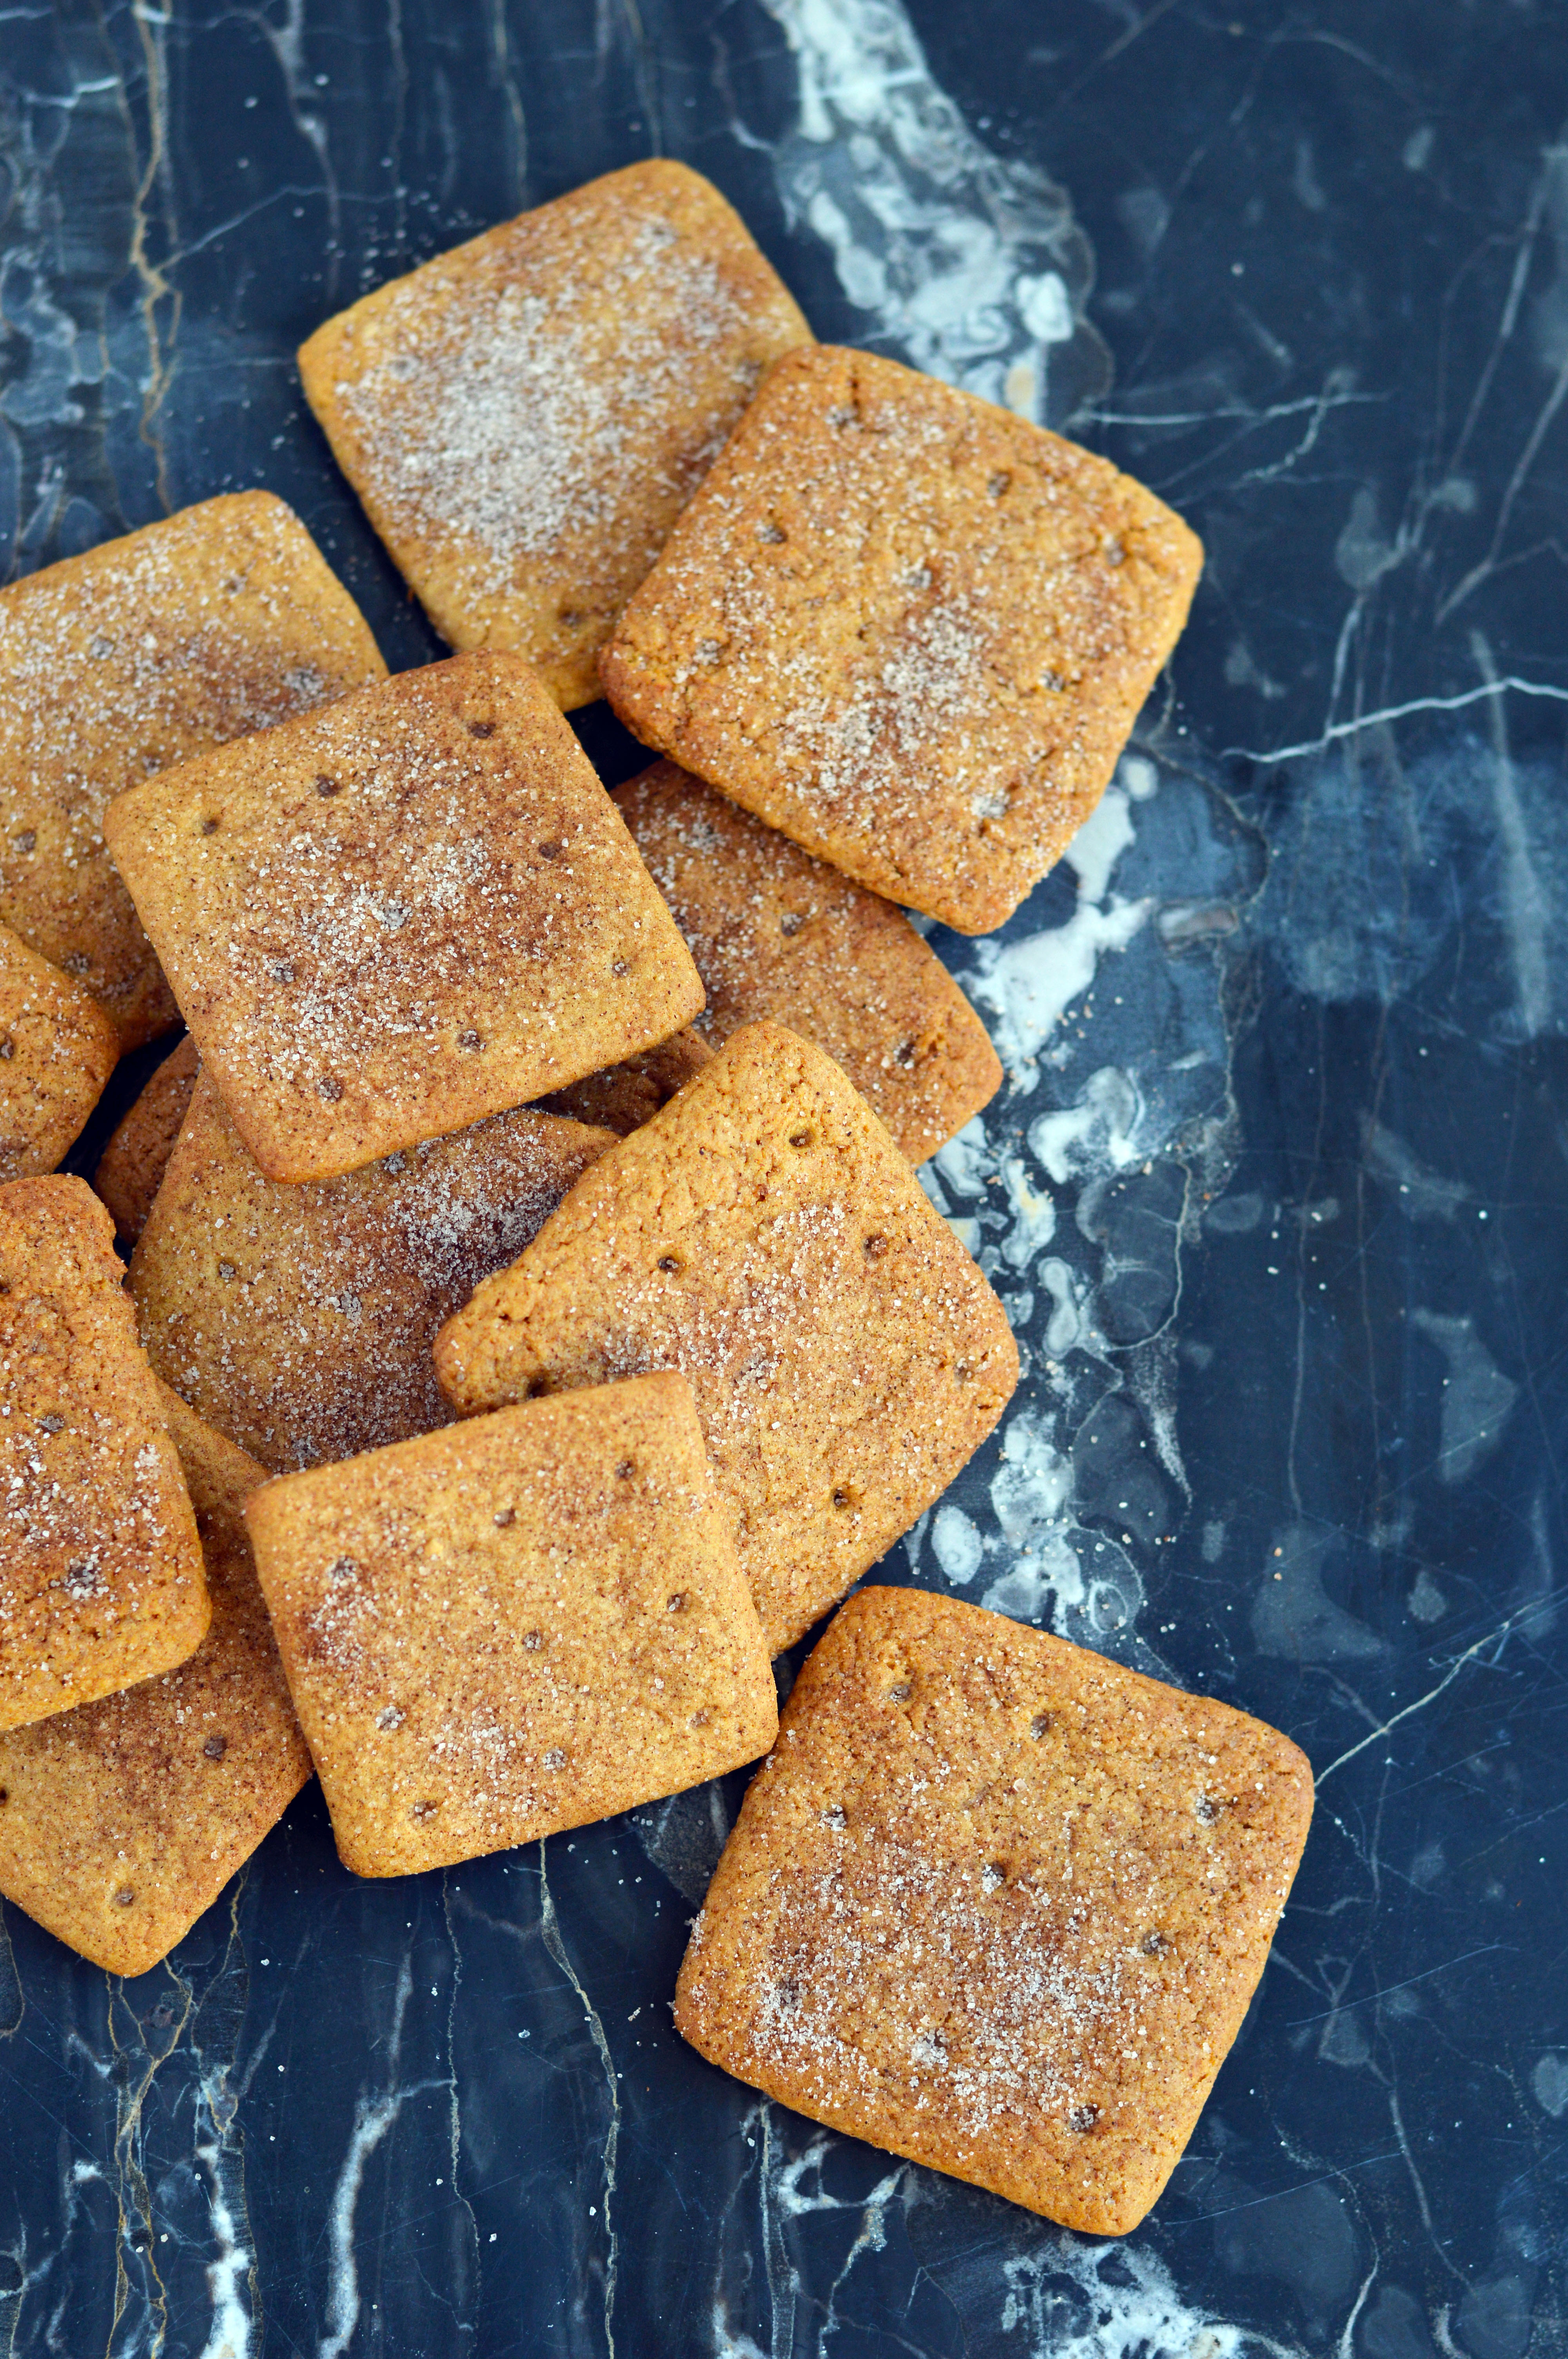
- Bake the layer of brownies. (*Important, the 8 inch pan must be at least 3 inches tall. Otherwise the recipe will not layer into pan.)
- When cool, layer the rice krispies being careful not to pack it in too tightly. This results in dense and tough rice krispies.
- In a microwave safe bowl, melt and stir 2 c. mini marshmallows (melt 3 if you want your marshmallow layer to be thicker) in the microwave.
- Spread the marshmallow layer over the rice krispies layer.
- Melt enough black candy melt to spread over the top of the pan. (About ½ – ¾ c.).
- Let set.
- Put stencil over the top of the pan and using an x-acto knife, stencil the outline onto the candy melt.
- Remove the stencil and using candy melts of the right color, fill in the stenciled area. Let set and enjoy.
Fudgy Cocoa Brownies
Ingredients:
¾ c. dark chocolate chopped into small ¼ in. pieces
10 tbsp. unsalted butter
1 ¼ c. sugar
¾ c. + 2 tbsp. unsweetened cocoa powder
¼ tsp. kosher salt
½ tsp. pure vanilla extract
2 large eggs, cold
½ c. all-purpose flour
Instructions:
- Preheat oven to 325˚F, oil and line an 8” square pan with parchment paper.
- In a microwave safe bowl, combine chocolate, butter, sugar, cocoa powder and salt. Microwave mixture about 1-2 minutes until mixture is melted and smooth when stirred.
- Whisk in the eggs and vanilla extract until batter is smooth and shiny.
- Fold in the flour until no streaks of flour remain.
- Spread the batter into the prepared pan and bake about 20-25 minutes until a toothpick poked in the center of the batter comes out with moist crumbs.
- Let cool completely before adding the rice krispies layer.
Salted Brown Butter Rice Krispies
Ingredients:
8 tbsp (1 stick) unsalted butter, melted
One 10 oz bag of marshmallows
¼ tsp. kosher salt
6 c. (160 g.) crisp rice cereal
- In a medium to large pot, melt butter on medium-low heat. Keep stirring butter with a rubber spatula until the butter foams and small brown bits form on the bottom of the pan. (The butter will smell nutty.)
- Once the butter is browned, stir in the marshmallows until the marshmallows melt into a smooth mixture.
- Stir in the cereal and salt and spread into the pan with the brownies.
- Do not firmly squish the cereal into the pan. This will result in jagged, hard rice krispies. Gently push it into the pan and into the corners. Let cool and set.
Brownie recipe adapted from the Feed Feed.
Rice Krispies recipe adadpted from the Smitten Kitchen.