
Did you ever eat something so delicious that you make an excuse to eat it again? That’s what kind of happened with these pie cookies.

You see, I made these adorable pie pops for Pi Day and they rocked my socks. The only problem was they were too small. One bite and you were done. I can satisfy myself with eating only one slice of pie because frankly, it is a whole slice of pie. But pie pops? I sat there taste testing them one at a time, and before I knew it there was an embarrassing pile of lollipop sticks.

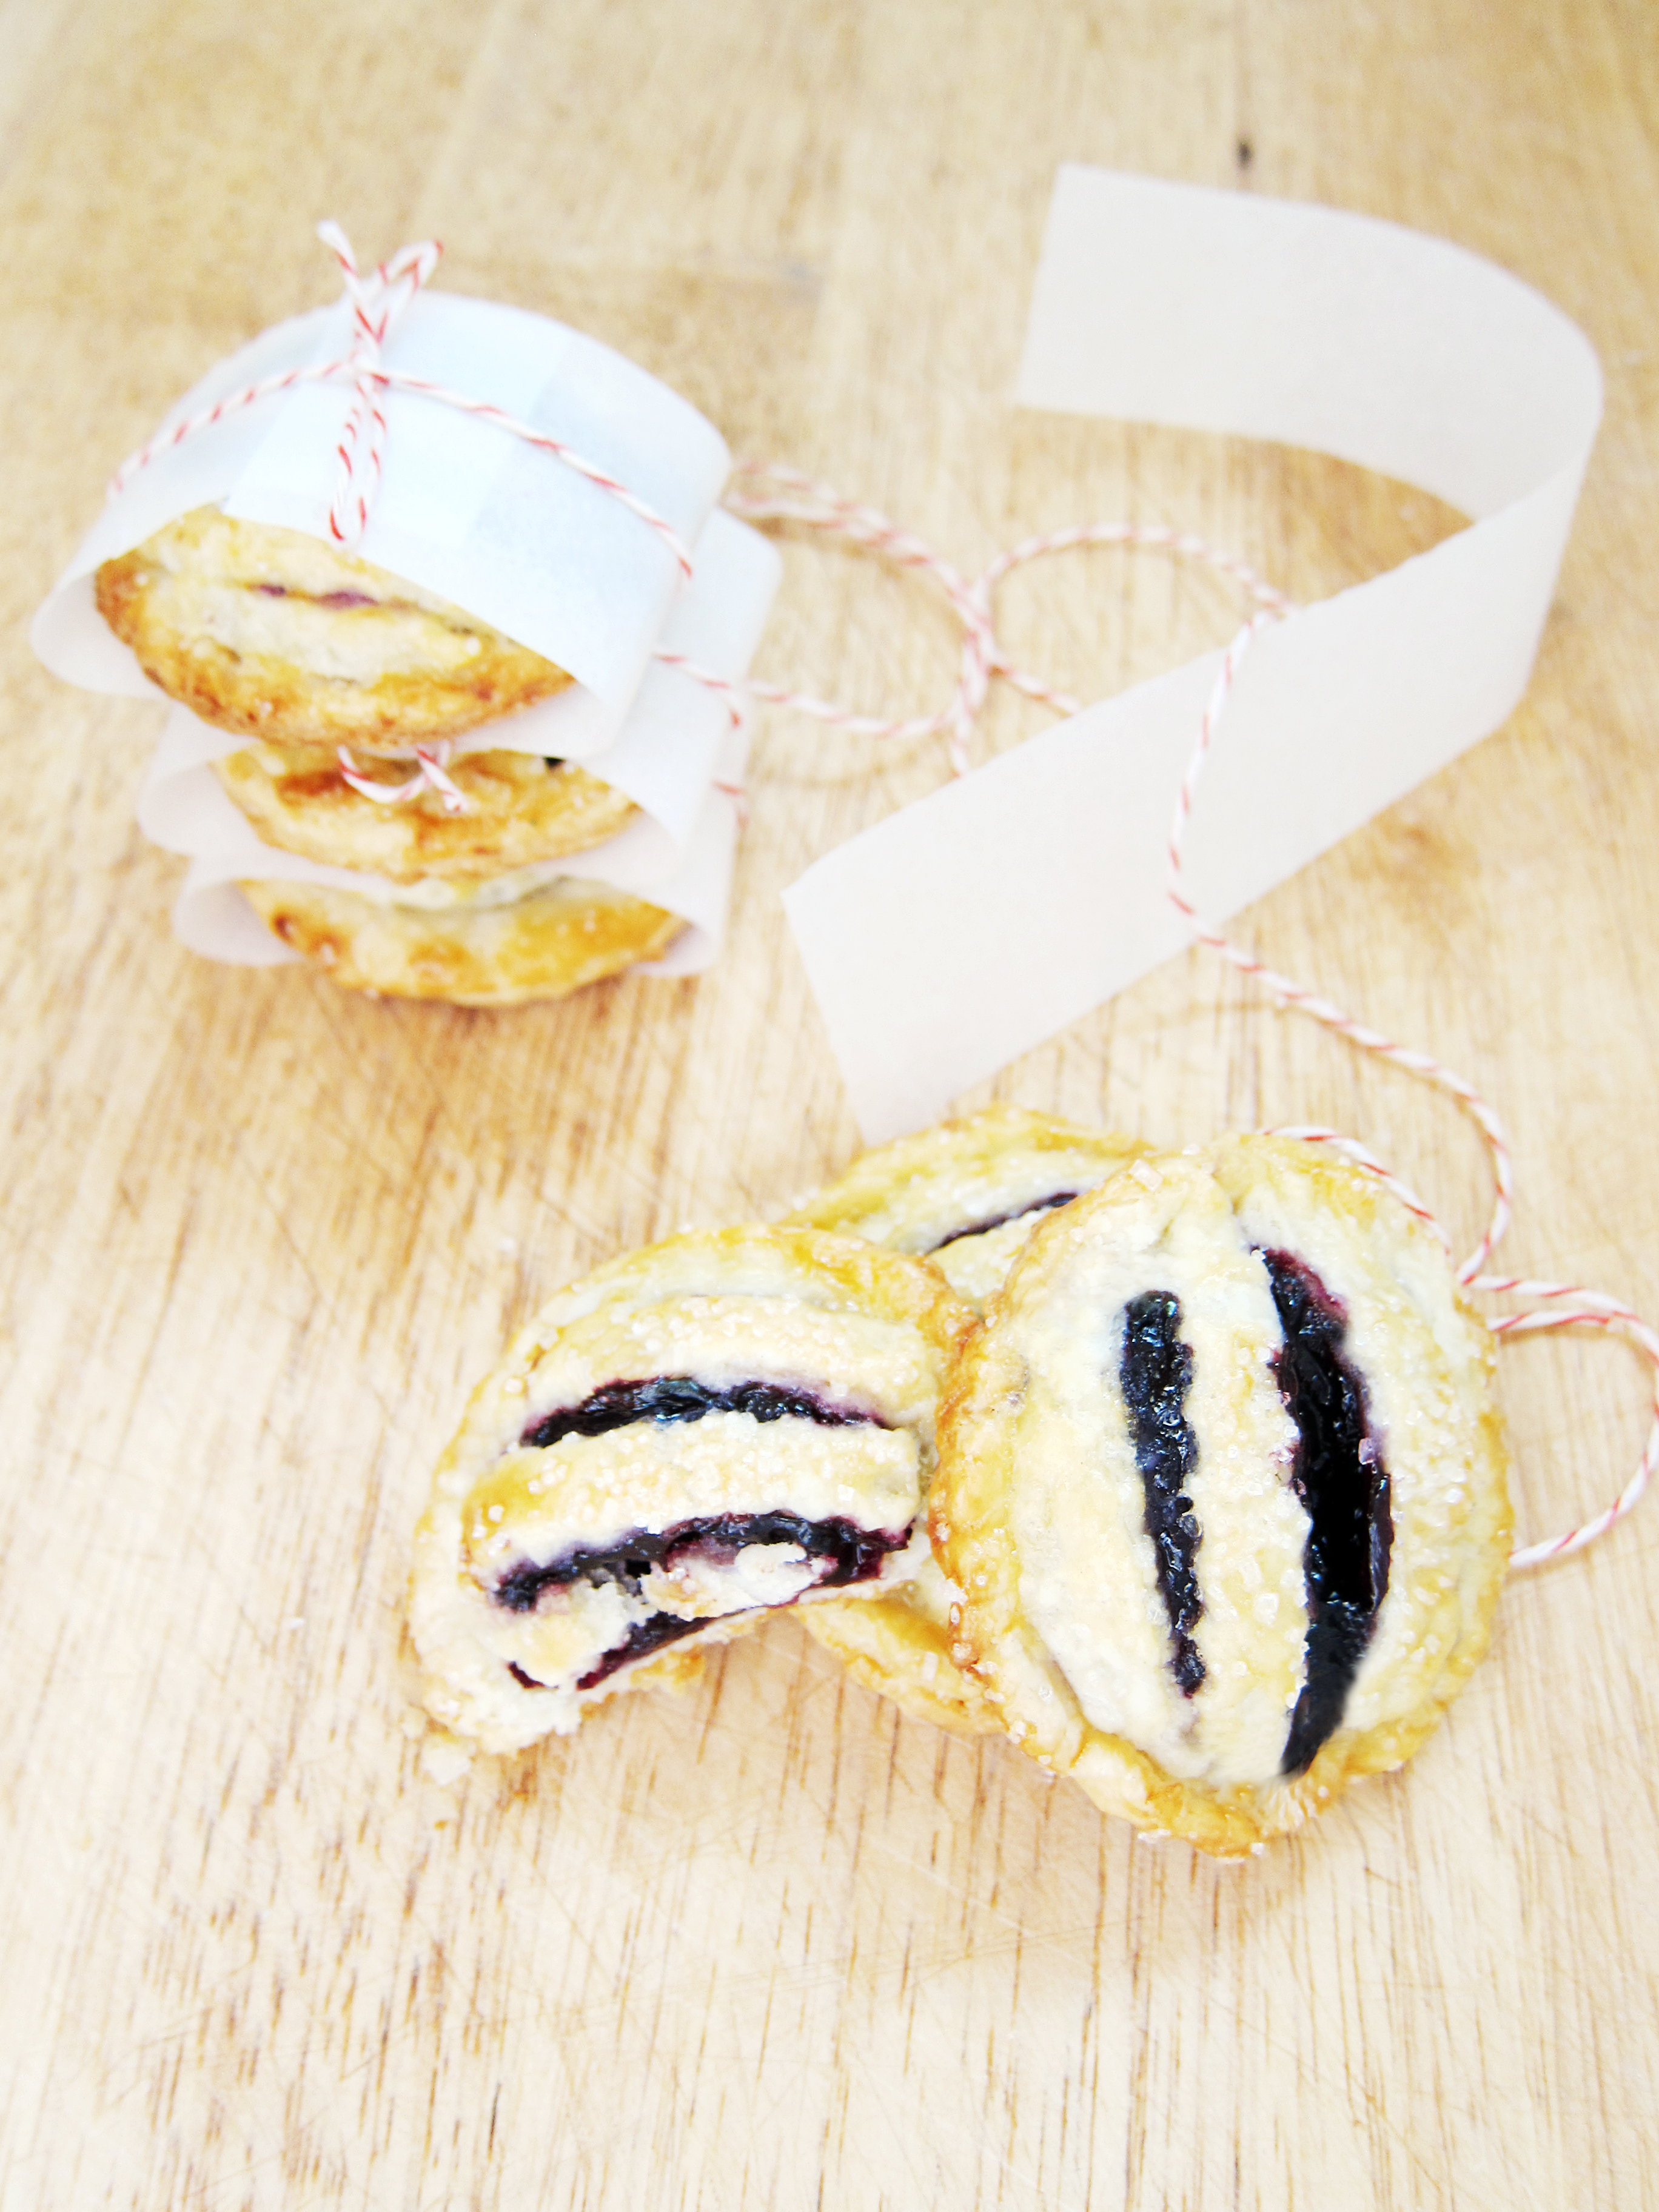
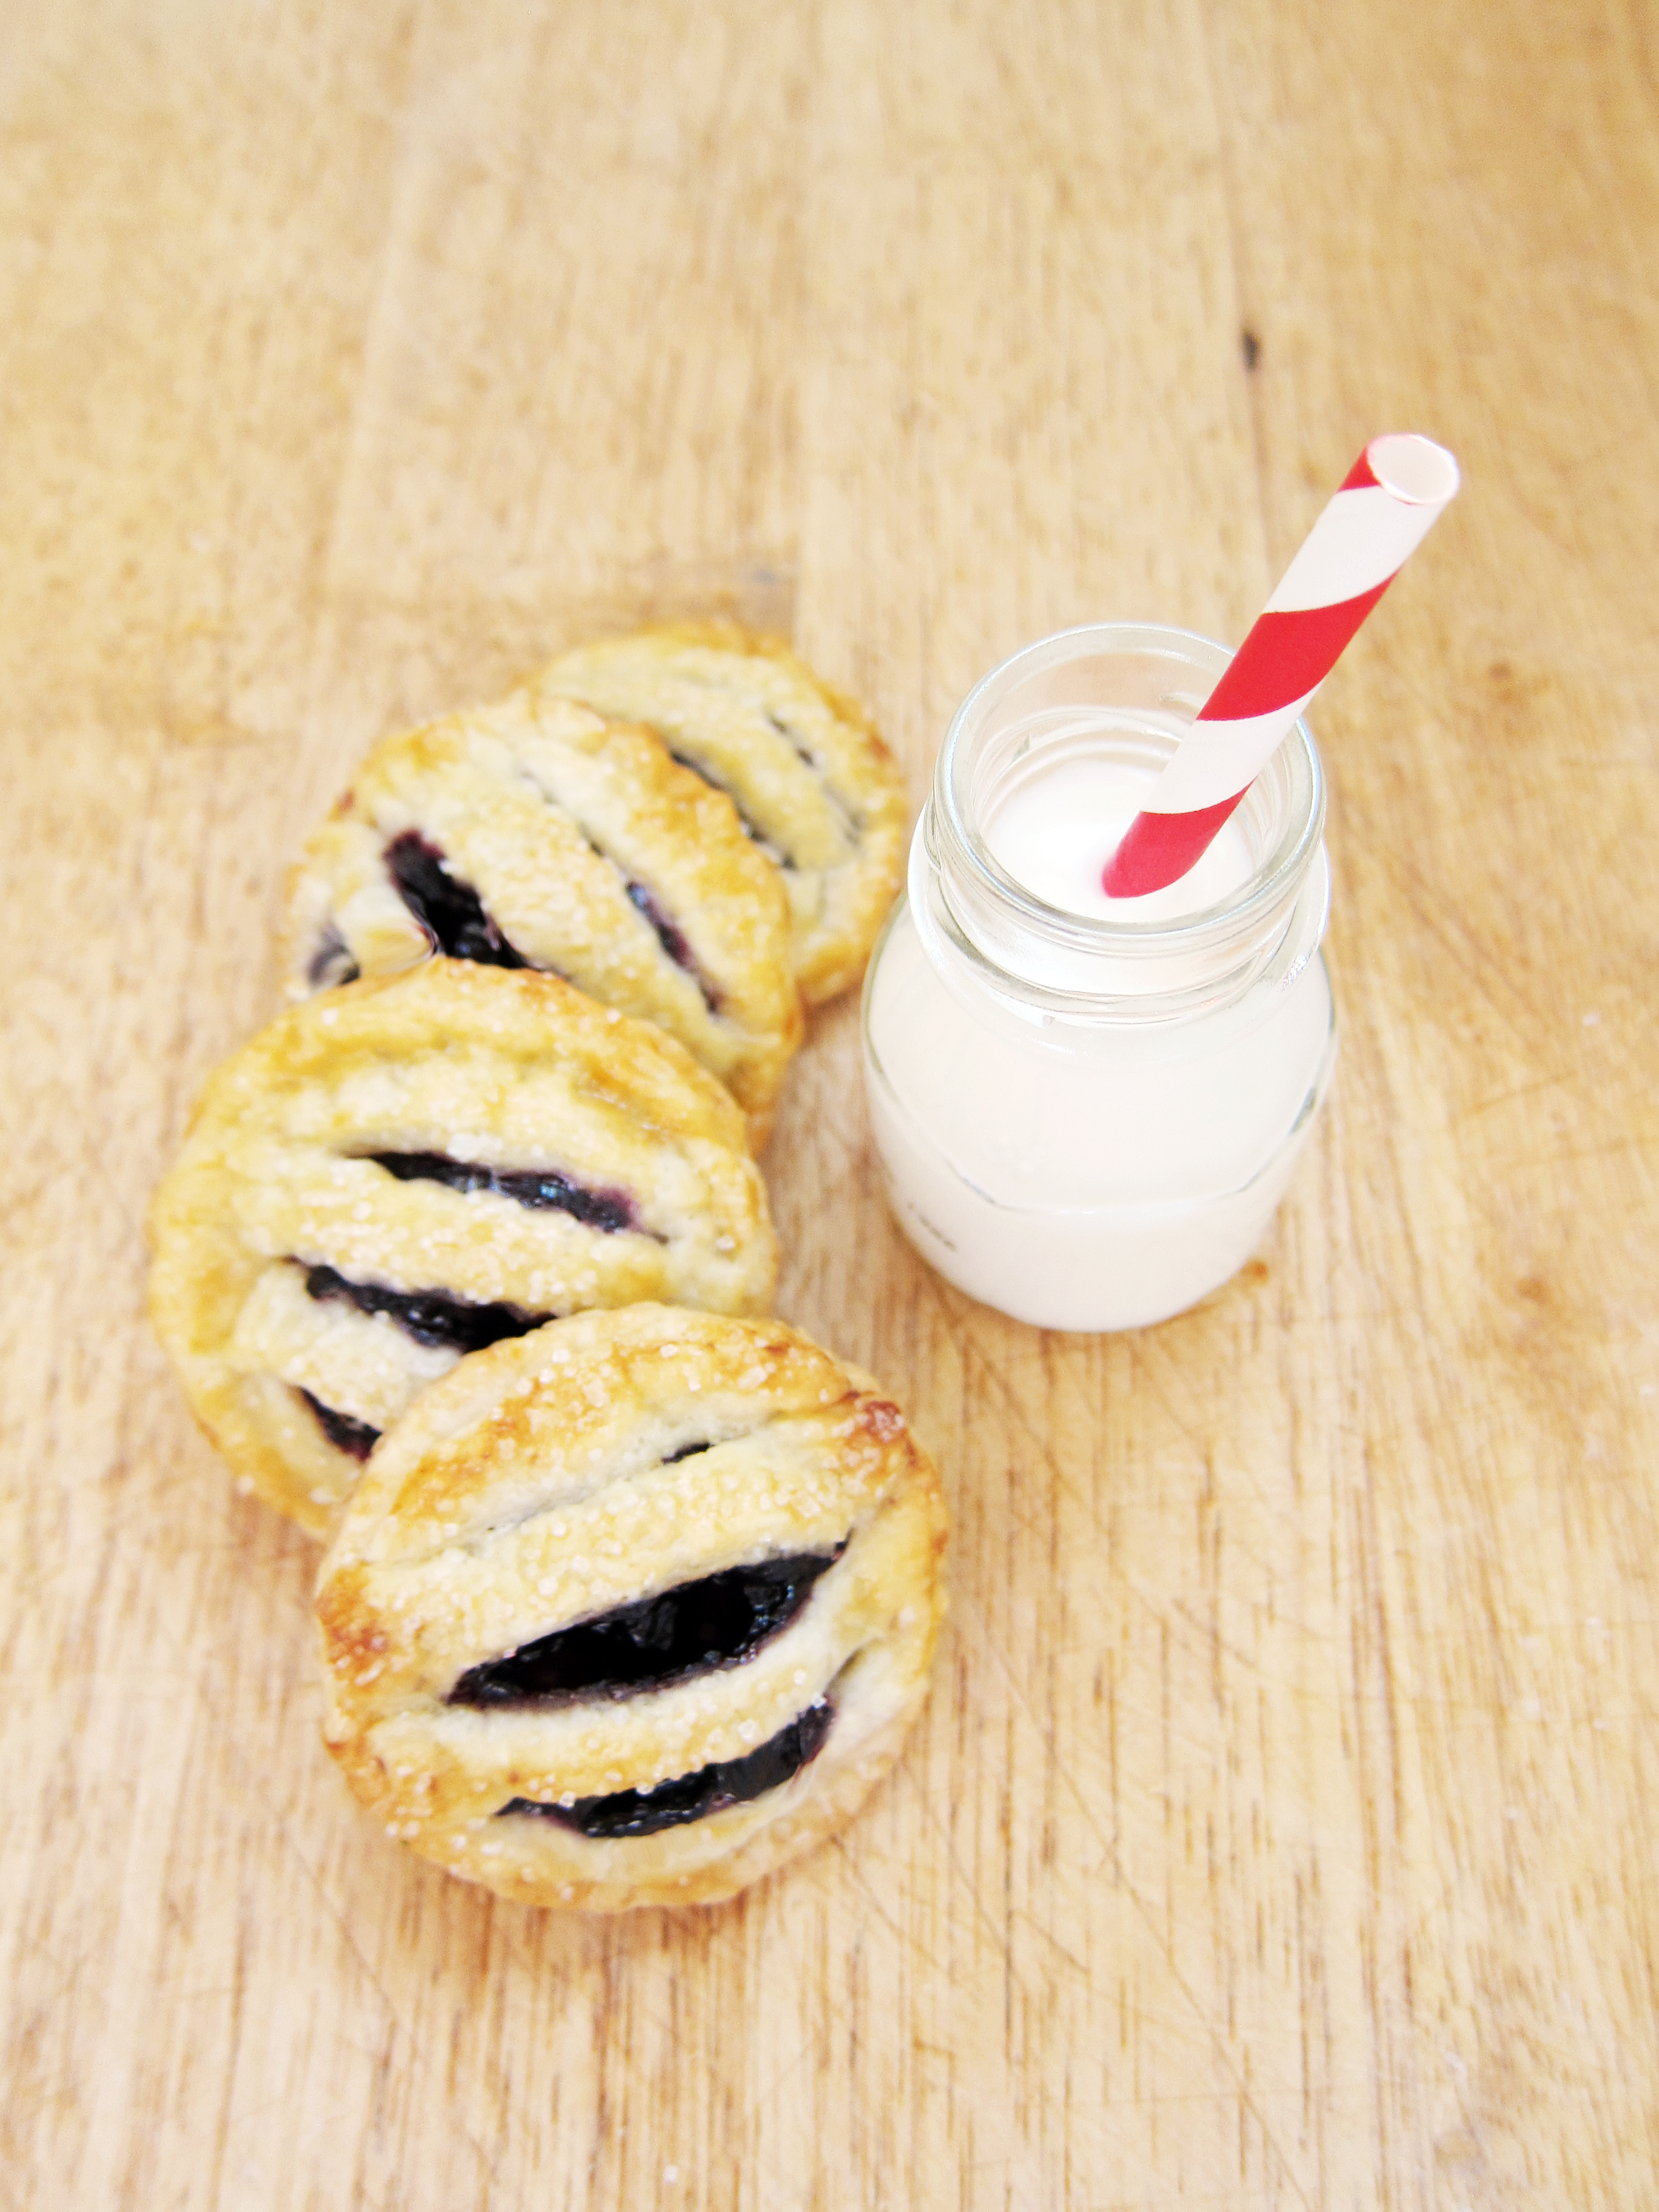
So if figured, what’s bigger than a pie pop? From that thought, these blueberry pie cookies were born. Still small enough to be adorable but they are at least 2 bites worth, which makes them last a little longer. Unfortunately, this did not solve the eating-more-than-one dilemma because I found out that:
Bigger dough = more filling = more delicious.

I realized that the cookies don’t look very small in the photo, so here is the milk glass with my cat, Bear, for a size reference. Yes. He is adorable.

Blueberry Pie Cookies
For the Pie Dough:
Ingredients
2 1/2 c. all-purpose flour
2 tbsp. sugar
1 tsp. kosher salt
8 oz. unsalted butter, very cold cut into 1 tbsp pieces
1/2 c. very cold water
Instructions:
- In a bowl of a food processor, pulse flour, sugar and salt together a few times to mix thoroughly.
- Add the butter into the food processor and pulse until butter becomes the size of peas (or smaller).
- Add the cold water and pulse until dough starts to come together.
- Divide the dough into 2 pieces and wrap with plastic wrap and refrigerate for at least an hour.
- While the dough is chilling, make the blueberry filling.
For the Blueberry Filling:
Ingredients:
1 ½ c. of blueberries*, divided
¼ c. sugar
1 tbsp. cornstarch
1 tbsp. water
1 tsp. lemon juice
Instructions:
- In a small pot, combine 1 cup of blueberries with ¼ cup of sugar.
- Bring to a boil and reduce to a simmer until all the berries burst and sugar is completely melted; about 5 minutes. The mixture should look very liquid.
- In a small bowl, mix cornstarch and water until it becomes a slurry.
- Add to the blueberry mixture and cook until it becomes thick. It will become almost paste-like.
- Transfer blueberry mix to a bowl and rest of the blueberries and lemon juice.
- Add more lemon juice if needed.
Assembly:
If the dough starts to become sticky or warm at any point, place into the freezer to firm up for 3-5 minutes before working on it again. This is very important, since the cold butter is what gives you the flaky layers.
Ingredients:
1 Egg, beaten (for egg wash)
Sanding sugar or raw sugar (optional)
- Preheat oven to 350 degrees Fahrenheit.
- Line baking sheets with parchment paper.
- Take out half of the prepared pie dough and roll out until ¼- ⅛ inch thick on a floured surface.
- Cut out pie rounds with a 2 ½ inch round cookie cutter**.
- Reserve half of the pie rounds and cut the rest into 4 strips with a fluted pastry wheel or a pizza cutter (a knife will do too).
- Place a teaspoon of blueberry filling in the center of the reserved pie rounds and place strips of cut pie dough on top. (As shown in above photo.)
- Crimp edges with a fork to seal the two pieces of dough together. (As shown in above photo.)
- Fold the crimped edges together to form a seal for the pie filling. (As shown in above photo.)
- Brush with egg wash with a pastry brush and sprinkle sanding / raw sugar. (As shown in above photo.)
- Place into the freezer for 5 minutes to chill before baking.
- Bake at 350 degrees for 12-15 minutes until golden brown.
- While the first batch is chilling and baking, start working on the second batch with the other half of your prepared pastry dough.
- Cool for 5-10 minutes before consuming.
* I used frozen wild Maine blueberries. They are a lot smaller than your average supermarket blueberries which make them ideal for this filling. If you can find them, use them instead of regular blueberries. They also taste more blueberry-y than regular blueberries (if that makes sense).
** If you cannot find a 2 ½ round cookie cutter or you do not own one, feel free to use a cut out can as your cookie cutter. It works similarly, except you might not get as clean of an edge when you cut out your dough.

 It’s been a while. With Thanksgiving and prepping for Step 3’s, life has been hectic! I feel a mix of regret and sorrow that I missed out on all things fall for the blog. But, it has fast forwarded to December which means that the holidays are here and that translates to holiday goodies. But before we get started on all things Christmas, let’s get to the Rebels Party.
 As always, there was food with punny names.
 Inquisitortilla Chips with Dual Dip (Inquisitor Tortilla Chips with Dual Dip)
 Sa-Bean Burritos (Sabine Burritos)
 22 Pickup-Cakes (22 Pickup Cupcakes)
 Chopper Salad
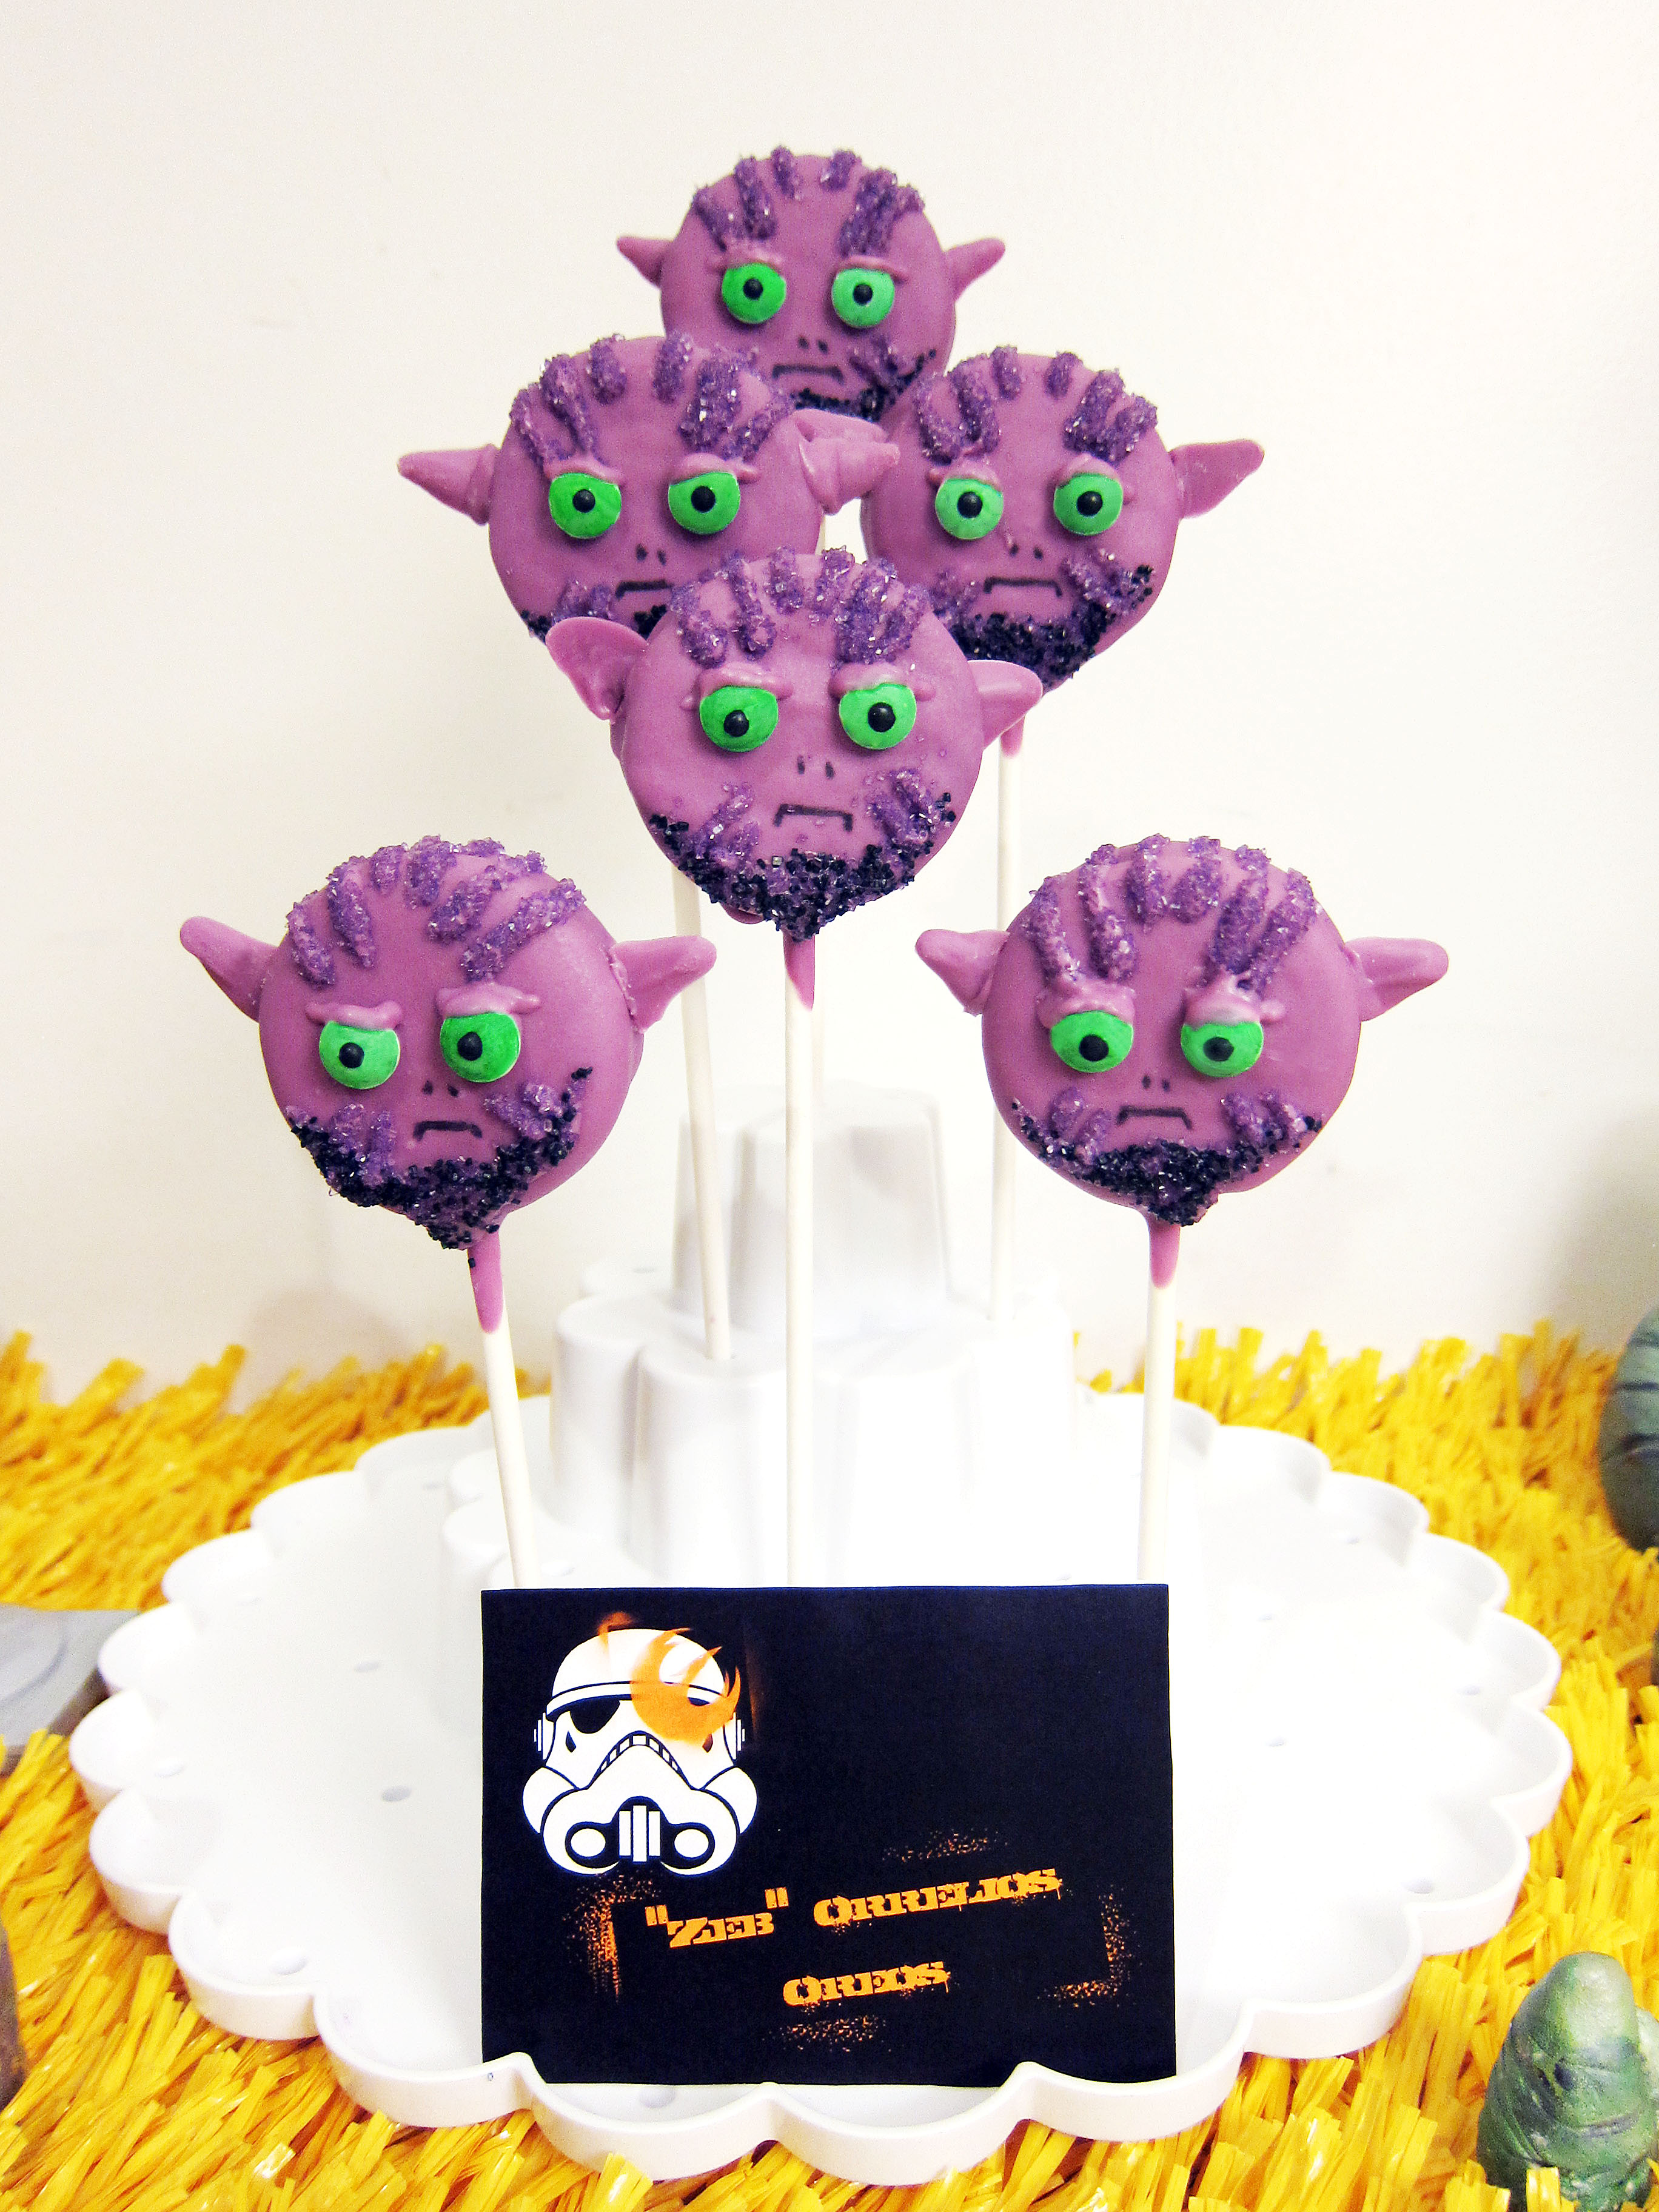 “Zeb” Orrelios Oreos
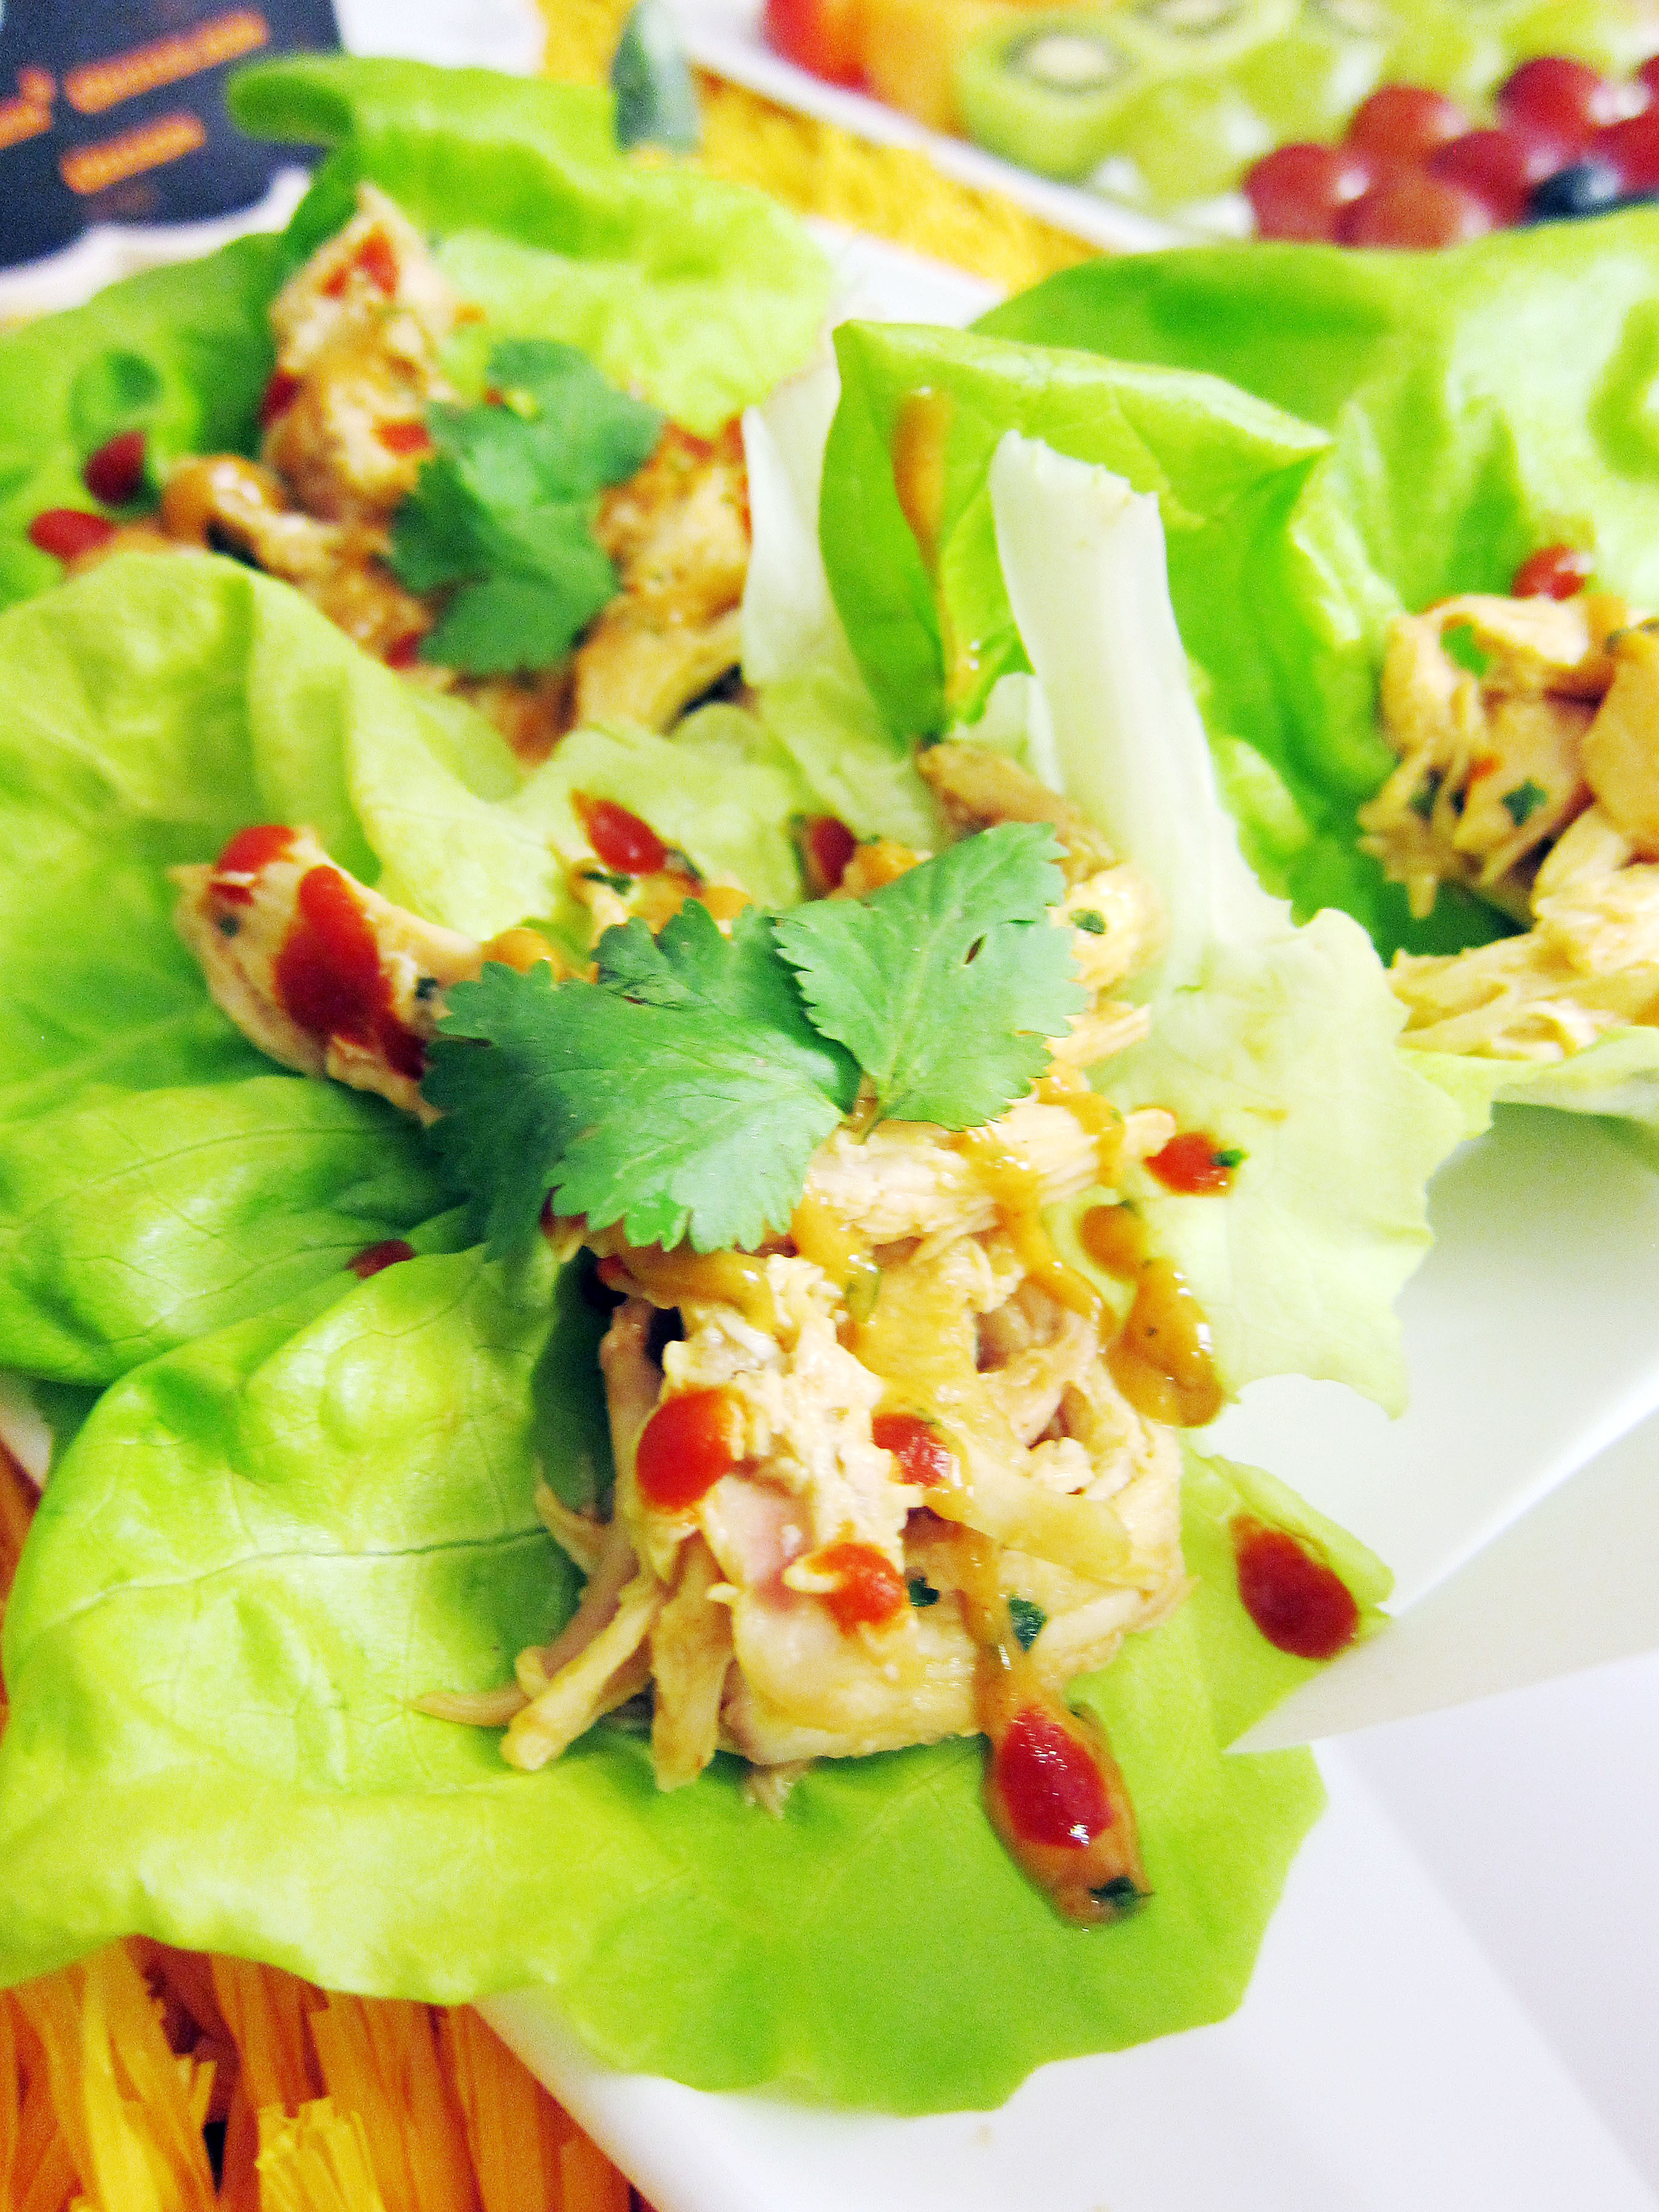 TIE Lettuce Wraps
 Kanan Lightsaber Kebabs
 Jogan Fruit Juice
 Hoth2O (A nod to the original series)
 The Entire Spread


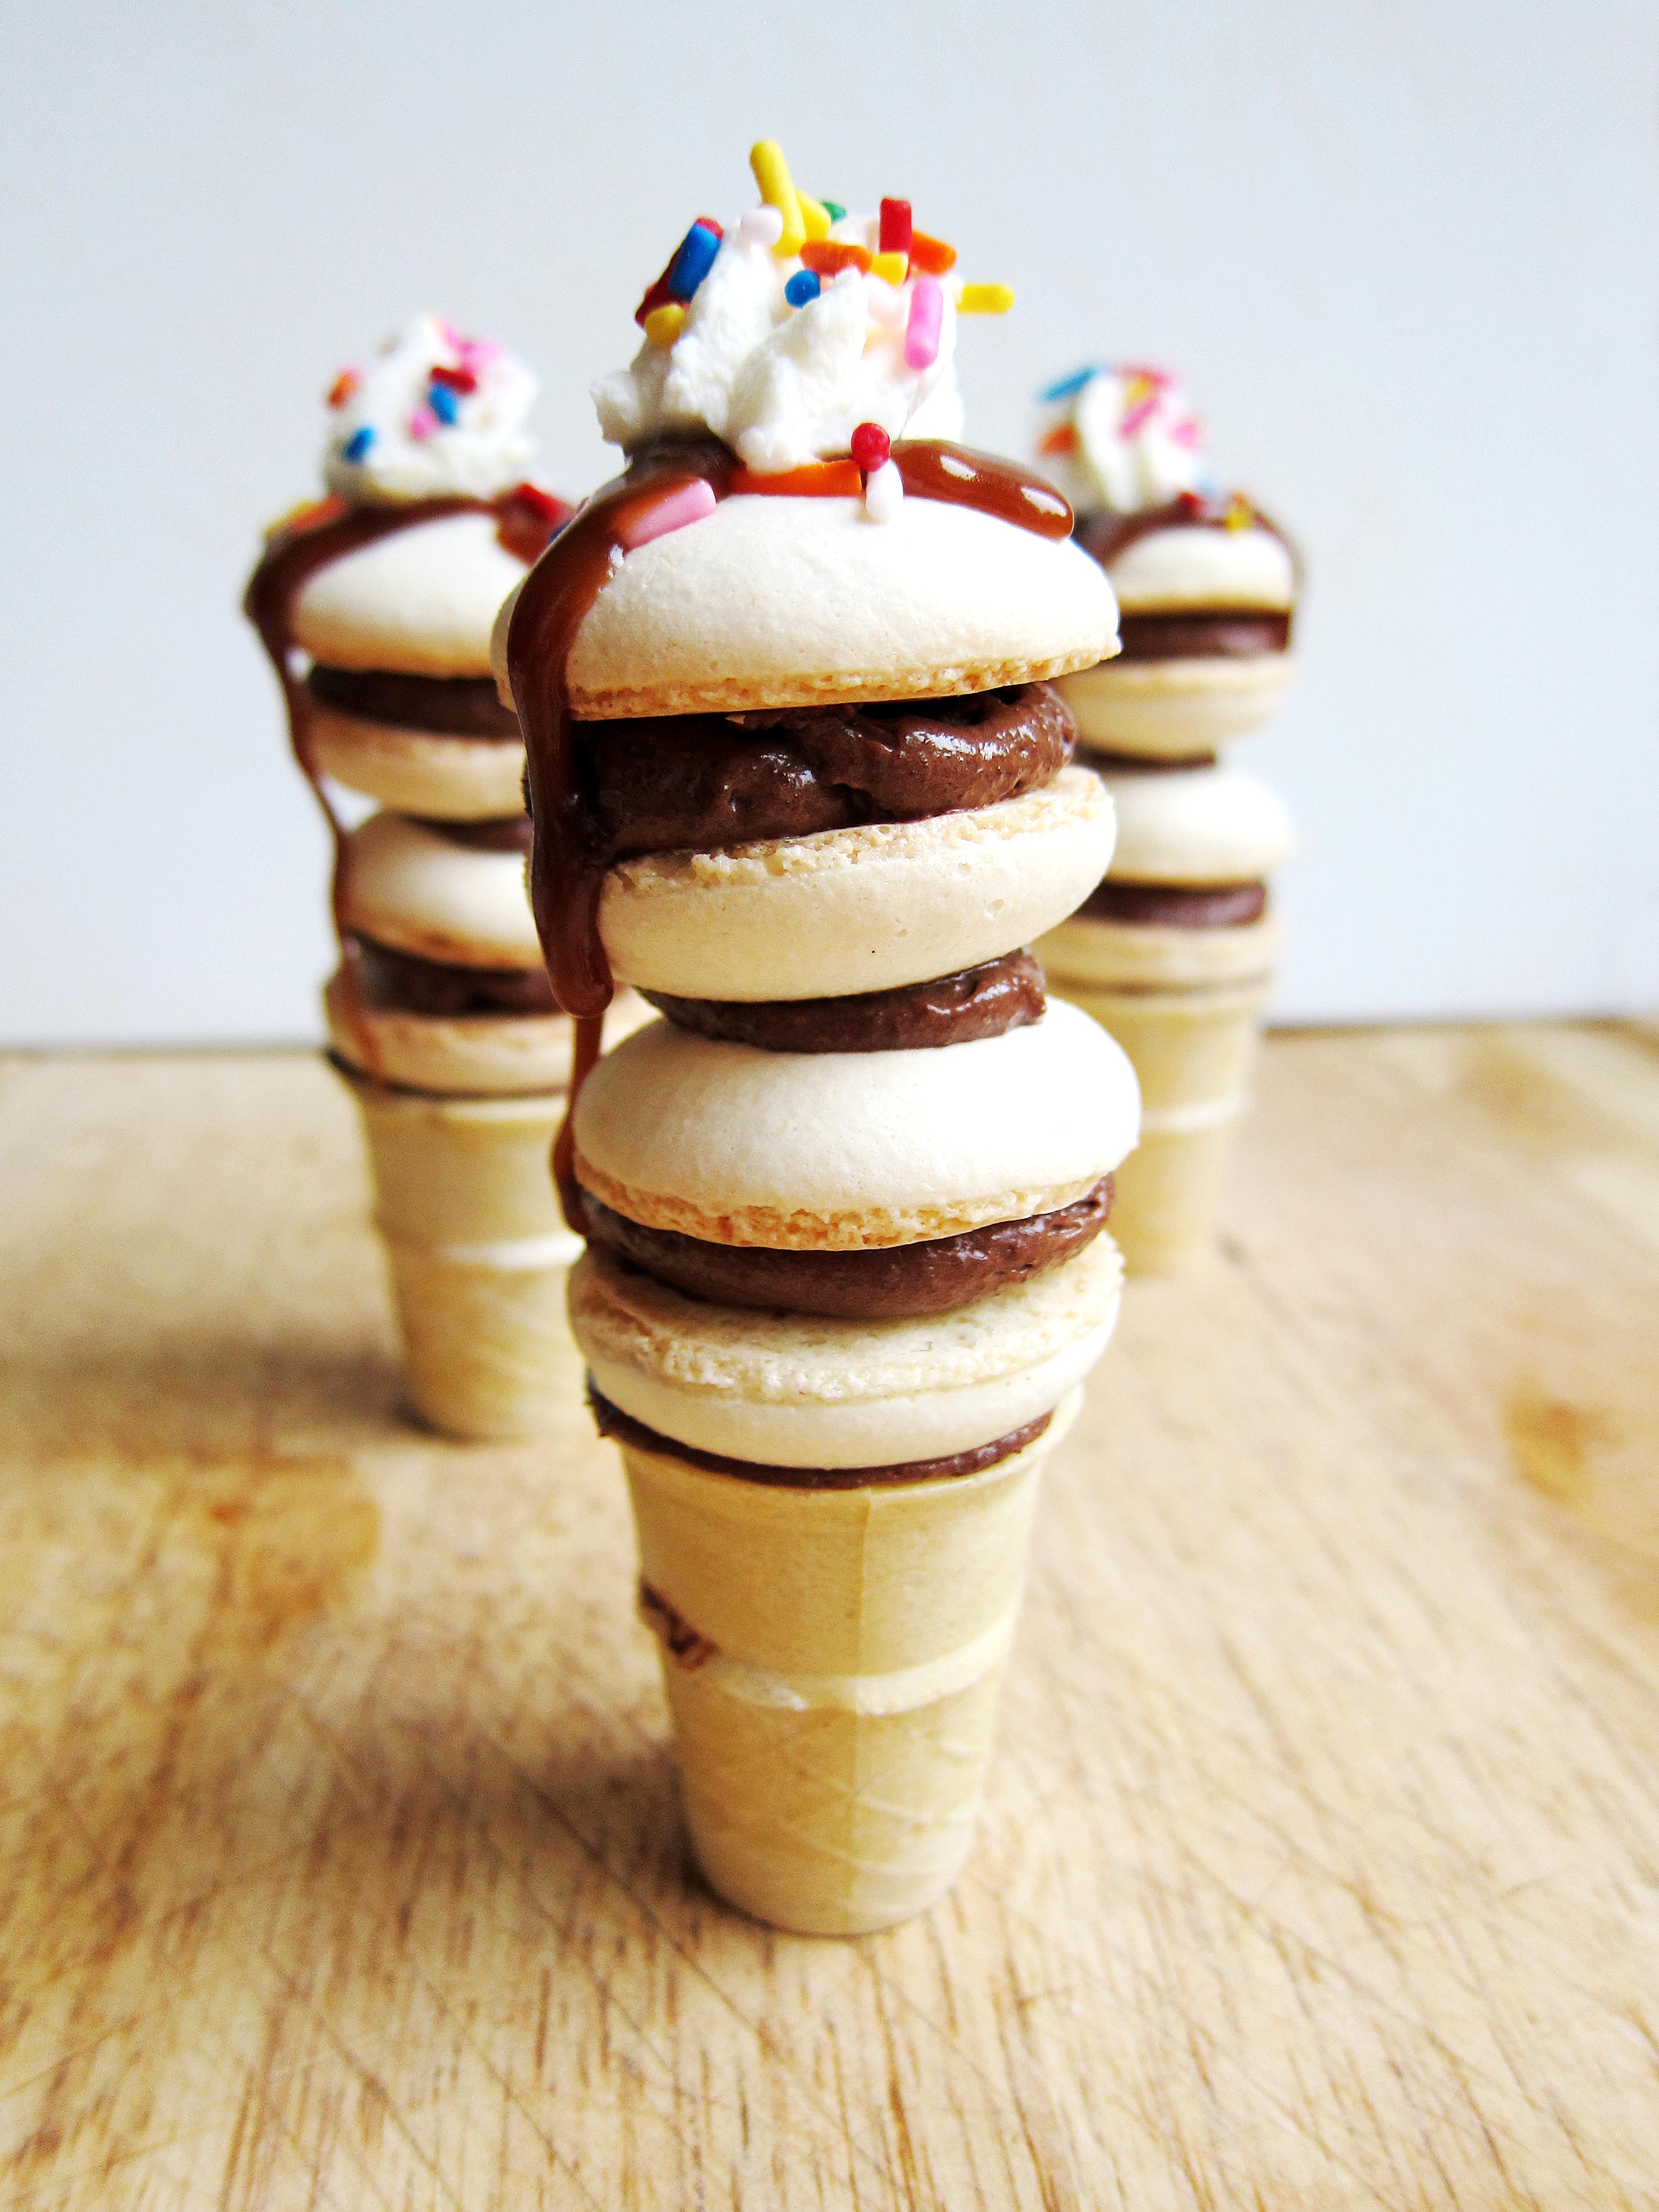
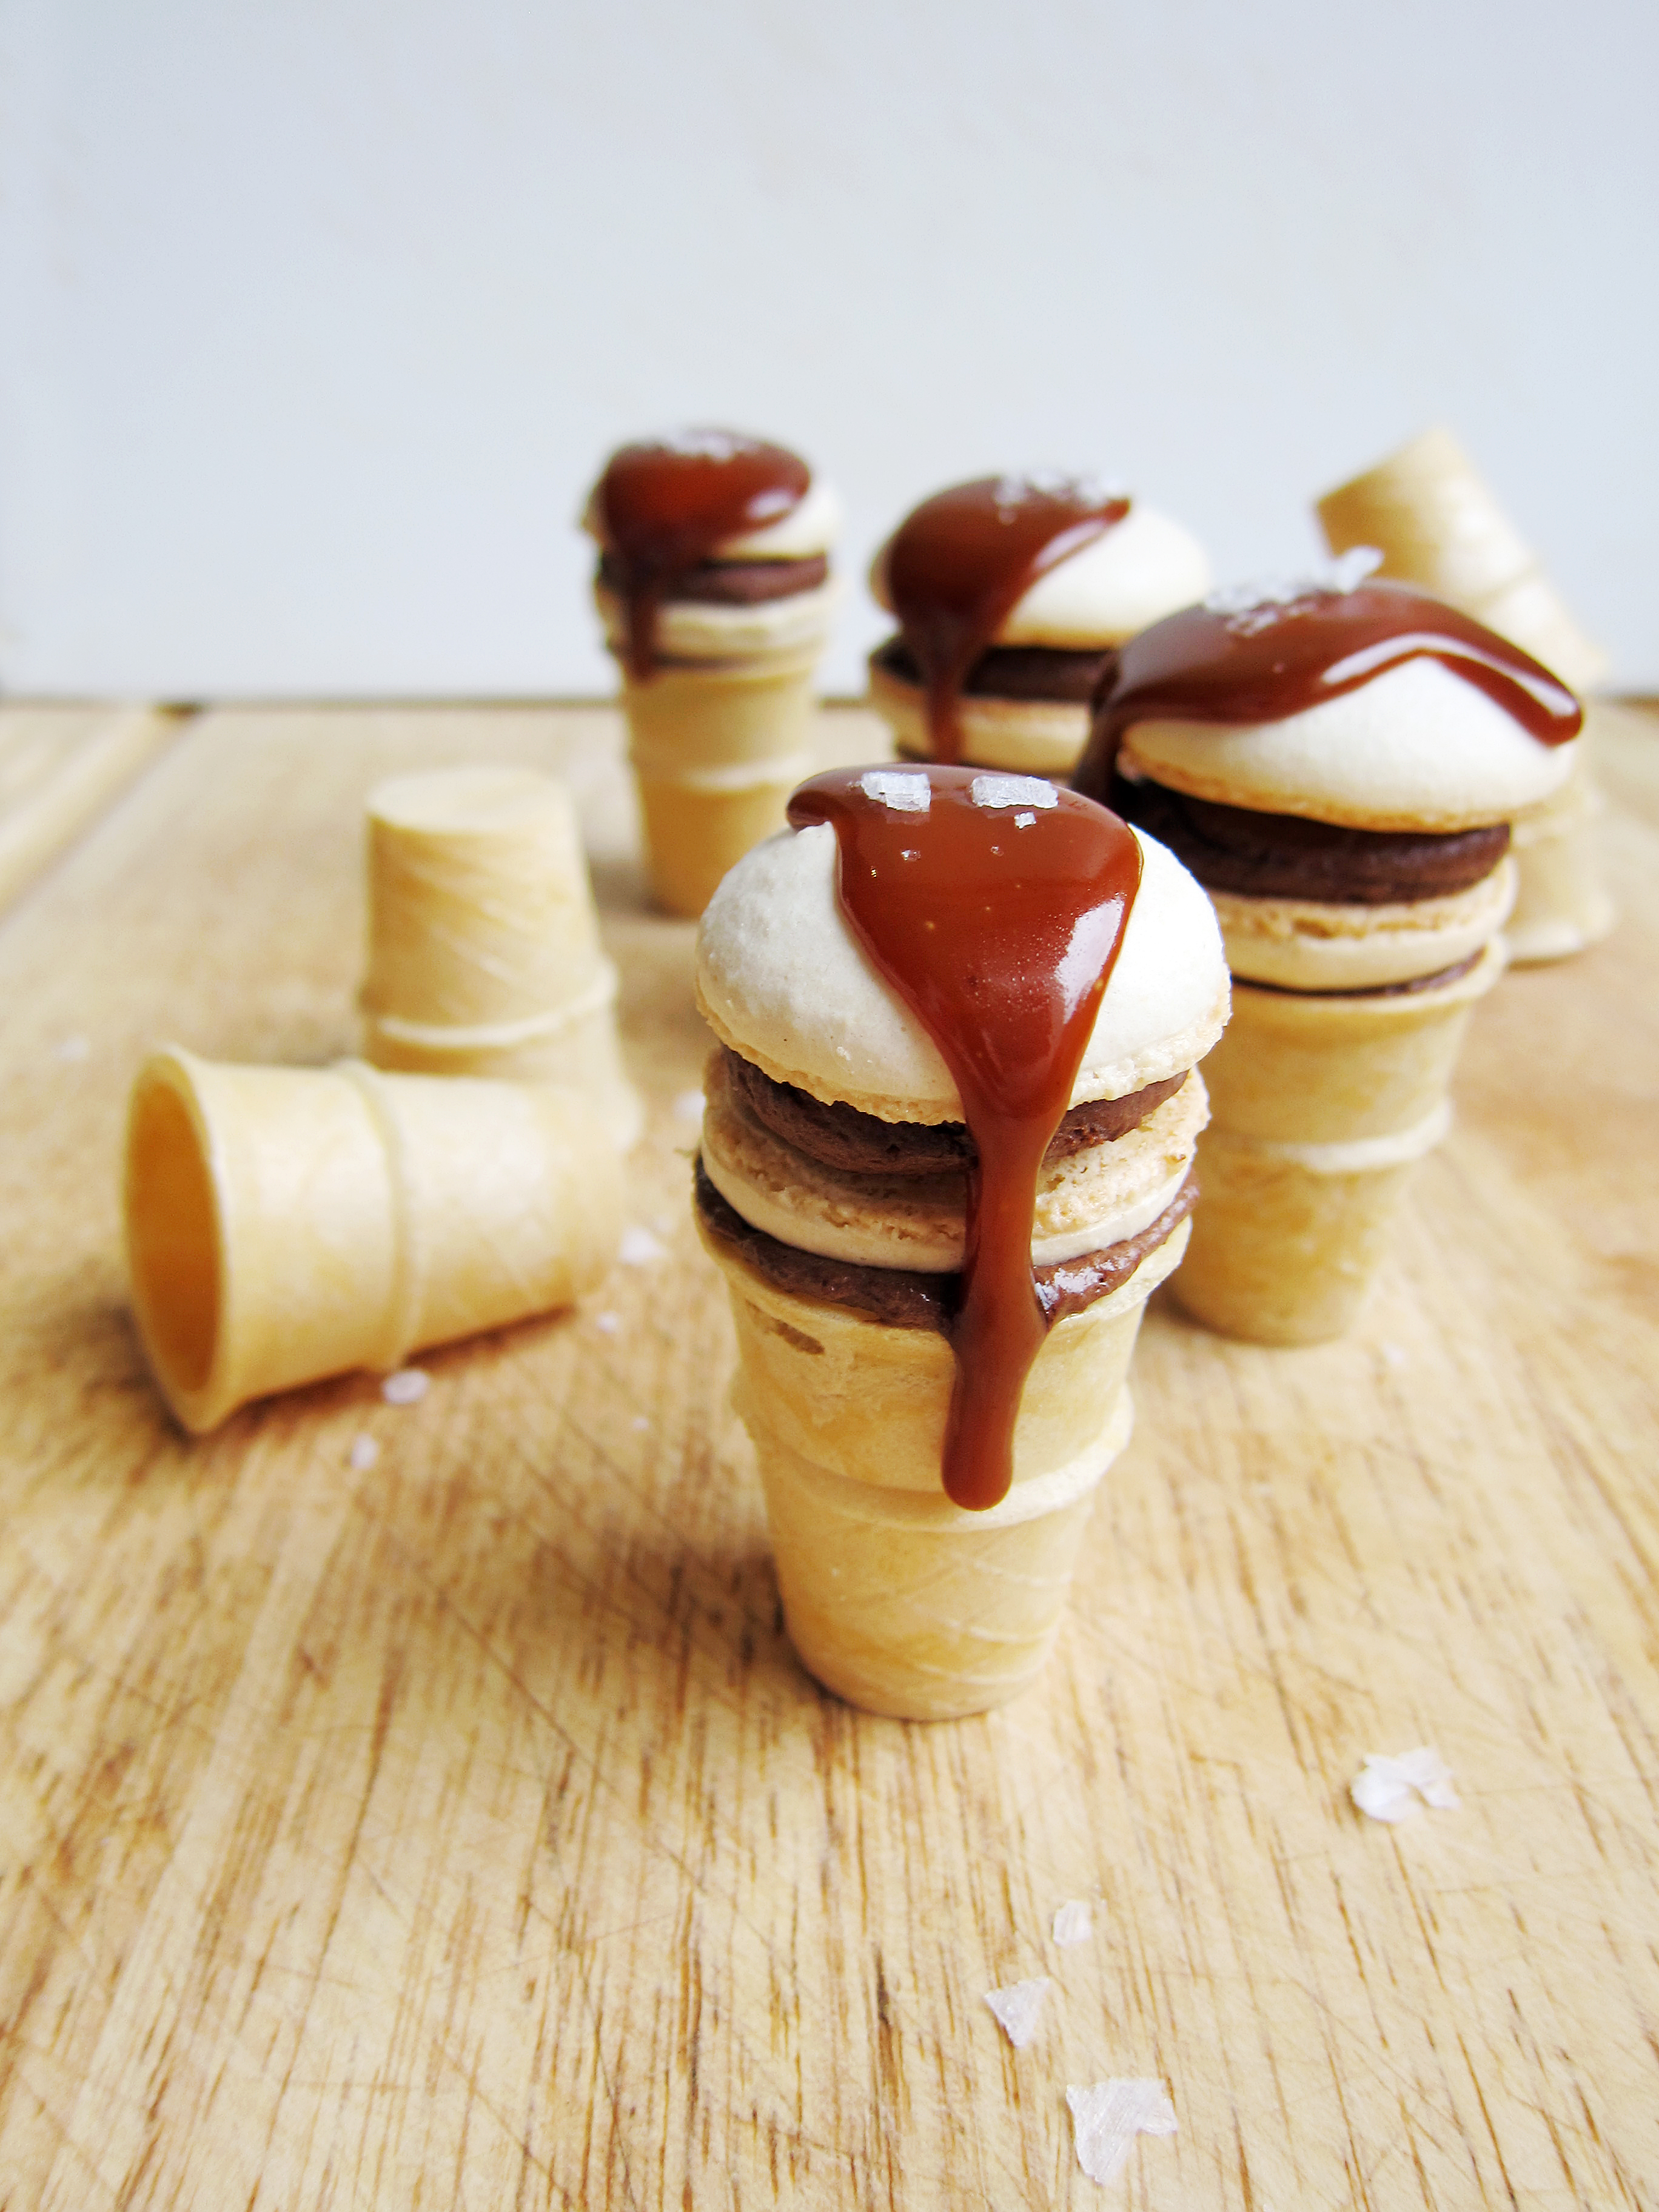
 I know, I know. Frosted Flake macarons? It sounds odd, but it’s really good! I even brought them out with me yesterday and someone noted that it might’ve been the best macaron he ever had.

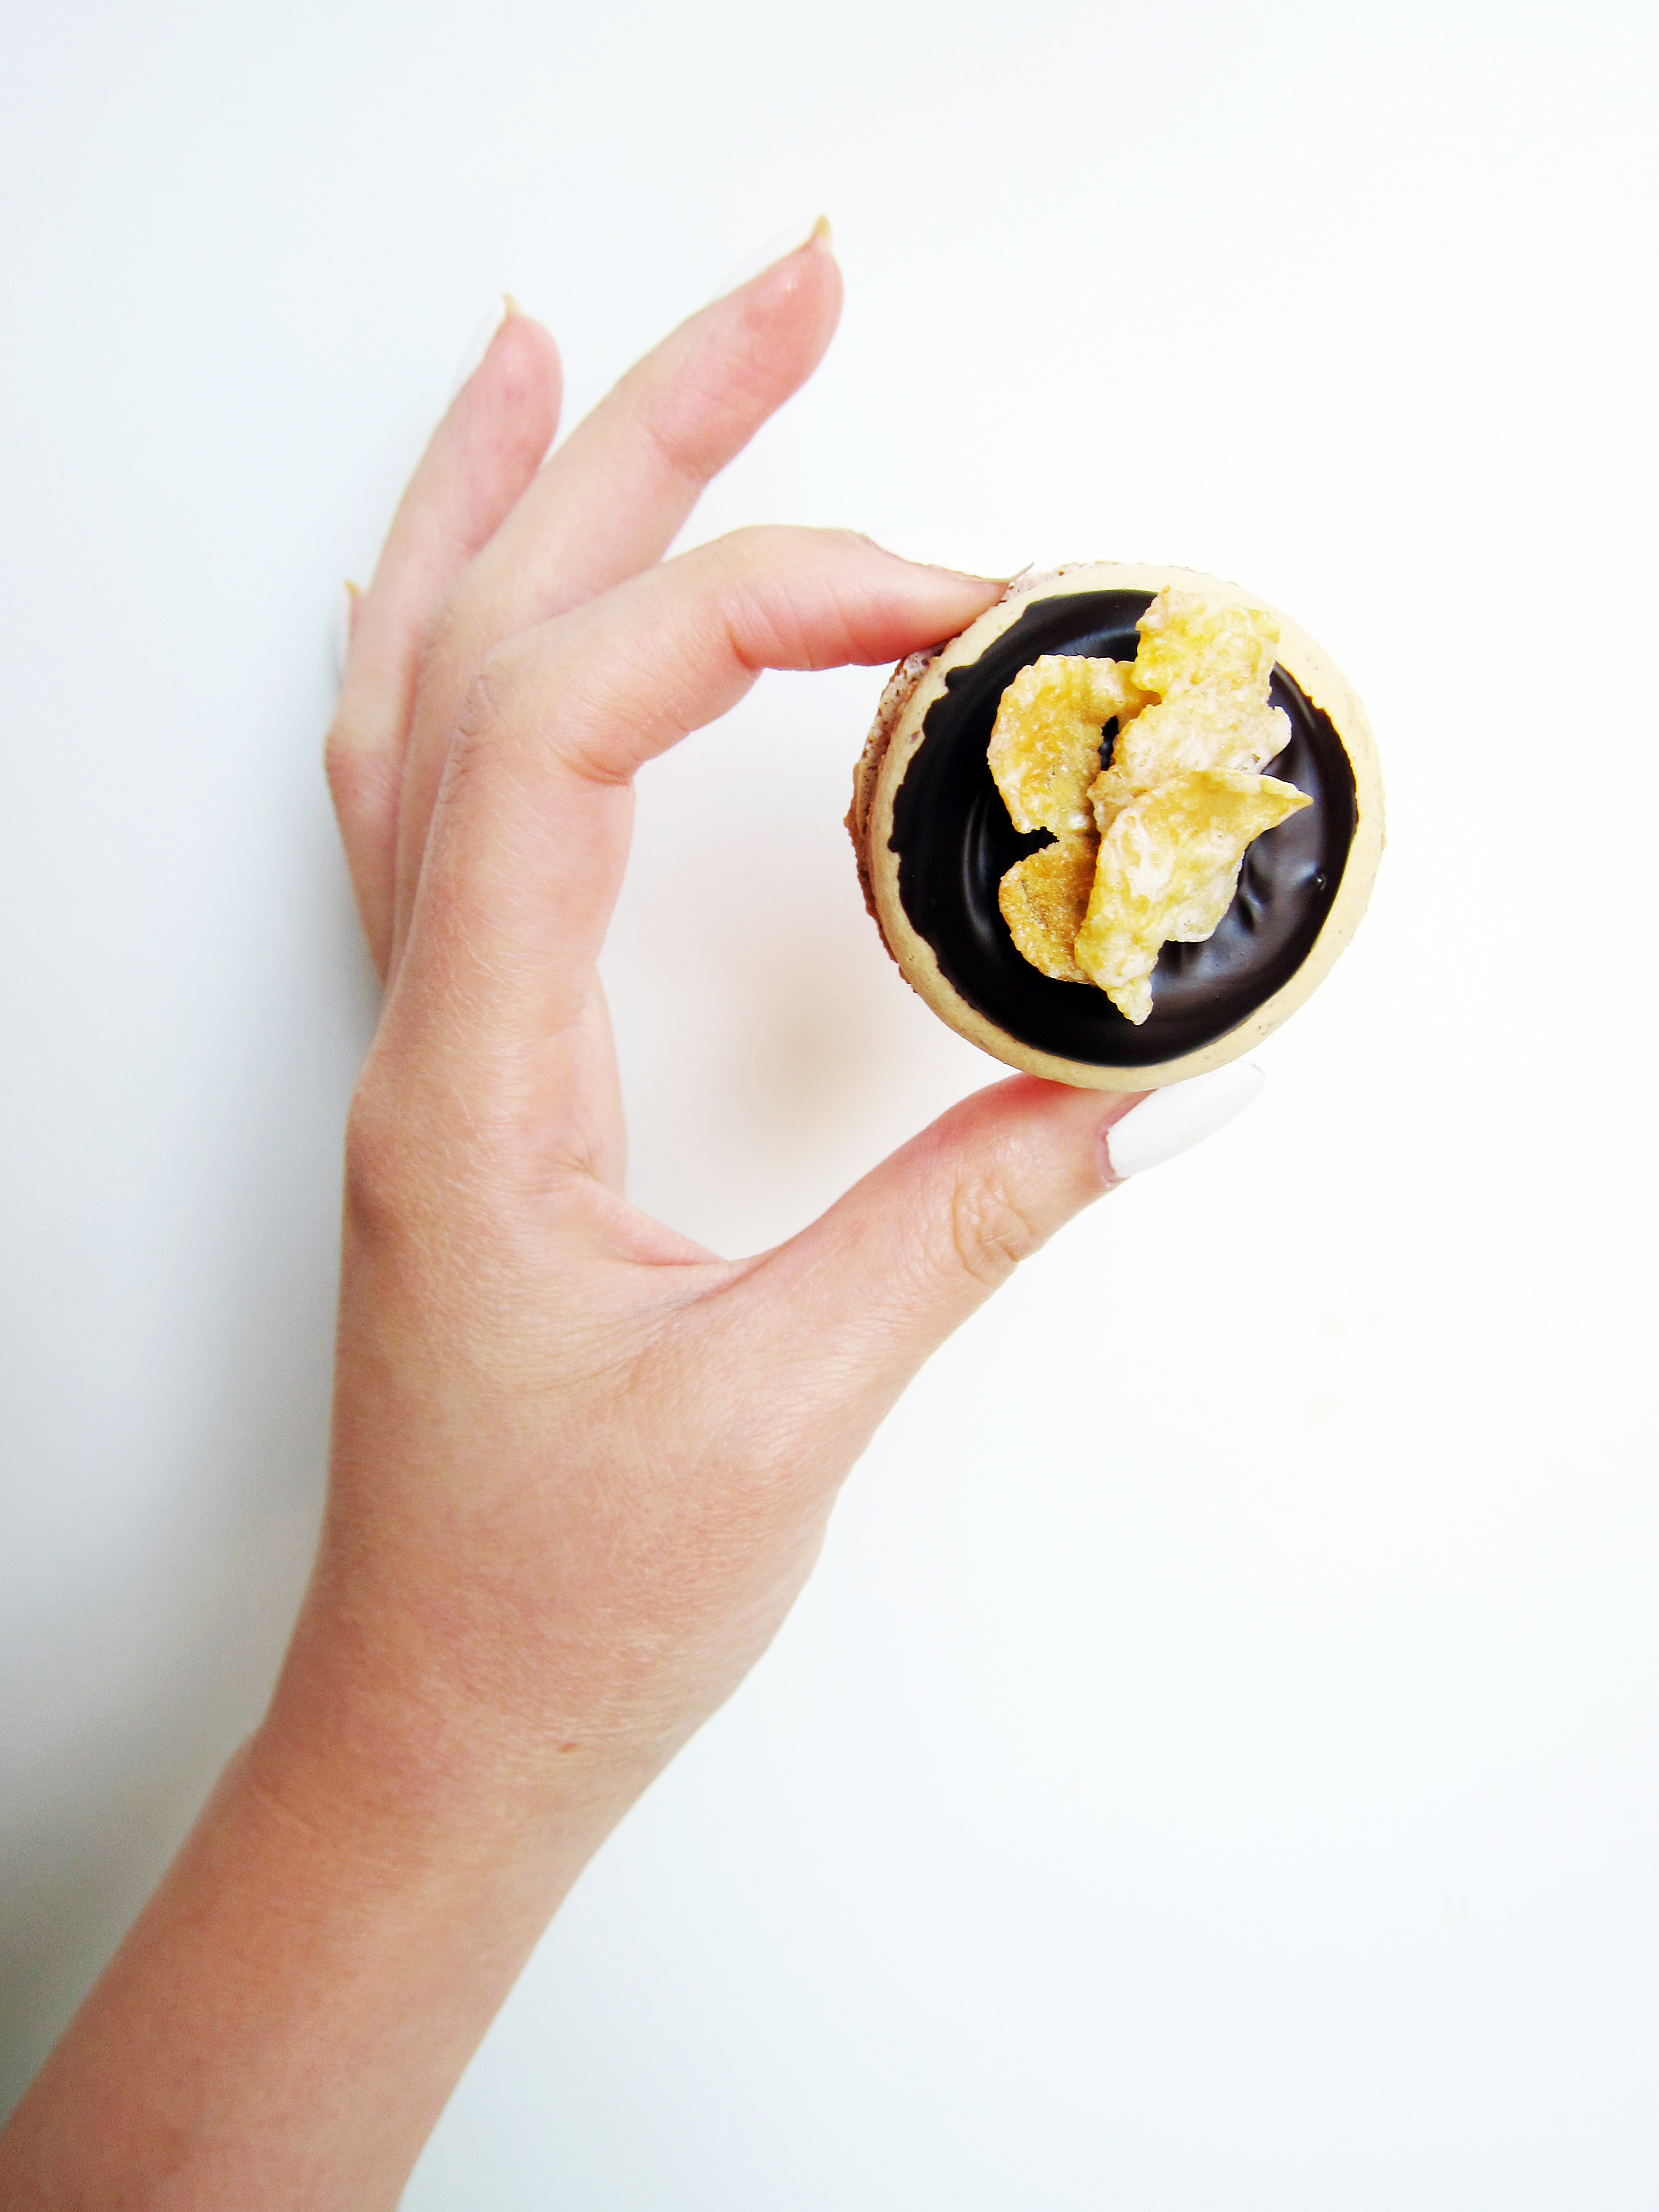


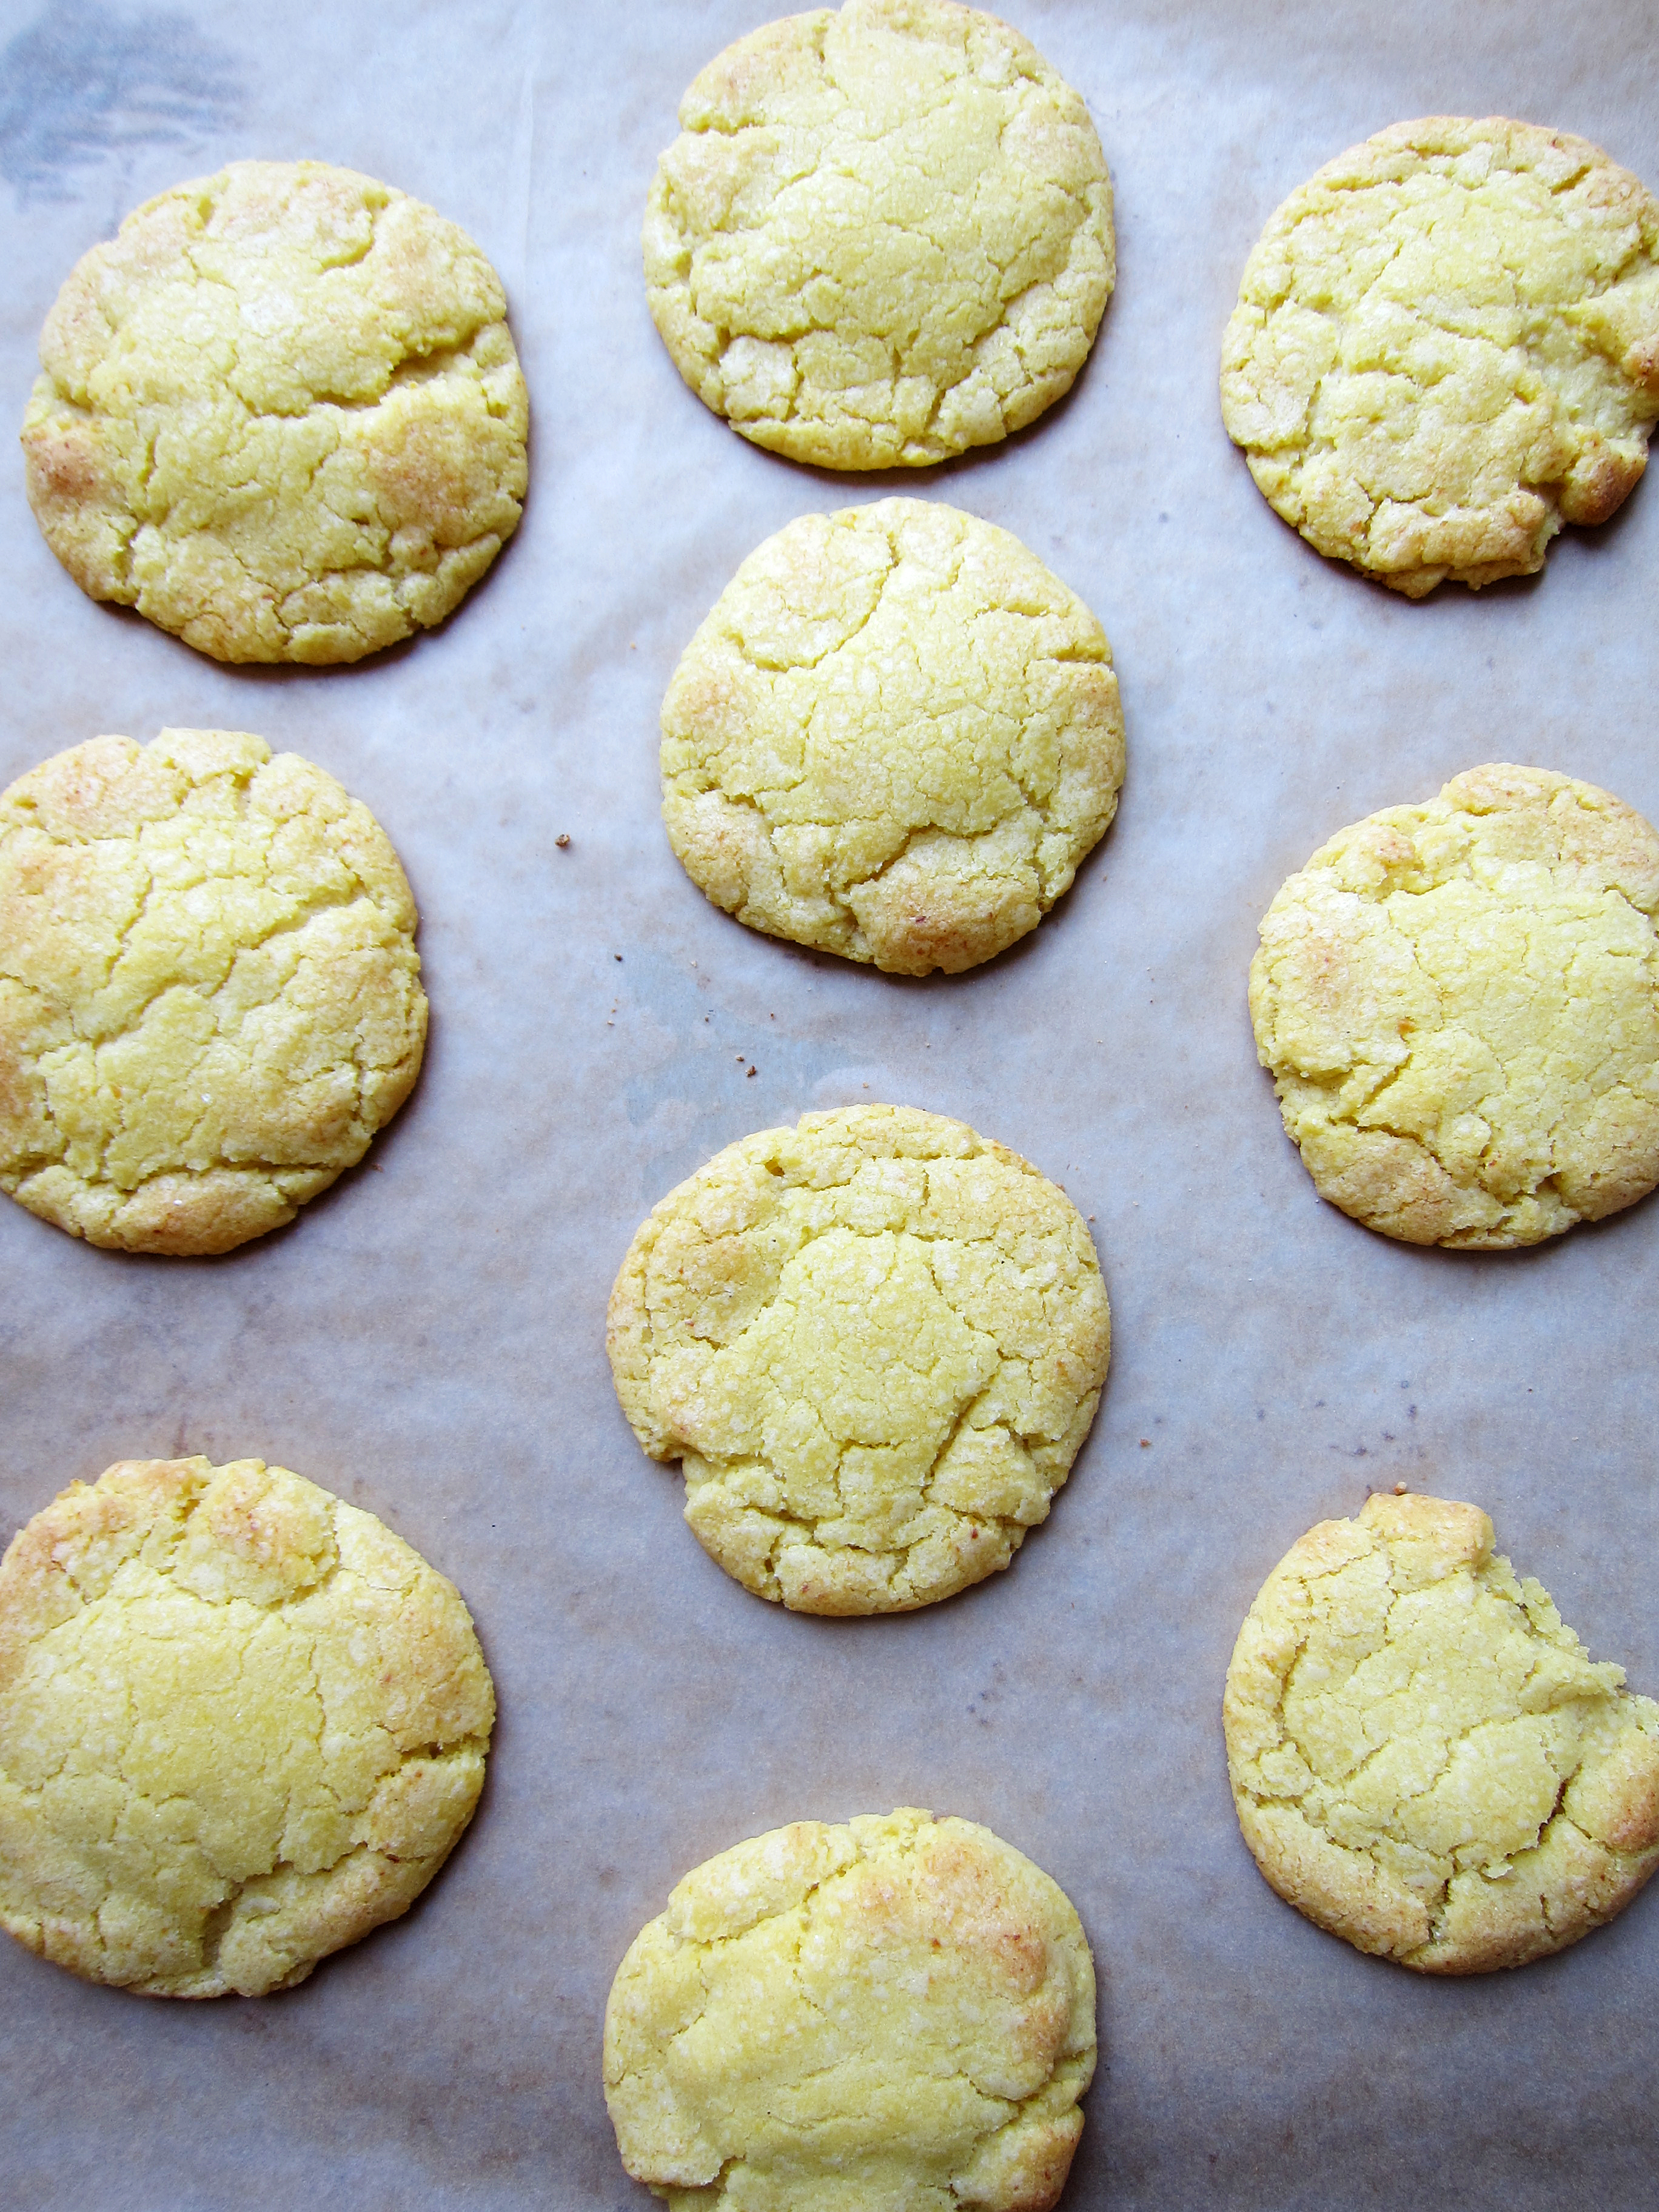
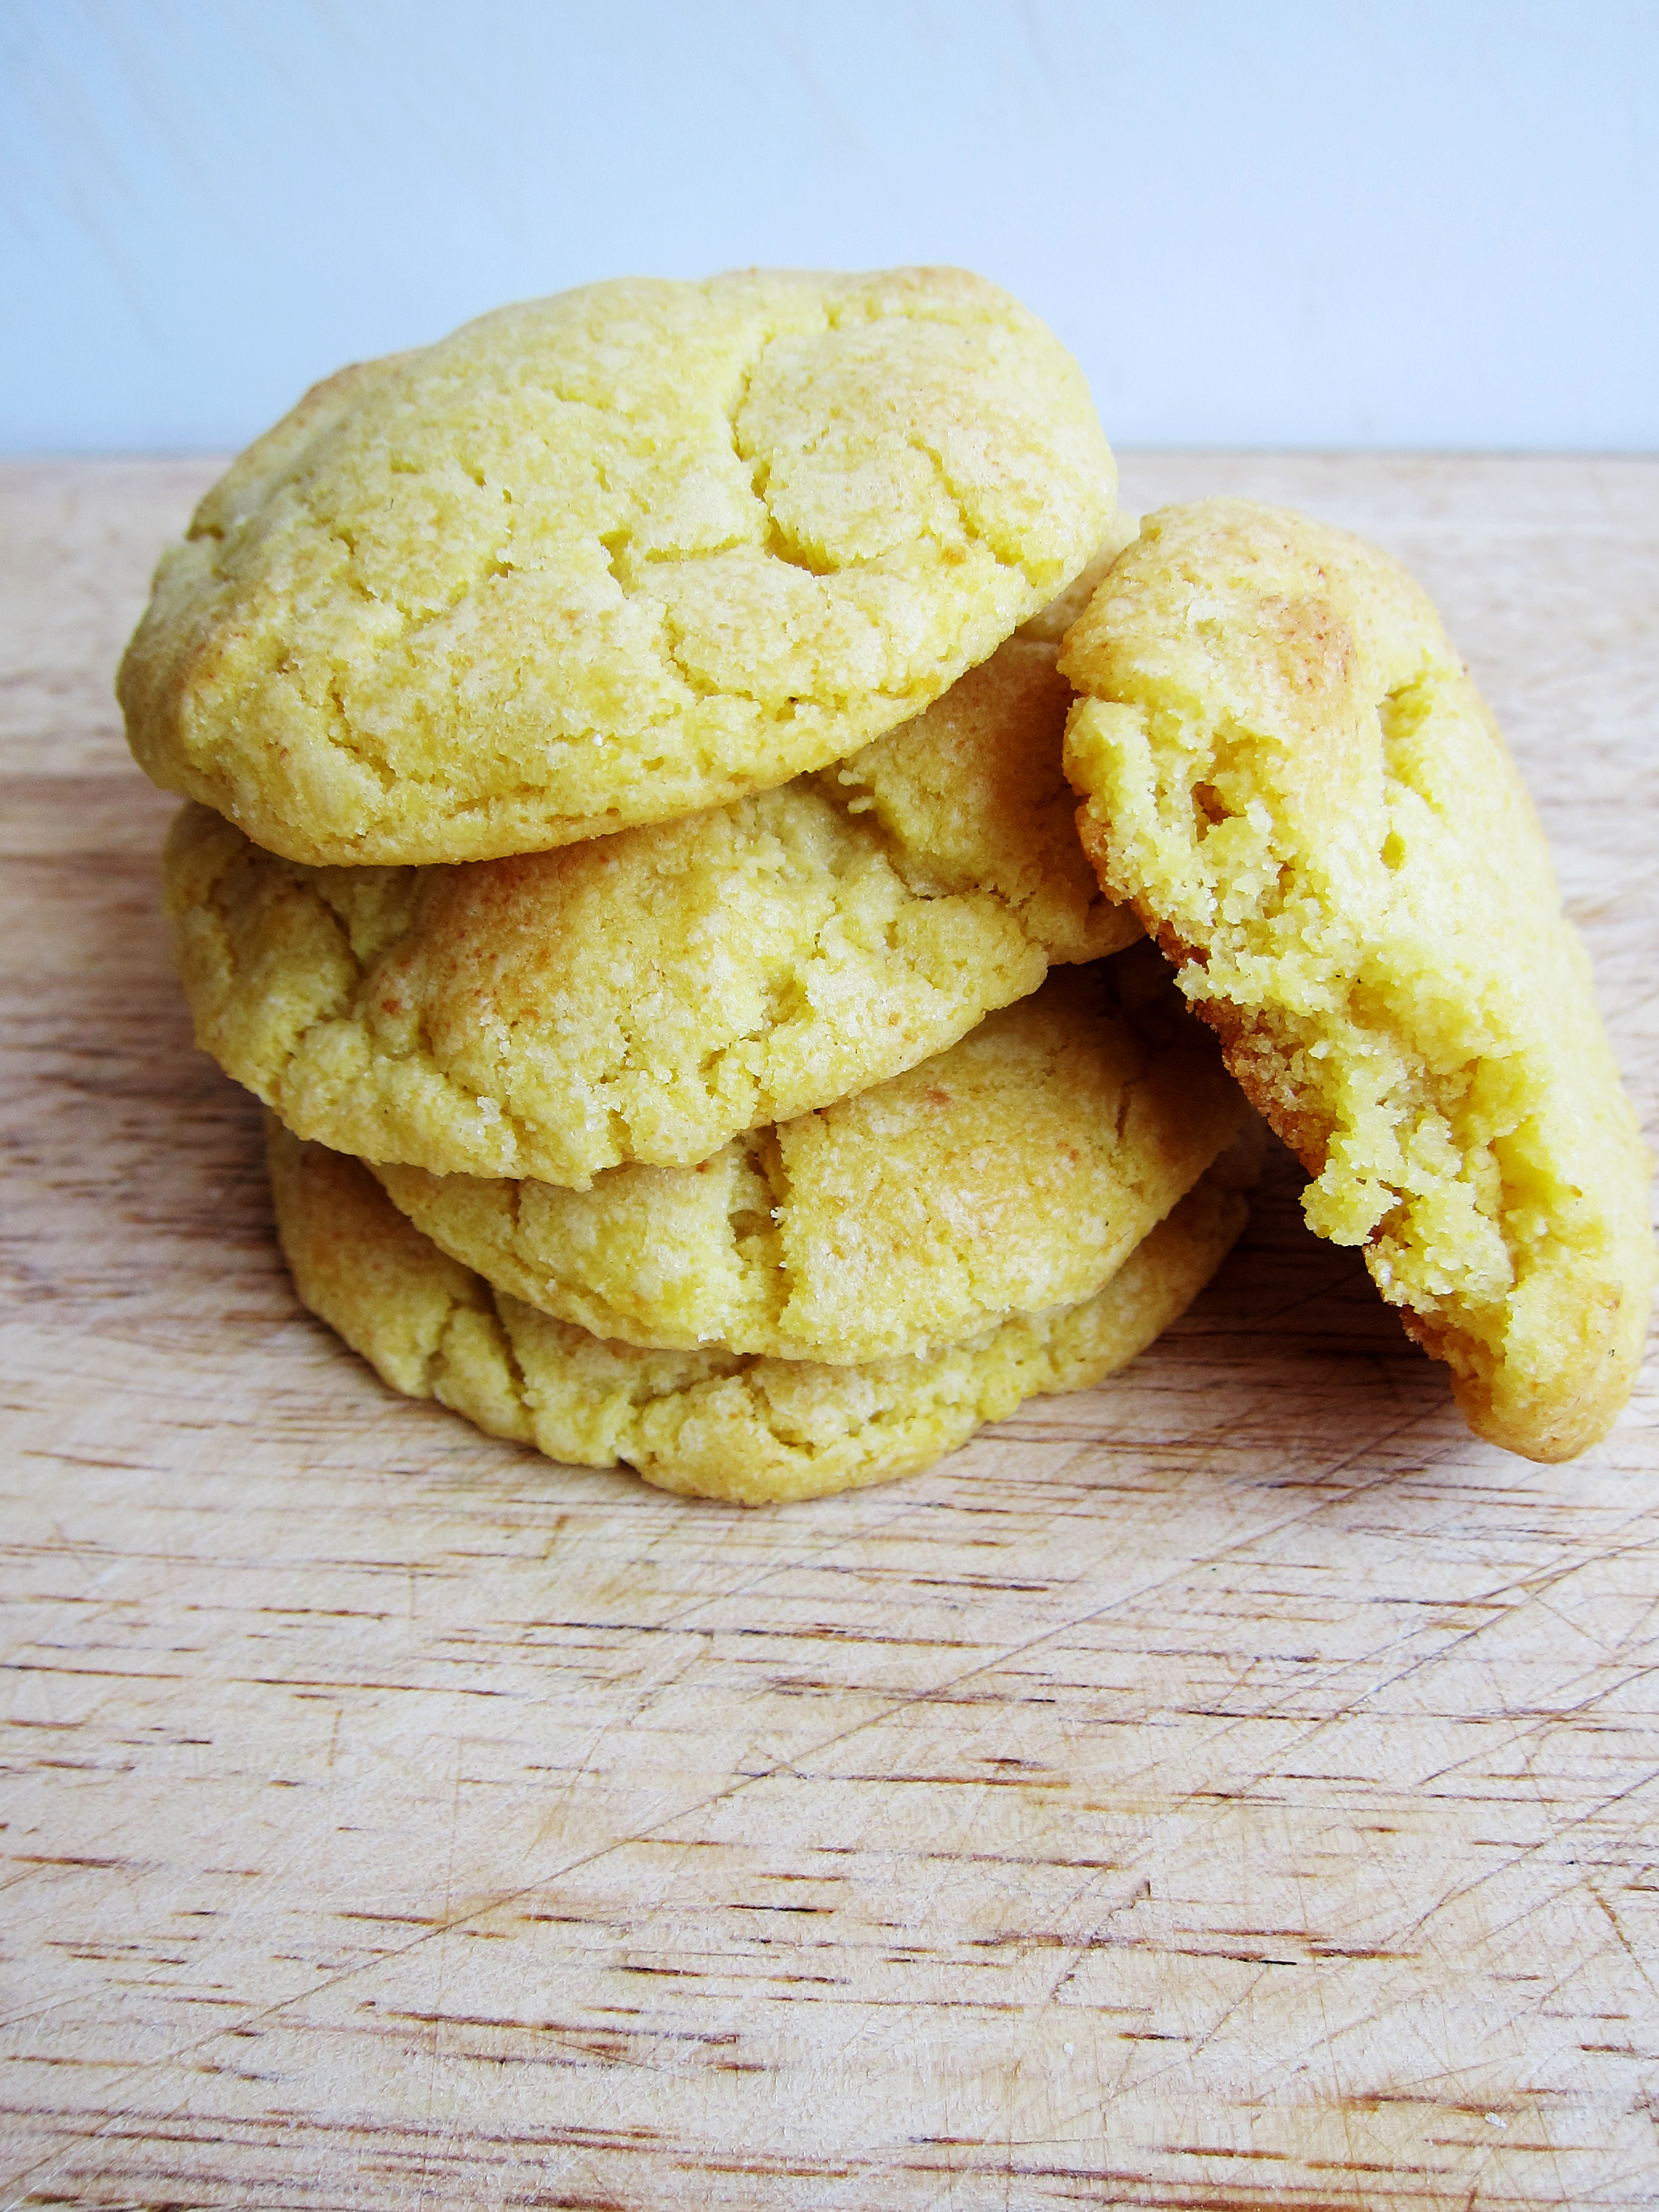
 Finally, the sprinkling of Maldon salt finishes the balance of the cookie. Some of the delicate flakes melt into the cookie fusing their salty goodness while the larger chunks withstand the heat and sparkle when you take them out.


 I must warn you; this is not a cookie that you bake on a whim. You must premeditate your actions and read through the recipe a few times before taking the dive. You must weigh out your ingredients, sift your flour mix, age your egg whites, and I don’t recommend making this on a humid day. Do I sound bossy? I just don’t want you to waste your expensive almond flour because those bags aren’t a dime a dozen. I love you, my readers and best of your luck on your quest!


