
 Happy National Chocolate Chip Day! Chocolate chips are such a simple concept yet so pivotal in the world of baking. It’s so versatile and can be subbed for chocolate in a lot of recipes. I always wondered if Ruth Graves Wakefield kicked herself for exchanging her invention for a lifetime supply of chocolates.
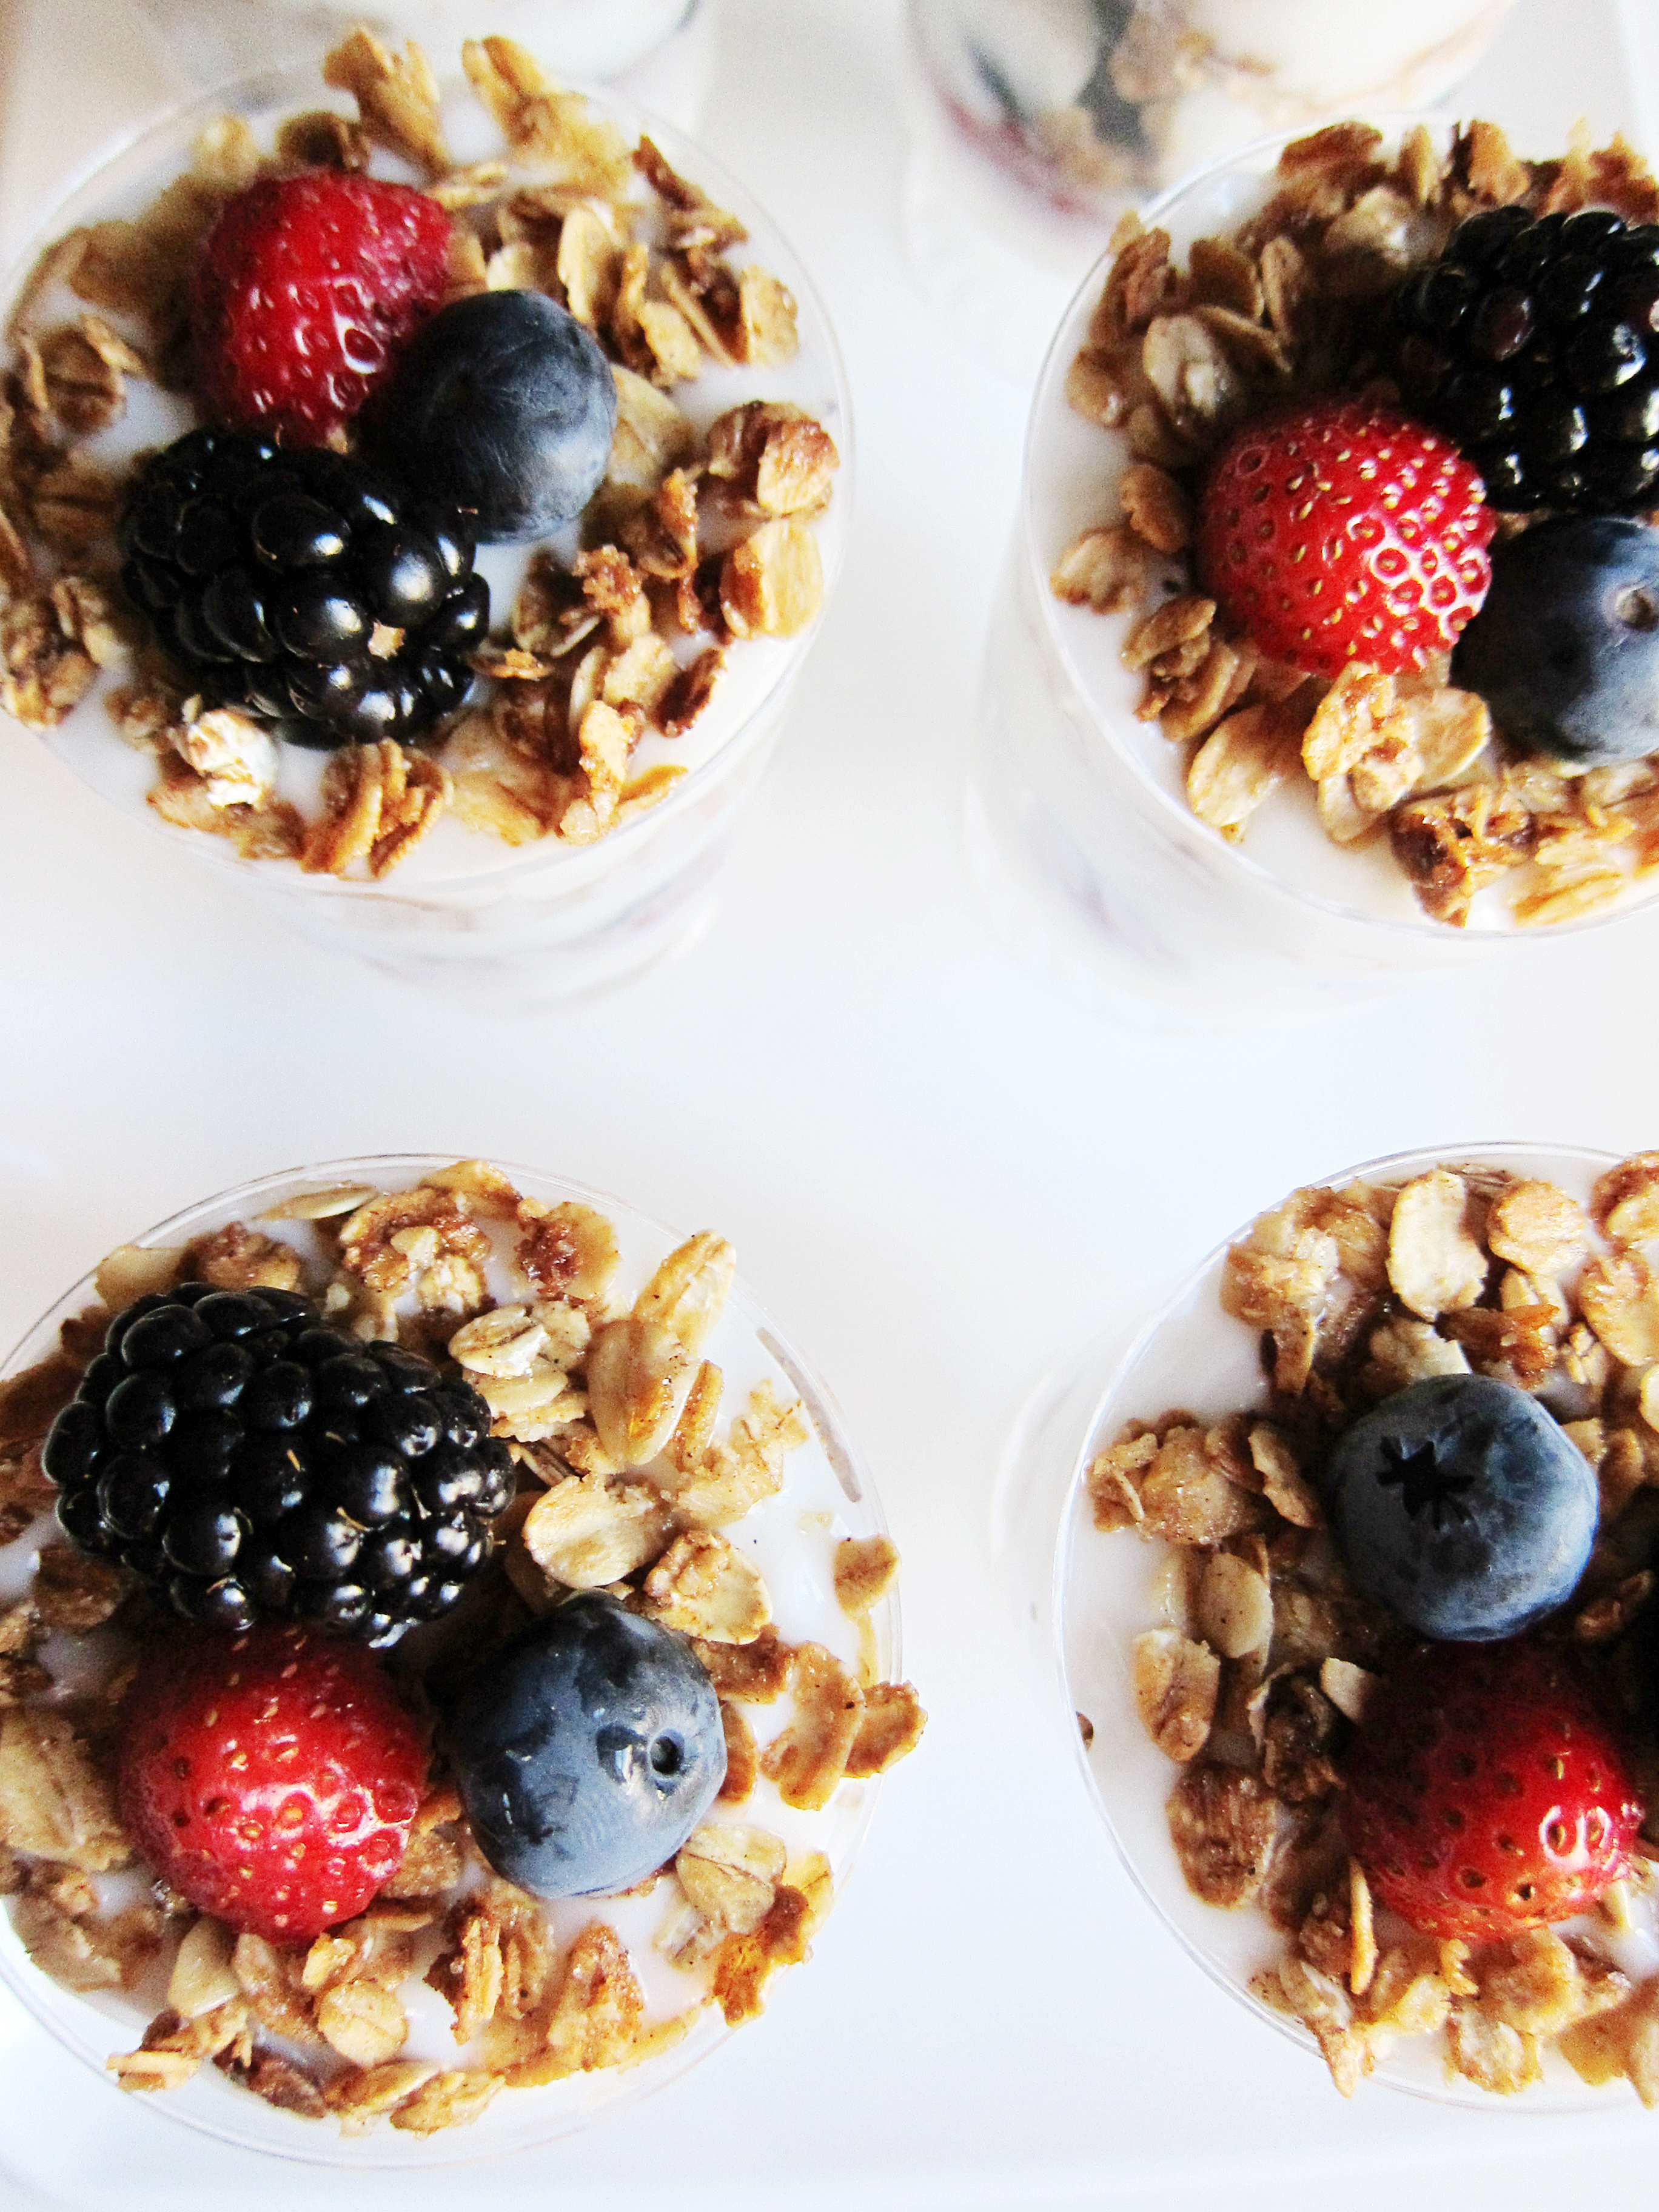
 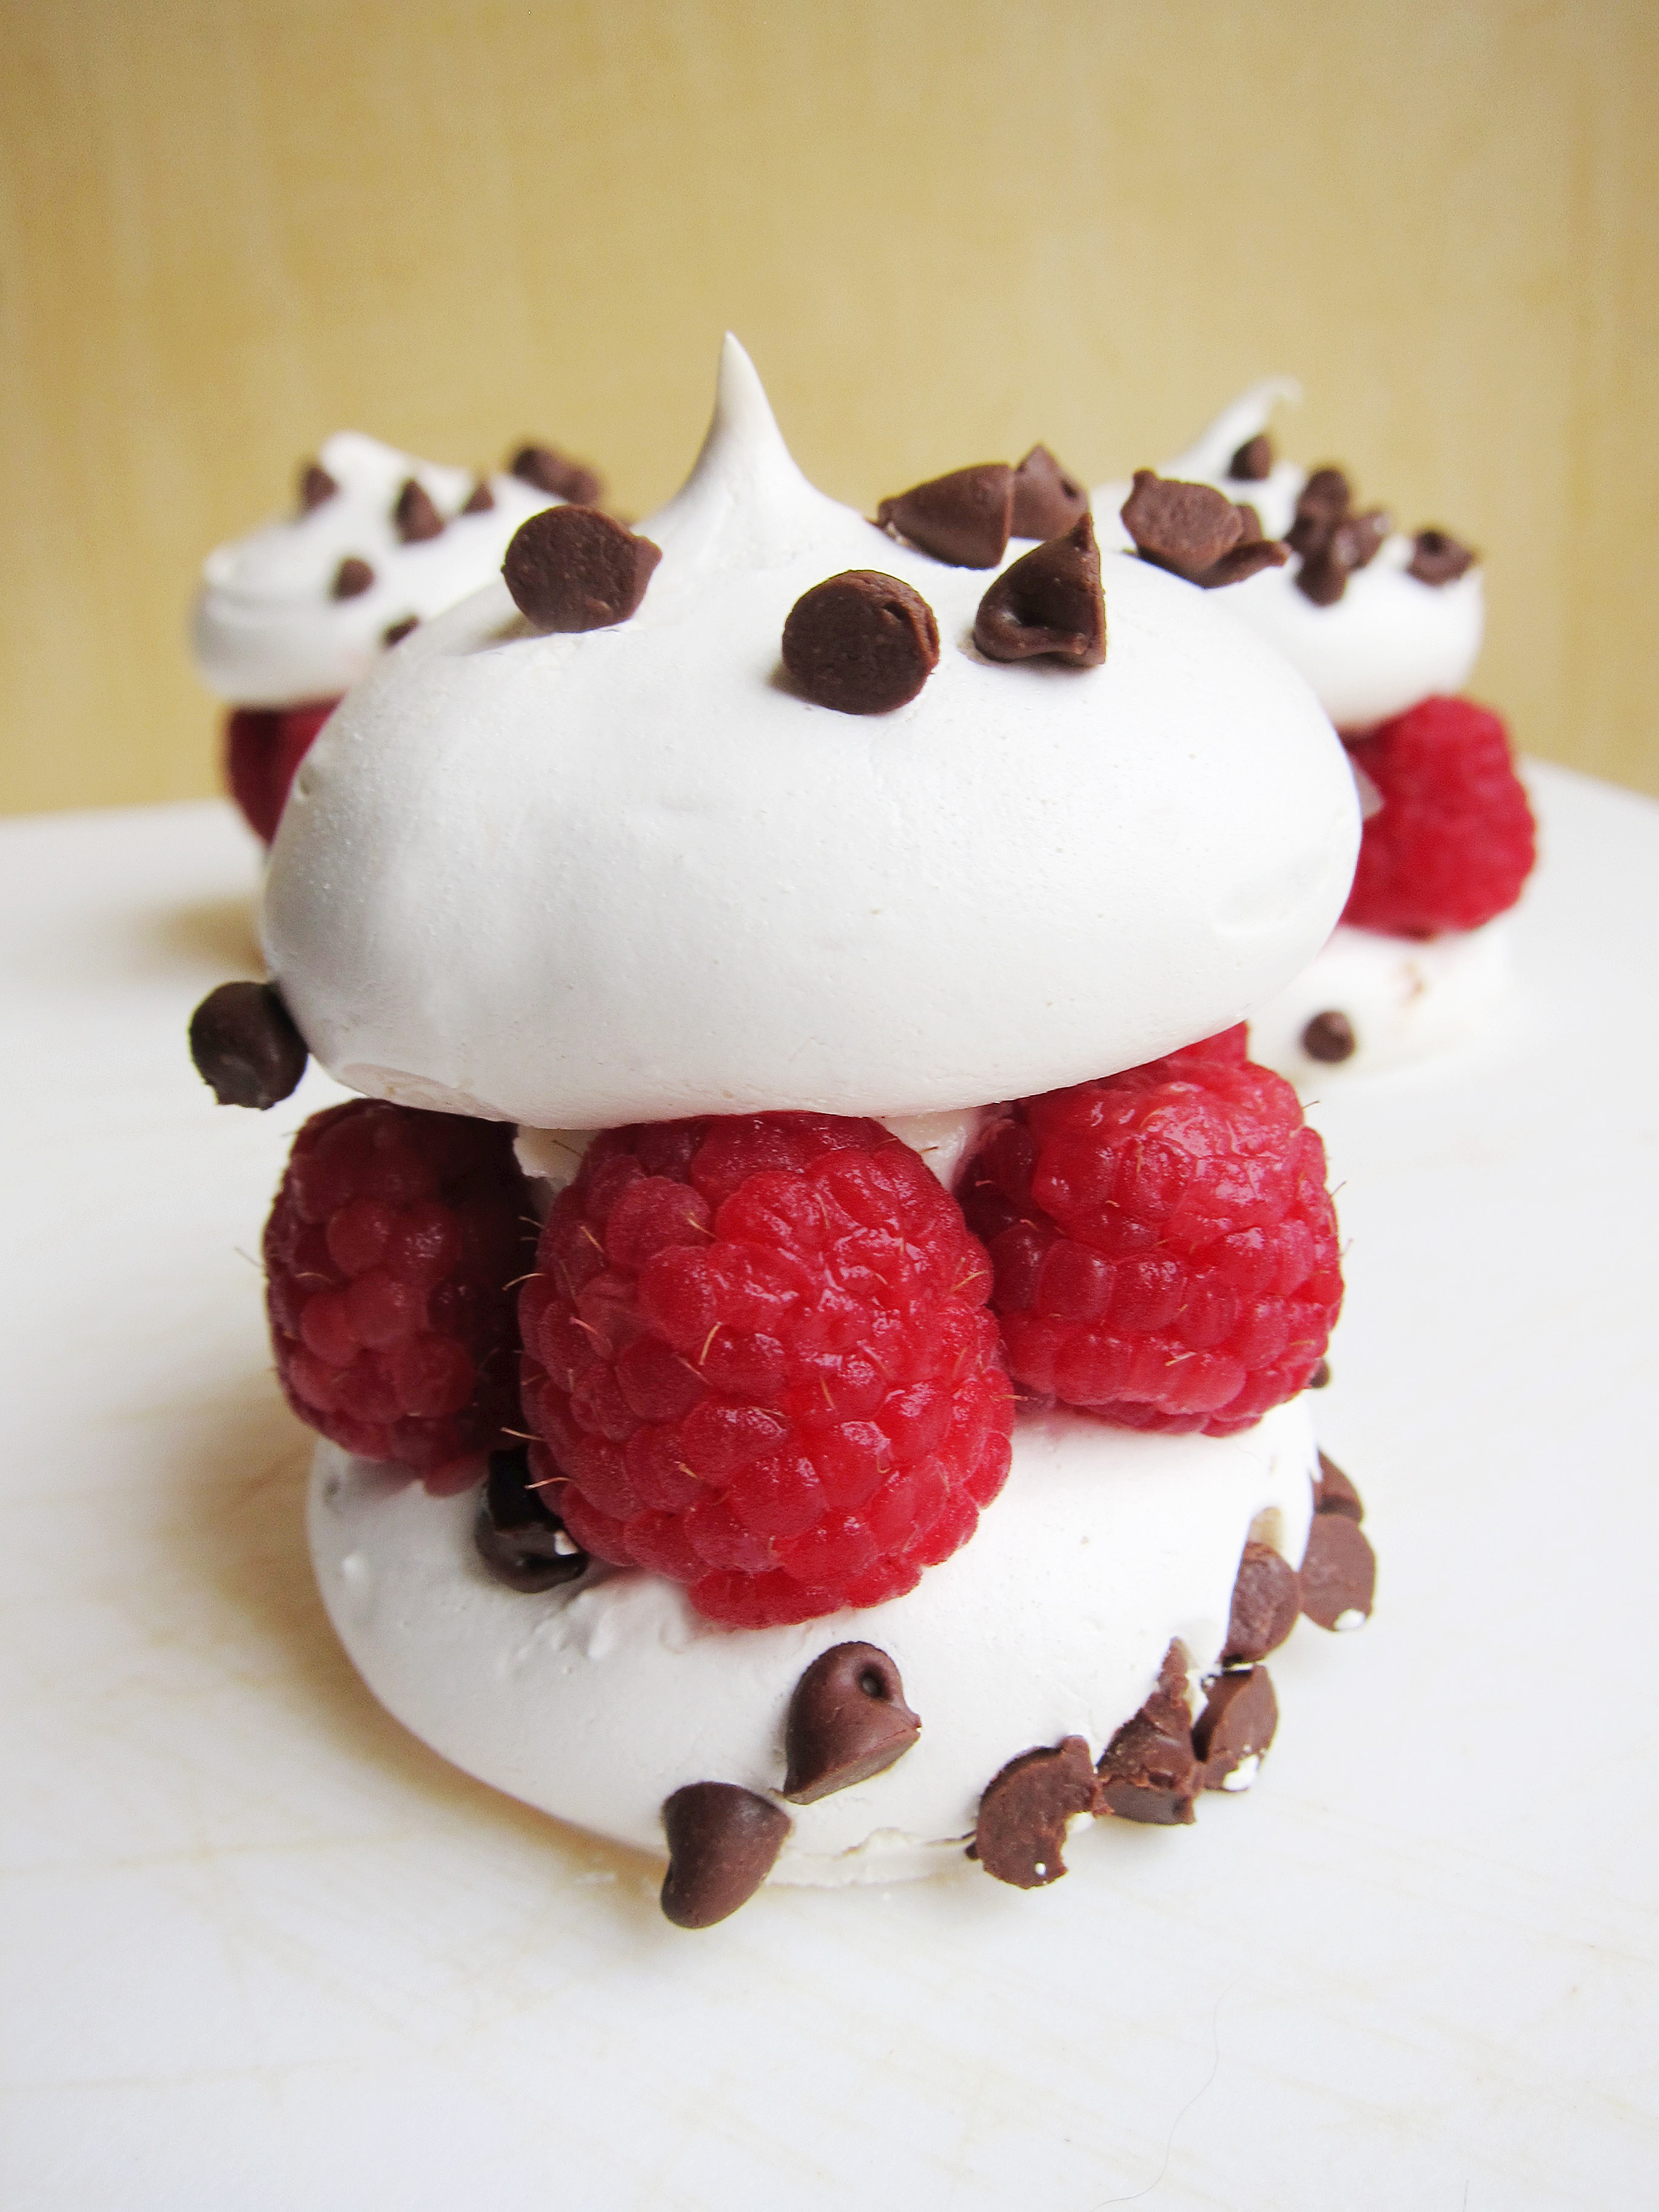 I know chocolate chips are synonymous with chocolate chip cookies, but since I just posted a recipe involving a cookie cake, it seemed redundant. Usually chocolate conjures up rich, heavy and decadent desserts and I ran the opposite direction with it this time. It’s a light chocolate chip studded meringue cookie sandwiched with fresh whipped cream and raspberries. It melts in your mouth, but still has a chewy middle. It’s so yummy and easy to make, yet fancy enough to serve to guests. In other words, a win-win-win.
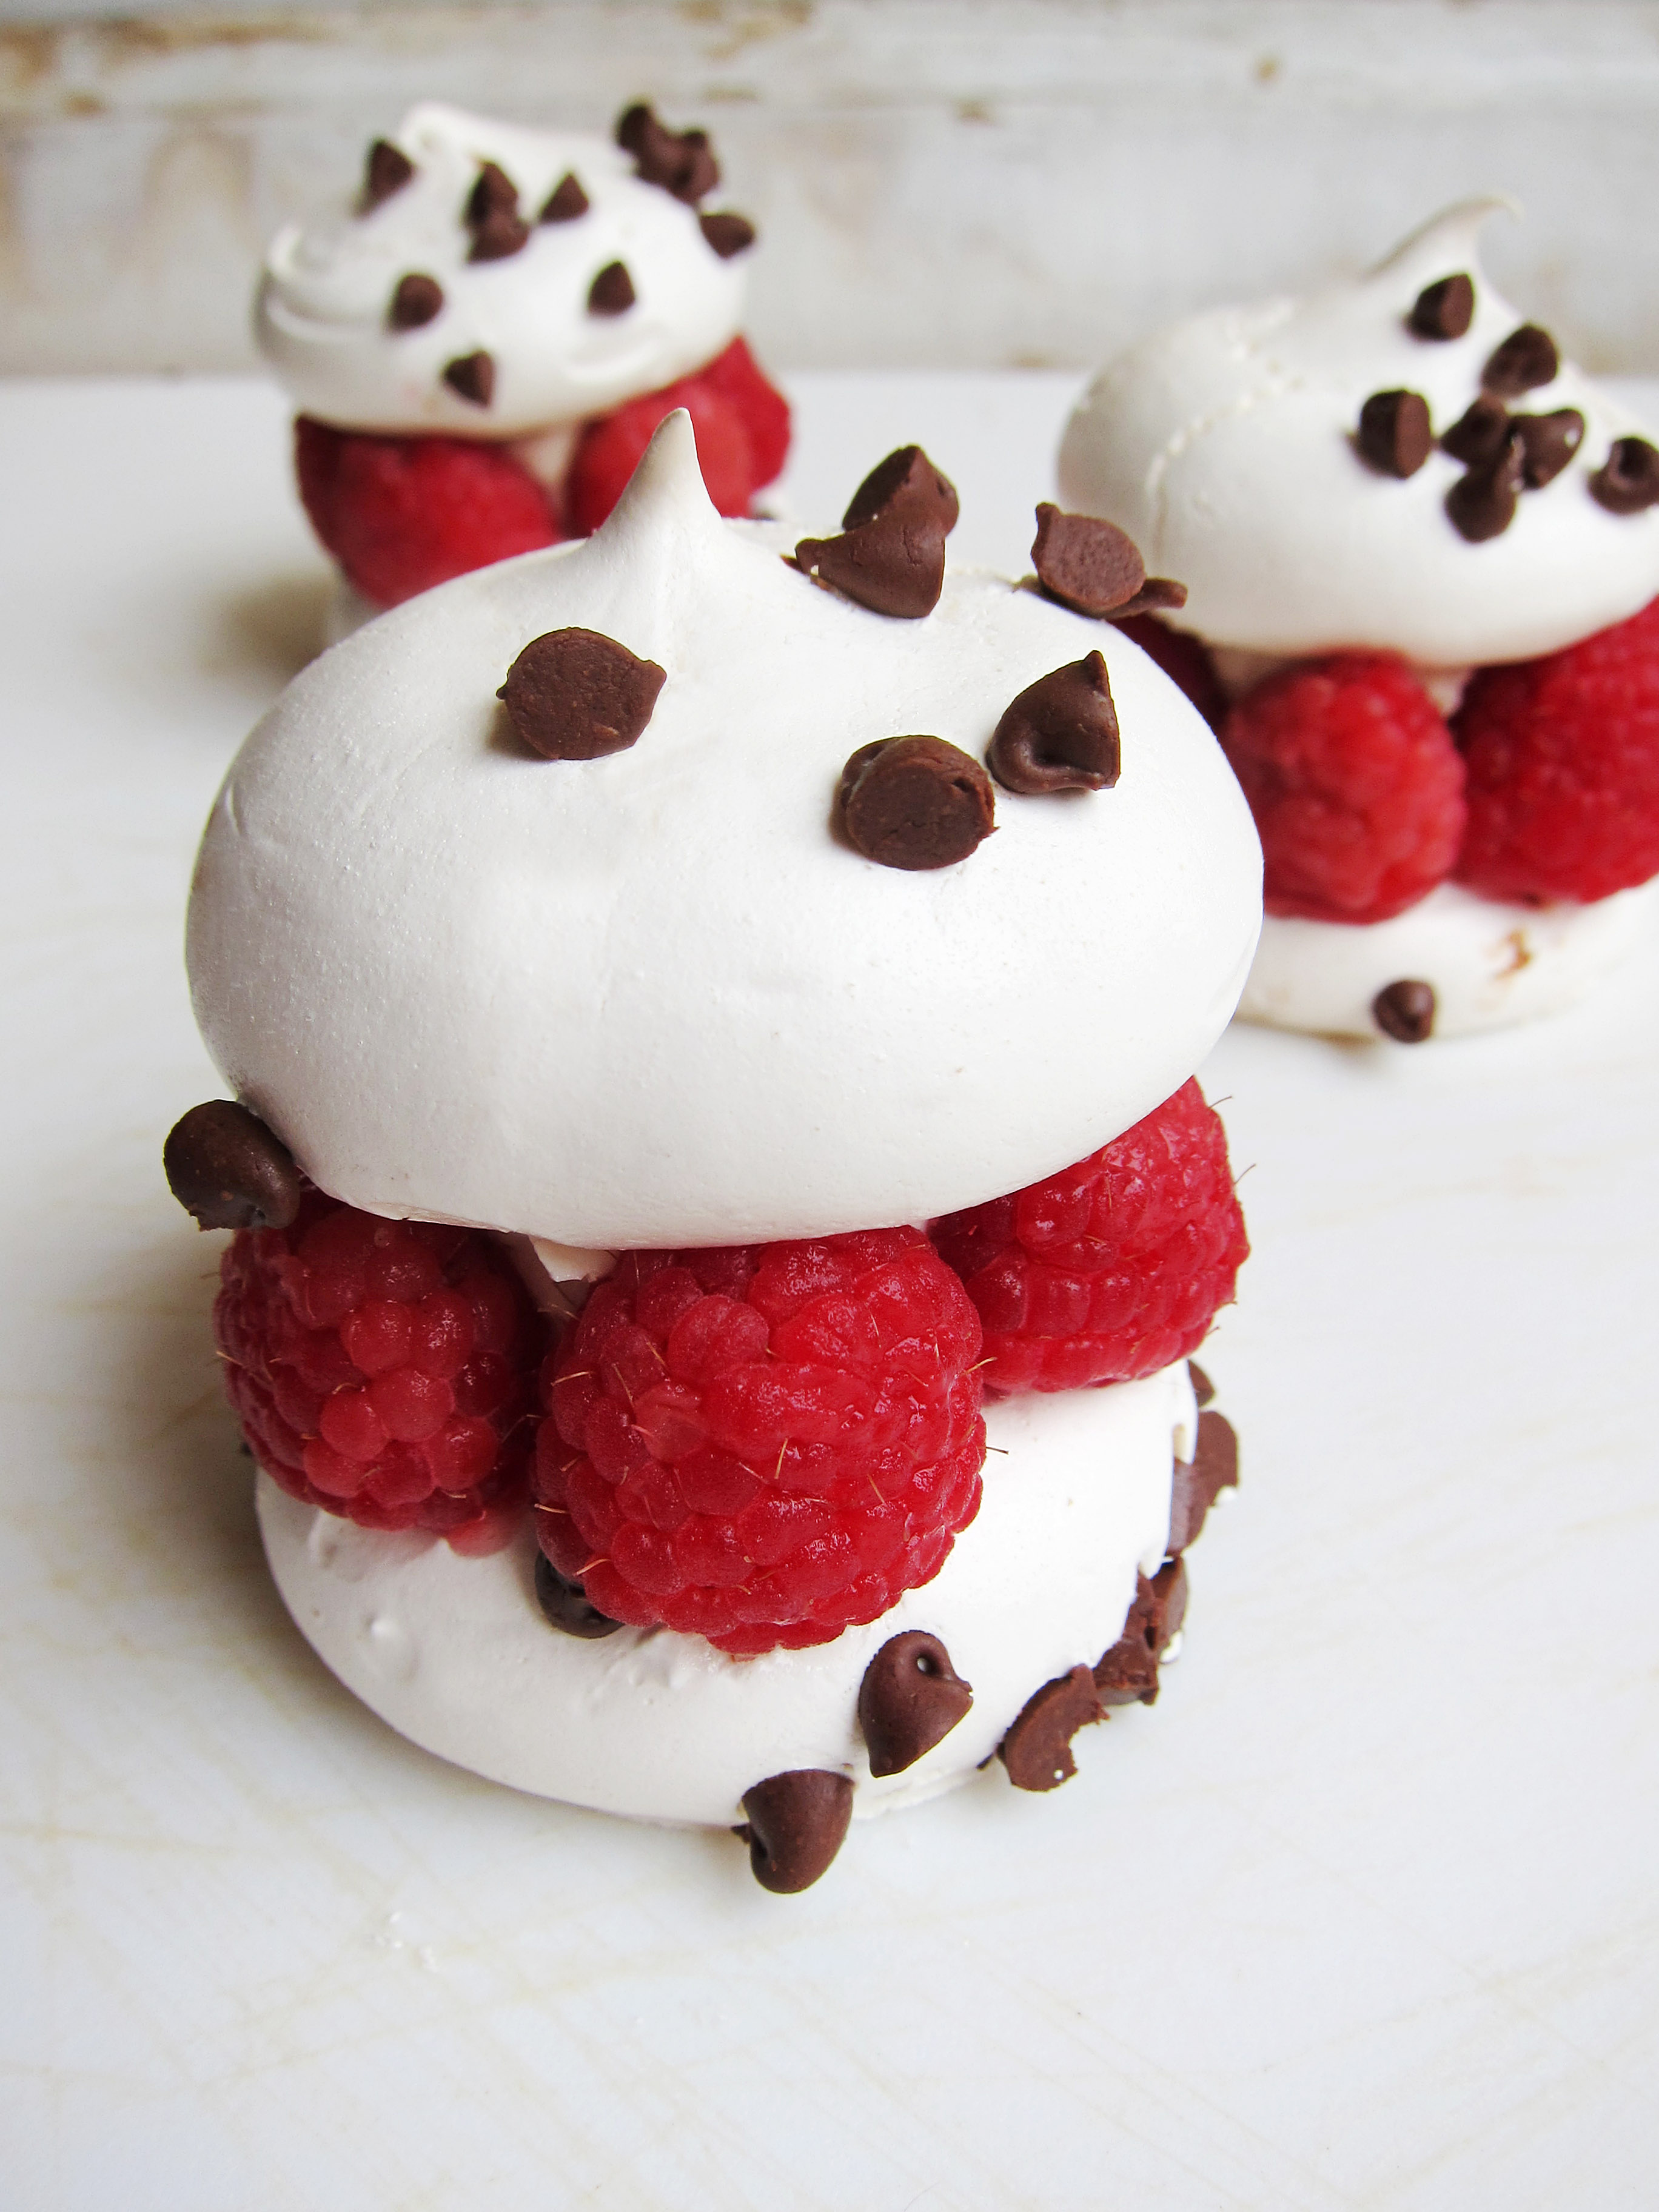 Chocolate Chip Raspberry Meringues
Meringues
Ingredients:
4 large egg whites, room temperature
1 c. sugar
pinch of cream of tartar
1 tsp. vanilla extract
1 c. mini chocolate chips, divided
Instructions:
- Preheat oven to 200˚F and line a sheet pan with parchment paper or a silicone mat.
- In a small pot, fill it with an inch of water and let it come to a simmer.
- In a bowl of a standing mixer, whisk egg whites, sugar, and cream of tartar.
- Place bowl over the small pot and whisk until the mixture reads 160 degrees.
- Whip with a stand mixer until stiff, glossy peaks form.
- Add in the vanilla and fold in ¾ c. mini chocolate chips.
- In a piping bag fitted with a plain tip, pipe half of the batter as 2“ round, flat bases and the other half as 2” round, domed tops.
- Bake in oven for about 30 minutes or until the cookies are firm and dry to the touch.
Whipped Cream
Ingredients:
1 c. heavy cream
1 tsp. vanilla extract
1 tbsp. confectioner’s sugar
Instructions:
- In a bowl of a standing mixer with the whip attachment, add the heavy cream and whip on high speed until soft peaks are just about to form.
- Add the vanilla extract and sugar and whip on medium speed until stiff peaks form.
- Do not over whip! The cream will turn into butter.
Assembly:
- On a round, flat meringue cookie base, arrange raspberries around the circumference of the cookie.
- Put about 2 teaspoons of whipped cream in the center of the cookie.
- Finish with a domed meringue cookie top.


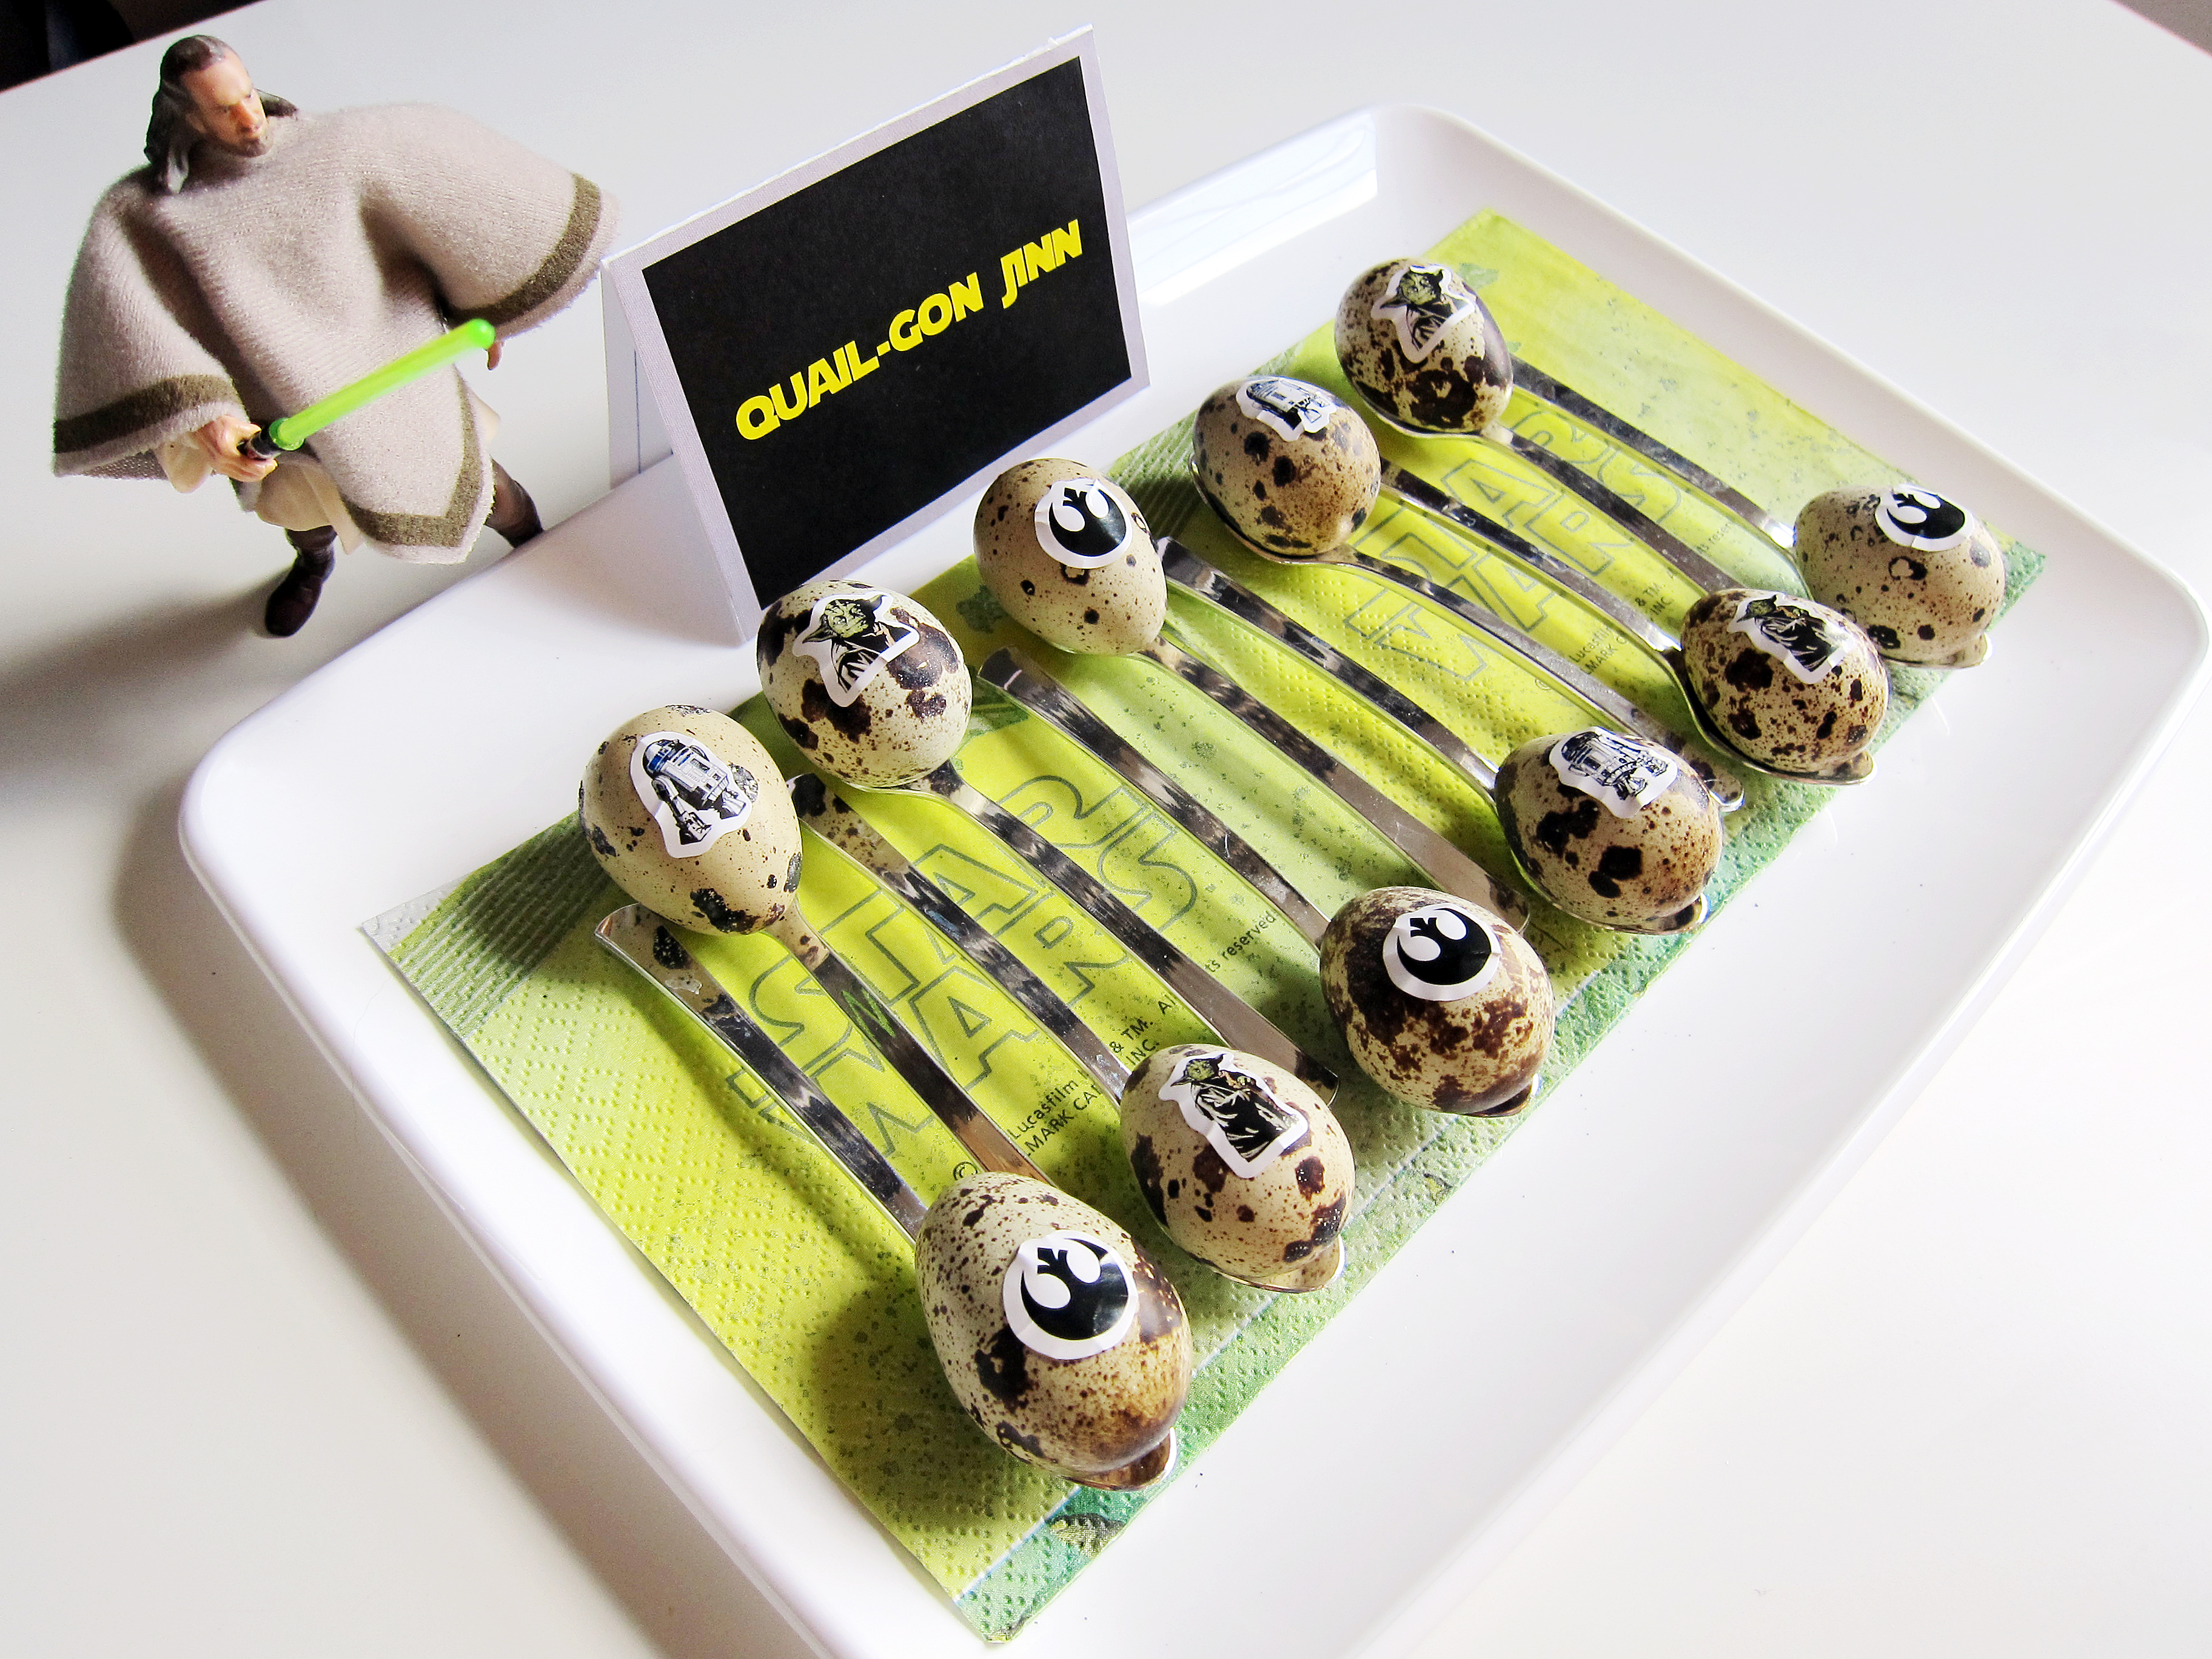
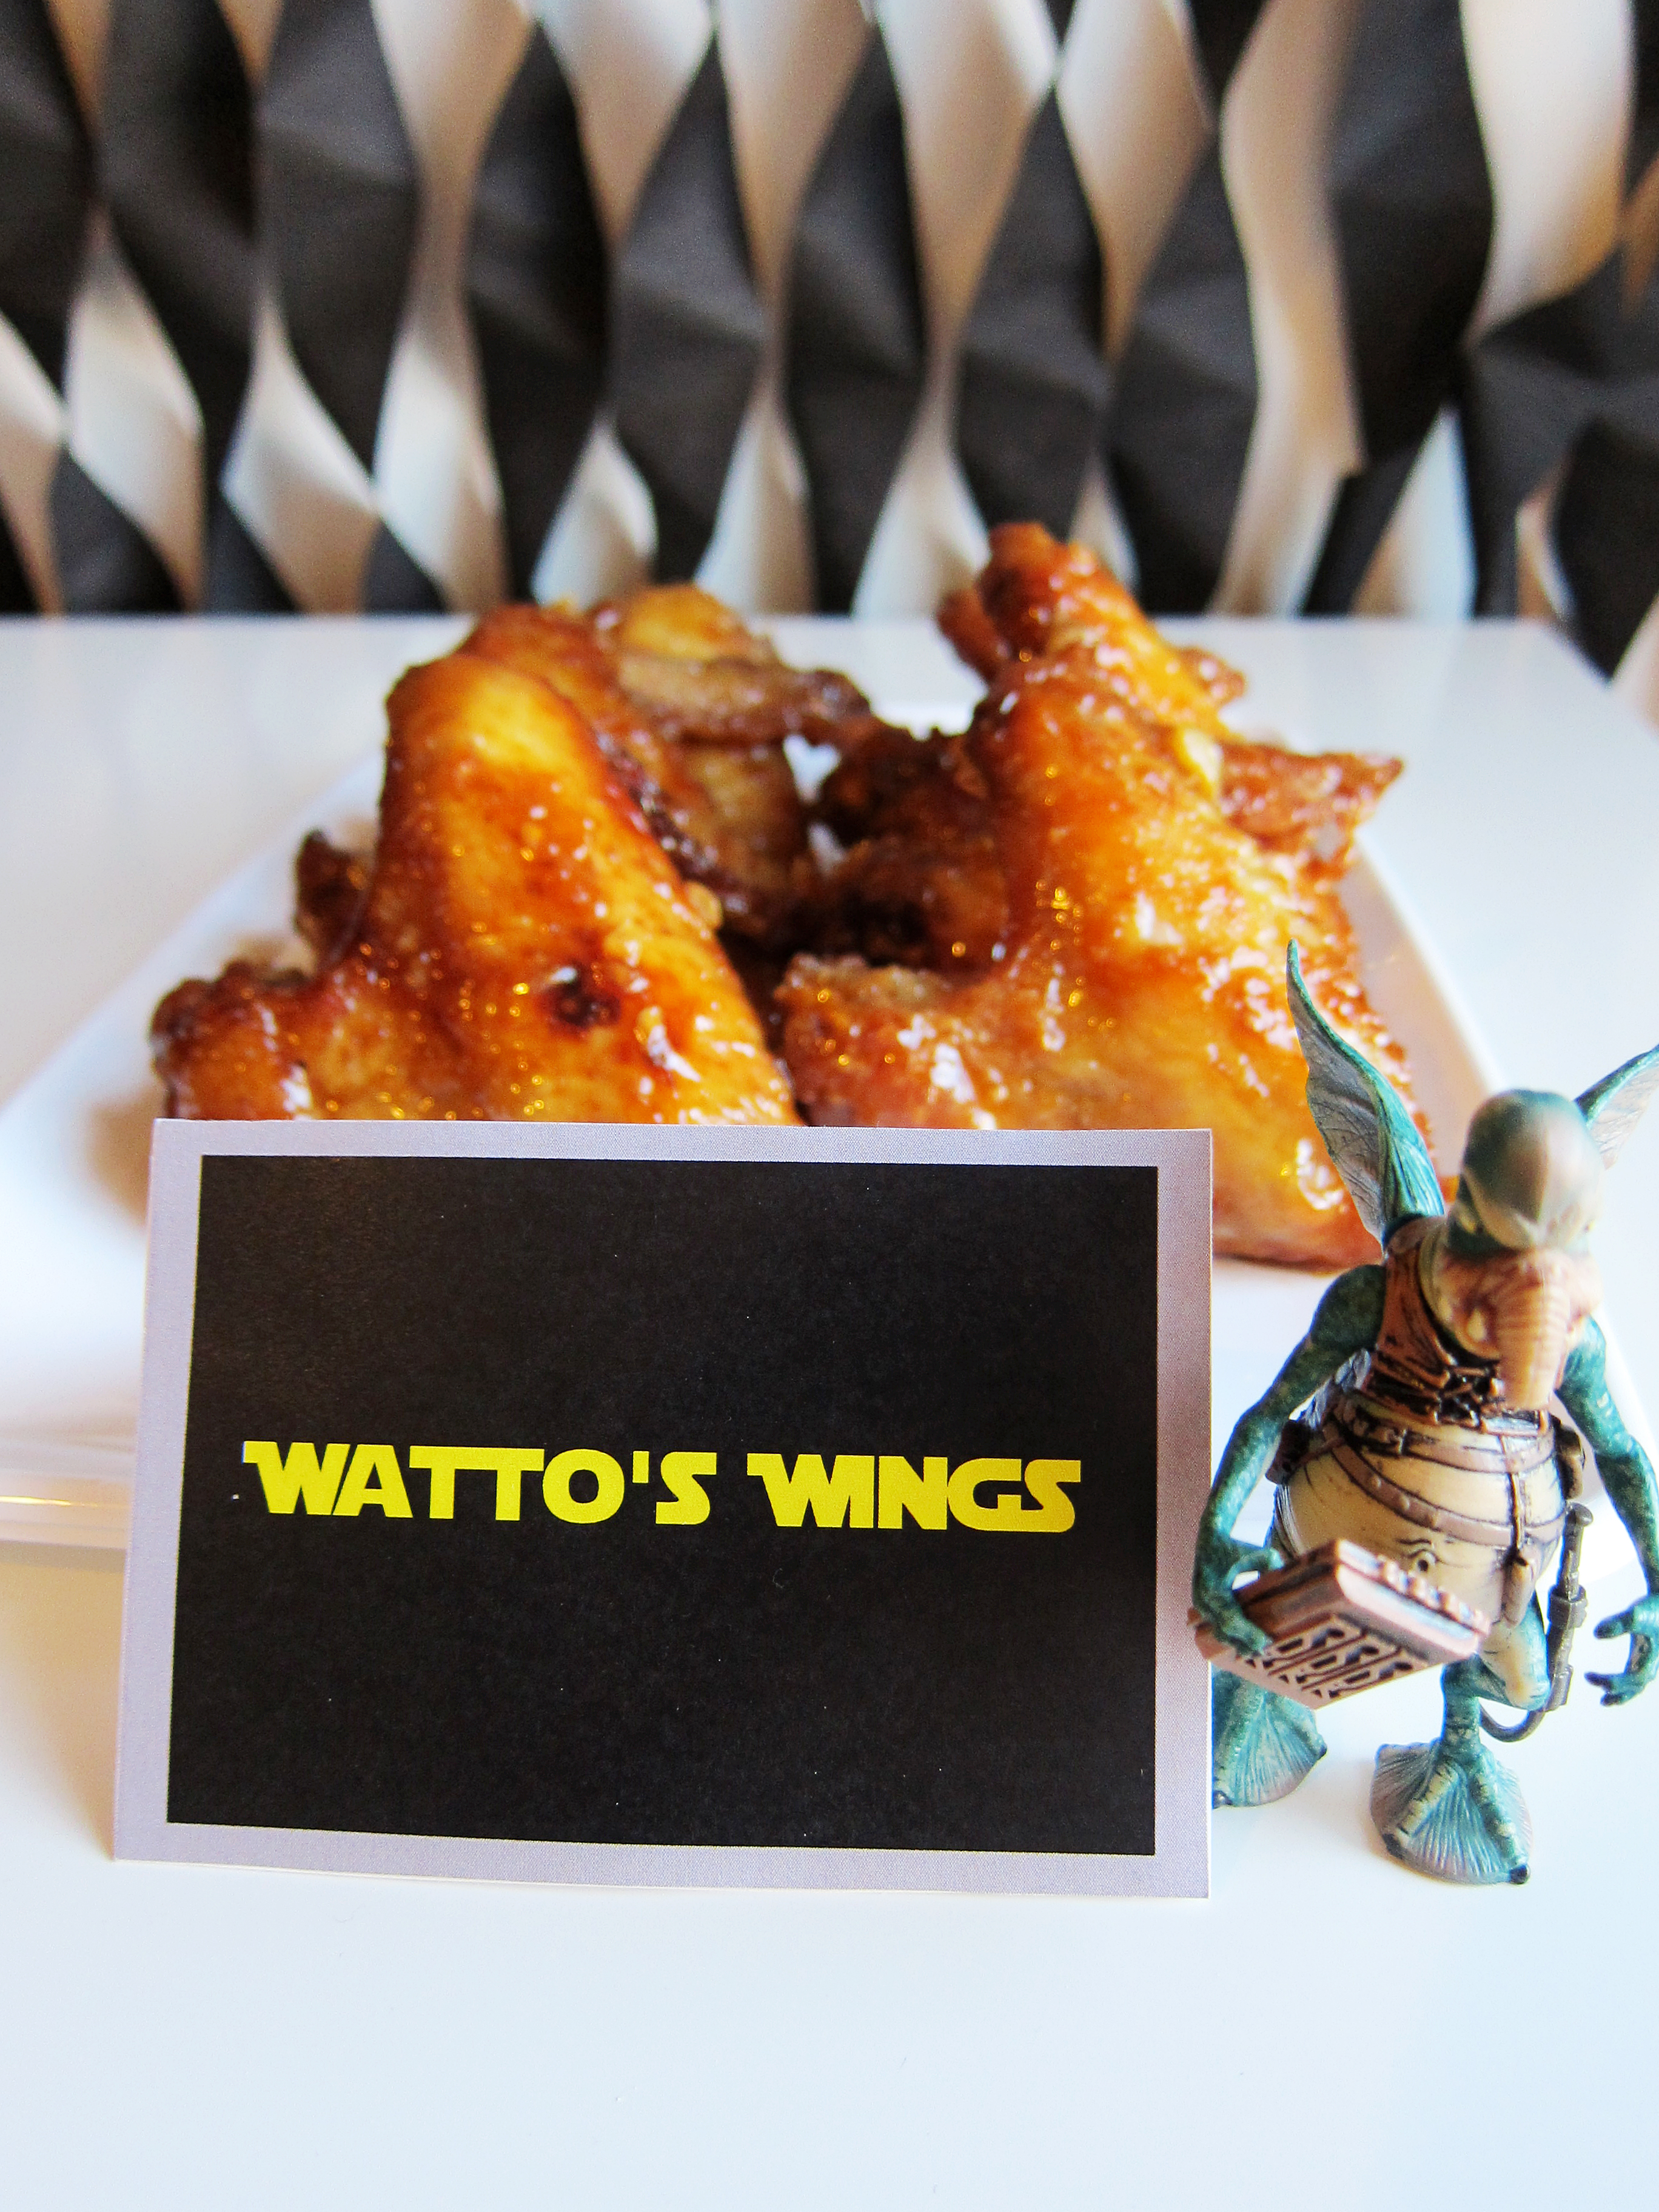
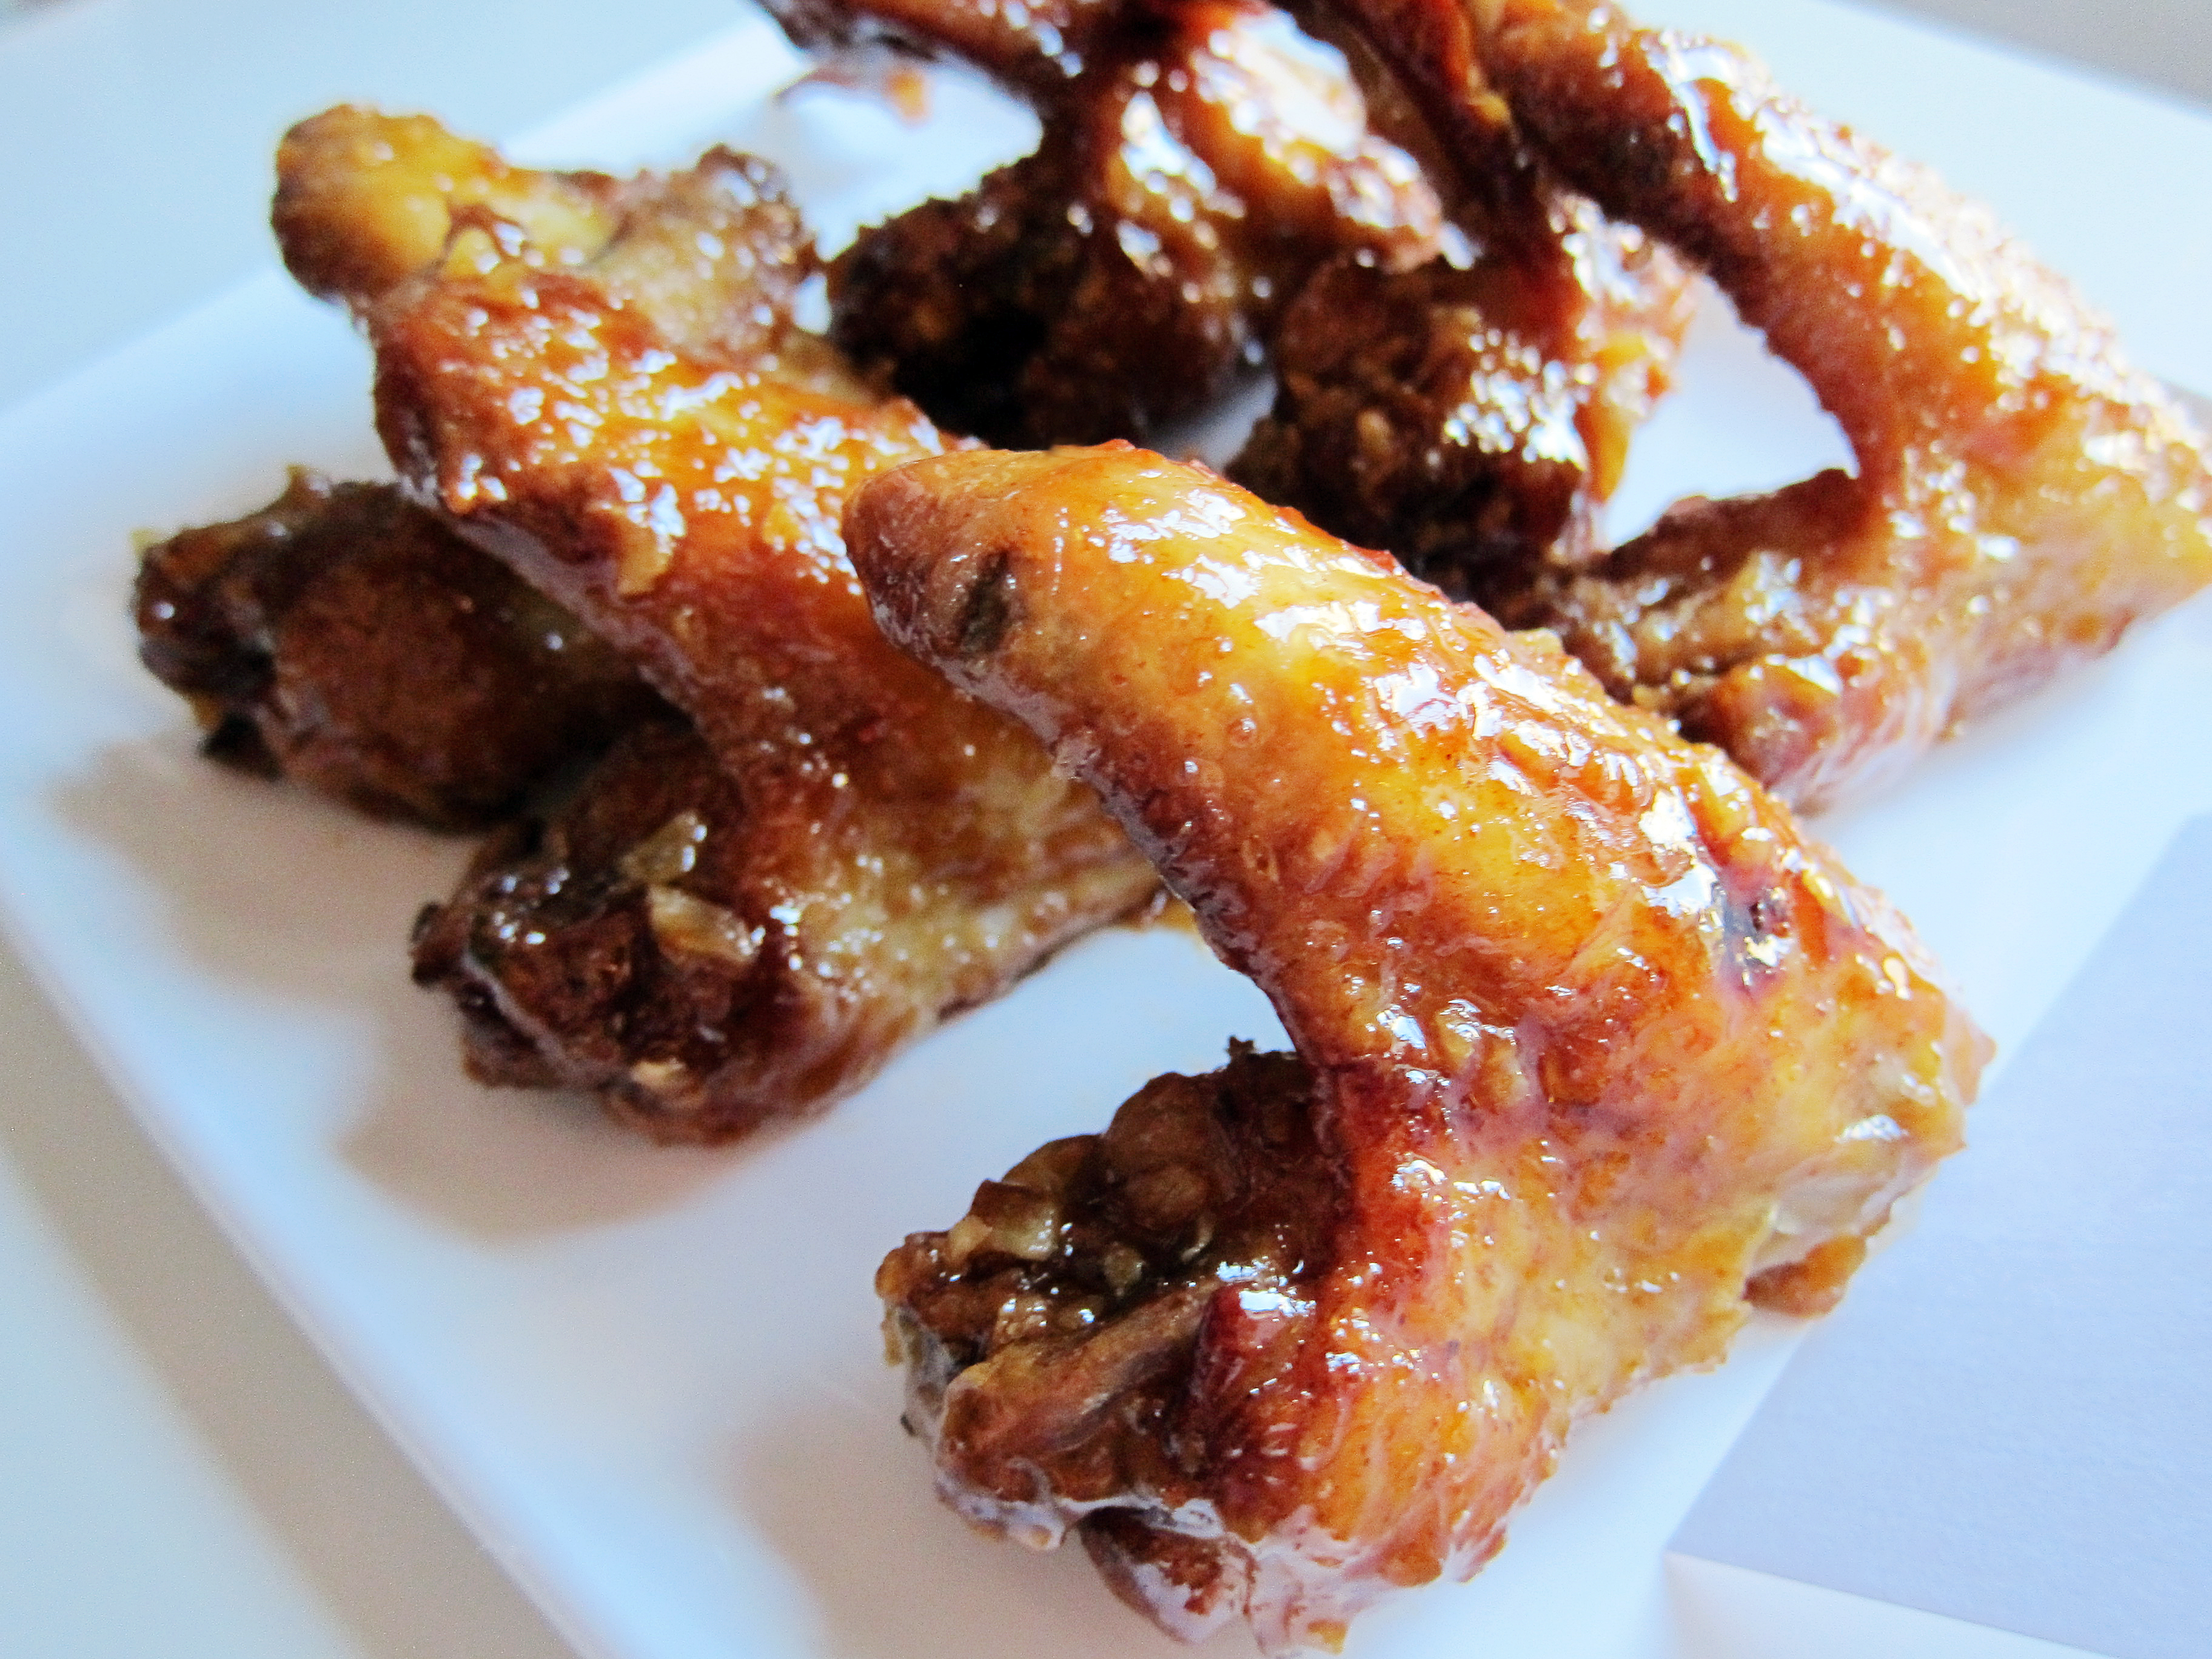
 This year‘s party theme was Episode 1: The Phantom Menace, so all of the food and activities were centered on Episode 1 characters and settings. Here are the things we made for SW Day*:
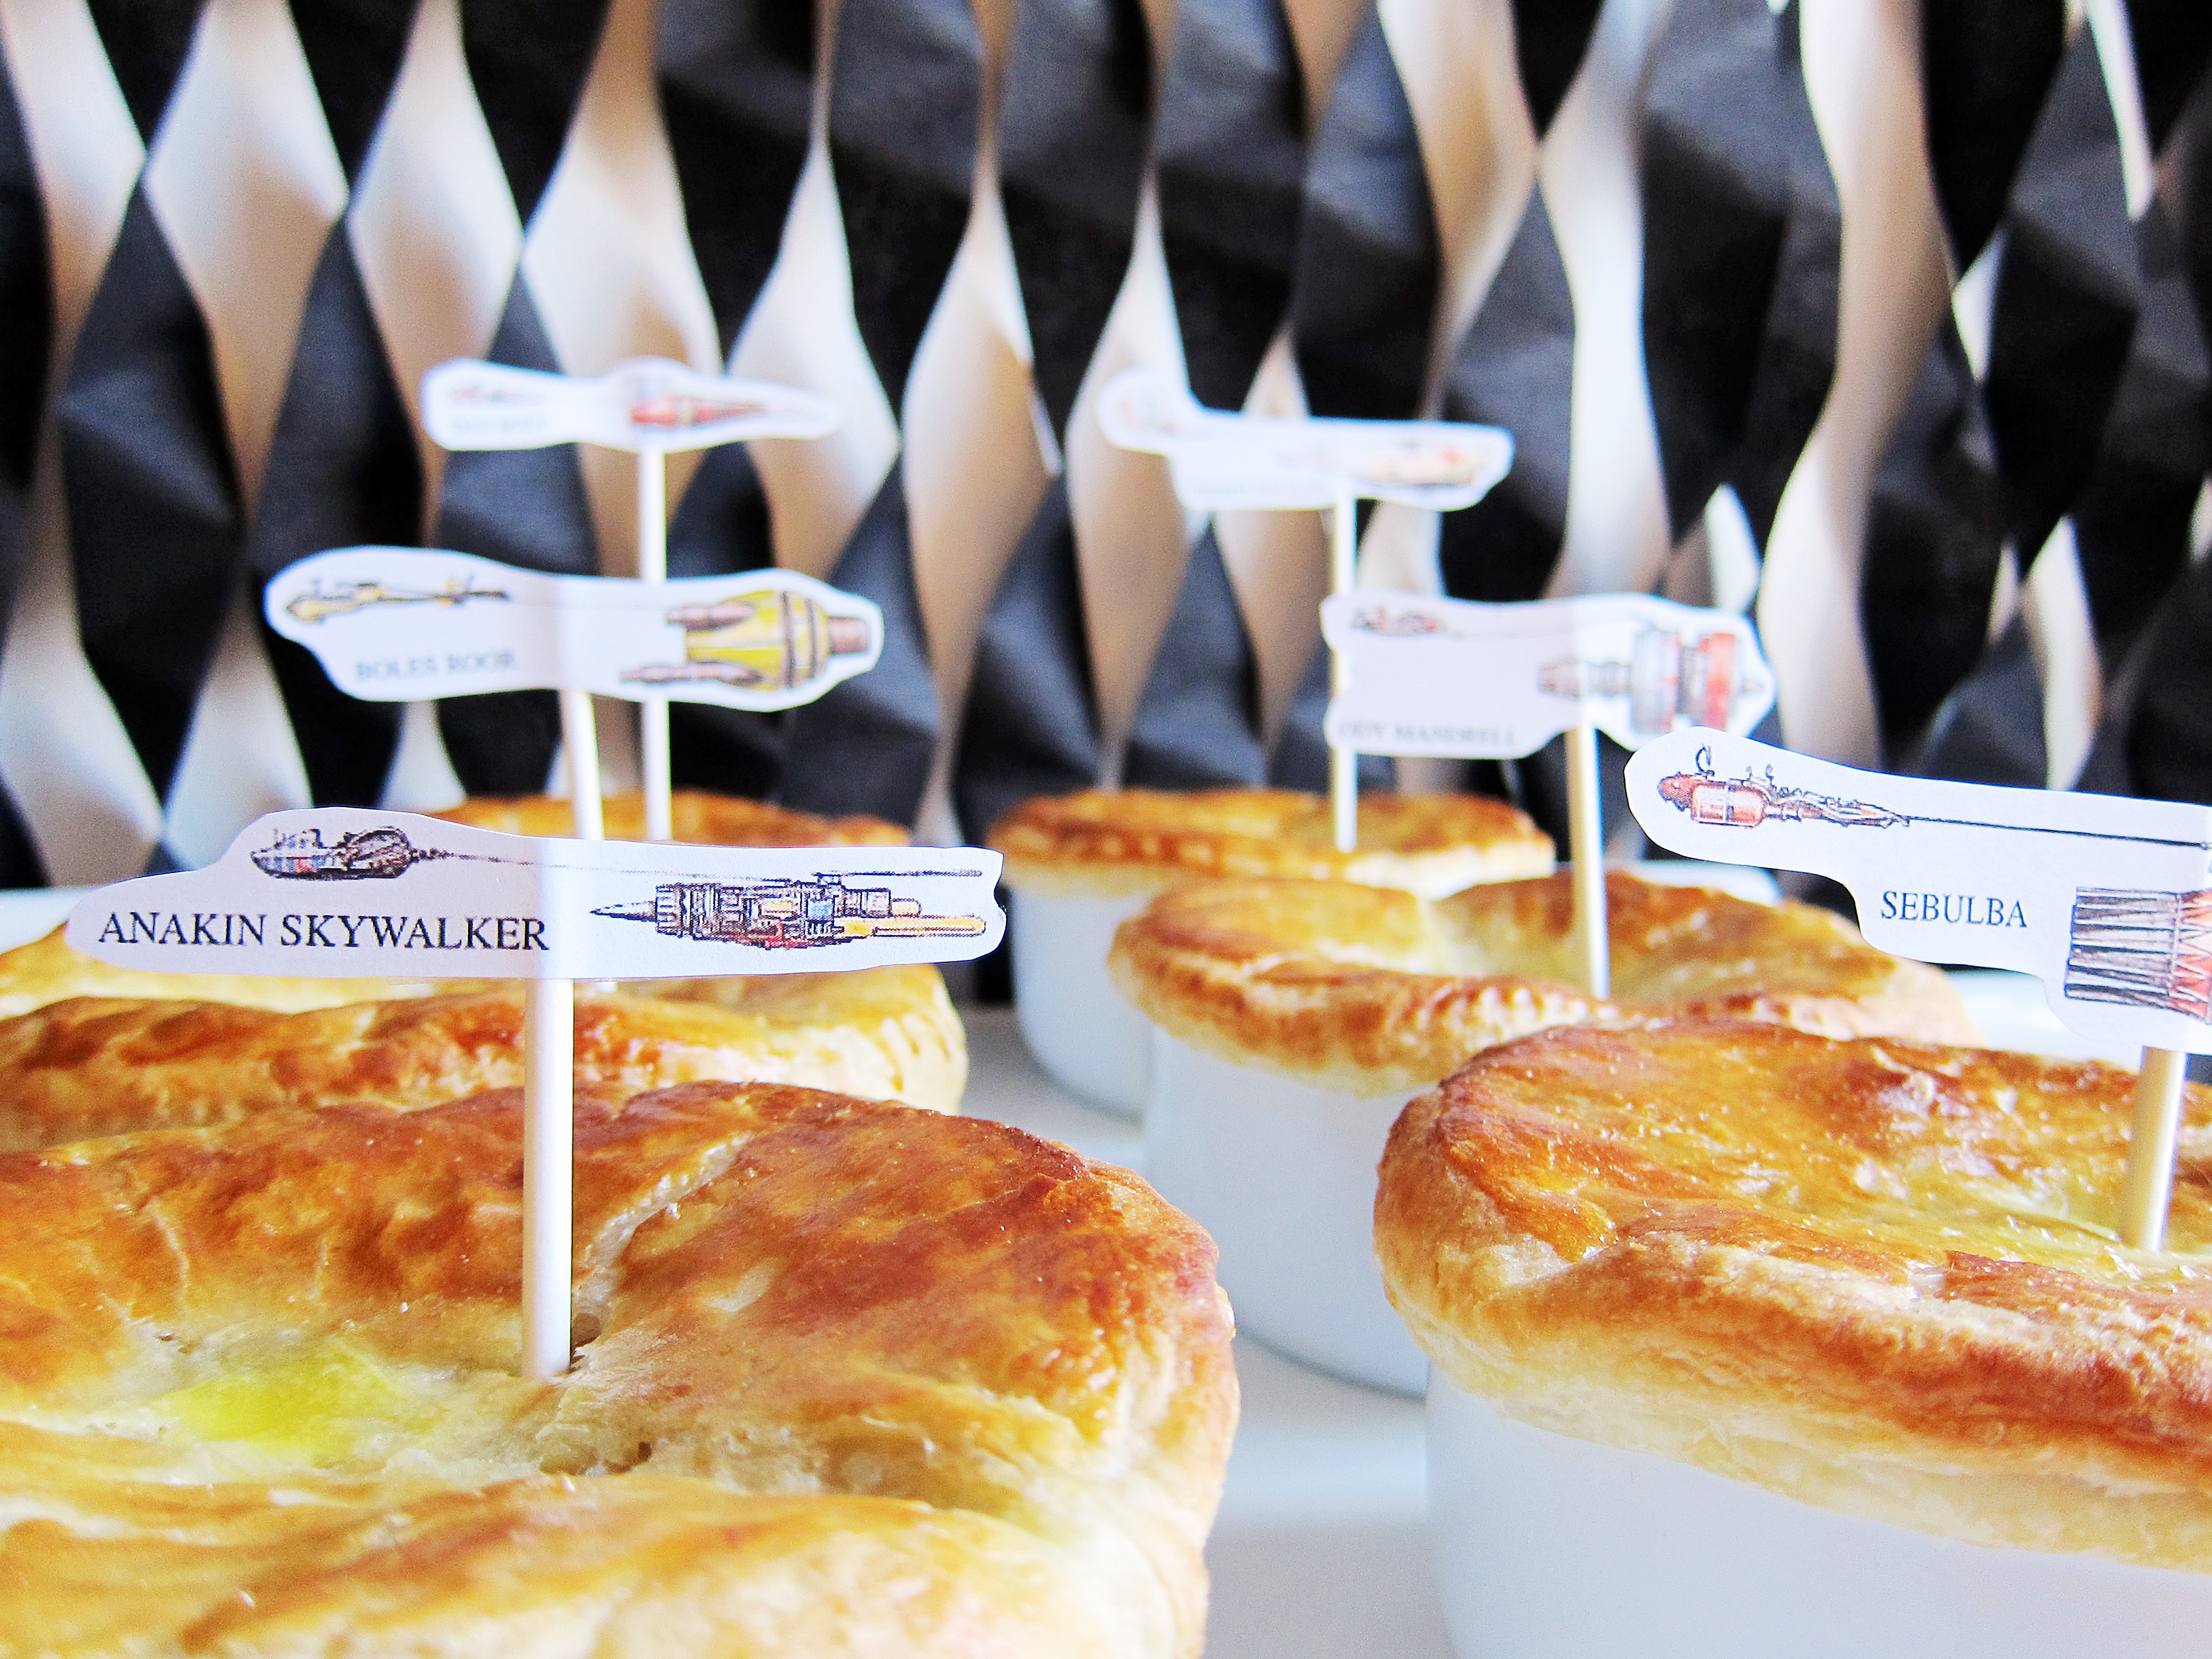


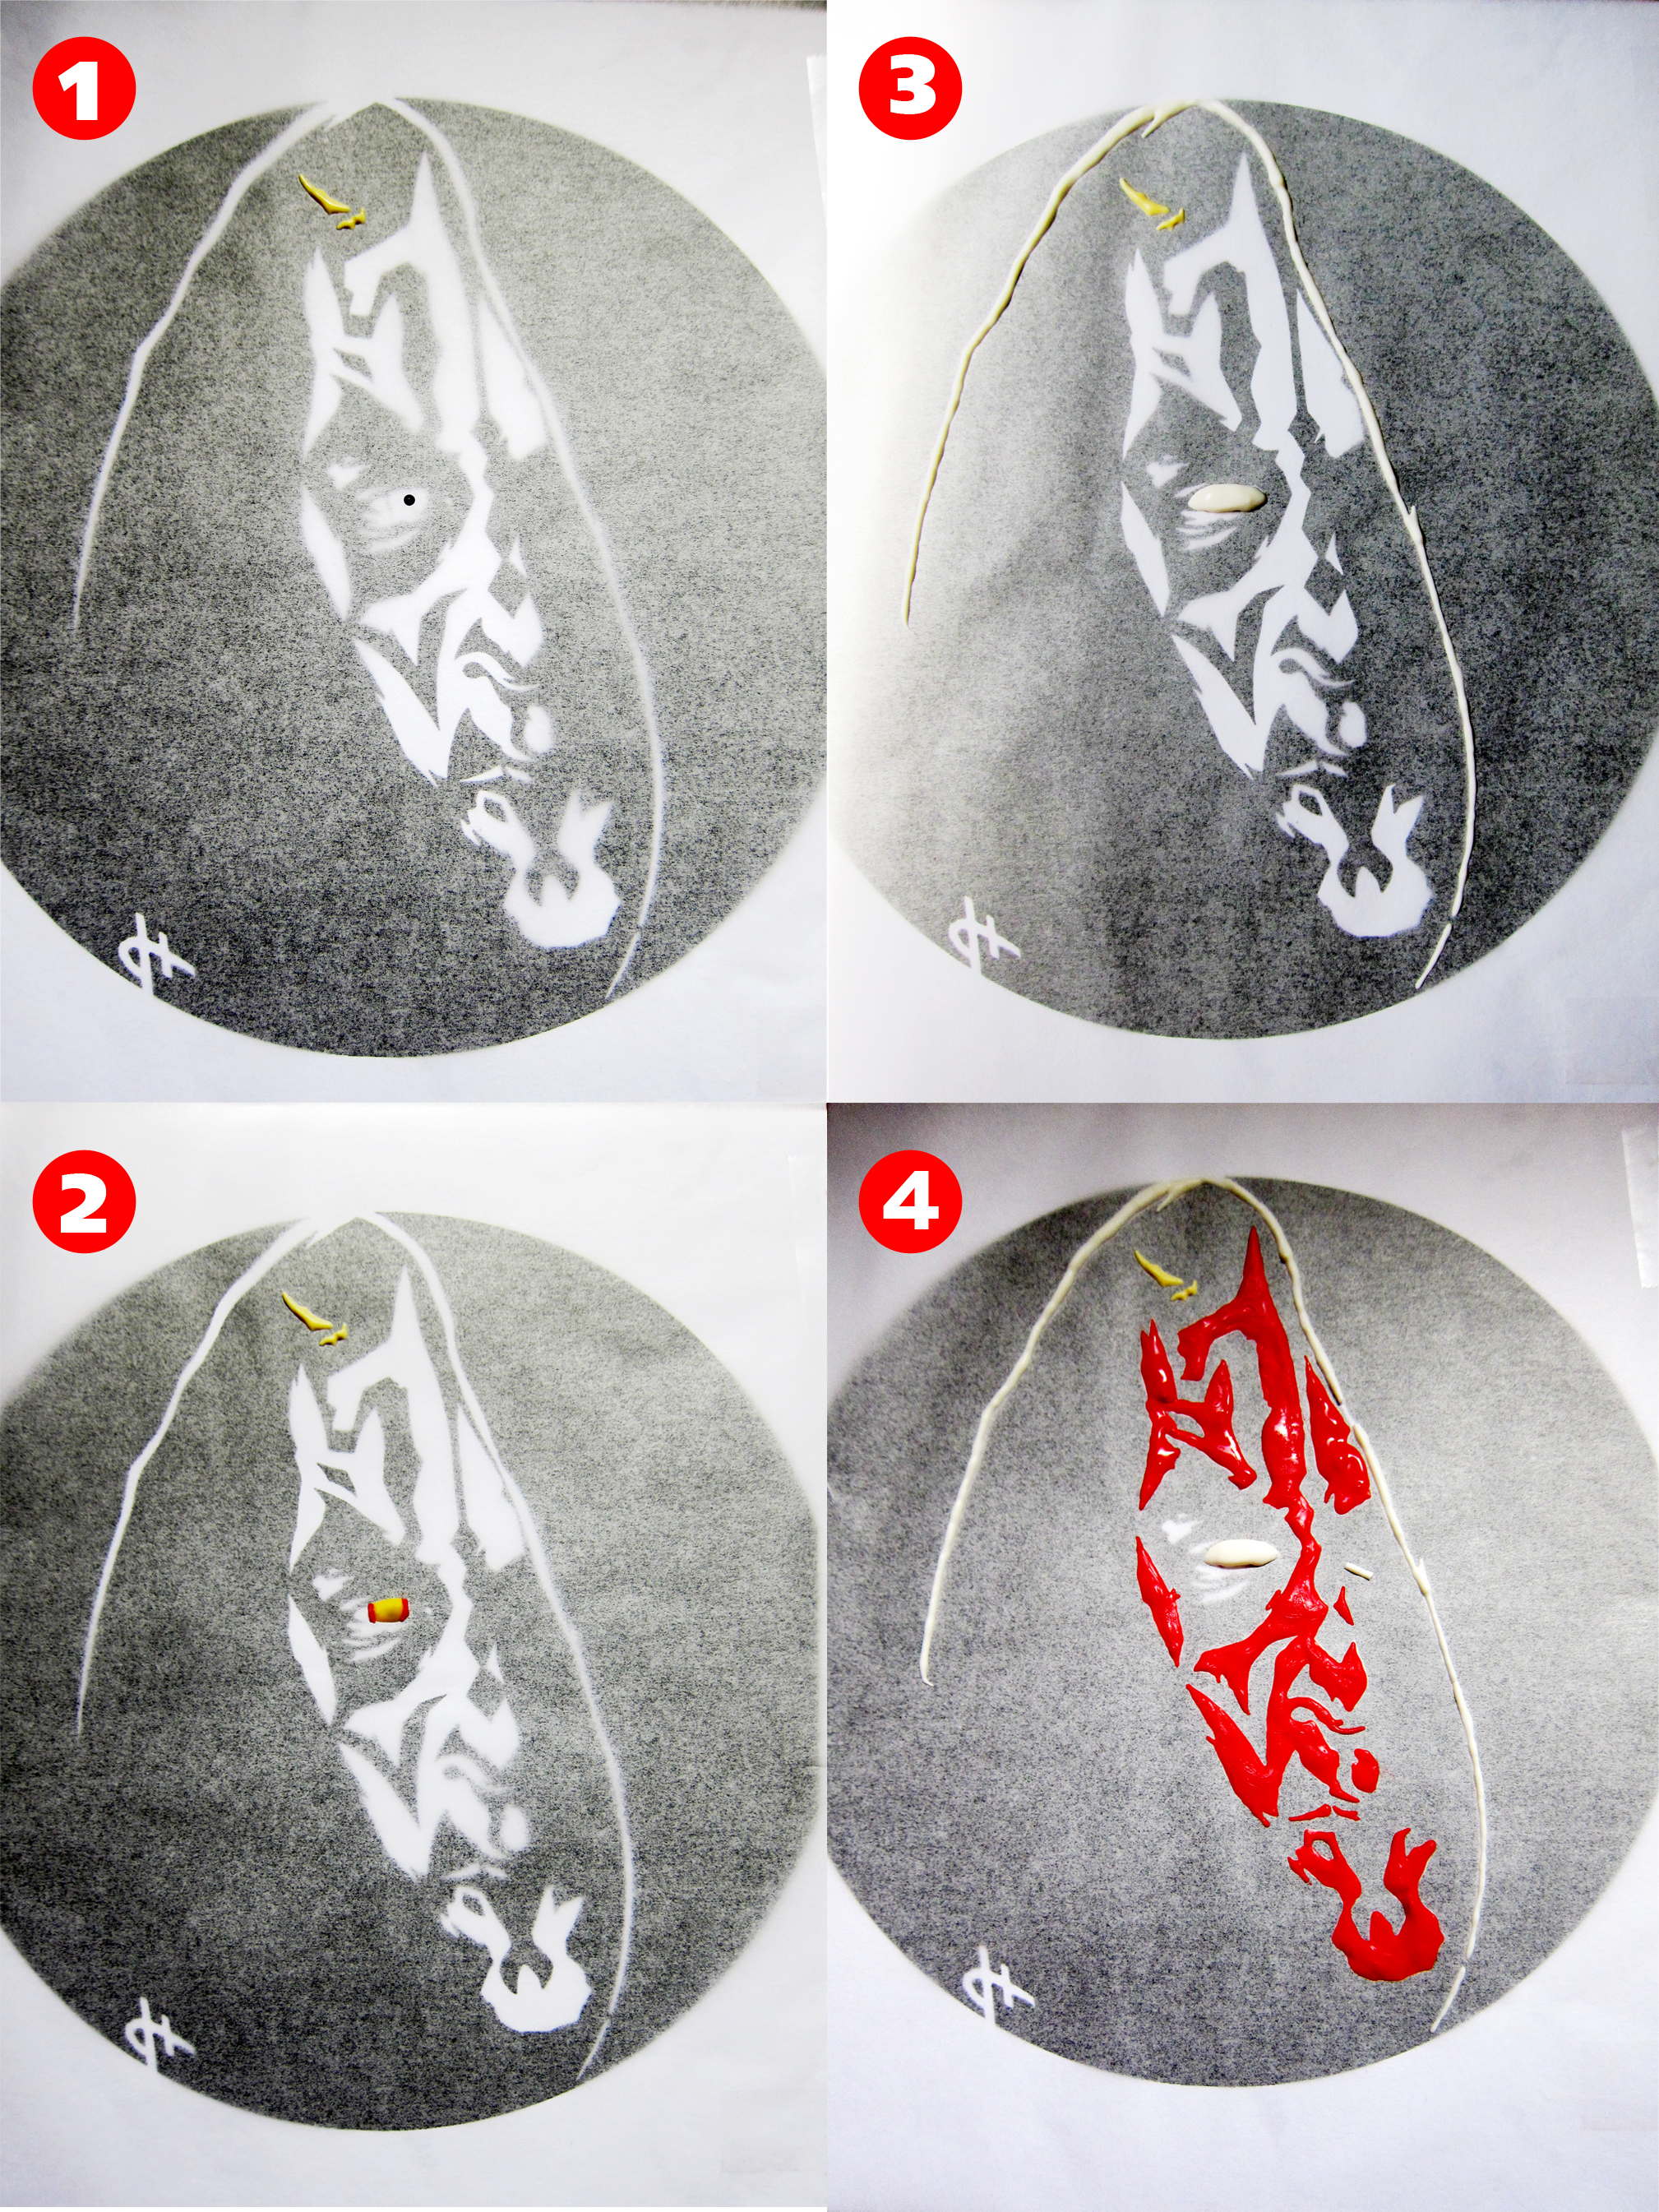
 Darth Maul-ble Cake
 I must warn you; this is not a cookie that you bake on a whim. You must premeditate your actions and read through the recipe a few times before taking the dive. You must weigh out your ingredients, sift your flour mix, age your egg whites, and I don’t recommend making this on a humid day. Do I sound bossy? I just don’t want you to waste your expensive almond flour because those bags aren’t a dime a dozen. I love you, my readers and best of your luck on your quest!


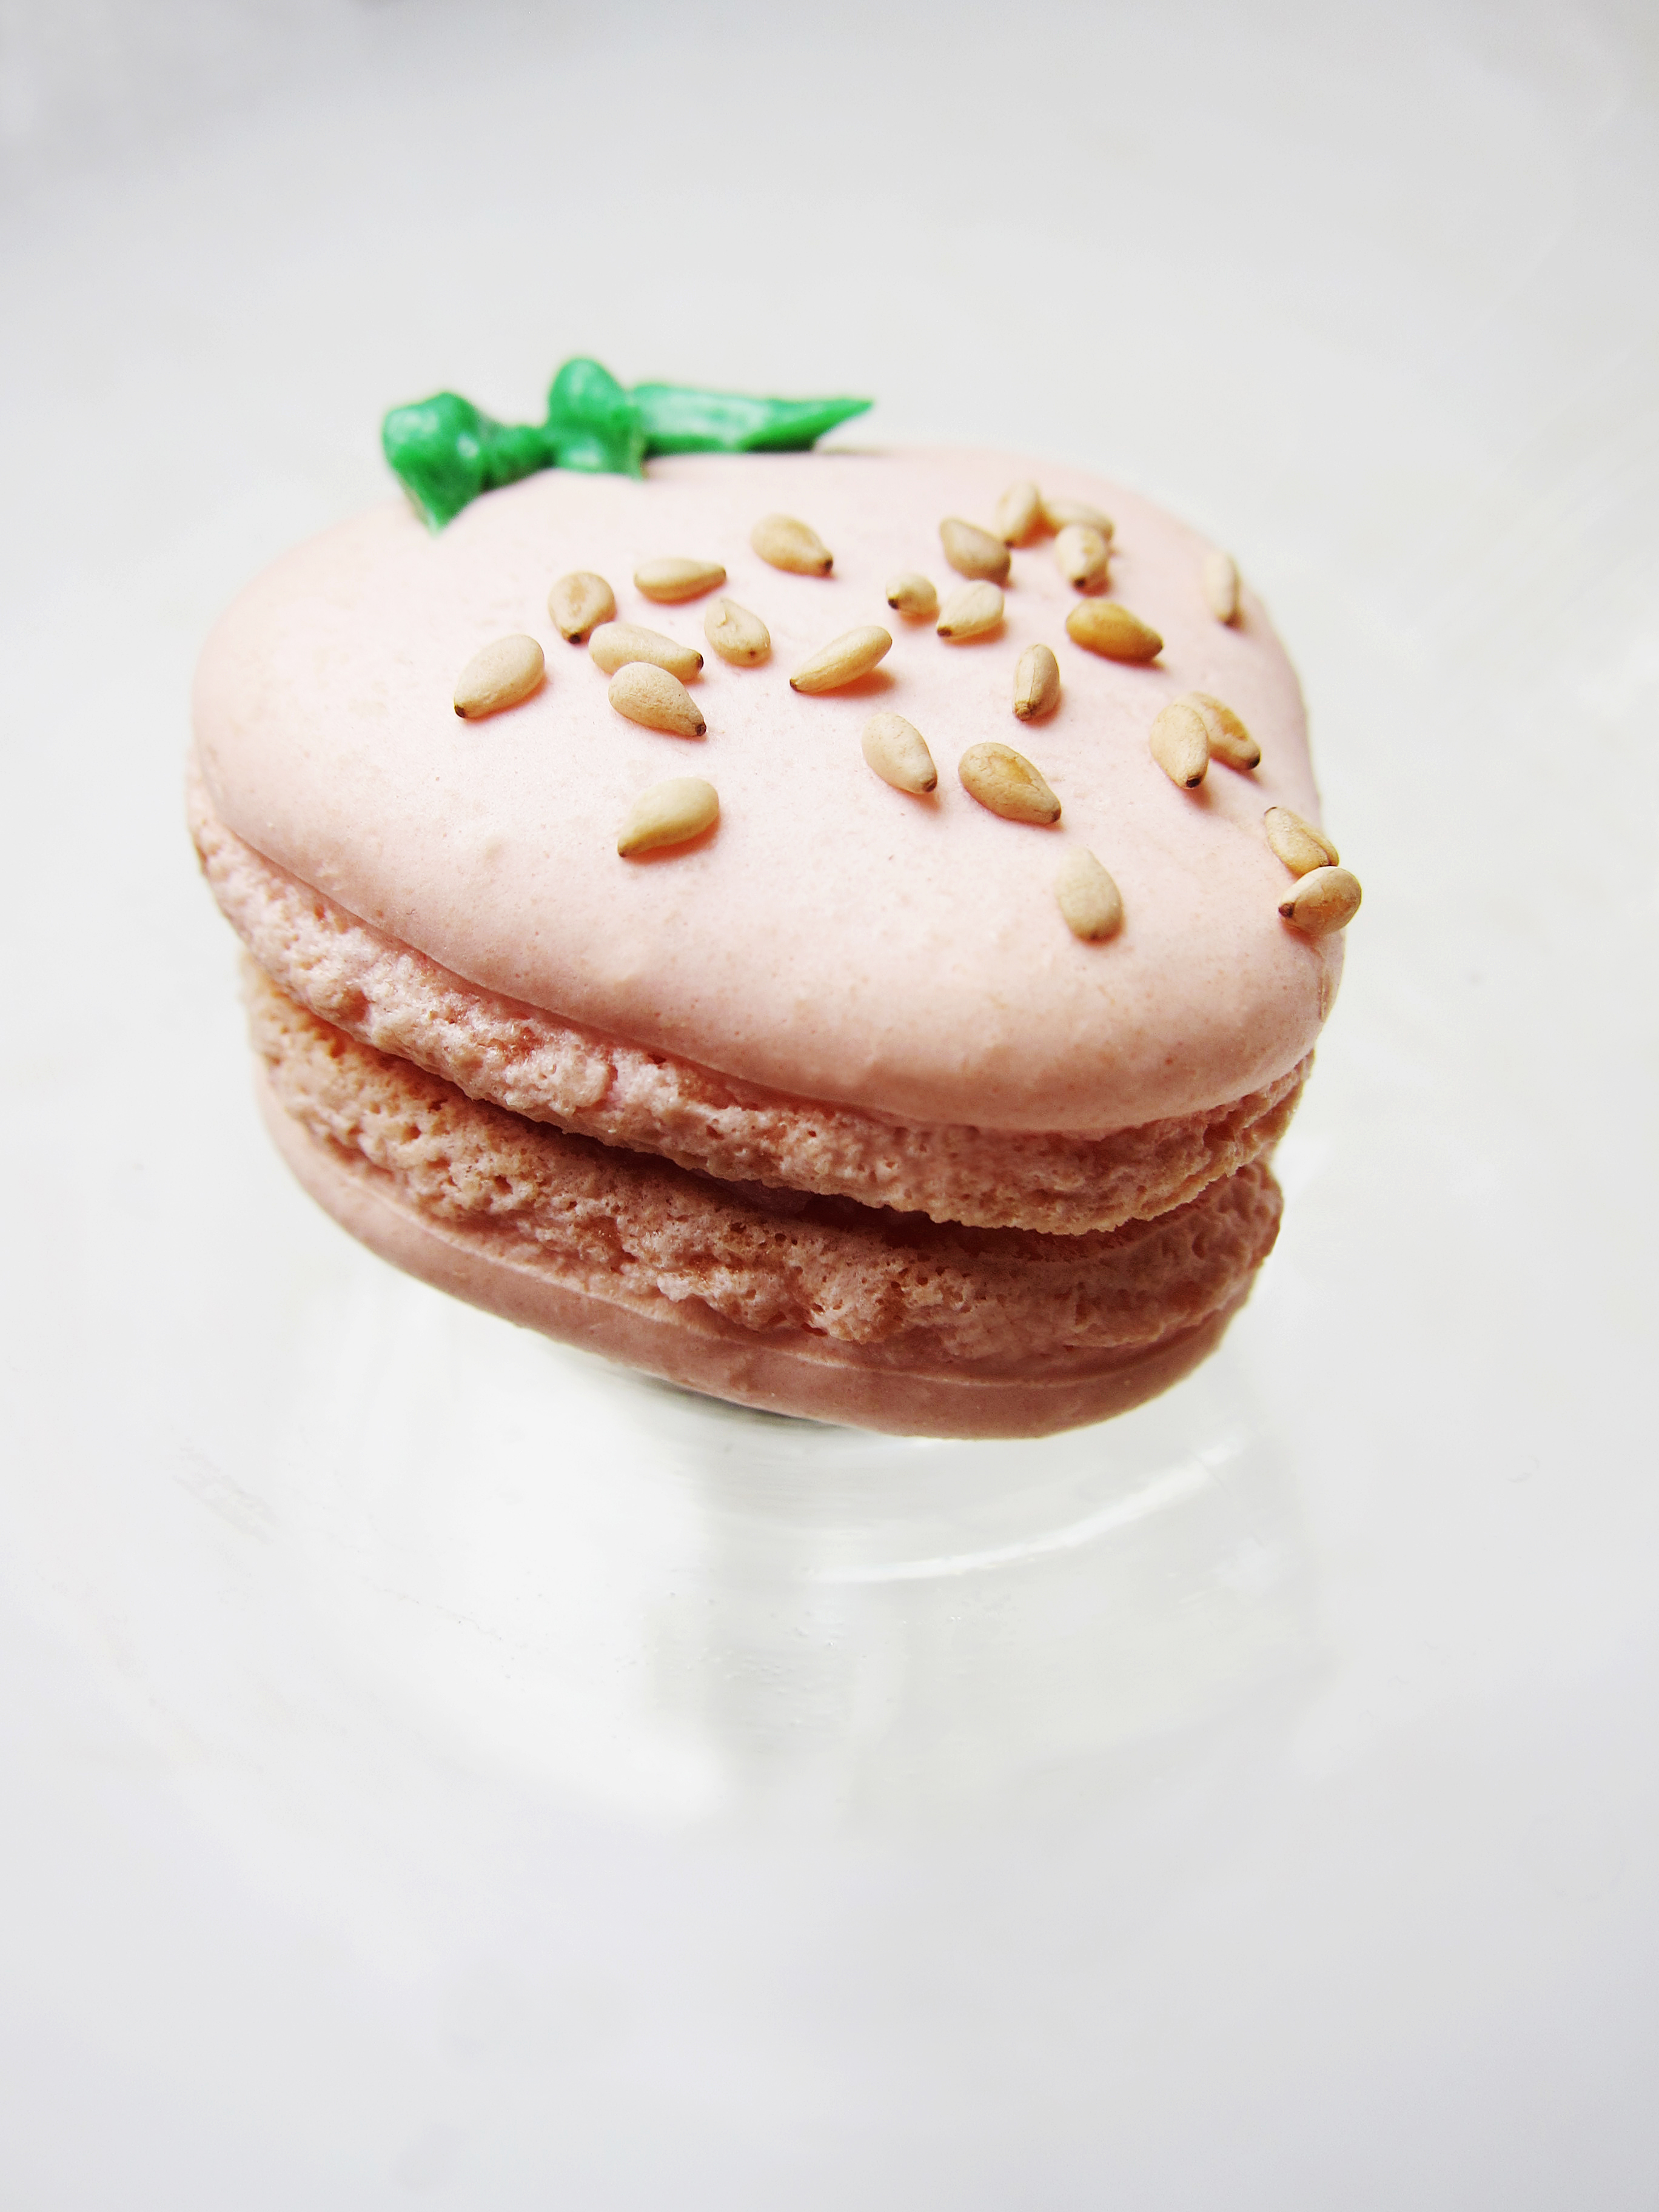
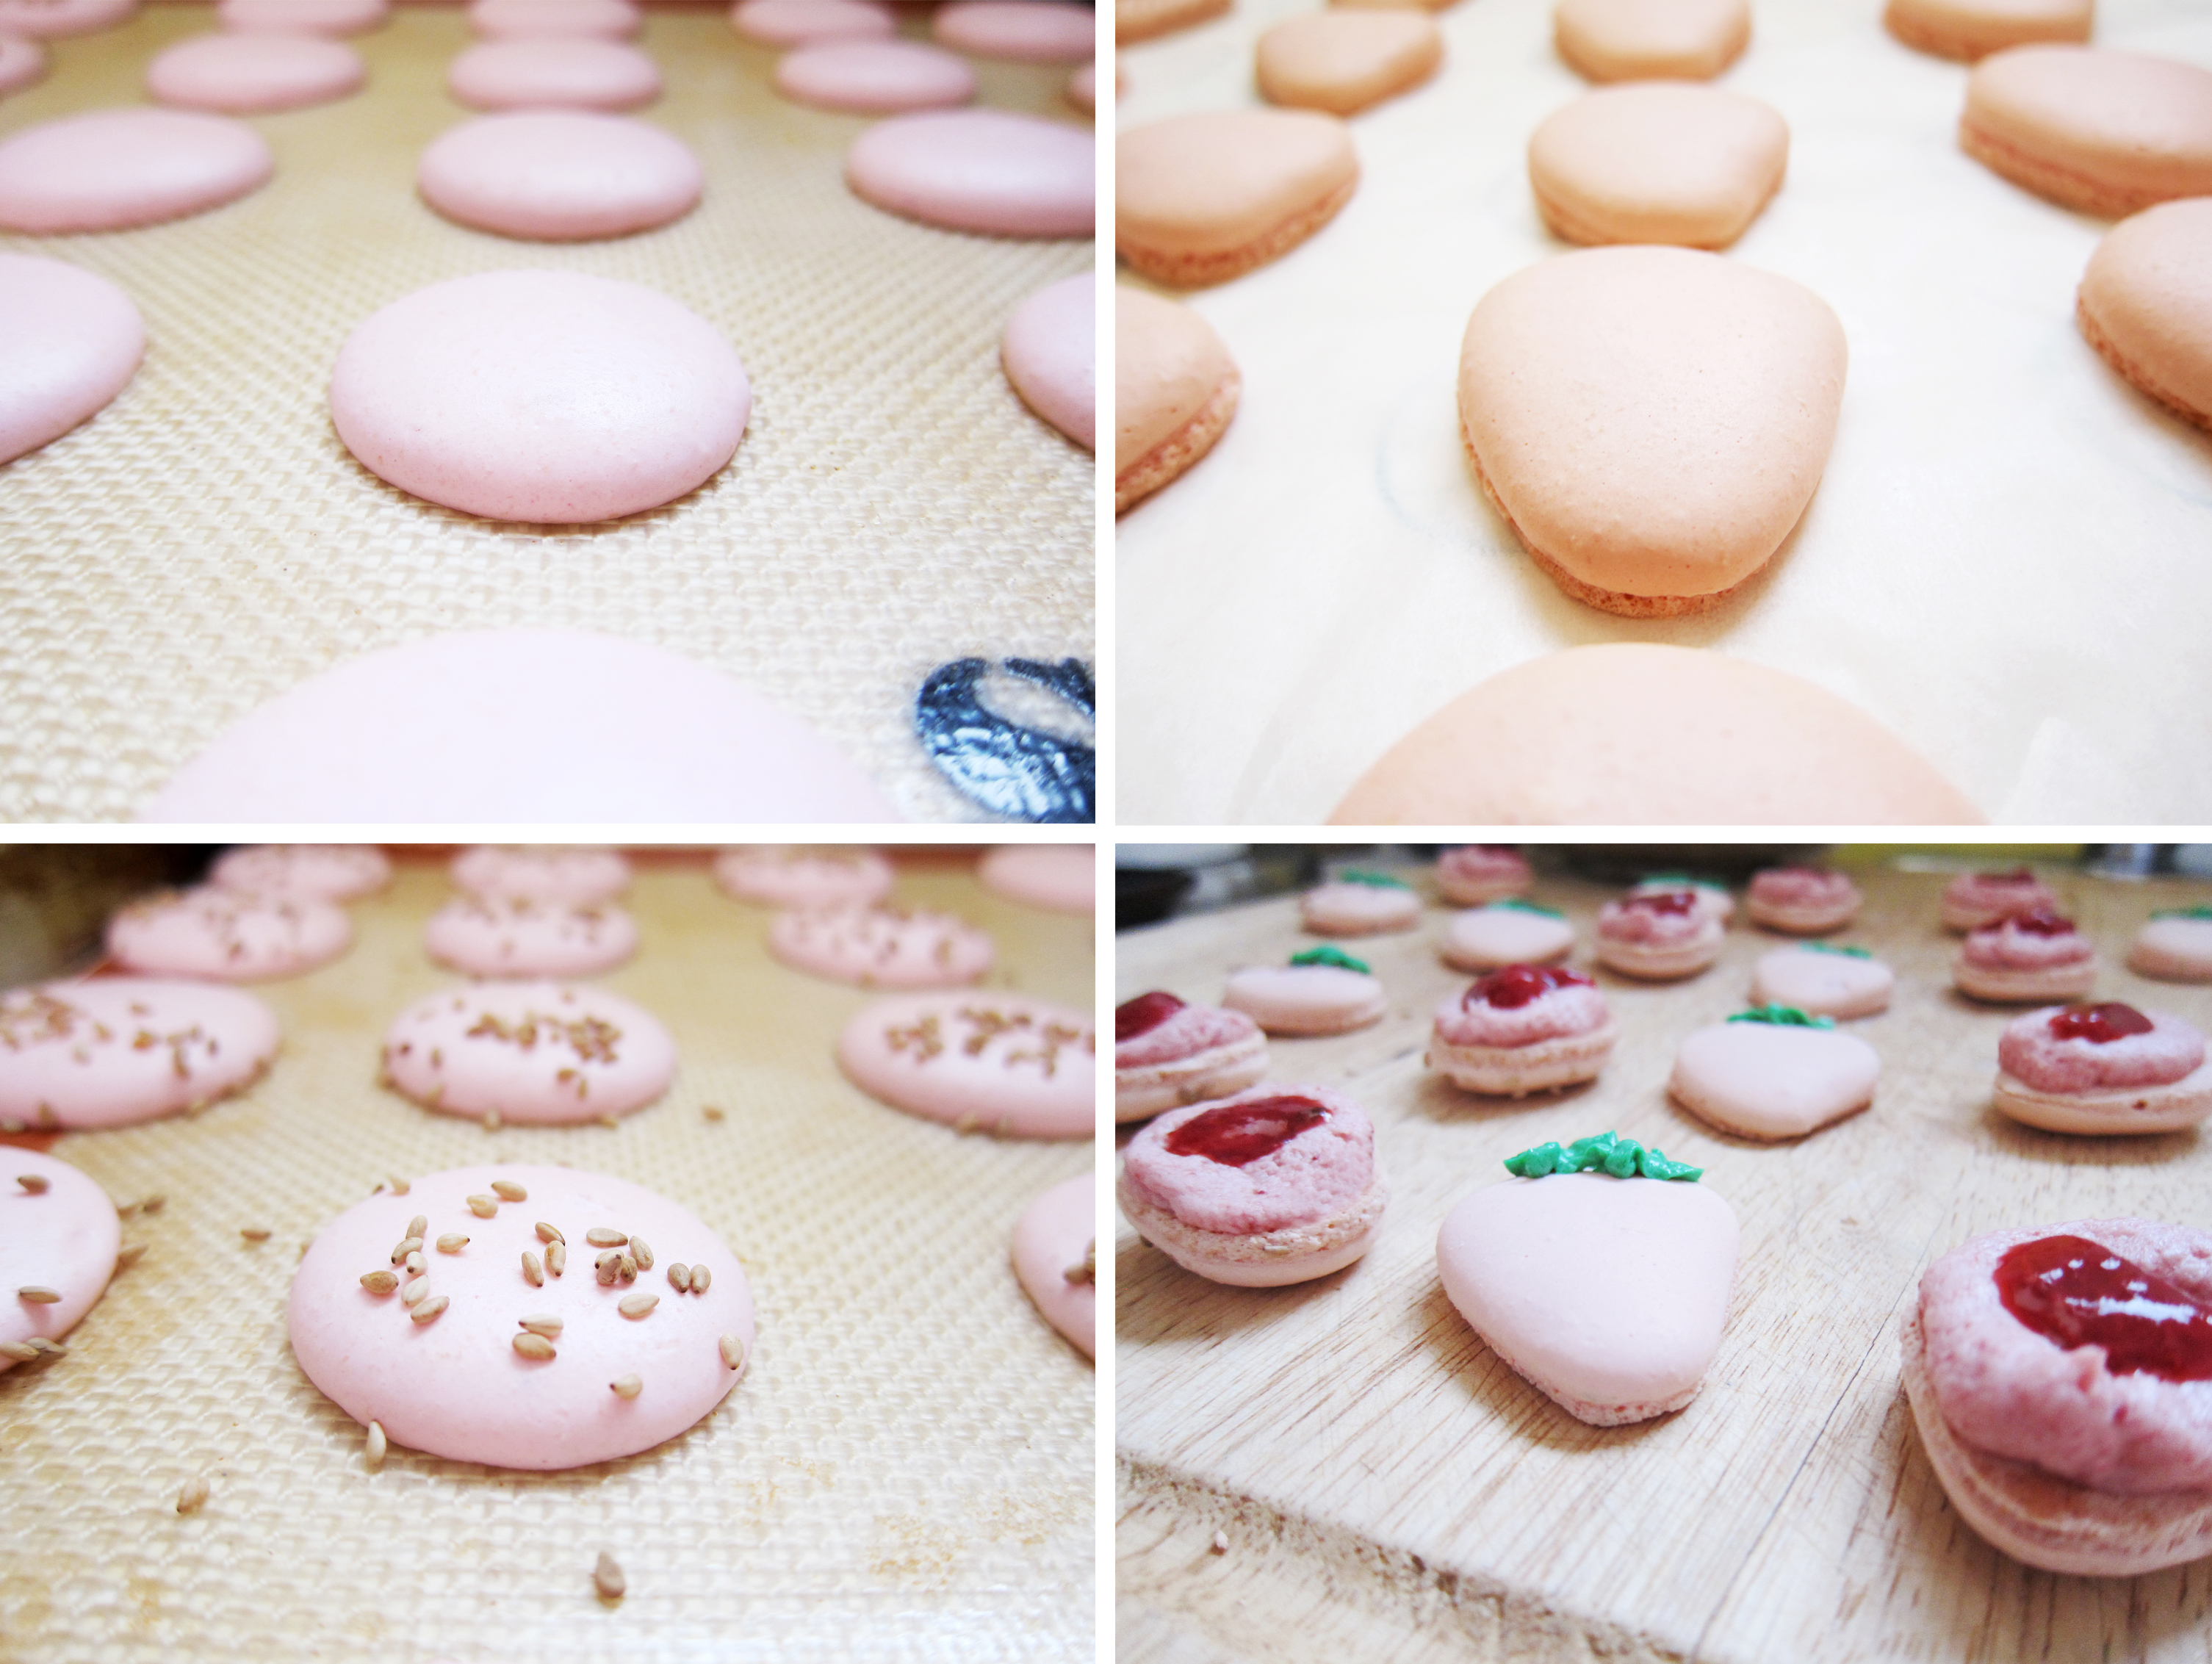
 But then there is a small cluster of us who like them all: chocolate, vanilla and strawberry. We stand in front of grocery freezers and ice cream parlors for minutes on end trying to choose. “They all sound good!” “I can go for all of them!” We secretly like having to share with someone who is in the chocolate or vanilla faction just to avoid making a final decision.


