Rose Cake

rose cake 2This weekend was crazy busy for the Park family.  We had a graduation, Mother’s Day and my dad’s birthday lined up 3 days in a row.  We ended up celebrating Mother’s day and my dad’s birthday in one go, and I tried to think of a birthday cake that would serve both occasions.  I suppose the mauve color of the cake was a little too feminine for a man’s birthday, but my mom didn’t get any flowers for Mother’s day so I hope this made up for it a bit.
Rose cake 1Like many celebration cakes, this cake takes a long time to decorate but isn’t necessarily challenging.  What takes the most time is rolling out the petals and chilling the petals in between steps.  I wanted to use 100% modeling chocolate for the cake, but something went wrong during the process and I had to add about 30% fondant to make it useable.  Do not fight the weather, as soon as your modeling chocolate/fondant starts to lose its shape, stop and chill it in the freezer.  This will save you a lot of frustration and heartache down the line.
rose cake 3It does have a certain eye opening charm and it’s very flexible in terms of the variation of celebrations and colors.  An all-around crowd pleaser.
rose cake 4Rose Cake
You Will Need:
14 oz of modeling chocolate or a mixture of fondant and modeling chocolate
1 batch of vanilla buttercream
1 8” cake, layered and filled
a set of round cookie cutters 
round ended fondant tool

Instructions:

  1. Frost your cake with vanilla frosting into a dome shape.*  (Pic 1)
  2. Mold a 1½ in. cone with modeling chocolate and place in center of the cake. (Pic 2)
  3. From this point on, the modeling chocolate will be rolled out to 1/8-1/16 in. thickness.
  4. With your 1.75 in. round cutter, cut out 2 pieces of modeling chocolate and mold it to a petal shape using a round ended fondant tool.
  5. Wrap the cone with the 2 petals with some buttercream, overlapping each other to form a bud. (Pic 3 and 4)
  6. With your 1.75 in. round cutter, cut out 3 pieces of modeling chocolate and mold it to a petal shape using a round ended fondant tool.
  7. Wrap the bud with the 3 petals with some buttercream, overlapping each other at the edges. (Pic 5 and 6)
  8. With your 2.25 in. round cutter, cut out 5 pieces of modeling chocolate and mold it to a petal shape using a round ended fondant tool.
  9. Wrap the bud with the 5 petals with some buttercream, overlapping each other at the edges. (Pic 7 and 8)
  10. With your 2.5 in. round cutter, cut out 5 pieces of modeling chocolate and mold it to a petal shape using a round ended fondant tool.
  11. Wrap the bud with the 5 petals with some buttercream, overlapping each other at the edges. (Pic 9 and 10)
  12. With your 2.75 in. round cutter, cut out 5 pieces of modeling chocolate and mold it to a petal shape using a round ended fondant tool.
  13. Wrap the bud with the 5 petals with some buttercream, overlapping each other at the edges. (Pic 11 and 12)
  14. With your 3 in. round cutter, cut out 5 pieces of modeling chocolate and mold it to a petal shape using a round ended fondant tool.
  15. Wrap the bud with the 5 petals with some buttercream, overlapping each other at the edges. (Pic 13)
  16. With your 3.25 in. round cutter, cut out 7 pieces of modeling chocolate and mold it to a petal shape using a round ended fondant tool.
  17. Wrap the bud with the 7 petals with some buttercream, overlapping each other at the edges. (Pic 15)
  18. Cut 2-3 in. wide strips of molding chocolate and curl the edges with a straw, about 8-13 pieces.
  19. Chill in the freezer to set, about 1-3 minutes.
  20. Use some frosting to wrap the cake with the strips, overlapping at the edges and curled edge pointing up.  (Pic 16)

* This is what I did.  In hindsight, you could do the regular sharp corners, it shouldn’t make a difference.

Star Wars Day 2014

Star Wars Day 2014 1This is the third year I’ve hosted a Star Wars Day party.  It involves good food with punny names, watching SW movies and SW themed board games.  The first SW party I threw was just a small surprise for a special someone but through the years it’s evolved into a bigger celebration.  I can’t say that I’m a huge fan of Star Wars, but I can say that I love throwing themed parties.  So in a way, I do love Star Wars Day.
Star Wars Day 2014 2Star Wars Day 2014 4
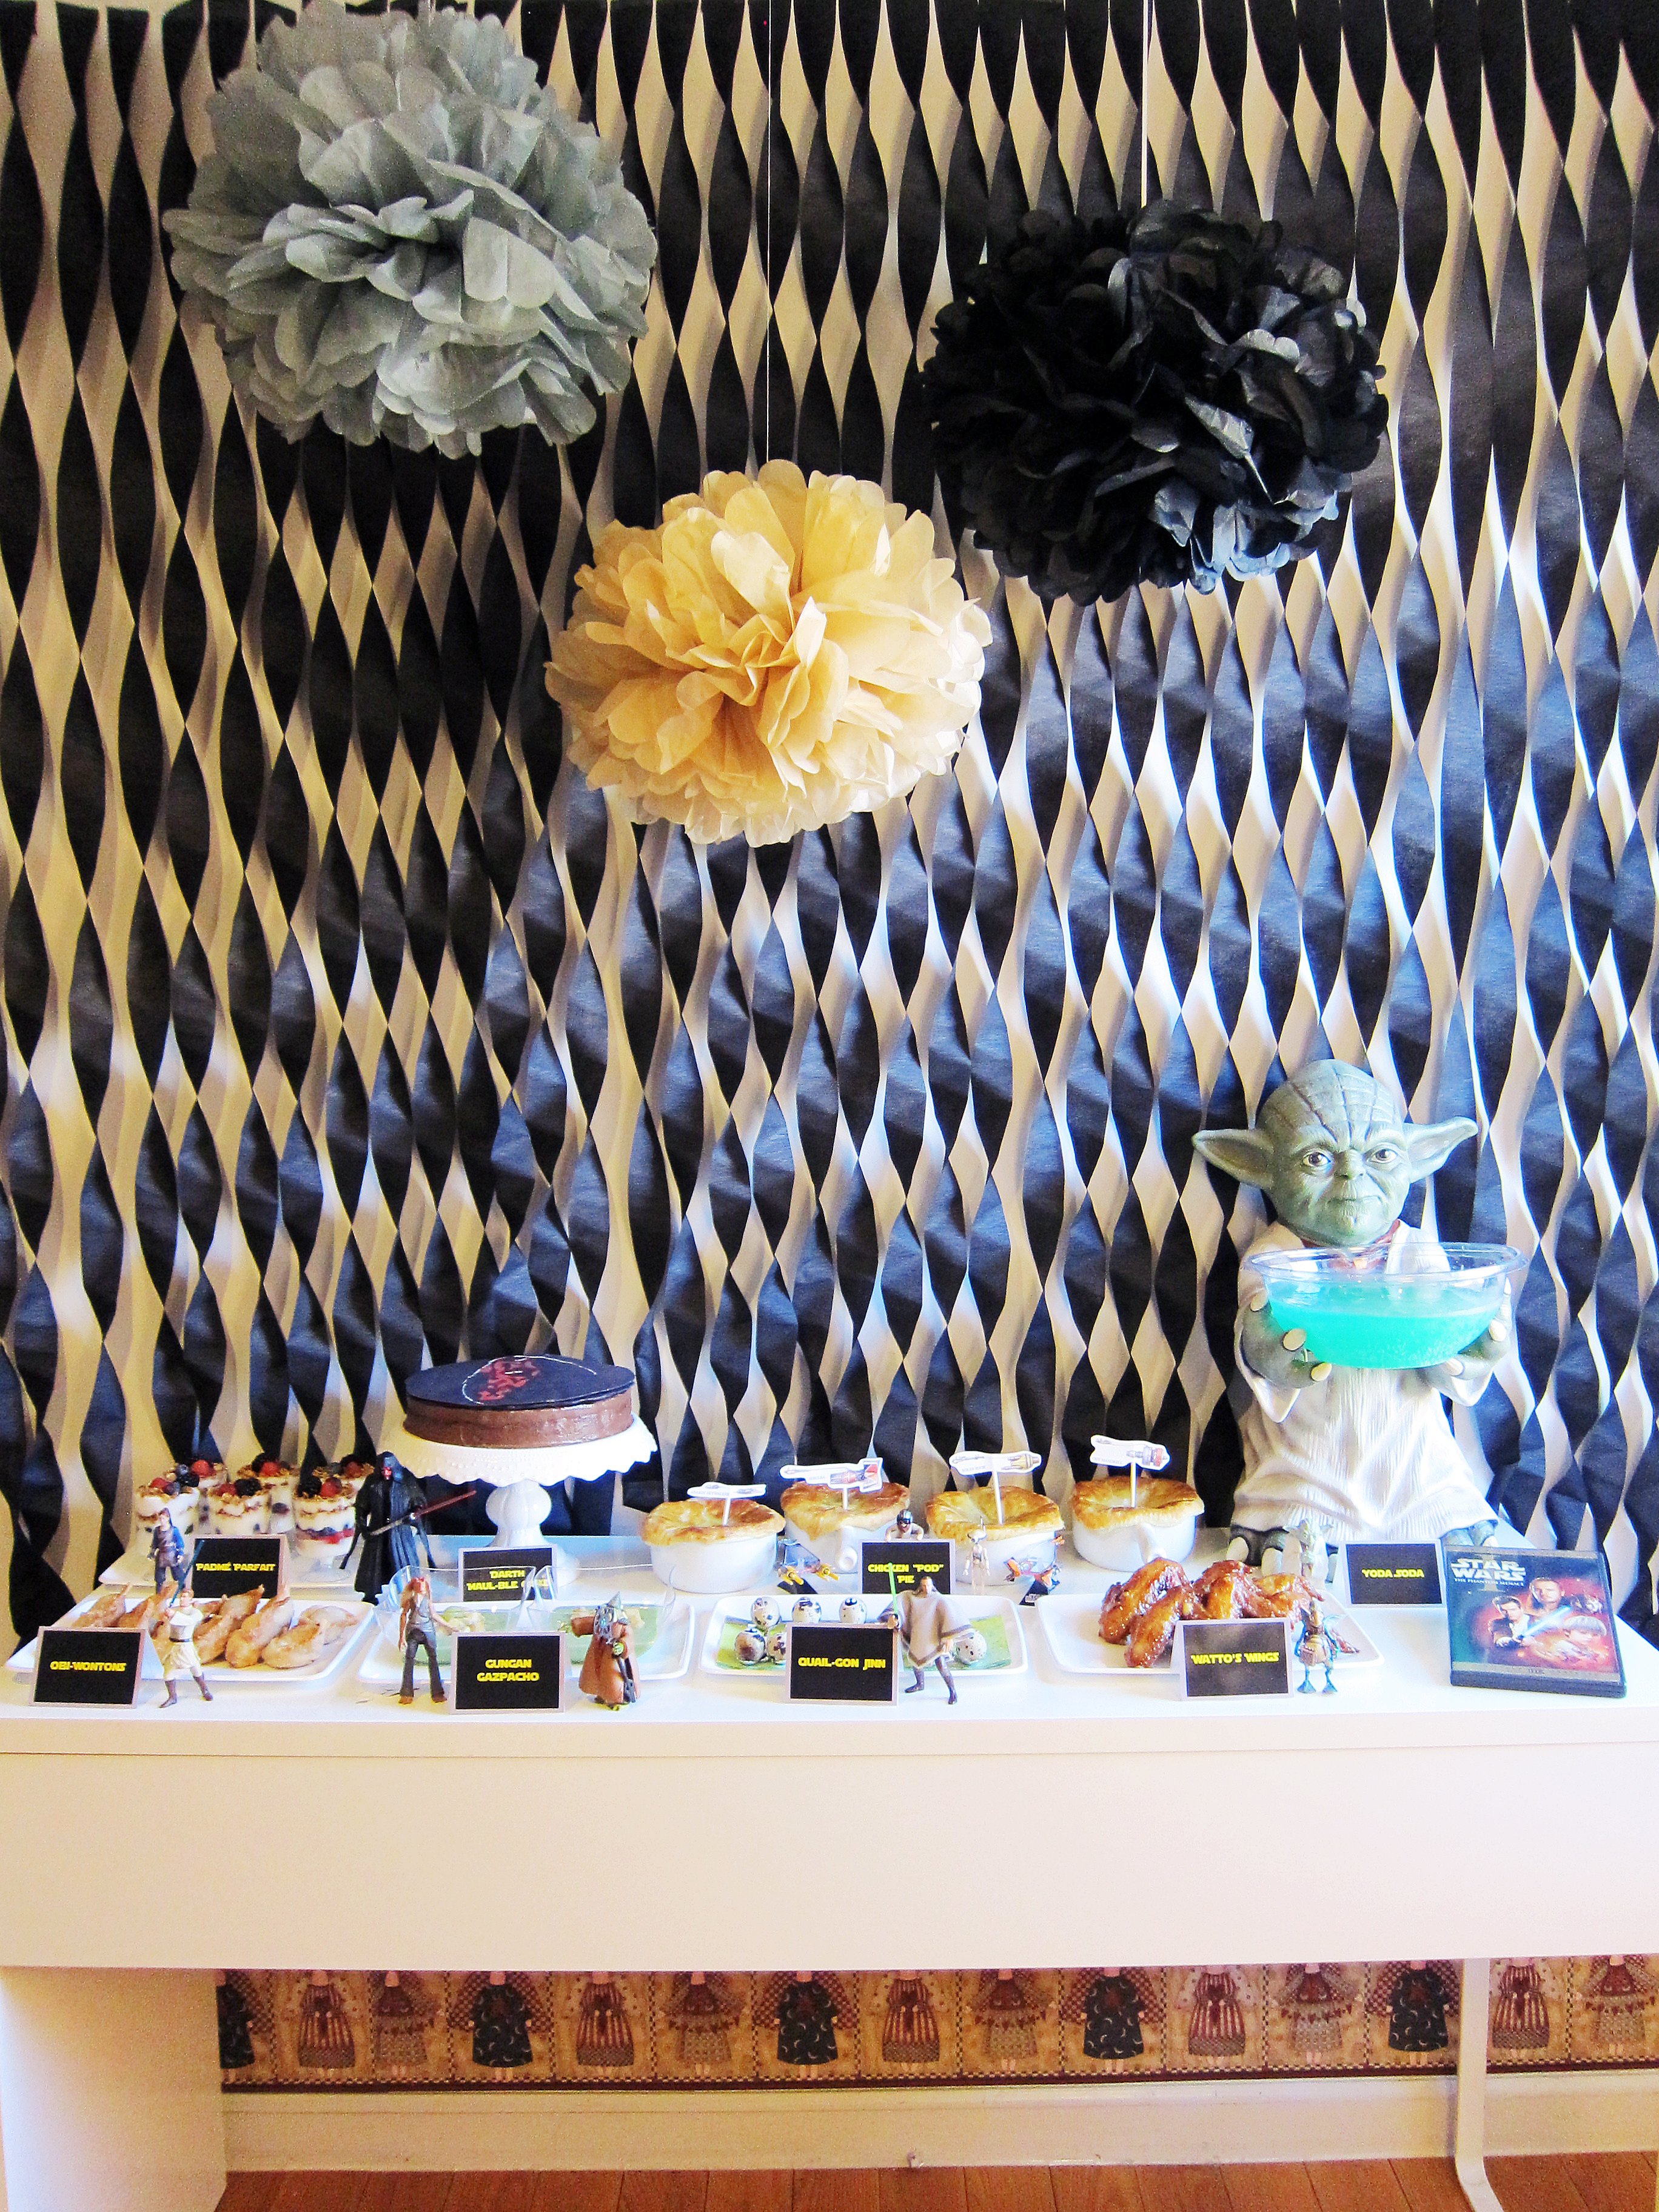
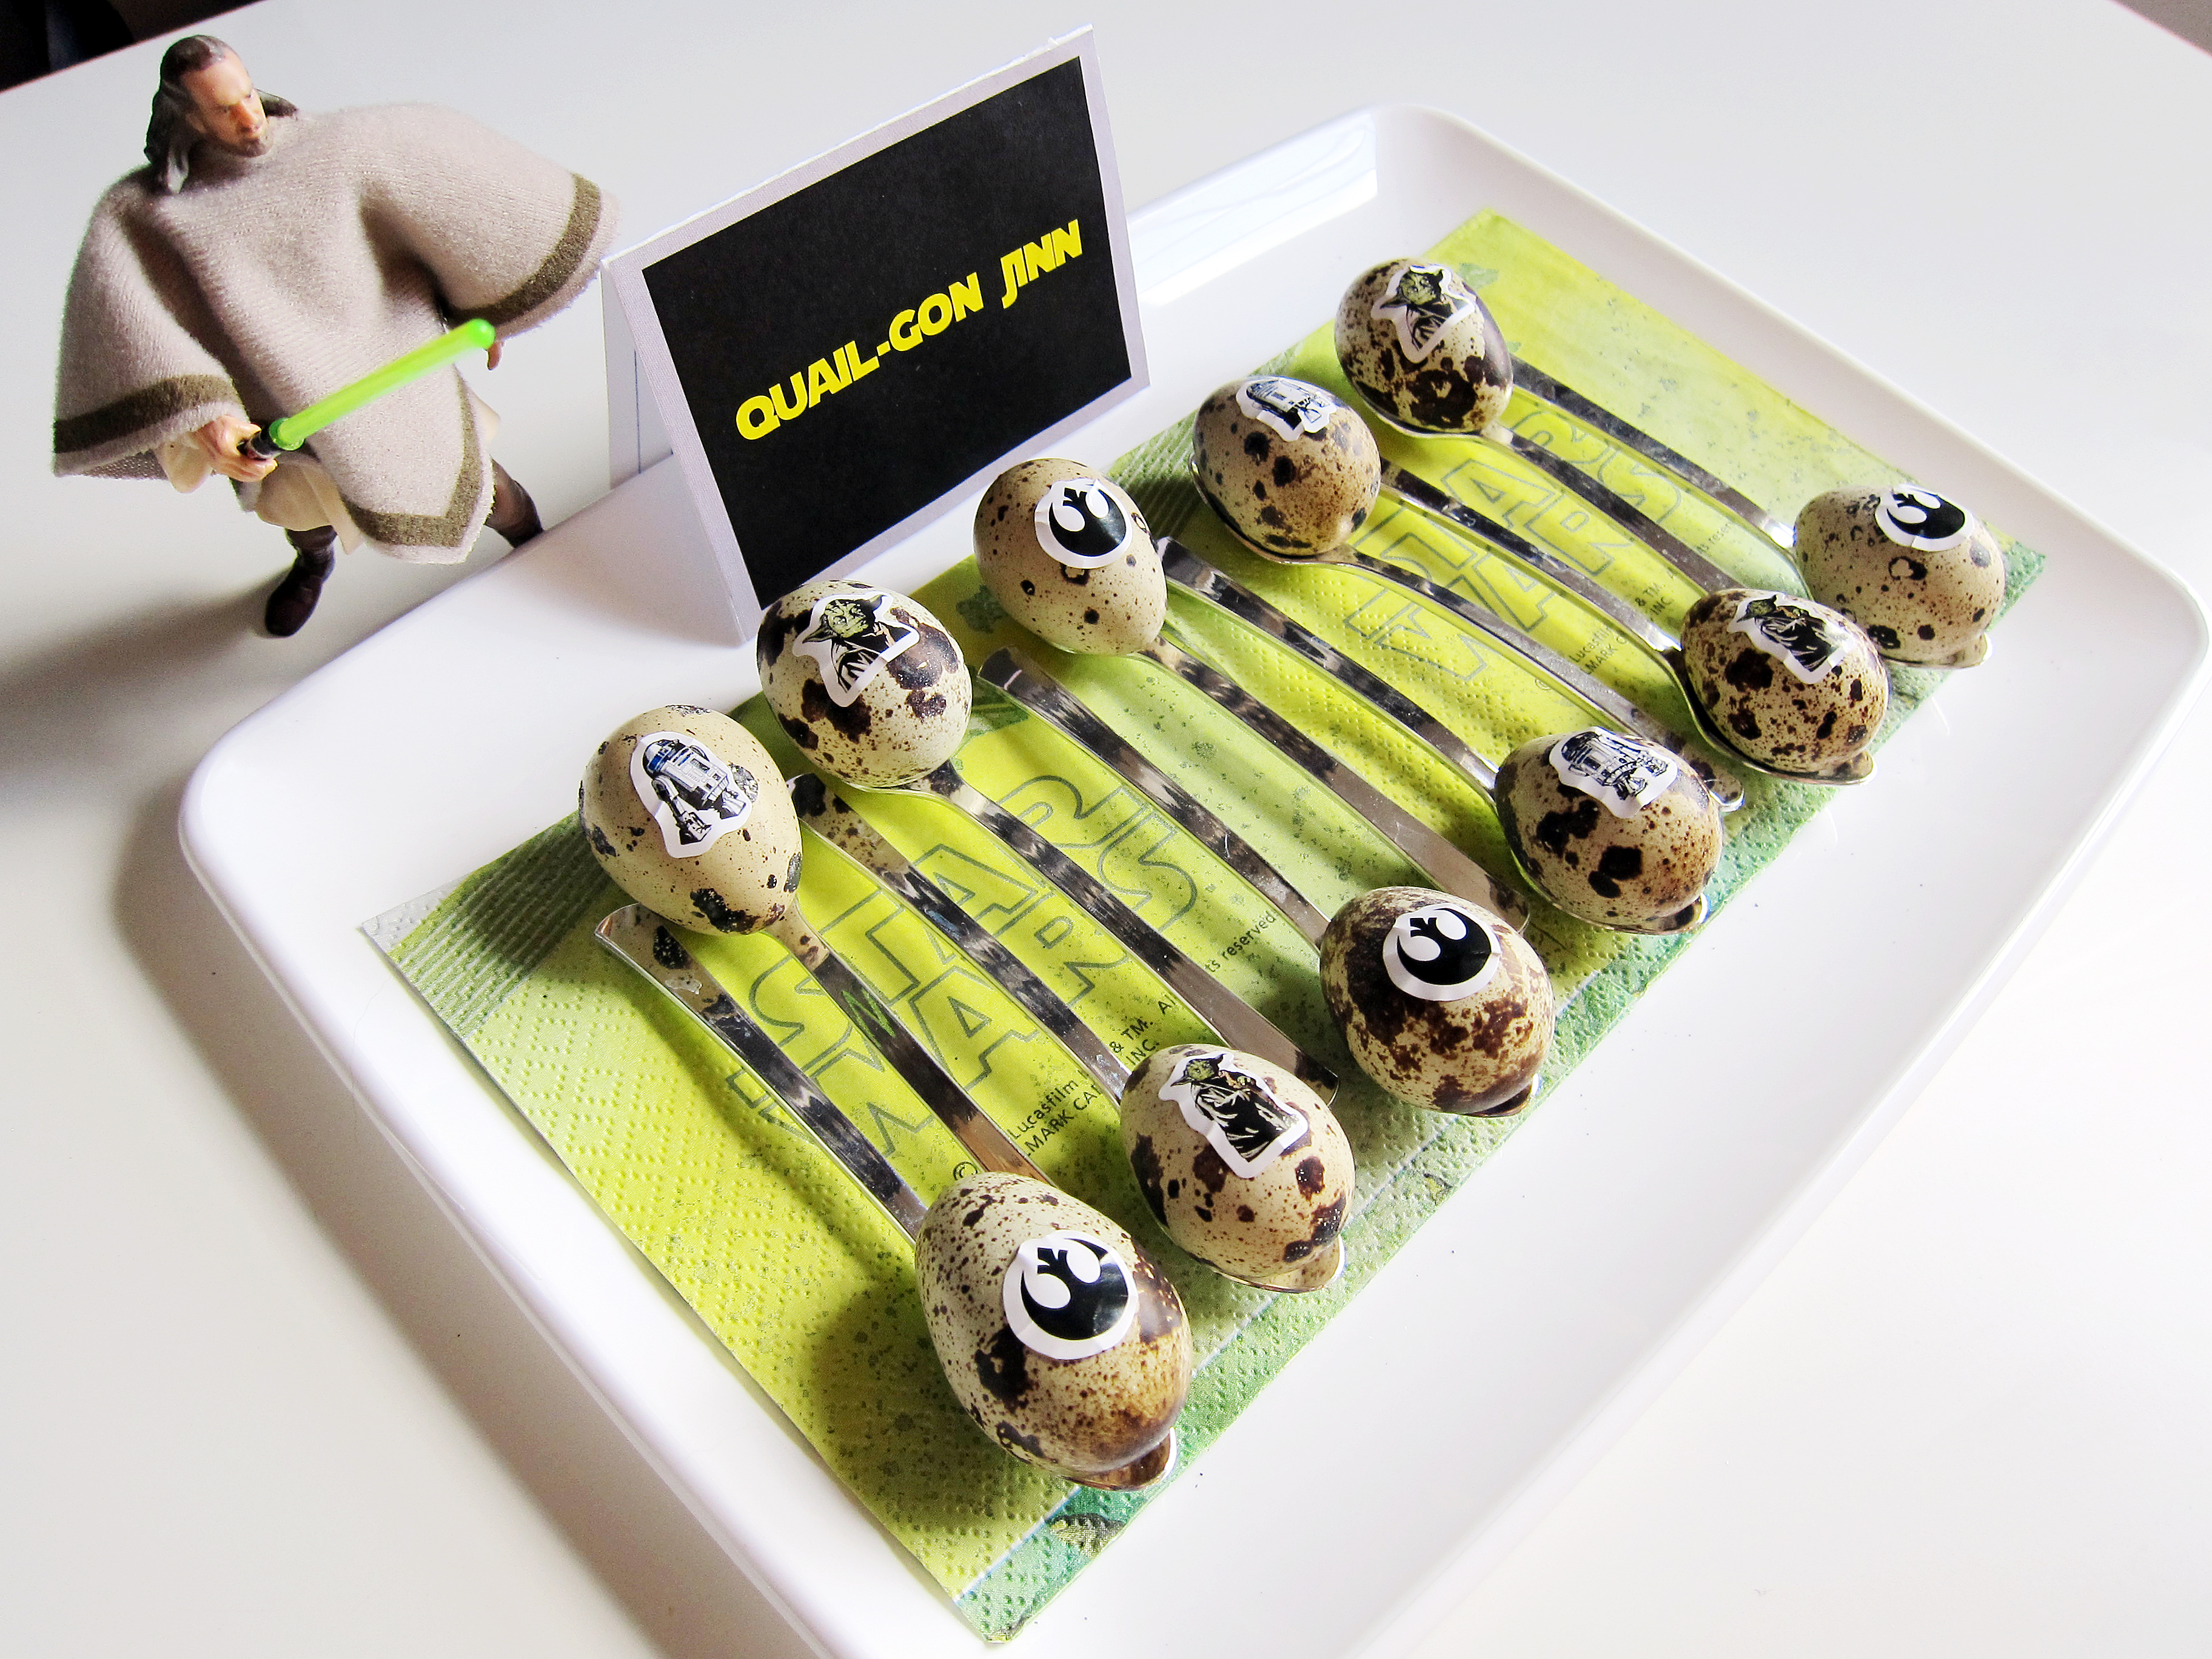
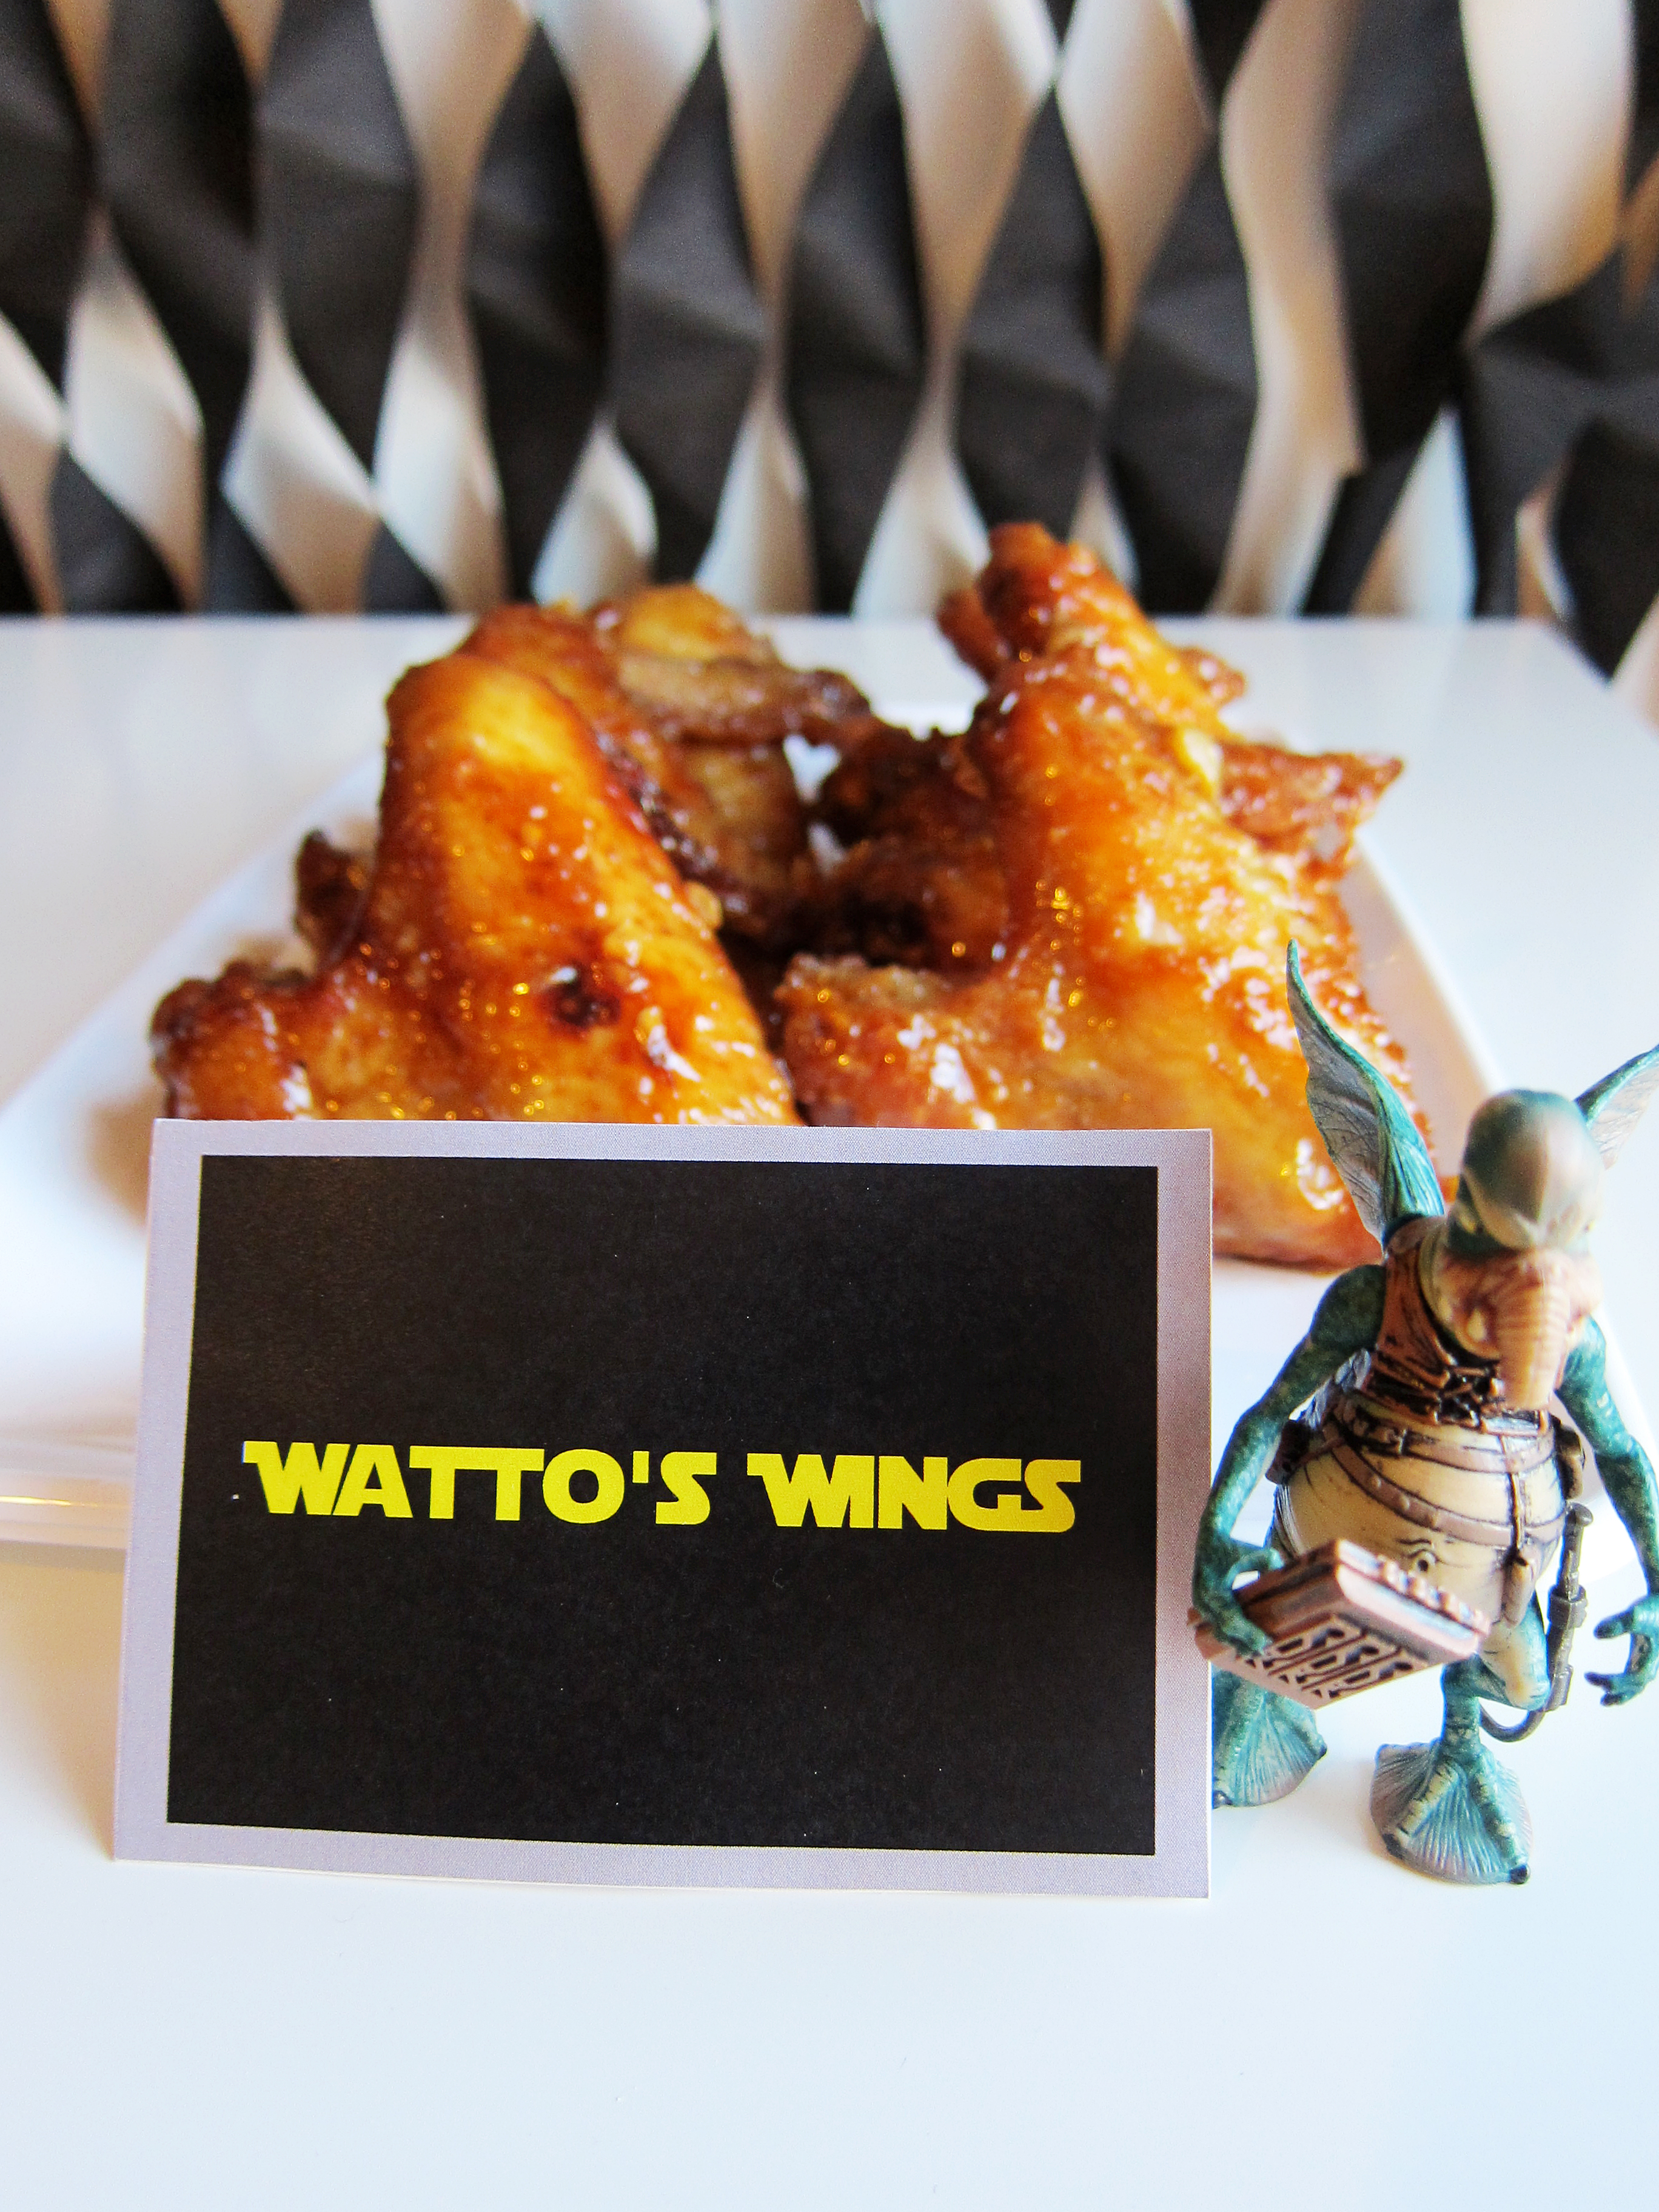
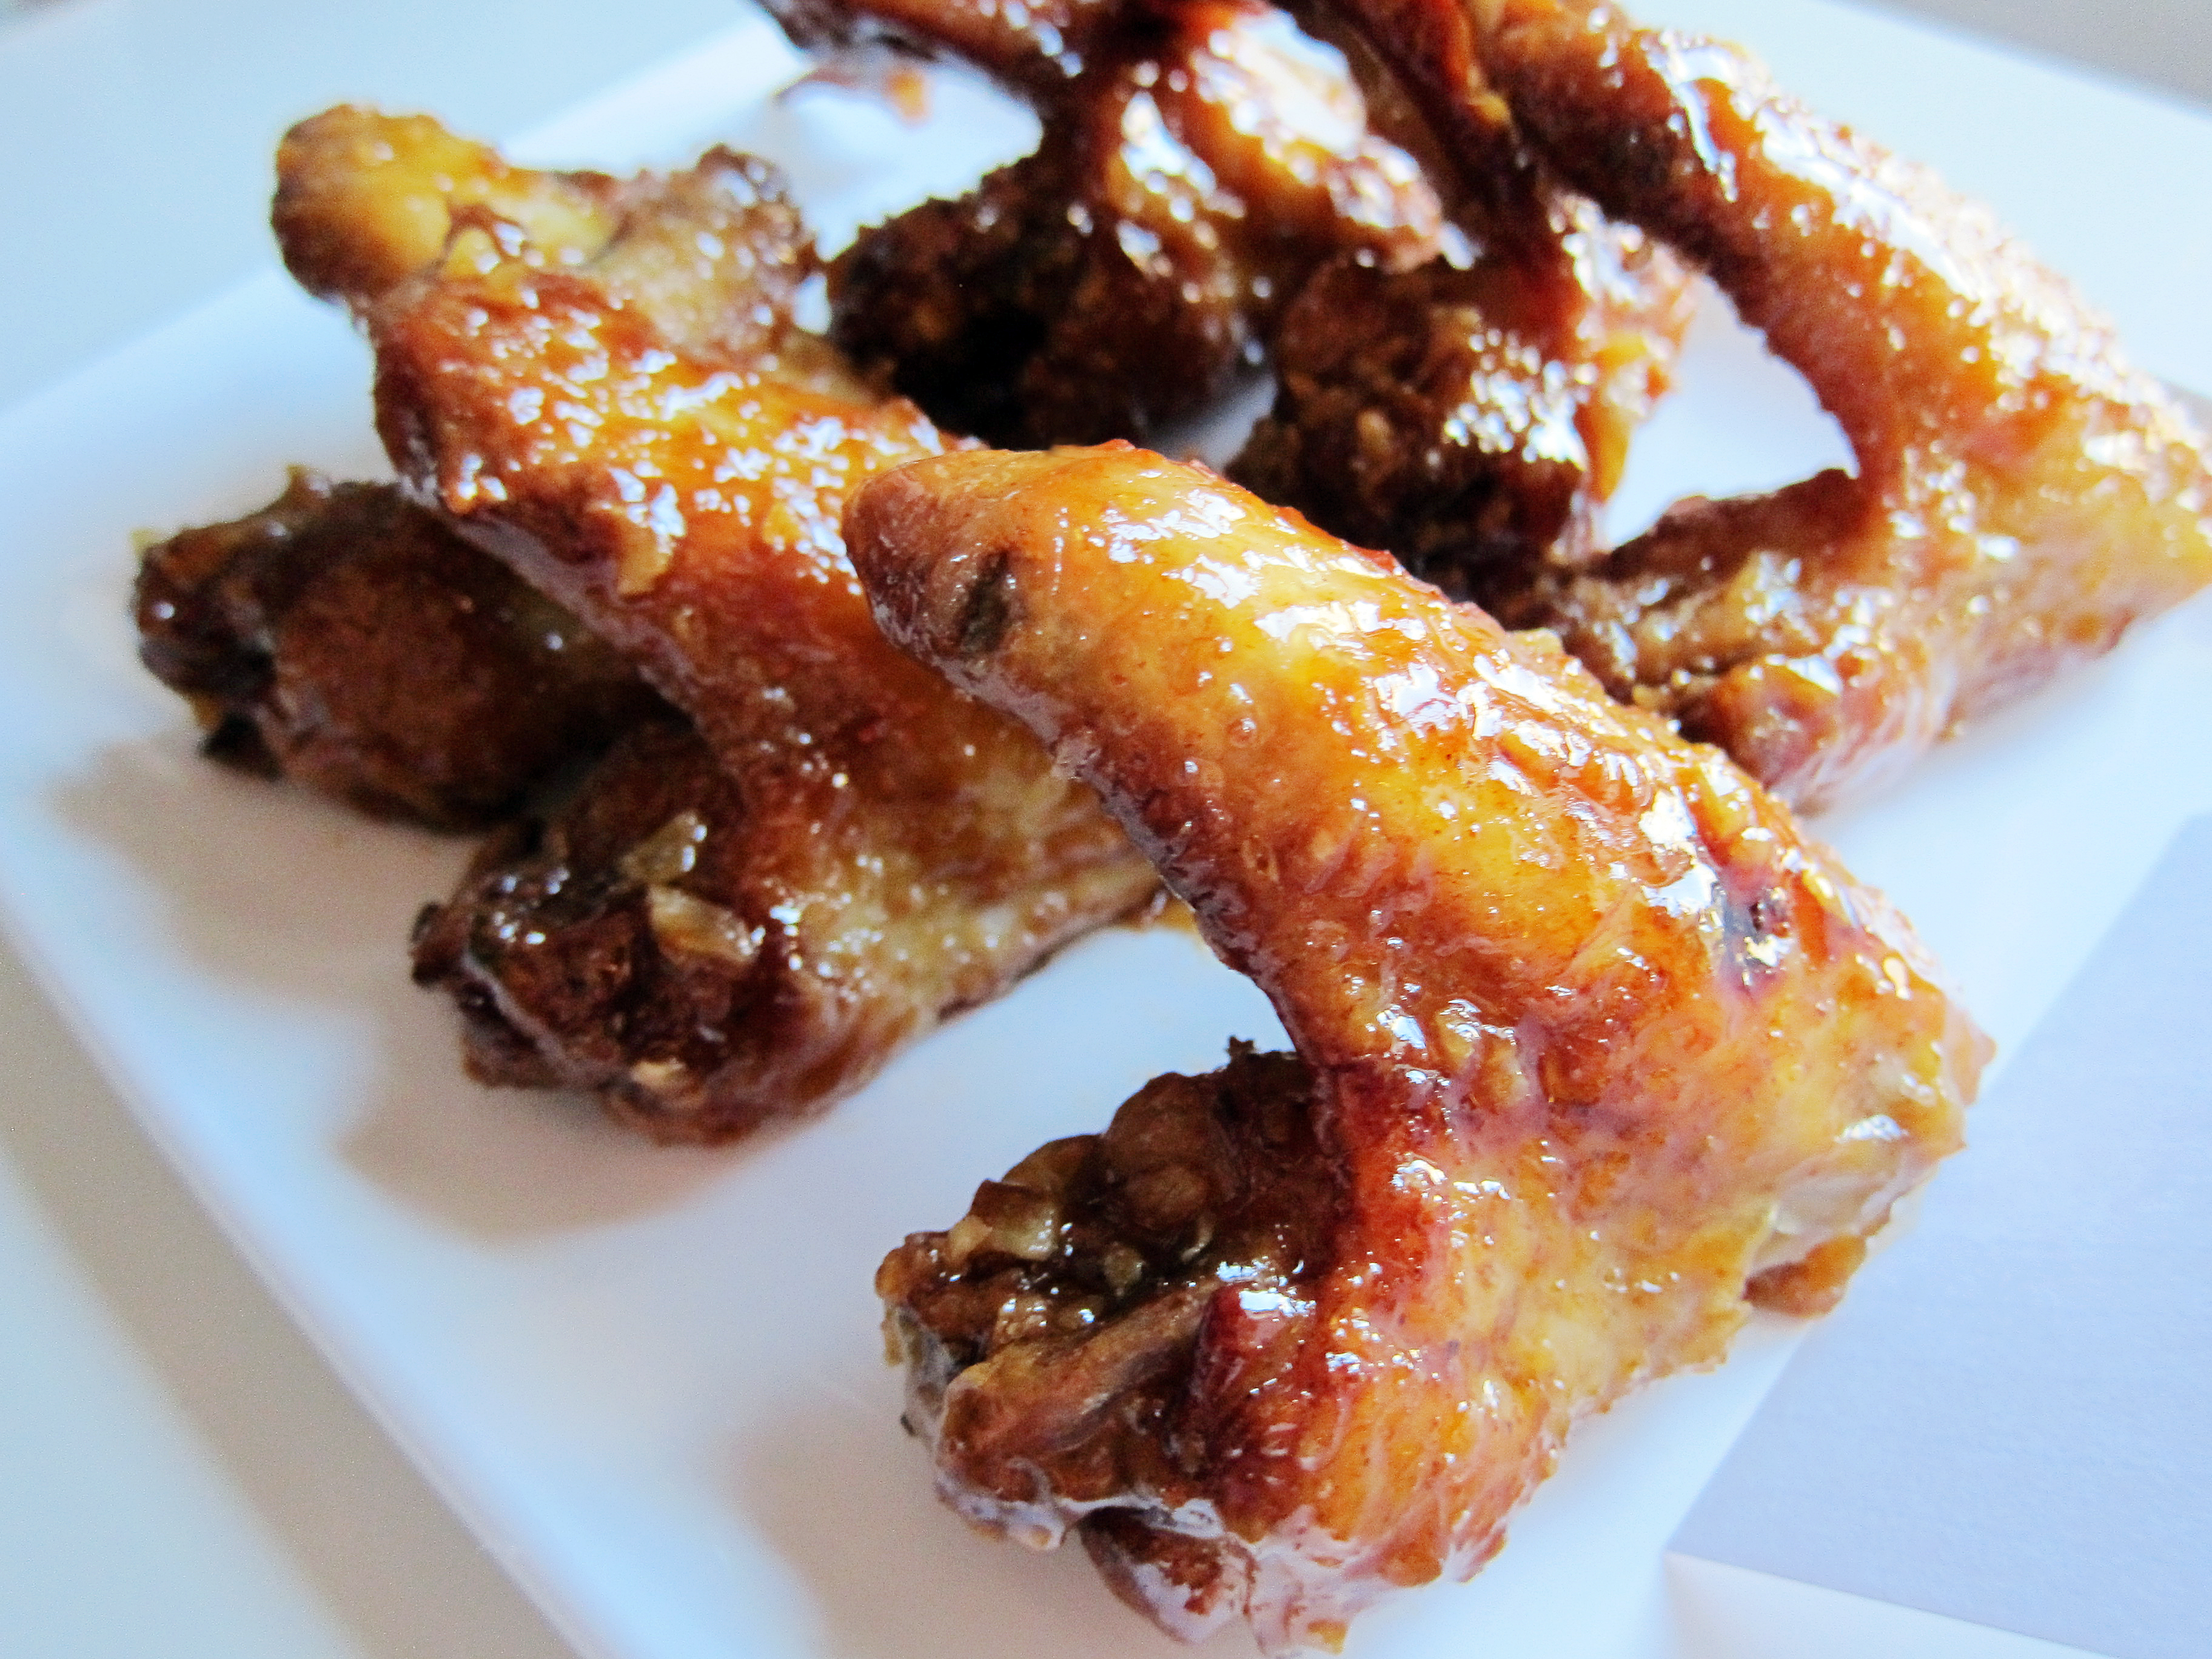
This year‘s party theme was Episode 1: The Phantom Menace, so all of the food and activities were centered on Episode 1 characters and settings.  Here are the things we made for SW Day*:
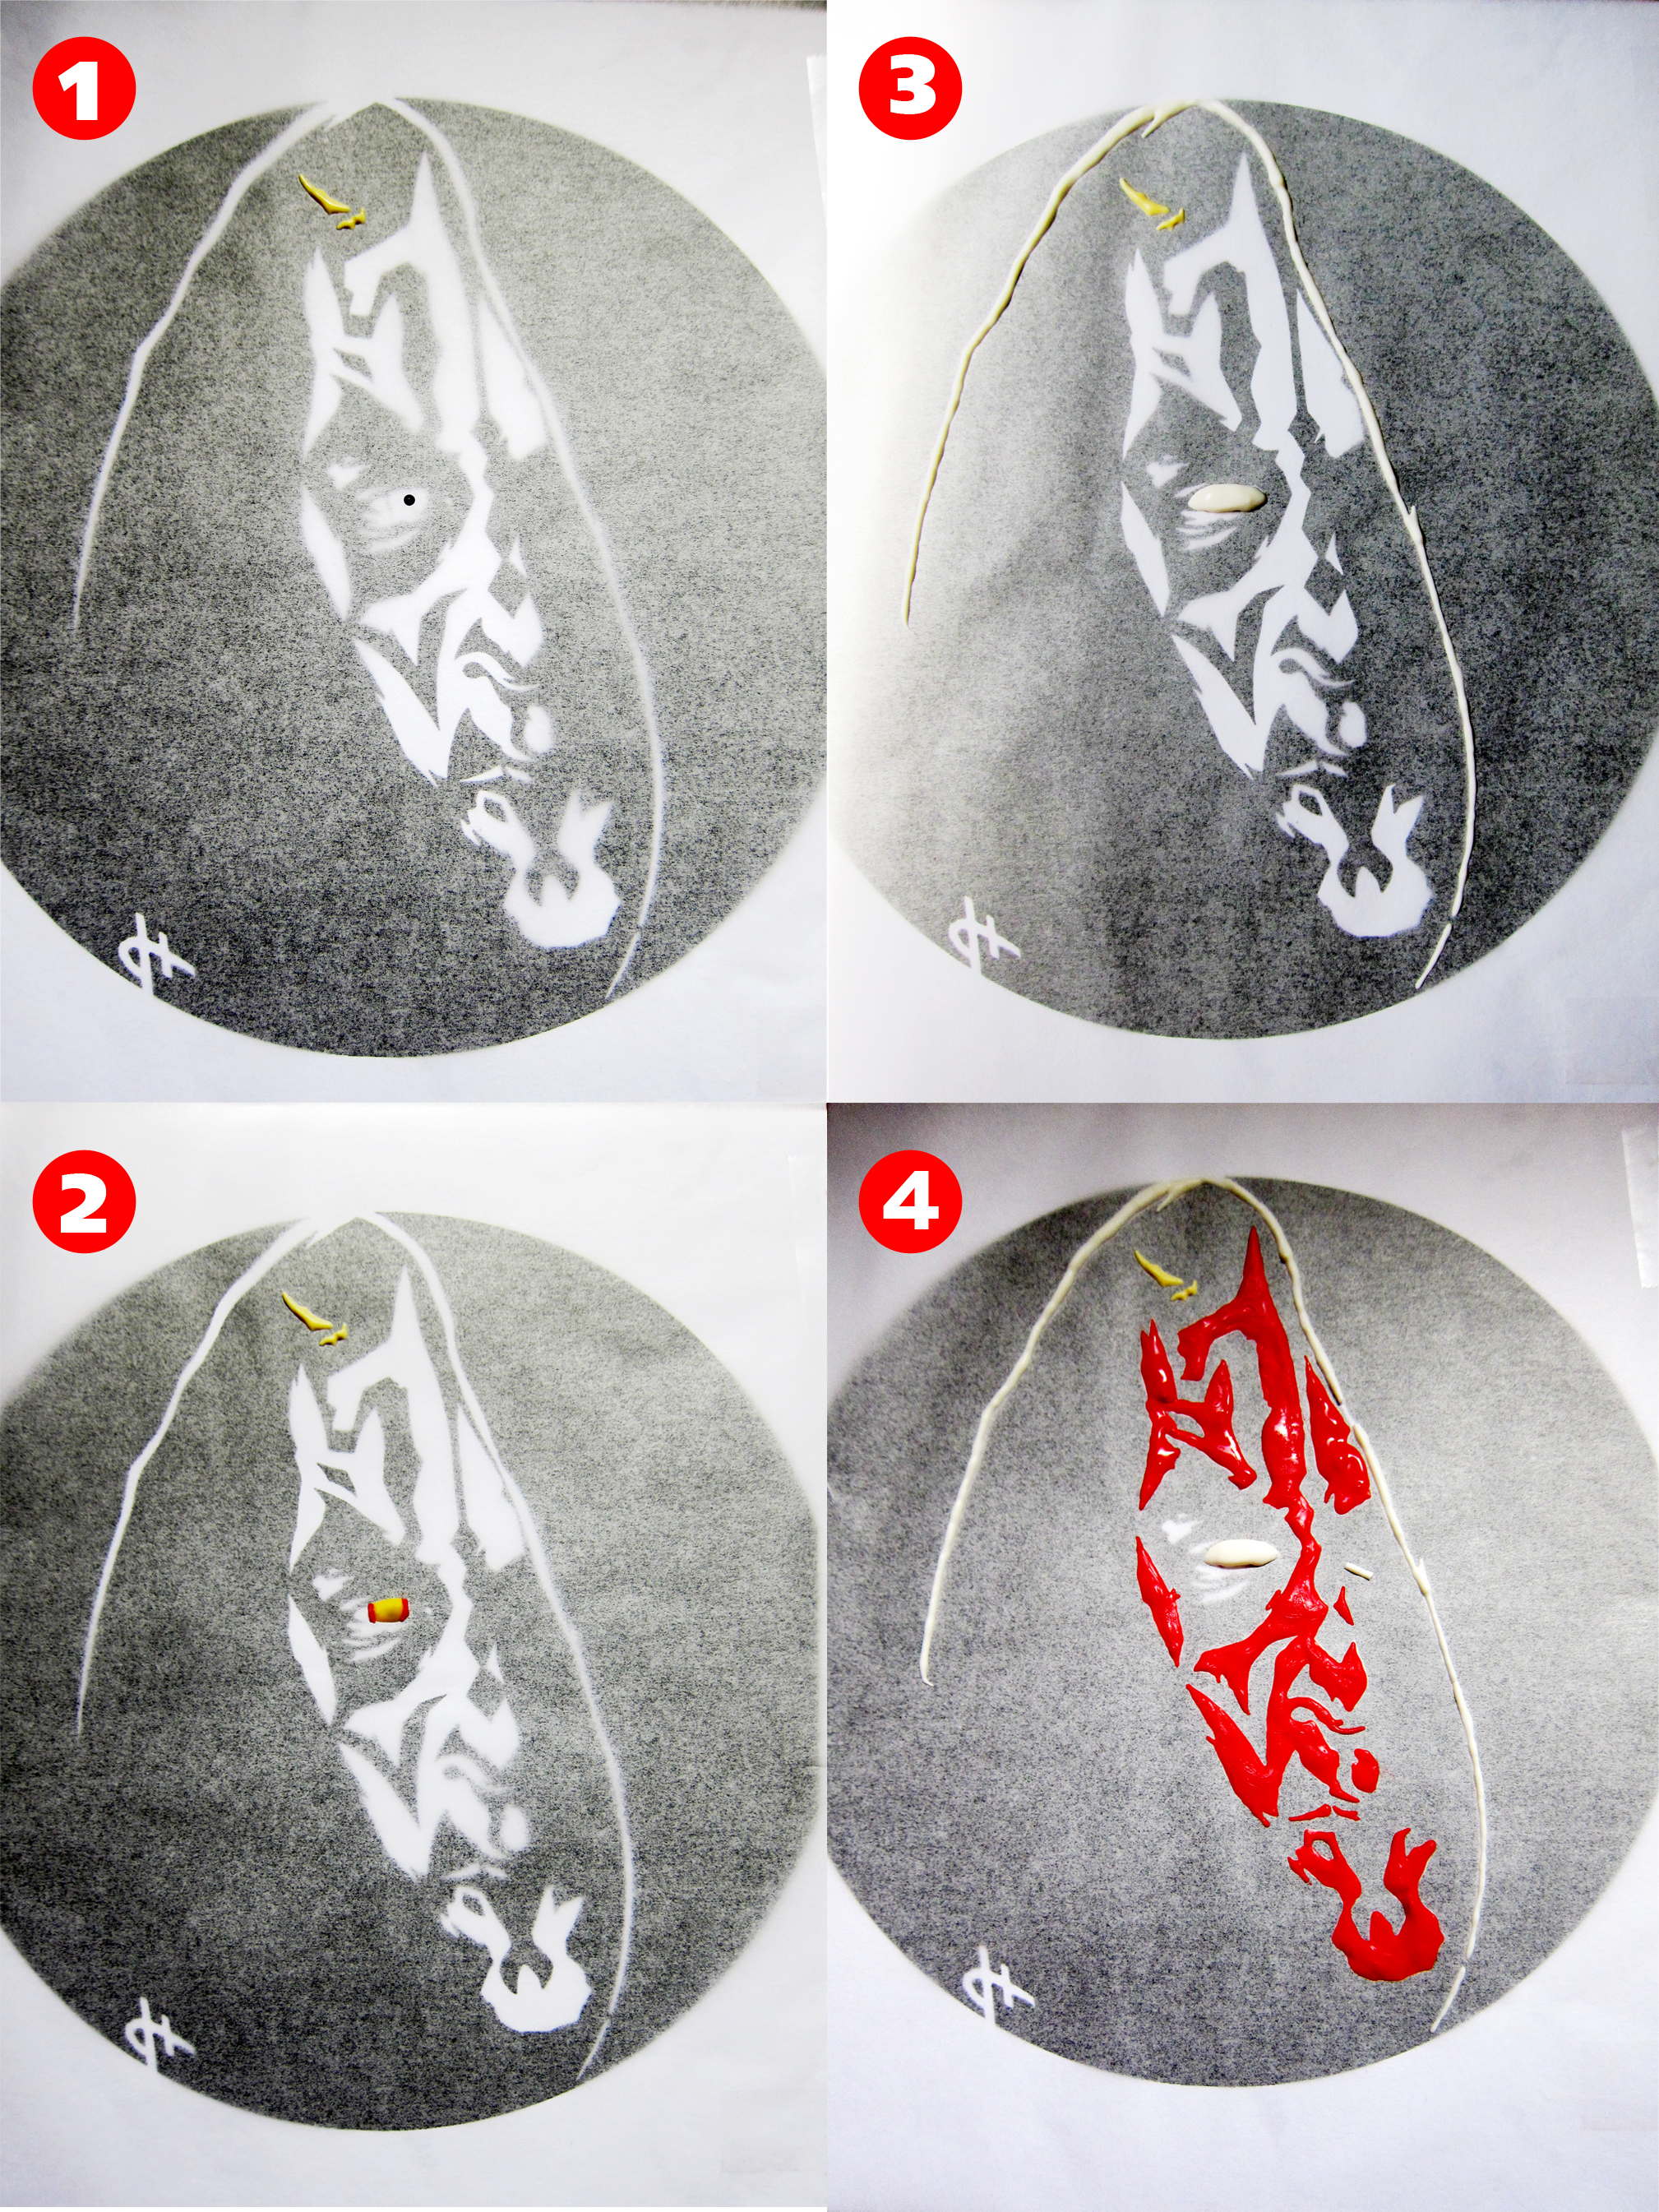
chicken pod piechicken pod pie 2Star Wars Day 2014 7 Star Wars Day 2014 8obi wontons obi wontons 2padme parfaitpadme parfait 2quail gon jinn 1 quail gon jinn 2watto's wings 1 watto's wings 2The centerpiece of the table was my Darth Maul-ble Cake, a marble cake with chocolate frosting and a chocolate transfer of Darth Maul.   There was a small chorus of “wows” when I revealed it.  Chocolate transfers can take a bit of time, but it is straight forward and simple to do.  I used the same technique for this piece and it turned out fabulous.
steps darth maulI think Darth Maul is quite scary.  To be completely honest, I got a wee bit frightened trying to find the right photo for the transfer.  Filling in the chocolate parts was no walk in the park either, he was just as scary.  I know it sounds silly, but if your imagination runs as wild as mine does I’m sure you understand. Revenge of the Six-th indeed. 🙂
Star Wars Day 2014 19Darth Maul-ble Cake

You will need:

1 Chocolate Marble Cake – Recipe Below
1 Batch of Chocolate Frosting – Can be found here
Black Candy Melts
Red Candy Melts
Yellow Candy Melts
White Candy Melts
A mirrored image of this printout in a black circle

Instructions:

  1. Tape the printout onto a baking sheet or any desired flat surface.
  2. Tape a piece of parchment paper over the printout making sure it covers the entire image.
  3. Melt a small amount of black, red, yellow and white candy melts (do not meld the colors together).
  4. Remember, chocolate transfers are all about layering.  Each time you fill out the next step, you will be going over the previously filled portion.
  5. Using either a toothpick or a piping bag fitted with either a #1 or #2 round tip, fill in the pupil of the eye with the black candy melt. (As shown in the above photo.)
  6. Mix the yellow and white candy melt to get a light ivory hue for the horns. Fill in. (As shown in the above photo.)
  7. Once the pupil is set, fill in the iris with the yellow candy melt.  Let set. (As shown in the above photo.)
  8. The outer edge of the iris has a red outline.  Carefully, trace a red border around the yellow candy melt. Let set. (As shown in the above photo.)
  9. Fill in the sclera with the white candy melt.  (As shown in the above photo.)
  10. Fill in the white edge of the hood while the sclera sets. (As shown in the above photo.)
  11. Using the red candy melt, start filling in the mask like patterns on the face.  Try not to lose the detailed edges because that’s what makes the image pop. (As shown in the above photo.)
  12. Once the red candy melt is set, melt some black candy melts.  Make sure it is not piping hot because you will lose some detail if it is.
  13. Smooth over the entire circumference with the black candy melts.  Let completely set.
  14. Place on top of frosted cake and you’re done!

Chocolate Marble Cake

Ingredients:
1⅔ c. all-purpose flour
½ tsp. baking powder
¼ tsp. baking soda
¼ tsp. kosher salt
4 oz. unsalted butter, melted
1 c. sugar
1 egg, room temp
¼ c. Greek yogurt
¾ c. + 1 tbsp. milk, divided
1 tsp. vanilla extract
¼ c. unsweetened cocoa powder

Instructions:

  1. Preheat the oven to 350˚F and prep a 9” cake pan by coating it with nonstick spray and lining the bottom with parchment paper.
  2. Mix melted butter and sugar in a mixing bowl.  Set aside.
  3. In a separate bowl, mix flour, baking powder, baking soda and salt until combined.
  4. Add the egg, Greek yogurt, ¾ c. milk and 1 tsp. vanilla extract to the butter mixture and mix until homogenous.
  5. Add the flour mixture to the butter mixture and fold until smooth.
  6. Transfer ½ of the mixture to another bowl, mix in 1 tbsp. milk and cocoa powder until a thick chocolate batter forms.
  7. Put half of the vanilla batter into the prepared cake pan and spread out.
  8. Pour all of the chocolate batter on top of the vanilla mixture.
  9. Pour the rest of the vanilla batter over the chocolate batter.
  10. Using a toothpick or a butter knife, make swirls all over the cake. Be careful not to over swirl, or you will lose the marbling.
  11. Bake 18-25 minutes until golden brown or a toothpick inserted in the center of the cake comes out clean.

Cake recipe adapted from sally’s baking addiction.


* If you would like detailed info on any of the food I’ve prepared, don’t be afraid to leave a comment or shoot me an email!

Brown Butter Chocolate Chip Marshmallow Cookie Cake

cookie cake 5First thing I need to say is… this Sunday is Star Wars Day!!  You can be sure that I’ll have a post on all the goodies I’ll be making for this year next week.  Now back to the cookie cake, this cookie cake is everything I would want in a cookie: sweet, salty, crispy, chewy, marshmallow-y… I could go on about it.  The last time I served this was during this year’s Super Bowl and while people ate this, it was very quiet.  It was that good.
cookie cake 2To be honest, this recipe is like my baby.  This cookie recipe has been over 5 years in the making!  I almost didn’t want to write it down because well, it’s mine and I didn’t want to share.  But I figured someone must be having a day somewhere and this cookie would be sure to cheer them up.  So whip up a batch, and make yourself or someone smile because a smile is free therapy.
cookie cake 6Brown Butter Chocolate Chip Marshmallow Cookie Cake

Makes one 9” cookie cake

Ingredients:
6 oz. butter, divided
½ c. sugar
¾ c. brown sugar
1 tsp. kosher salt
1 egg
1 egg yolk
2 tsp. vanilla extract
2 c. all purpose flour
1 tsp. baking soda
1 tbsp. cornstarch
¾ c. chocolate chips
¾ c. mini marshmallows

Instructions:

  1. Preheat oven to 350˚F and line a 9” cake pan with parchment paper along the bottom and the sides.
  2. In a small pot, brown 5 oz. of butter.
  3. While the butter is browning, mix sugar, brown sugar and kosher salt in a medium mixing bowl.
  4. Once the butter is brown, add the remaining 1 oz. of butter and stir to get the brown bits off the bottom of the pot.
  5. Add the hot browned butter to the sugar mixture and stir.  Let cool for 5-10 minutes.
  6. Add the egg, egg yolk, and vanilla extract until glossy and homogenous.
  7. Fold in flour, baking soda, and cornstarch until just combined.
  8. Fold in chocolate chips and marshmallows until just combined.
  9. Bake 15-20 minutes until center is set and slightly underdone.
  10. Let cool 15 minutes before serving.

Easter Bunny Surprise Cake

Easter bunny cake 1Here comes Peter Cottontail, Hoppin’ down the bunny trail… was the song that was running through my head when I thought of this cake.  Can you imagine the look of surprise people will give you when you cut into this?  Unfortunately for me, my family saw every step of the assembly and expected it when I cut into this cake.  Learn from my mistake, and keep it secret when you give it a try.
Easter bunny cake 2The great thing about this technique is that it is adaptable to many holidays and special occasions.  Off the top of my head, you could do tulips for Mother’s Day, a bat for Halloween, and even alternating red, white, and blue stars for Independence Day.  I think I may be giving away future blog posts so I’ll just stop here.
Easter bunny cake 3My only caveat to you is: 1) measure to make sure your cutouts will fit into the loaf pan (both horizontally and vertically) and 2) to keep your cutout design simple because you will lose the finer details when the cake bakes.  Other than that, I hope you have fun trying this cake!  Don’t worry, at this point I’m so tired of bunnies and Easter eggs, you will probably not see any more posts of them until next spring. 😀

Easter bunny cake 4

Easter Bunny Surprise Cake

You will need:
1 Batch of Pink Sheet Cake
1 Batch of Yellow Cake
1 Batch of Green Frosting
1 Batch of Chocolate Frosting
Bunny Cookie Cutter
Mini Chocolate Eggs
Grass Frosting Tip (Optional)

Pink Sheet Cake

Ingredients:
1 ½ c. all purpose flour
1 c. sugar
½ tbsp. baking powder
⅛ tsp. salt
¾ buttermilk, divided
4 oz. unsalted butter, room temperature
2 eggs,  room temperature
1 egg yolk
¼ tsp. vanilla extract
Pink gel food coloring

Instructions:

  1. Preheat the oven to 350˚F and line a sheet pan with parchment paper or a silicone mat.
  2. In a bowl of a standing mixer with the paddle attachment, add flour, sugar, baking powder, and salt. Mix until combined.
  3. On low speed, add ½ c. buttermilk and butter and mix until combined.
  4. In a separate bowl, whisk eggs, egg yolk, ¼ c. buttermilk, and vanilla extract until homogenous.
  5. On low speed, slowly add the egg mixture to the flour mixture.
  6. Increase speed to medium, and mix until combined.
  7. On low speed, add pink food coloring until desired color is reached.
  8. Spread batter onto the sheet pan until fully covered.
  9. Bake 10-12 minutes until cake is set.
  10. Let cool.
  11. Cut out bunny shapes. (as shown above)
  12. Chill in freezer.

Yellow Cake

Ingredients:
1 c. cake flour
1 c. all-purpose flour
1 ⅓  c. sugar
¾ tbsp. baking powder
⅛ tsp. salt
1 c. buttermilk, divided
6 oz. unsalted butter, room temperature
3 eggs, room temperature
1 egg yolk
½ tsp. vanilla extract

Instructions:

  1. Preheat the oven to 350˚F and line a loaf pan with parchment paper.
  2. In a bowl of a standing mixer with the paddle attachment, add flour, sugar, baking powder, and salt. Mix until combined.
  3. On low speed, add ¾ c. buttermilk and butter and mix until combined.
  4. In a separate bowl, whisk eggs, egg yolk, ¼ c. buttermilk, and vanilla extract until homogenous.
  5. On low speed, slowly add the egg mixture to the flour mixture.
  6. Increase speed to medium, and mix until combined.
  7. Spread batter until ¼-½ in. up the loaf pan.
  8. Stack the chilled cake cutouts side by side, horizontally, without any spaces in between.
  9. Place the stacked cake cutouts into the center of the cake pan, carefully making sure no gaps form in between.
  10. Spread rest of the batter into cake pan.
  11. Bake 30-45 minutes until cake is done or until a toothpick inserted into the center comes out clean.
  12. Let cool in pan for 10 minutes, and then flip onto a cooling rack until completely cool.

Chocolate Frosting

Ingredients:
⅔ c. all-purpose flour
⅓ c. cocoa powder
1 c. milk
⅛ tsp. salt
8 oz. butter
⅔ c. sugar
8 oz. chocolate, melted and cooled
½ tsp. vanilla extract

Instructions:

  1. In a saucier pan, put milk, salt, cocoa powder and flour and whisk until combined on medium heat.
  2. Continuously whisk mixture until thickened to a pudding like consistency.
  3. Once thickened, strain through a mesh strainer into a bowl with a spatula to remove lumps.
  4. Place a piece of plastic wrap on top of the flour mixture and put into the refrigerator until fully cool.
  5. In a mixer bowl fitted with the whisk attachment, mix the sugar and butter on high speed until fluffy and pale about, 5-10 minutes.
  6. Add the chilled flour mixture and continue to whip on high speed until the sugar is completely dissolved and the mixture is no longer gritty, about 5-10 minutes.
  7. Add the vanilla extract and melted chocolate and mix until combined.
  8. Smooth chocolate frosting over the loaf cake, and place in the freezer

Green Frosting:

Ingredients:
½ c. whole milk
¼ c. flour
⅛ tsp. salt
2 oz. unsalted butter, room temperature
½ c. sugar
¼ tsp. vanilla extract
green gel food coloring

Instructions:

  1. In a saucier pan, put milk, salt and flour and whisk until combined on medium heat.
  2. Continuously whisk mixture until thickened to a pudding like consistency.
  3. Once thickened, strain through a mesh strainer into a bowl with a spatula to remove lumps.
  4. Place a piece of plastic wrap on top of the flour mixture and put into the fridge until fully cool.
  5. In a mixer bowl fitted with the whisk attachment, mix the sugar and butter on high speed until fluffy and pale about, 5-10 minutes.
  6. Add the chilled flour mixture and continue to whip on high speed until the sugar is completely dissolved and the mixture is no longer gritty, about 5-10 minutes.
  7. Add the vanilla extract and mix until combined.
  8. Add green frosting until desire colored is reached.
  9. Add a thin layer of green frosting to top of cake.
  10. Chill cake in freezer for 3-5 minutes.
  11. Optional: Put the green frosting into a piping bag fitted with the grass frosting tip and pipe grass all over top of chilled cake.
  12.  Garnish top of cake with mini chocolate eggs.