
 This is a little late in the whole Frozen craze, but I finally made an Elsa Doll Cake. But it must’ve been in the stars because I was lucky enough to simultaneously have a doll cake request and was finally able to get my hands on an Elsa doll. It blows my mind that even after 9 months of its release, it is still difficult to obtain an Elsa figure. How?? Does every little girl in the world want an Elsa doll? It’s either that or they are releasing them ever so slowly to keep the demand up. By the way, I still can’t stop listening to the Frozen soundtrack which is a testament to how great it was. Speaking of soundtracks, did you guys watch Guardians of the Galaxy? If so, one phrase… Awesome Mix Vol 1. That’s it. If not, watch it. It’s fantastic in every way.
 Back to the cake. The thing about Elsa is, unlike Sofia the First, her dress is fairly simple from the waist down. It’s a sparkly slinky number with a high slit and there is no place to fit a cake under there. So this is my interpretation of what a poofy Elsa dress would look like.
 It’s fairly straight forward in terms of decorating it, but here are a few tips when creating your own doll cake: 1) Make sure your cake is well chilled- it will help reduce the number of crumbs when you carve it. 2) Try to make your frosting as smooth as possible to reduce the number of bumps and lumps when you put on the fondant. 3) When rolling out your fondant, make sure it isn’t too thick (it will be hard to mold) or too thin (it will tear when you drape it). 4) If your fondant shapes become too soft, toss it in the freezer for about 30 seconds to firm up. Do not freeze fondant, it will melt when it comes to room temperature. Above all, have fun making it. The world is your oyster when it comes to designing a doll cake.
 Elsa Doll Cake
You will need:
light teal fondant
teal fondant
white fondant
snowflake fondant cutters
edible glitter, silver star shape
white shimmer dust
silver pearl dust
an Elsa doll
Instructions:
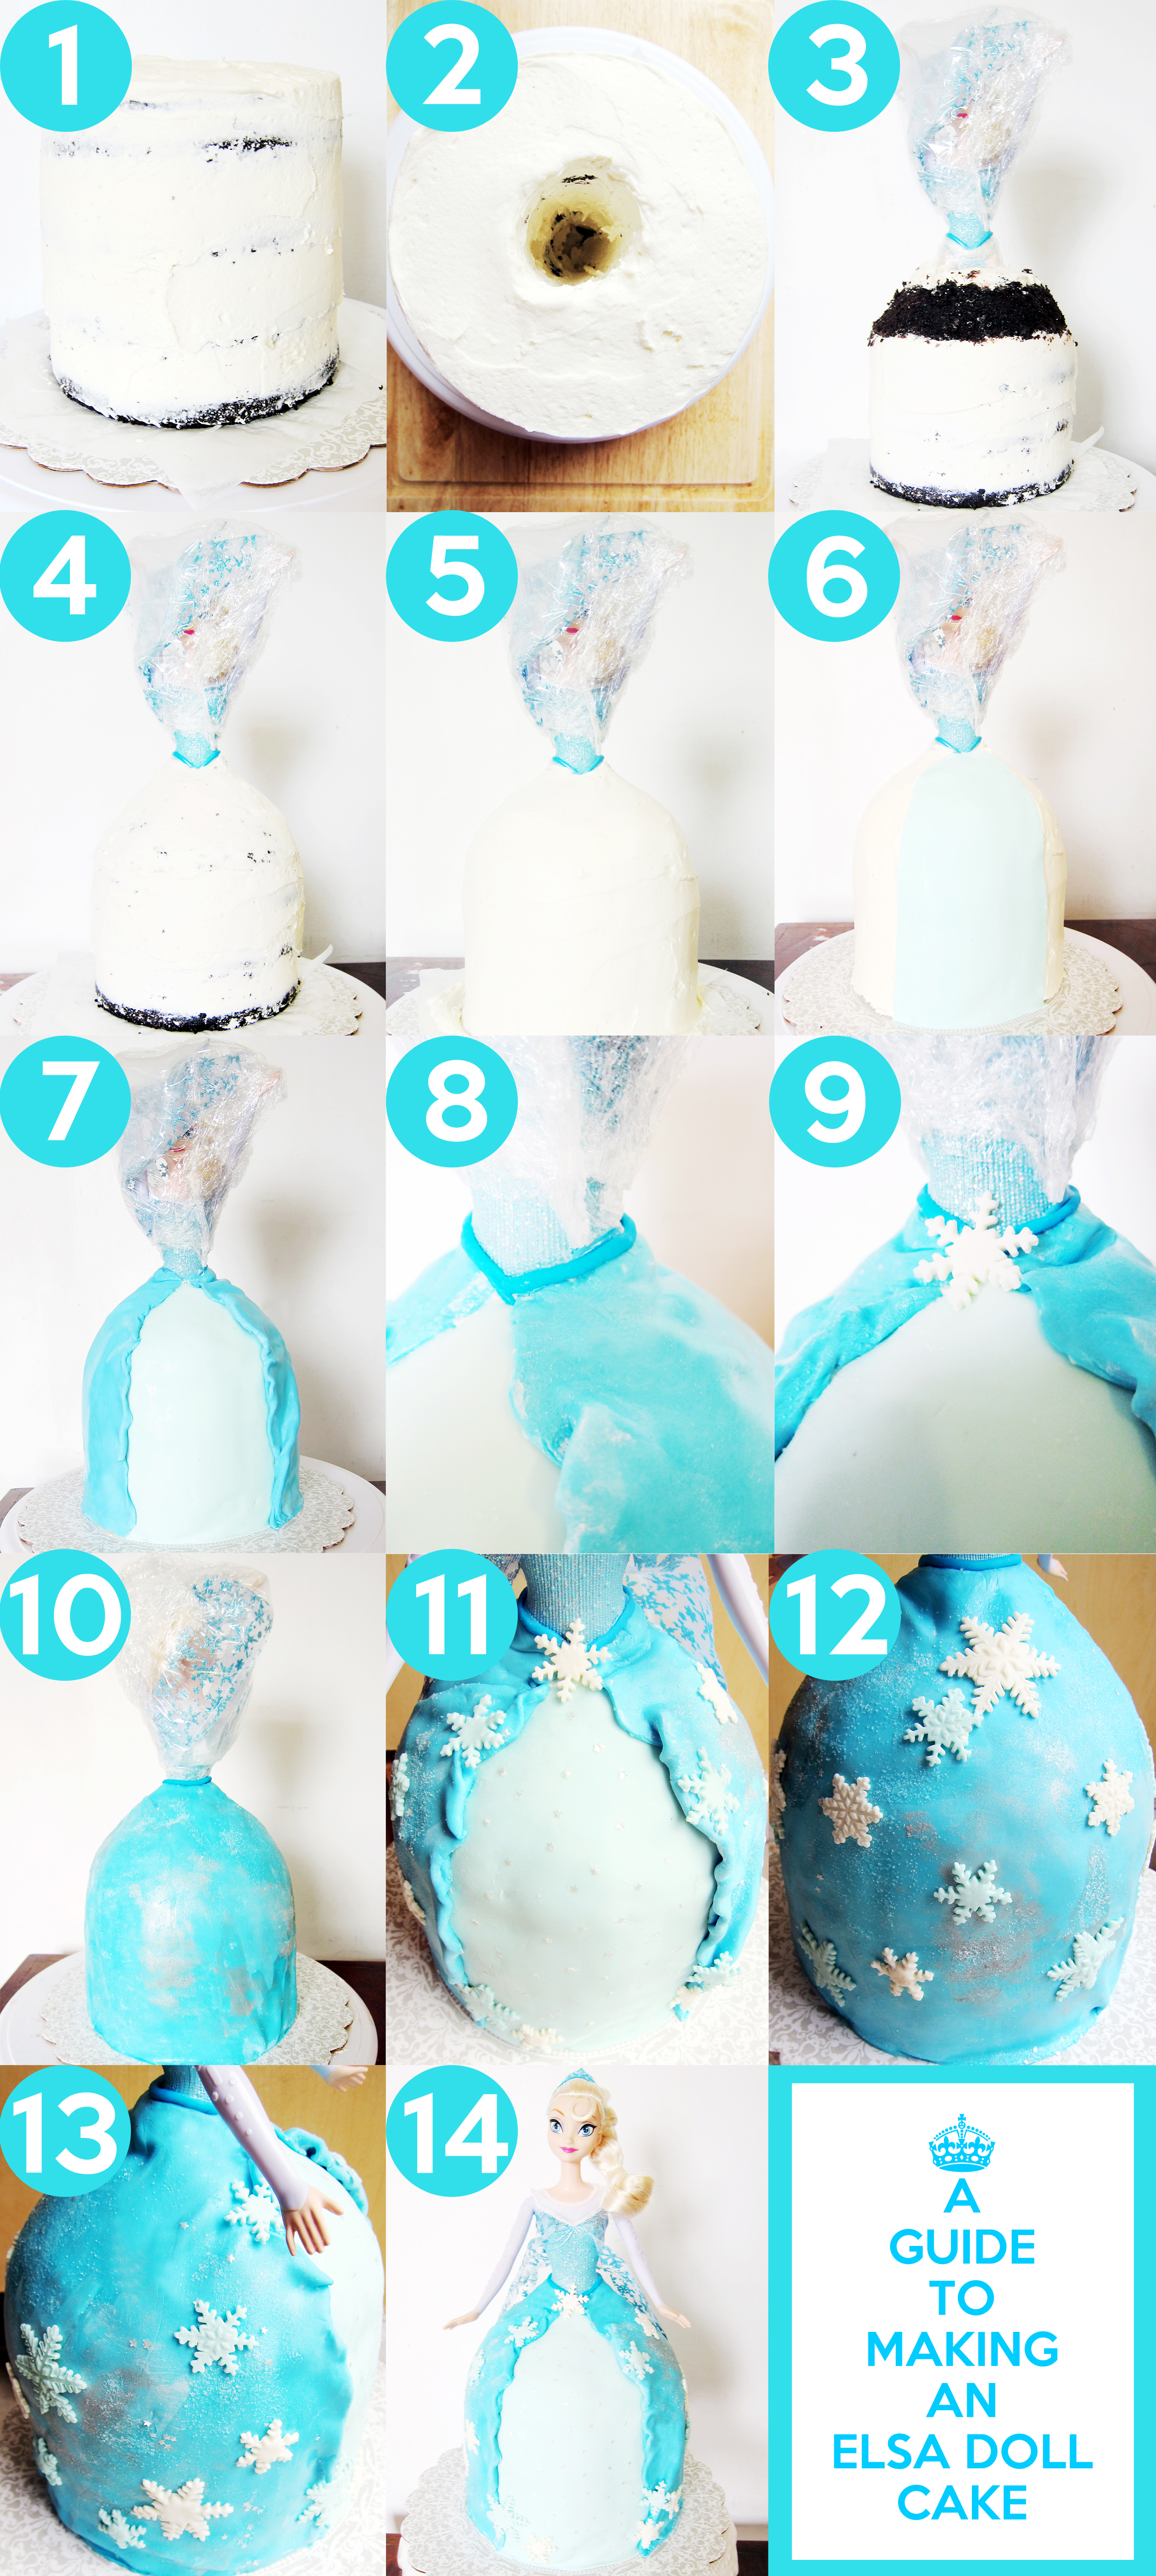
- Prepare a lightly frosted, 4 layered 6 inch cake that has a hole cut in the middle for your doll. (pictures 1 and 2)
- Chill the cake and while the cake is chilling, prepare your Elsa doll by removing her skirt and wrapping the bottom portion of the doll completely and tightly with plastic wrap. Put her arms up and her cape up and over her head and wrap the top portion of her body with plastic wrap. (picture 3)
- Remove the cake, insert the plastic wrapped doll and cut along the top quarter of the cake at a 45˚ angle. Use your eye to gauge where you want the skirt to start and the desired slope of the skirt. (picture 3)
- Crumb coat the cake, giving it a rough shape and making sure to cover the gap between the hips and the cake. (picture 4)
- Give it a second coat of frosting, hiding the crumbs and making it as smooth as possible to make it easier for the fondant to stick. (picture 5)
- Roll out a piece of light teal fondant and cut a rounded door shape for the front of her dress. Adhere it onto the front of the dress. (picture 6)
- Roll out a larger piece of teal fondant and drape it over the waist down to the bottom of the cake, making sure to have all of the buttercream covered. (picture 7)
- Using your hands, roll a skinny teal fondant rope to blend the top and the bottom of the dress together. Adhere it where the waist meets the cake. (picture 8)
- Cut out a white snowflake fondant and adhere it to the center of the dress to cover the seam. (picture 9)
- Using vodka, paint white shimmer dust and pearl silver dust all around the teal portion of the dress to give it a shimmery effect. (picture 10)
- Take the silver stars and place it over the light teal fondant portion of the dress. (picture 11)
- Using your fondant cutter, cut out various shapes of white and light teal snowflakes and adhere it to the teal portion of the dress. Feel free to use any pattern that suits you, but remember that there will be a transparent snowflake cape that covers the back of the cake. (picture 12 and 13)
- Remove the plastic wrap from the top portion of the doll, be careful about positioning the arms and letting the snowflake cape flow over the back of the cake. (picture 14)


 It’s been forever since I posted something on the blog. This is what happened… The weekend before I left for my vacation to Korea, I made a
  This green tea cake was inspired by my trip to O’Sulloc Tea Museum in Jeju, South Korea. Unfortunately the weather was horrible the day we went and I wasn’t able to see the plantation but, I did enjoy some


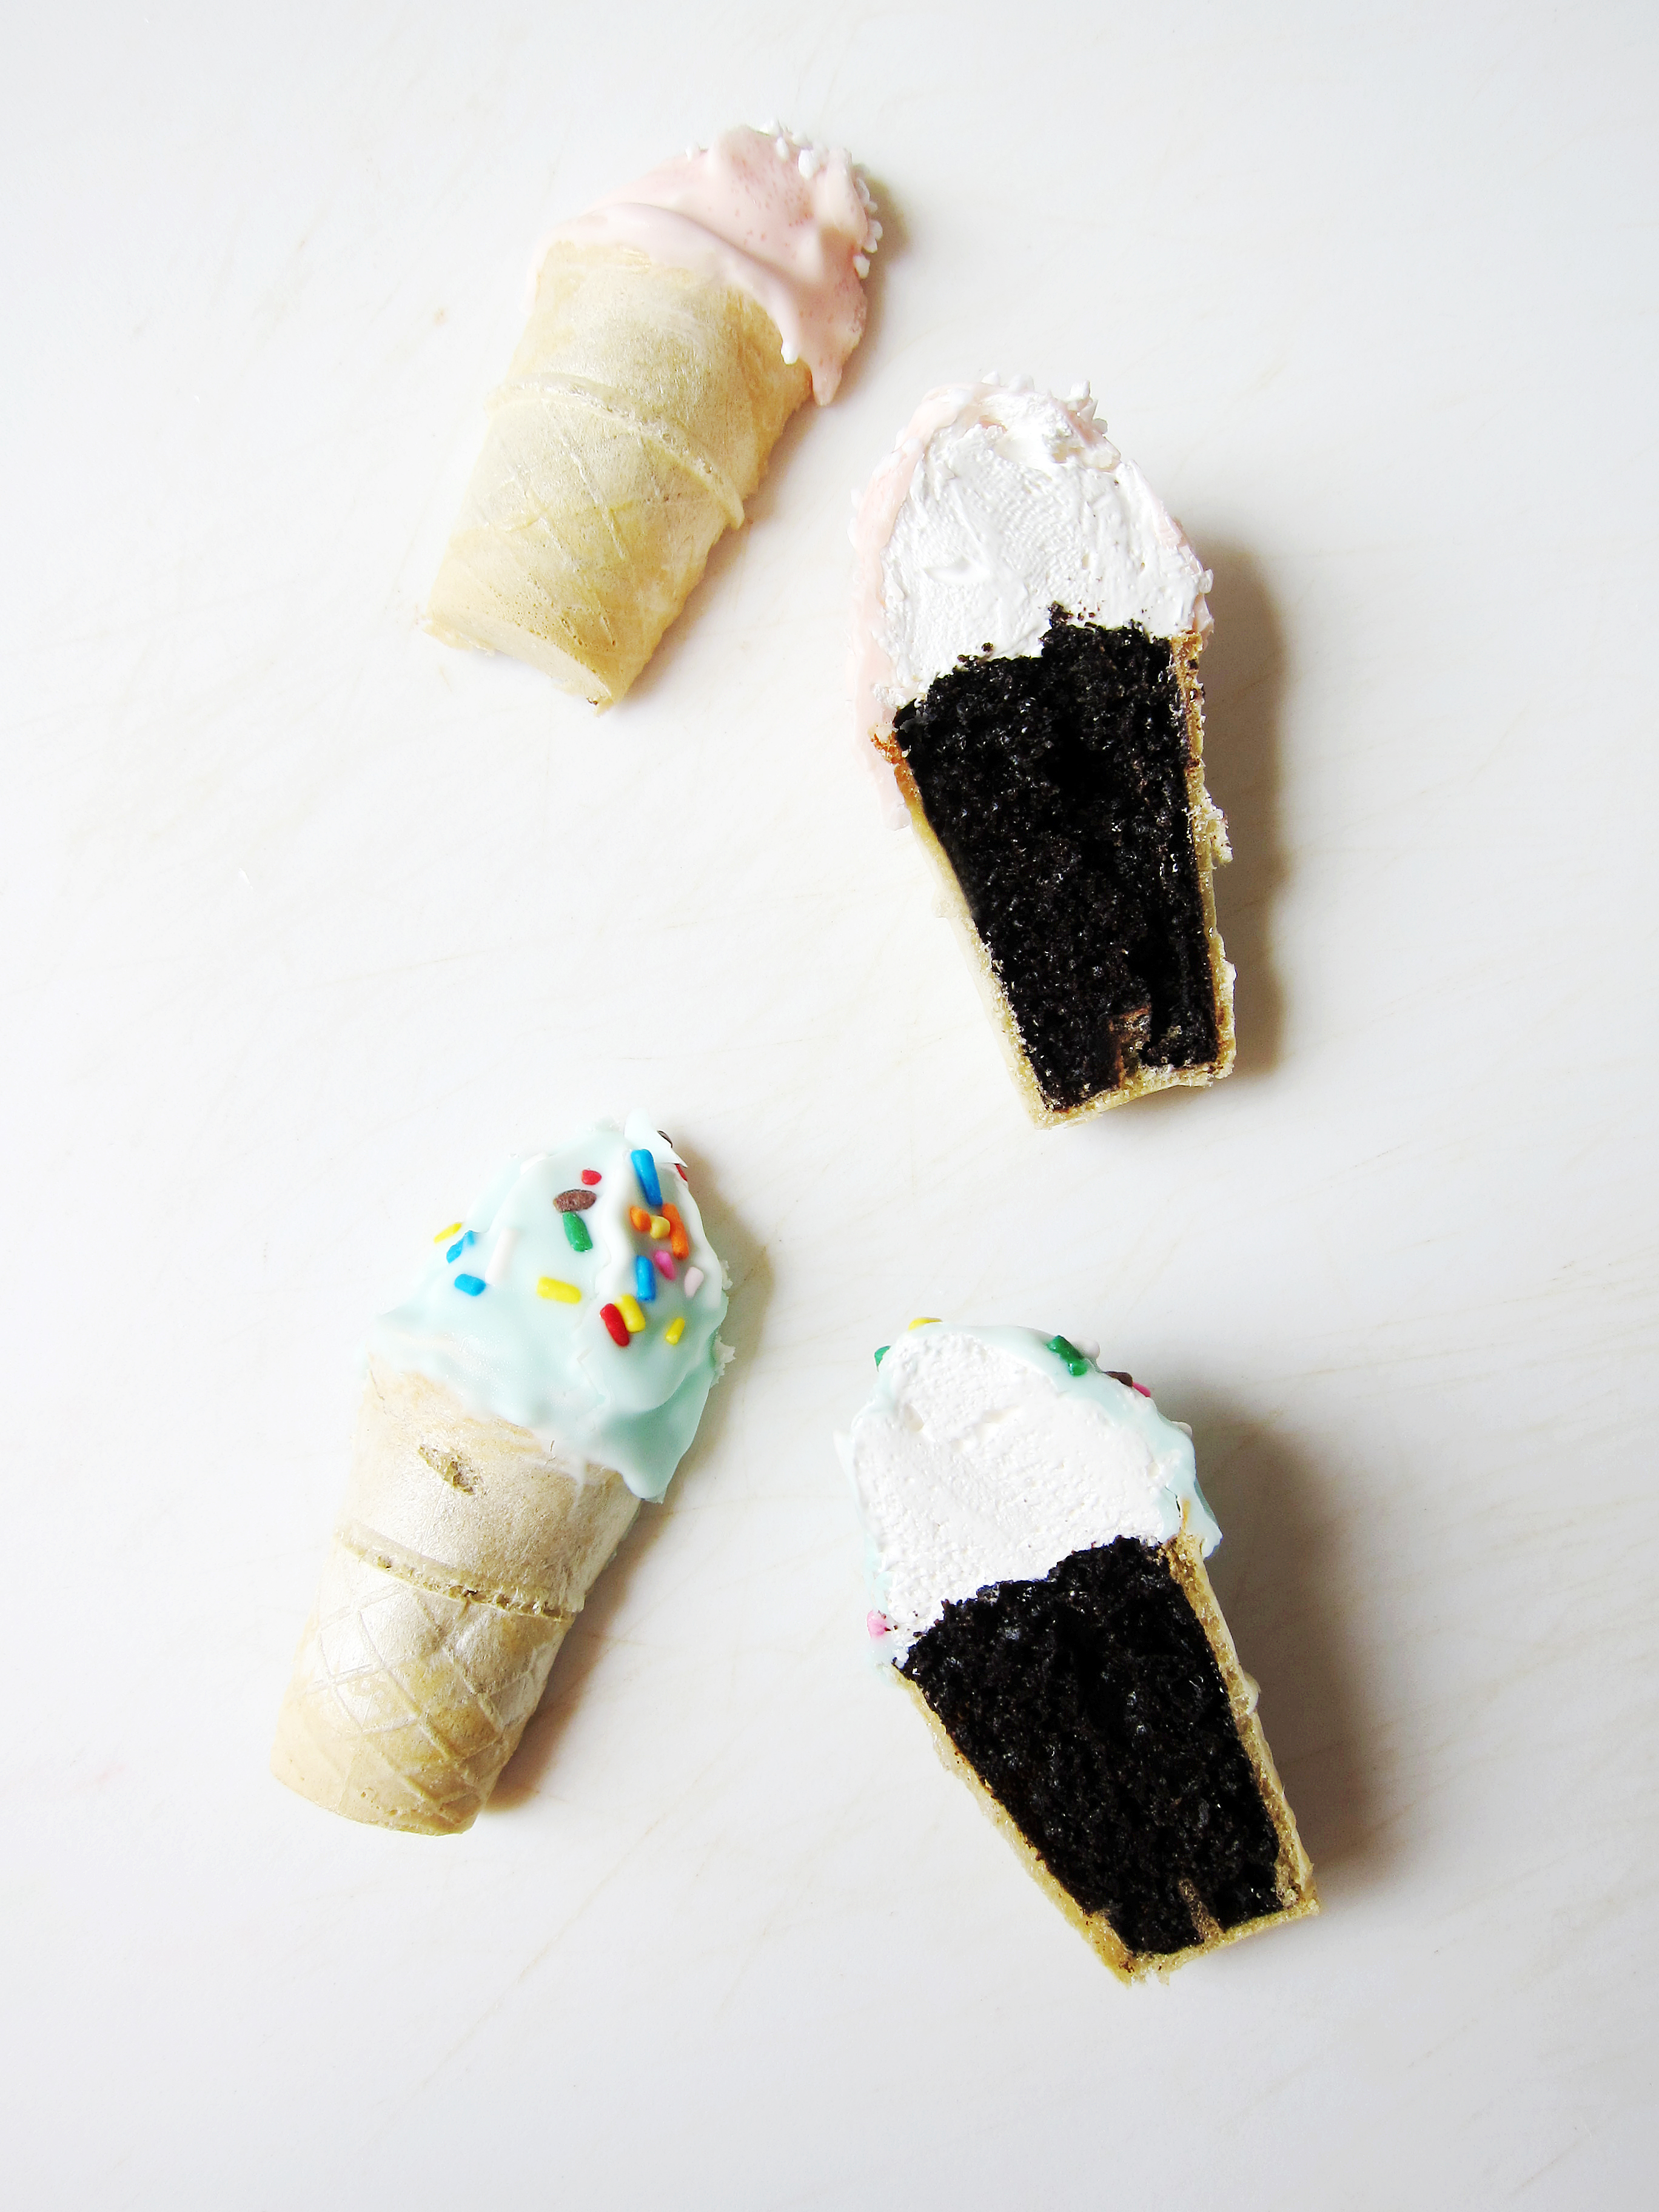


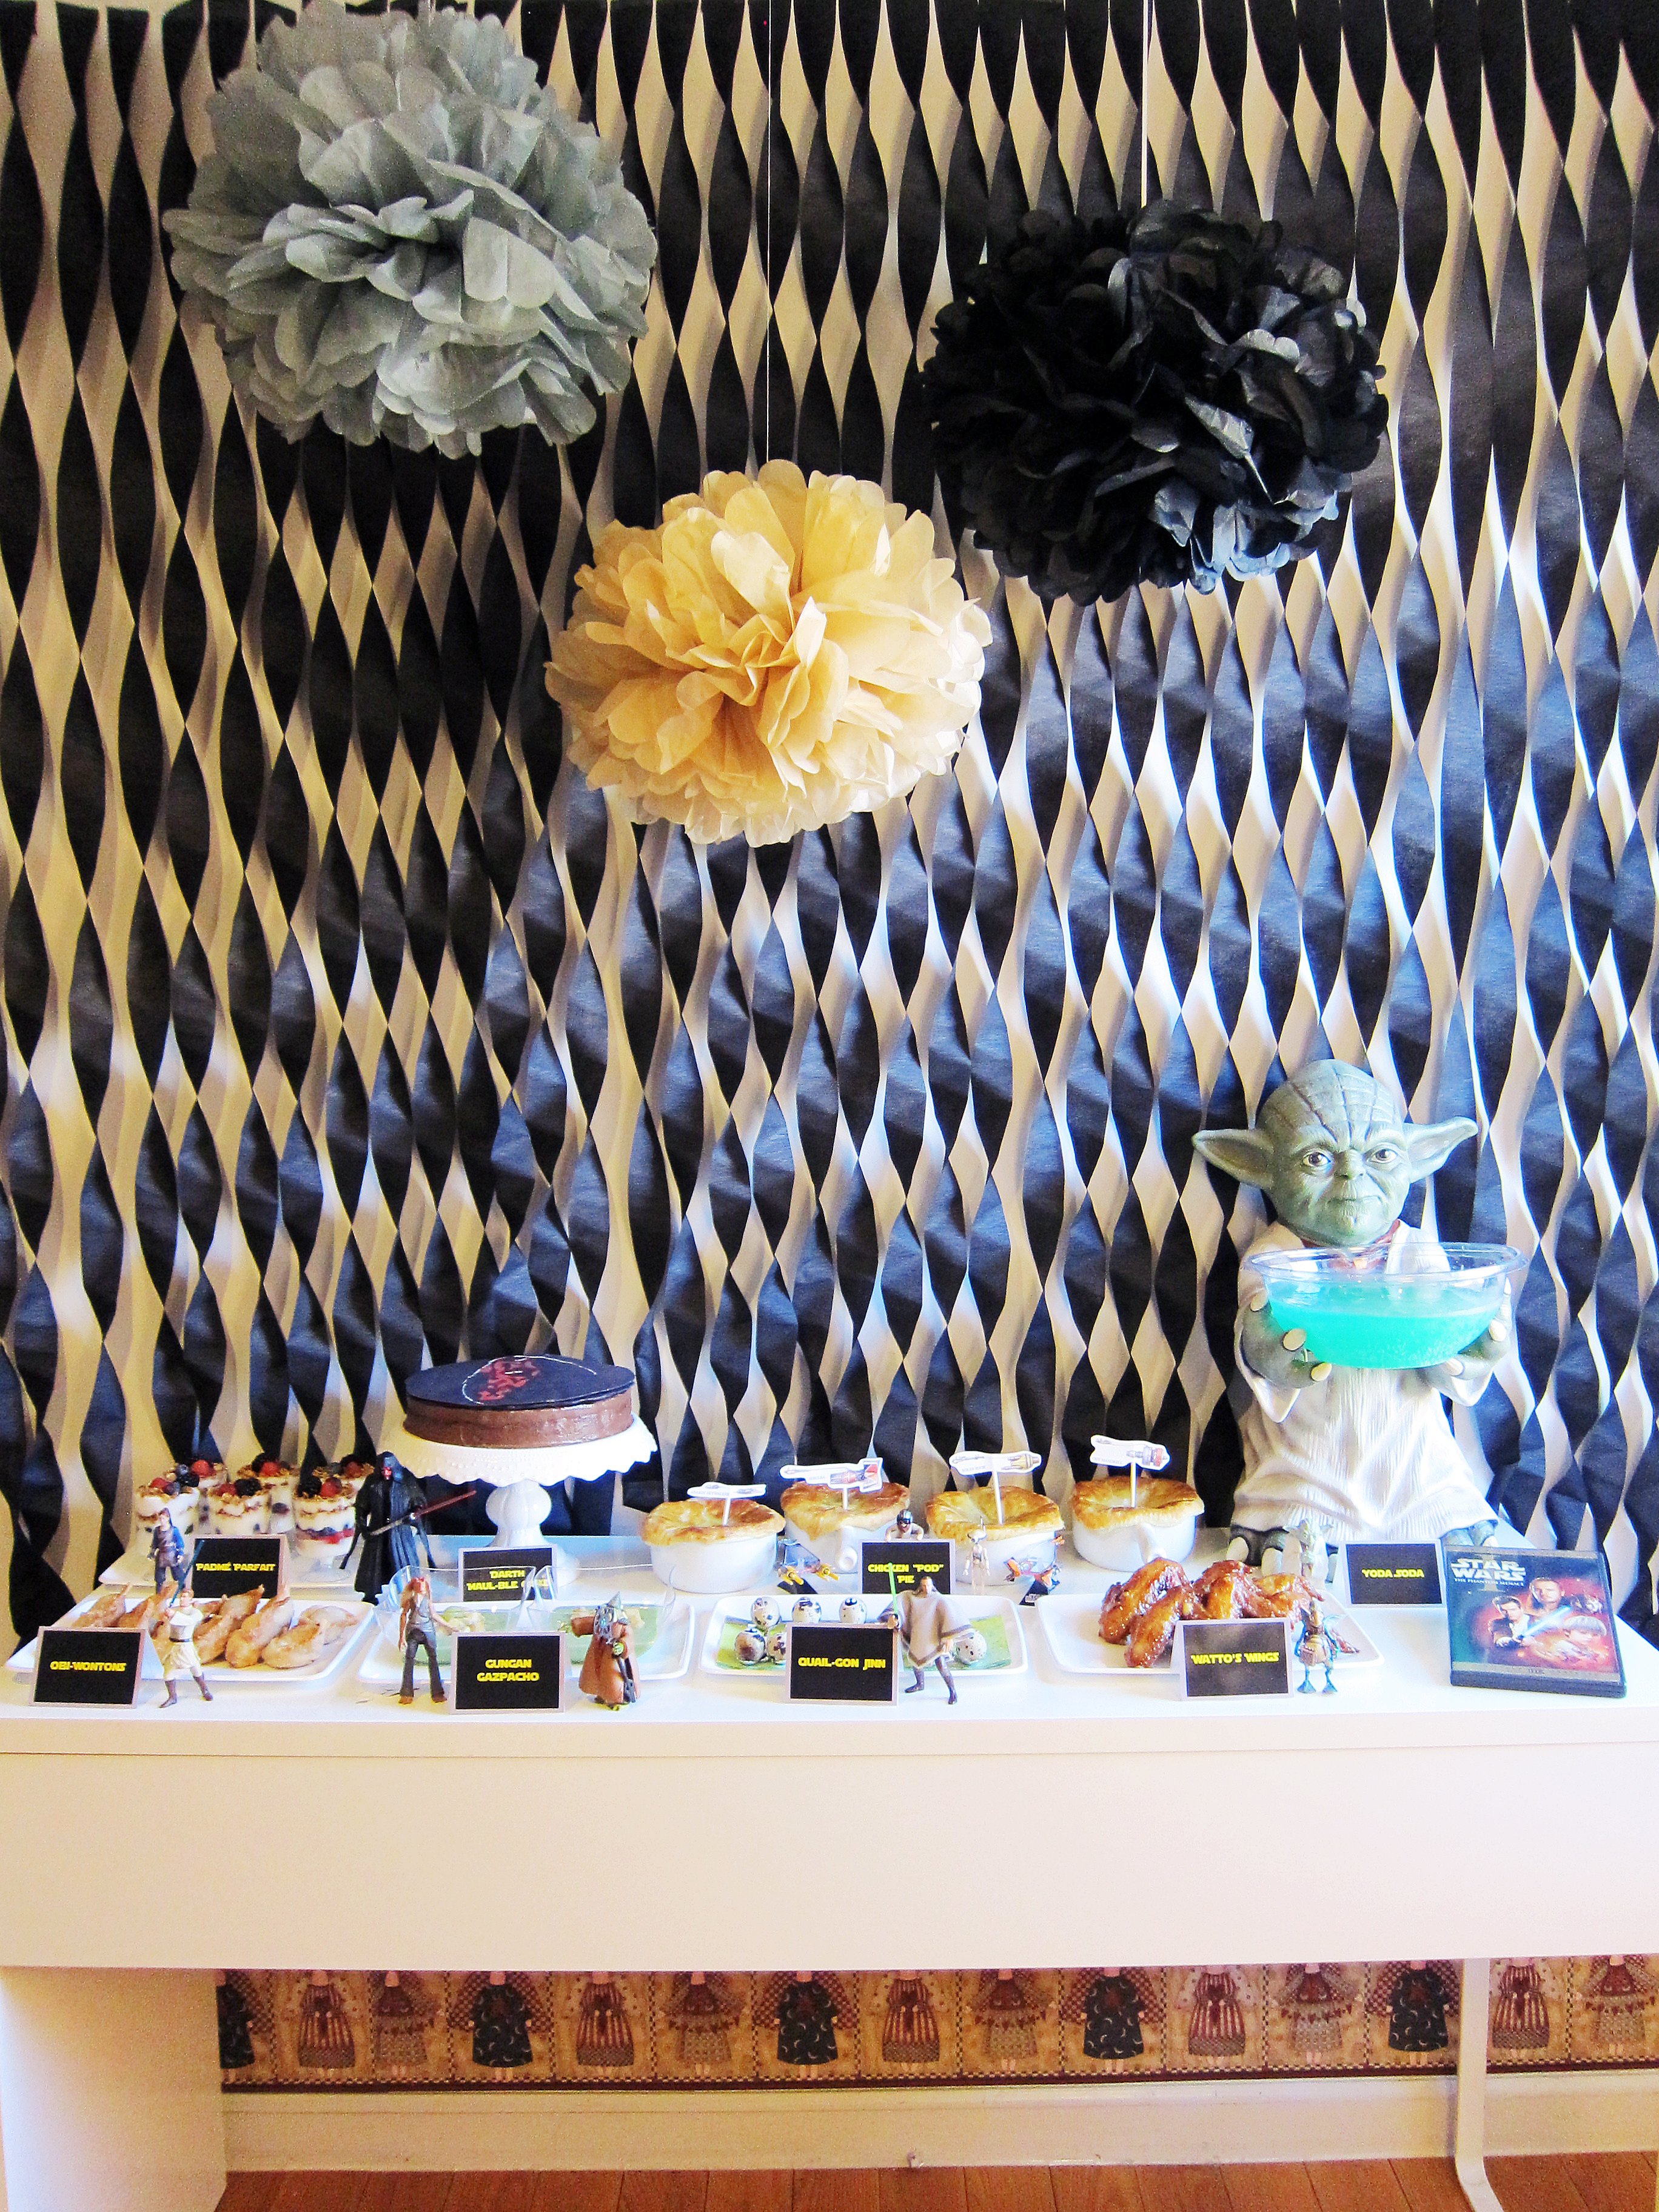

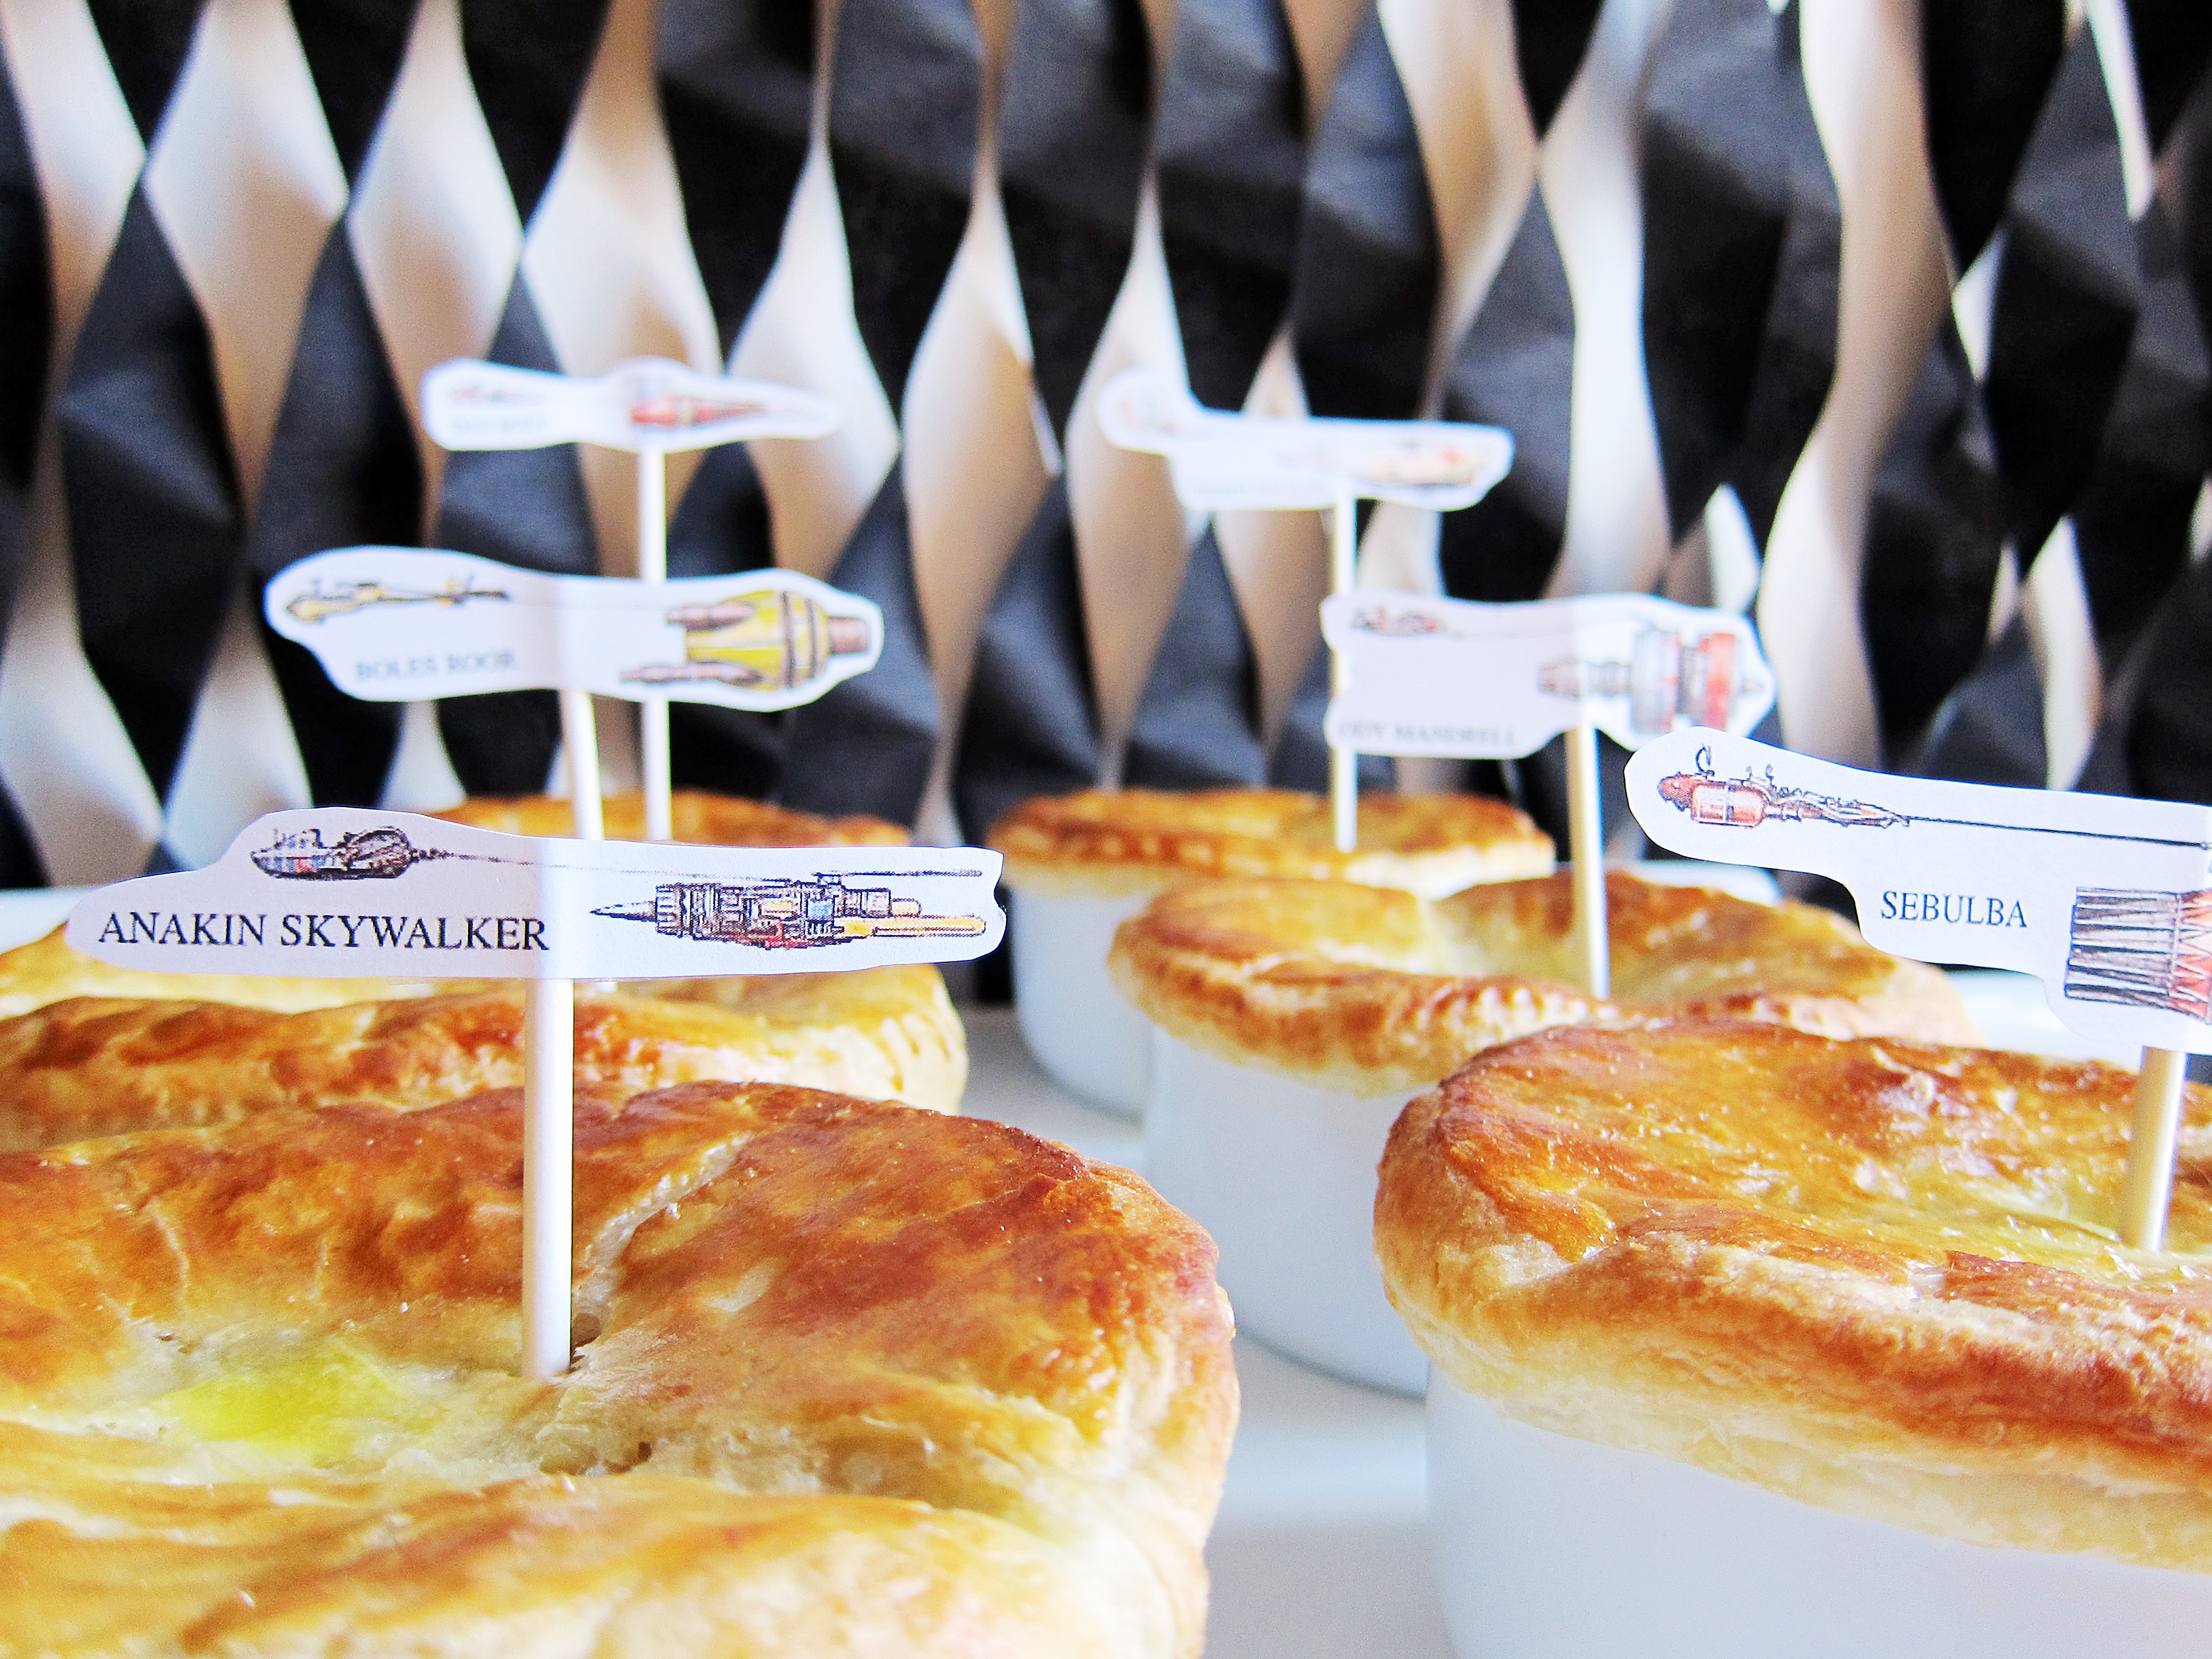
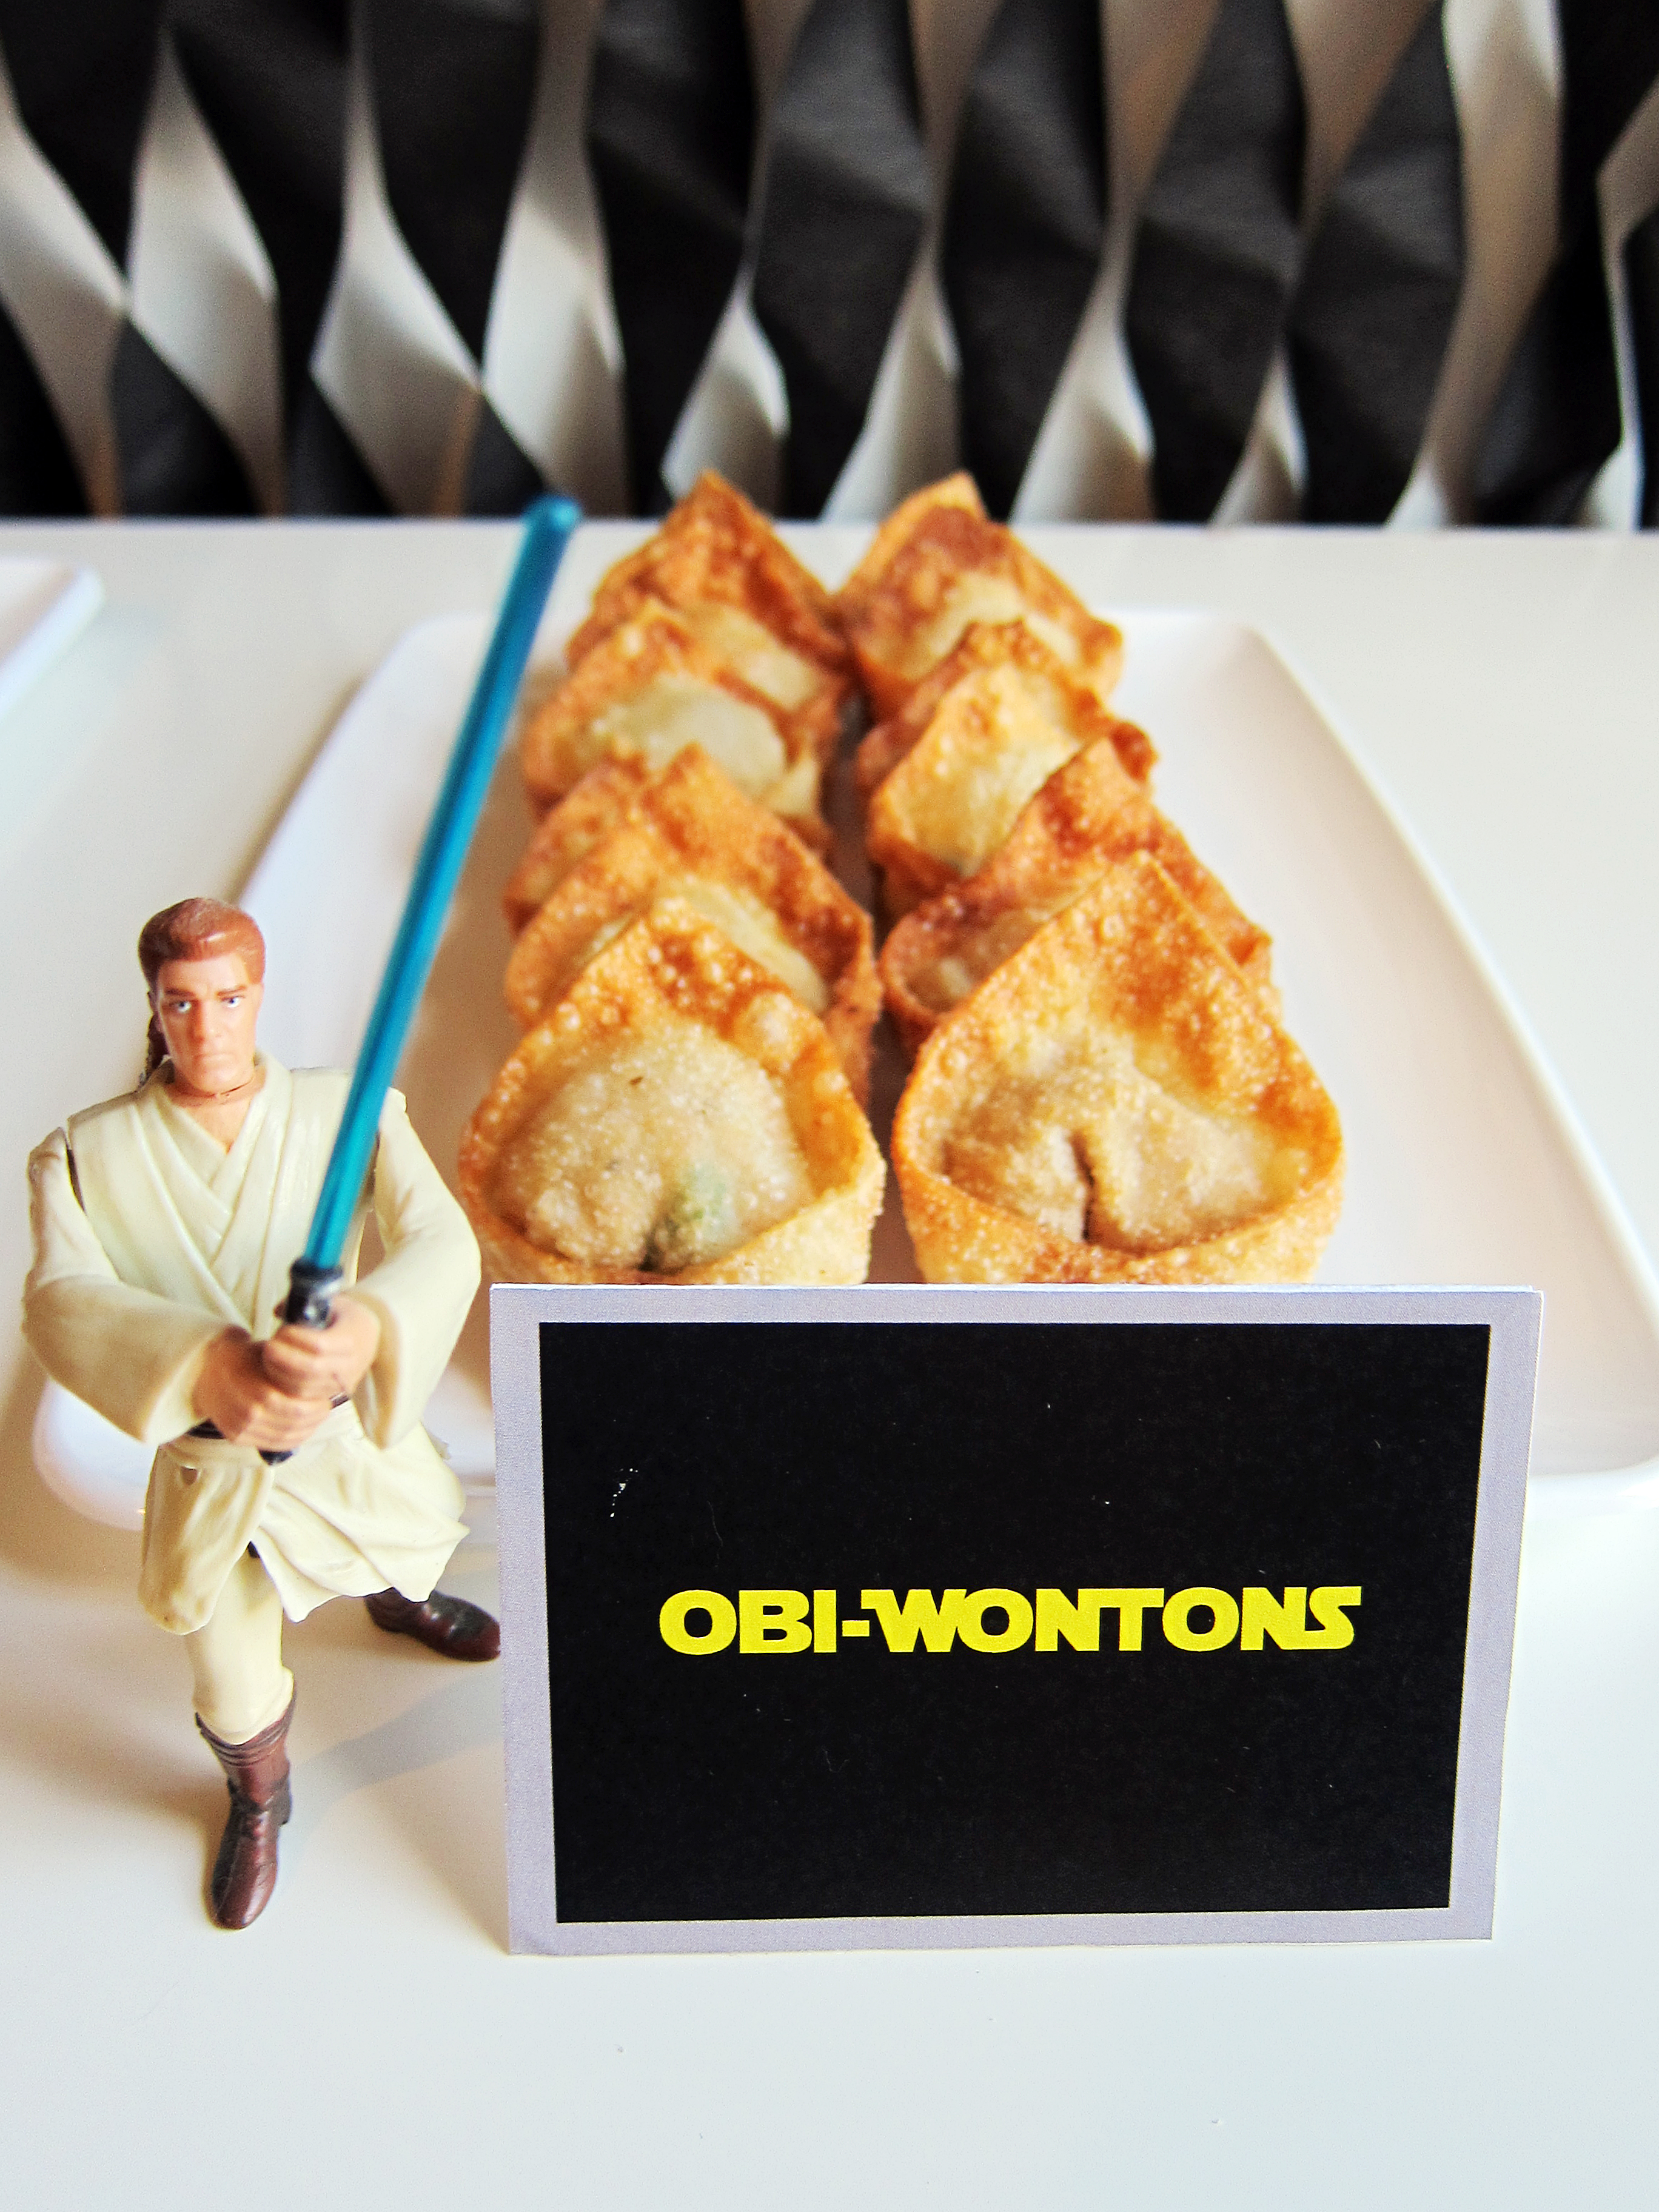
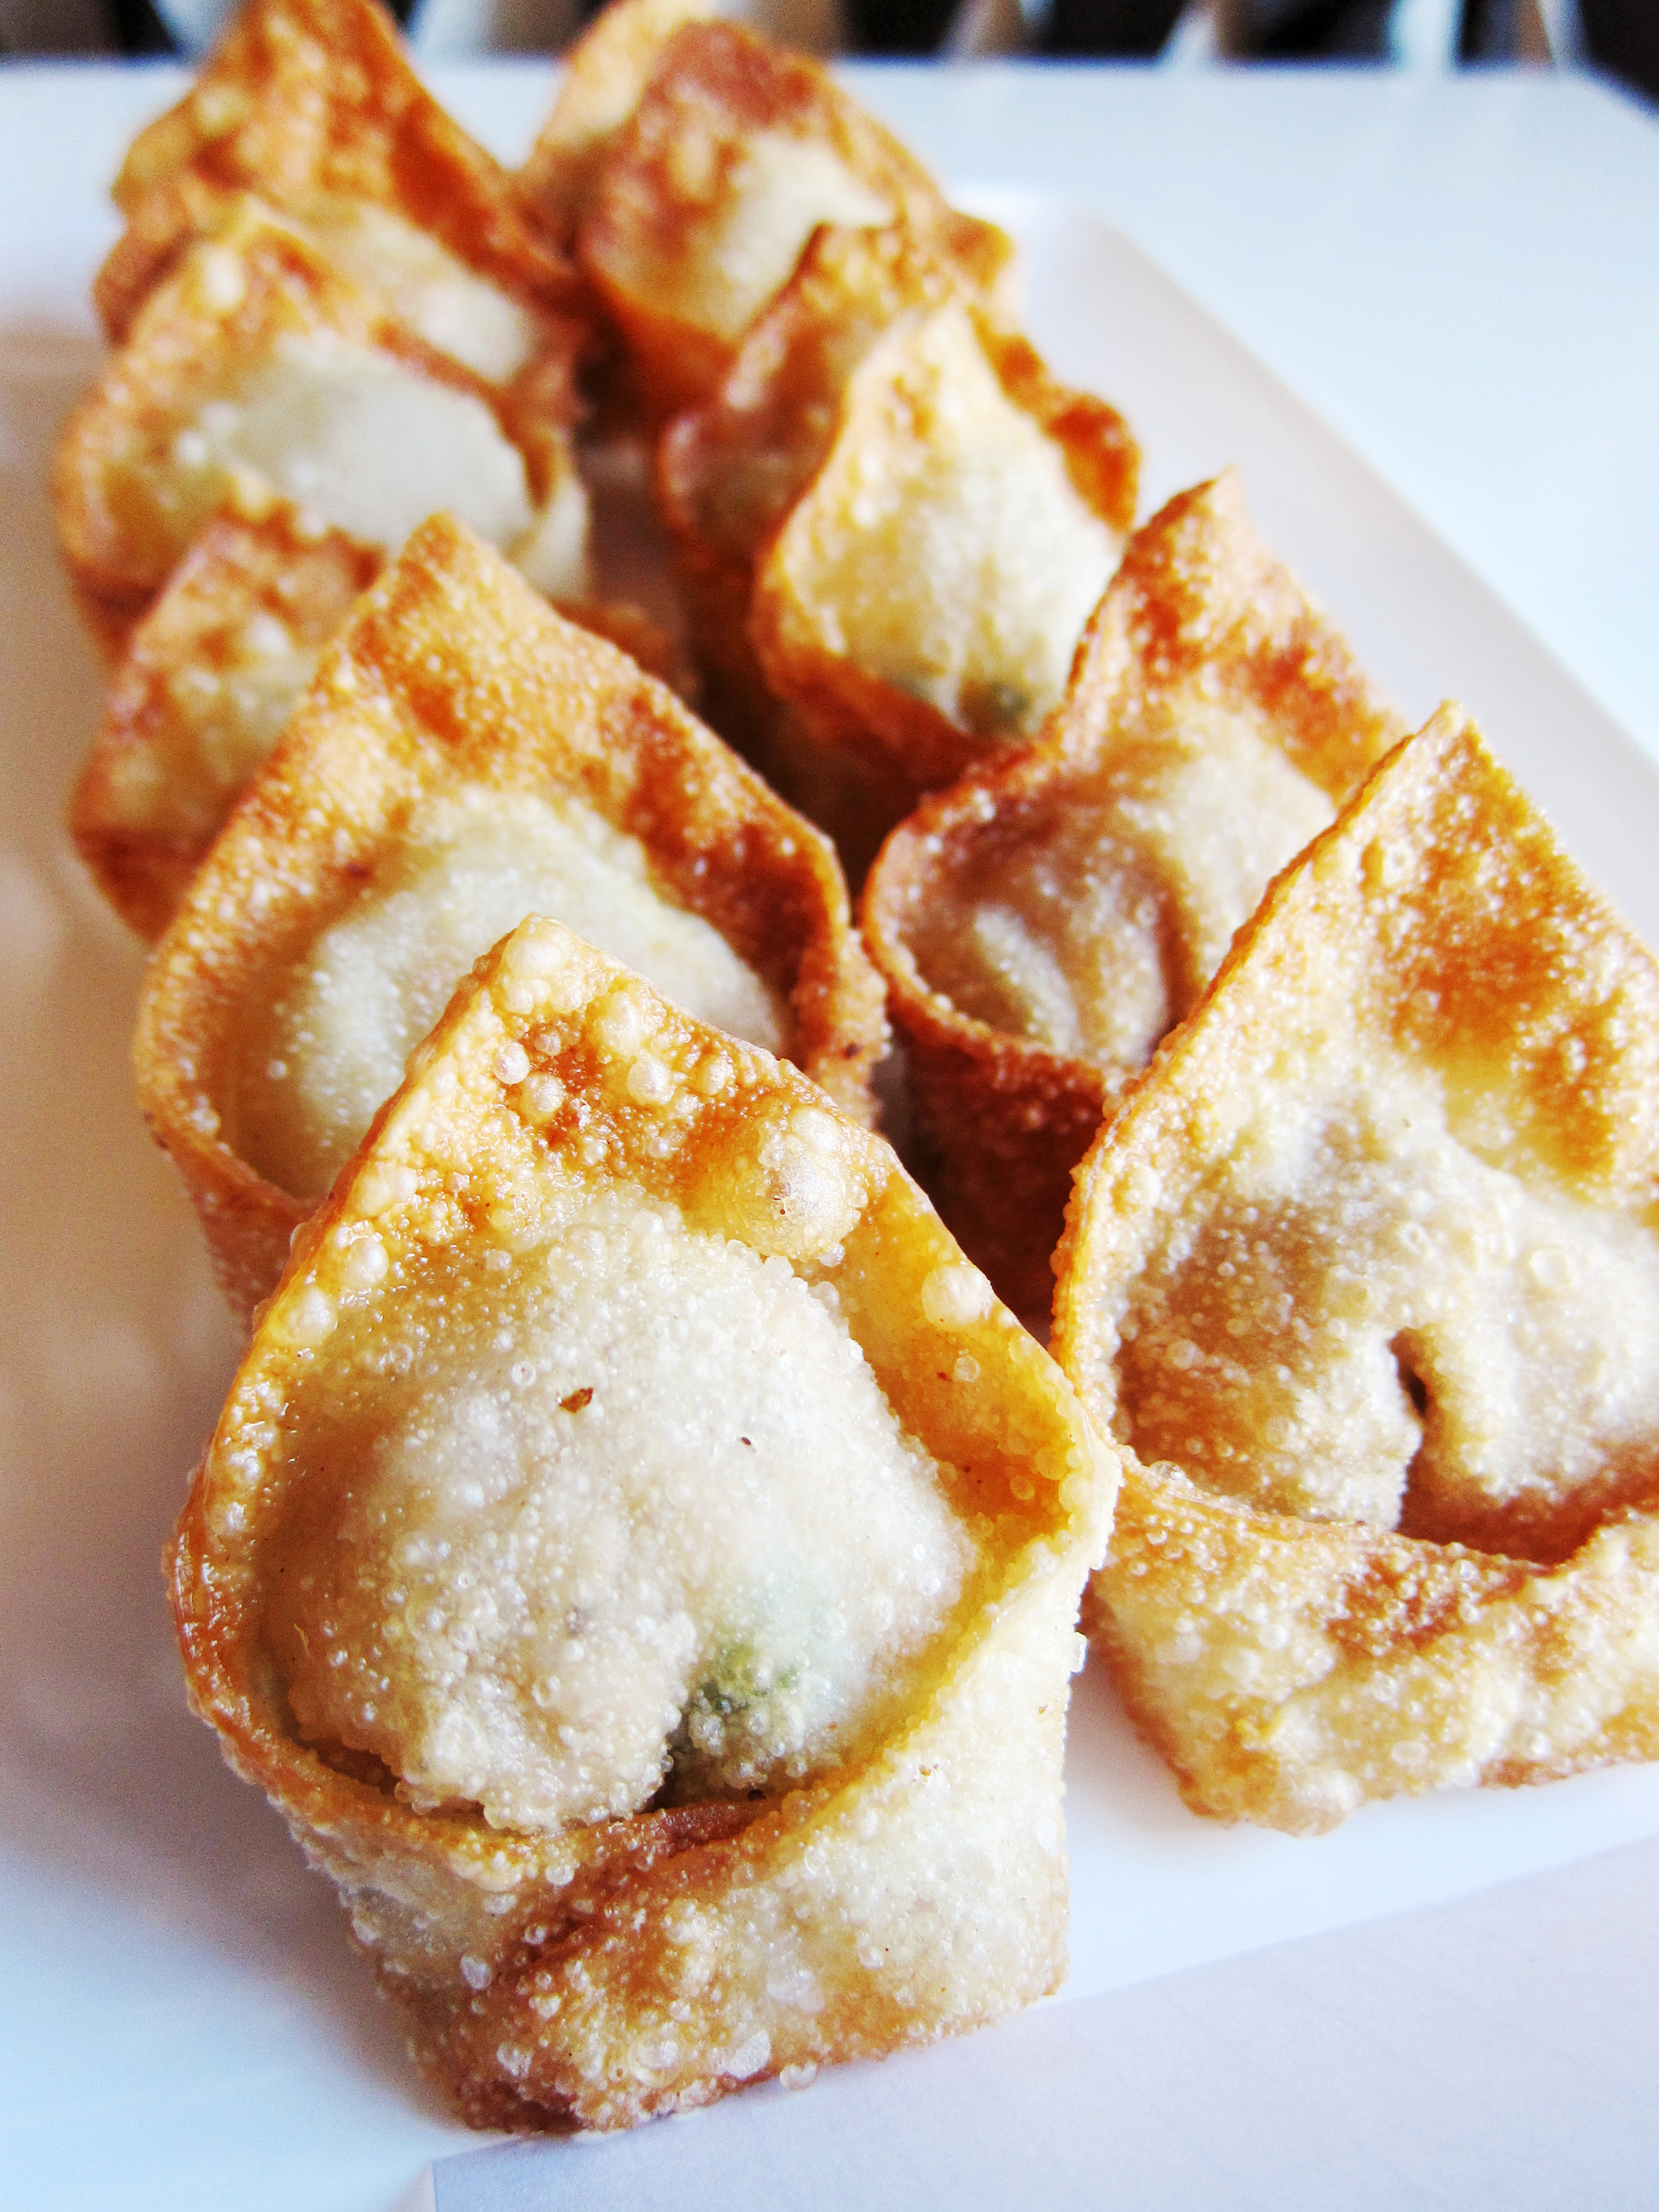
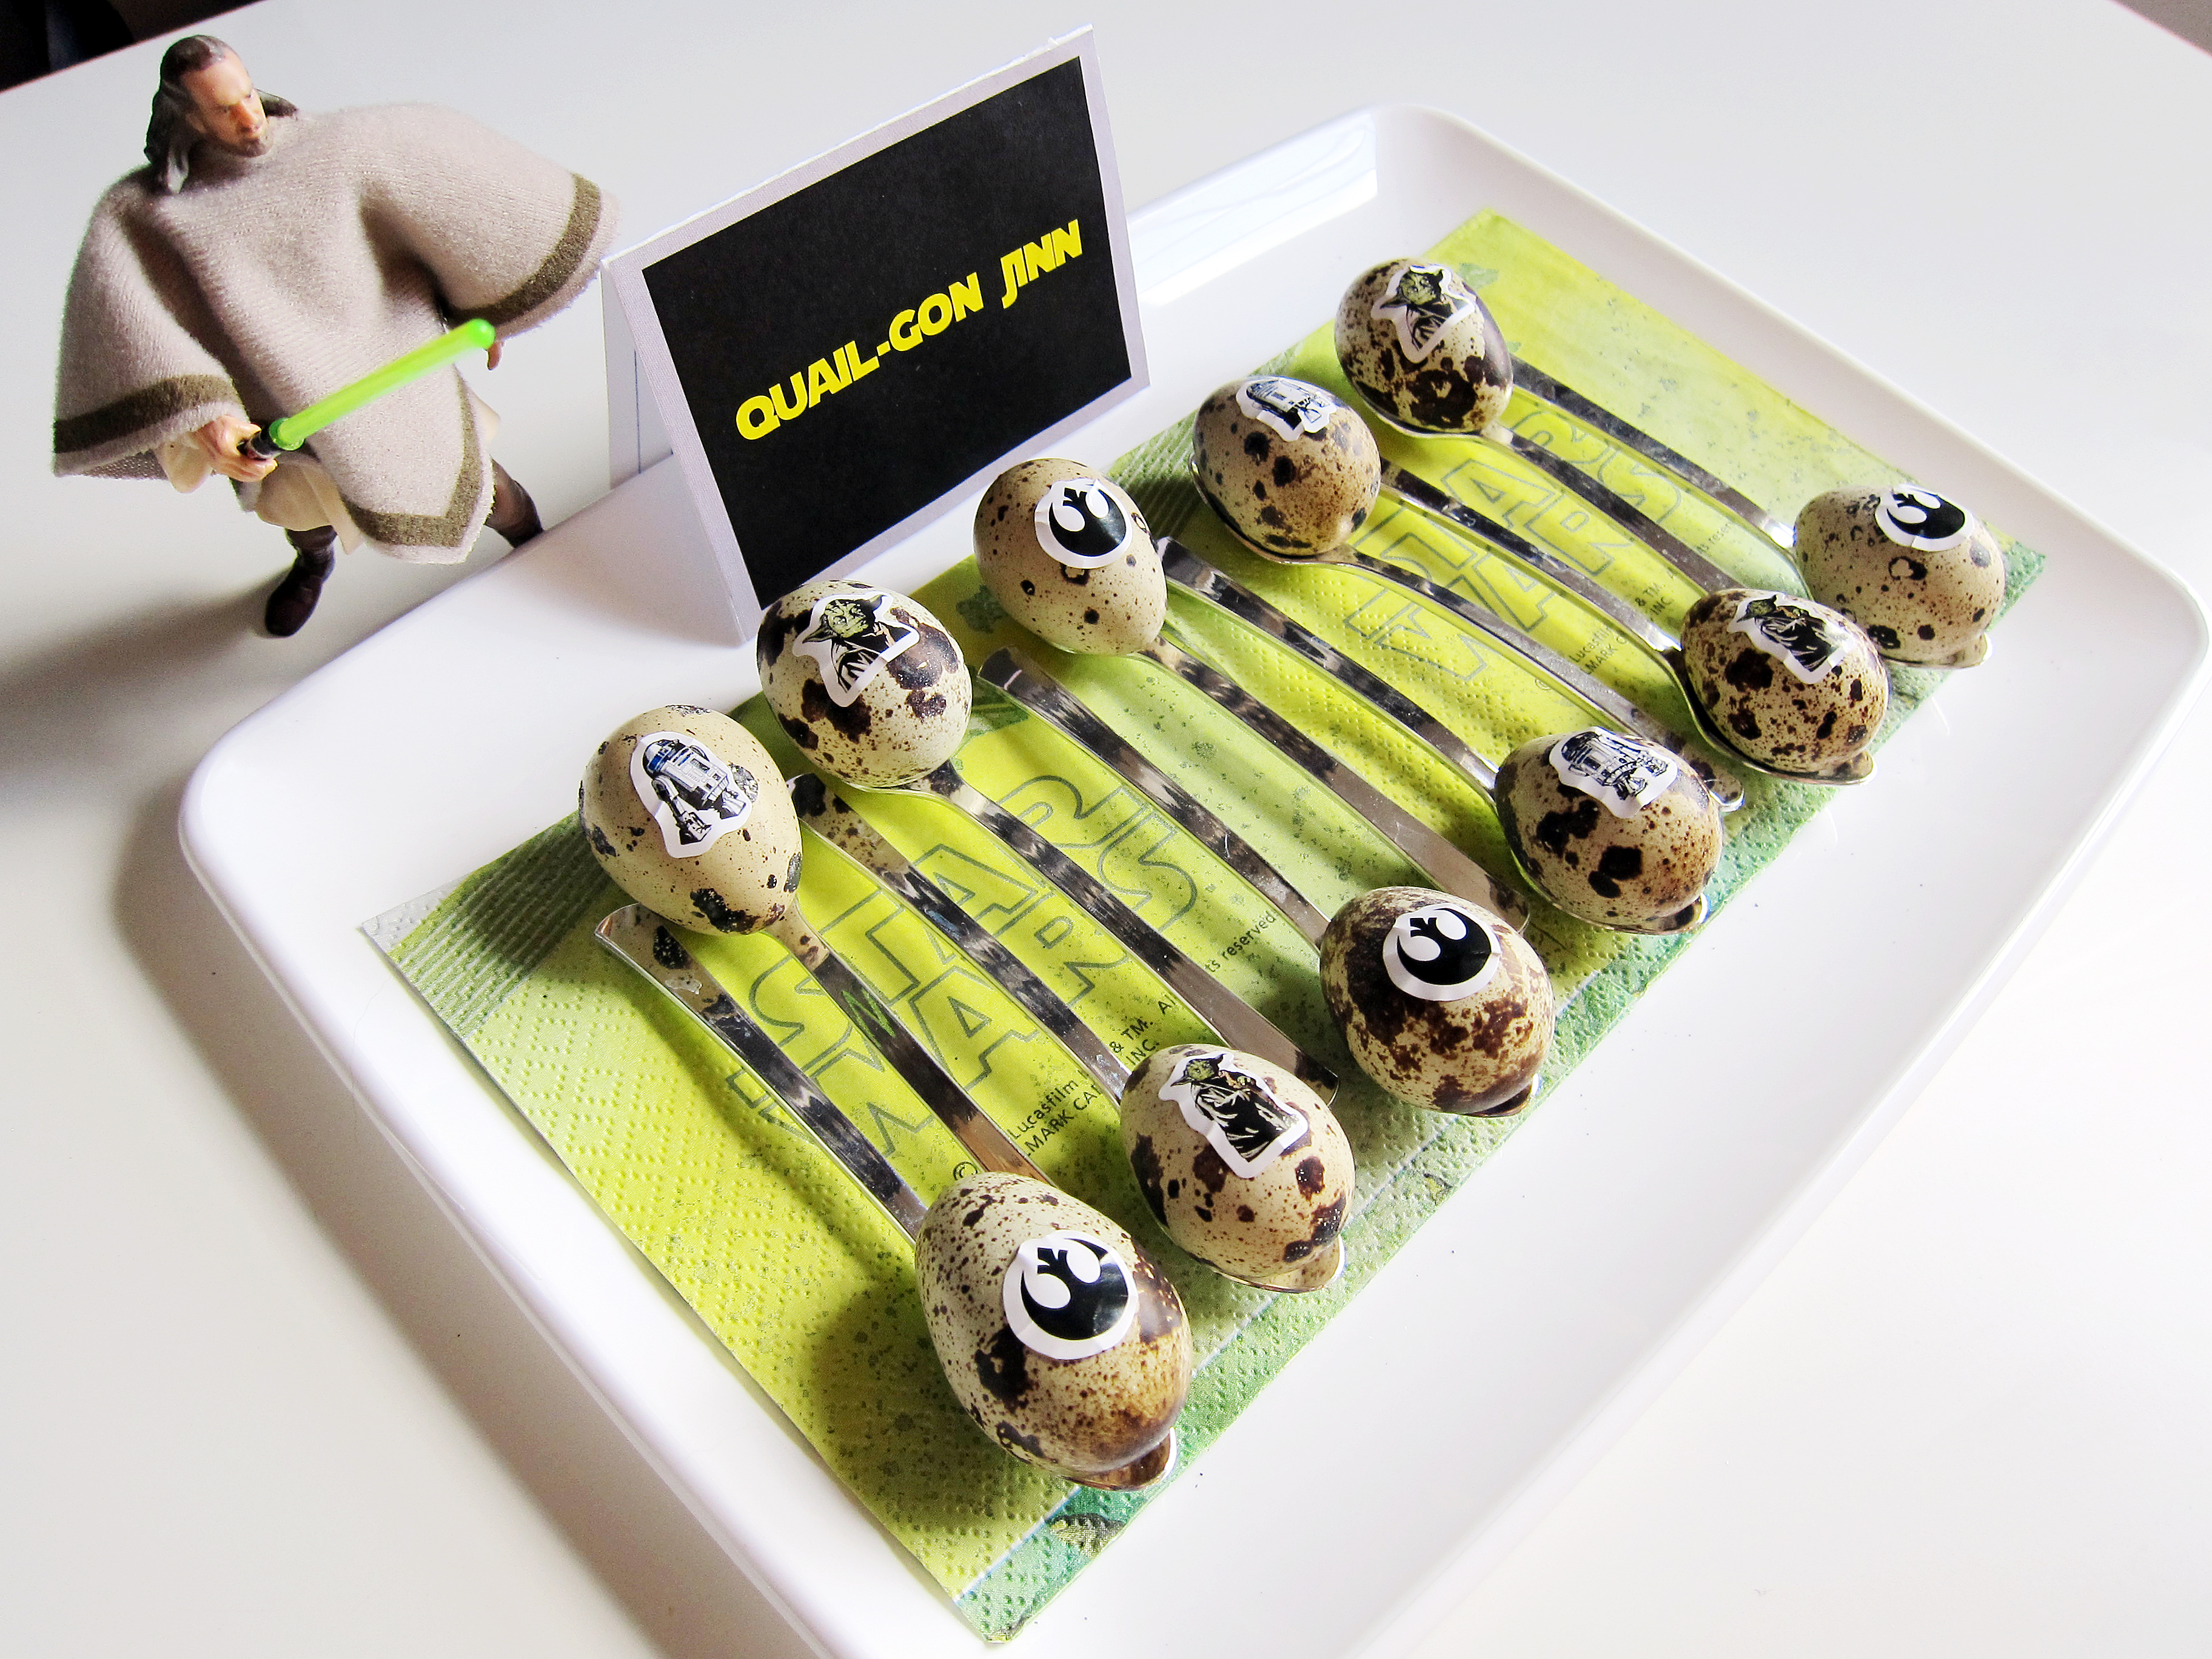
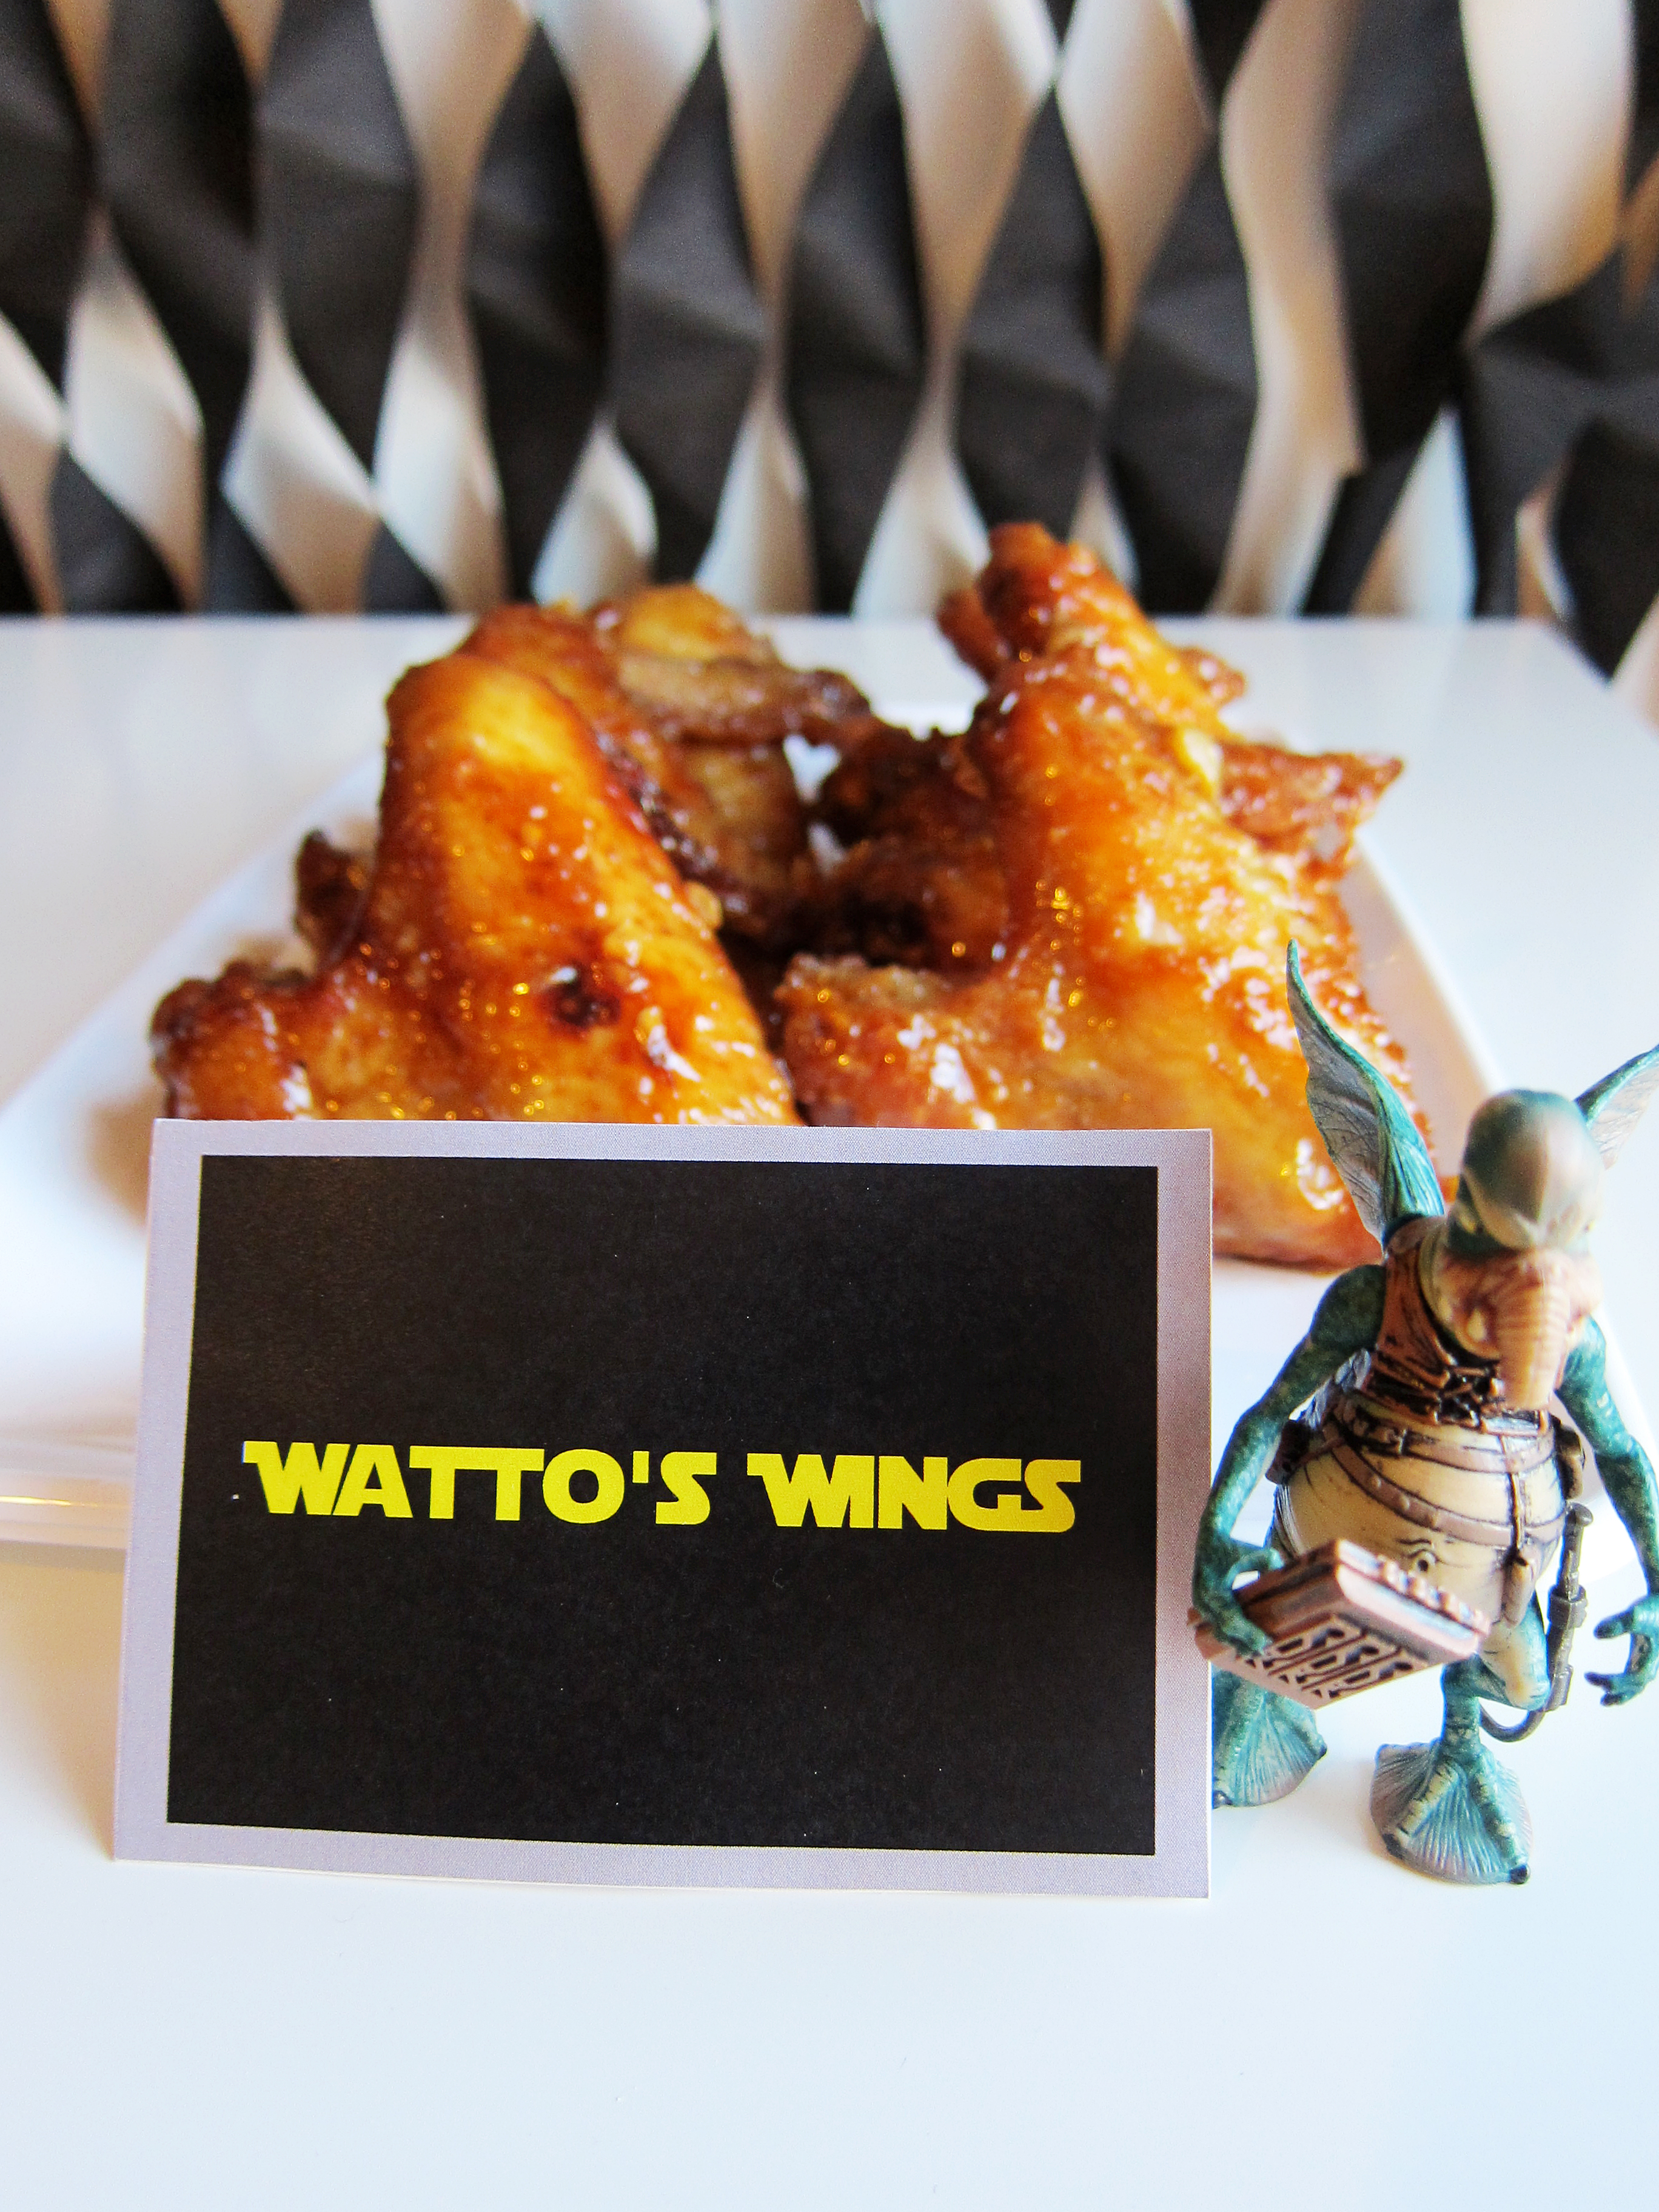
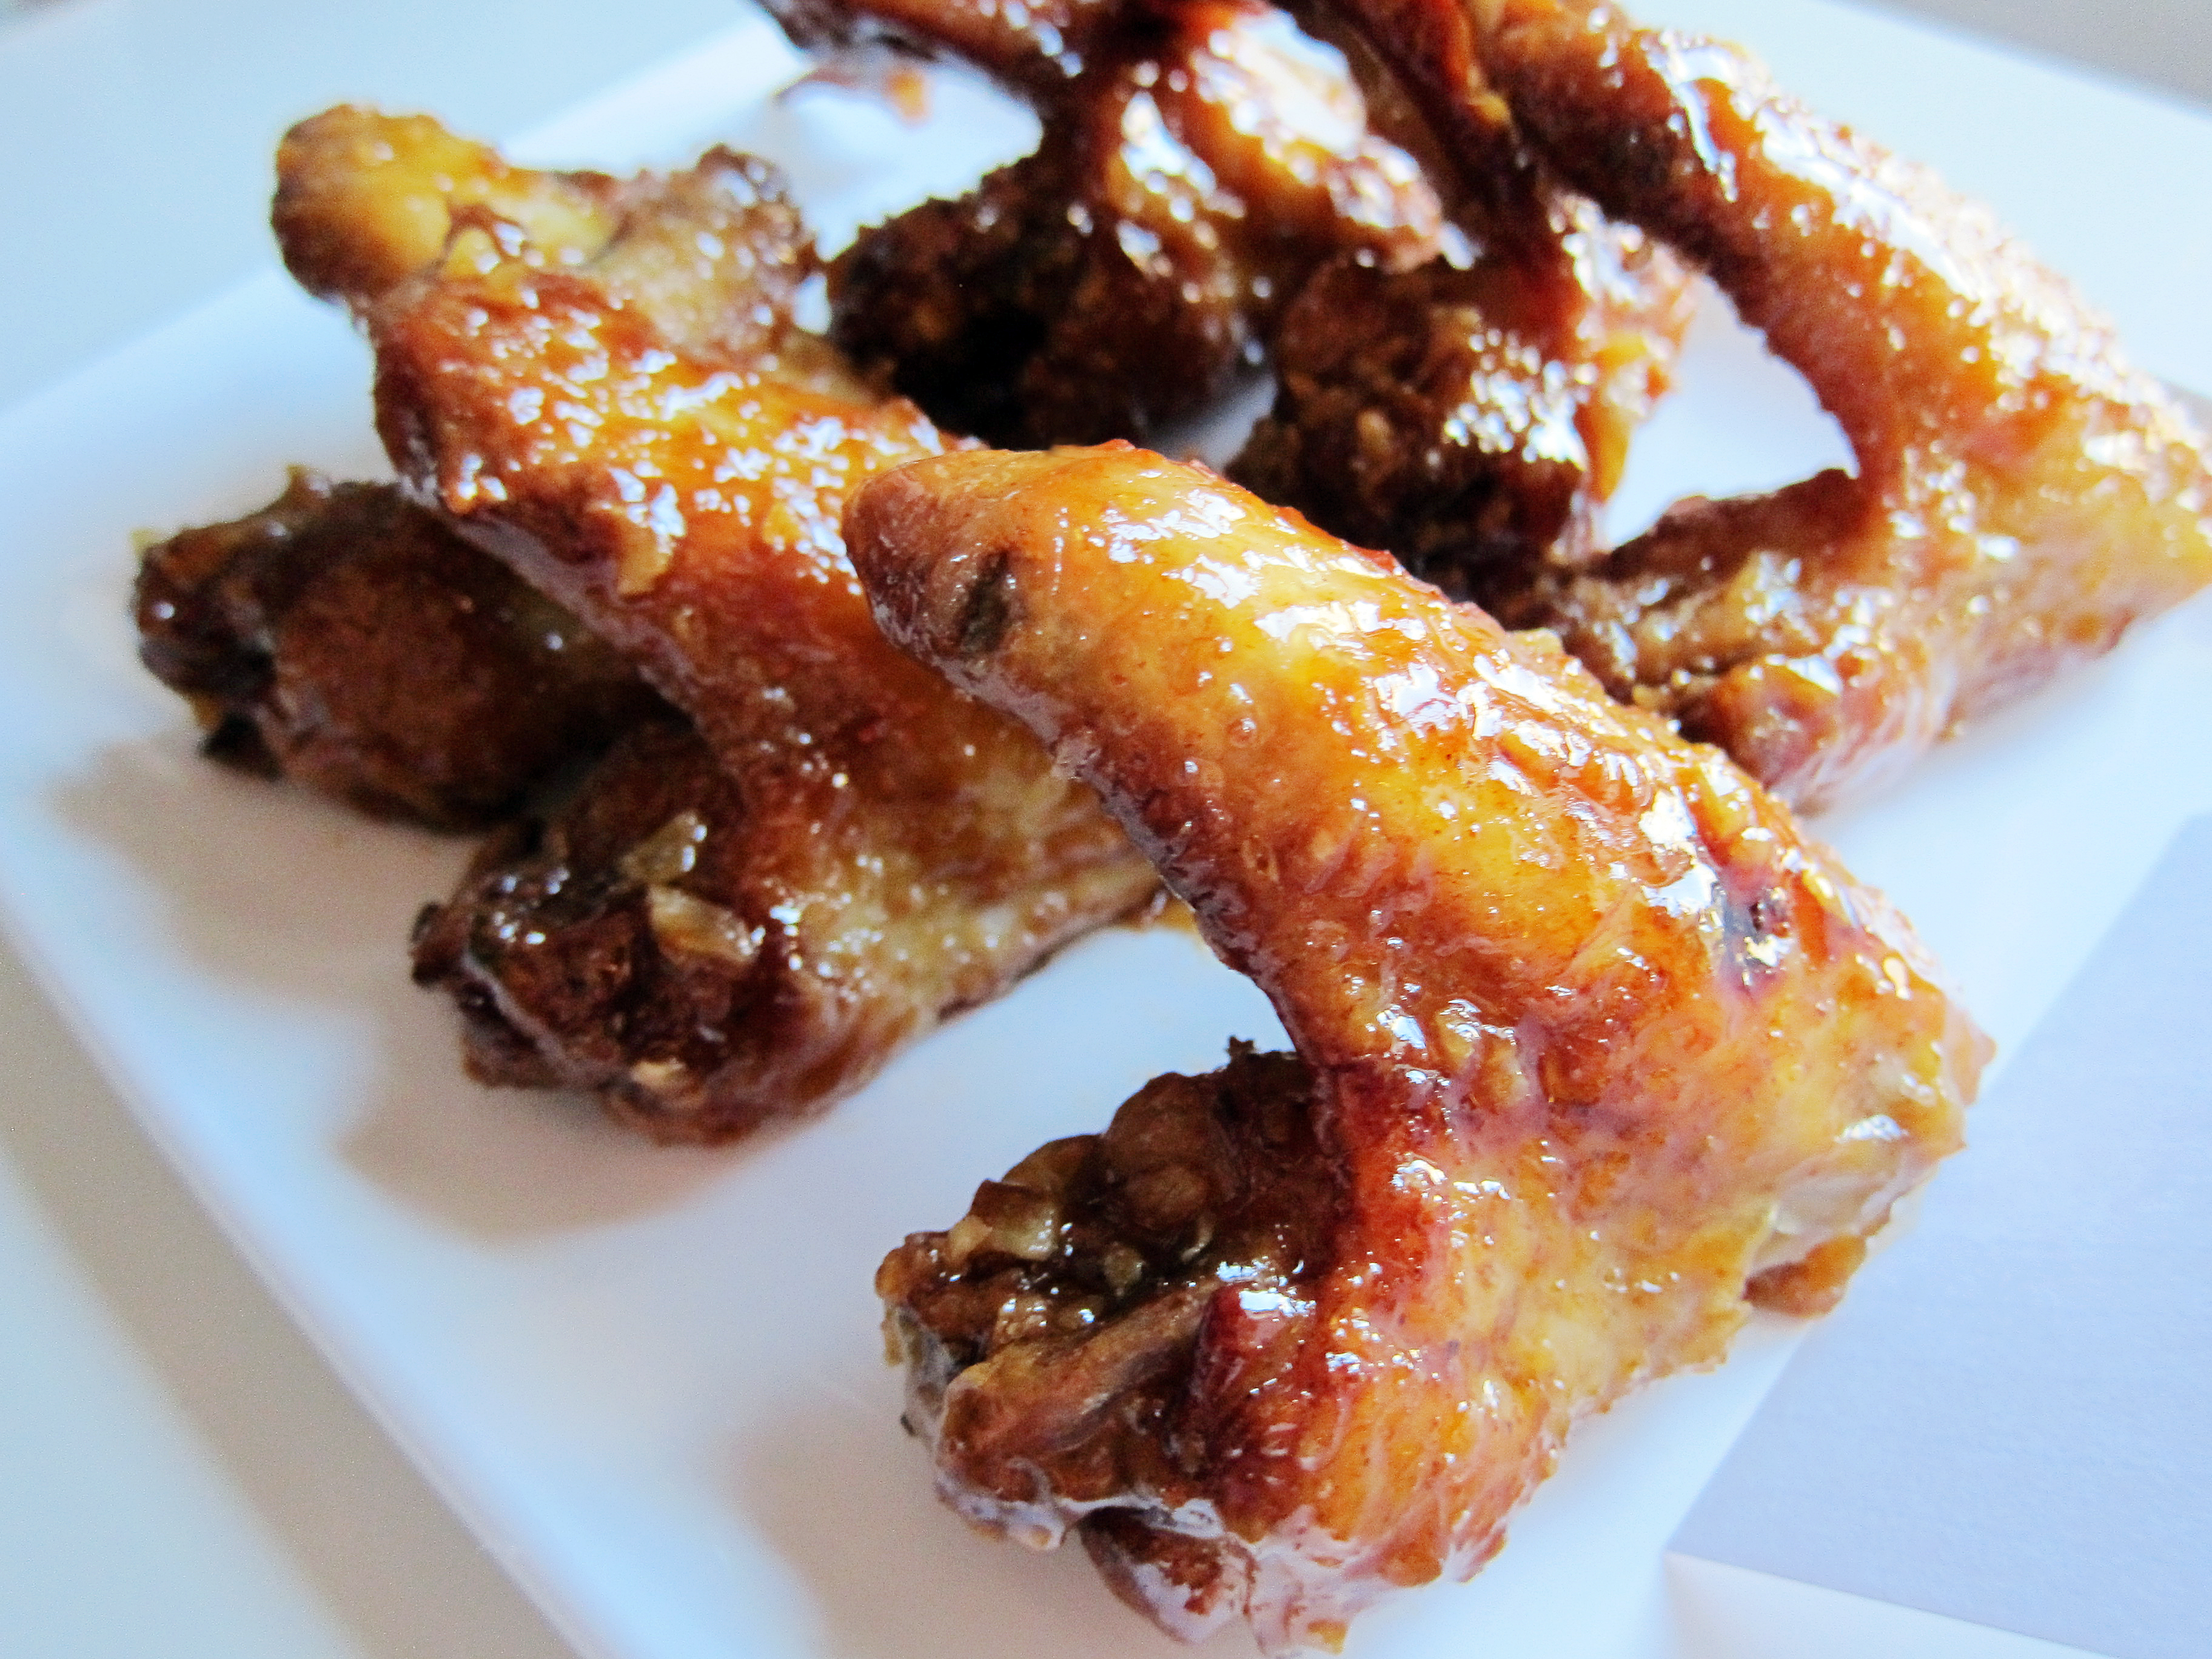
 This year‘s party theme was Episode 1: The Phantom Menace, so all of the food and activities were centered on Episode 1 characters and settings. Here are the things we made for SW Day*:


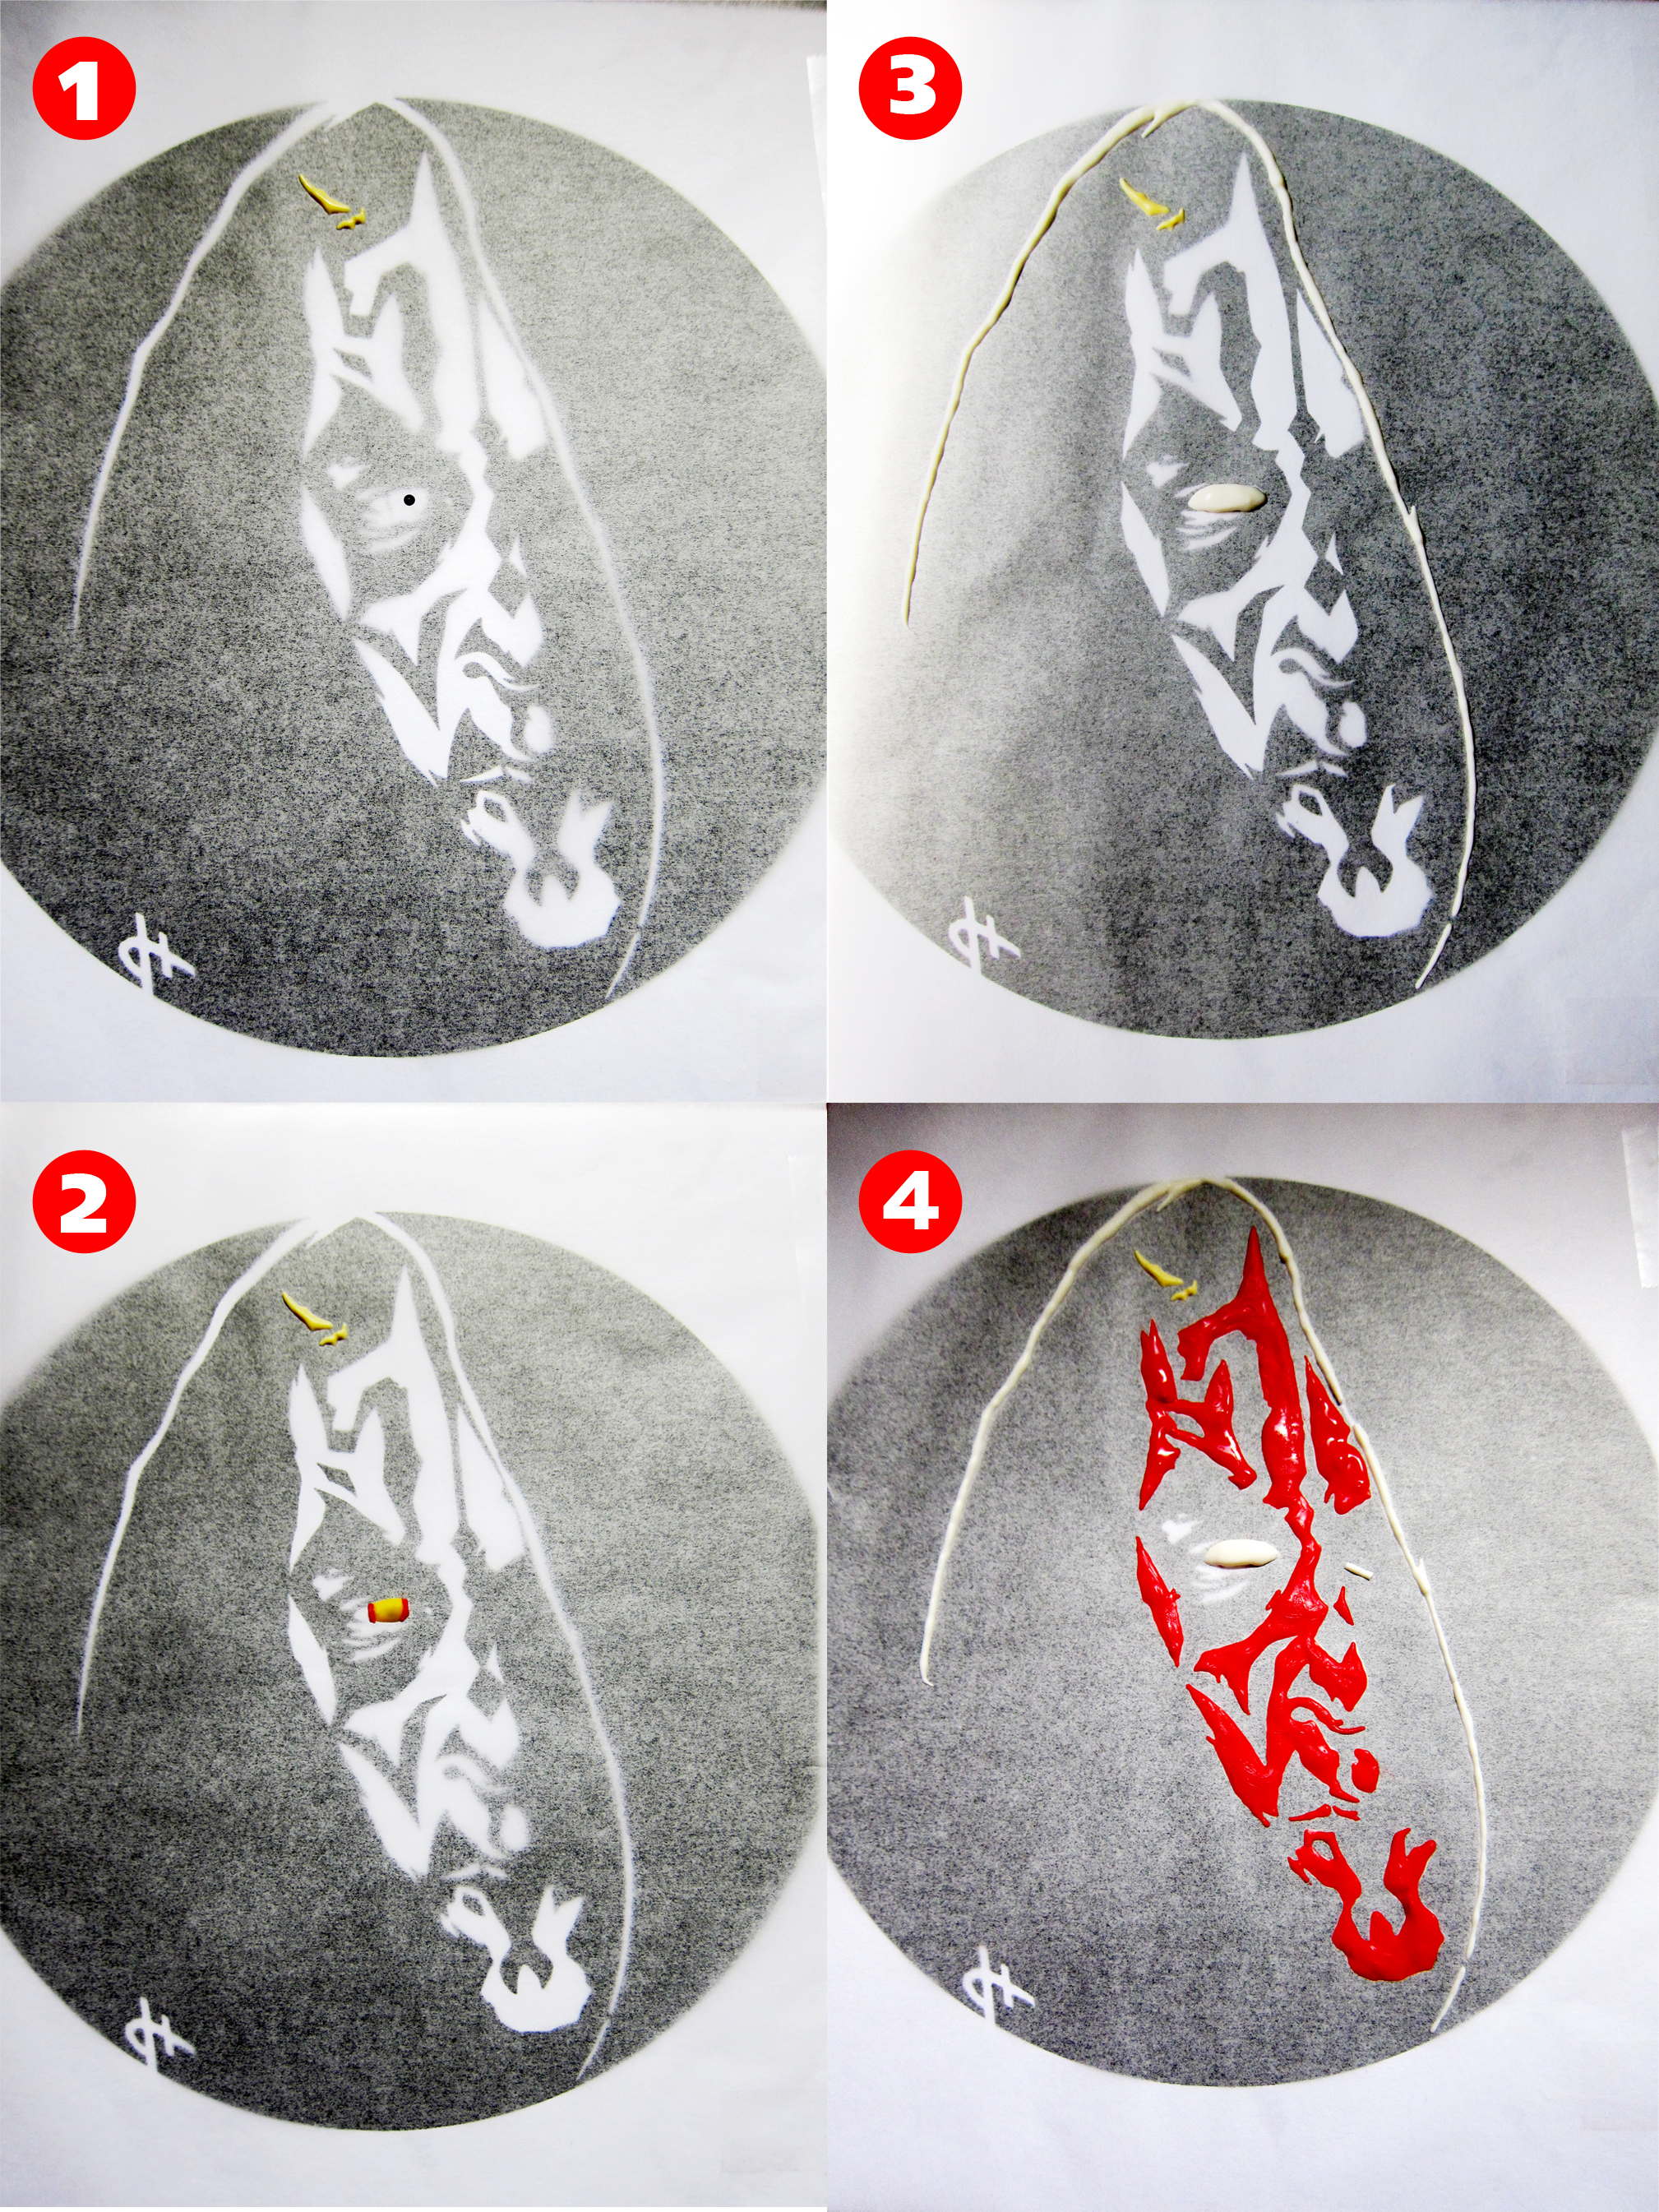
 Darth Maul-ble Cake


