
 There is a store called “Marbles: The Brain Store” in my local mall. As the name suggests, the store mainly sells puzzles and games that exercise your brain. I ended up stopping by a few years ago with my friends and while we were browsing, we noticed a display of various puzzles. When one of us picked up a jigsaw puzzle of Jackson Pollock’s Convergence, a store clerk leaned over to us and commented, “I’ve never seen anyone complete it.” Of course after a comment like that, we HAD to take it home and try to solve it. A few years later, it’s still incomplete and sitting in my room.
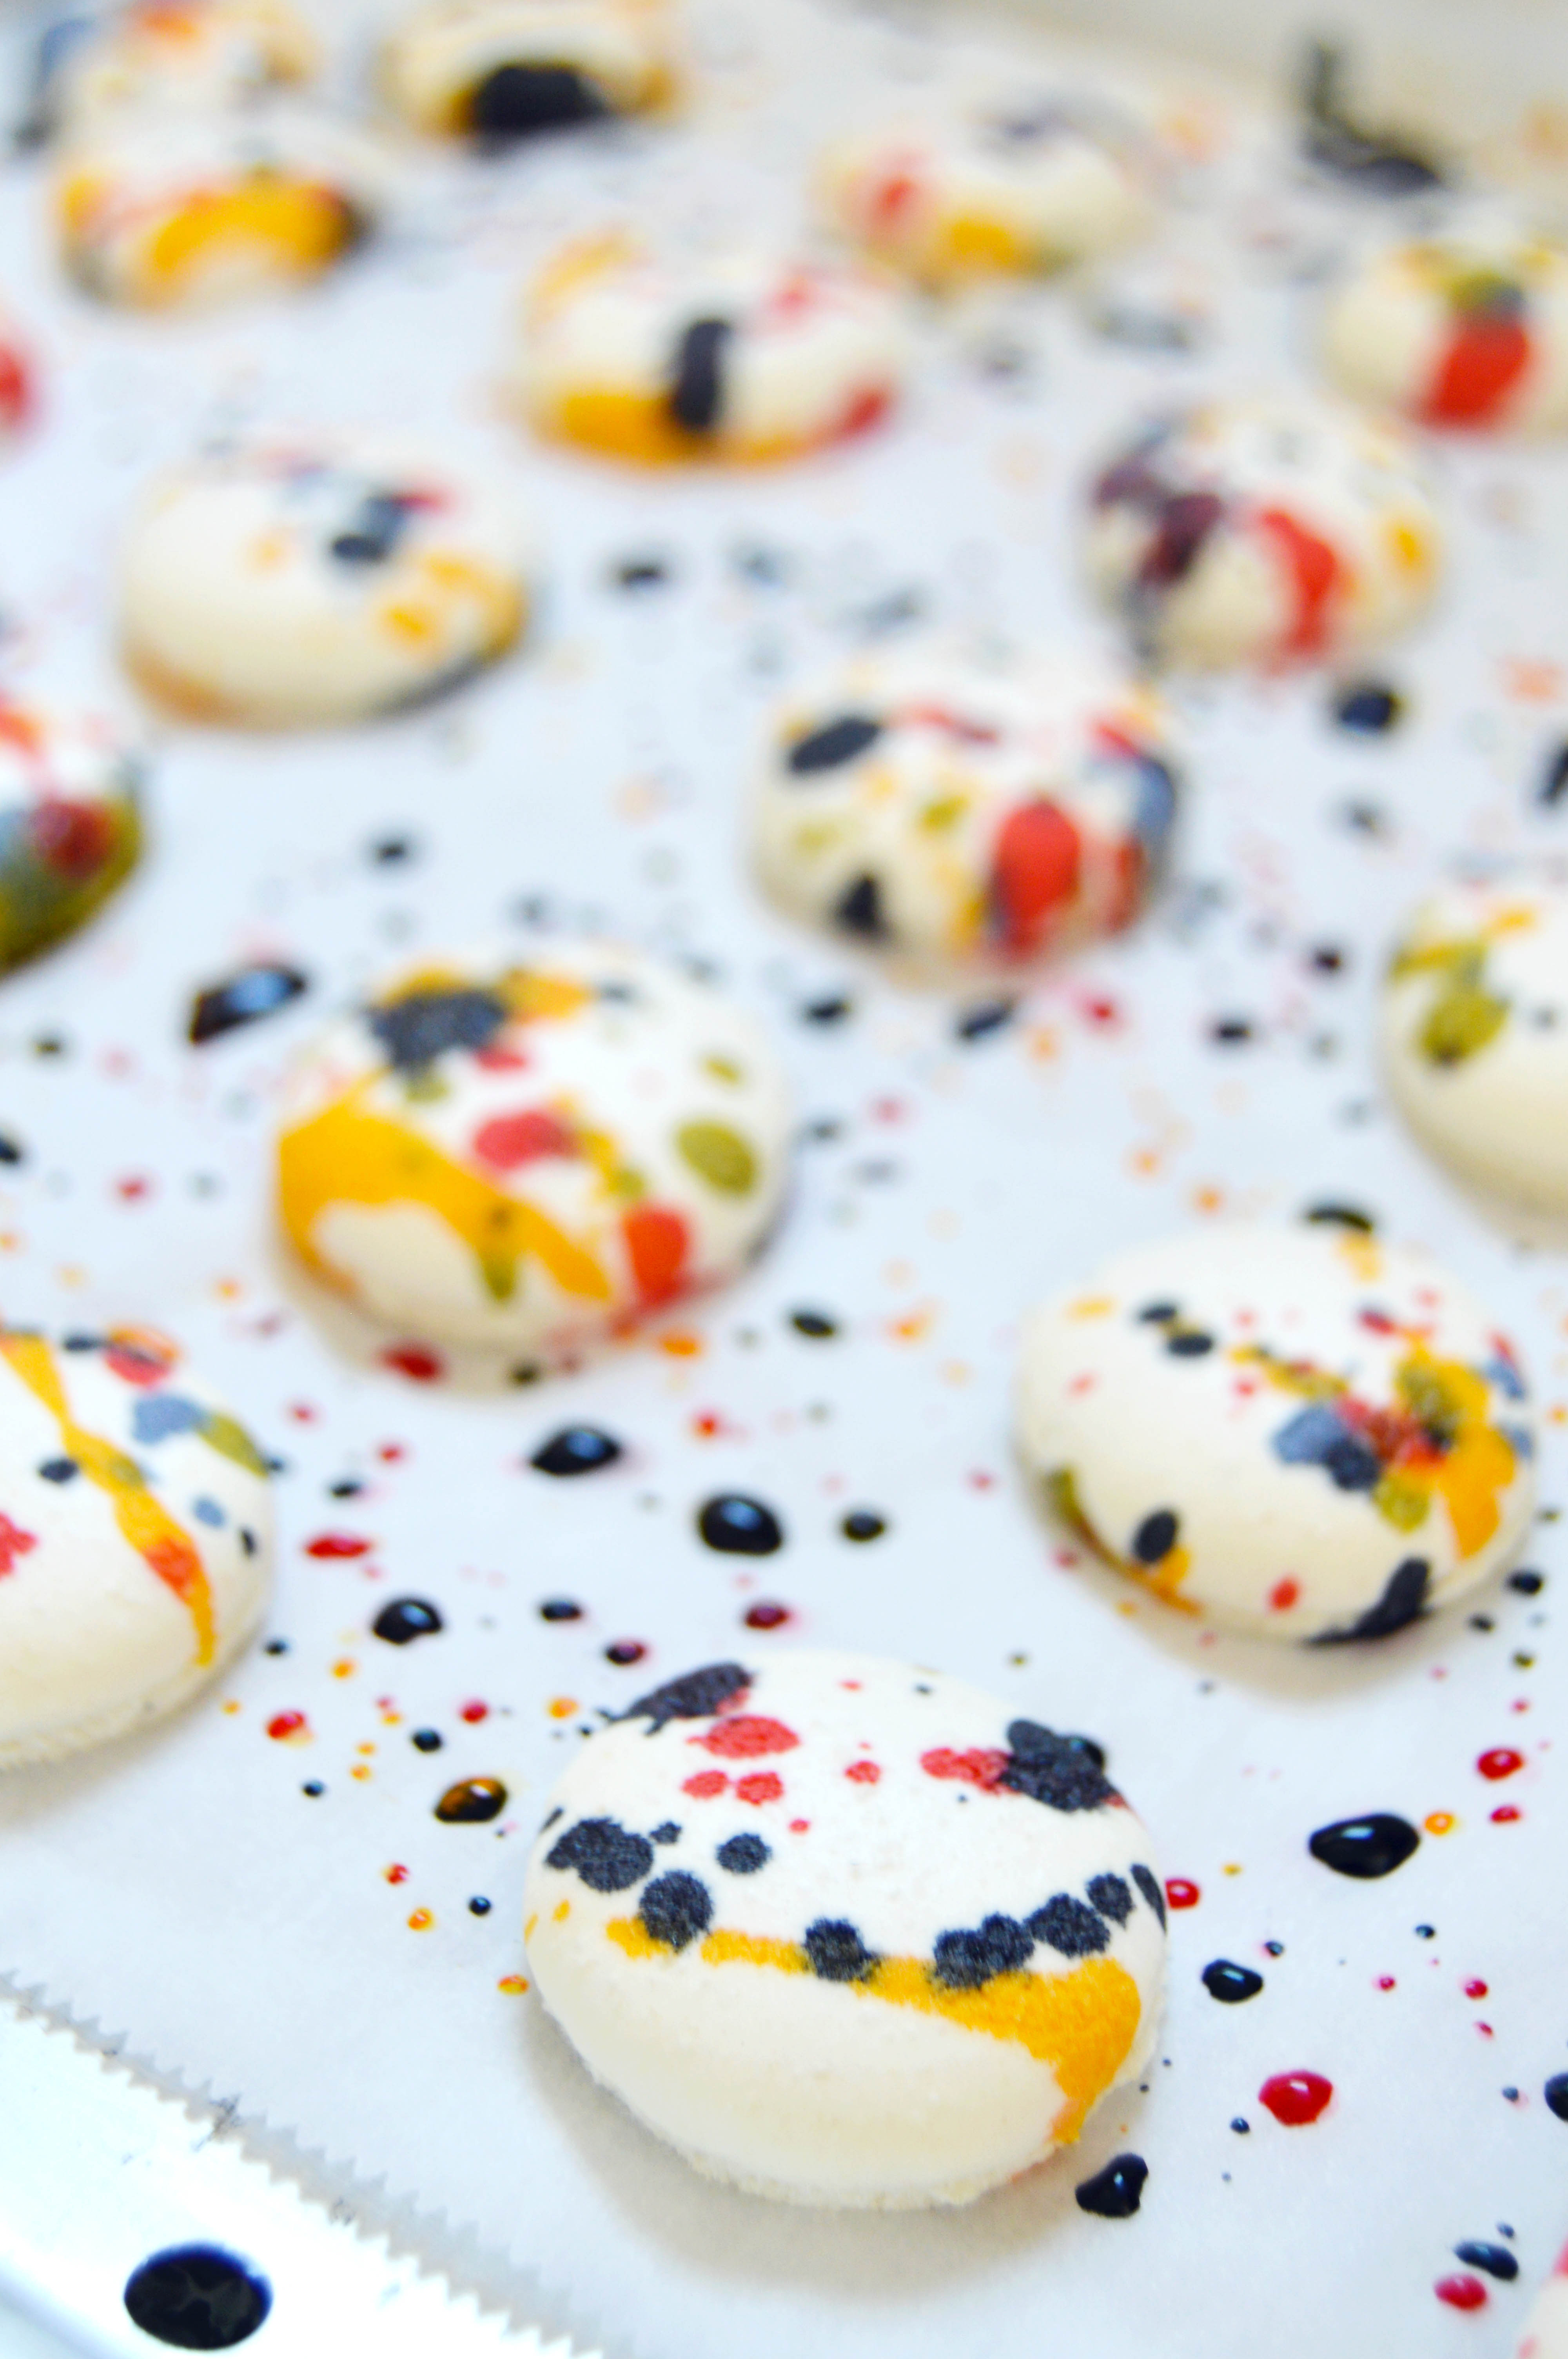
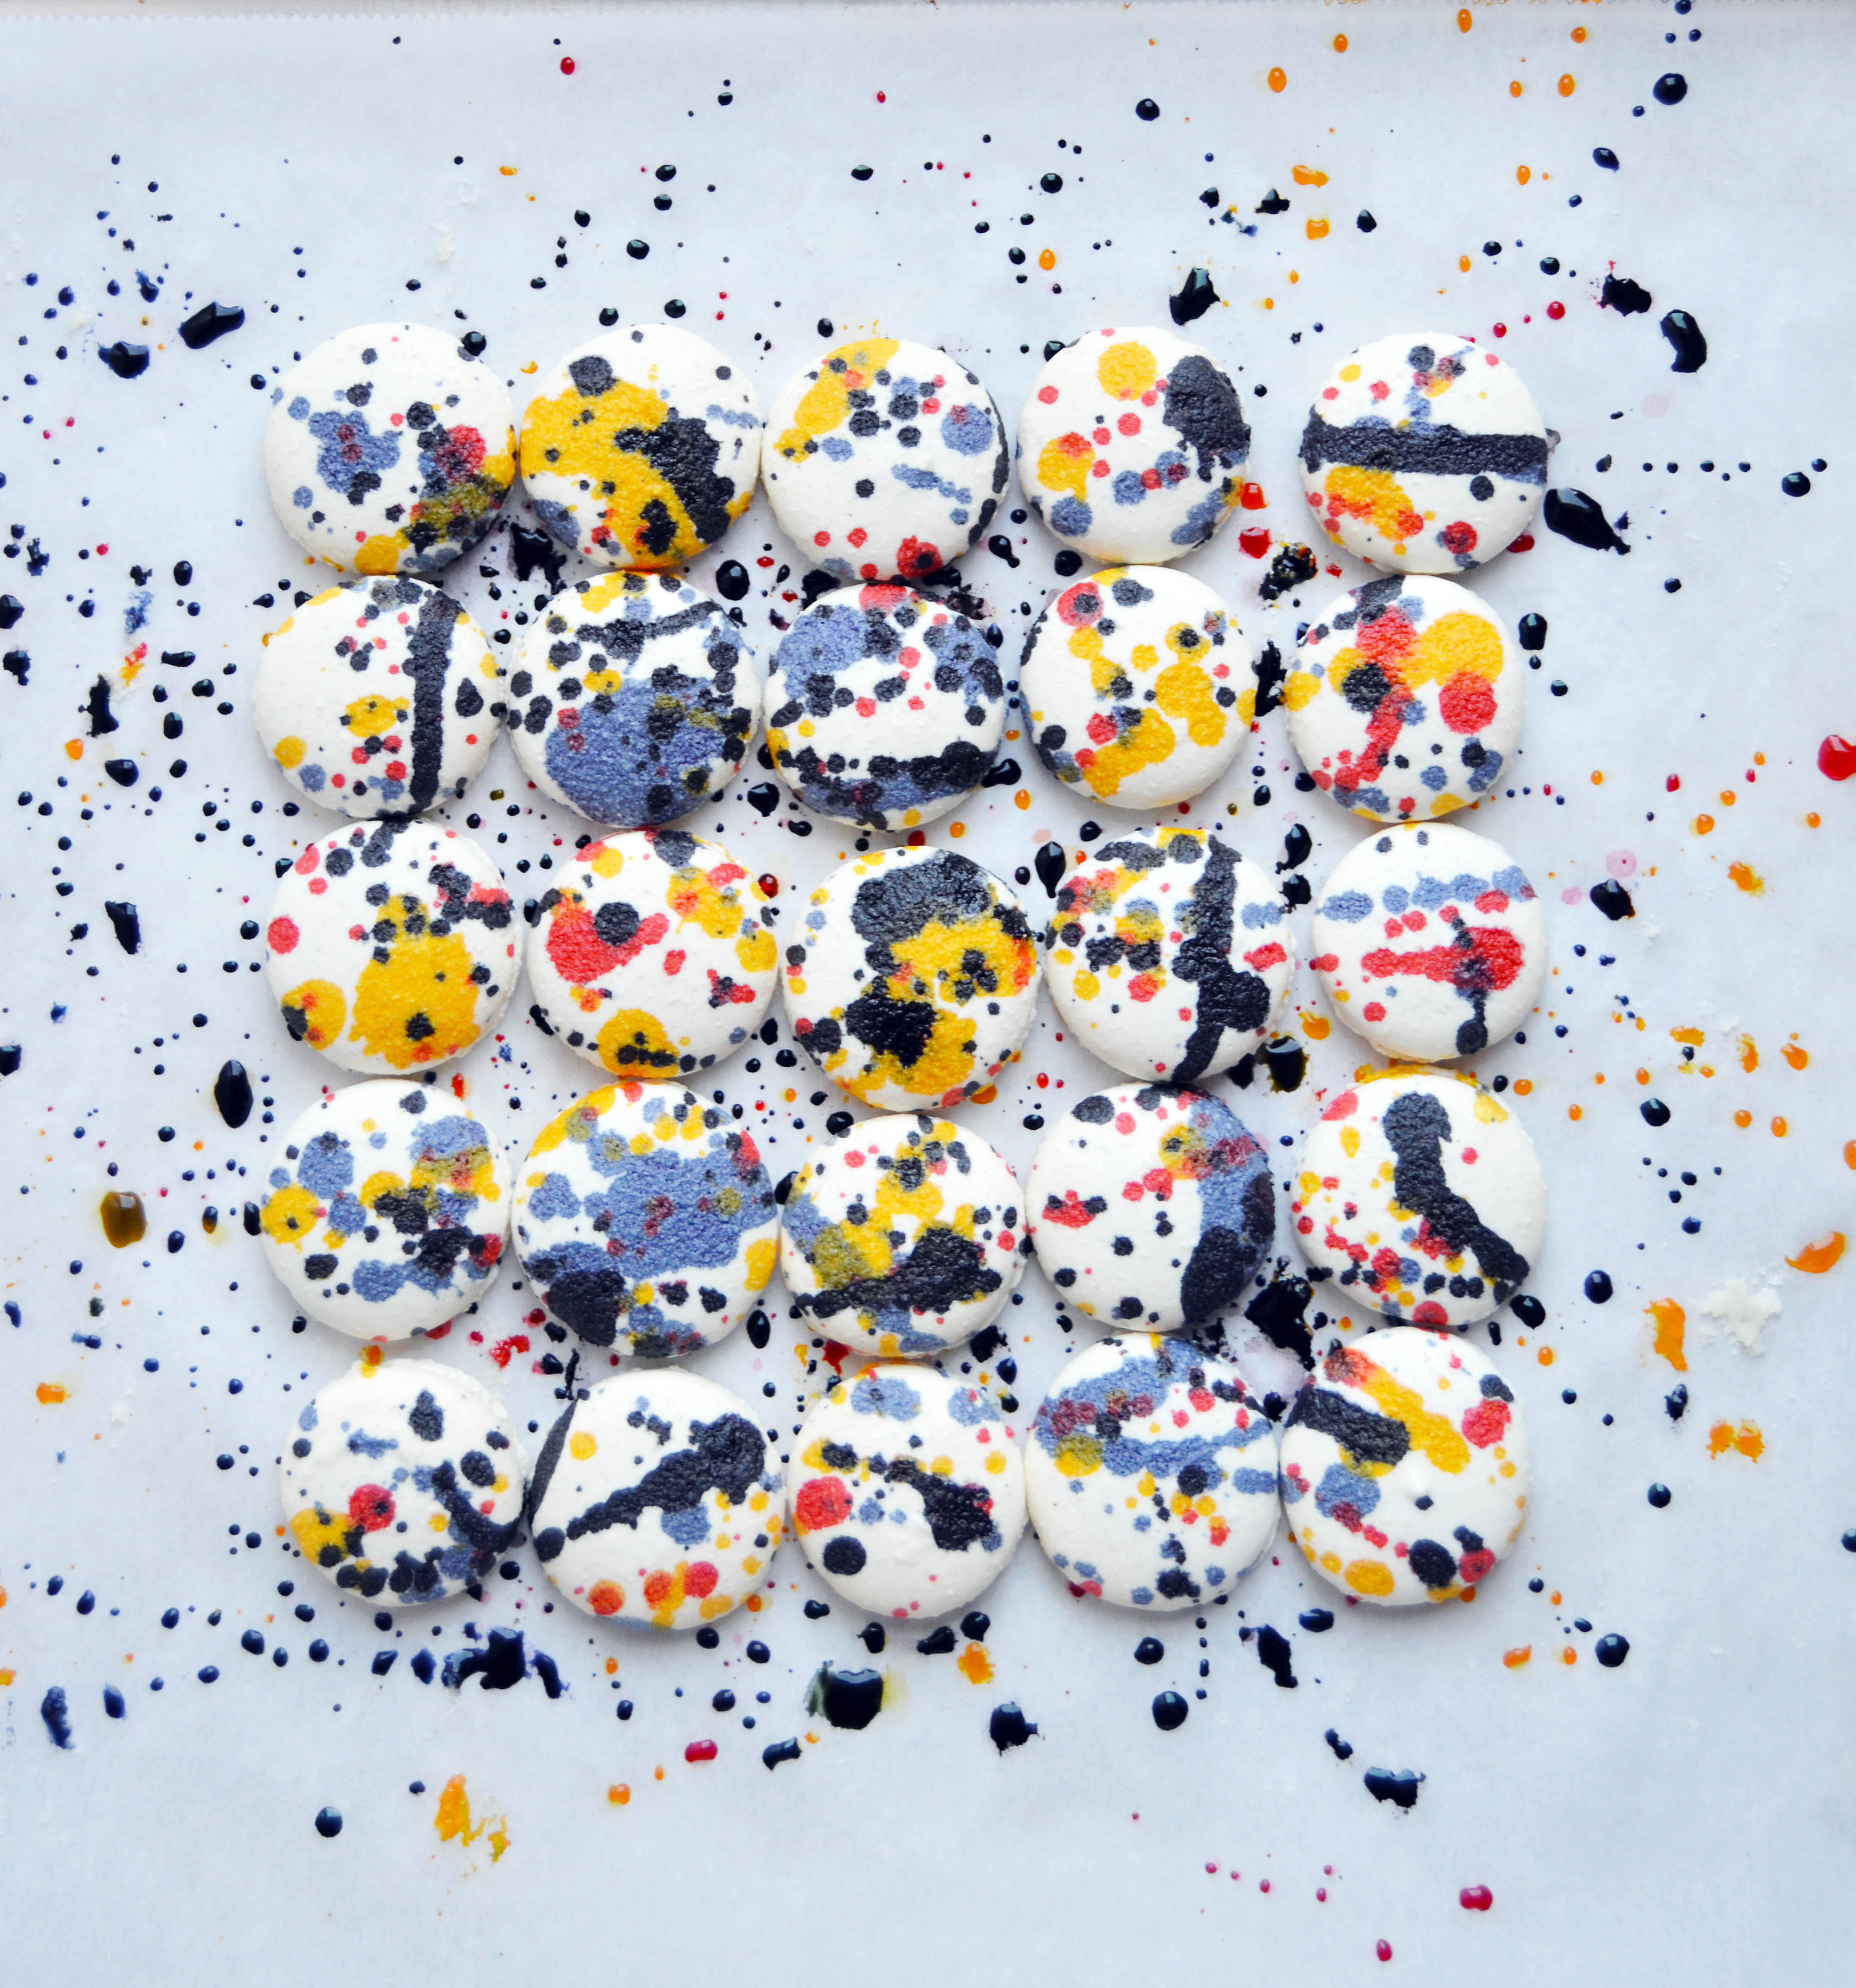
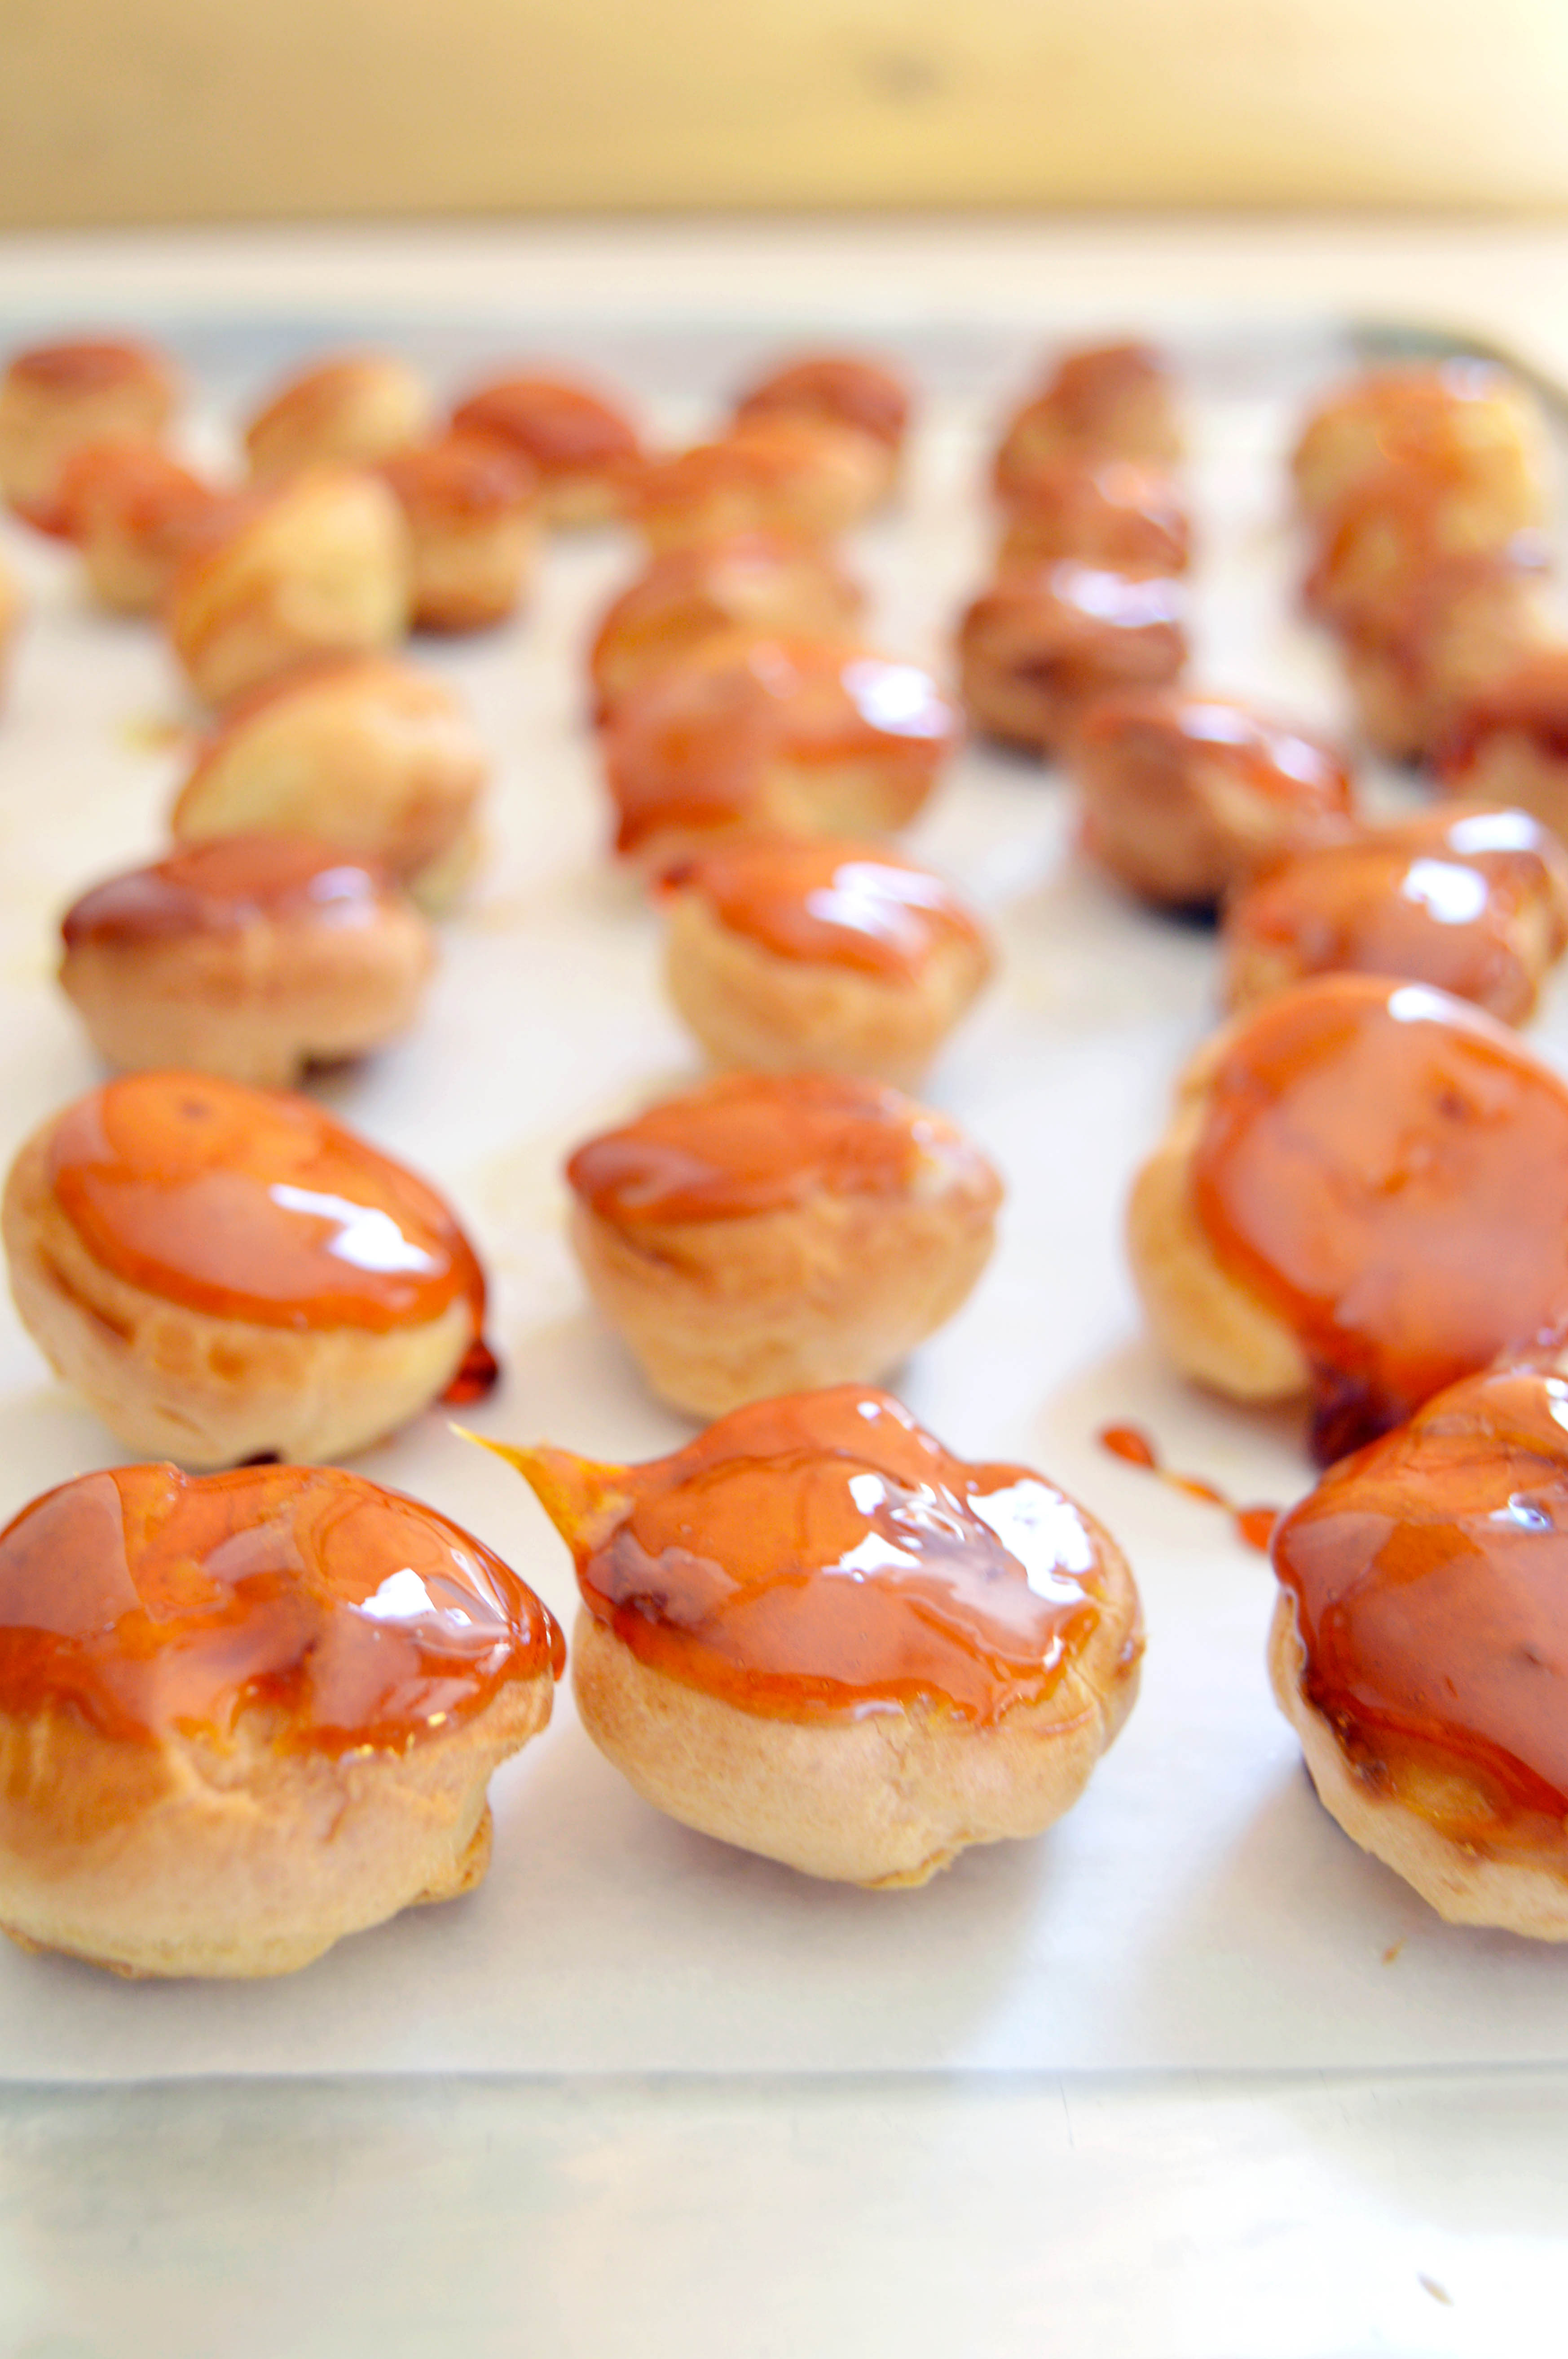
 These macarons are inspired by my incomplete puzzle. I’ve done paint strokes on my macarons before and the difference between the strokes and the splatters is the amount of liquid you add to the food coloring. In order to make your splatters look imperfect and messy, you need to dilute your gel food coloring with a generous dose of vodka.


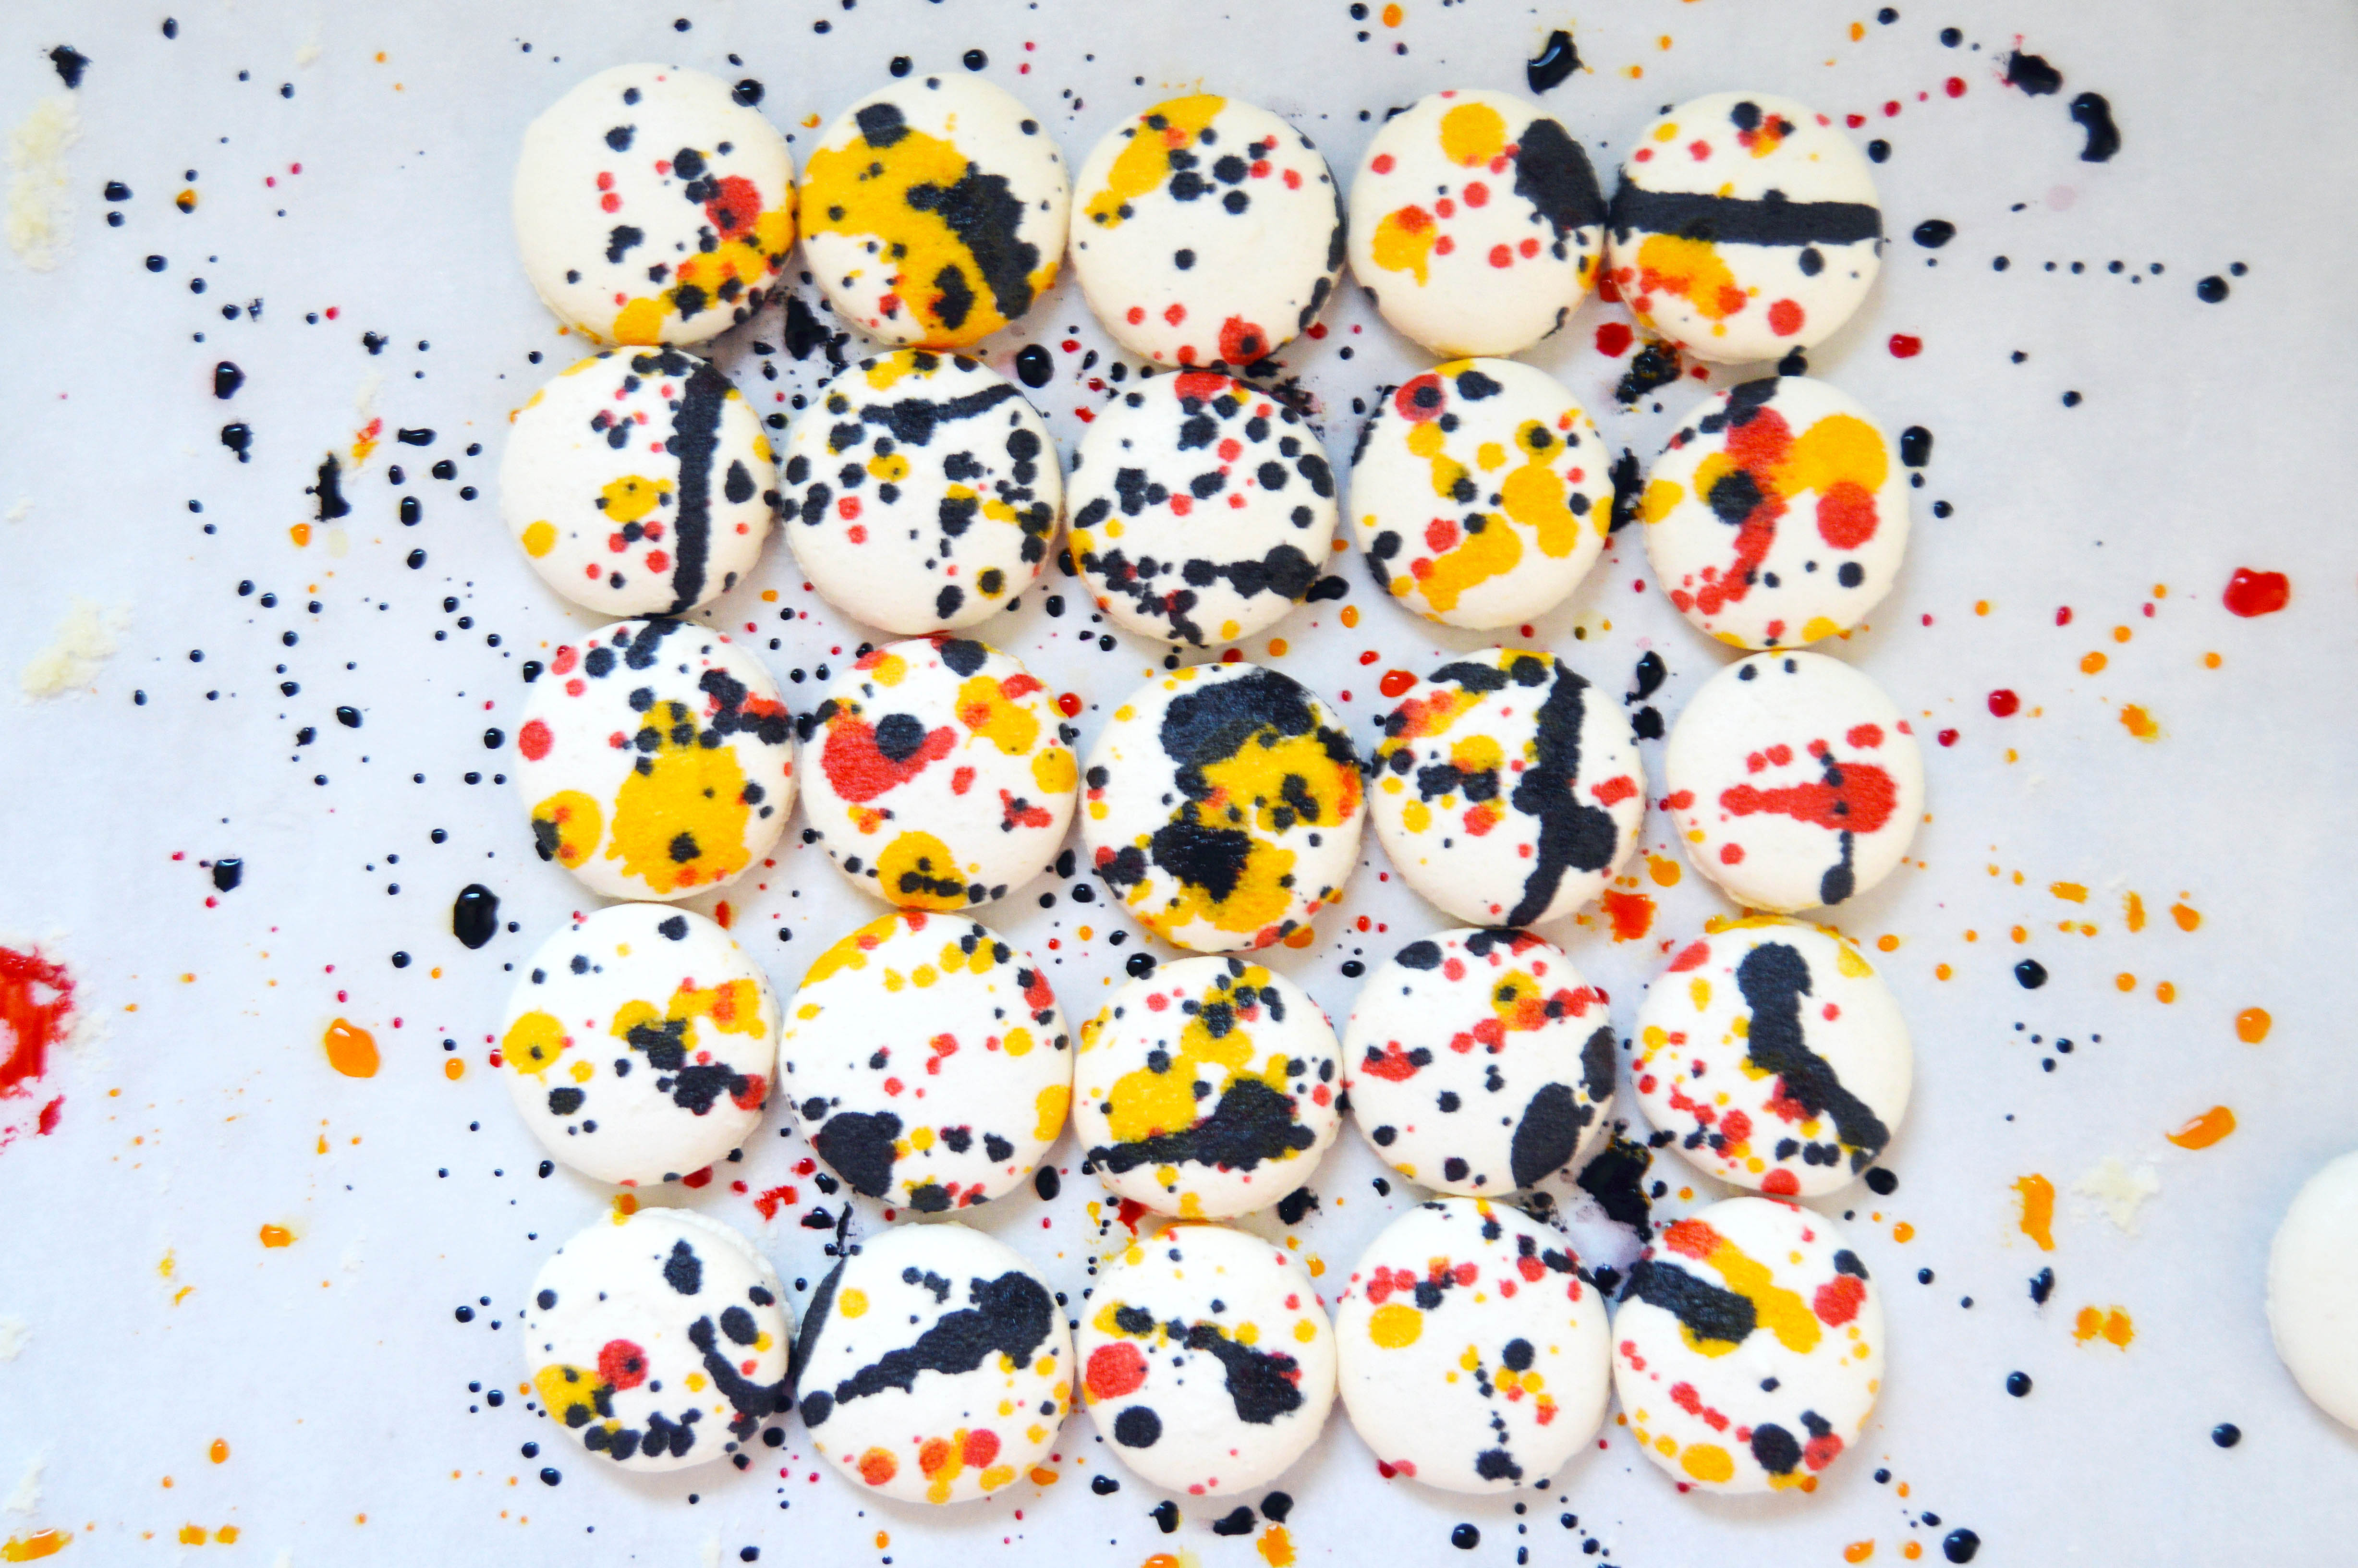 I’ve done the splatters two ways, and I believe it works the best when you arrange your macarons side by side as if you’re creating a blank canvas for a painting. If you leave the gaps in between the macarons like my first try, you’ll miss the trail of paint that makes it look so convincing and similar to Pollock’s work. I absolutely love the effect that it makes. Try to get a small bit of each color on every macaron so that when you get the full effect for each macaron.

 As fun as it is to splatter food coloring everywhere, I will leave you with a word of warning. The food coloring will get everywhere. It will get on your counter, on your clothes, and on your skin. My best advice is to lay a layer of paper towels on your work surface and wear an apron before you start. Now go satisfy your inner artist and have fun.
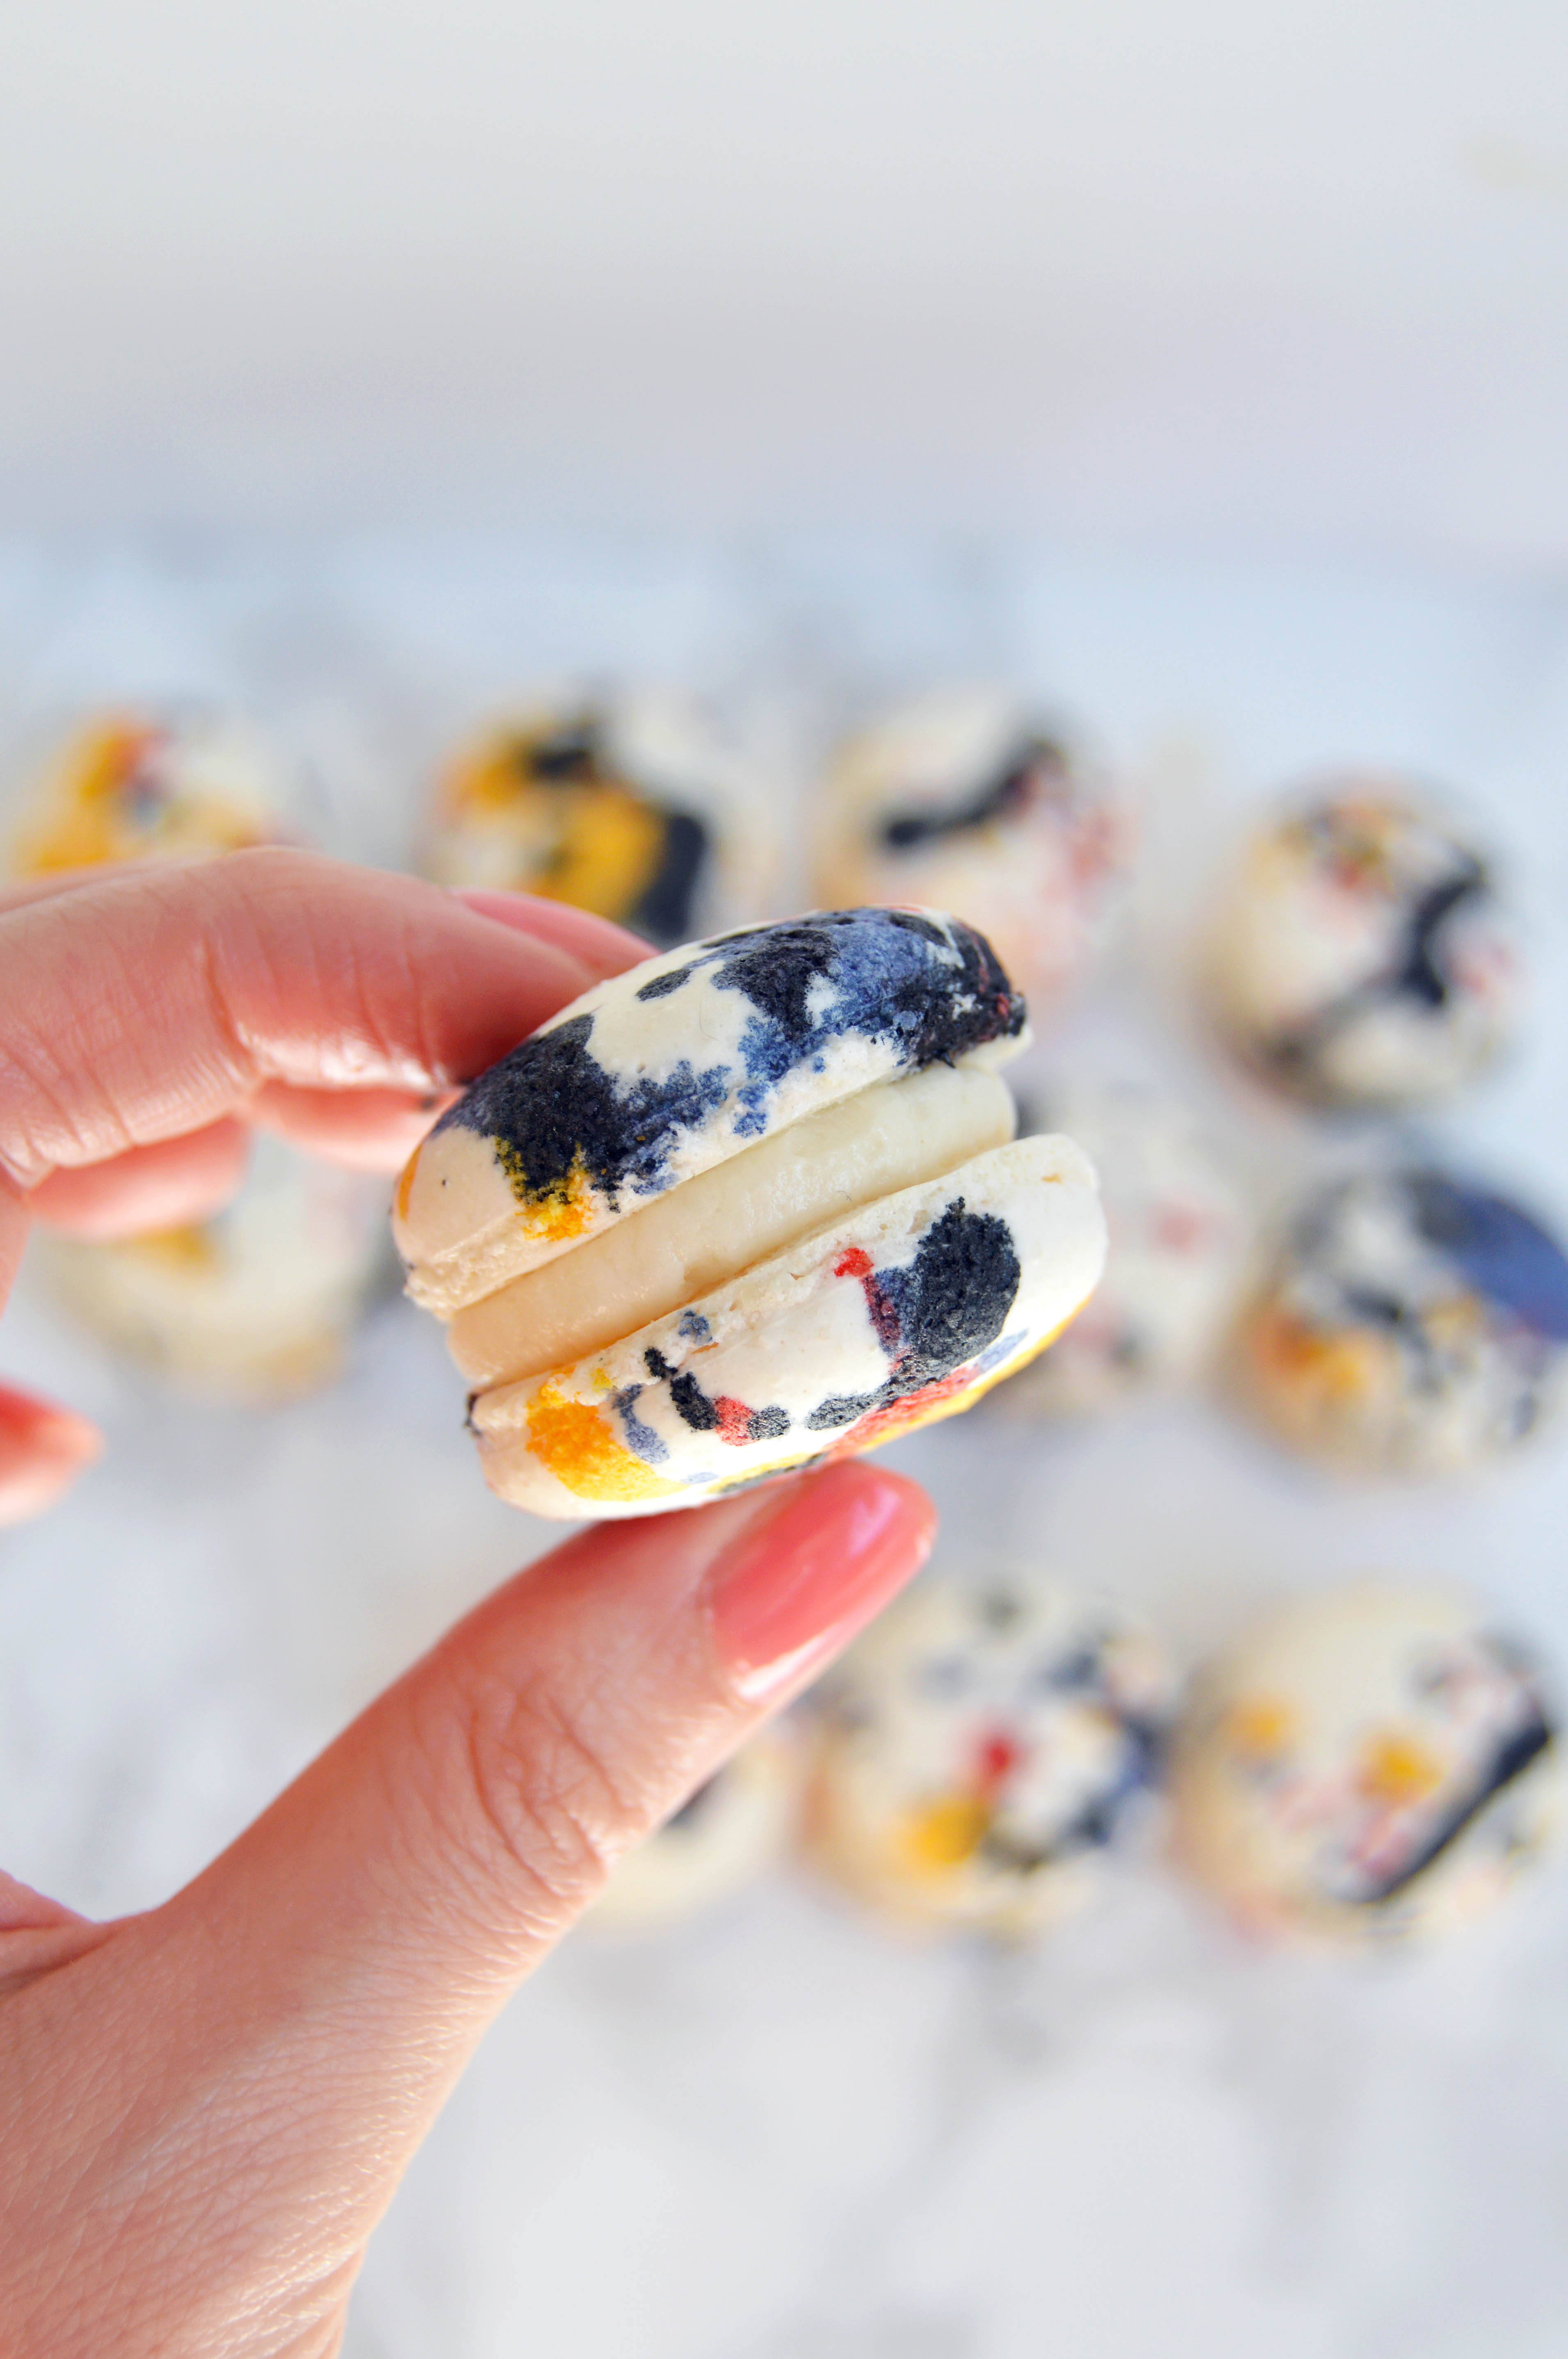

Jackson Pollock Macarons
You will need:
1 batch of vanilla macarons (recipe below)
1 batch vanilla frosting (recipe below)
red gel food coloring
yellow gel food coloring
blue gel food coloring
black gel food coloring
vodka
Instructions:
- Cover your work surface with a layer of paper towels.
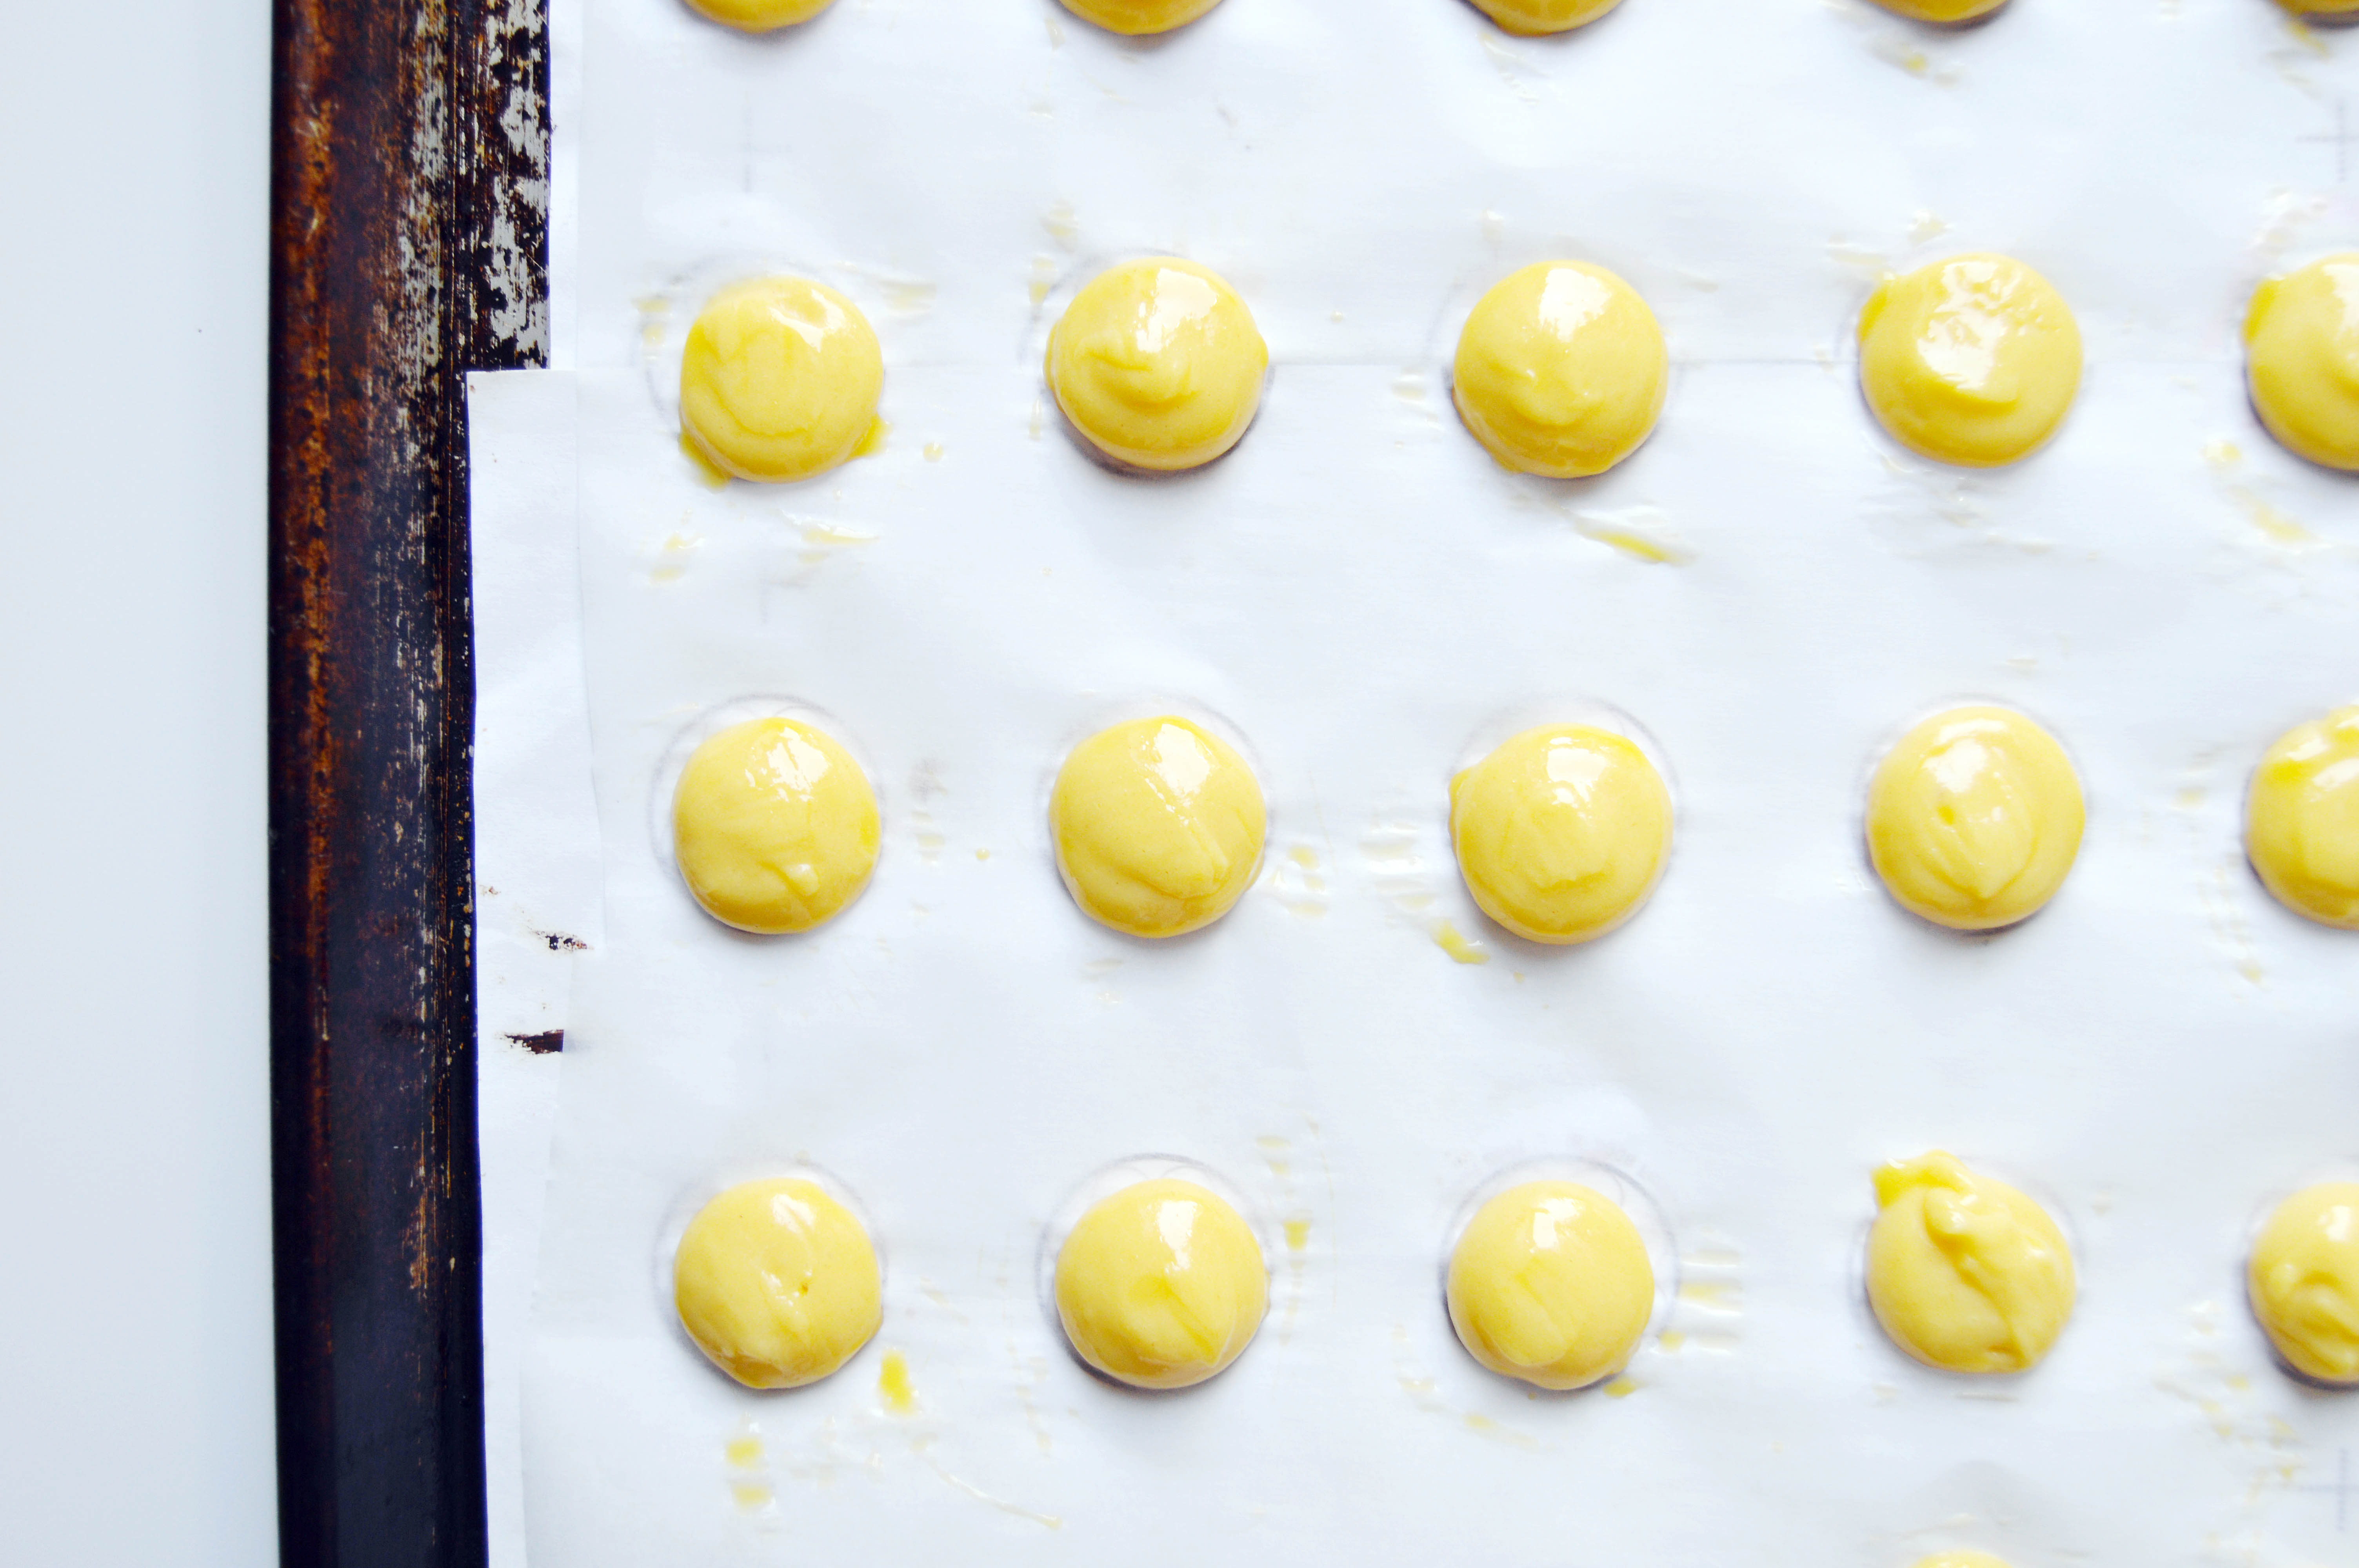
- Arrange your unfilled macaron shells closely in a square/rectangular shape.
- In four plastic cups, place a few drops of gel food coloring in each cup.
- Dilute each color with a tablespoon of vodka and mix until your desired color is reached.
- Using a clean, food use only paint brush, saturate your brush with the yellow paint and use a flicking motion with your wrist to create a splatter pattern on your macarons.
- Once done, thoroughly clean your brush with water and dry as well as you can with a paper towel before repeating step 5 with a different color.
- Let macarons dry completely before filling and sandwiching them with your vanilla frosting.
Vanilla Macarons
Ingredients:
212 g. almond meal
212 g. powdered sugar
172 g. egg whites, divided to 82 g. and 90 g
236 g. sugar
158 g. water
Instructions:
- Line two baking sheets with parchment paper or silicone mats.
- In the bowl of a food processor, add the almond meal and powdered sugar and pulse until thoroughly combined.
- Sift the mixture over a large mixing bowl, throwing out the lumps as they appear. Add 82 g. of the egg whites and stir until you get a thick mixture.
- In a small pot attached with a candy thermometer, combine the sugar and water over medium heat and boil until the syrup reaches 200˚F.
- Once the syrup reaches 200˚F, start whipping the remaining 90 g. in the bowl of your stand mixer with the whisk attachment on medium speed until soft peaks are reached.
- Once the syrup reaches 248 degrees, remove the pot off the burner and slowly pour the syrup down the side of the mixing bowl with the egg whites on medium speed.
- Once the egg whites are fully incorporated, increase the speed to medium high until egg whites form glossy, stiff peaks
- Mix a ⅓ of the egg white mix to the almond mixture and stir together until the batter is slightly lighter and less pasty. From then on, fold in ⅓ of the egg white mixture at a time until the mixture “flows like magma”. The mixture should be smooth and run thick ribbons off the spatula.
- With a pastry bag fitted with a ½ in. plain tip, pipe 1¼ – 1½ in. rounds.
- The piped batter may have peaks but should smooth away in a minute or two. Let the batter stand until the tops of the macaron batter are dry to the touch, about 30 mins to 1 hour.
- Preheat the oven to 350˚F.
- Once you place the macarons in the oven, reduce the heat to 275˚F. Bake 10-13 minutes, until the feet are formed and the tops are smooth. The macarons are done when you slightly wiggle them and they start to come off of the parchment paper / silicone mat.
- Once you remove the macarons, reheat the oven to 350˚F for ten minutes before baking another pan of macarons at 275˚F.
- Let cool and fill.
Vanilla Frosting
Ingredients:
1 c. whole milk
¼ c. flour
a pinch of salt
8 oz. (2 sticks) unsalted butter, room temperature
1 c. sugar
2 tsp. vanilla extract
Instructions:
- In a saucier pan, put milk, salt and flour and whisk until combined on medium heat.
- Continuously whisk mixture until thickened to a pudding like consistency.
- Once thickened, strain through a mesh strainer into a bowl with a spatula to remove lumps.
- Place a piece of plastic wrap on top of the flour mixture and put into the fridge until fully cool.
- In a mixer bowl fitted with the whisk attachment, mix the sugar and butter on high speed until fluffy and pale about, 5-10 minutes.
- Add the chilled flour mixture and continue to whip on high speed until the sugar is completely dissolved and the mixture is no longer gritty, about 5-10 minutes.
- Add the vanilla extract and mix until combined.


 Another tip I have is that if you’re short on time and on a budget, I recommend ordering items from


 * I realized that one category of blog posts that I love to read are monthly/weekly favorites. I love learning about new products and finds from other people. So I decided to share some of my favorite things too.


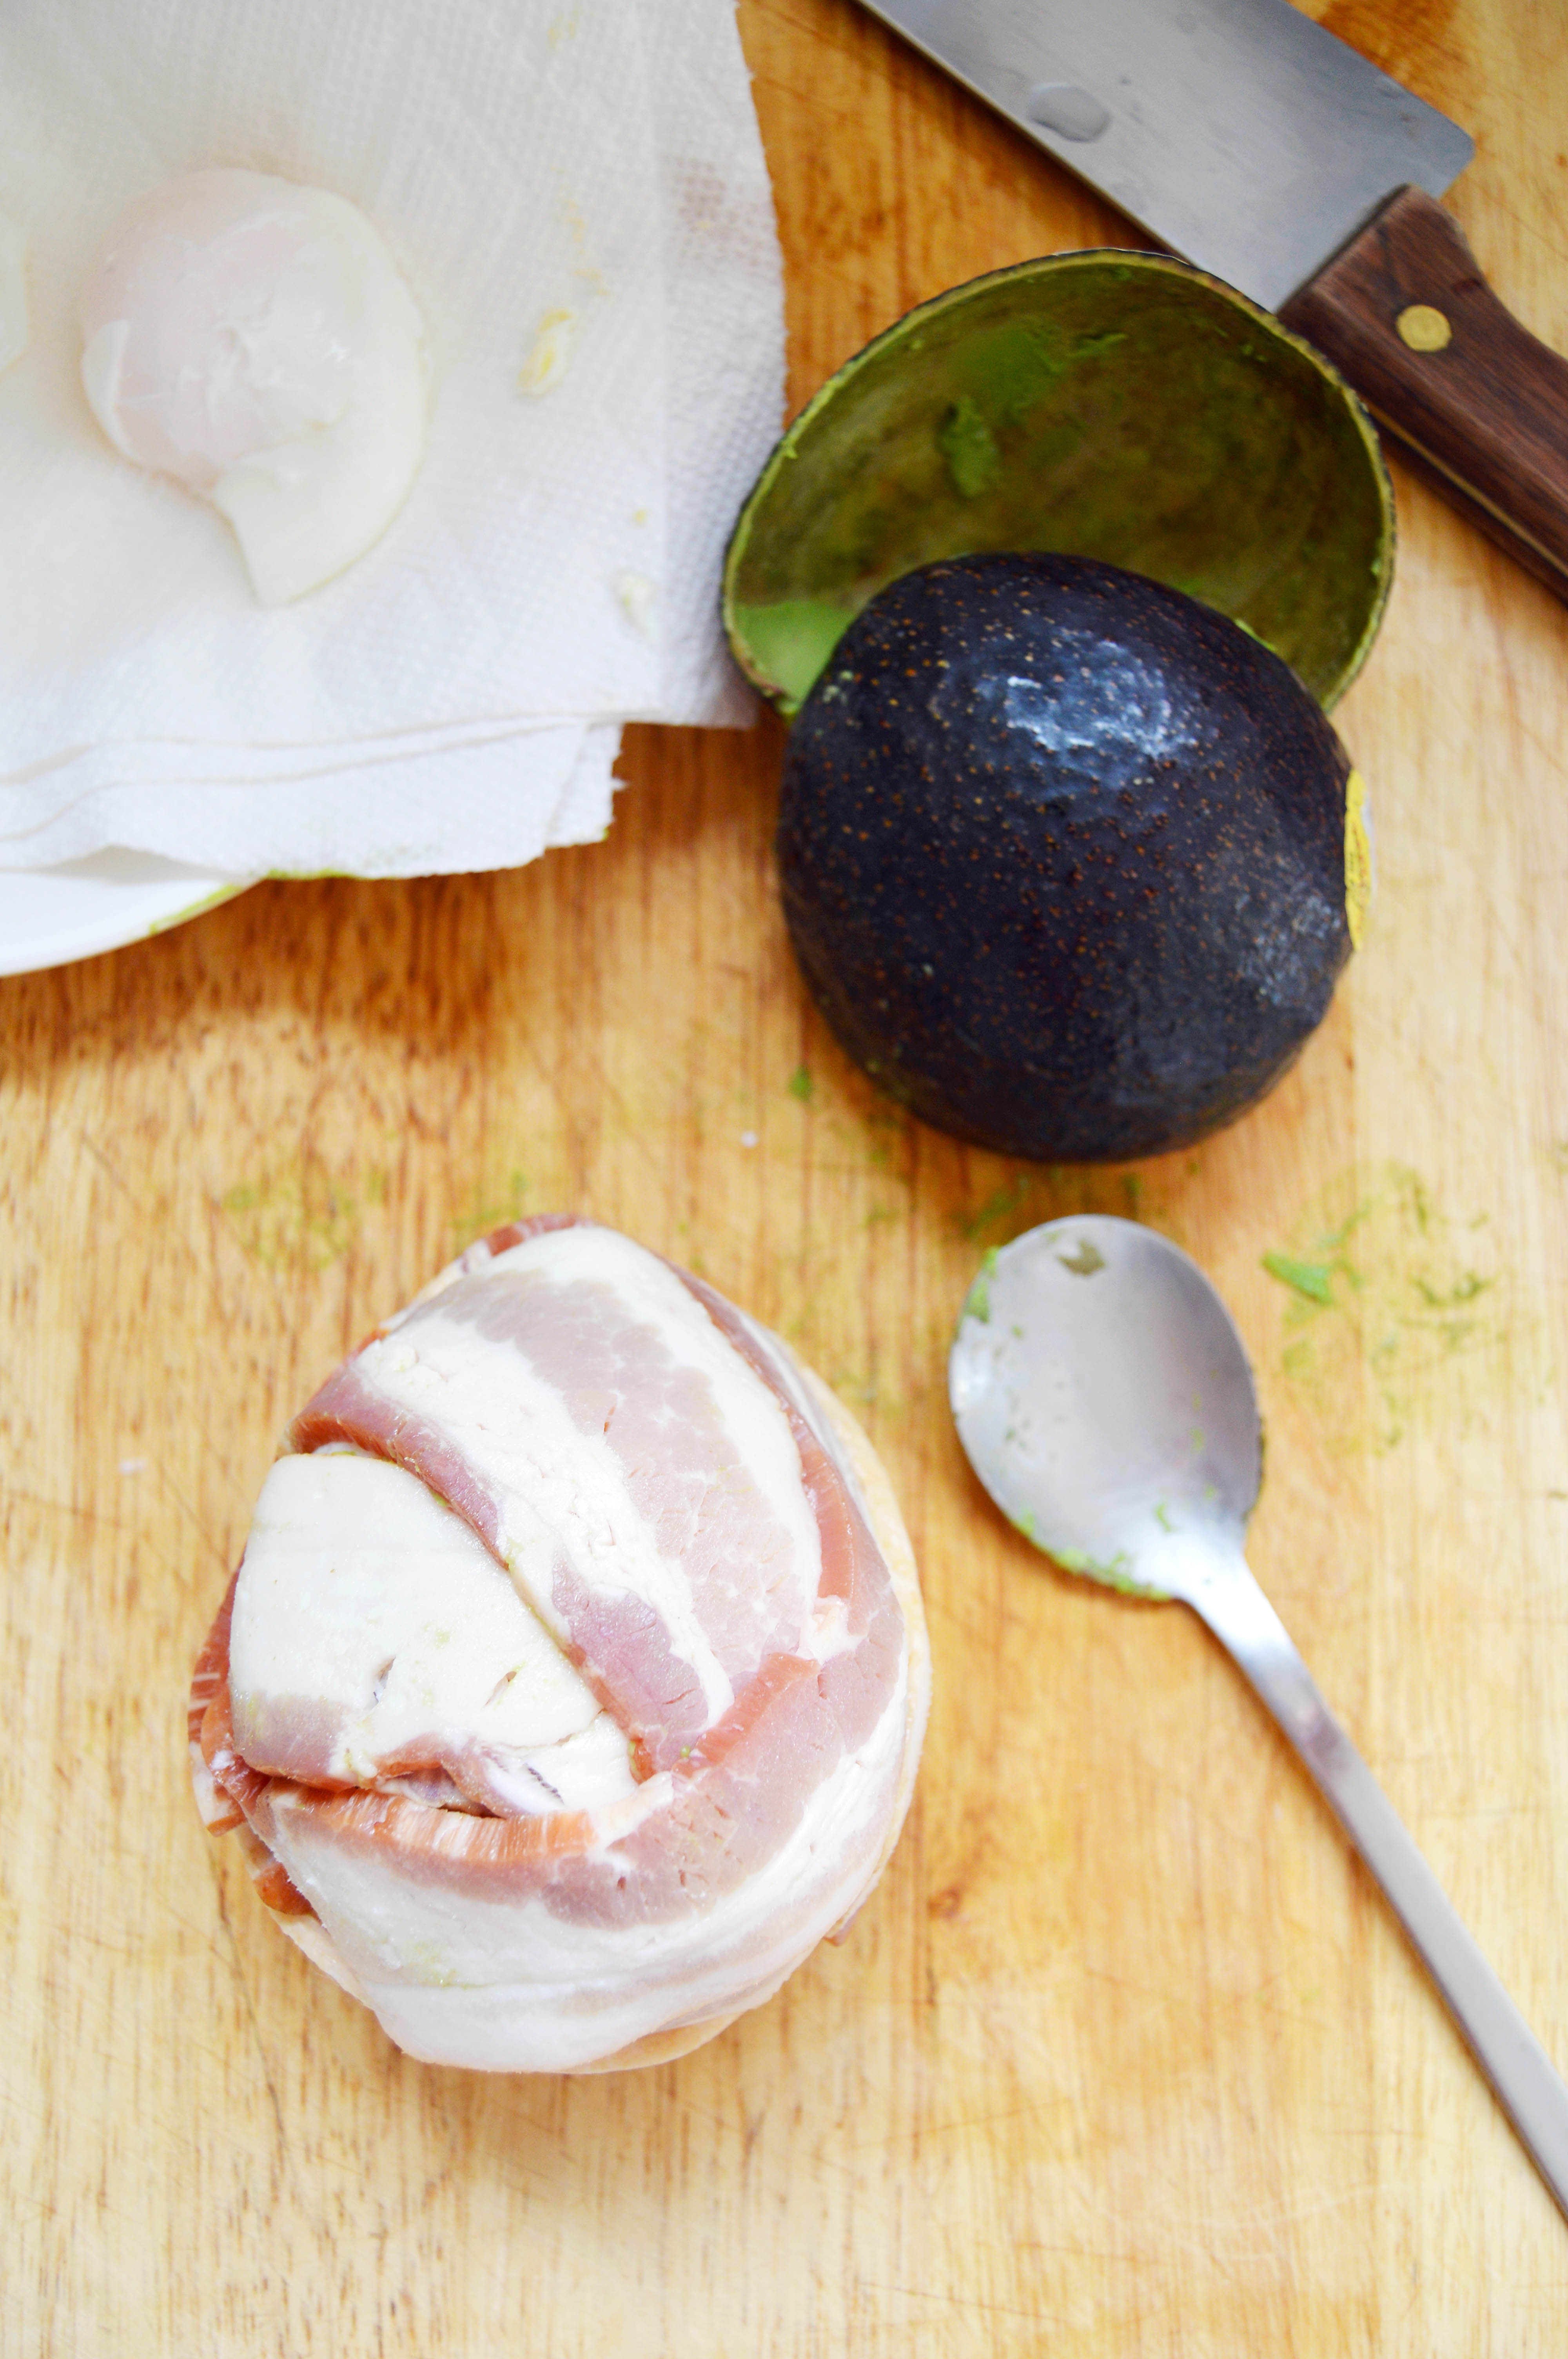

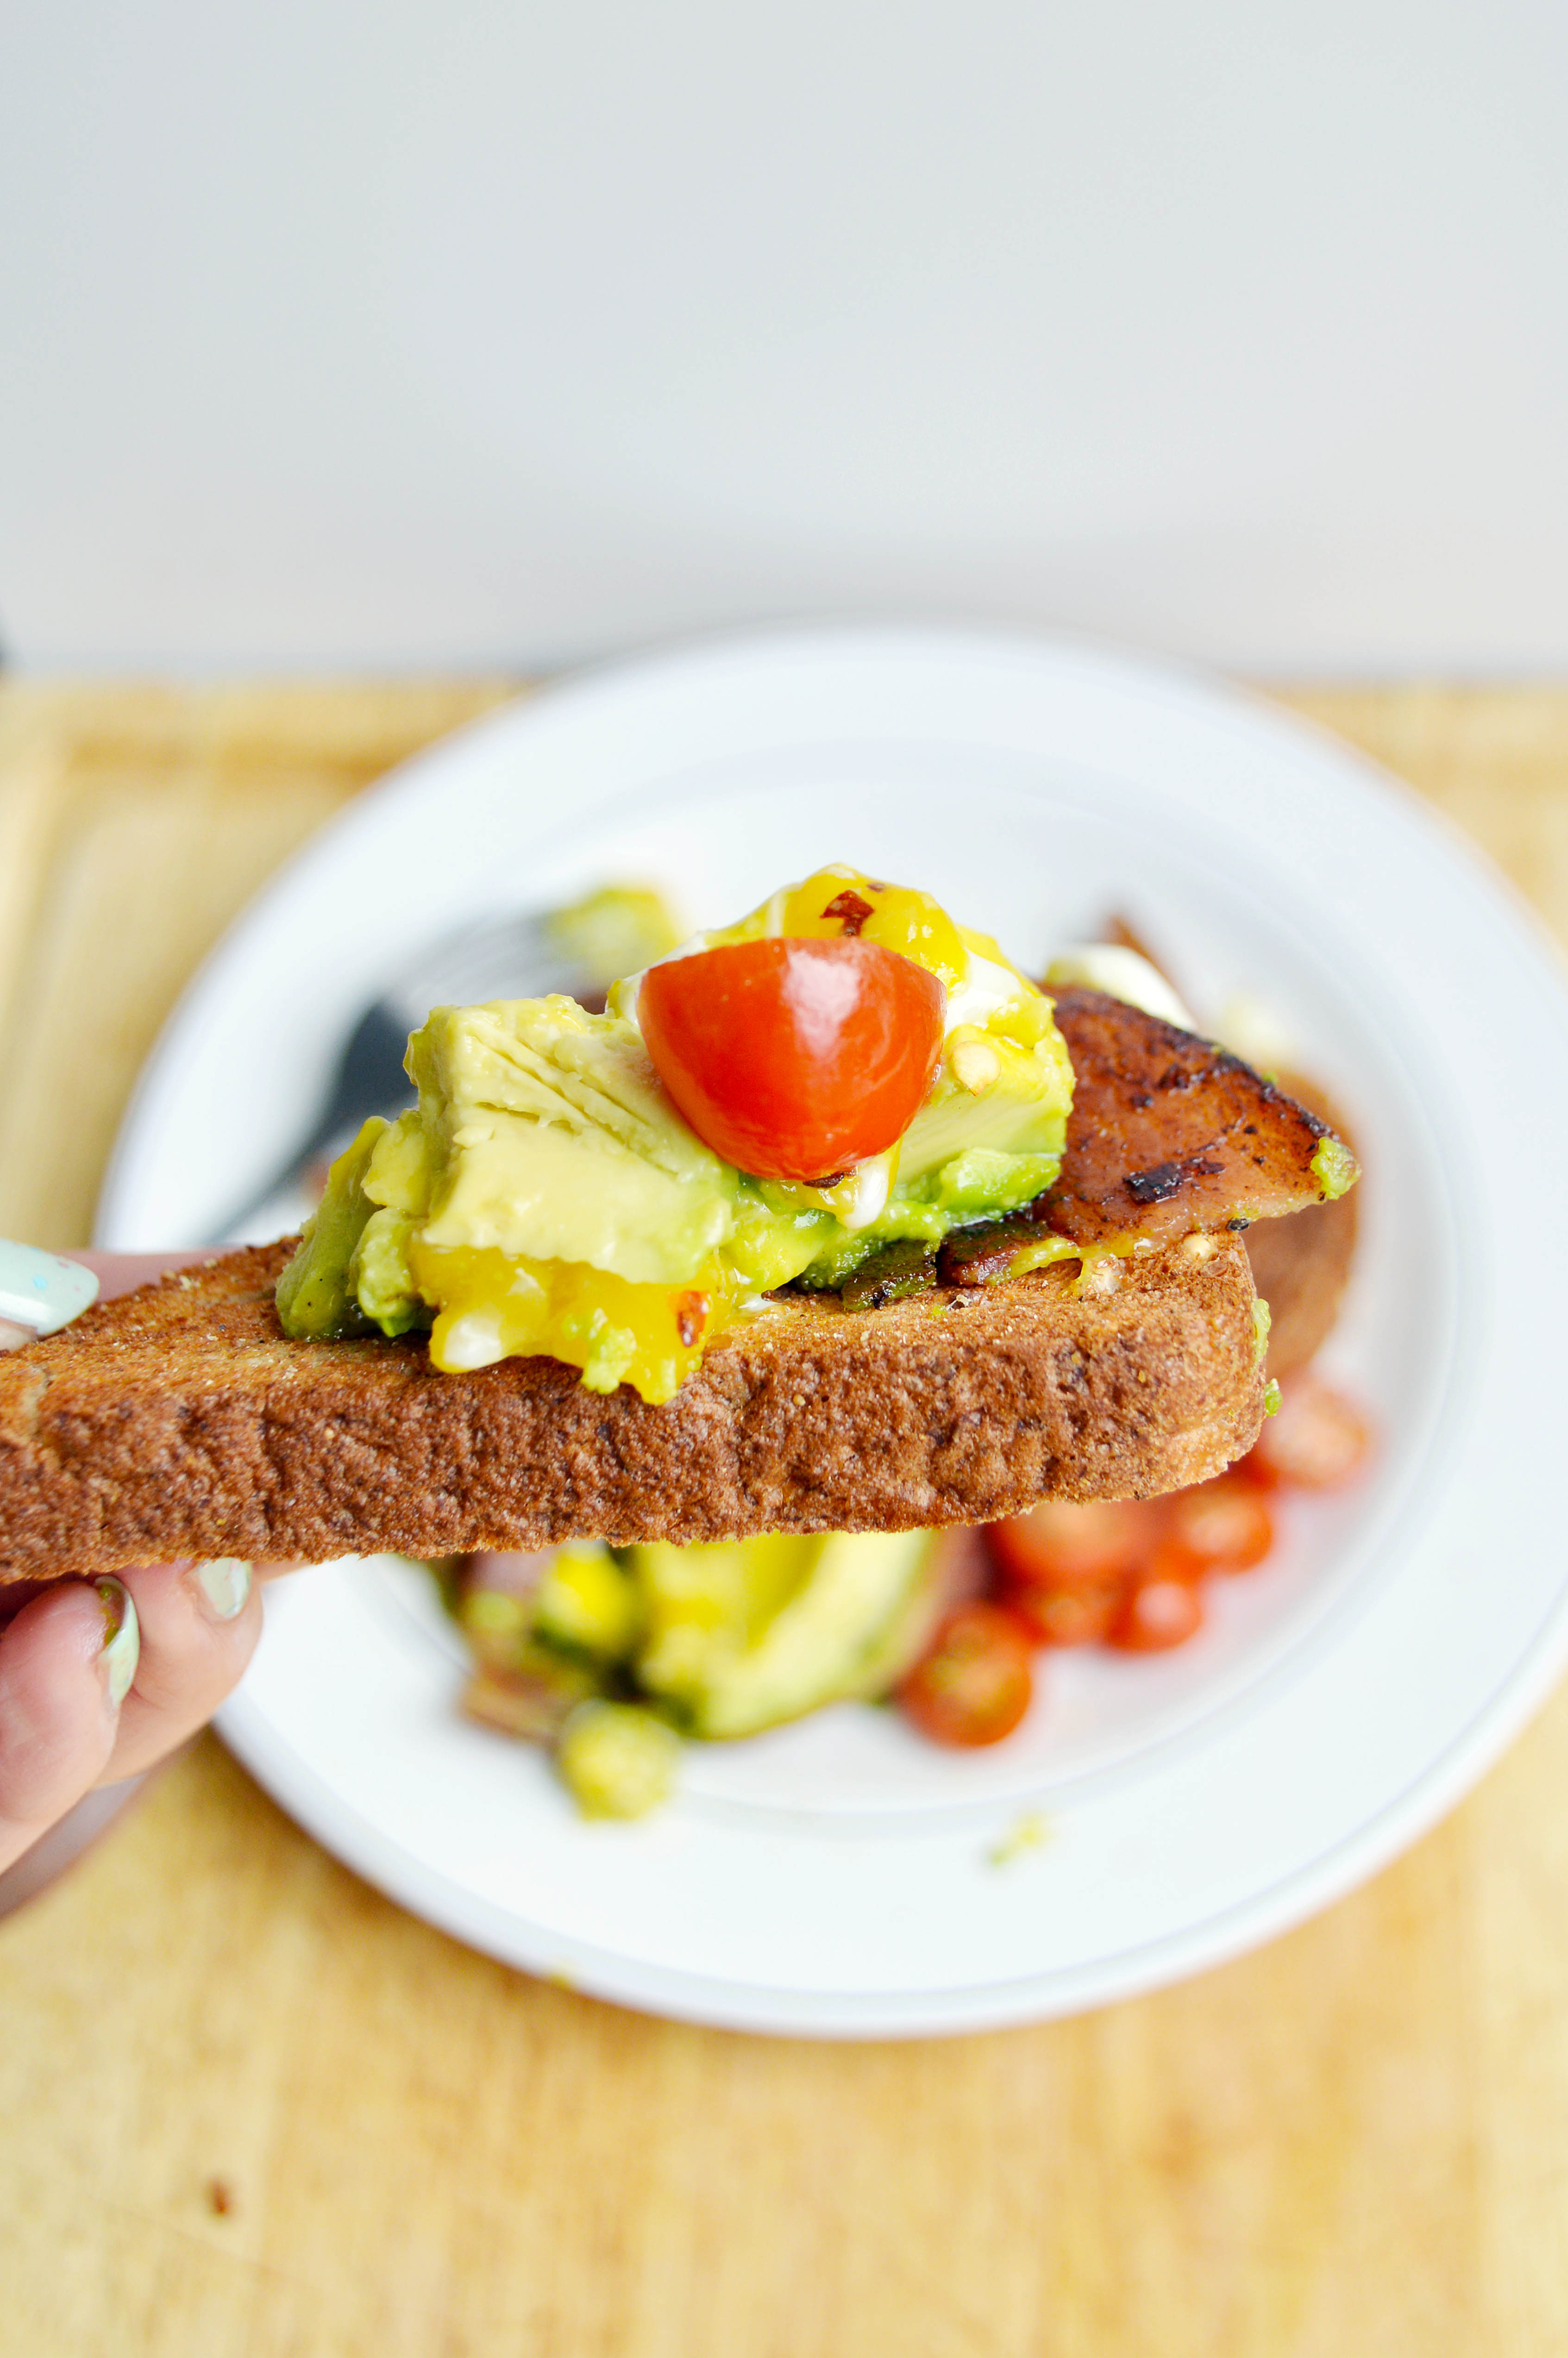
 Bacon Avocado Egg


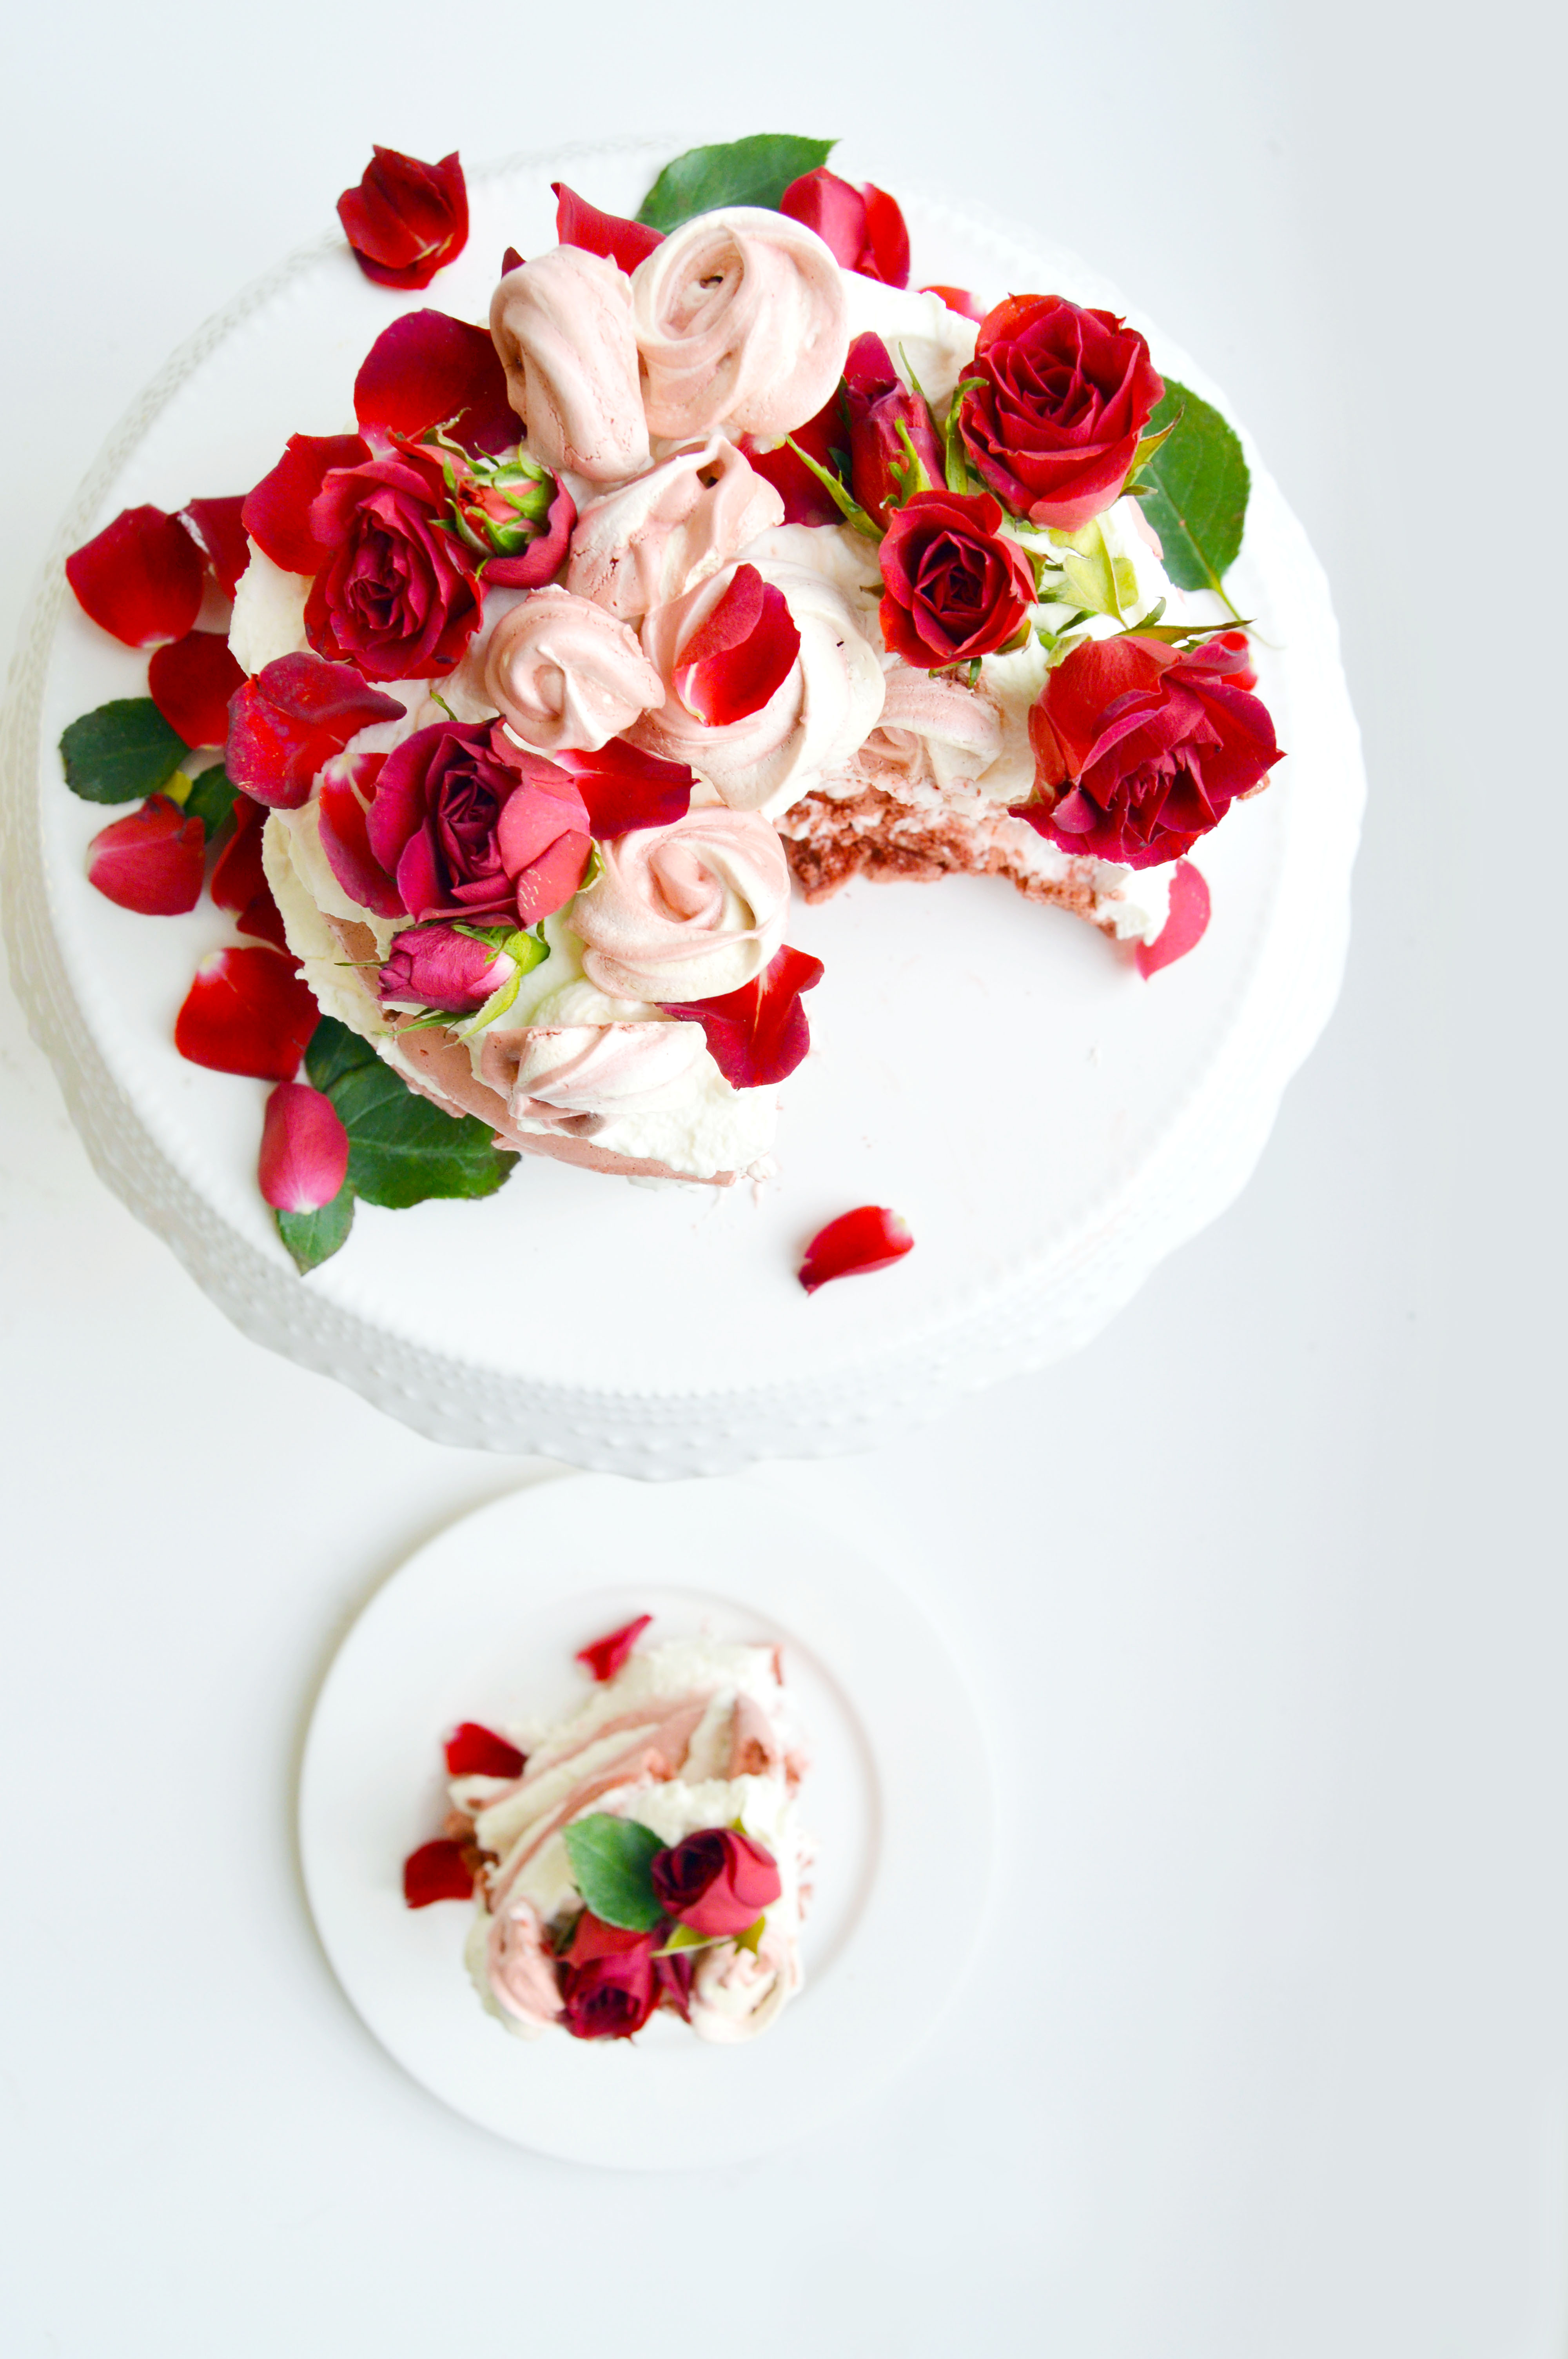


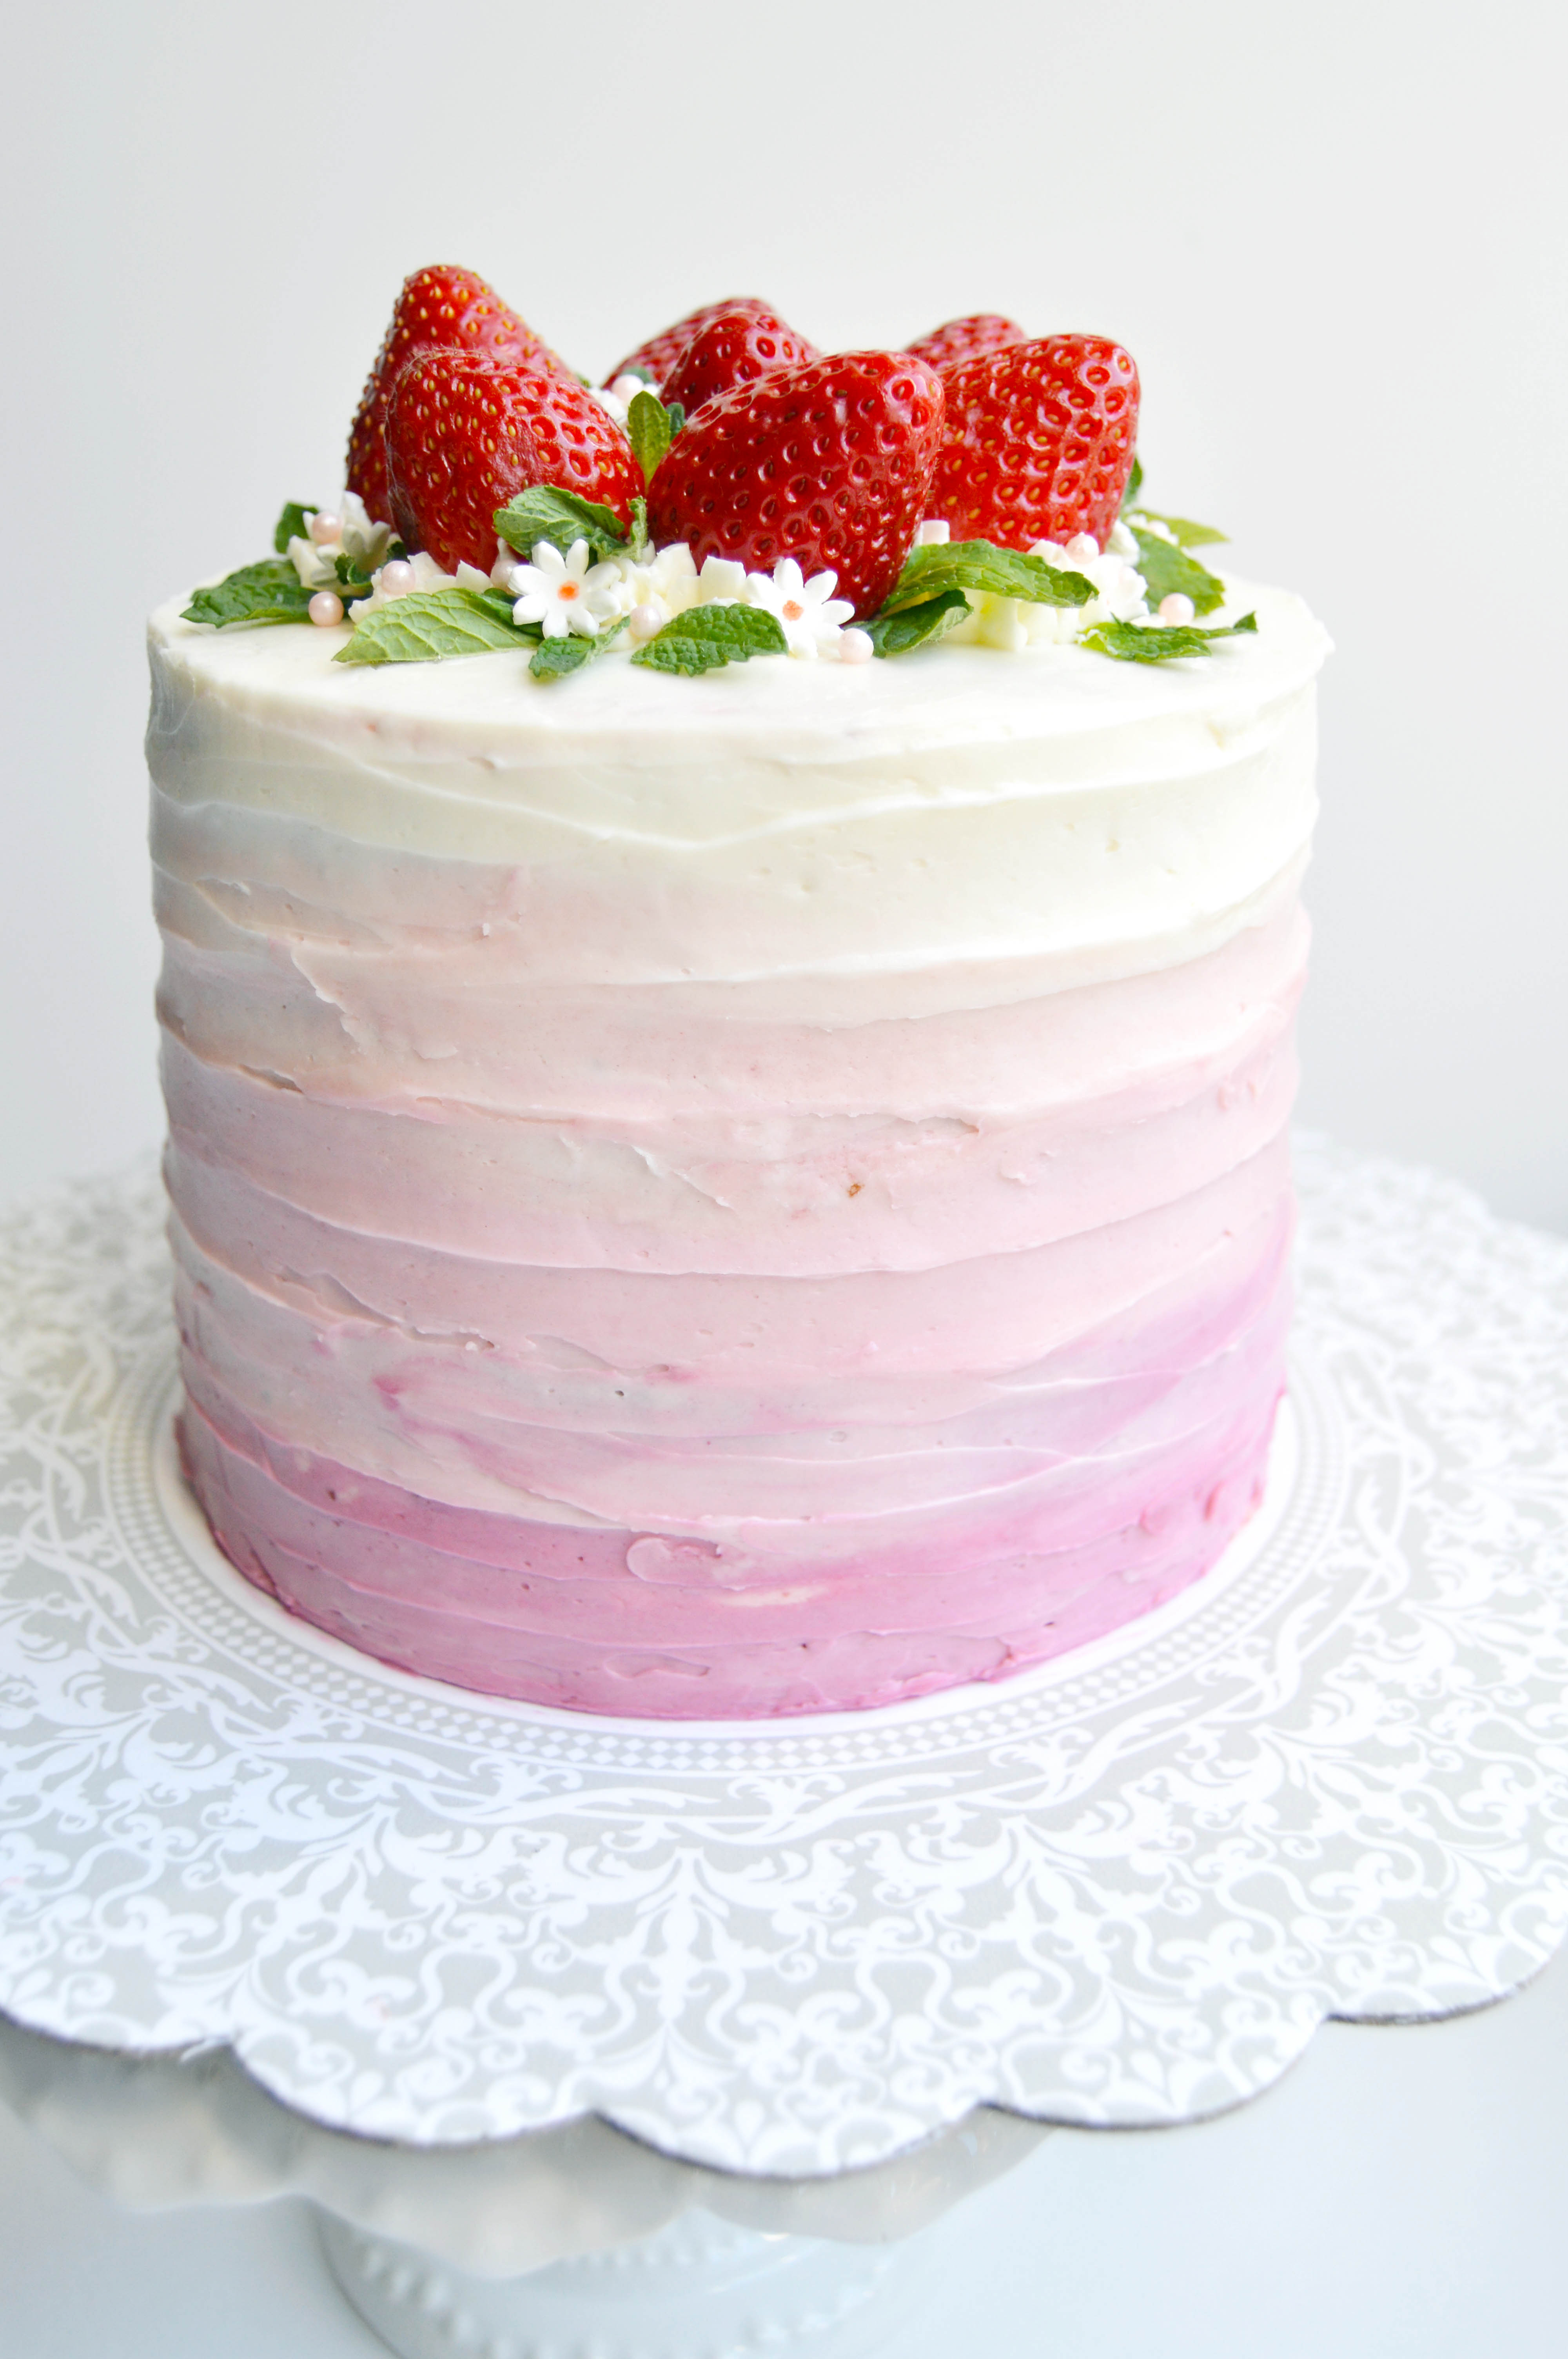
 This may be the most romantic cake I’ve made. (
