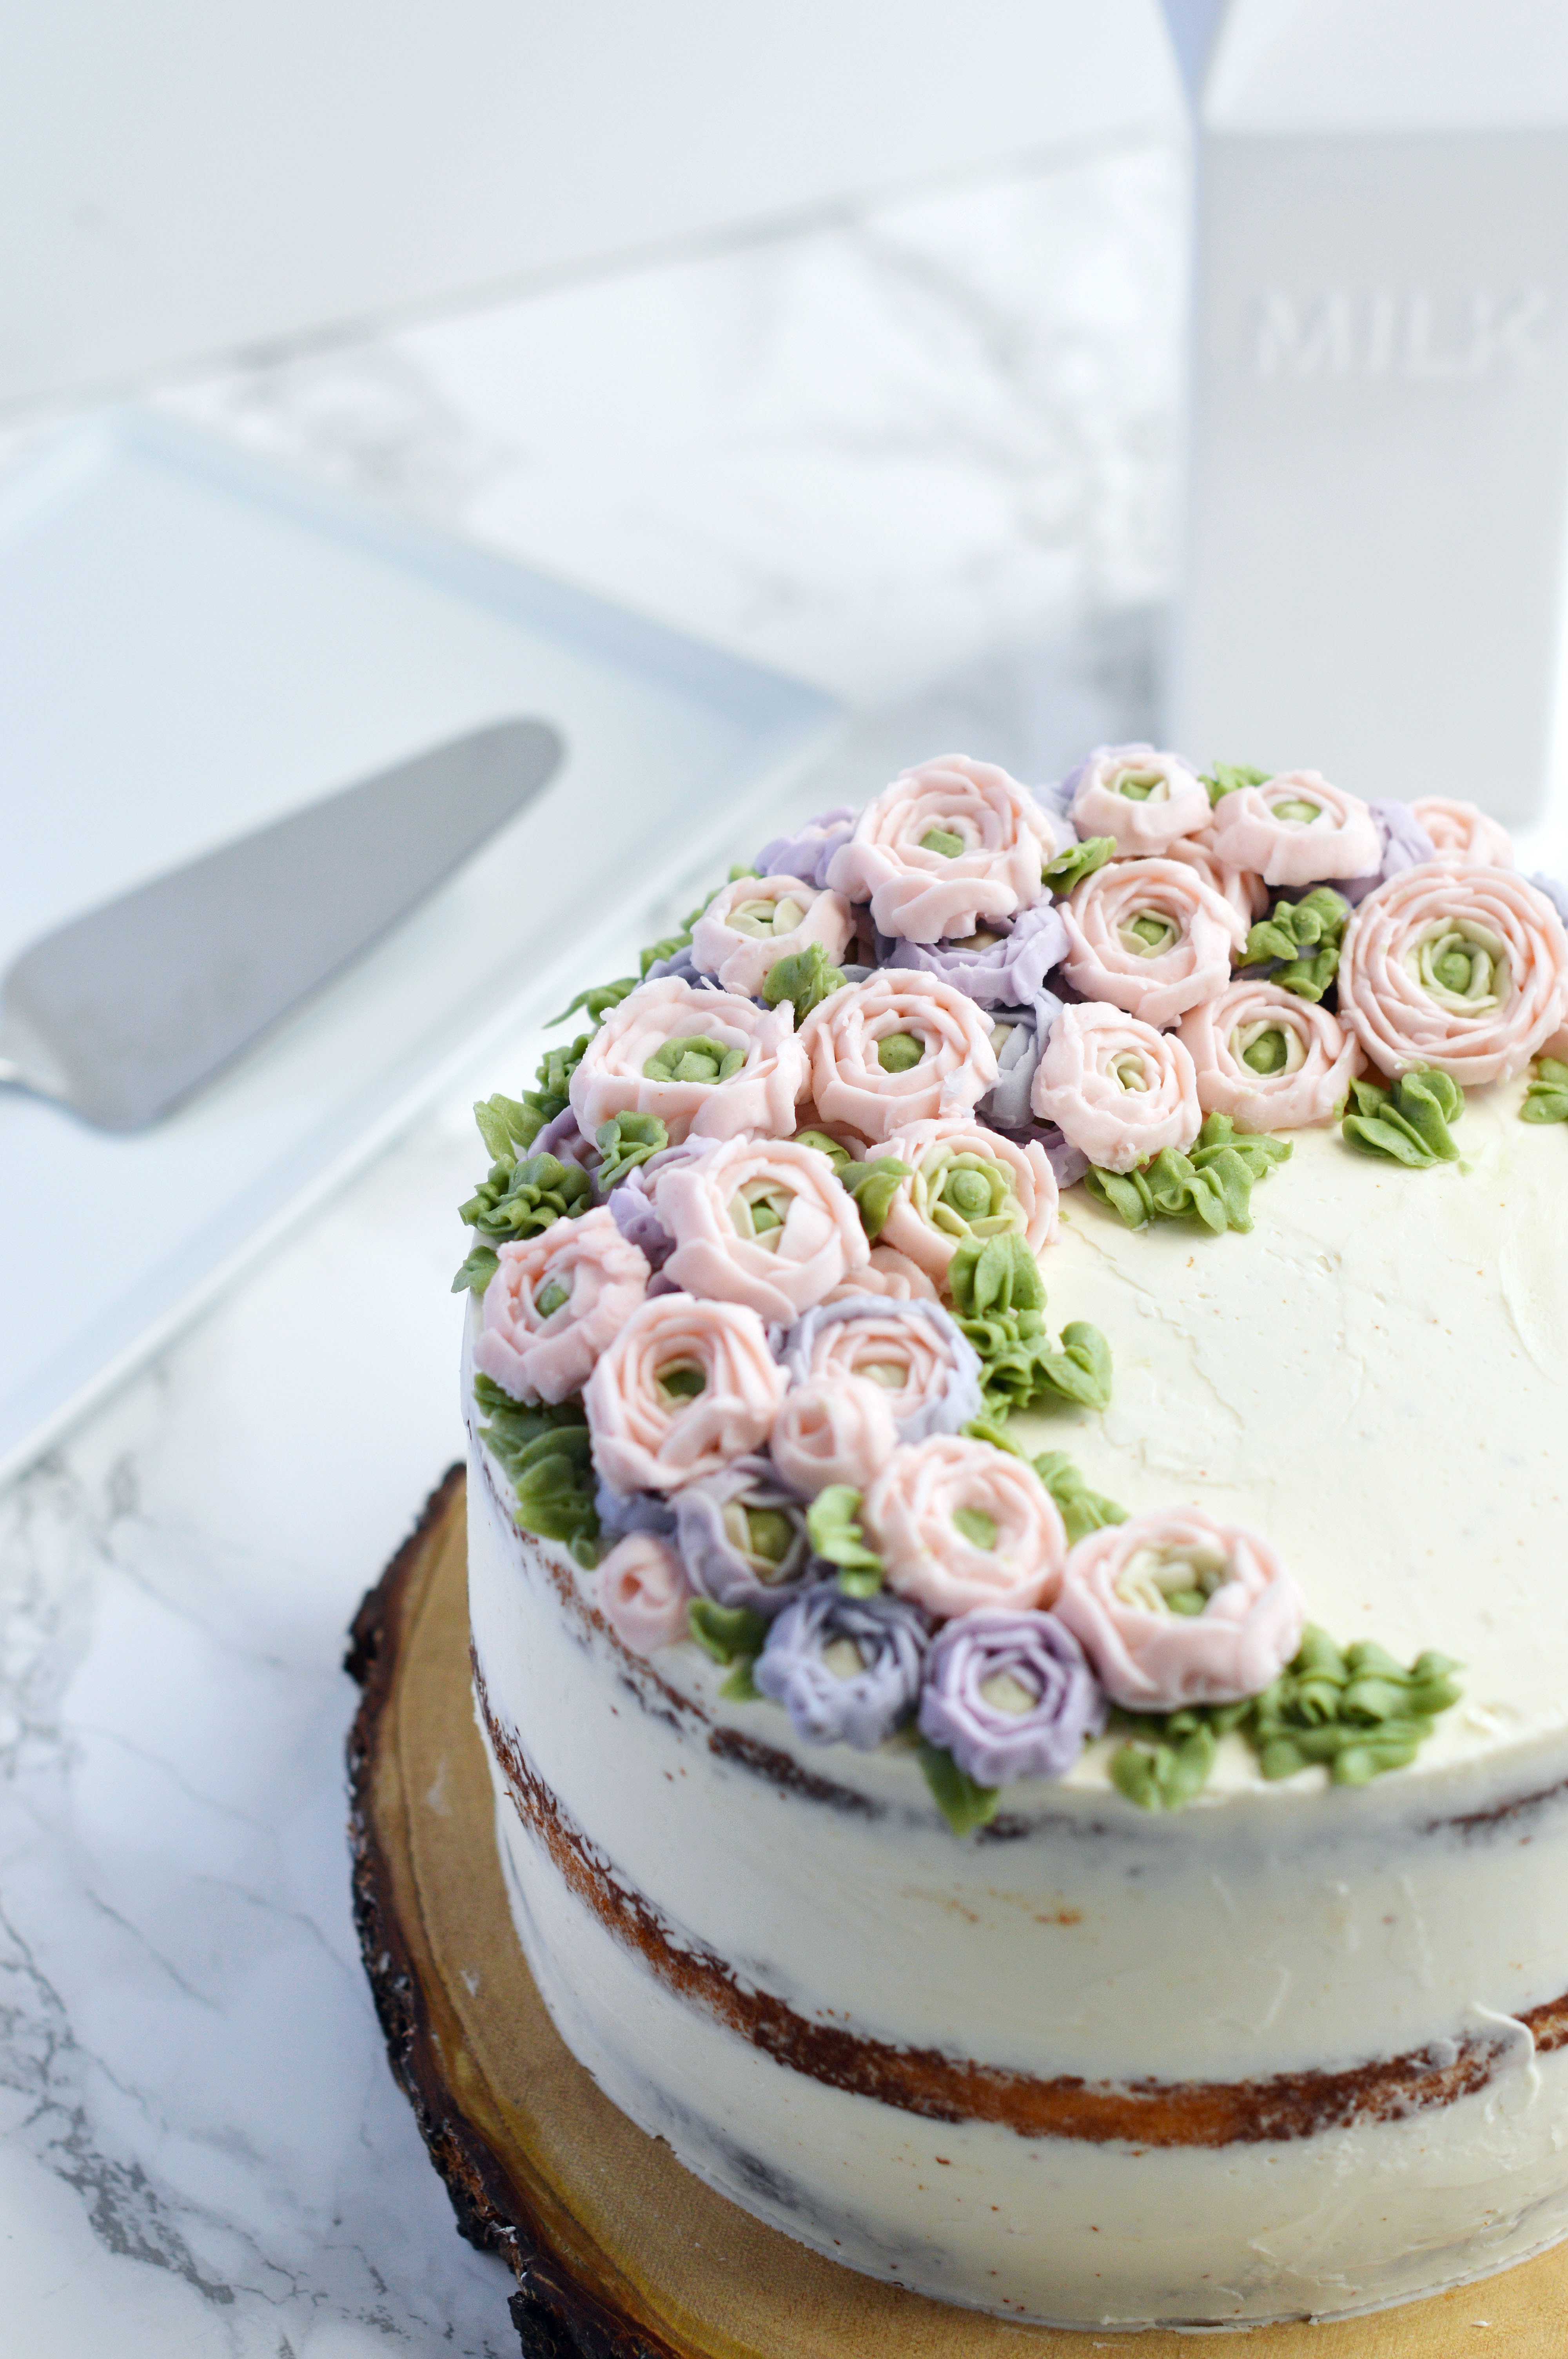
Happy New Year! I say this knowing that it already passed 3 weeks since the beginning of 2018. What better way to start a new year than with cake? Admittedly, I made this cake last year, but that doesn’t make it any less delicious!
 One of my favorite things to do with dessert is trying different versions of an already established dessert. This time it was crème brulee. Did you guys see this video of a dessert shop that specializes in crème brulees? I just want to dip my spoon into every crispy crackly shell that they advertise. I think that’s one of the great things about it, you can add your spin to just about whatever you want.
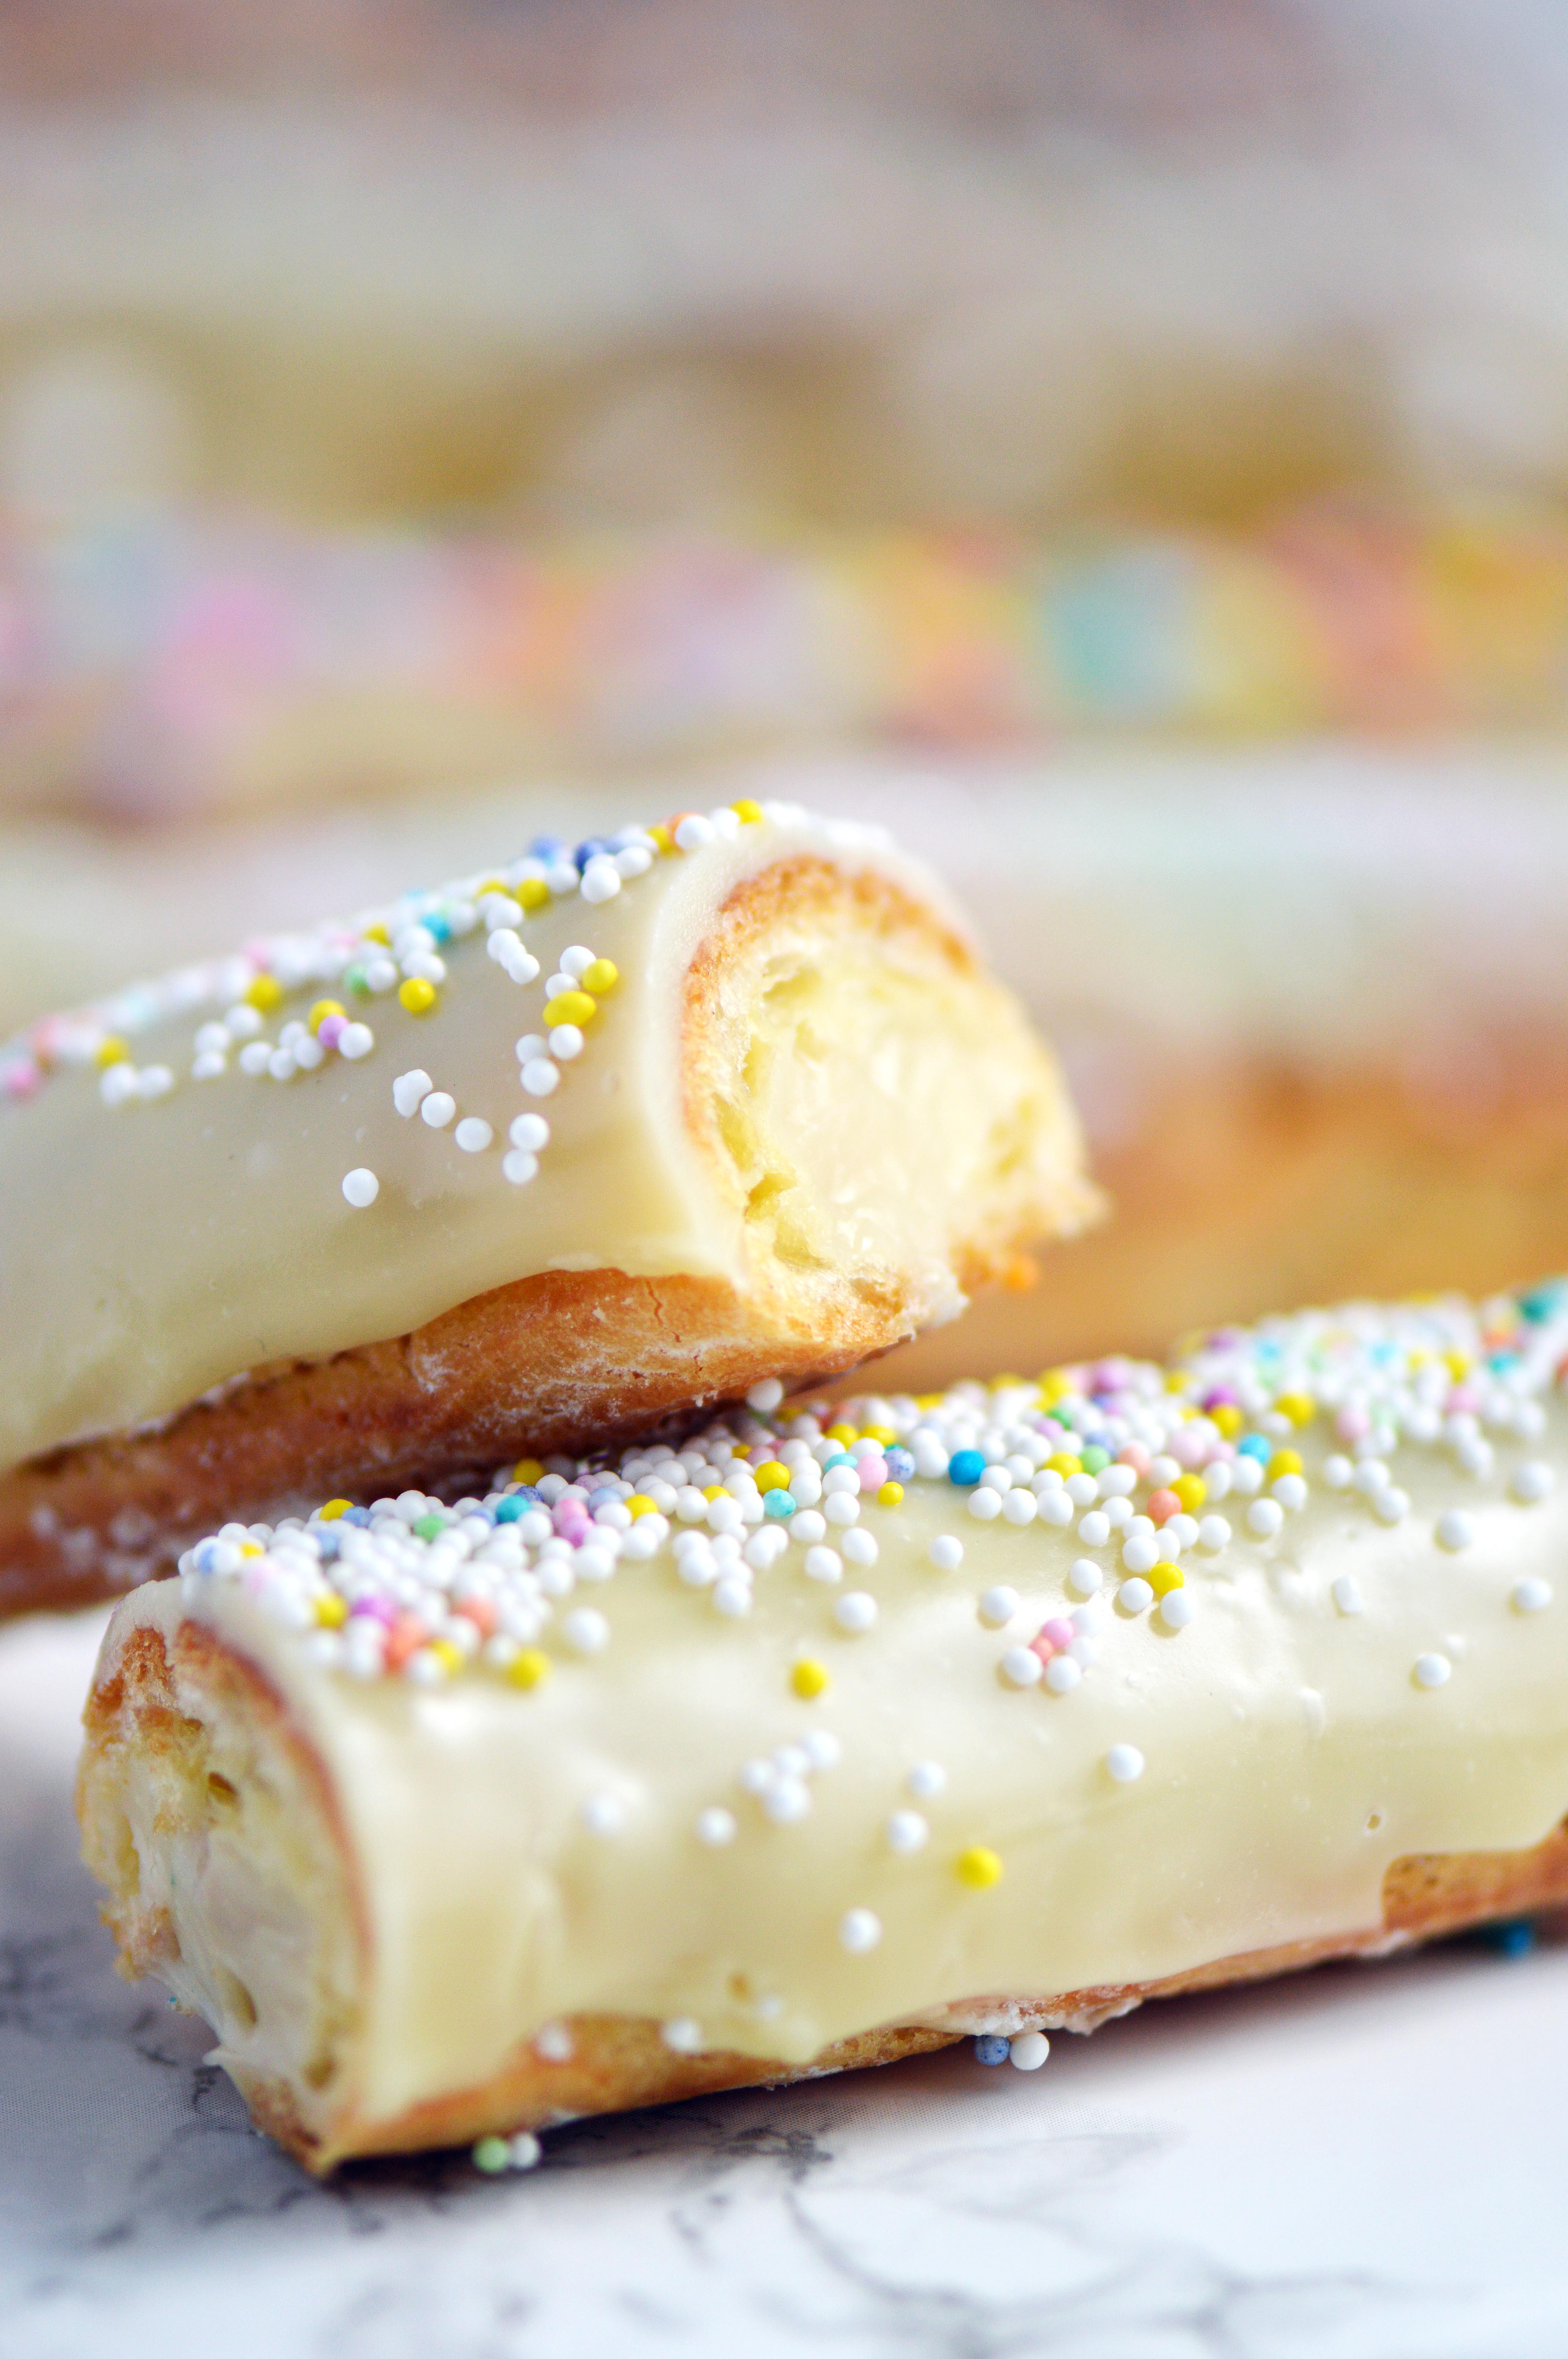
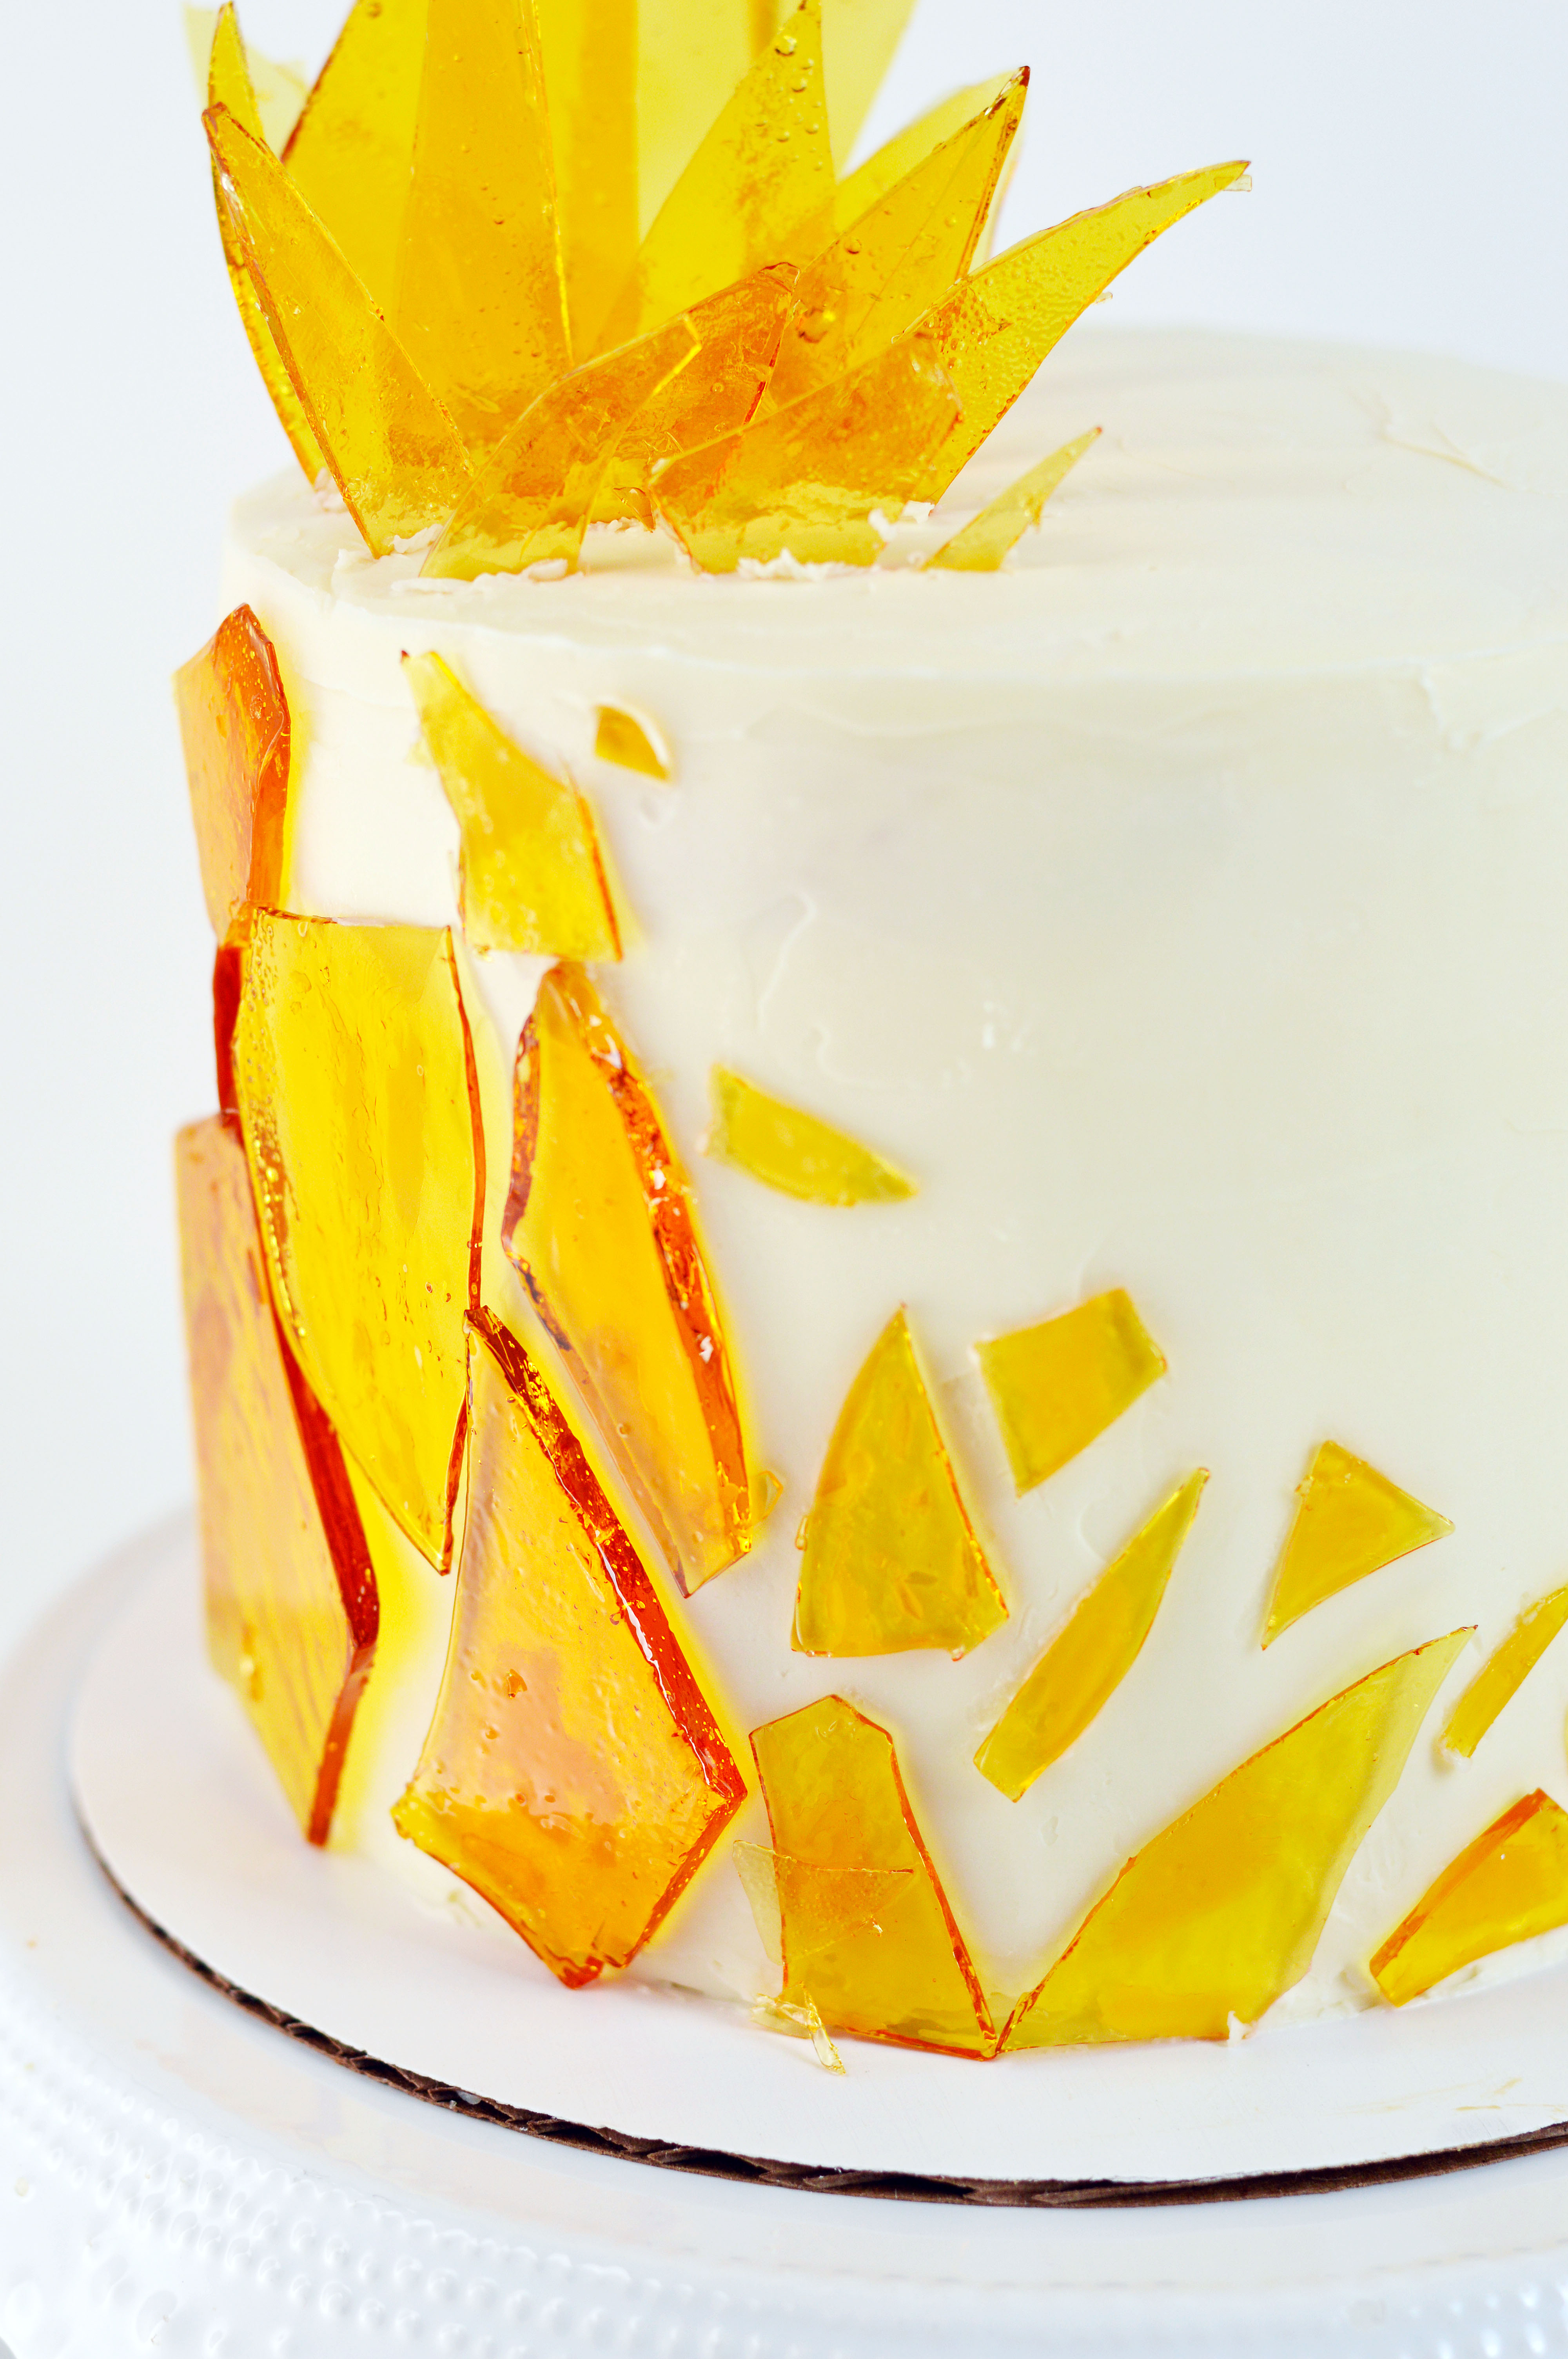
 As usual, I went out of my way to get the best crème brulee cake that I could make. It is filled with crisp sugar shards, caramelized white chocolate ganache and pastry cream. But the one thing I didn’t prepare for was the pastry cream being absorbed by the cake. I highly recommend you eat this cake sooner than later to fully enjoy all the components.
 Most of the parts of the cake are things I’ve made before, but the caramelized white chocolate was a new technique for me. You essentially bake very good white chocolate on low heat while stirring to transform it into a complex caramel flavor. I first read about it on David Lebovitz’s blog years ago, but never had the chance to make it. Why did it take so long? Well, one of the biggest factors was the cost of the chocolate. Valrhona Ivoire white chocolate is very pricey! I would be extremely sad if it failed. Luckily, I still had some in stock from baking the ultimate mocha cake.
 So what does caramelized white chocolate taste like? Kind of like dulce de leche but less sweet and a little more milky. Is it worth the trouble? I’m 50/50 on it. I don’t know if I want to use my precious Valrhona on it again. The answer would be definitely if I had a cheaper option to use. (David says not to use the cheap supermarket chocolate.)
 Aesthetically, there are two parts that love about the cake. The first being the amazing cake topper made by my friend, Carmiña of Sohnmade. Just look at the details on it! The tiny fork and spoon and the cupcake just kill me. I know cake toppers are super popular these days because they jazz up any cake, but I’ve rarely seen one that has so many details. And of course, because she is multi-talented, she also throws wonderful events and does a whole assortment of custom décor. I highly recommend her.
  The other part that I love is the sugar shards of the cake. I love the stained glass effect it gives off and I can imagine making different colored ones and doing actual, edible stained glass work. The ones in the recipe have a similar flavor of the crisp sugar shell of crème brulee because you cook sugar until it gets that toasty taste. Win-win.
Crème Brulee Cake
Makes one 6-inch cake
You will need:
1 batch caramelized white chocolate ganache (recipe below)
1 batch vanilla pastry cream (recipe below)
1 batch vanilla buttermilk cake (recipe below)
1 batch vanilla swiss meringue frosting (recipe below)
1 batch sugar shards (recipe below)
Instructions:
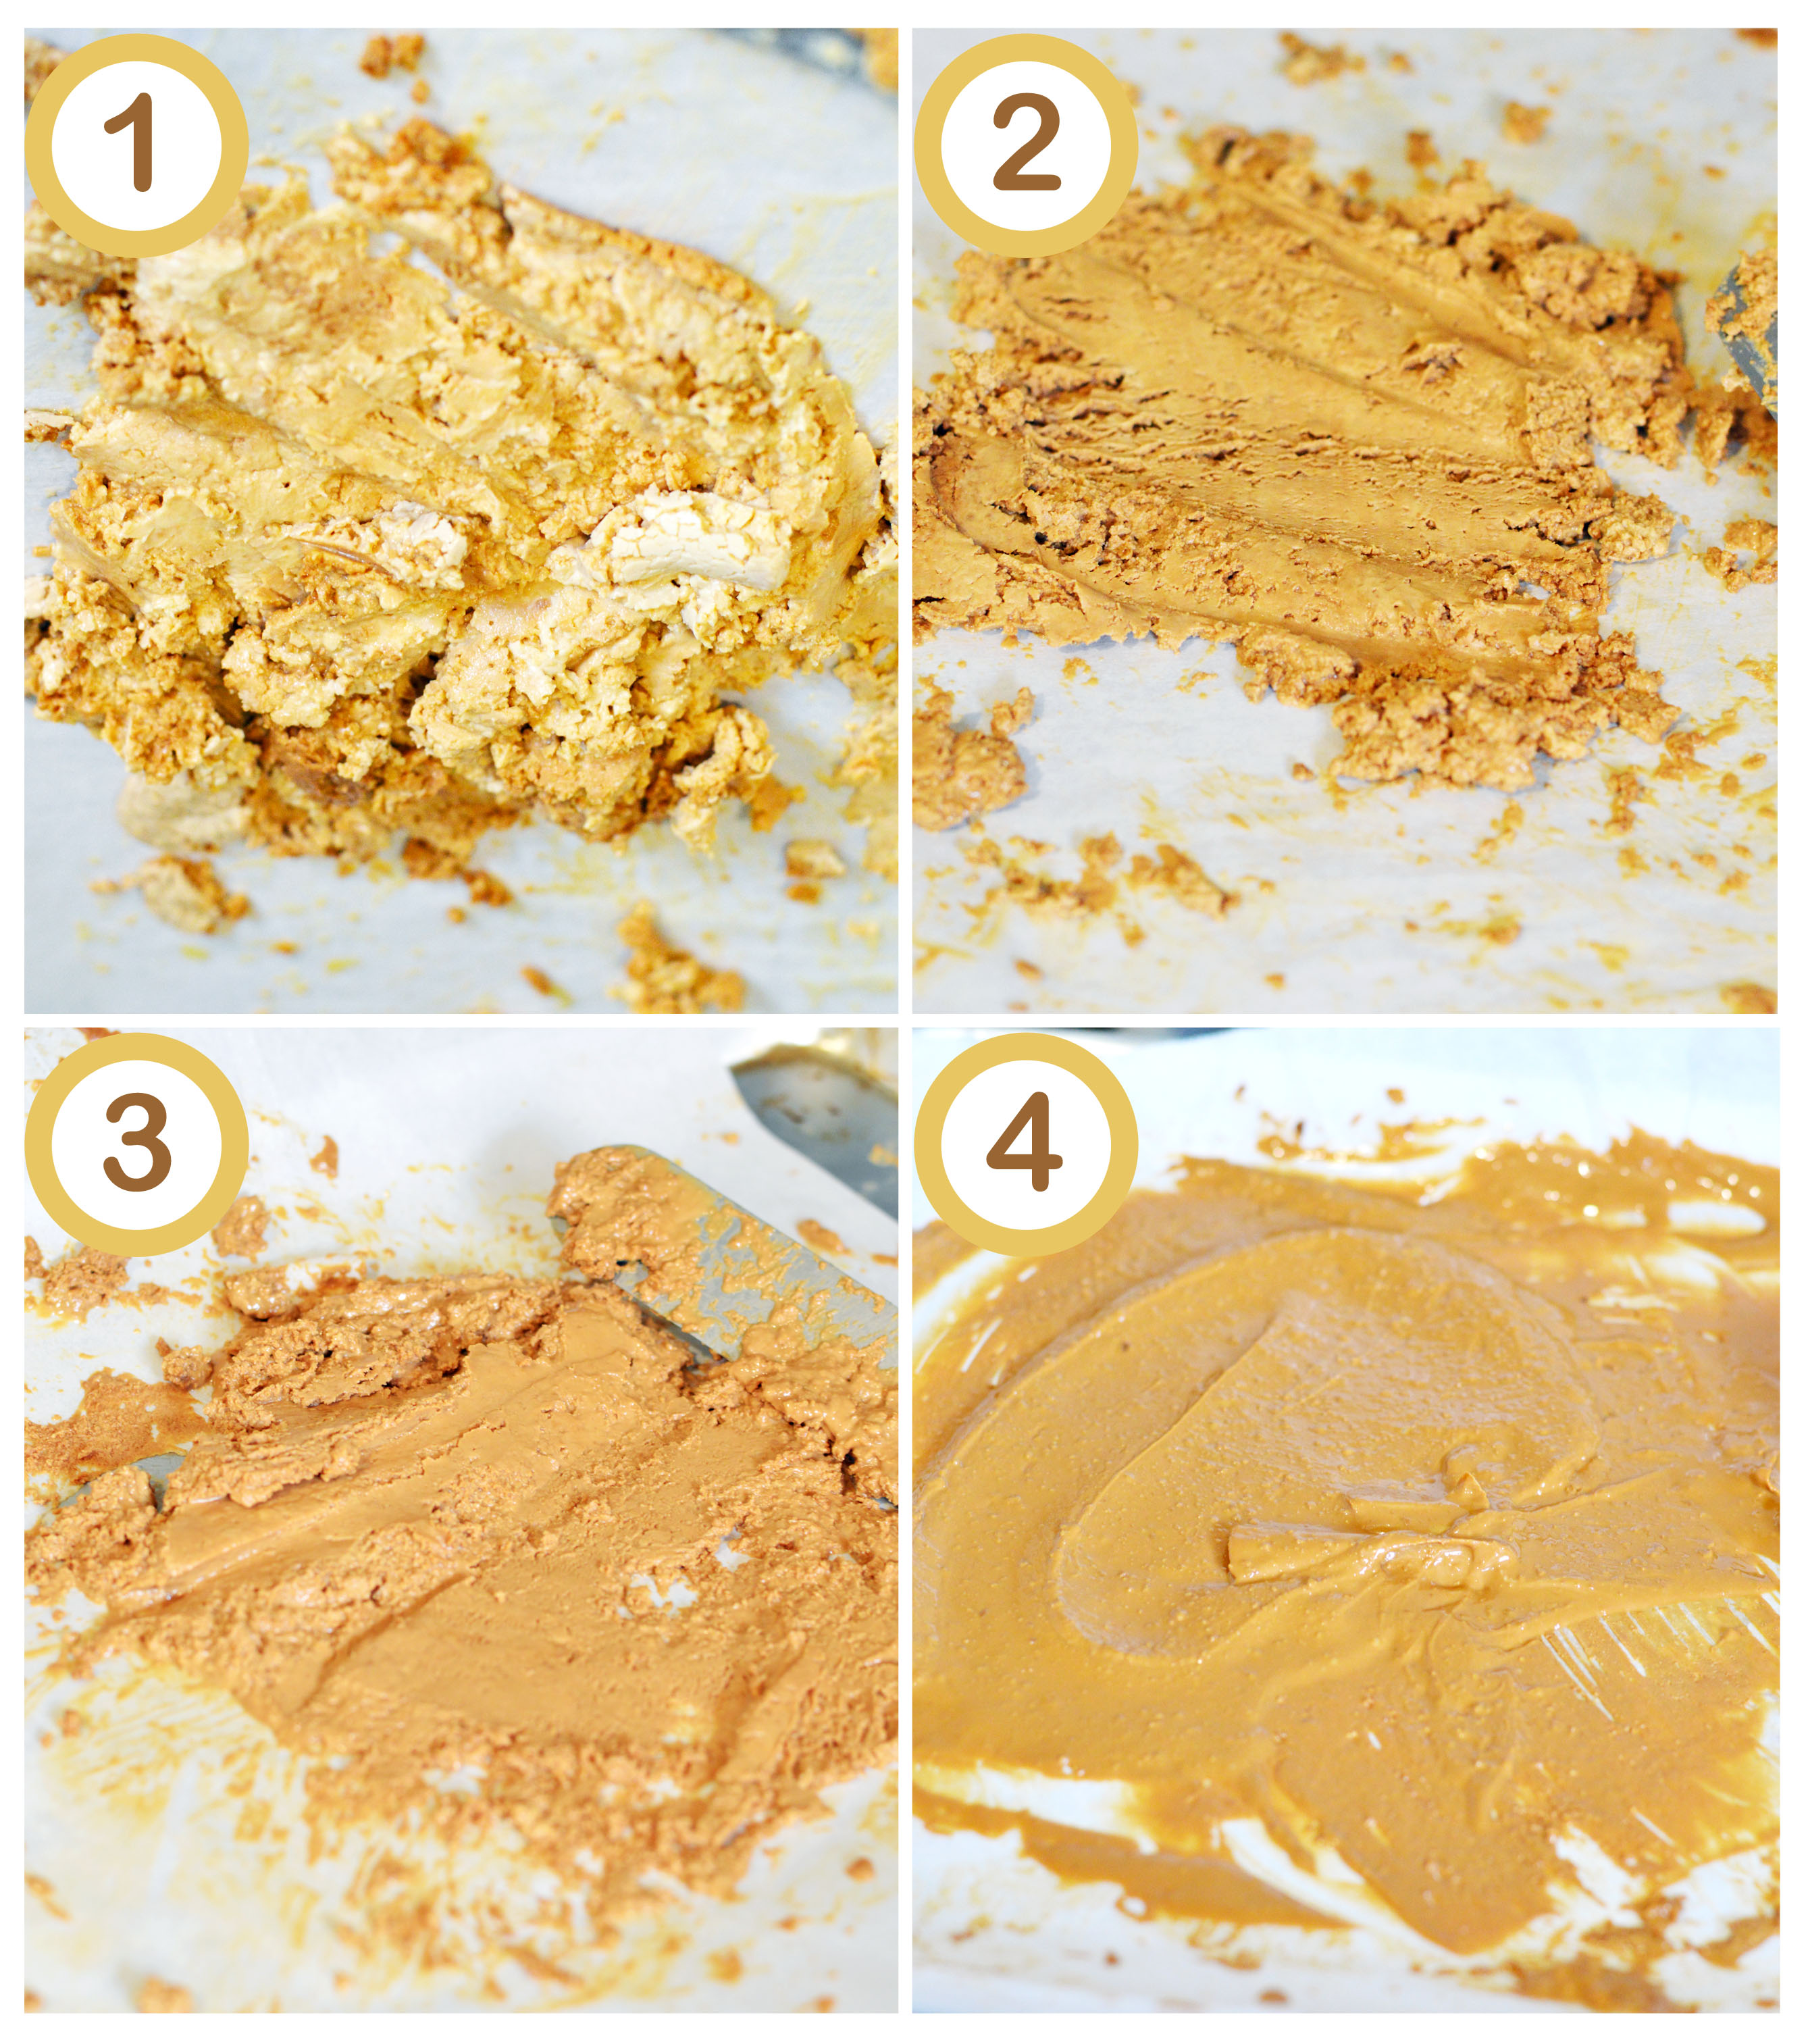
- On a cake board, place one layer of vanilla cake and using an offset spatula, spread a layer of ganache. (picture #1 in photo above)
- In a piping bag fitted with a plain tip, fill it with some vanilla frosting. Pipe a dam around the outer edge of the cake. This will keep the cream from spilling out of the sides. (picture #2 in photo above)
- Use an offset spatula to fill with pastry cream. (picture #3 in photo above)
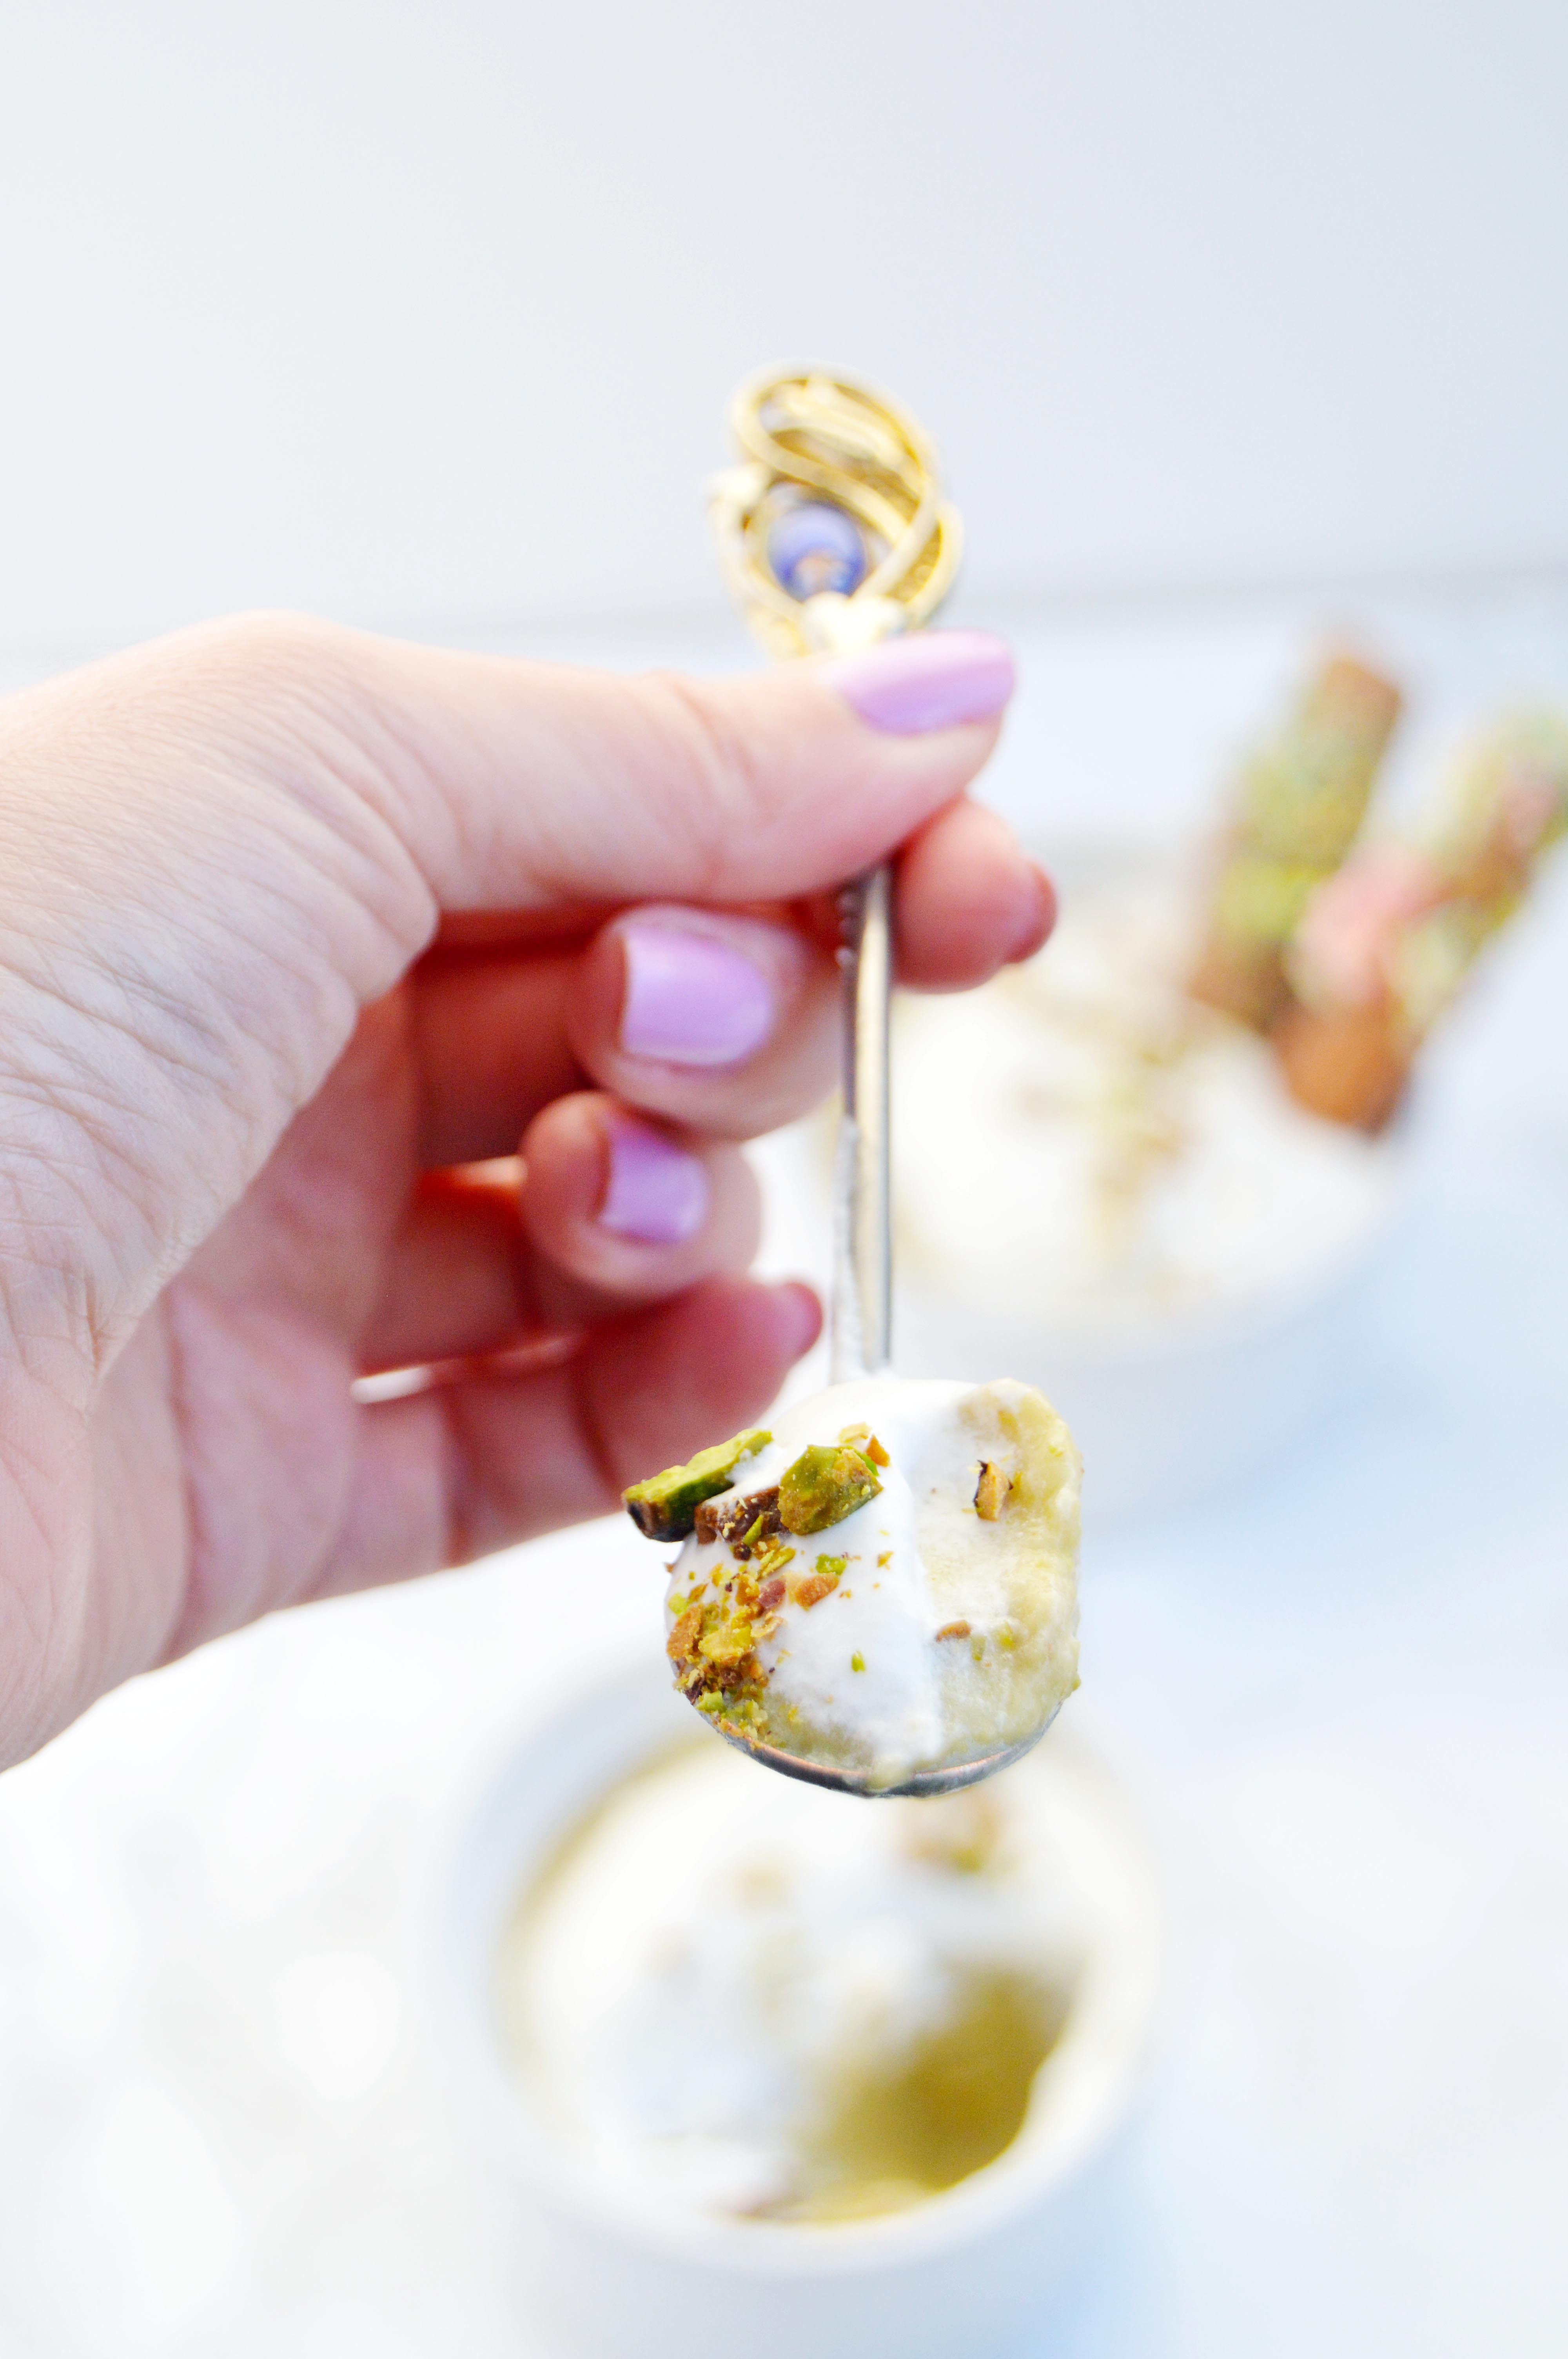
- Top with small sugar shards. Note: The sugar shards will dissolve over time. It is best to eat sooner than later to experience the full textural effect. (picture #4 in photo above)
- Repeat the sequence twice, ending with a layer of cake.
- Cover the cake with a thin layer of vanilla frosting and freeze to firm.
- Cover the cake fully with vanilla frosting, smoothing out the sides and top as well as you can.
- Decorate the top and sides with sugar shards.
Caramelized White Chocolate Ganache
Ingredients:
12 oz. highest quality white chocolate you can get your hands on
Pinch of kosher salt
6 – 8 oz. heavy cream
Instructions:
- Preheat the oven to 250˚F and line a baking sheet with parchment paper.
- Chop the white chocolate into pieces and evenly distribute over baking sheet.
- Place in oven for 10 minutes.
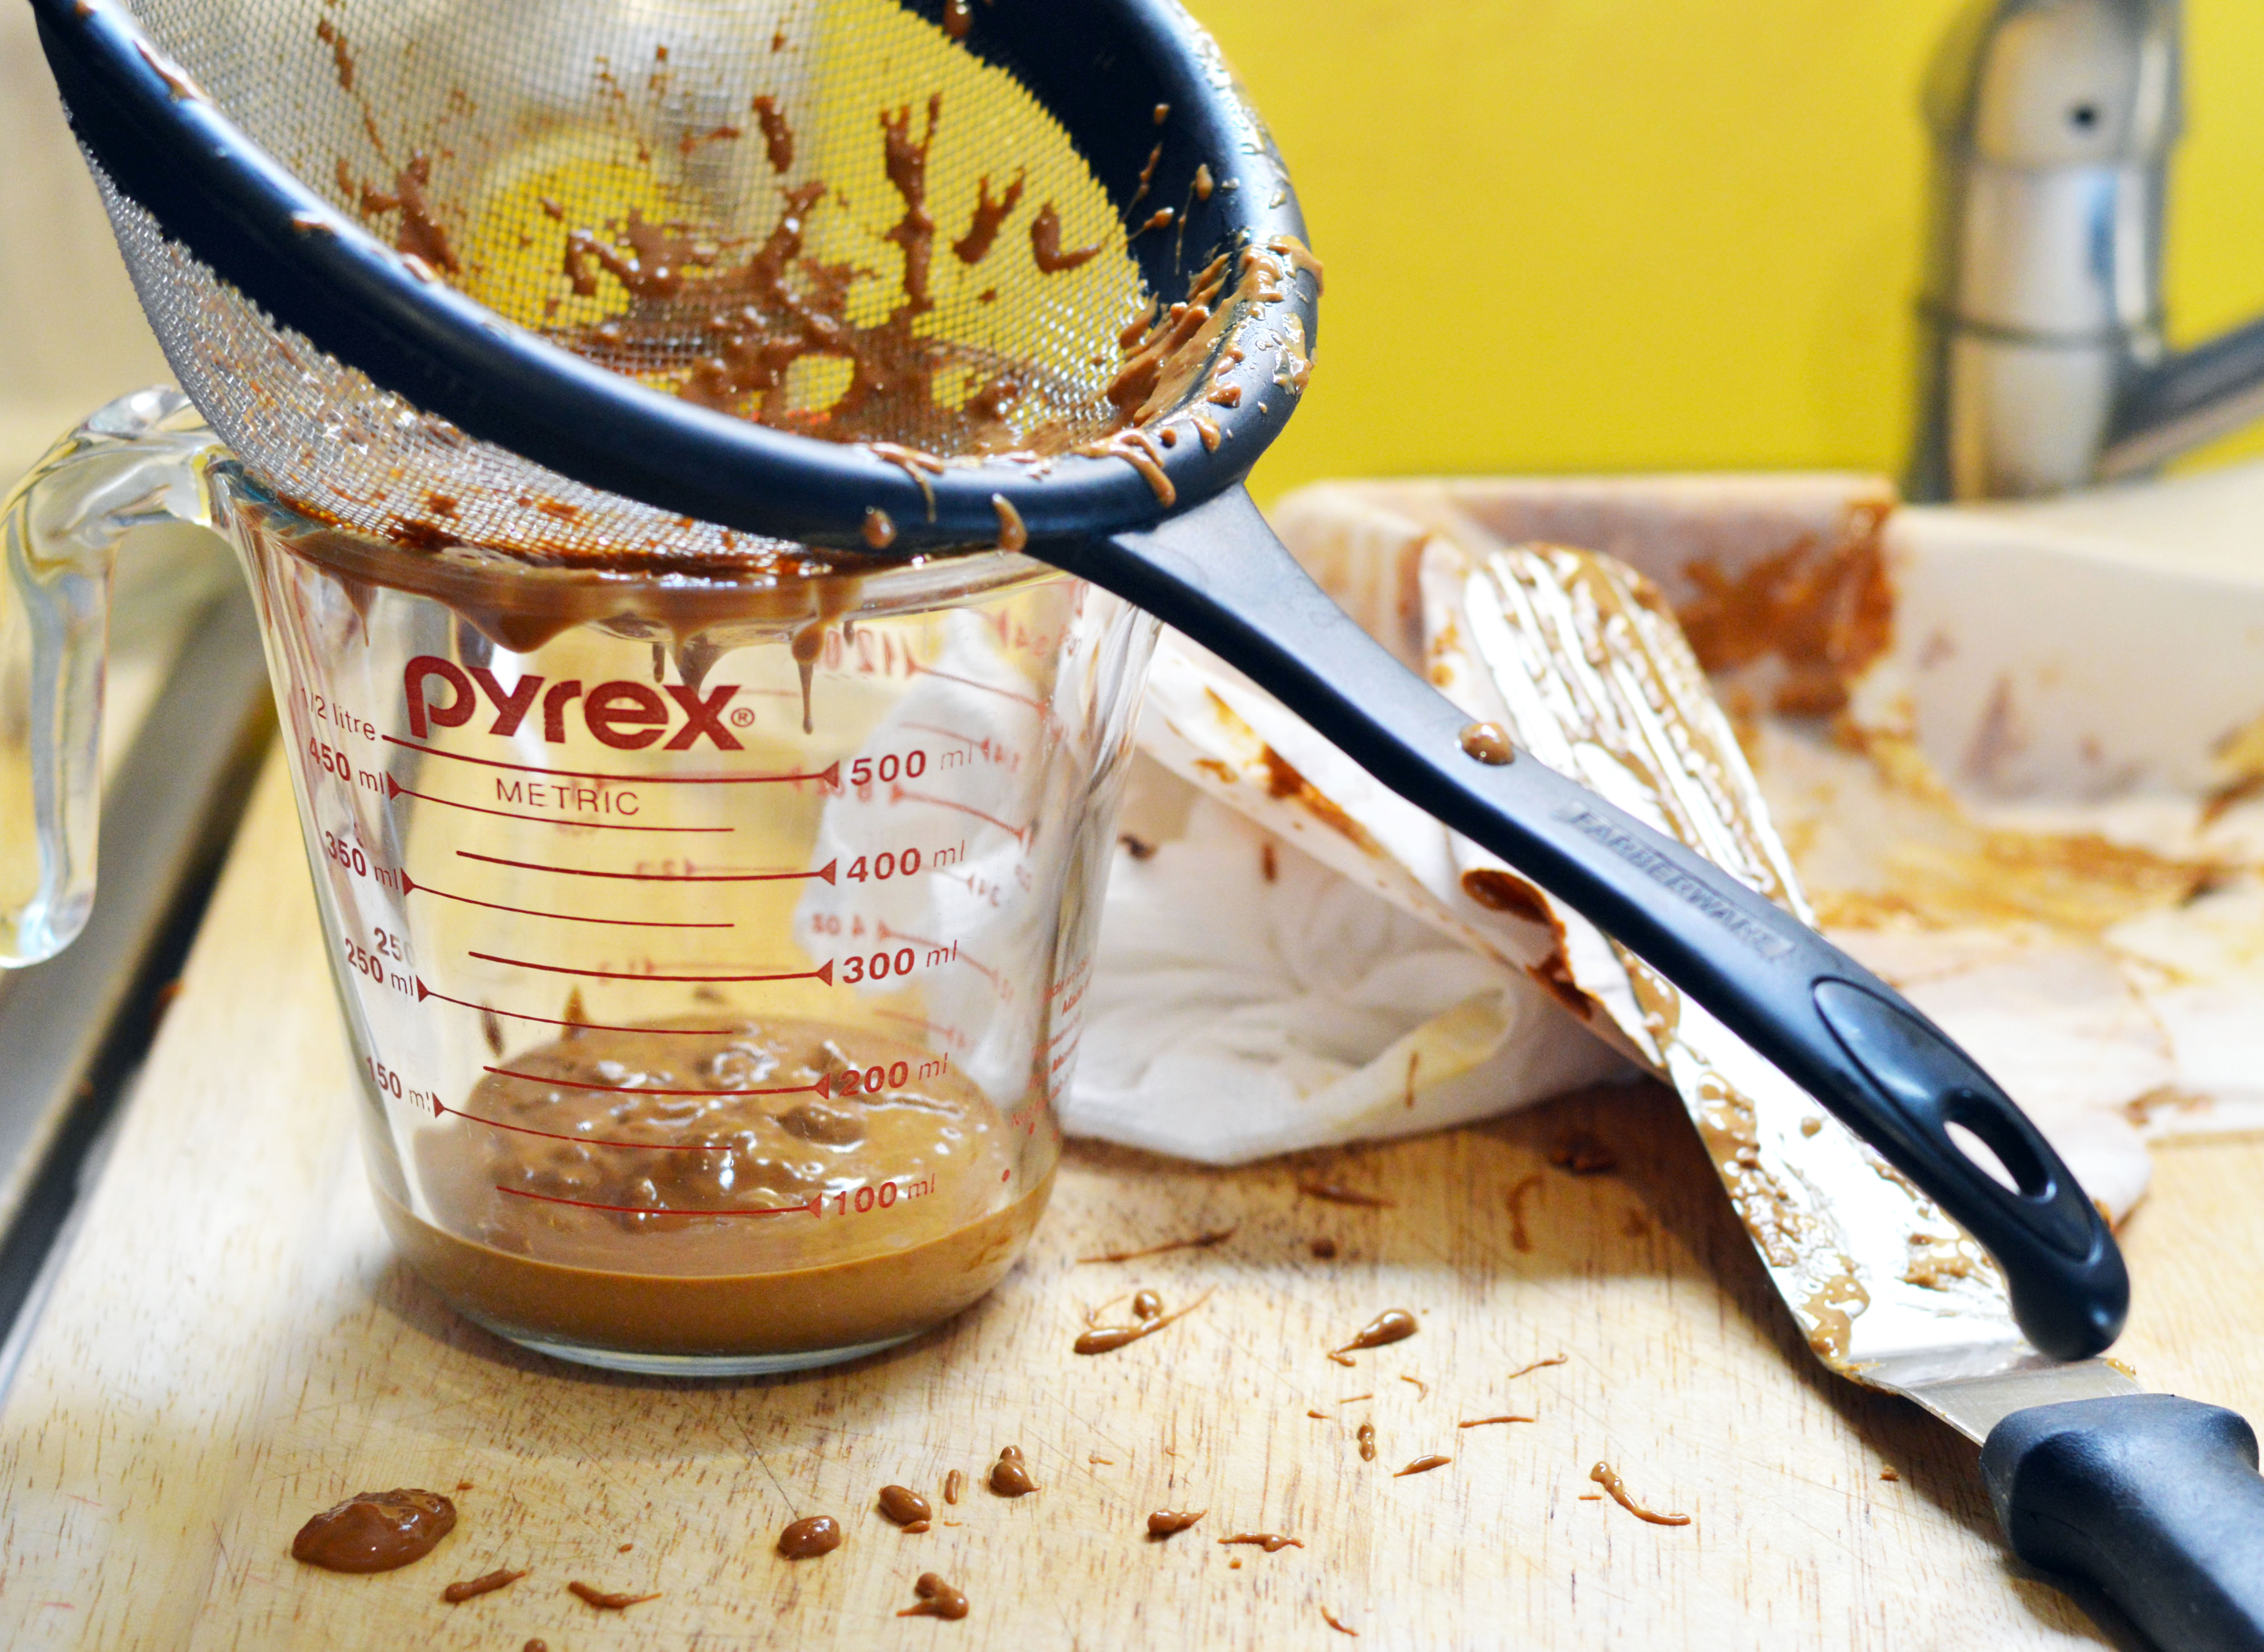
- Remove and stir with a spatula. (The mixture will look lumpy and chalky for a while. Picture #1, #2, #3 in photo above)
- Place it back into the oven in 10 minute intervals until chocolate is smooth and caramelized. (picture #4 in photo above)
- At this point, if there are small lumps in the chocolate, use a fine mesh strainer and strain. (It will be messy, but worth it.)
- Heat the chocolate with 6 oz. heavy cream in the microwave for 1-2 minutes and stir. Let cool.
- If the mixture is too thick, add the other 1-2 oz. of heavy cream to thin out. The mixture should be thick enough to spread onto cake but not flow off of it, like nutella.
Vanilla Pastry Cream
Ingredients:
2 c. whole milk
½ c. sugar, divided
2 egg yolks
1 large egg
¼ c. cornstarch
2 tbsp. butter
1 tsp. vanilla extract (or if you really want to go fancy, vanilla paste)
Instructions:
- In a pot, heat whole milk and ¼ c. sugar and bring to a simmer.
- While the milk heats, mix egg yolks, egg, cornstarch and ¼ c. sugar in a medium bowl.
- When the milk is hot, use a ladle to slowly drizzle hot milk into the egg mixture while whisking to prevent curdling.
- Once all of the milk is introduced into the egg mixture, return all of it back into the pot.
- Bring the mixture in the pot to a boil while whisking. When it is thick, remove the pot off the heat.
- Add in the butter and vanilla. Once the butter is completely mixed in, move to a bowl and place a piece of plastic wrap directly against the pastry cream (to prevent a skin from forming). Chill completely, about 2-3 hours, before using.
Vanilla Buttermilk Cake
3 c. cake flour
2 c. sugar
1 tbsp. baking powder
¼ tsp. kosher salt
1¼ c. buttermilk, divided
8 oz. unsalted butter, room temperature
4 eggs, room temperature
2 egg yolks
2 tsp. vanilla extract
Instructions:
- Preheat the oven to 350˚F and grease and line four 6-inch cake pans with parchment paper.
- In a bowl of a standing mixer with the paddle attachment, add flour, sugar, baking powder, and salt. Mix until combined.
- On low speed, add 1 c. buttermilk and butter and mix until combined.
- In a separate bowl, whisk eggs, egg yolks, ¼ c. buttermilk, and vanilla extract until homogenous.
- On low speed, slowly add the egg mixture to the flour mixture.
- Increase speed to medium, and mix until combined.
- Evenly divide cake batter into the four cake pans.
- Bake about 20-25 minutes until cake is done or until a toothpick inserted into the center comes out clean.
- Let cool in pan for 10 minutes, and then move onto a cooling rack until completely cool.
Vanilla Swiss Meringue Buttercream
Ingredients:
300 g. (1½ cups) sugar
6 large egg whites
2.66 c. (4 ⅔ sticks) unsalted butter
2 tsp. vanilla extract
1 pinch kosher salt (I use Diamond Crystal)
Instructions:
- Bring a small pot filled with about an inch of water to a simmer.
- In a bowl of a standing mixer, whisk the egg whites, sugar, and salt together.
- Place the bowl on top of the pot and whisk continuously until the mixture becomes slightly foamy and you cannot feel the grittiness of the sugar, about 5-8 minutes. The mixture will be hot. Be careful.
- Move the bowl to the standing mixer fitted with the whisk attachment and whip the egg mixture until the bowl feels cool to the touch.
- Add in the butter, and continue to whip until a smooth buttercream forms.
- Add in the vanilla extract and continue to whip until incorporated.
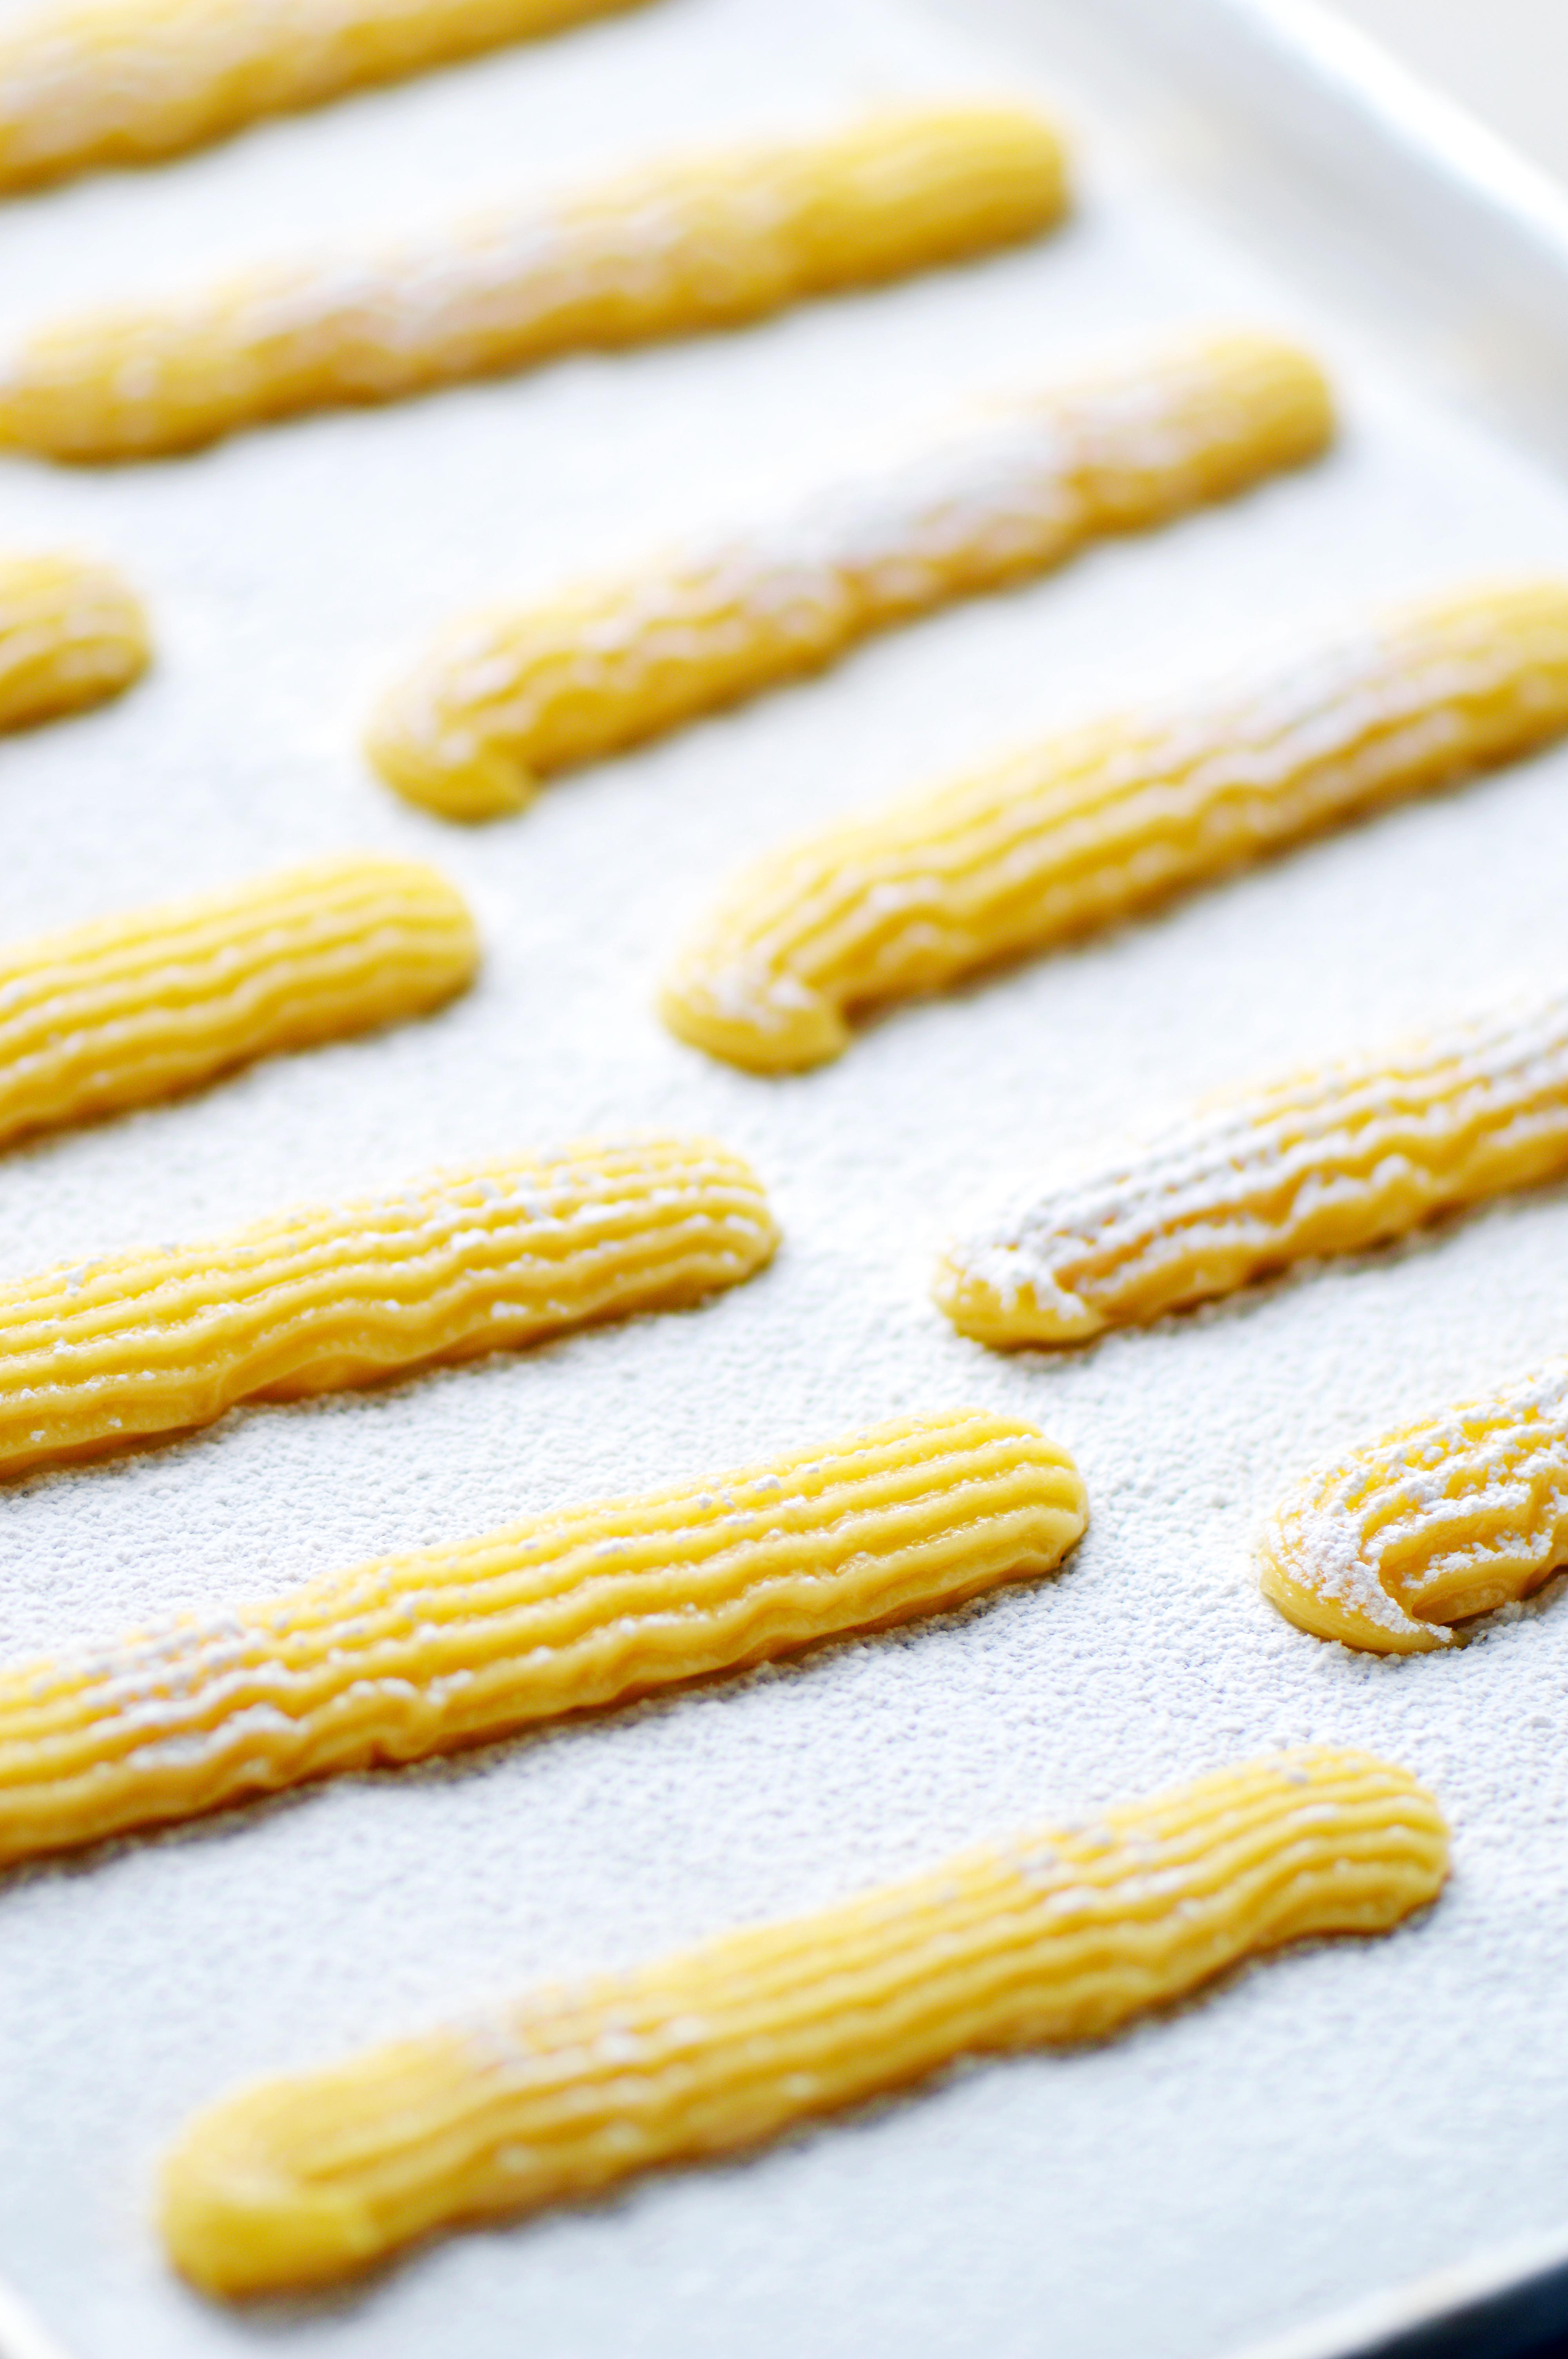
Sugar Shards
Ingredients:
3 c. sugar
½ c. water
Instructions:
- Line two baking sheets with parchment paper.
- In a small pot over medium heat, stir water and sugar together until the sugar dissolves. Stop stirring.
- Let the sugar cook until it turns into a caramel color.
- Pour out the sugar onto the prepared pans.
- Tilt the pans to spread the liquid sugar.
- Once the sugar is cooled, break them into shards for decorative use and smaller pieces for the inside of the cake.
Caramelized white chocolate recipe adapted from David Lebovitz.
Pastry cream recipe adapted from All Recipes.
Vanilla buttermilk cake recipe adapted from Sky High Cakes.
Sugar shard recipe and cake inspired by The Cake Blog.
Cake topper by Sohnmade.

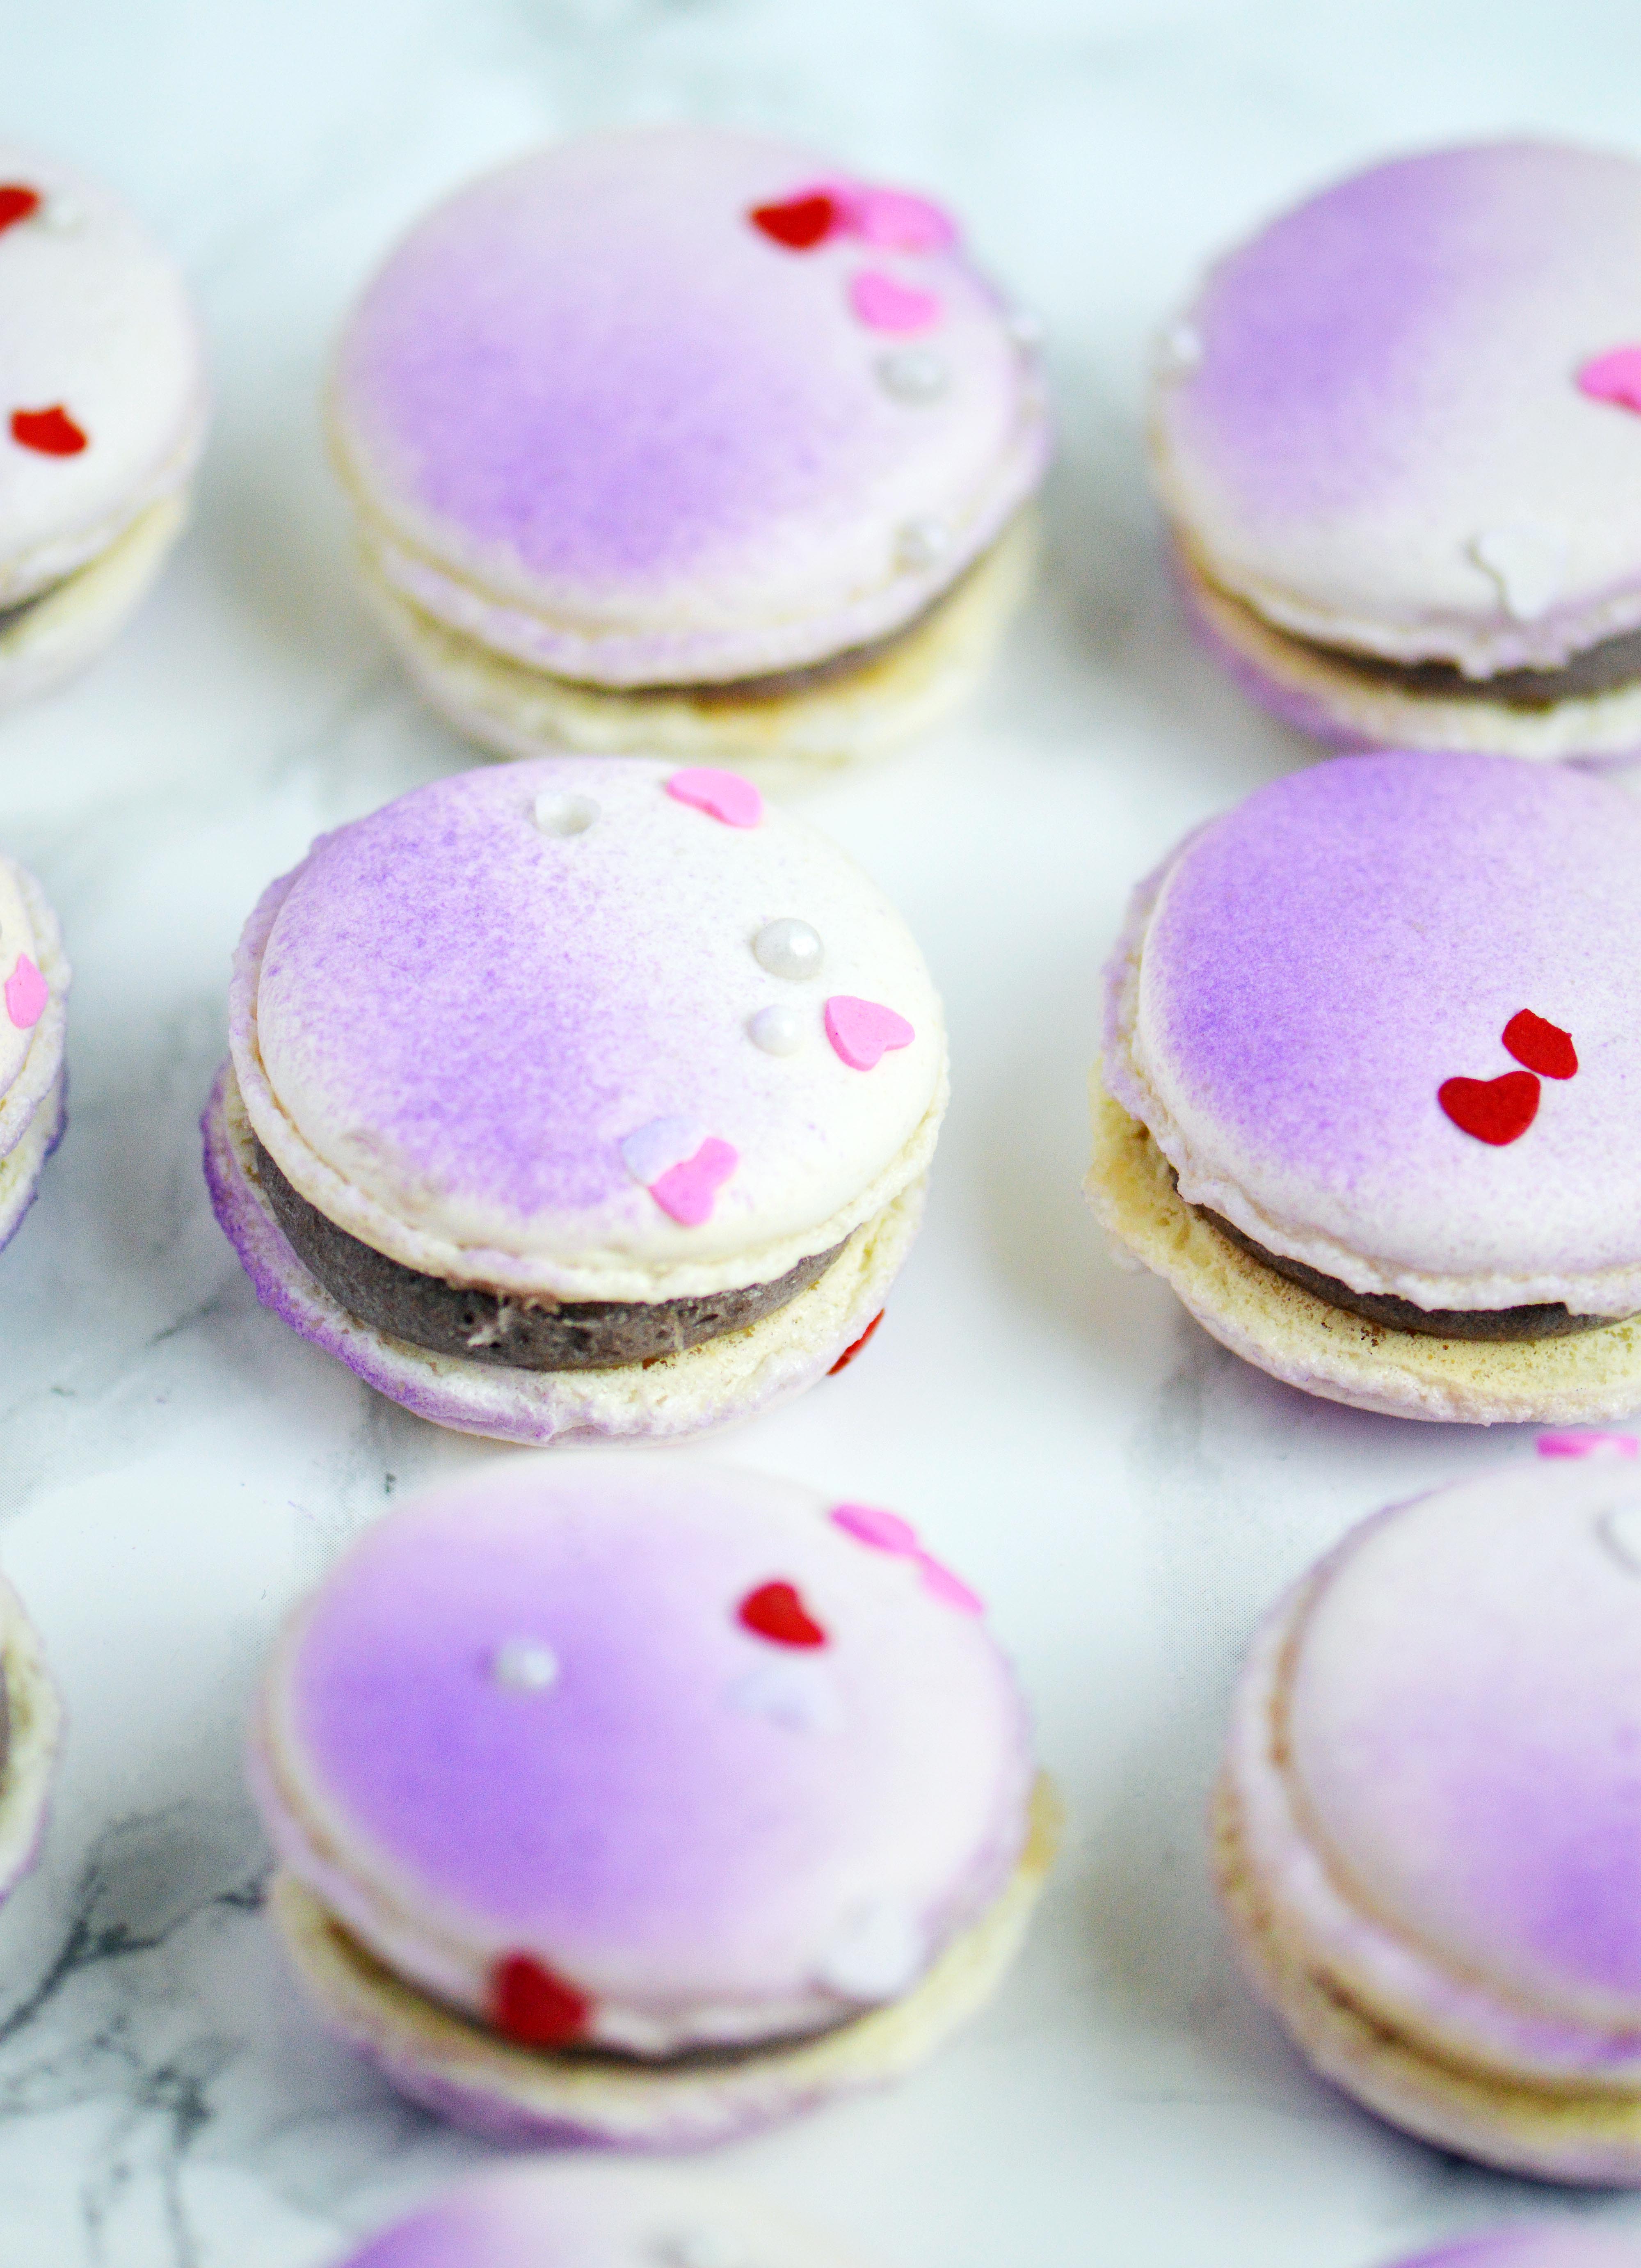
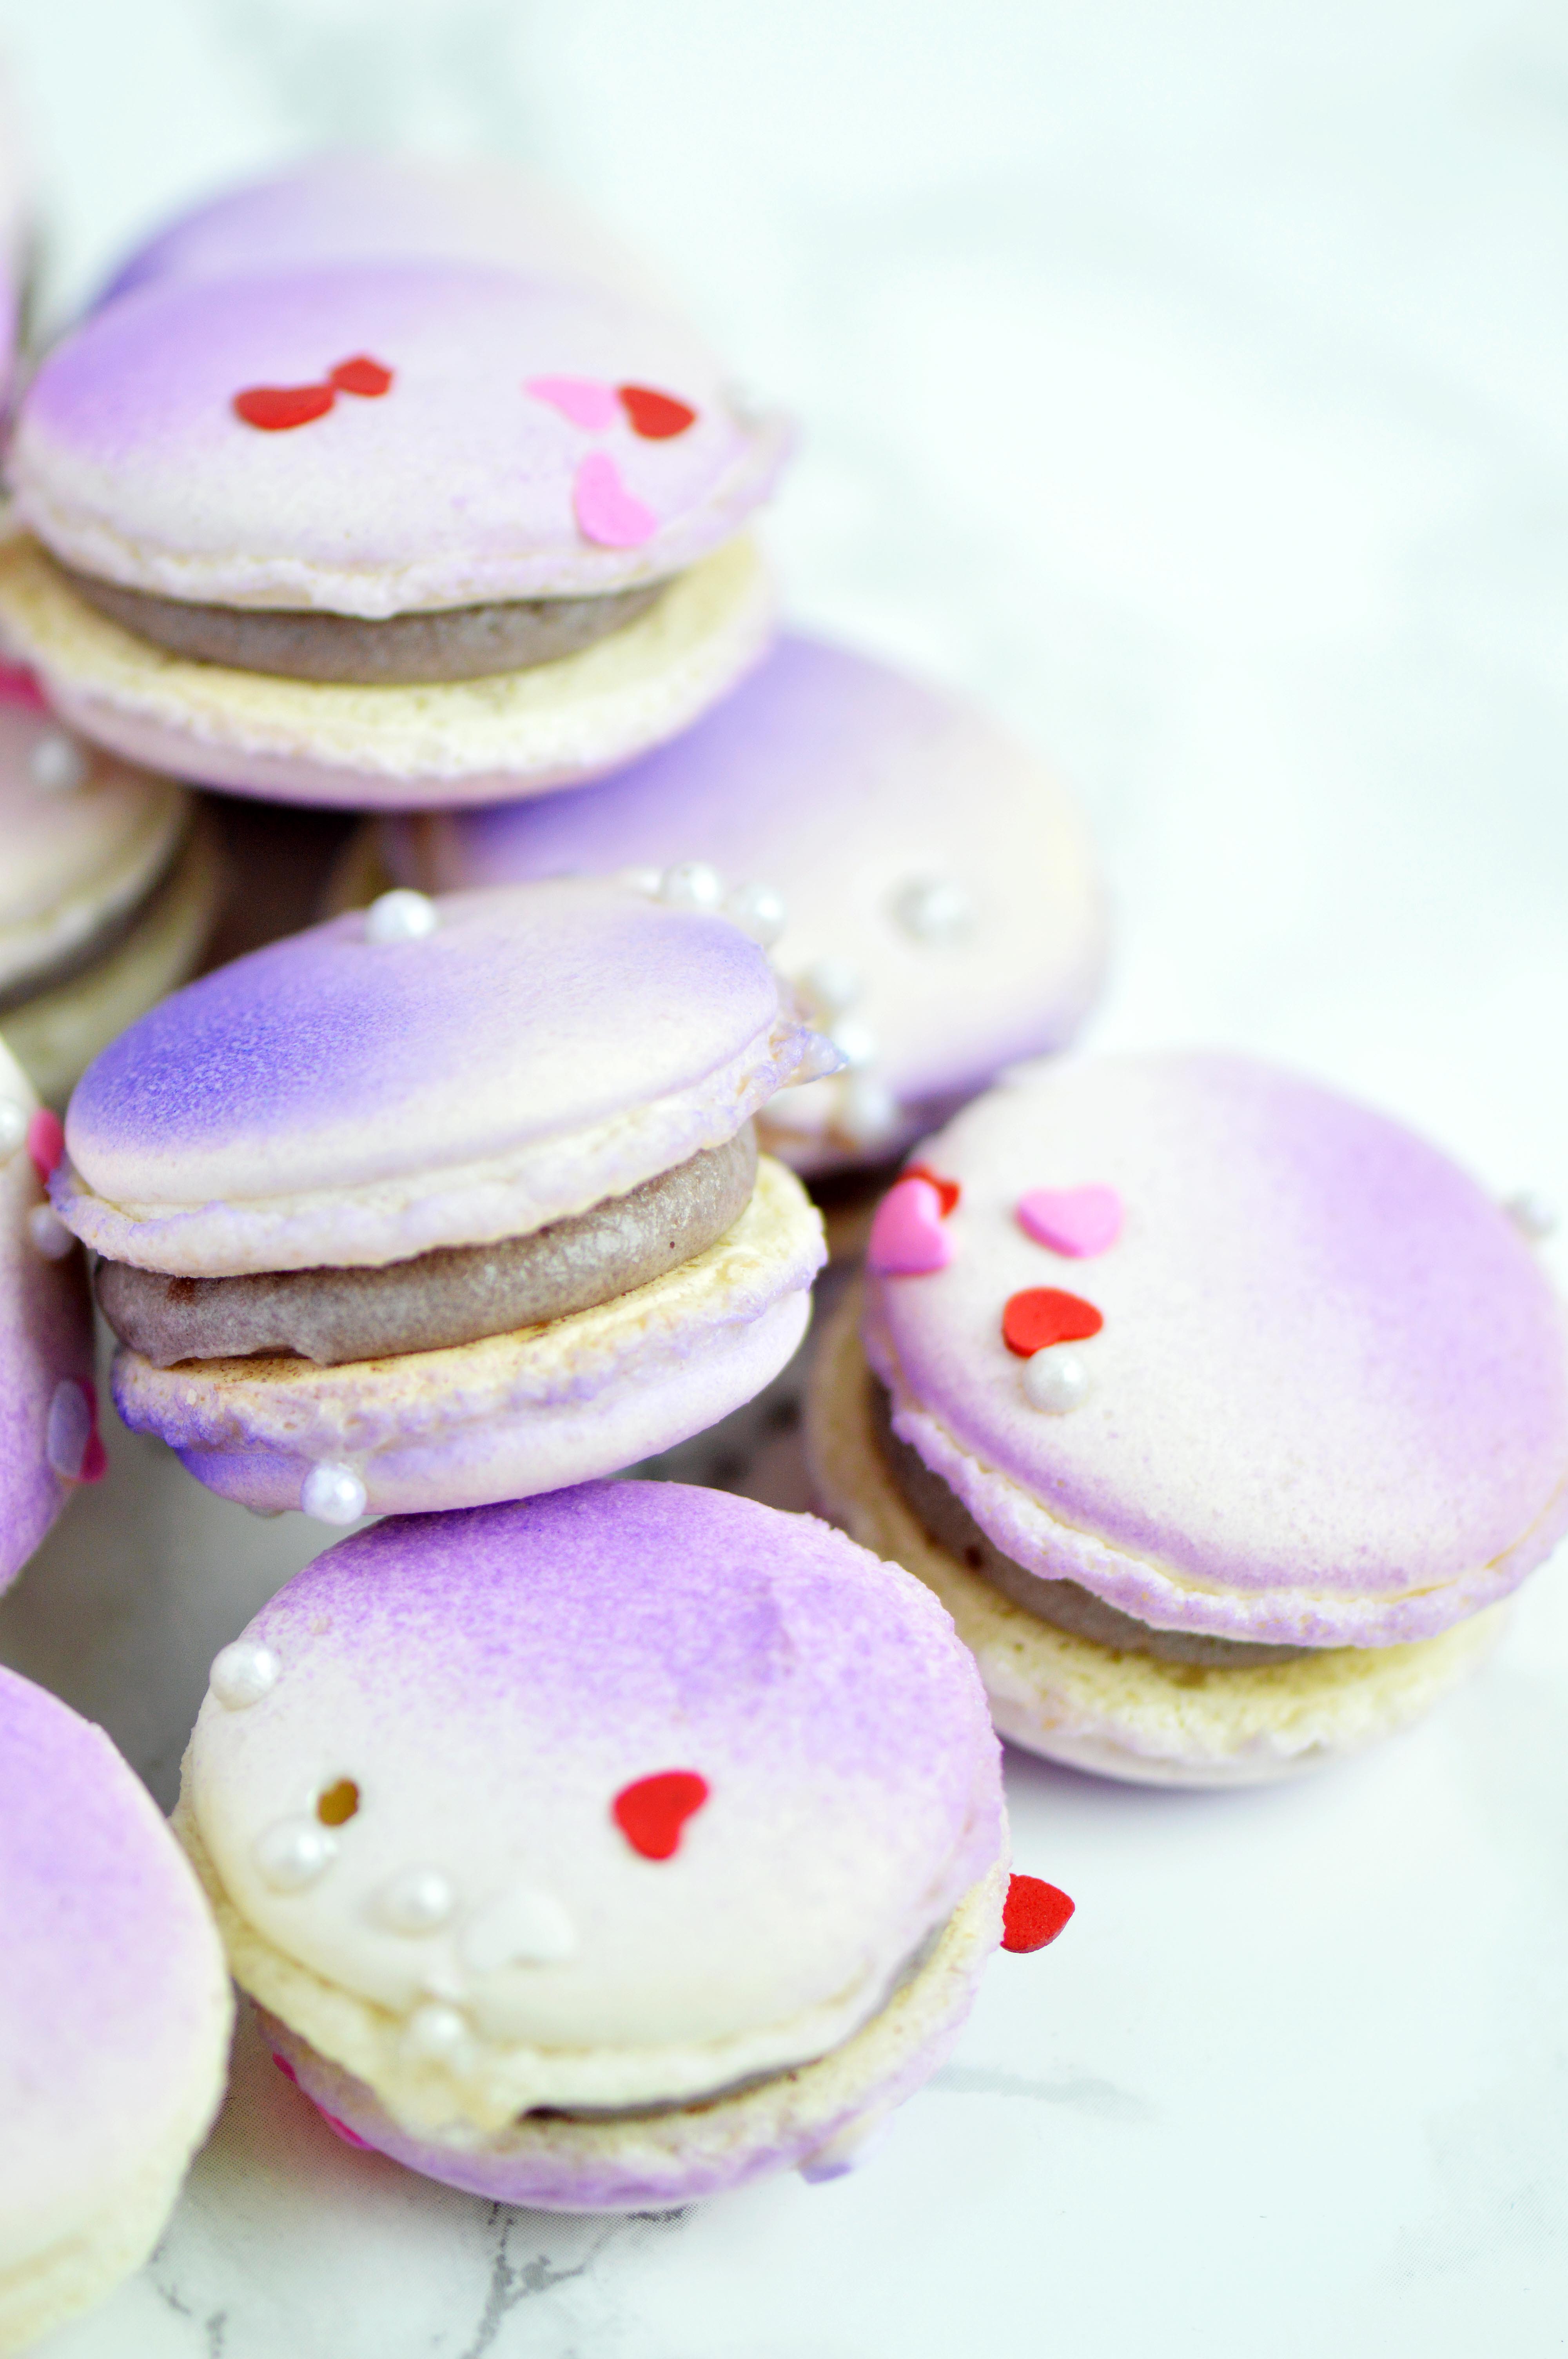
 I’ve always been intimated by shaped macarons. If you look back on my archives, they’re mostly round with details added to them. But recently, I made Hello Kitty macarons and I learned that it is quite easy to do as long as you use a smaller piping tip. The key is understanding that macaron batter is not like frosting, it moves and doesn’t make crisp lines without help.
 As you know, I have made Baymax macarons before, but never posted a tutorial on it. So this time, I added tiny hands to make it a little more dimensional and fun. I think that if you’ve made macaron batter before, then this is possibly the easiest shaped macaron you can do.
 These were filled with black sesame frosting which was quite interesting, and have their own post coming up. But before I post that one, I have an amazing chocolate banana bread recipe I want to share. So there is something to look forward to soon!