National Macaron Day 2020: Black Sesame Macarons


Open sesame. The sesame seed isn’t commonly used in American cuisine except for hamburger buns and it’s definitely not something that is synonymous to desserts. On the other hand, it is regularly used in Asian cuisine from sesame oil to garnishing almost every recipe with the tiny seed. So it’s not surprising that they also use it to flavor their desserts.


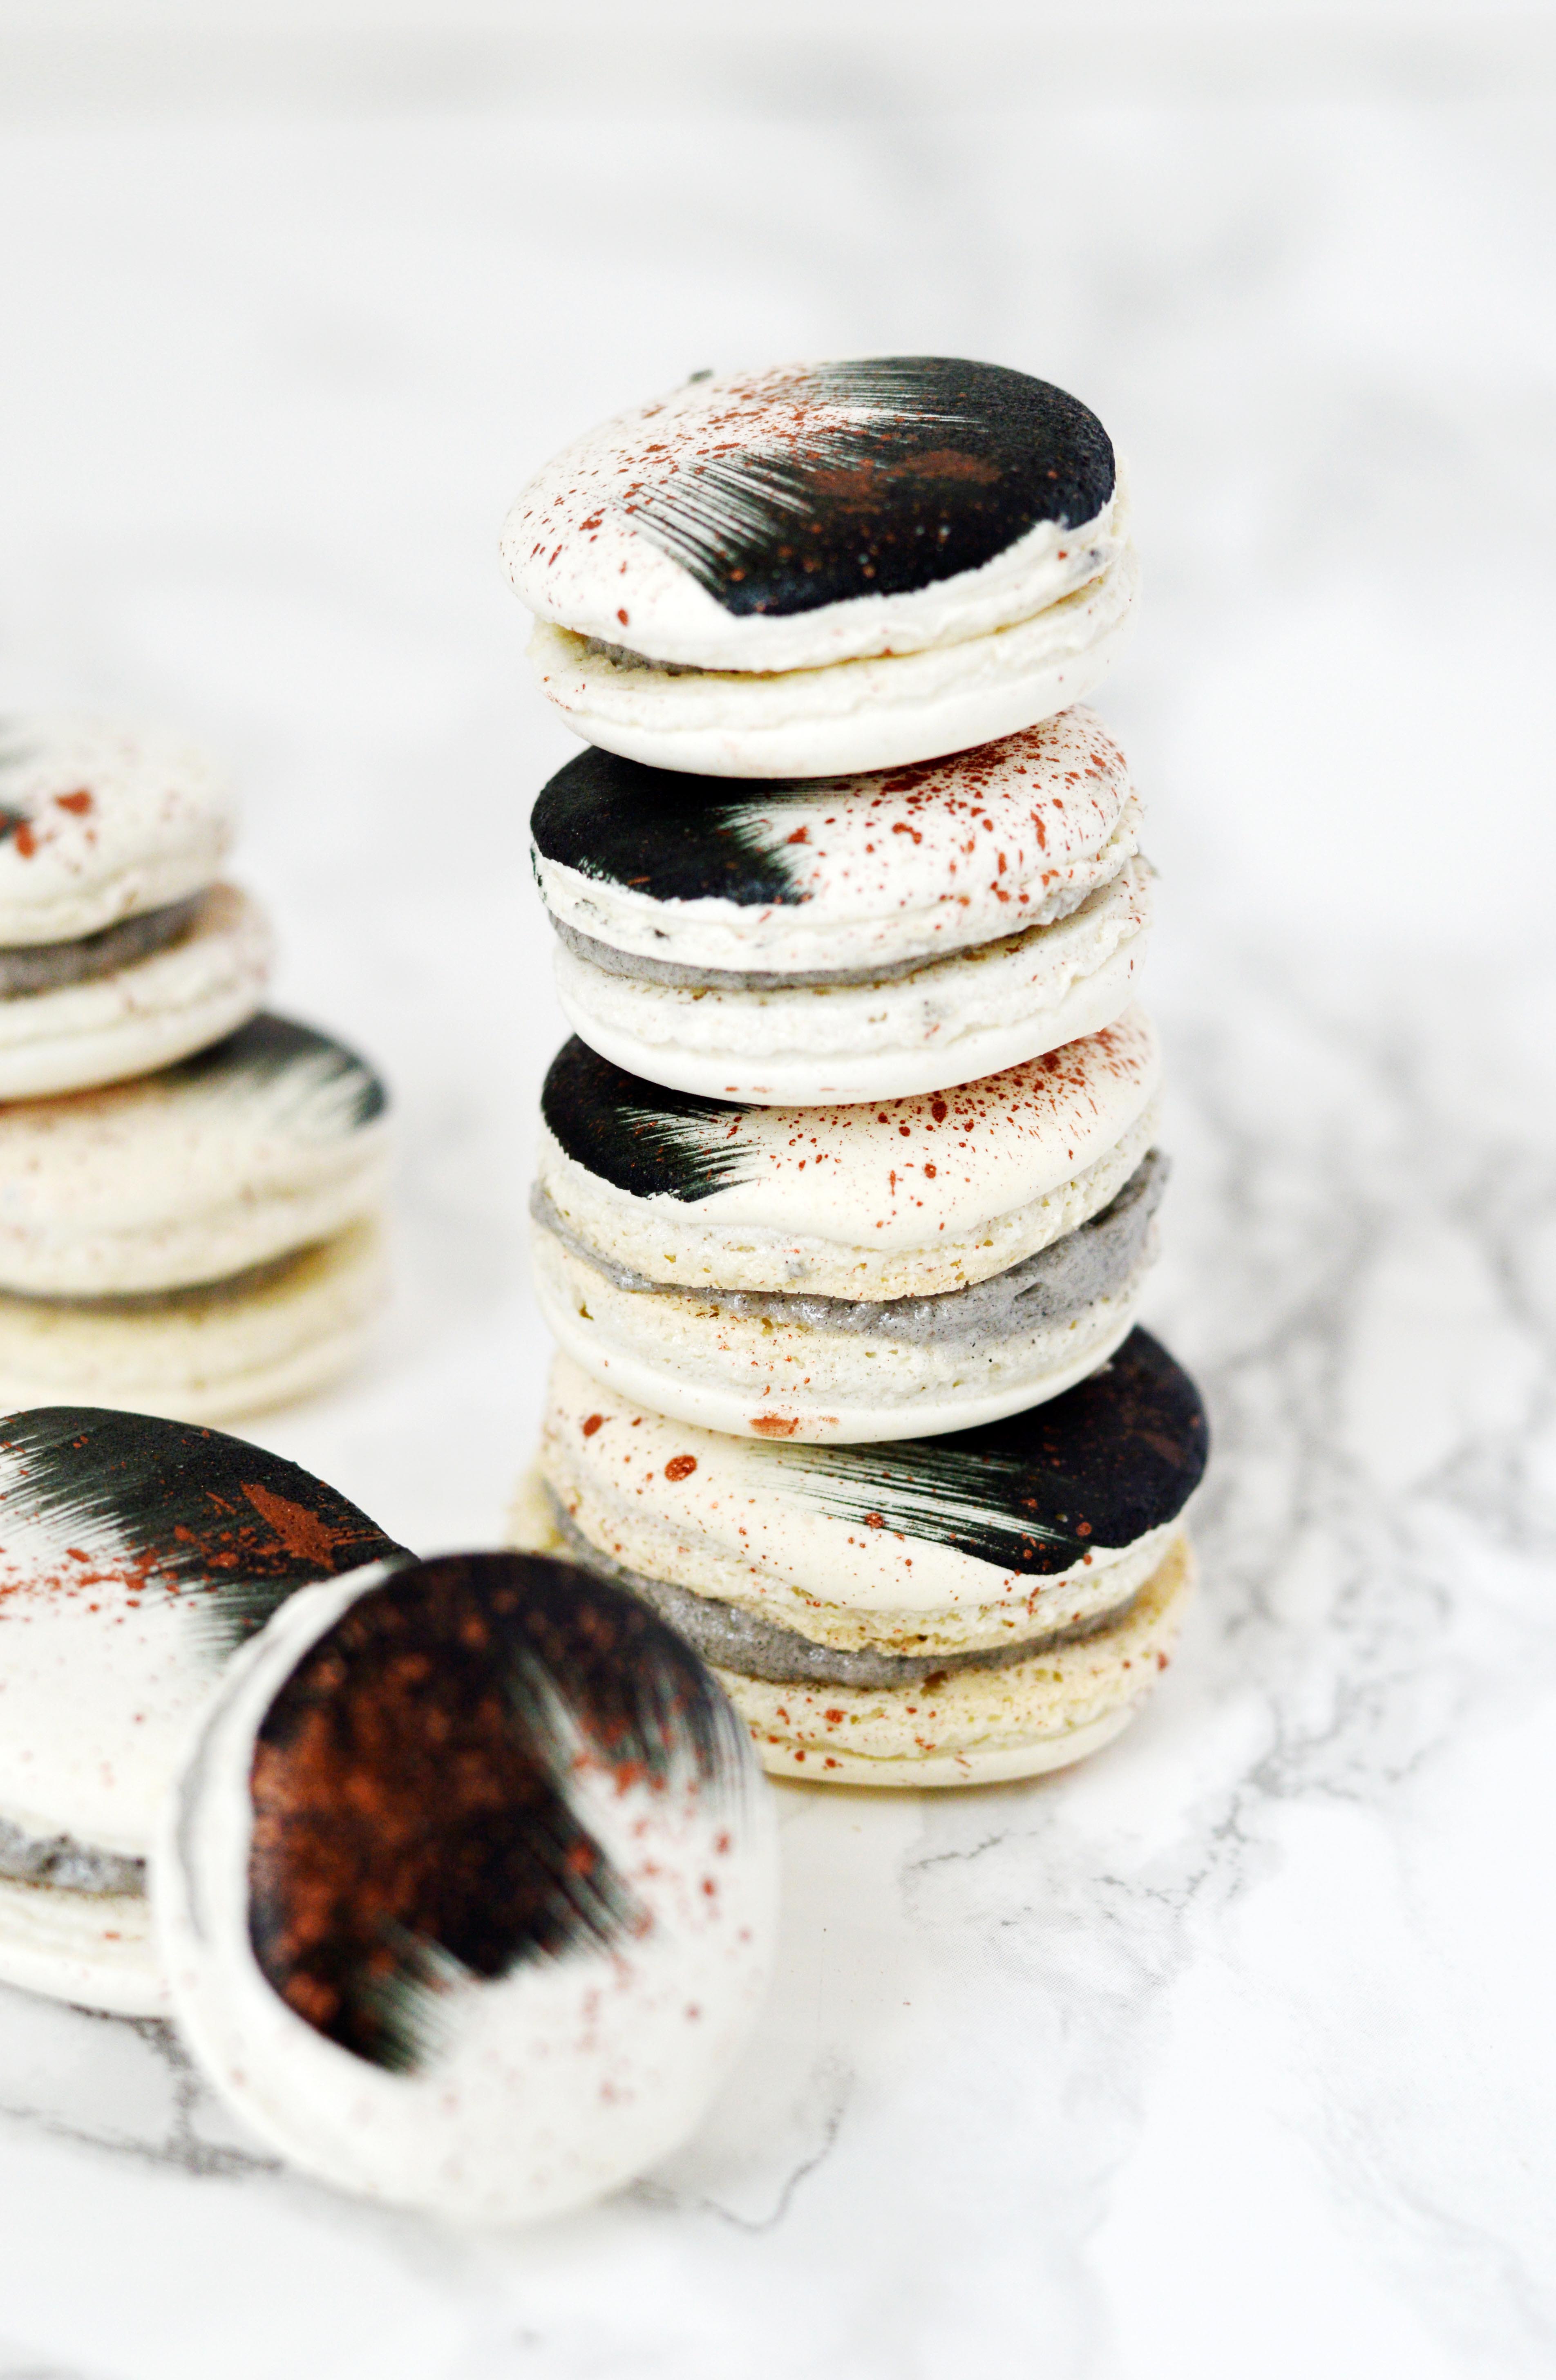
You can transform your everyday vanilla frosting into black sesame ones by adding black sesame paste. What does black sesame paste taste like? I would describe it as a nuttier, more roasted peanut buttery flavor or a stronger flavored tahini. It is too intense to eat straight out of the jar, which makes sense because it comes out of a tiny container.  It’s perfect for those who do not like desserts that are too sweet.

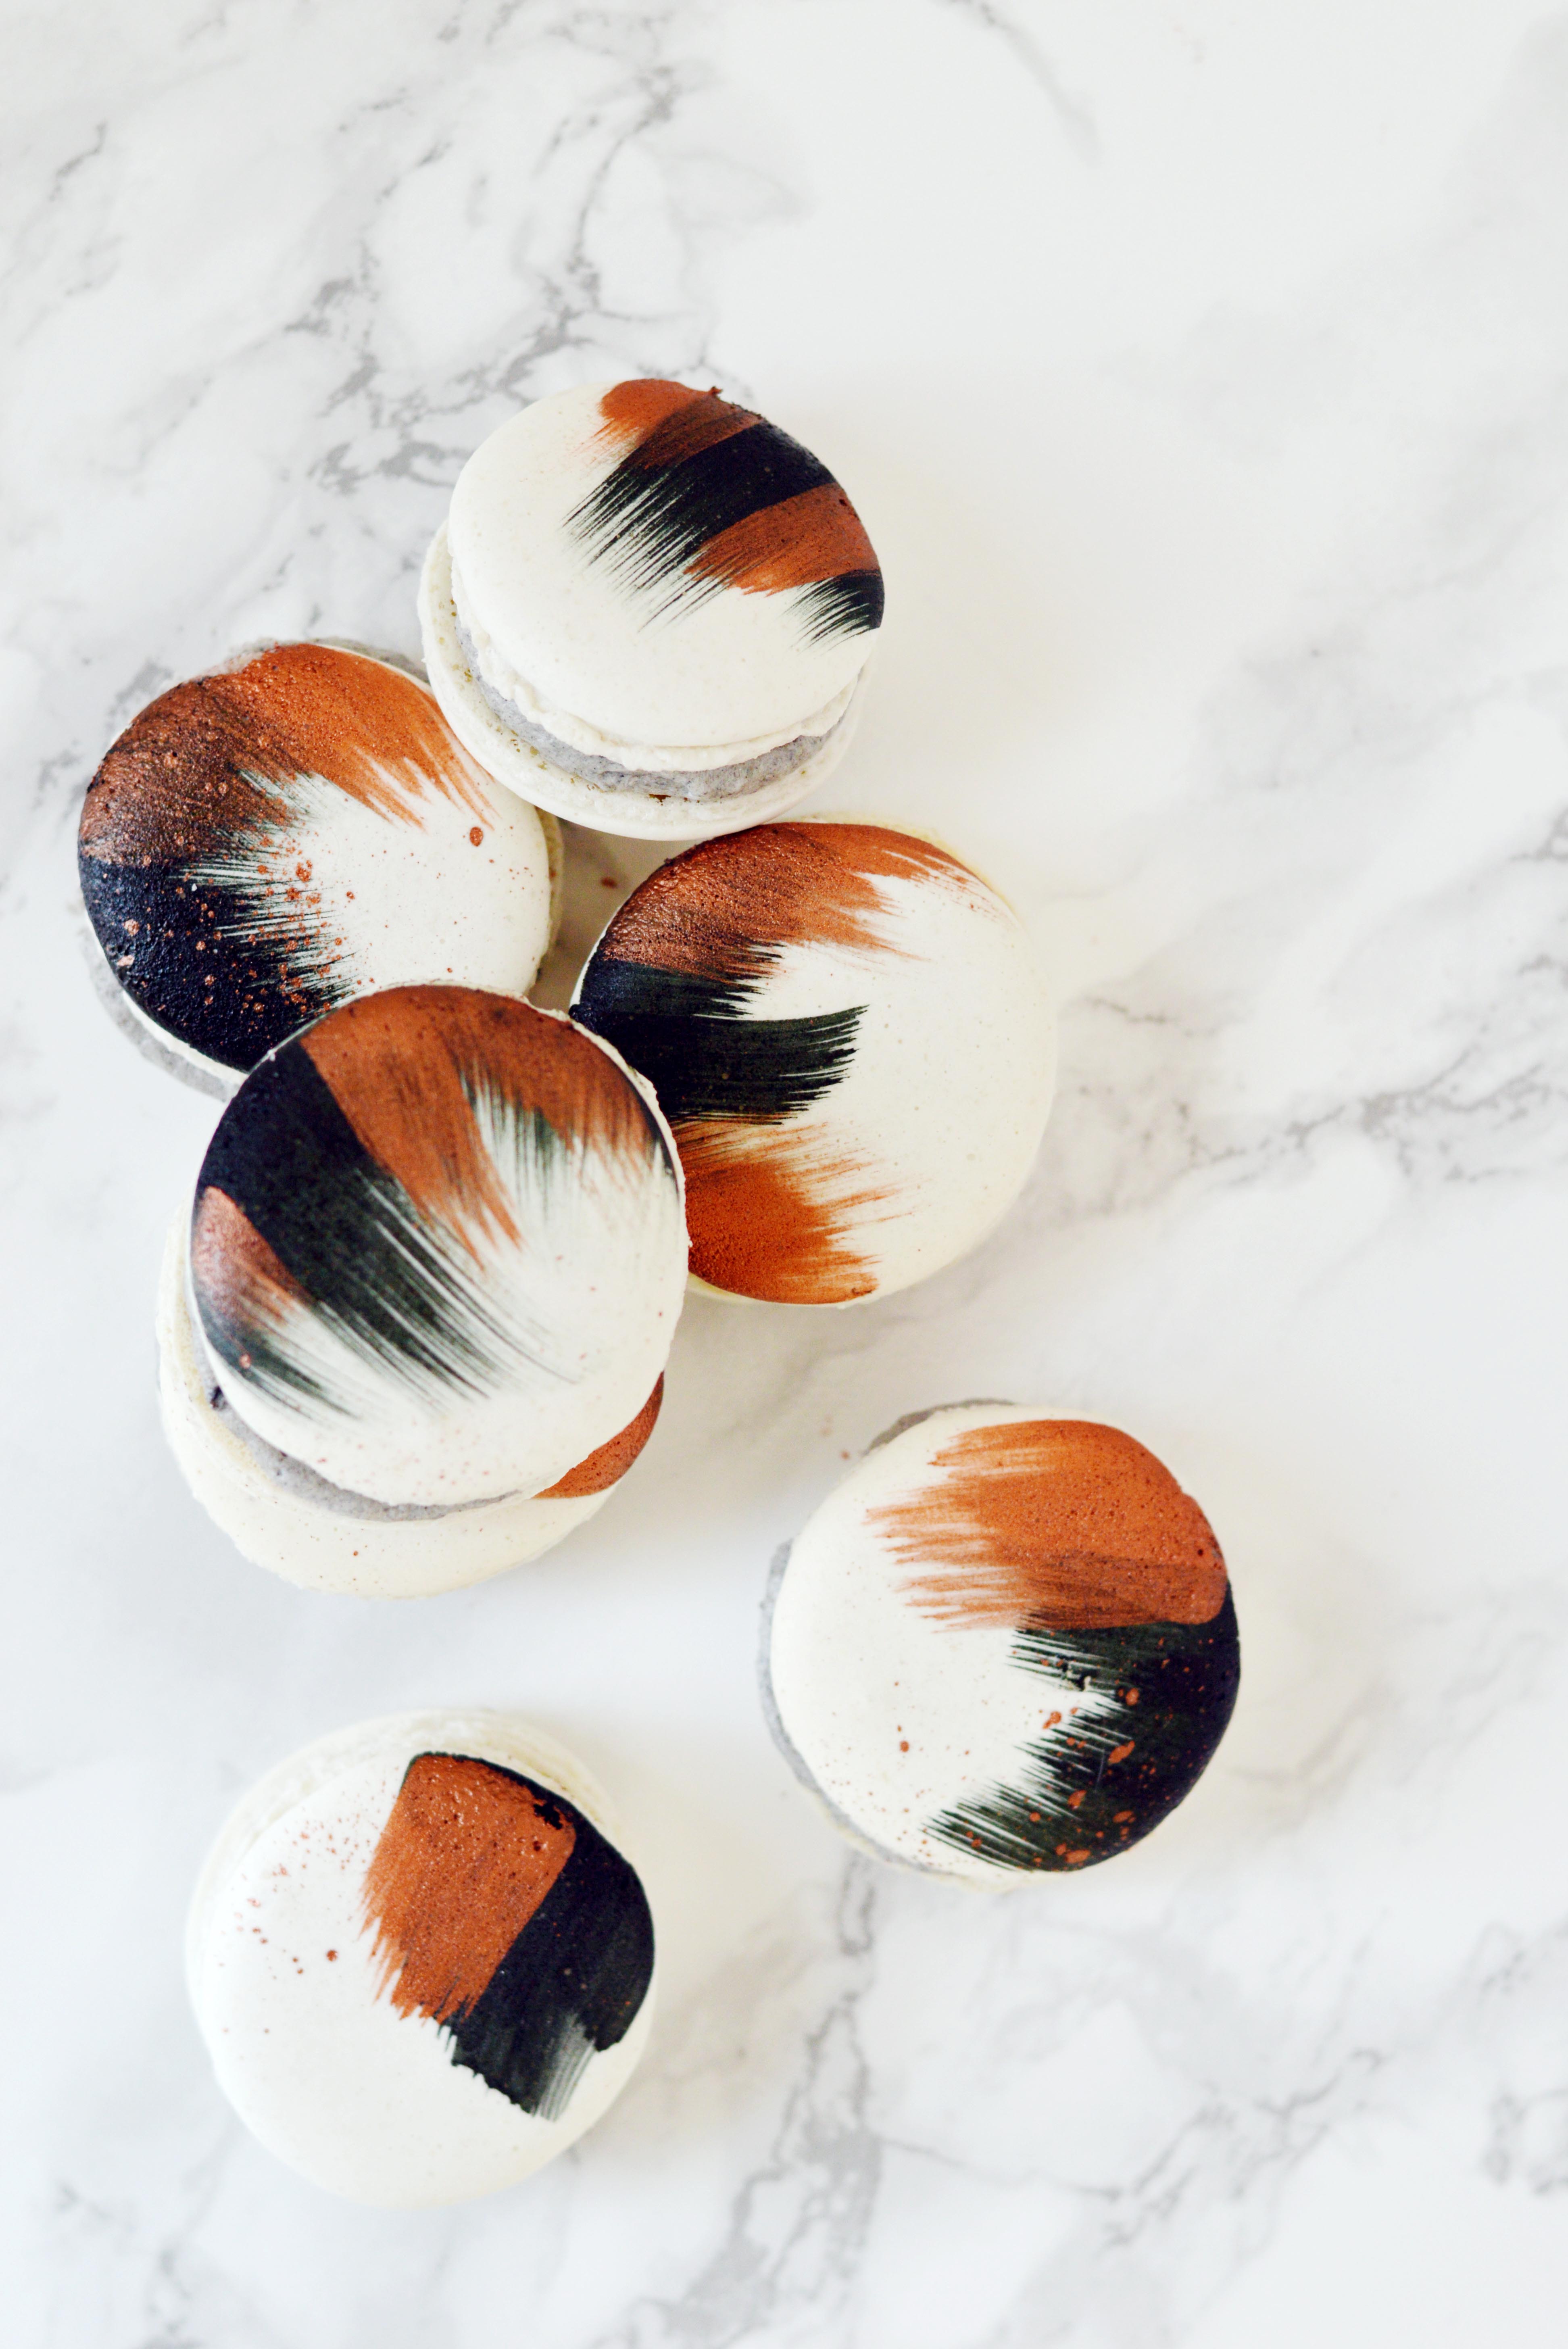
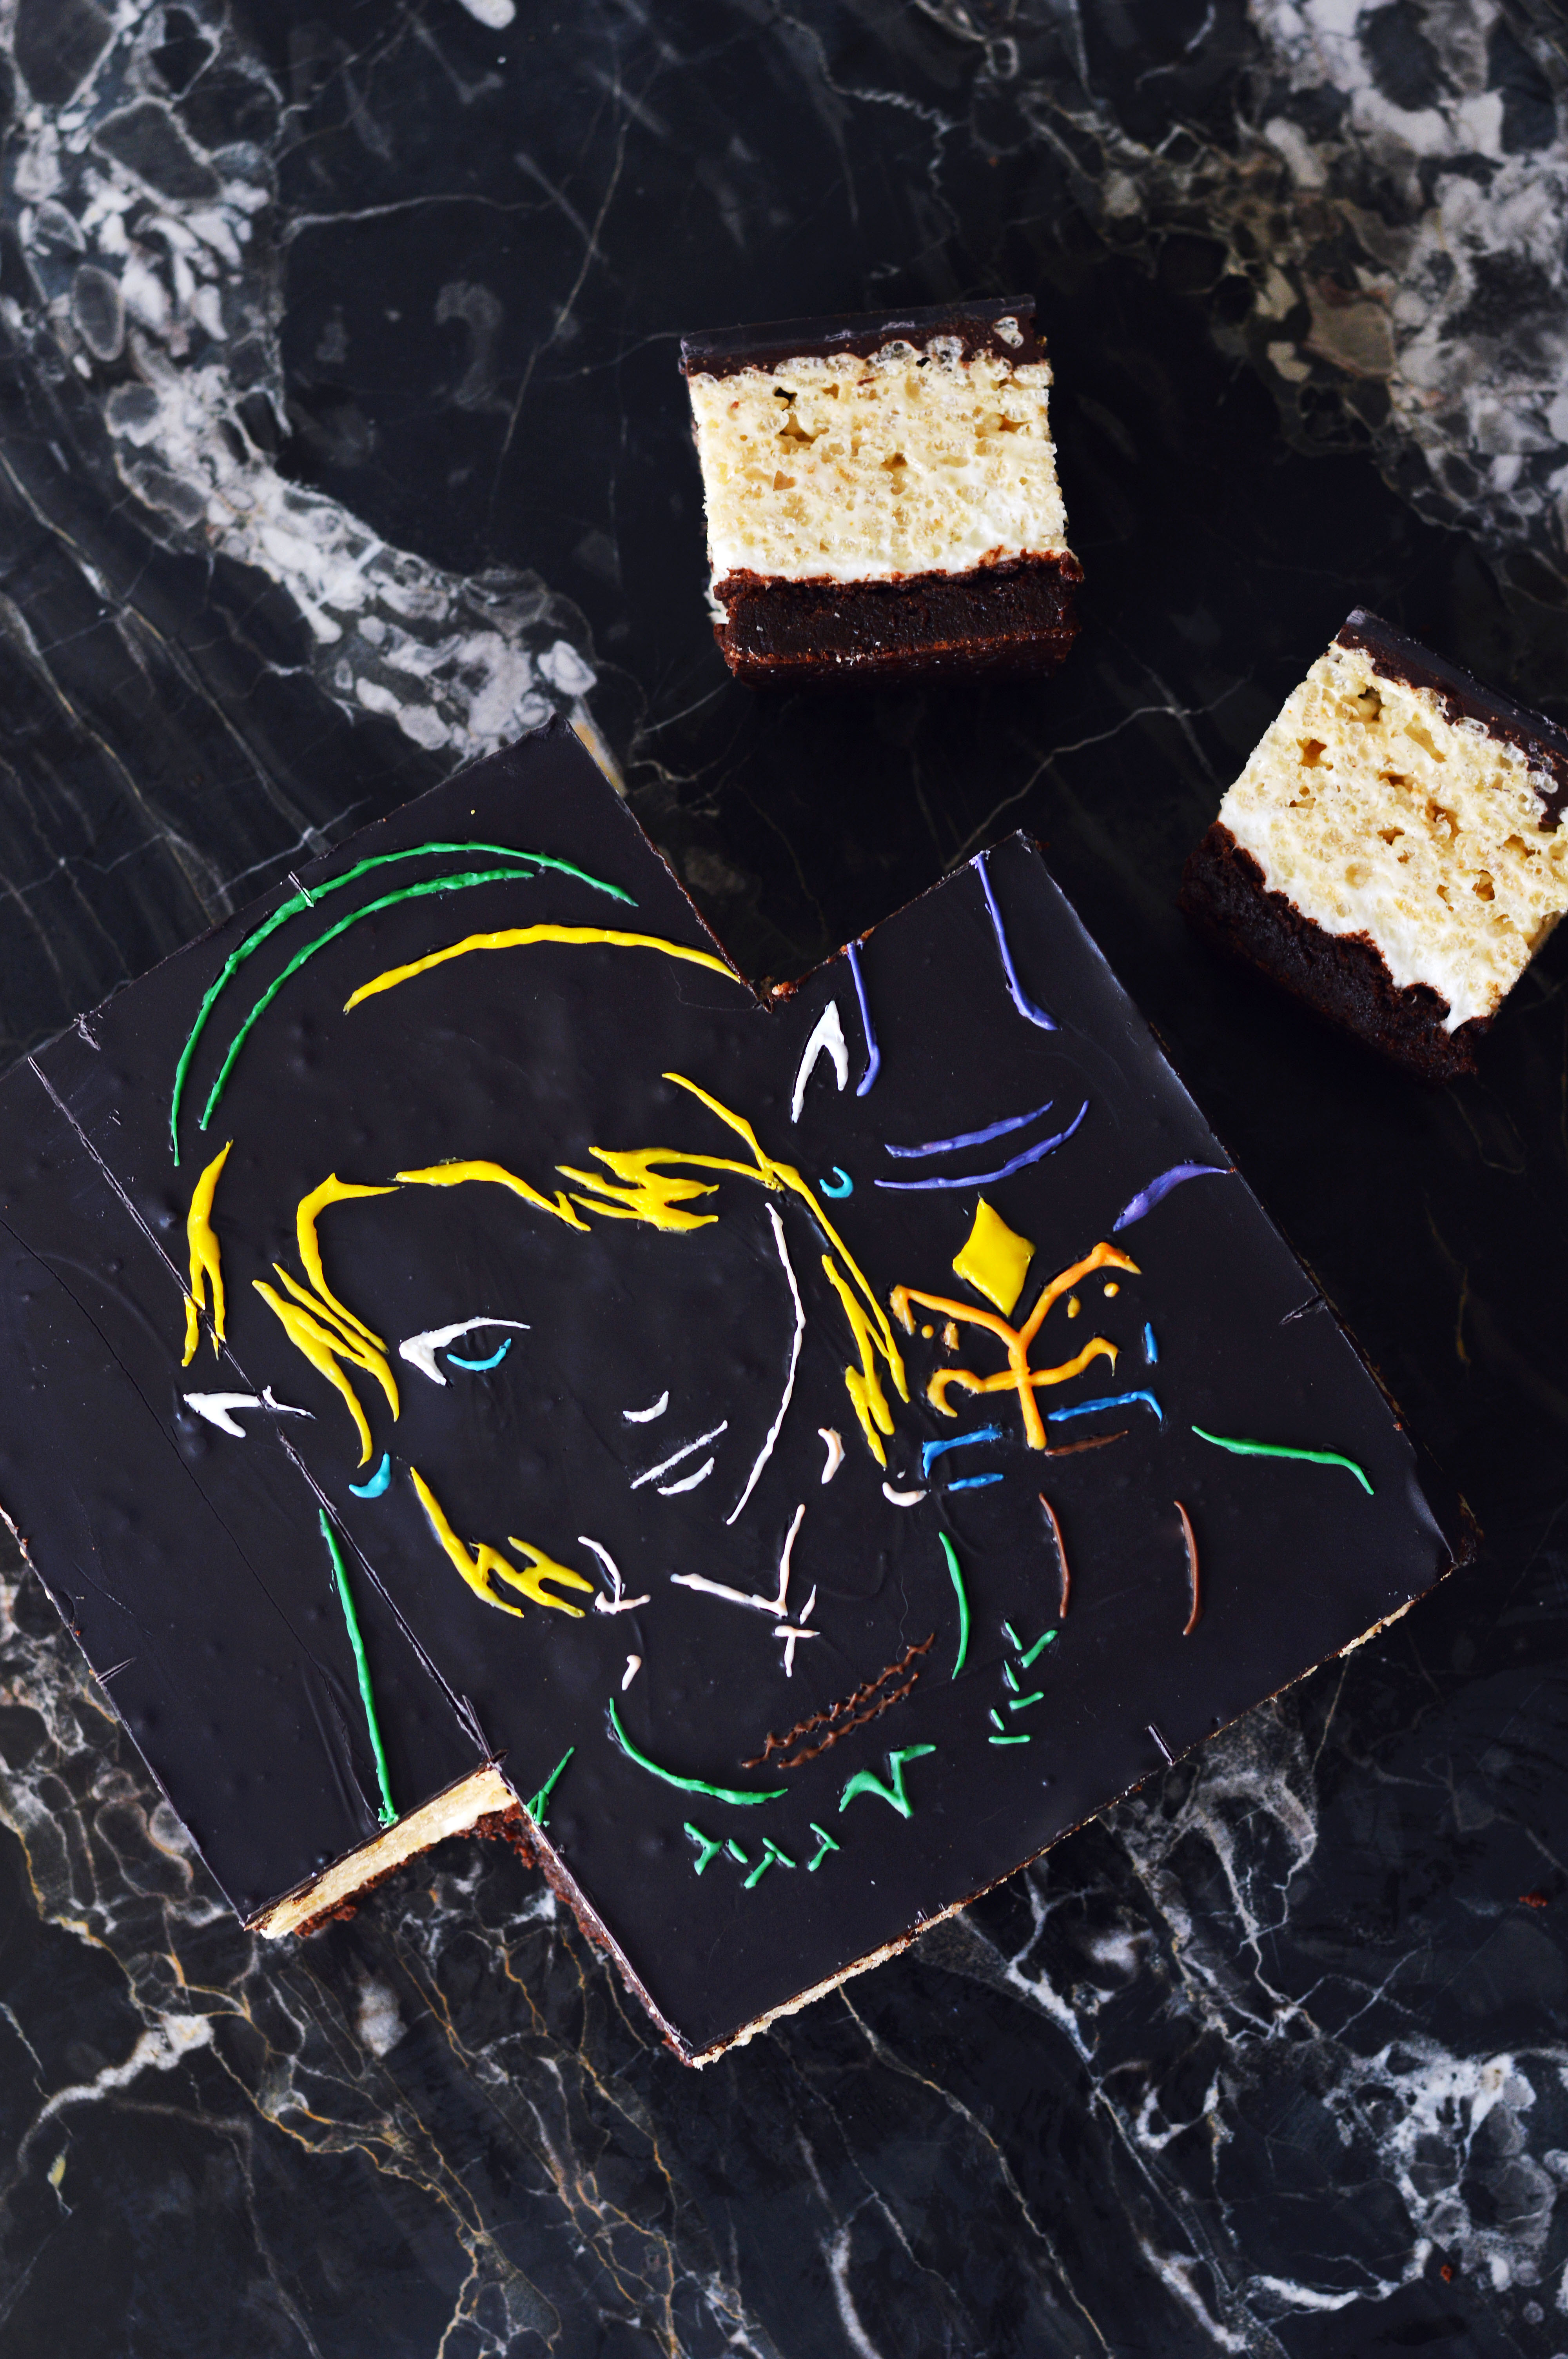
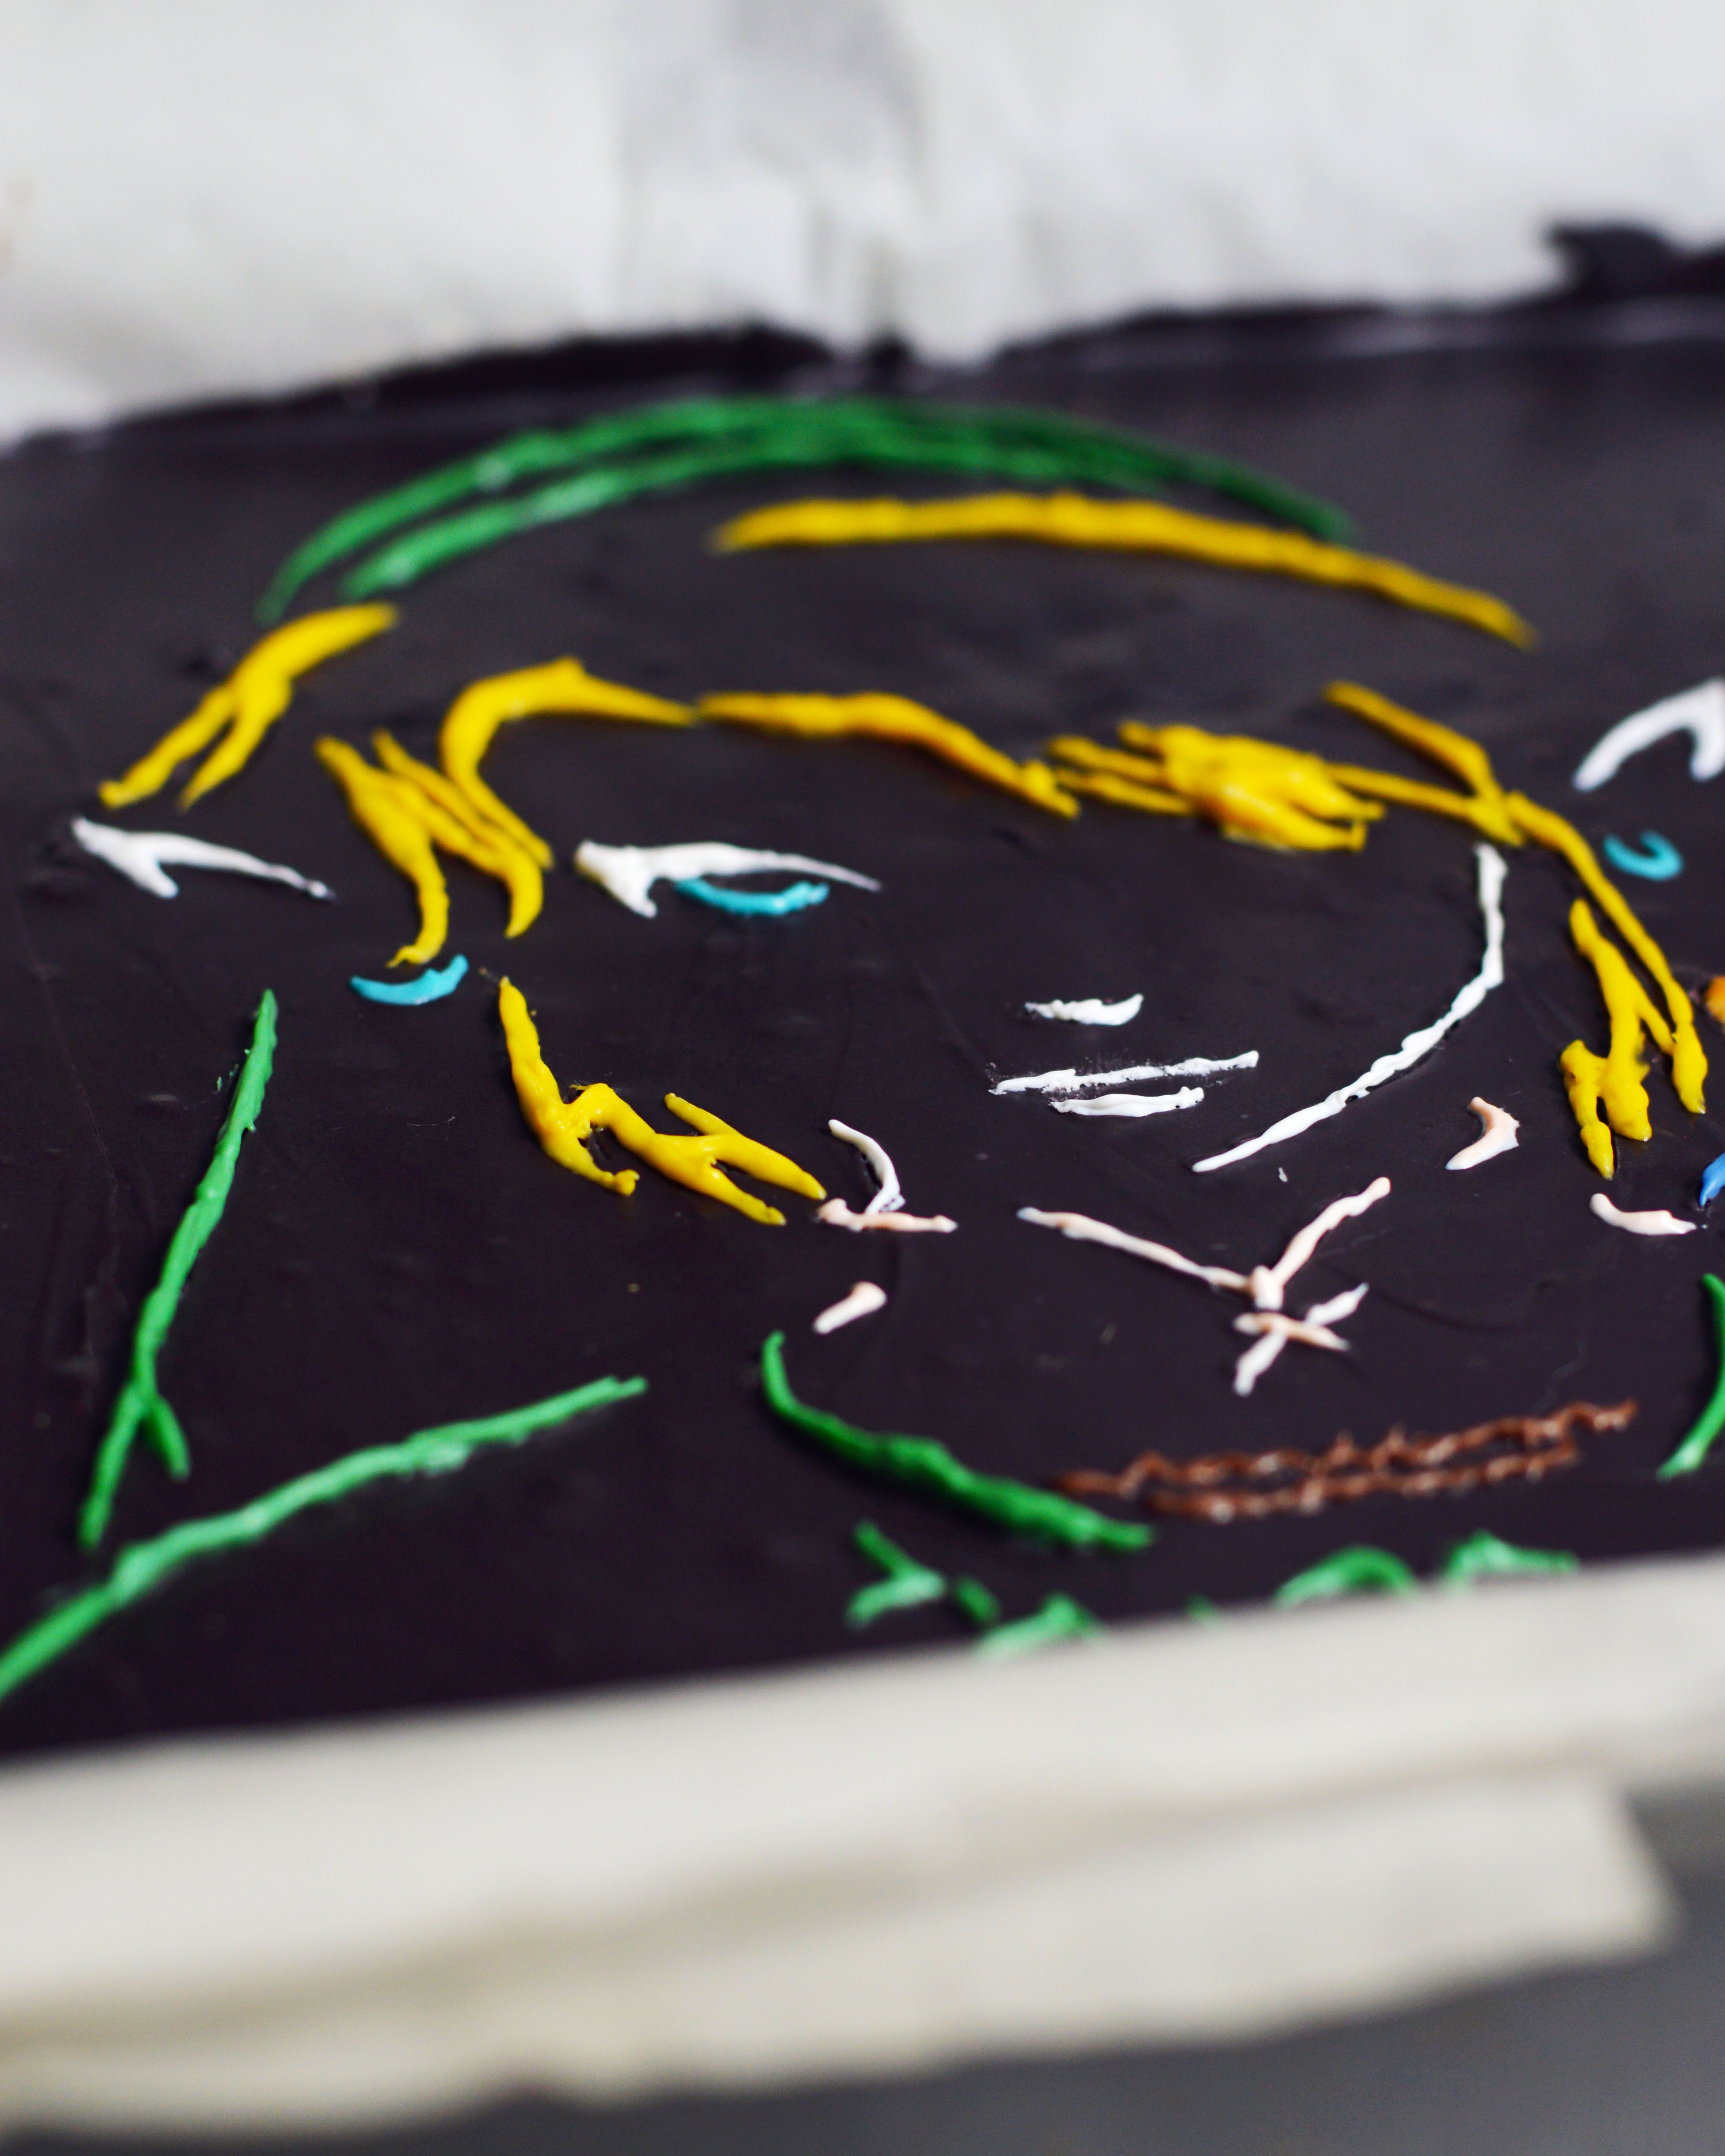
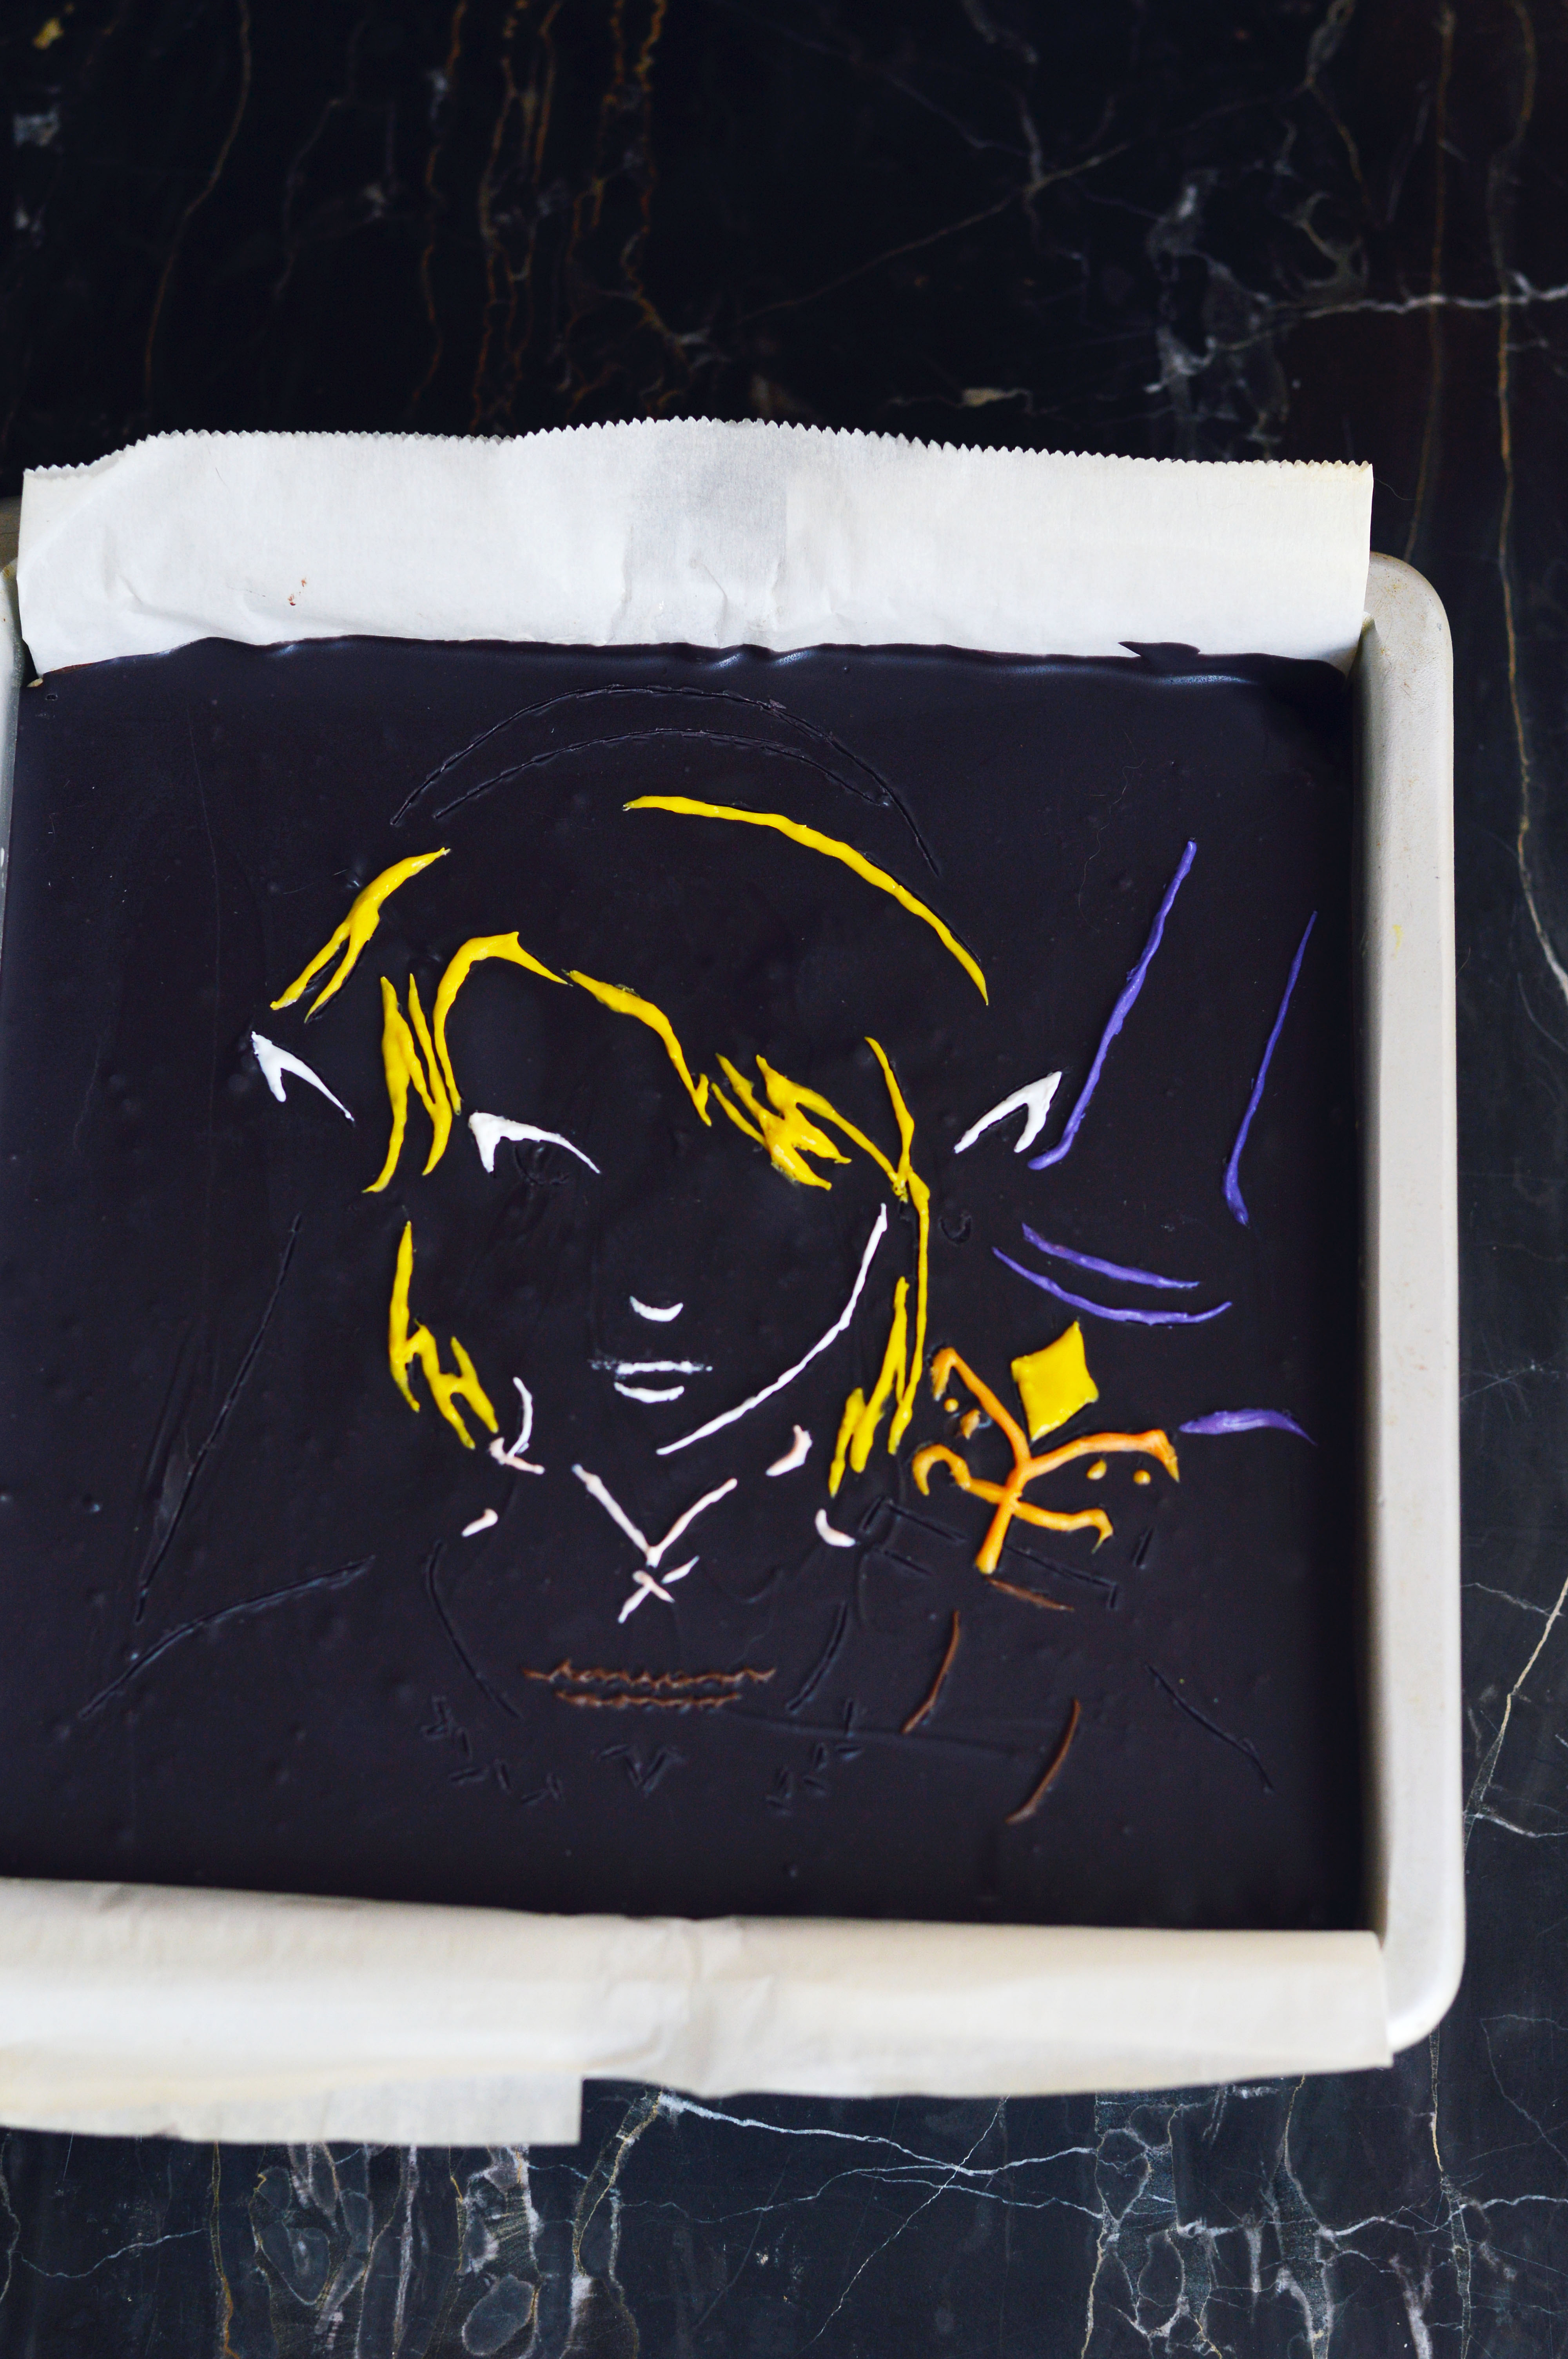
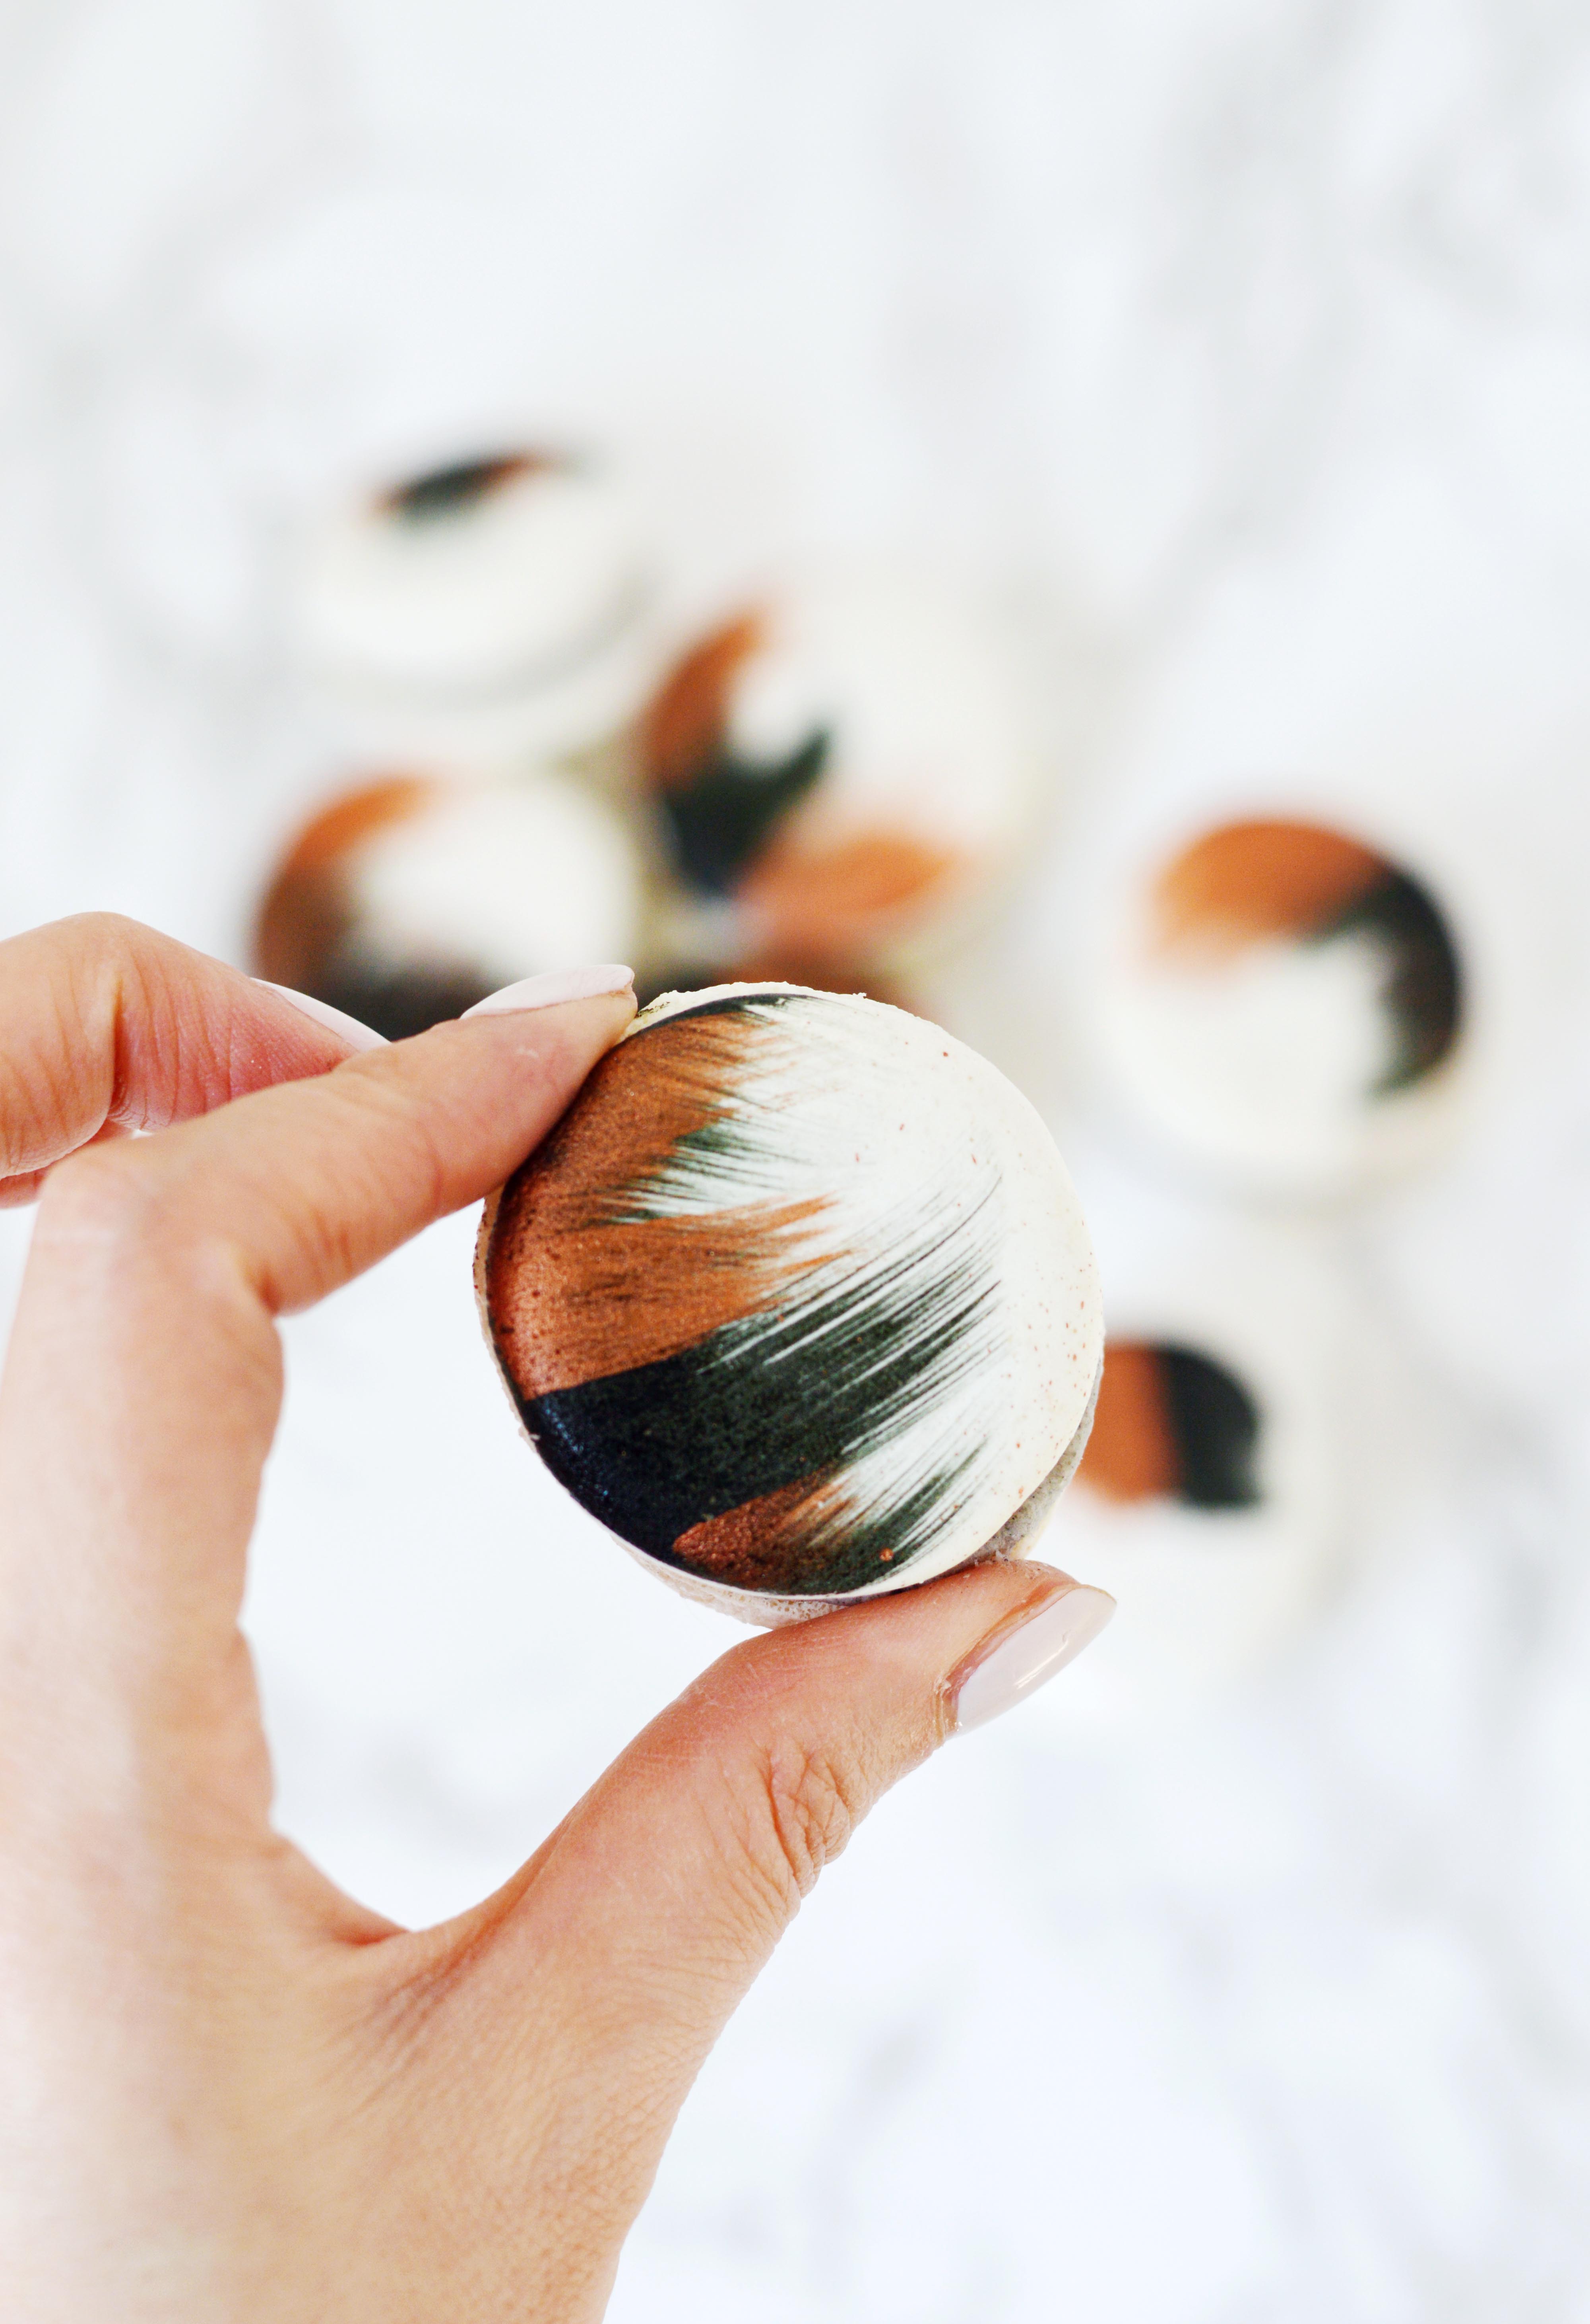
I painted my macarons with a little bit of edible food coloring and vodka. I think the black and copper make a pretty cool contrast. As a tip, try and use a drier brush when painting your macarons to keep the surface smooth. Too much liquid will turn the smooth shells into a bumpy texture.

It’s also National Macaron Day! If you’re quarantined and making macarons was something you’ve always wanted to try, this is a great time to hunker down and give these a try. It doesn’t have to be these macarons. I have so many fun flavors to try on the site!

Cereal Macarons with Cereal Milk Frosting
Chocolate Chestnut Macarons
Chocolate Frosted Flake Macarons
Coffee Macarons
Cookies and Cream Macarons
Funfetti Macarons
Injeolmi Macarons
Karamel Sutra Macarons
Lemon Basil Macarons
Okinawan Sweet Potato Macarons
Pumpkin Cookie Butter Macarons
Raspberry Rosé Macarons
Strawberry Macarons

Above all, stay healthy and safe. 🙂

Black Sesame Macarons

For the Macaron Shells:

Ingredients:

212 g. almond meal (aka almond flour)
212 g. powdered sugar
172 g. egg whites, divided to 82 g. and 90 g (aged, if possible)
236 g. sugar
158 g. water

Instructions:

  1. Line two baking sheets with parchment paper or silicone mats.
  2. In the bowl of a food processor, add the almond meal and powdered sugar and pulse until thoroughly combined.
  3. Sift the mixture over a large mixing bowl, throwing out the lumps as they appear.  Add 82 g. of the egg whites and stir until you get a thick mixture.
  4. In a small pot attached with a candy thermometer, combine the sugar and water over medium heat and boil until the syrup reaches 200˚F.
  5. Once the syrup reaches 200˚F, start whipping the remaining 90 g. in the bowl of your stand mixer with the whisk attachment on medium speed until soft peaks are reached.
  6. Once the syrup reaches 248 ˚F, remove the pot off the burner and slowly pour the syrup down the side of the mixing bowl with the egg whites on medium speed.
  7. Once the egg whites are fully incorporated, increase the speed to medium high until egg whites form glossy, stiff peaks.
  8. Mix a ⅓ of the egg white mix to the almond mixture and stir together until the batter is slightly lighter and less pasty.  From then on, fold in ⅓ of the egg white mixture at a time until the mixture “flows like magma”.  The mixture should be smooth and run thick ribbons off the spatula.
  9. With a pastry bag fitted with a ½ in. plain tip, pipe 1¼ – 1½ in. rounds.
  10. The piped batter may have peaks but should smooth away in a minute or two.
  11. Let the batter stand until the tops of the macarons are dry to the touch, about 30 minutes to 1 hour.
  12. Preheat the oven to 325-350˚F.  If your oven tends to run hot go for 325˚F, if not then 350˚F.
  13. Lower the heat to from 350˚F to 300˚F. (If starting from 325˚F, lower to 275˚F.)
  14. Bake 10-12 minutes, until the feet are formed and the tops are smooth.  The macaron shell is done when you slightly wiggle it and it starts to come off of the parchment paper / silicone mat.
  15. Remove pan from oven and reheat oven to higher temperature for 10 minutes before baking the next tray, lowering the temperature when you start baking it.
  16. Continue until you bake all of the macaron shells.

For the Black Sesame Frosting:

Ingredients:
½ c. whole milk
3 tbsp. flour
⅛ tsp. salt
4 oz. (1 stick) unsalted butter, room temperature
½ c. sugar
1 tsp. vanilla extract
2 tsp – 3 tsp black sesame paste

Instructions:

  1. In a small saucier over medium heat, whisk milk, salt and flour until combined.
  2. Continuously whisk mixture until thickened to a pudding like consistency.
  3. Once thickened, strain through a mesh strainer into a bowl with a spatula to remove lumps.
  4. Place a piece of plastic wrap on top of the flour mixture (to prevent skin from forming) and put bowl into the fridge until fully cool.
  5. In a mixer bowl fitted with the whisk attachment, mix the sugar and butter on high speed until fluffy and pale about, 5-10 minutes.
  6. Add the chilled flour mixture and continue to whip on high speed until the sugar is completely dissolved and the mixture is no longer gritty, about 5-10 minutes.
  7. Add the vanilla extract and sesame paste starting with 2 teaspoons and adding more if needed.
  8. Pipe finished frosting onto cooled macaron shells and enjoy.

Weekday Update

^This is the most recent celebration cake I made. Spacing polka dots is more challenging than you would think!

How are you doing today? I feel like it is more important now than ever to check up on the people around us. As a natural introvert, being isolated is not a problem for me. But the general atmosphere of cheerlessness even has this wallflower wilt a little. All the gyms are closed so I’ve been jumping rope for exercise and trying to learn how to jog while jumping rope like Rocky. I tend to laugh whenever I trip up and it echoes eerily in the air from the silence. It’s an uncertain time in the world, but I’ve been getting small joys in cooking good food, playing gin rummy and retail therapy (it’s proven to boost your mood). Here are some links to keep you entertained because cheers to social distancing and banding together to #flatteningthecurve.

The Movie Series: Chapaguri (aka Jjapaguri aka Rom-Don) from Parasite (2019)

chapaguri

I first caught wind of Parasite from The Big Picture podcast and it was clear that it was becoming a big deal. So when it hit theaters last October, I quickly made a movie date with a fiancé that was confused as to why I wanted to watch a thriller. I am not ashamed to say that I am a big chicken when it comes to movies in the horror/thriller genre. But the hype and the South Korean pride were too strong and I had to be a part of the wave.


how to make chapaguri

I won’t go spoiling the movie for you, because it is best seen without knowing anything. But there is an overall theme of class difference and it is illustrated in so many ways.  One such difference is the chapaguri (aka jjapaguri aka ram-don) dish that the maid makes for the family. Chapaguri is traditionally made with two packages of instant noodles: one package of chapagetti (“chapa”), a black bean noodle, and one package of Neoguri (“guri”), a seafood ramyun. The wealthy family puts a lavish twist to it by topping the dish with Hanwoo, a premium beef with dense marbling. It’s the equivalent of topping a box of Kraft macaroni and cheese with a prime+ steak.


jjapaguri ram-don


It’s been years since I’ve eaten a pack of instant noodles but I had to get my hands on this dish asap. I went to the nearest Korean supermarket and grabbed the noodles and beef. It was delicious. The savory noodles coated with a sweet and spicy sauce (thanks to the spice packets) interspersed with juicy umami slices of melty beef. I can see why it’s a crowd pleaser for anyone. As for the calorie content? Well, it’s the weekend and weekends are made for cheat days. 🙂 Continue reading “The Movie Series: Chapaguri (aka Jjapaguri aka Rom-Don) from Parasite (2019)”

The Gaming Series: Link Brownies (Salted Brown Butter Rice Krispie Brownies)

I’ve been taking a lot of baking orders for the past year. Not so often that it’s been unmanageable (or even often enough that I’d say it’s profitable), but enough that most of my spare time was spent creating for others. Only recently did I realize I was in a baking rut. I wasn’t making fun things that were inspiring to me. Yes, I tried out new recipes and that is always good but it never tapped into my creative side. So I’ve made a decision on making things for just me (and you, if you are reading this). What does this look like? Probably a smattering of posts of things that I like but mostly will be centered on a series of subjects that I am a fan of. All of the recipes that I’m sharing will be just as delicious, only that they’d reflect the selected theme. So I’m excited to announce that I’m kicking off this season with The Gaming Series.
I’ve loved video games when my brother got his very first Gameboy. I’m talking about that grey box with the monotone green screen. My three siblings and I would crowd around that one tiny screen and watch each other play for hours. Going forward, my younger brother and sister would eventually lose their interest, but my other brother and I would continue with our fandom for years.
Our very first console was a Nintendo 64, and The Legend of Zelda: Ocarina of Time was the first RPG that we played. Because the game is meant for one player, I would be the backseat driver to his playing. And even though I rarely physically held the controller, I was every bit as immersed and taken by the storyline and the gameplay.  I could almost feel the heat of Death Mountain, the cool waters of Lake Hylia and the dryness of the Haunted Wasteland. I wanted to ride on Epona and drink a gallon of Lon Lon Milk. Link was probably my first video game crush. (Even now that blonde hair and blue eyes makes my heart sway a bit.)  So unsurprisingly, my first post is of Link.
First, I have to let you know this recipe is the bomb. The light, crispy, chewy and slightly salty brown butter rice krispy treat offsets the smooth, fudgy brownie base in the best way. Second is that I just love how the candy melts pop against the black background. I have to thank @emilylynncantera because her artwork is what inspired this project.
zelda browniesI hope you enjoyed the post and I’m looking forward to continuing this journey with you. The hint for the next theme has to do with a certain fungi kingdom.

Link Brownies

You will need:

Brownies (recipe below)
Salted Brown Butter Rice Krispies (recipe below)
2 to 3 cups Mini Marshmallows
Candy Melts in Black, Brown, Purple, Yellow, Orange, White, Green and Blue
Link Stencil

Instructions:

  1. Bake the layer of brownies. (*Important, the 8 inch pan must be at least 3 inches tall. Otherwise the recipe will not layer into pan.)
  2. When cool, layer the rice krispies being careful not to pack it in too tightly. This results in dense and tough rice krispies.
  3. In a microwave safe bowl, melt and stir 2 c. mini marshmallows (melt 3 if you want your marshmallow layer to be thicker) in the microwave.
  4. Spread the marshmallow layer over the rice krispies layer.
  5. Melt enough black candy melt to spread over the top of the pan. (About ½ – ¾ c.).
  6. Let set.
  7. Put stencil over the top of the pan and using an x-acto knife, stencil the outline onto the candy melt.
  8. Remove the stencil and using candy melts of the right color, fill in the stenciled area. Let set and enjoy.

Fudgy Cocoa Brownies

Ingredients:

¾ c. dark chocolate chopped into small ¼ in. pieces
10 tbsp. unsalted butter
1 ¼ c. sugar
¾ c. + 2 tbsp. unsweetened cocoa powder
¼ tsp. kosher salt
½ tsp. pure vanilla extract
2 large eggs, cold
½ c. all-purpose flour

Instructions:

  1. Preheat oven to 325˚F, oil and line an 8” square pan with parchment paper.
  2. In a microwave safe bowl, combine chocolate, butter, sugar, cocoa powder and salt. Microwave mixture about 1-2 minutes until mixture is melted and smooth when stirred.
  3. Whisk in the eggs and vanilla extract until batter is smooth and shiny.
  4. Fold in the flour until no streaks of flour remain.
  5. Spread the batter into the prepared pan and bake about 20-25 minutes until a toothpick poked in the center of the batter comes out with moist crumbs.
  6. Let cool completely before adding the rice krispies layer.

Salted Brown Butter Rice Krispies

Ingredients:

8 tbsp (1 stick) unsalted butter, melted
One 10 oz bag of marshmallows
¼ tsp. kosher salt
6 c. (160 g.) crisp rice cereal

  1. In a medium to large pot, melt butter on medium-low heat. Keep stirring butter with a rubber spatula until the butter foams and small brown bits form on the bottom of the pan. (The butter will smell nutty.)
  2. Once the butter is browned, stir in the marshmallows until the marshmallows melt into a smooth mixture.
  3. Stir in the cereal and salt and spread into the pan with the brownies.
  4. Do not firmly squish the cereal into the pan. This will result in jagged, hard rice krispies. Gently push it into the pan and into the corners. Let cool and set.

Brownie recipe adapted from the Feed Feed.
Rice Krispies recipe adadpted from the Smitten Kitchen.

Chocolate Banana Bread

This bread is not healthy. I repeat, this bread is not healthy. It’s interesting how every time you have a fruit or a vegetable in the title of a recipe, it sounds like a healthier option. (Did you know that carrot cake at the Cheesecake Factory is one of their highest calorie count desserts? I’m telling you.. vegetables/fruits in a dessert is a lie!) Instead it’s an indulgent, rich chocolate bread which is full of chocolate chips and banana flavor. I think the role of the banana here is not so much to provide banana flavor (which it does) but to give it a rich, moist crumb that is not heavy.

I’ve seen a lot of banana breads on Instagram that have the floating bananas on top and always wondered how it is done. And the interesting thing is, no one writes how it is done! Even recipes with the floating bananas don’t mention the bananas on top of the loaf, they just mention putting the batter into the pan and bake. WHY?

Turns out, the bananas do not sink into the bread like I worried. But to keep it from turning color, a light brushing of fresh lemon juice will help it keep its pleasing yellow shade. Sprinkle the top with Sugar In The Raw (aka demerara sugar) and it will glisten with crunchy sugar crystals after it is baked.  It really is one of my favorite banana bread recipes and I think I’ll have a hard time turning back to my older one. On second thought, I might on the days I want to be a little “healthier”… that one uses half whole wheat flour. 🙂

Chocolate Banana Bread

Ingredients:

1 c. all-purpose flour
½ c. Dutch processed cocoa
1 tsp. baking soda
½ tsp. kosher salt
3 large brown bananas (1 ½ c. mashed)
¼ c. (4 tablespoons) unsalted butter, melted
¼ c. vegetable oil
½ c. packed light brown sugar
1 extra large egg (or large if you don’t have extra large)
1 tsp. vanilla extract
¾ c. chocolate chips
1 banana, ripe but not browned
a squeeze of fresh lemon juice
demerara sugar (sugar in the raw) for sprinkling on top of loaf

Instructions:

  1. Preheat your oven to 350˚F, grease and line your loaf pan with parchment paper. (I used this gorgeous pan and it is on sale!!)
  2. Sift flour, cocoa powder, baking soda and kosher salt in a medium bowl and set it aside.
  3. In the bowl of a standing mixer with the paddle attachment on medium speed, add the mashed bananas, melted butter, and oil and mix until combined.
  4. Add in the brown sugar, egg and vanilla and mix until smooth.
  5. Turn the mixer to the lowest setting and add in the flour mixture.
  6. While there are traces of flour in the batter, add the chocolate chips and mix just until combined.
  7. Pour batter into your prepared loaf pan.
  8. Slice your banana lengthwise and brush with fresh lemon juice
  9. Place it side by side on top of the batter.
  10. Sprinkle the demerara sugar all over the top and place into the oven.
  11. Bake banana bread for about 50-60 minutes, checking at 50 minutes to make sure you don’t overbake your loaf.
  12. Stick a toothpick in the center of the loaf to check, making sure to check in a few places as skewering a chocolate chip would make you think the batter is undercooked.
  13. Remove pan from the oven and place on a cooling rack for about 15 minutes before removing the bread from the pan.
  14. Let cool and serve.

Recipe adapted from Two Peas and Their Pod.

Baymax Macarons

I’ve always been intimated by shaped macarons. If you look back on my archives, they’re mostly round with details added to them. But recently, I made Hello Kitty macarons and I learned that it is quite easy to do as long as you use a smaller piping tip. The key is understanding that macaron batter is not like frosting, it moves and doesn’t make crisp lines without help.
As you know, I have made Baymax macarons before, but never posted a tutorial on it. So this time, I added tiny hands to make it a little more dimensional and fun. I think that if you’ve made macaron batter before, then this is possibly the easiest shaped macaron you can do.
These were filled with black sesame frosting which was quite interesting, and have their own post coming up. But before I post that one,  I have an amazing chocolate banana bread recipe I want to share. So there is something to look forward to soon!

Baymax Macarons

You will need:

1 batch of basic macaron batter (recipe below)
frosting
edible black marker
wilton decorating tip, #2 (or any tiny round tip)
½ inch round decorating tip

Instructions:

  1. Prepare two piping bags each fitted with the ½ inch round tip and the #2 tip.
  2. Divide ⅞ of the batter into the ½ inch round tip bag and ⅛ of the batter into the #2 tip bag.
  3. On a baking sheet lined with a macaron template and parchment paper, pipe rounds of macarons as you usually would with the ½ inch round tip bag. (as shown in picture #1)
  4. Let the macarons set until dry, about 20 minutes. Then pipe tiny rounds on the bottom half of the macaron circles forming hands with the #2 tip bag. (as shown in picture #2)
  5. Bake macarons as usual. (as shown in picture #3)
  6. Once cool, find a match for each macaron sandwich. Sometimes the hands will not line up perfectly, that is okay.
  7. Using an edible marker, make two dots and a line in the middle forming Baymax’s face. (as shown in picture #4)
  8. Fill each half with frosting and sandwich together.
  9. Enjoy

Basic Macaron Batter

Ingredients:

212 g. almond meal (aka almond flour)
212 g. powdered sugar
172 g. egg whites, divided to 82 g. and 90 g (aged, if possible)
236 g. sugar
158 g. water

Instructions:

  1. Line two baking sheets with parchment paper or silicone mats.
  2. In the bowl of a food processor, add the almond meal and powdered sugar and pulse until thoroughly combined.
  3. Sift the mixture over a large mixing bowl, throwing out the lumps as they appear.  Add 82 g. of the egg whites and stir until you get a thick mixture.
  4. In a small pot attached with a candy thermometer, combine the sugar and water over medium heat and boil until the syrup reaches 200˚F.
  5. Once the syrup reaches 200˚F, start whipping the remaining 90 g. in the bowl of your stand mixer with the whisk attachment on medium speed until soft peaks are reached.
  6. Once the syrup reaches 248 ˚F, remove the pot off the burner and slowly pour the syrup down the side of the mixing bowl with the egg whites on medium speed.
  7. Once the egg whites are fully incorporated, increase the speed to medium high until egg whites form glossy, stiff peaks.
  8. Mix a ⅓ of the egg white mix to the almond mixture and stir together until the batter is slightly lighter and less pasty.  From then on, fold in ⅓ of the egg white mixture at a time until the mixture “flows like magma”.  The mixture should be smooth and run thick ribbons off the spatula.
  9. With a pastry bag fitted with a ½ in. plain tip, pipe 1¼ – 1½ in. rounds.
  10. The piped batter may have peaks but should smooth away in a minute or two.
  11. Let the batter stand until the tops of the macarons are dry to the touch, about 30 minutes to 1 hour.
  12. Preheat the oven to 325-350˚F.  If your oven tends to run hot go for 325˚F, if not then 350˚F.
  13. Lower the heat to from 350˚F to 300˚F. (If starting from 325˚F, lower to 275˚F.)
  14. Bake 10-12 minutes, until the feet are formed and the tops are smooth.  The macaron shell is done when you slightly wiggle it and it starts to come off of the parchment paper / silicone mat.
  15. Remove pan from oven and reheat oven to higher temperature for 10 minutes before baking the next tray, lowering the temperature when you start baking it.
  16. Continue until you bake all of the macaron shells.


Cake Batter Éclairs

There is a bakery a few towns away that I absolutely love called Sook Pastry. In a way I’m glad it’s not too nearby because I would frequent it more than necessary. There are many great baked goods that they offer, but my favorite is the awesome chocolate èclairs.  They are not too sweet or rich but are satisfyingly chocolaty with the perfect shell.I don’t know at what point I became such a pastry snob. I remember eating boxes of Entenmann’s chocolate èclairs and being satisfied as a kid. But when I picked up a box for the nostalgia factor, it was horrifically disappointing. The too-squishy bland base, the lack of custard filling and the low quality chocolate topping made me wonder, “WHY?!” I guess I can argue that the costs of ingredients are higher and manufacturers have to cut down on quality in order to keep the costs low. Remember when they changed the recipe for the chewy chips ahoy? That was another sad day. Anyways, the point is, I guess I’d rather eat just one great éclair than a whole box full of them.
Turns out, baking a great éclair is not as easy as it looks. The hurdle is the choux dough base. I’ve made cream puffs (which are also made out of choux dough) many times before. Remember the croquembouche? I had trays and trays of cream puffs that time. The problem was it was not sturdy enough for an éclair. They would flatten and look sad, no matter what technique I tried (using the tines of a fork, using a star tipped frosting tip to pipe out the batter, letting the base cook in the oven longer to ensure dry interiors…). So I went to google and did some research.
Luckily Ilan from the ironwhisk already did the research and created a great choux paste tutorial for èclairs. My only gripe with recipe was that it produced a shell that was too salty. Even when I waived the salt in the filling, the saltiness was overpowering. I suggest cutting the salt in half to ensure a better balanced éclair.
I originally baked this for my third blog anniversary, and that’s why there are so many decorative sprinkles that scream “celebration!” hahaha I know, I’m approaching the fourth anniversary around the corner and I’m posting this now. Smh. Please, feel free to use any type of sprinkle, sanding sugar, sugar pearls, and nonpareils that you might have. My sprinkles container is over capacity and I am now resorting to ziplock freezer bags to hold the rest of them. I may have a hoarding problem with them, but they were perfect for this post in particular.
To go with the “celebration” theme, I also made the filling cake batter flavored because what better way to celebrate than with cake? A few spoonful of cake mix gives it that flavor. I rarely use boxed cake mix and only use it to give it a “cake batter” flavor to something. So I usually have a ton of it leftover. I always feel bad tossing it out. There must be a better way out there hahaha But I figure, if you do bake boxed cake often, then this should be a staple in your pantry.

Cake Batter Éclairs

For the Choux Base:

Ingredients:

75 g. water
75 g. milk
75 g. butter
5 g. sugar
2.5 g. salt (about ½ tsp. best to use the tsp for such small measurements)
100 g. bread flour, sifted
150 g. eggs (about 3 large eggs), room temperature and lightly beaten
Powdered sugar, for dusting

Instructions:

  1. In a medium saucepan over medium heat, stir water, milk, butter, sugar and salt and bring to a boil.
  2. Remove the pot from the heat once the mixture reaches a boil, and add all the flour at once.
  3. Stir vigorously with a wooden spoon until a film on the bottom of the pan forms, about two minutes. The dough should be 170˚F (75 ˚C). Do not scrape the film into the dough.
  4. In the bowl of a standing mixer fitted with the paddle attachment, add the dough and mix on low for about a minute and thirty seconds or until the dough cools down to 140˚F (60˚C).
  5. Add half the eggs on low, until combined. Then add the remaining eggs slowly until combined and a smooth dough forms.
  6. Preheat the oven to 350˚F (180˚F) and line a sheet pan with parchment paper. You can dab a bit of the dough onto the bottom corners of the parchment paper to keep it in place while you pipe out the éclairs.
  7. Prepare a pastry bag (or a gallon sized freezer zip lock bag) with a ½ in. star tip with as many small teeth as possible.
  8. Pipe the èclairs about 5 inches long, 1 inch wide and  2 inches apart.
  9. Dust with powdered sugar.
  10. Bake for about 35-40 minutes until the pastry is dark golden brown.
  11. Remove the tray from the oven and carefully slit the bottom of each choux with a paring knife to let the steam escape.
  12. Cool completely.

For the Cake Batter Pastry Cream

Ingredients:

2 c. whole milk
½ c. sugar, divided
2 egg yolks
1 large egg
¼ c. cornstarch
2 tbsp. butter
1 tsp. vanilla extract
3 tbsp. vanilla cake mix
sprinkles (optional)

Instructions:

  1. In a pot, heat whole milk and ¼ c. sugar and bring to a simmer.
  2. While the milk heats, mix egg yolks, egg, cornstarch and ¼ c. sugar in a medium bowl.
  3. When the milk is hot, use a ladle to slowly drizzle hot milk into the egg mixture while whisking to prevent curdling.
  4. Once all of the milk is introduced into the egg mixture, return all of it back into the pot.
    Bring the mixture in the pot to a boil while whisking. When it is thick, remove the pot off the heat.
  5. Add in the butter and vanilla. Once the butter is completely mixed in, add the cake mix. Move mixture to a bowl and place a piece of plastic wrap directly against the pastry cream (to prevent a skin from forming). Chill completely, about 2-3 hours, before using.
  6. If adding sprinkles, add to the pastry cream after fully chilled.

Vanilla Glaze

Ingredients:
1 ½ c. powdered sugar
2 ½ tbsp. milk
⅛ tsp. salt
¼ tsp. vanilla extract
1 tbsp. butter

Instructions:

  1. In a microwave safe bowl, melt the butter.
  2. Add the rest of the ingredients and mix.

Assemble the Éclairs:

  1. Flip the cooled choux pastry upside down and fill with cake batter pastry cream using a pastry bag fitted with a small round tip.
  2. Dip the éclairs in the glaze using your fingers to wipe away the excess on the sides to ensure a neat presentation.
  3. Sprinkle with whatever decoration you want, or go simple and forgo the decoration.

Choux pastry recipe adapted from Iron Whisk.
Pastry cream and glaze recipe adapted from All Recipes.

Red Velvet Strawberry Rose Cake

Happy Valentine’s Day! As someone who loves all things pink and feminine, Valentine’s Day décor is right up my alley. This cake was inspired by Ron Ben Israel’s rose cake which I’ve been obsessed with as soon as I laid my eyes on it. It was always on my “to-try” list but I never got the chance to take on the challenge. Recently, there was a blog post by NYC Cake Girl who used to work with Ron Ben Israel with a how-to on the very cake I loved. The amount of work and the detail work was perfection (as always), and I knew I simply didn’t have the time (and possibly even the skill) to recreate the cake. So I created this cake which looks similar and uses real rose petals.
As for the cake itself, I used half of my giant doughnut cake pan instead of baking a round cake and carving it into a dome like the tutorial. A similar effect could be produced with a shallow bundt cake, but I think the smooth exterior of the doughnut pan really makes things easier. The cake flavor is red velvet (because it is THE cake of Valentine ’s Day), and is layered on the inside with fresh strawberries and vanilla frosting. I know I know, I almost felt like it was sacrilege not to use cream cheese frosting, but I didn’t have cream cheese in the fridge so, vanilla it is. Please feel free to use cream cheese frosting if you prefer it.
I picked a bouquet of flowers that varied in shades of pink in hopes of making an ombre effect. However, once the petals were stripped from the flowers, they kind of ended up being the same color. I saved the lightest rose for the center though. Although in hindsight, I think I should’ve just picked the flower that had the least blemishes. You essentially layer the petals one by one in alternating layers around the cake to form a giant rose. It is a bit time consuming and is not completely symmetrical like the fondant petals from the original cake. But, I think it kind of gives it a homemade vibe that people can appreciate.I went a little heavy with the pictures because it was SO STUNNING. Like… the photos can’t do it justice. I loved even how the slices had petals on them fanning out the back, like a very fancy cape or headdress. I can almost guarantee that you will get “wows” and surprised looks when you bring this cake. It won’t disappoint.
I hope all of you got some sort of recognition of love this Valentine’s Day. If not, I baked this cake for you. 😉

Red Velvet Strawberry Rose Cake

You will need:

1 batch red velvet cake, baked in a dome shape (recipe below)
1 batch vanilla frosting (recipe below)
About ½ pint strawberries, sliced horizontally (enough to cover the area of the cake twice)
1 dozen roses (pesticide-free)

Instructions:

  1. Slice the red velvet cake in half (horizontally), and smooth a thin layer of vanilla frosting.
  2. Layer it with fresh strawberry slices and repeat layer with vanilla frosting and fresh strawberries using frosting to fill in any gaps. (shown in picture #2)
  3. Place the top half of the cake onto the frosting layer and crumb coat the entire cake with a thin layer of frosting. (shown in picture #3)
  4. Put cake in freezer for about 10-15 minutes until the frosting is set and then remove from fridge and give it a full coating. (shown in picture #4)
  5. Pick the flower you will be using as your center flower. Trim and place it in the center of the cake. (shown in picture #5)
  6. Get a few petals and fill in the gaps around the hole. (shown in picture #6)
  7. Now start layering the bottom part of the cake by pressing the petals into the frosting of the cake. Try to press the bottom edge of the petal only. (shown in picture #7)
  8. Try to use the largest petals you have for the bottom layer and go all around the cake. (shown in picture #8)
  9. Layer the next row of petals around the cake. (shown in picture #9)
  10. Try to alternate the position of the petals. As in, try to place the petal of the next layer between two petals of the bottom layer. (shown in picture #10)
  11. Repeat until you get to the center of the cake, try to use smaller petals as you get to the top of the cake. I had to replace some of the lighter petals because the lower petals turned out to be too pink to get a more seamless look. (shown in picture #11)
  12. Get ready to stun the room. 😉

Red Velvet Cake

Ingredients

1 ½ cups all-purpose flour
1 ½ cups cake flour
3 tablespoons unsweetened cocoa powder
¾ tsp. salt
3 large eggs, at room temperature
¾ (1 ½ sticks) cup butter, at room temperature
2 ¼ cups granulated white sugar
2 tsp. vanilla extract
1 ounce bottle of red food coloring (2 Tablespoons)
1 ¼ cups buttermilk
1 ½ teaspoons baking soda
1 ½ teaspoons vinegar

Directions:

  1. Preheat oven to 350°F, spray either your bundt pan or the top half of your giant doughnut cake pan with nonstick spray. (I highly suggest using either pam for baking or baker’s joy for extra insurance of “nonstickage”.)
  2. In a medium bowl, whisk together flour, cocoa powder and salt. Set aside.
  3. In the bowl of a standing mixer, beat butter on medium speed for 30 seconds.
  4. Add sugar and vanilla, and beat until combined.
  5. Add eggs one at a time on medium speed.
  6. Lower speed to low and add in food coloring.
  7. Add ⅓ of flour mixture to the egg mixture on low and add ½ of the buttermilk.
  8. Repeat with ⅓ flour mix and the rest of the buttermilk.
  9. Finish mixing with the rest of the flour mixture. Mix until just combined.
  10. Stir together baking soda and vinegar in a small bowl. Add to cake batter and beat just until combined.
  11. Fill cake pan until ⅔ full, bake 30-40 minutes or until a cake tester comes out clean.
  12. Cool pan on rack for about 15-20 minutes. Try to use a small spatula around the edges to ensure a clean removal. Remove cake from pan.
  13. Let cool completely.

Vanilla Frosting

Ingredients:

1 c. whole milk
¼ c. flour
¼ tsp. salt
8 oz. (2 sticks) unsalted butter, room temperature
1 c. sugar
2 tsp. vanilla extract

Instructions:

  1. In a saucier pan, put milk, salt and flour and whisk until combined on medium heat.
  2. Continuously whisk mixture until thickened to a pudding like consistency.
  3. Once thickened, strain through a mesh strainer into a bowl with a spatula to remove lumps.
  4. Place a piece of plastic wrap on top of the flour mixture and put into the fridge until fully cool.
  5. In a mixer bowl fitted with the whisk attachment, mix the sugar and butter on high speed until fluffy and pale about, 5-10 minutes.
  6. Add the chilled flour mixture and continue to whip on high speed until the sugar is completely dissolved and the mixture is no longer gritty, about 5-10 minutes.
  7. Add vanilla extract and mix until combined.


Weekday Update // Currently Loving

Valentine’s Day is coming and I’ve got hues of red and pink on the brain. Funnily enough, I don’t own many red colored clothing. I think maybe it’s because they tend to be statement pieces. But there are so many cute options this season and I kinda want everything.

  1. Self Portrait 3D Floral Azaelea Dress in Tomato Red – I’ve always loved self-portrait’s famous azaelea dress, but I prefer this version with the additional details.
  2. Sézane Jack Sneakers in Nude – Love the shape of the shoe with the clean lines and the blush color is just perfect.
  3. YSL Touche Éclat Pen in Dazzling Lights – I’ve tried all the “dupes” and nothing comes close to this miracle in a tube. It makes me look instantly awake and alert. I just wish it wasn’t so pricey. Sometimes I turn an extra click by accident and I feel like I’m wasting money. Hahaha J Worth every penny and I adore the festive packaging on this version.
  4. Waitress the Broadway Musical – Saw this the past week and I just about died fangirling over Jason Mraz on the inside. If you know me personally, you would know that I’ve been a big fan since high school. I met him after the show after waiting in the cold for an hour. But being the introvert that I am, just stood there quietly while he signed my Playbill. We made eye contact though, and Mr. H kept coaxing me to take a selfie with him, which we kinda did at the end but I have that oh-so-awkward smile that I always have when I’m not 100% comfortable so I’ll just keep it to myself. Unfortunately, Jason won’t be performing after the 11th of February, but it’s just as worth watching for Sara Bareilles. So talented!
  5. H&M Short Chiffon Dress – I’m a fan of the ruffled shoulder details and the ruffled skirt. The polka dots are also a chic detail.
  6. Sézane Line Blouse in Red Poppy – How beautiful is the lace pattern on this shirt? Plus, that flattering square neck in the back makes this just about the most romantic top.
  7. Candy Corpse’ Hot Hams Pin – Because Calcifer is one of my favorite Miyazaki characters and this pin is so stinking cute.


{Simple Sundays} Everything Bagel Sweet Potatoes AKA Aimee Song’s Sweet Potatoes

If you’ve been reading my blog for a while now, you would know how much I love sweet potatoes. (As evidenced here, here and here.) I love the soft texture it takes on when it is roasted well and the flavor, to me, is as comforting as chicken noodle soup. So when one of my favorite bloggers posted a video about “perfect sweet potatoes”, I had to give it a try.
Well, it was quite delicious and nearly perfect! I just tweaked it a little by adding salt and omitting the freshly chopped garlic. (If you love garlic, or are in a garlicky mood, mince a few cloves of garlic and add it to the seasoning stage.)
Aimee’s way of roasting the sweet potatoes gives it a crisp exterior and a smooth and buttery interior, and the addition of the “everything but the bagel” seasoning gives a savory edge to the sweetness of the sweet potato. We’ve been making these a lot in our house lately because it is Whole 30 friendly. My sister has been on the whole 30 diet and turns out no sugar, alcohol, grains, legumes, soy, and dairy really cuts down the things that you are allowed to eat. But this has been the sweet-savory snack that has been helping her stay on track.
You can watch the video of Aimee making it here.

Everything Bagel Sweet Potatoes

Ingredients:

3-4 medium sized sweet potatoes (use organic potatoes if you are eating the skin)
avocado oil (or any high smoke point oil)
everything but the bagel seasoning (I got mine at trader joe’s but you can technically make your own)
kosher salt
3-4 cloves of garlic, minced (optional)

Instructions:

  1. Preheat oven to 400˚F and line a baking sheet with aluminum foil (shiny side down).
  2. Thoroughly wash your sweet potatoes. Trim both ends and cut lengthwise.
  3. Coat the sweet potatoes with avocado oil, and place on baking sheet cut-side down.
  4. Roast sweet potatoes 15-20 minutes or until golden brown.
  5. Remove sweet potatoes from oven; flip sweet potatoes so they are cut-side up.
  6. Sprinkle with kosher salt, bagel seasoning, and garlic (if using).
  7. Move baking sheet back into the oven and roast 10-15 minutes more.
  8. Turn off oven and let sweet potatoes sit in oven for an additional 10-15 minutes.
  9. Enjoy!

Recipe adapted from Song of Style.