Baymax Macarons

I’ve always been intimated by shaped macarons. If you look back on my archives, they’re mostly round with details added to them. But recently, I made Hello Kitty macarons and I learned that it is quite easy to do as long as you use a smaller piping tip. The key is understanding that macaron batter is not like frosting, it moves and doesn’t make crisp lines without help.
As you know, I have made Baymax macarons before, but never posted a tutorial on it. So this time, I added tiny hands to make it a little more dimensional and fun. I think that if you’ve made macaron batter before, then this is possibly the easiest shaped macaron you can do.
These were filled with black sesame frosting which was quite interesting, and have their own post coming up. But before I post that one,  I have an amazing chocolate banana bread recipe I want to share. So there is something to look forward to soon!

Baymax Macarons

You will need:

1 batch of basic macaron batter (recipe below)
frosting
edible black marker
wilton decorating tip, #2 (or any tiny round tip)
½ inch round decorating tip

Instructions:

  1. Prepare two piping bags each fitted with the ½ inch round tip and the #2 tip.
  2. Divide ⅞ of the batter into the ½ inch round tip bag and ⅛ of the batter into the #2 tip bag.
  3. On a baking sheet lined with a macaron template and parchment paper, pipe rounds of macarons as you usually would with the ½ inch round tip bag. (as shown in picture #1)
  4. Let the macarons set until dry, about 20 minutes. Then pipe tiny rounds on the bottom half of the macaron circles forming hands with the #2 tip bag. (as shown in picture #2)
  5. Bake macarons as usual. (as shown in picture #3)
  6. Once cool, find a match for each macaron sandwich. Sometimes the hands will not line up perfectly, that is okay.
  7. Using an edible marker, make two dots and a line in the middle forming Baymax’s face. (as shown in picture #4)
  8. Fill each half with frosting and sandwich together.
  9. Enjoy

Basic Macaron Batter

Ingredients:

212 g. almond meal (aka almond flour)
212 g. powdered sugar
172 g. egg whites, divided to 82 g. and 90 g (aged, if possible)
236 g. sugar
158 g. water

Instructions:

  1. Line two baking sheets with parchment paper or silicone mats.
  2. In the bowl of a food processor, add the almond meal and powdered sugar and pulse until thoroughly combined.
  3. Sift the mixture over a large mixing bowl, throwing out the lumps as they appear.  Add 82 g. of the egg whites and stir until you get a thick mixture.
  4. In a small pot attached with a candy thermometer, combine the sugar and water over medium heat and boil until the syrup reaches 200˚F.
  5. Once the syrup reaches 200˚F, start whipping the remaining 90 g. in the bowl of your stand mixer with the whisk attachment on medium speed until soft peaks are reached.
  6. Once the syrup reaches 248 ˚F, remove the pot off the burner and slowly pour the syrup down the side of the mixing bowl with the egg whites on medium speed.
  7. Once the egg whites are fully incorporated, increase the speed to medium high until egg whites form glossy, stiff peaks.
  8. Mix a ⅓ of the egg white mix to the almond mixture and stir together until the batter is slightly lighter and less pasty.  From then on, fold in ⅓ of the egg white mixture at a time until the mixture “flows like magma”.  The mixture should be smooth and run thick ribbons off the spatula.
  9. With a pastry bag fitted with a ½ in. plain tip, pipe 1¼ – 1½ in. rounds.
  10. The piped batter may have peaks but should smooth away in a minute or two.
  11. Let the batter stand until the tops of the macarons are dry to the touch, about 30 minutes to 1 hour.
  12. Preheat the oven to 325-350˚F.  If your oven tends to run hot go for 325˚F, if not then 350˚F.
  13. Lower the heat to from 350˚F to 300˚F. (If starting from 325˚F, lower to 275˚F.)
  14. Bake 10-12 minutes, until the feet are formed and the tops are smooth.  The macaron shell is done when you slightly wiggle it and it starts to come off of the parchment paper / silicone mat.
  15. Remove pan from oven and reheat oven to higher temperature for 10 minutes before baking the next tray, lowering the temperature when you start baking it.
  16. Continue until you bake all of the macaron shells.


Weekday Update

pink swirl cakeIt’s been a quiet few weeks on the busy spatula. Mostly, I’ve been busy filling cake orders and baking here and there. Not enough photos to write an actual blog about, but just enough for a glimpse of what’s been going on. (If you follow me on Instagram, you probably saw some of these already.)

Pink and Gold Swirl Cake – It’s such a whimsical cake, I couldn’t help taking close up photos of this one. Swirled with pastel pink and white frosting then filled to the brim with pearls, gold stars, and dragees. It was four layers of chocolate cake filled with toffee coffee frosting.

DSC_0487DSC_0428DSC_0475DSC_0477

Baymax Macarons – I wanted to post these for Valentine’s Day, but I never had the time. Place a few red heart sprinkles on each macaron and draw in two circles and connect with a line with a black edible color marker. I filled the inside with some leftover strawberry frosting. So simple and very cute.

baymax macarons baymax macarons

Pink Ombre Ranunculus Cake – The inside of this cake was layered with layers of pink ombre cake. Filled with fresh strawberry frosting and topped with fresh ranunclus, it was so pretty. I originally wanted peonies, but the florist didn’t have any that were in bloom. Did you know that you had to order peonies in advance? I never knew.

pink ombre flower cakeranunculus flowers on cake

Calcifer Meringues

howl's moving castle meringues
“May all your bacon burn.”

If you still haven’t watched Miyazaki’s Howl’s Moving Castle, then I’m pretty sure you are confused (or possibly amused) by today’s post. When I mentioned it to my sister, her reaction was, “That sounds like Lucifer, or a devil.” Actually, a very similar response was echoed by my friend. (They both did not watch the movie.)
Calcifer MeringuesCalcifer is a fire demon and in the English dubbed version of the movie, is voiced by Billy Crystal (aka. Mike Wazawoski from Monsters, Inc., Miracle Max from Princess Bride or Harry from When Harry Met Sally <= my favorite movie of all time!). Incredibly cute and boisterous at times, he is one of the most memorable characters of the movie.making meringues
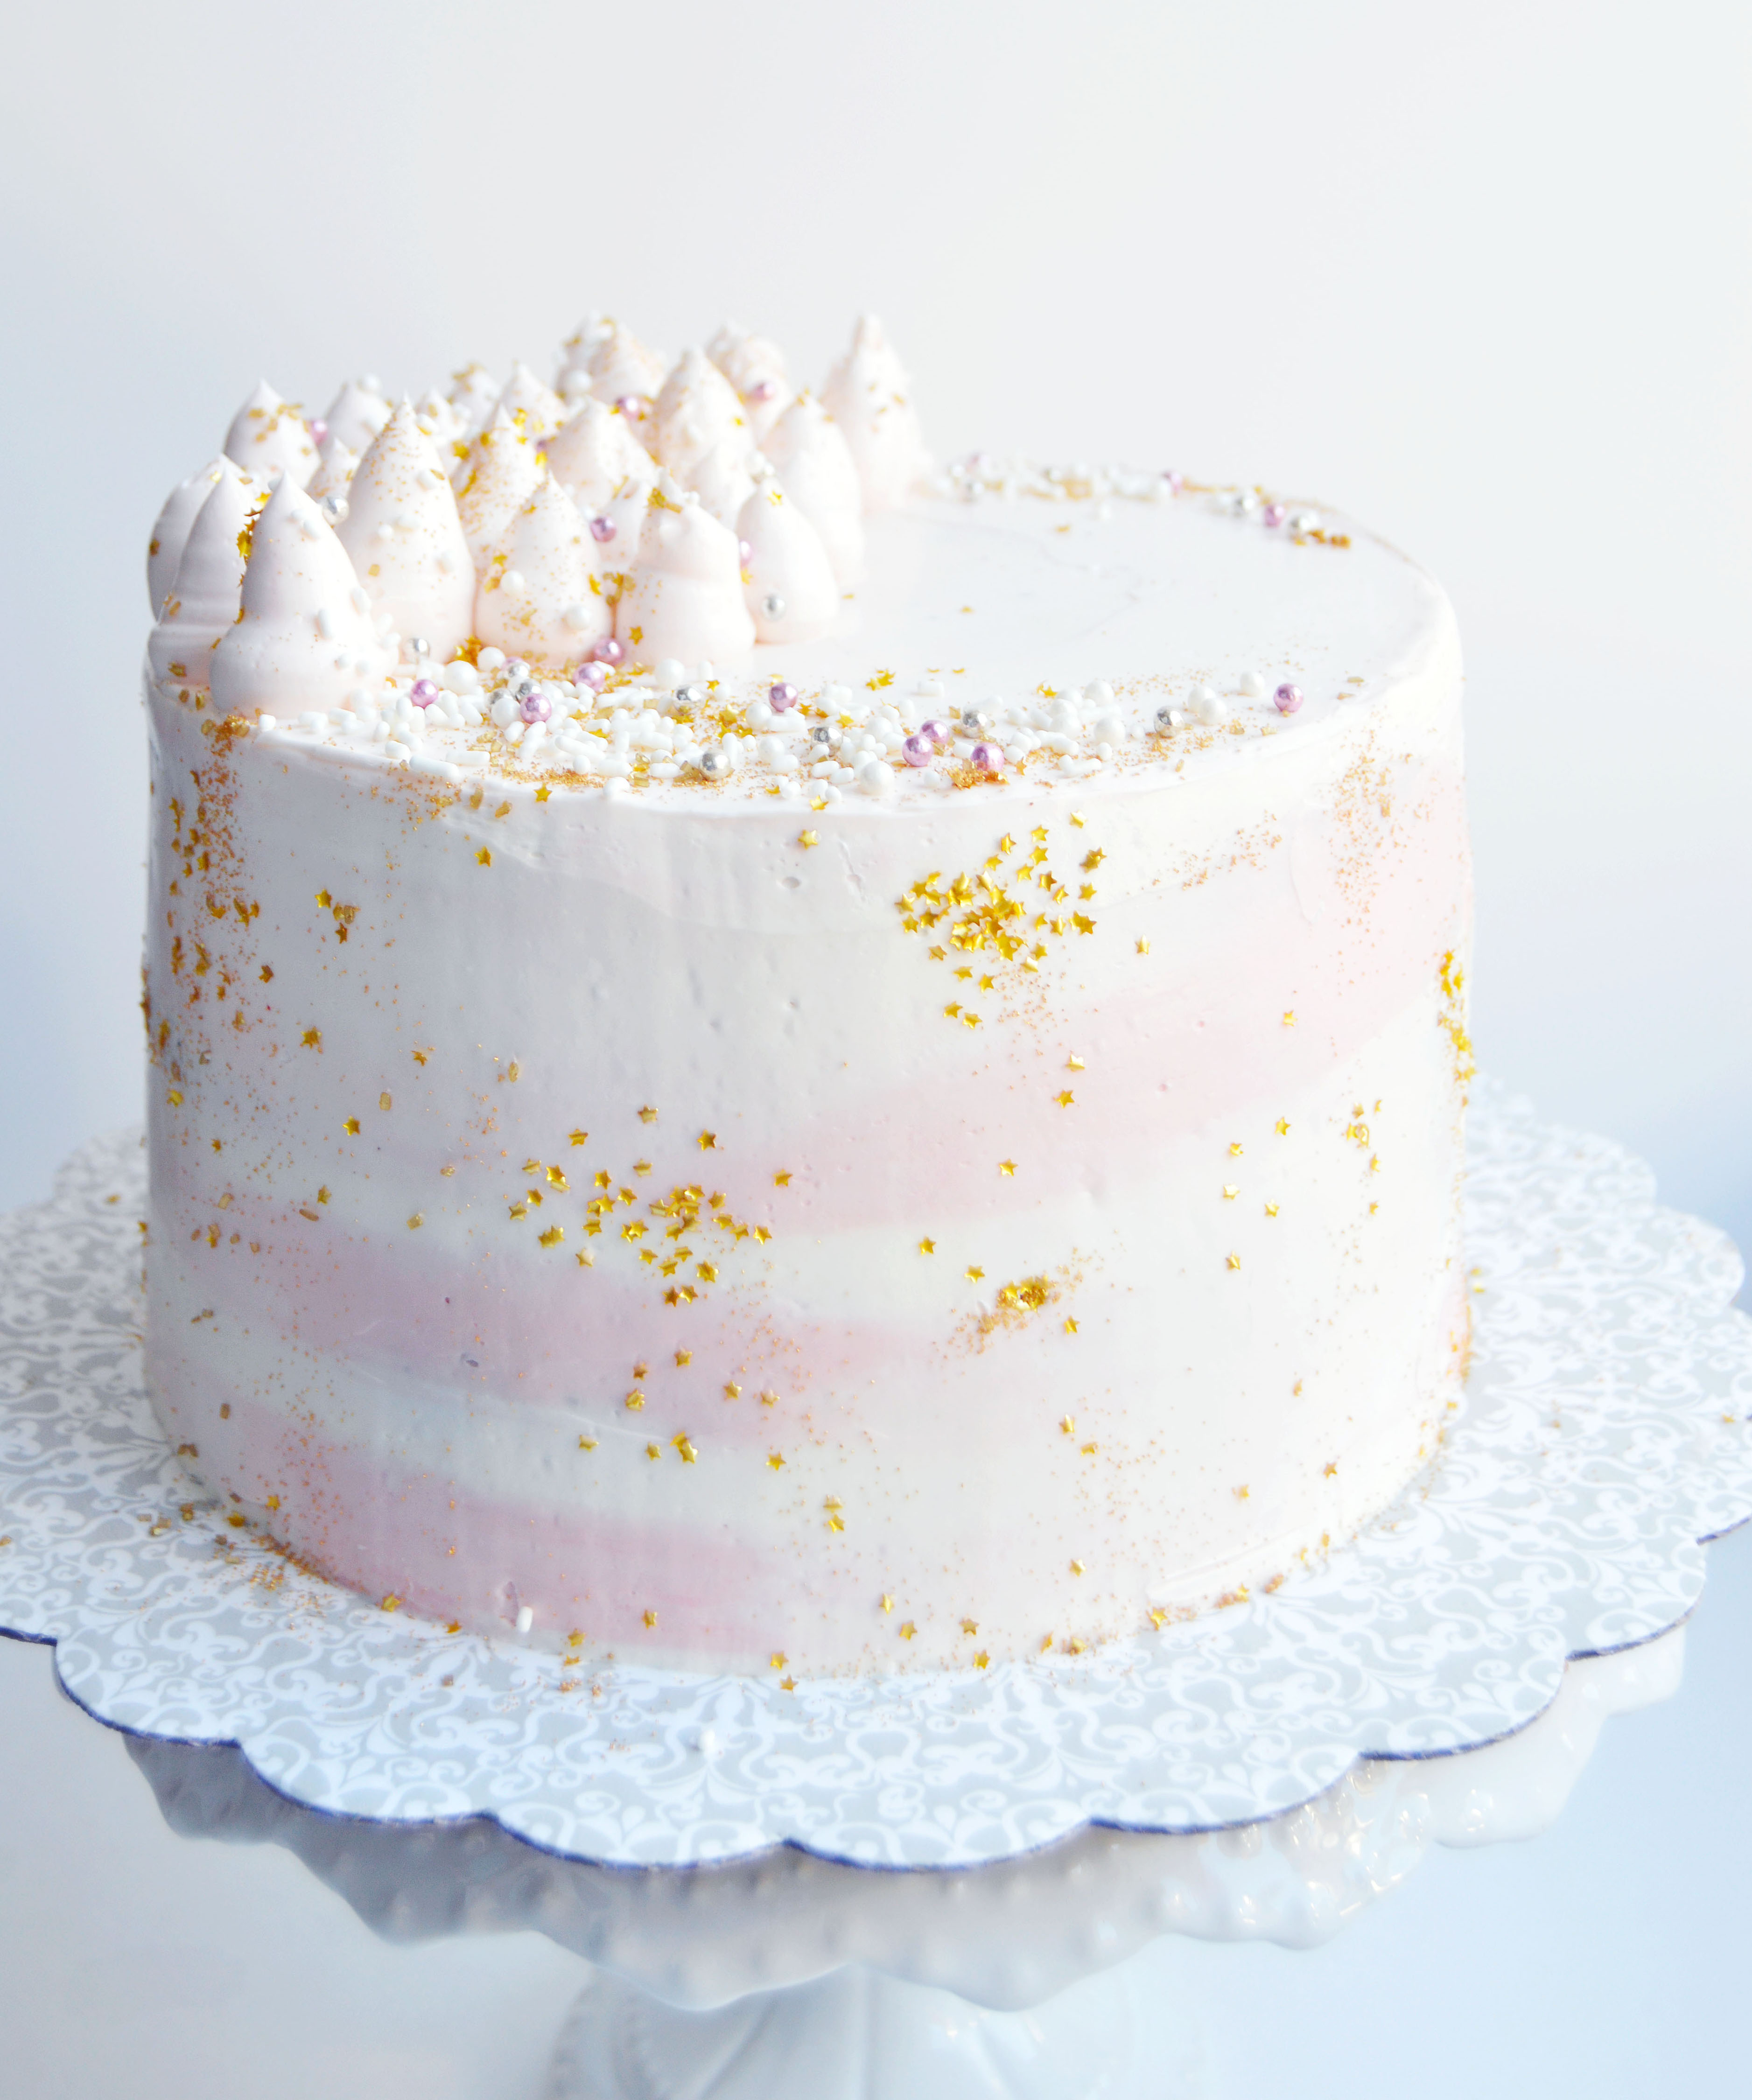
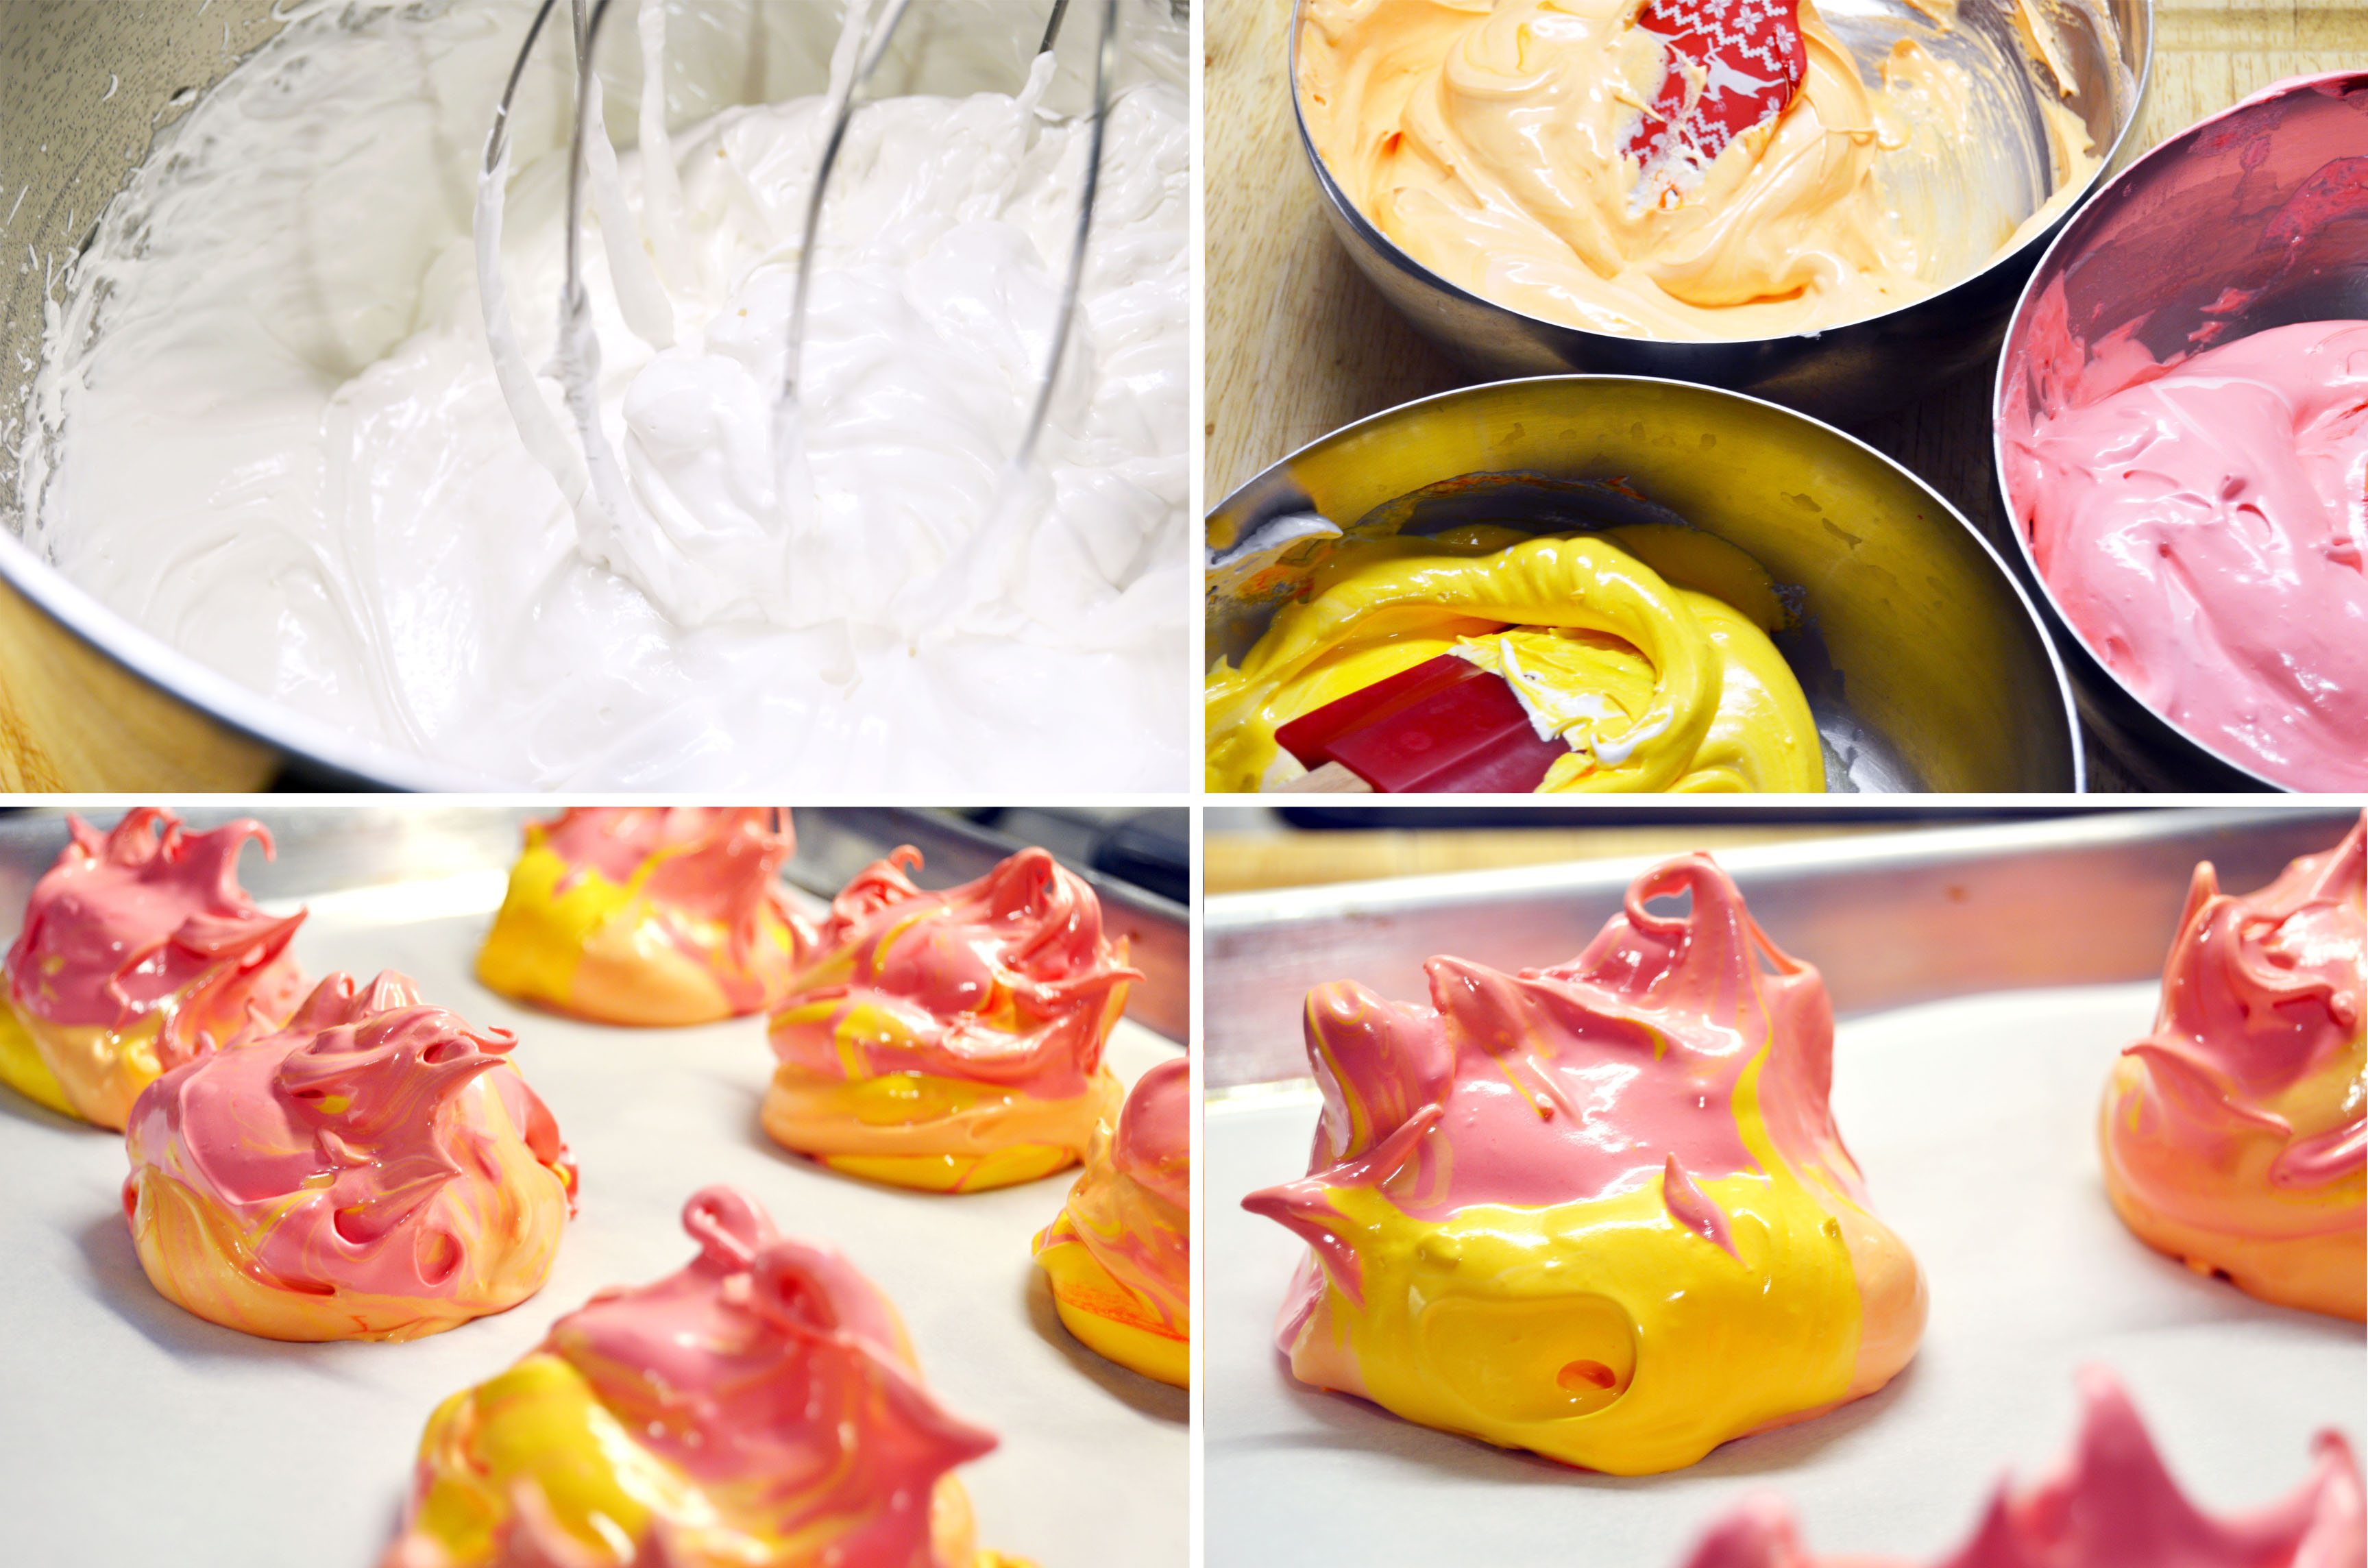
The meringue recipe I’m sharing is delicious and can be flavored with different extract or add-ins, but this time I chose to keep it simple by tinting it in different colors and shaping it so it has a flame-like body. Stirring the gel food coloring does deflate the meringue a bit and spooning it onto the parchment paper in layered dollops seems to produce a few cracks in the meringue. This is just a theory because I’ve made this recipe before and it produces very white, no-crack meringues when piped into little shapes.
inside meringue cookieI wanted the meringues to be super vibrant, but this is as bright as I could get them without compromising the structure of the meringue batter. As for the inside of the meringue, the color is much more vibrant on the inside and I am in love with it. Color and small crack issues aside, the meringues are melt-in-your-mouth crisp and has a wonderful marshmallow-y chewy interior. It’s love at
first bite.
calcifer cookies

Calcifer Meringues
Makes 7 Large Meringues

Ingredients
300 g. superfine sugar
150 g. egg whites, room temperature
1 pinch cream of tartar
yellow gel food color
orange gel food color
red gel food color
white candy melts
candy eyes

Instructions:

  1. Preheat oven to 400˚F and line a rimmed baking sheet with parchment paper.
  2. Spread sugar in an even layer over parchment.
  3. In the bowl of a standing mixer fitted with the whisk attachment, add the egg whites and the cream of tartar.
  4. Place sugar into the oven and bake until the edges of the sugar begins to melt but not brown, about 5 minutes.
  5. Once the sugar begins to melt, turn the mixer onto high.
  6. Remove baking sheet from the oven and the eggs whites should be foamy.
  7. Turn the mixer to medium high and slowly pour the hot sugar from the parchment paper into egg whites.
  8. Once all the sugar is added, turn the mixer onto high and mix until stiff, shiny peaks form.
  9. Divide batter evenly into three separate bowls, coloring each portion red, yellow and orange.
  10. Reduce oven to lowest setting 140˚F.
  11. Line another baking sheet with parchment paper.
  12. Taking two spoons, place a dollop of the yellow batter and layer it with the orange and then the red. Repeat until all the meringue batter is used.
  13. Bake about 2-3 hours until they are crisp and hollow.
  14. Turn off oven and let it dry out for about 30 minutes to an hour.
  15. When meringues are completely cool and dry, melt two white candy melt wafers and dot behind two eyes and place the eyes onto the bottom third of Calcifer’s face.
  16. Let candy melt set and you are now ready to enjoy your meringue.

Meringue recipe adapted from Ottolenghi: The Cookbook.


Soot Sprite Macarons (Pumpkin Cookie Butter Macarons)

susuwatari macaronI’m a huge Hayao Miyazaki fan. I love the stories and character development in his films. What I appreciate the most are his strong feminine characters that often save themselves unlike so many of the Disney films I grew up with. Of course there are male protagonists, but they neither dominate nor undermine the heroine. Instead, they work in tandem with each other and both characters evolve and progress their personalities. One of my favorite films from Studio Ghibli is Spirited Away. Susuwatari (also known as Soot Sprites) are the minions of Kamaji, the boiler man. Small and furry looking, they are adorable in clusters and eat Konpeitō, which are star-shaped colorful Japanese candy. The plush with the mask is No Face who my sister deemed creepy and suggested I throw out. I think it’s adorable and I would never. Like I’ve mentioned before, we are two very different people.
soot sprite macaronThe black shells and the orange pumpkin cookie butter filling just beg these macarons to be made for Halloween. I’ve wanted to make these for October but I just ran out of time. You can always omit the black food coloring, colored sugar sprinkles and candy eyes and you would have a perfect pumpkin macaron for Thanksgiving. (As shown in the last photo of the post.) By the way, the pumpkin cookie butter filling is made with
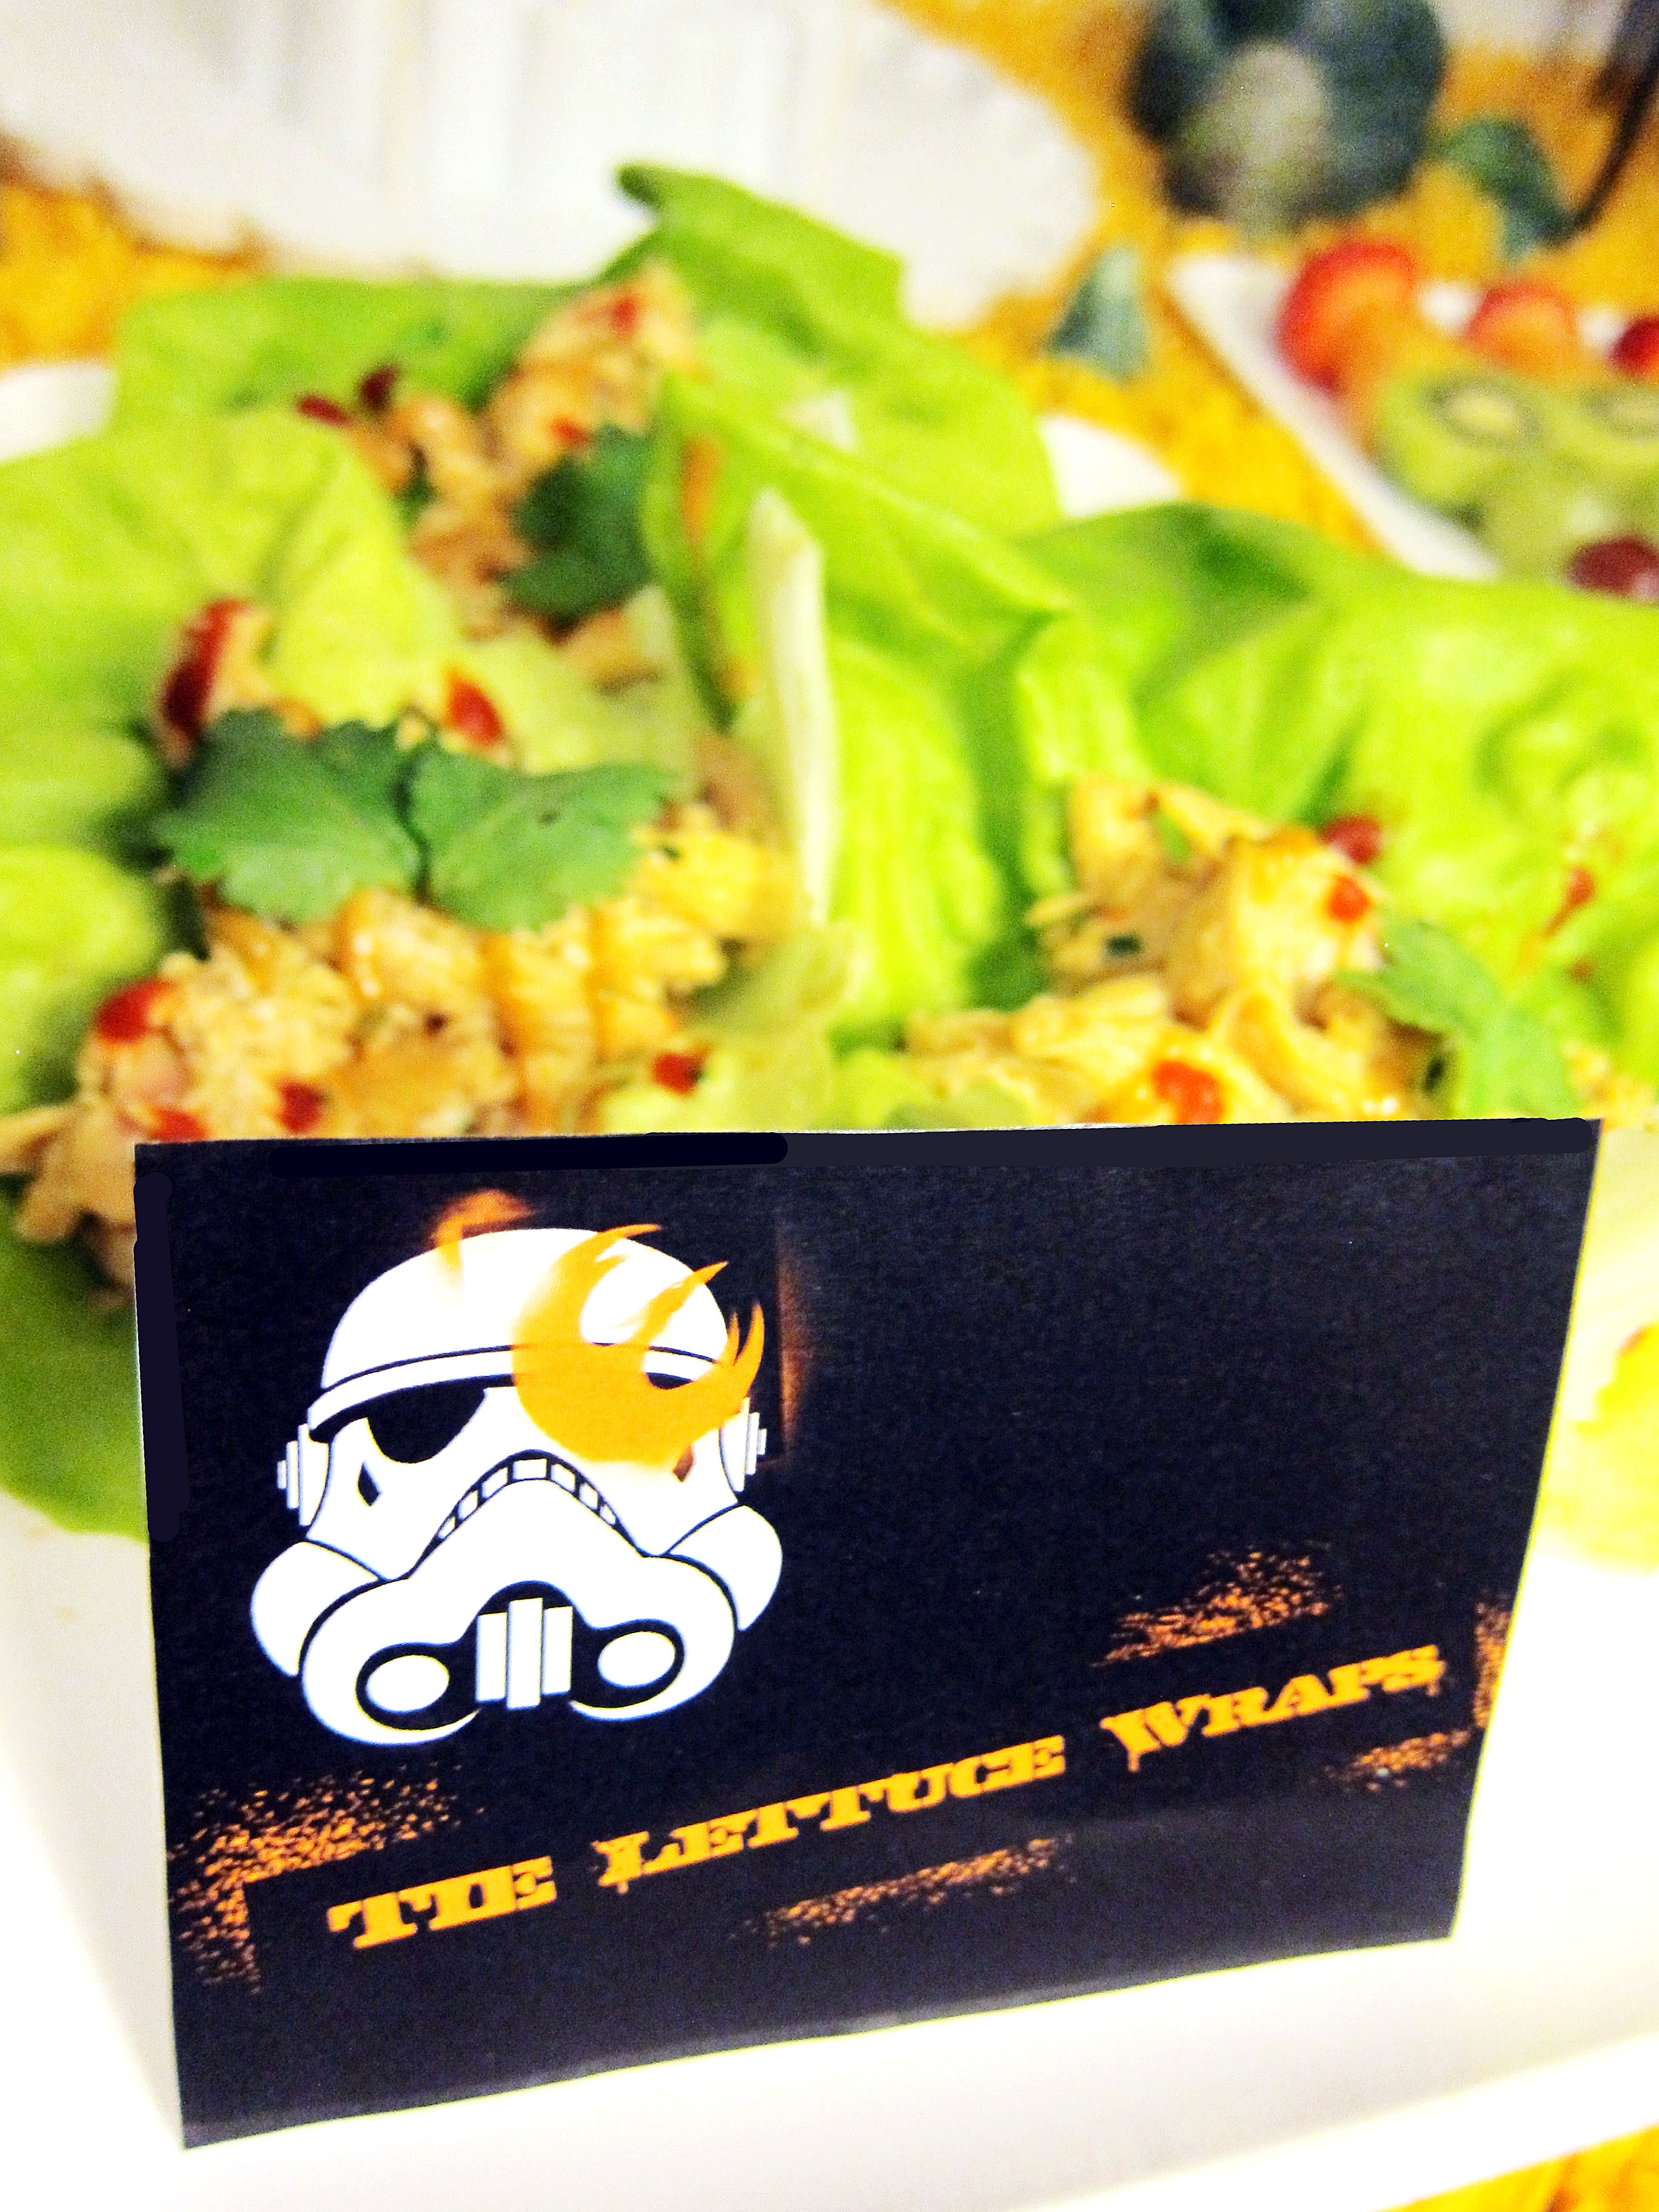
 Trader Joe’s pumpkin pie spice cookie butter. (Can you tell I love Trader Joe’s yet? Hahaha Anyways…) It tastes exactly what the title says except I found that it wasn’t pumpkin-y enough. So I added pumpkin puree to the frosting base to up the pumpkin factor.
soot sprite macaronsIf you do decide to make it with the black food coloring and sugar sprinkles, I should warn you that these macarons WILL turn your mouth and teeth black. And if you have several of them, (this may be TMI but) you may or may not have green stool. Kind of like that black burger bun situation that Burger King had a month ago. It’s not harmful to your body, but I didn’t want to give anyone a surprise scare. Hahaha
pumpkin cookie butter macaronsIn other news, my favorite holiday of the year is creeping up on us. Thanksgiving is the absolute ultimate holiday for me and I’m looking forward to sharing some of my all-star recipes with you during this month!

Soot Sprite Macarons (Susuwatari Macarons)

You will need:
Black Sprinkle Macaron Shells (recipe below)
Pumpkin Cookie Butter Frosting (recipe below)
Candy Eyes
Black candy melts

Instructions:

  1. Sandwich two black macaron shells with pumpkin cookie butter frosting.
  2. Melt two black candy wafers in the microwave and use a toothpick to dab a small amount on the back of a candy eye to adhere to the macaron shell. (Before adhering the eyes, make sure that the pupils of the candy eyes are identical. Some pupils tend to be larger than others, giving your macarons an odd mismatched look if you are not careful.)
  3. Repeat the steps with the second candy eye.

Black Sprinkle Macaron Shells

212 g. almond meal
212 g. powdered sugar
172 g. egg whites, divided to 82 g. and 90 g (aged, if possible)
236 g. sugar
158 g. water
black gel food coloring (if you want regular pumpkin macarons, do not use this.)
black sugar crystals (if you want regular pumpkin macarons, do not use this.)

Instructions:

  1. Line two baking sheets with parchment paper or silicone mats.
  2. In the bowl of a food processor, add the almond meal and powdered sugar and pulse until thoroughly combined.
  3. Sift the mixture over a large mixing bowl, throwing out the lumps as they appear.  Add 82 g. of the egg whites and stir until you get a thick mixture.
  4. In a small pot attached with a candy thermometer, combine the sugar and water over medium heat and boil until the syrup reaches 200˚F.
  5. Once the syrup reaches 200˚F, start whipping the remaining 90 g. in the bowl of your stand mixer with the whisk attachment on medium speed until soft peaks are reached.
  6. Once the syrup reaches 248 ˚F, remove the pot off the burner and slowly pour the syrup down the side of the mixing bowl with the egg whites on medium speed.
  7. Once the egg whites are fully incorporated, increase the speed to medium high until egg whites form glossy, stiff peaks.
  8. Add in a drops of black gel food coloring until desired shade is achieved. (Skip this step if you want white macarons.)
  9. Mix a ⅓ of the egg white mix to the almond mixture and stir together until the batter is slightly lighter and less pasty.  From then on, fold in ⅓ of the egg white mixture at a time until the mixture “flows like magma”.  The mixture should be smooth and run thick ribbons off the spatula.
  10. With a pastry bag fitted with a ½ in. plain tip, pipe 1¼ – 1½ in. rounds.
  11. The piped batter may have peaks but should smooth away in a minute or two.
  12. On half of the macaron shells, generously sprinkle on black sugar crystals. (Skip this step if you want white macarons.)
  13. Let the batter stand until the tops of the macarons are dry to the touch, about 30 minutes to 1 hour.
  14. Preheat the oven to 325-350˚F.  If your oven tends to run hot go for 325˚F, if not then 350˚F.
  15. Lower the heat to from 350˚F to 300˚F. (If starting from 325˚F, lower to 275˚F.)
  16. Bake 10-12 minutes, until the feet are formed and the tops are smooth.  The macaron shell is done when you slightly wiggle it and it starts to come off of the parchment paper / silicone mat.
  17. Remove pan from oven and reheat oven to higher temperature for 10 minutes before baking the next tray, lowering the temperature when you start baking it.
  18. Continue until you bake all of the macaron shells.

Pumpkin Cookie Butter Frosting

Ingredients:

½ c. pumpkin puree
¾ c. whole milk
¼ c. flour
⅛ tsp. salt
8 oz. (2 sticks) unsalted butter, room temperature
½ c. sugar
½ c. pumpkin pie spice cookie butter

Instructions:

  1. In a small pot over medium heat, whisk pumpkin puree, milk, salt and flour until combined.
  2. Continuously whisk mixture until thickened to a pudding like consistency.
  3. Once thickened, strain through a mesh strainer into a bowl with a spatula to remove lumps.
  4. Place a piece of plastic wrap on top of the flour mixture (to prevent skin from forming) and put bowl into the fridge until fully cool.
  5. In a mixer bowl fitted with the whisk attachment, mix the sugar and butter on high speed until fluffy and pale about, 5-10 minutes.
  6. Add the chilled flour mixture and continue to whip on high speed until the sugar is completely dissolved and the mixture is no longer gritty, about 5-10 minutes.
  7. Add the pumpkin pie spice cookie butter and mix until combined.

Star Wars Rebels Party

Star Wars Rebels PartyIt’s been a while. With Thanksgiving and prepping for Step 3’s, life has been hectic! I feel a mix of regret and sorrow that I missed out on all things fall for the blog. But, it has fast forwarded to December which means that the holidays are here and that translates to holiday goodies. But before we get started on all things Christmas, let’s get to the Rebels Party.

As someone who has watched the Star Wars movies exclusively, I was skeptical when the hype for Star Wars Rebels rose out of midair. But after watching one episode (which led to another and another…), I have to say that I’ve fallen in love with the characters and the story line. There is just the right mix of darkness and humor for all ages to enjoy.

So when Mr. L approached me about doing another Star Wars party, I couldn’t say no. (This is the second Star Wars themed party to be featured on the blog. The first one is linked here.)

We drew inspiration from Lothal, the planet where the rebels operate.  Lothal is apparently the name of a real city in India and one of the characters, Ezra, really reminds me of Aladdin. Coincidence?? I think not. Anyways, a bit of yellow turf, clay mountains and a modified Lego Space Needle, made a cute tablescape that was reminiscent of the real thing.

Star Wars Rebels Party LothalAs always, there was food with punny names.

Star Wars Rebels Party 2 Star Wars Rebels Party 1Inquisitortilla Chips with Dual Dip (Inquisitor Tortilla Chips with Dual Dip)
Star Wars Rebels Party 4 Star Wars Rebels Party 3Sa-Bean Burritos (Sabine Burritos)
Star Wars Rebels Party 522 Pickup-Cakes (22 Pickup Cupcakes)
Star Wars Rebels Party 8 Star Wars Rebels Party 6Chopper Salad
Star Wars Rebels Party 9“Zeb” Orrelios Oreos
Star Wars Rebels Party 11 Star Wars Rebels Party  10TIE Lettuce Wraps
Star Wars Rebels Party 13 Star Wars Rebels Party 12Kanan Lightsaber Kebabs
Star Wars Rebels Party 15 Star Wars Rebels Party 16Jogan Fruit Juice
Star Wars Rebels Party 17Hoth2O (A nod to the original series)
Star Wars Rebels Party 18The Entire Spread

It was really fun hanging out with friends, eating good food and watching the special broadcast of “Spark of Rebellion” with the extended scene. Everyone went home with a goodie bag filled with Star Wars themed candy and a figure. Of course I got the one figure I didn’t want, the imperial commander. Boo.

Groot Cupcakes (Mont Blanc Cupcakes)

guardians of the galaxy cupcake 2
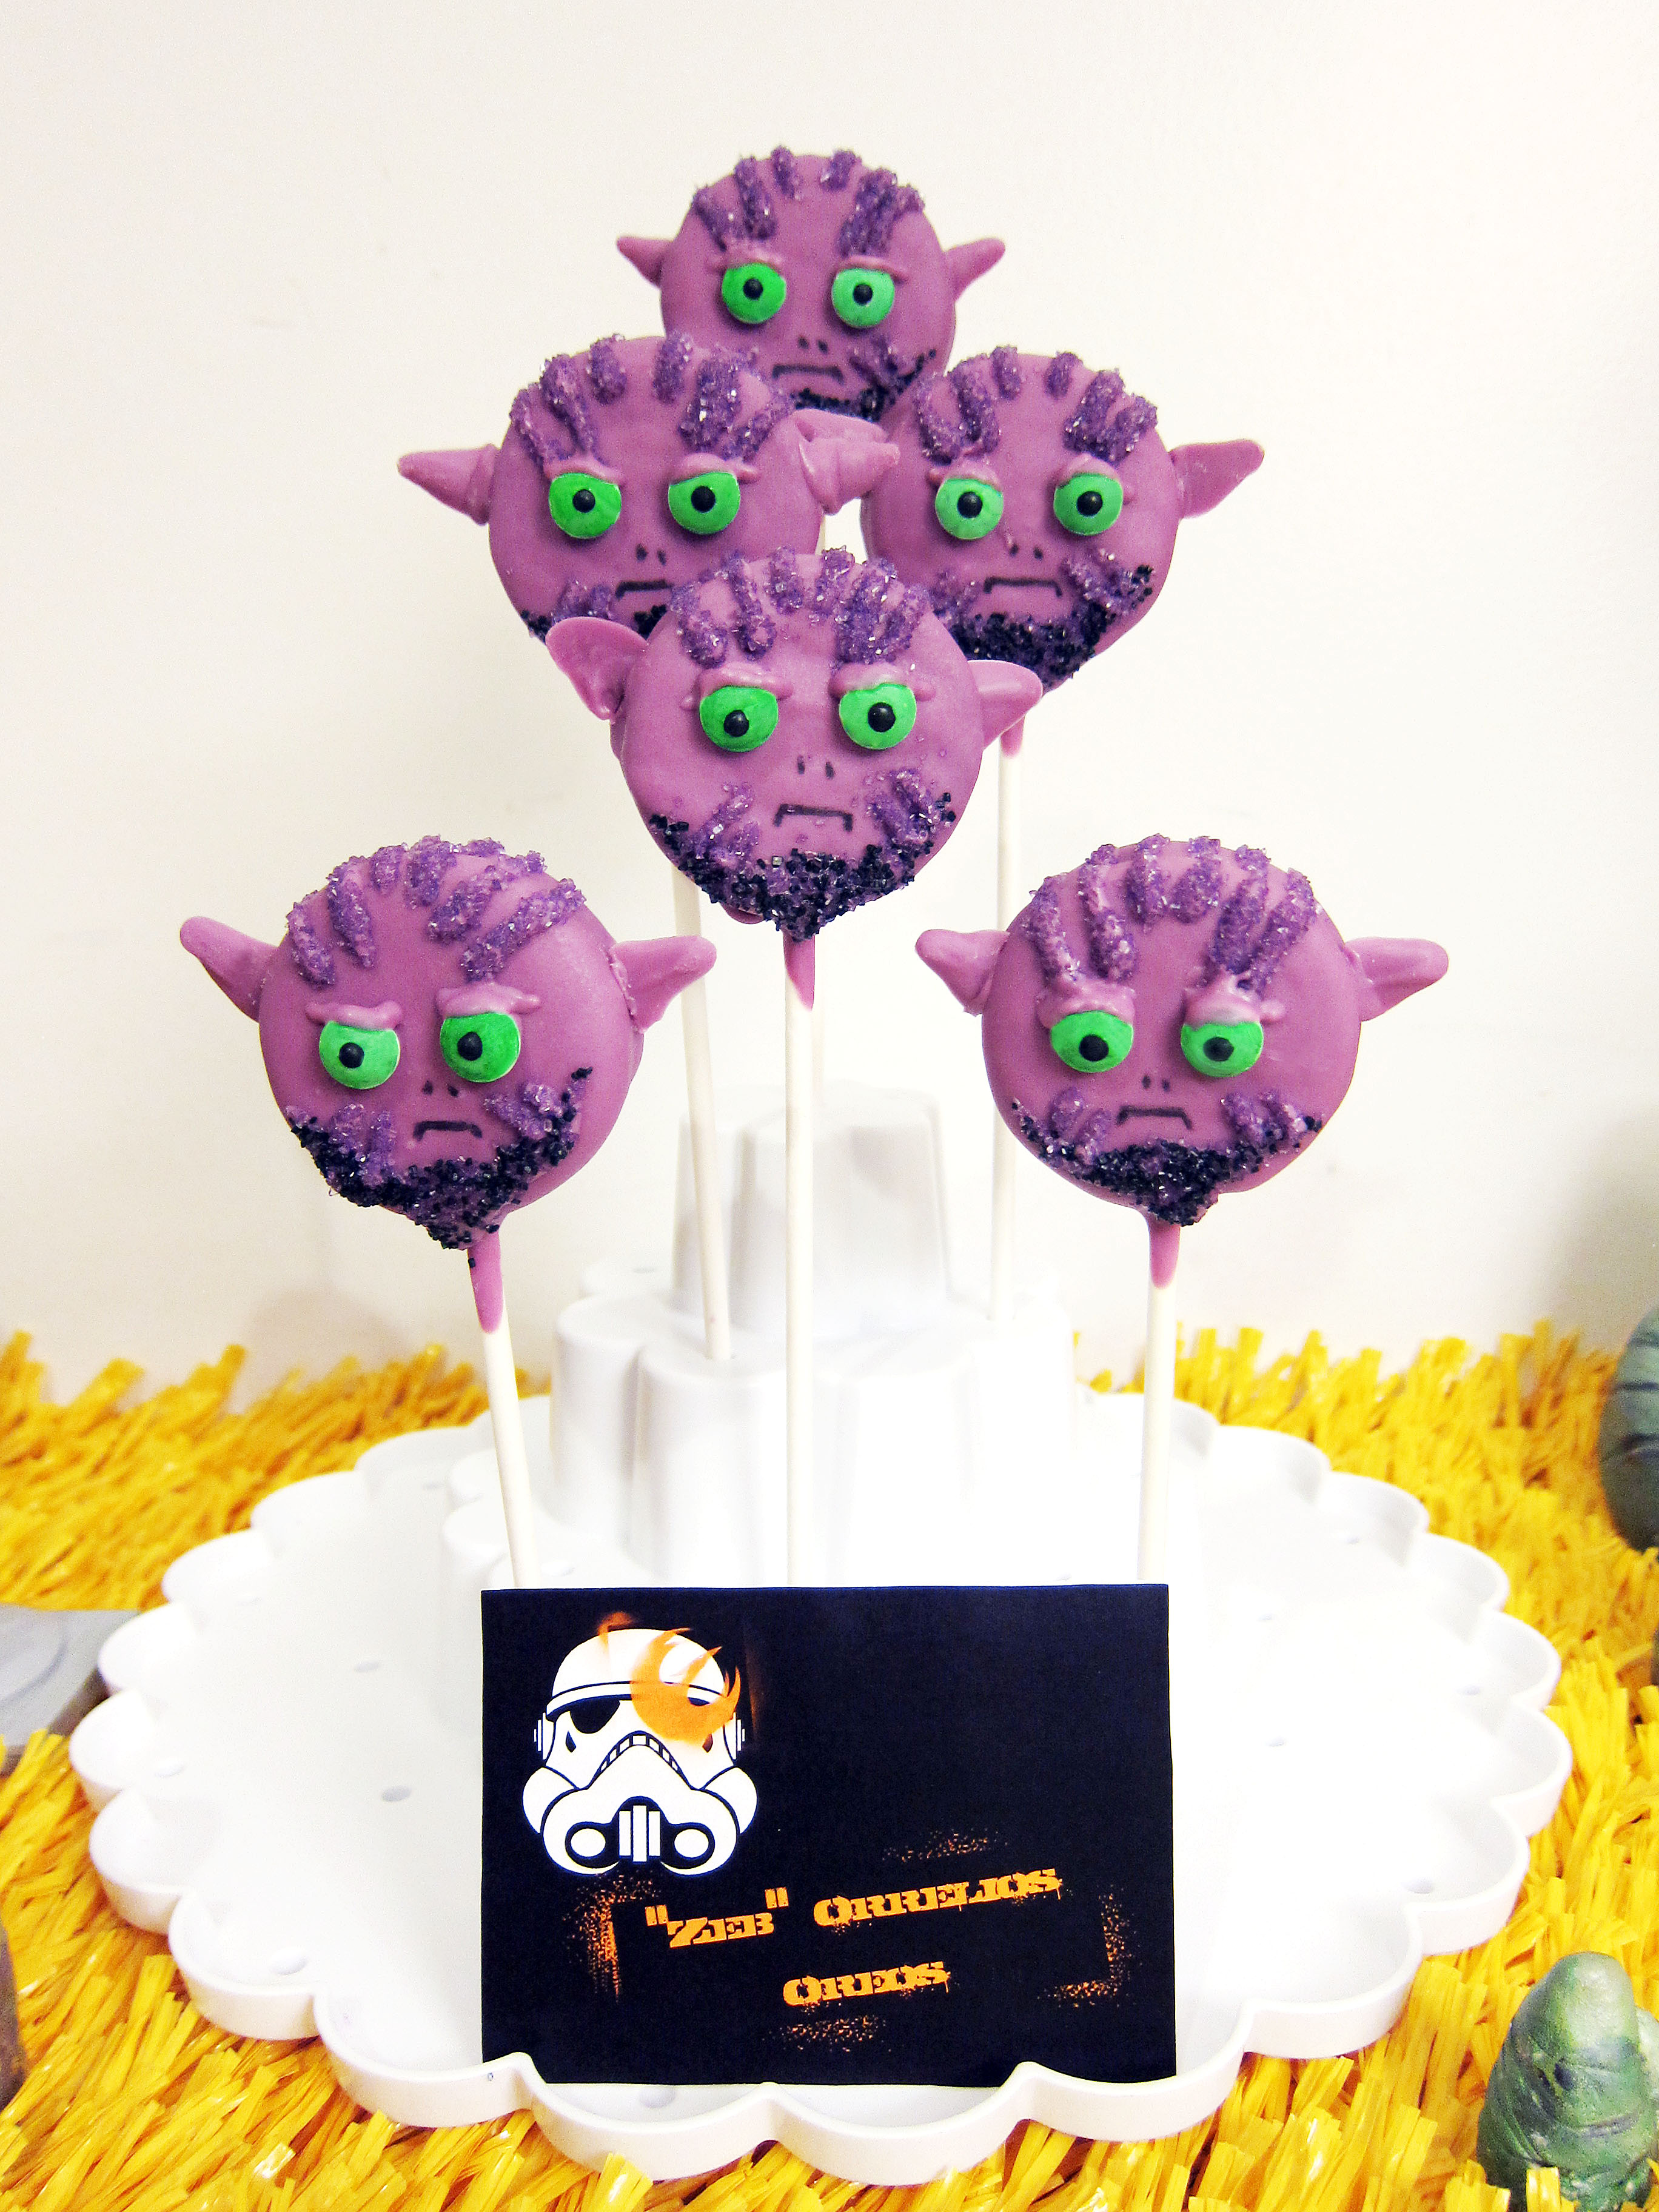
Remember how I gushed about Guardians of the Galaxy a couple of posts back?* Apparently, I wasn’t done with it. (Wait, have you watched it yet?  Can you please? It’s totally awesome. Thanks.) The latest Marvel movie had me racking my brain for a dessert idea and naturally I started with my favorite character of the group, Groot. To be honest, I thought that the idea of Groot was silly. Really, a talking tree that only says, “I am Groot” exclusively in that order? But as the movie went on, the simplest character became the most interesting and loveable of them all.
guardians of the galaxy cupcake 3A Mont Blanc is a chestnut flavored dessert. The chestnut cream is traditionally piled high and topped with powdered sugar which resembles a snow capped mountain. Hence the name, Mont Blanc, just like the mountain that borders France and Italy. The tan color of the chestnut cream is similar to the color of tree bark so instead of piling up the cream in a circle, I decided to turn it into Groot’s face.  
Groot Cupcakes (Mont Blanc Cupcakes) 2This particular Groot cupcake starts with a syrup soaked genoise cake. It is then filled with chestnut cream and dipped in a perfectly shiny chocolate ganache. (Seriously, so shiny.  I couldn’t keep my eyes off of them.) It is then topped with more chestnut cream, only this time it is piped with a multi-hole pastry tip in the shape of Groot’s face.
Groot Cupcakes (Mont Blanc Cupcakes) 1A few fondant additions later, you have your very own mini swarm of Groots.** Super cute and perfect for a Marvel, Guardians of the Galaxy or Superhero themed party, I hope you give it a try for your next gathering.
guardians of the galaxy cupcake 1Groot Cupcakes (Mont Blanc Cupcakes)

Genoise Cake

Ingredients:
5 large eggs, room temperature
⅔ c. sugar
½ tbsp. corn syrup
1 ⅓ c. cake flour
1 tsp. vanilla extract
2 tbsp. butter, melted
2 tbsp. milk
2 tbsp. vegetable oil

Instructions

  1. Preheat the oven to 325˚F and line muffin tin with cupcake liners.
  2. In a bowl of a standing mixer fitted with the whisk attachment, beat the eggs until homogenous.
  3. Add the sugar and corn syrup to the eggs and mix on high speed until thickened, lightened and a ribbon forms when whisk is lifted.
  4. Sift the cake flour into the egg mixture and fold until no traces of the flour remain.
  5. In a separate bowl mix vanilla extract, butter, milk and vegetable oil and mix into the flour mixture.
  6. Fill the cupcake liners with batter and bake 12-15 minutes until golden brown and a toothpick comes out clean.
  7. Cool on a cooling rack.

Simple Syrup

Ingredients
¼ c. sugar
¼ c. water

Instructions

  1. In a small pot, heat sugar and water until sugar is completely dissolved. Set aside and let cool.

Chestnut Pastry Cream

Ingredients
2 c. milk
¼ c. sugar
2 egg yolks
1 egg
¼ c. cornstarch
¼ c. sugar
2 tbsp. unsalted butter
1 tsp. vanilla extract
320 g. chestnuts, roasted and peeled
¼ c. heavy whipping cream

Instructions

  1. In a medium saucepan, bring milk and ¼ c. sugar to a boil.
  2. In another medium bowl, mix egg yolks, egg, cornstarch and ¼ c. sugar until a paste forms.
  3. Using a ladle, drizzle a ladleful of milk while continuously whisking the egg mixture. Continue to drizzle in hot milk a little at a time until you mix in ¾ of the milk.
  4. Take the egg milk mixture and pour it into the saucepan with the remaining milk.
  5. Cook the mixture while stirring constantly over medium heat until mixture is thickened and pudding like.
  6. Remove saucepan from heat and mix in butter and vanilla extract. Set aside.
  7. In a food processor, puree chestnuts until very fine.
  8. Add the pastry cream and process until a smooth paste forms.
  9. Add the heavy whipping cream and process until completely mixed in.

Chocolate Ganache

Ingredients:
8 oz. good quality dark chocolate, chopped into small pieces
¾ c. heavy whipping cream
2 tbsp. sugar
2 tbsp. unsalted butter
1 pinch kosher salt

Instructions

  1. Bring whipping cream and sugar to a boil in either a saucepan or microwave.***
  2. In a medium bowl, pour hot cream mixture over the chopped chocolate.
  3. Let it rest for 5 minutes, then whisk mixture until smooth.
  4. Add the butter and salt and mix until fully incorporated.

Fondant Pieces

You will need:
green fondant
black fondant
white fondant

Instructions

For the leaves:

  1. Pinch off tiny pieces of green fondant and form shapes of leaves by molding one end narrower than the other side.

For the eyes:

  1. Roll out black fondant ⅛ in. thick. Cut out circles that are ¾ in. in diameter.  (I used the end of a fat bubble tea straw.)
  2. Pinch off tiny pieces of white fondant and make tiny circles to press flat onto the black fondant. Remember to place the pieces off center to avoid deadpan eyes. (I placed mine to in the north east quadrant of the eyes.)

Assembly

  1. With a pastry brush, brush the tops of cooled cupcakes with the simple syrup.
  2. Let it rest 5 minutes and go over it once more with the simple syrup.
  3. Fill a pastry bag fitted with a narrow plain pastry tip with half of the chestnut pastry cream; fill each cupcake with about a tablespoon of pastry cream.
  4. Dip the tops of the cupcake with the chocolate ganache, and let set in the freezer for about 5 minutes.
  5. Fill a pastry bag fitted with a multi-hole pastry tip, with more chestnut pastry cream.
  6. Using a stead pressure, draw Groot’s face using an up and down motion. Make sure you go over the each area several times to give it a 3D effect.
  7. Carefully place the fondant eyes in the center of the face and arrange the fondant leaves at the top of the head. Remember the fondant WILL melt in time, do not place the fondant pieces until you are ready to serve or as close to the serving time as possible.

*If you don’t know by now, I’m into the geek/nerd culture.  I wouldn’t say I’m fully immersed it in, but maybe waist deep.
** Warning about the fondant addition.  Because the fondant is resting on top of a pile of pastry cream, the fondant will melt with time.  I would give you a solid hour before it starts to melt.  Tread lightly and be aware. 🙂
*** If using the microwave, be careful not to overheat it.  It will bubble over, leaving you a large mess to clean… not that this happened to me.  No, it totally did.  Don’t be like me.

Chocolate ganache recipe adapted from recipe girl.

Elsa Doll Cake

Elsa Doll Cake 1This is a little late in the whole Frozen craze, but I finally made an Elsa Doll Cake.  But it must’ve been in the stars because I was lucky enough to simultaneously have a doll cake request and was finally able to get my hands on an Elsa doll.  It blows my mind that even after 9 months of its release, it is still difficult to obtain an Elsa figure.  How?? Does every little girl in the world want an Elsa doll?  It’s either that or they are releasing them ever so slowly to keep the demand up.  By the way, I still can’t stop listening to the Frozen soundtrack which is a testament to how great it was.  Speaking of soundtracks, did you guys watch Guardians of the Galaxy?  If so, one phrase… Awesome Mix Vol 1.  That’s it.  If not, watch it.  It’s fantastic in every way.
Elsa Doll Cake 4Back to the cake. The thing about Elsa is, unlike Sofia the First, her dress is fairly simple from the waist down.  It’s a sparkly slinky number with a high slit and there is no place to fit a cake under there.  So this is my interpretation of what a poofy Elsa dress would look like.
how to make an elsa doll cakeIt’s fairly straight forward in terms of decorating it, but here are a few tips when creating your own doll cake: 1) Make sure your cake is well chilled- it will help reduce the number of crumbs when you carve it.  2) Try to make your frosting as smooth as possible to reduce the number of bumps and lumps when you put on the fondant.  3) When rolling out your fondant, make sure it isn’t too thick (it will be hard to mold) or too thin (it will tear when you drape it).  4) If your fondant shapes become too soft, toss it in the freezer for about 30 seconds to firm up.  Do not freeze fondant, it will melt when it comes to room temperature.  Above all, have fun making it.  The world is your oyster when it comes to designing a doll cake.
Elsa Doll Cake 2Elsa Doll Cake

You will need:

light teal fondant
teal fondant
white fondant
snowflake fondant cutters
edible glitter, silver star shape
white shimmer dust
silver pearl dust
an Elsa doll

Instructions:

  1. Prepare a lightly frosted, 4 layered 6 inch cake that has a hole cut in the middle for your doll. (pictures 1 and 2)
  2. Chill the cake and while the cake is chilling, prepare your Elsa doll by removing her skirt and wrapping the bottom portion of the doll completely and tightly with plastic wrap. Put her arms up and her cape up and over her head and wrap the top portion of her body with plastic wrap. (picture 3)
  3. Remove the cake, insert the plastic wrapped doll and cut along the top quarter of the cake at a 45˚ angle. Use your eye to gauge where you want the skirt to start and the desired slope of the skirt. (picture 3)
  4. Crumb coat the cake, giving it a rough shape and making sure to cover the gap between the hips and the cake. (picture 4)
  5. Give it a second coat of frosting, hiding the crumbs and making it as smooth as possible to make it easier for the fondant to stick. (picture 5)
  6. Roll out a piece of light teal fondant and cut a rounded door shape for the front of her dress. Adhere it onto the front of the dress. (picture 6)
  7. Roll out a larger piece of teal fondant and drape it over the waist down to the bottom of the cake, making sure to have all of the buttercream covered. (picture 7)
  8. Using your hands, roll a skinny teal fondant rope to blend the top and the bottom of the dress together. Adhere it where the waist meets the cake. (picture 8)
  9. Cut out a white snowflake fondant and adhere it to the center of the dress to cover the seam. (picture 9)
  10. Using vodka, paint white shimmer dust and pearl silver dust all around the teal portion of the dress to give it a shimmery effect. (picture 10)
  11. Take the silver stars and place it over the light teal fondant portion of the dress. (picture 11)
  12. Using your fondant cutter, cut out various shapes of white and light teal snowflakes and adhere it to the teal portion of the dress. Feel free to use any pattern that suits you, but remember that there will be a transparent snowflake cape that covers the back of the cake. (picture 12 and 13)
  13. Remove the plastic wrap from the top portion of the doll, be careful about positioning the arms and letting the snowflake cape flow over the back of the cake.  (picture 14)

Sofia the First Doll Cake

sofia the first doll cake 1There are many things that make birthdays special: friends, family, presents, food… the list goes on.  My favorite part of a birthday is the cake.  I’m not sure what the exact reason is.  It may be because it’s the centerpiece of a celebration or because it foreshadows the inevitable sweet ending of a party or simply because I love cake.
sofia the first doll cake 3I did not have many birthday parties when I was little, but I do remember seeing many beautiful cakes at American bakeries wishing I would have one for my birthday.  I always ended up getting a Korean cake.  By Korean cake, I mean a simple sponge cake filled with whipped cream and fruit and a simple decoration on top.  (I have to say, Korean bakeries have stepped up their decorating game since I was a little kid.) Many a day did I wish for the sugary sweet American buttercream counterpart but it just didn’t happen.  So that’s why when it’s someone’s birthday I try to make it special the only way I know how, with cake.
sofia the first doll cake 4Andy’s niece LOVES Sofia the First, along with Minnie Mouse and Max & Ruby.  I’ve always wanted to try my hand at doll cakes so the present was twofold: the cake and the doll in one.

steps 2If you’ve never made doll cakes before, I’ll tell you that it’s definitely more time consuming than a layer cake but the reaction you get makes it worth the trouble.  When we walked in the door, the first thing she screamed was “Sofia!!” and asked to hold it thinking it was a real doll.  We were successful keeping her hands off until the end when the urge was too great and she made a grab for it. 🙂
sofia the first doll cake 5

Sophia the First Doll Cake

You will need:
Purple Fondant
White Fondant
White Buttercream
White Sugar Pearls
4 layers of 6” round cake
Purple Food Marker
Isomalt (optional)
Small Gem Mold (optional)

Instructions:

  1. Cut out holes in the cake layers so that it would fit your doll.  I used this doll.
  2. Prep your doll by tying its hair up, taking off the dress, and wrapping the doll with plastic wrap.
  3. Roll out a piece of purple fondant and drape around the doll adhering it with either a very thin layer of buttercream or water. (As shown above.)
  4. Frost and layer the cake layers and place your doll inside.
  5. Mold the cake into a dress shape by cutting it along the top in a rounded shape.
  6. Frost the cake smoothly up to below the waist of the doll.  (As shown above.)
  7. Roll out a piece of white fondant and cut out a 2-3 in. strip.  Drape it around the bottom of the dress to form the underskirt of the dress. (As shown above.)
  8. Roll out a piece of purple fondant and cut out a ¼ in. strip.  Adhere the purple strip over the white fondant with either buttercream or water to form the stripe around the underskirt. (As shown above.)
  9. Roll out a large piece of purple fondant (about 10 in. in height) and cut out scalloped shapes along the bottom.  Drape right below the waist of the doll connecting the two ends together in the back. (As shown above.)
  10. Roll out two more pieces of fondant in a semi-circle shape and drape around each side of the doll to create the top layer of her dress. (As shown above.)
  11.  Roll and cut a thin ribbon of fondant and wrap around the waist to meld the top and bottom together.
  12. With the purple marker, draw two lines and a loop design on the front of her dress. (As shown above.)
  13. Adhere pearls along the neckline and the purple stripes. (As shown above.)
  14. Adhere pearls along the top layer of the dress. (As shown above.)
  15. Optional: If you have time, you can continue the pearl all across the back of the dress.  I did not so I opted to continue it with a white ribbon made of white fondant.
  16. Adhere pearls all along the top and bottom skirt of the dress
  17. For the circular pattern along the bottom of the dress you can either:
    1. Cut out the pattern with the fondant and adhere it.
    2. Make white teardrop jewels with a small gem mold with either sugar or isomalt. This gives it an interesting 3D effect to the dress.  You can cut out the triangular shapes with fondant and adhere it.
  18. If you have time, you can fancy the dress up in the back with more pearls and sugar jewels. (As shown above.)
  19. Optional: You can also paint the crown with silver paint and bling it out with little purple gems like I did above.  It makes the cake look a little more expensive and detailed. (As shown above.)