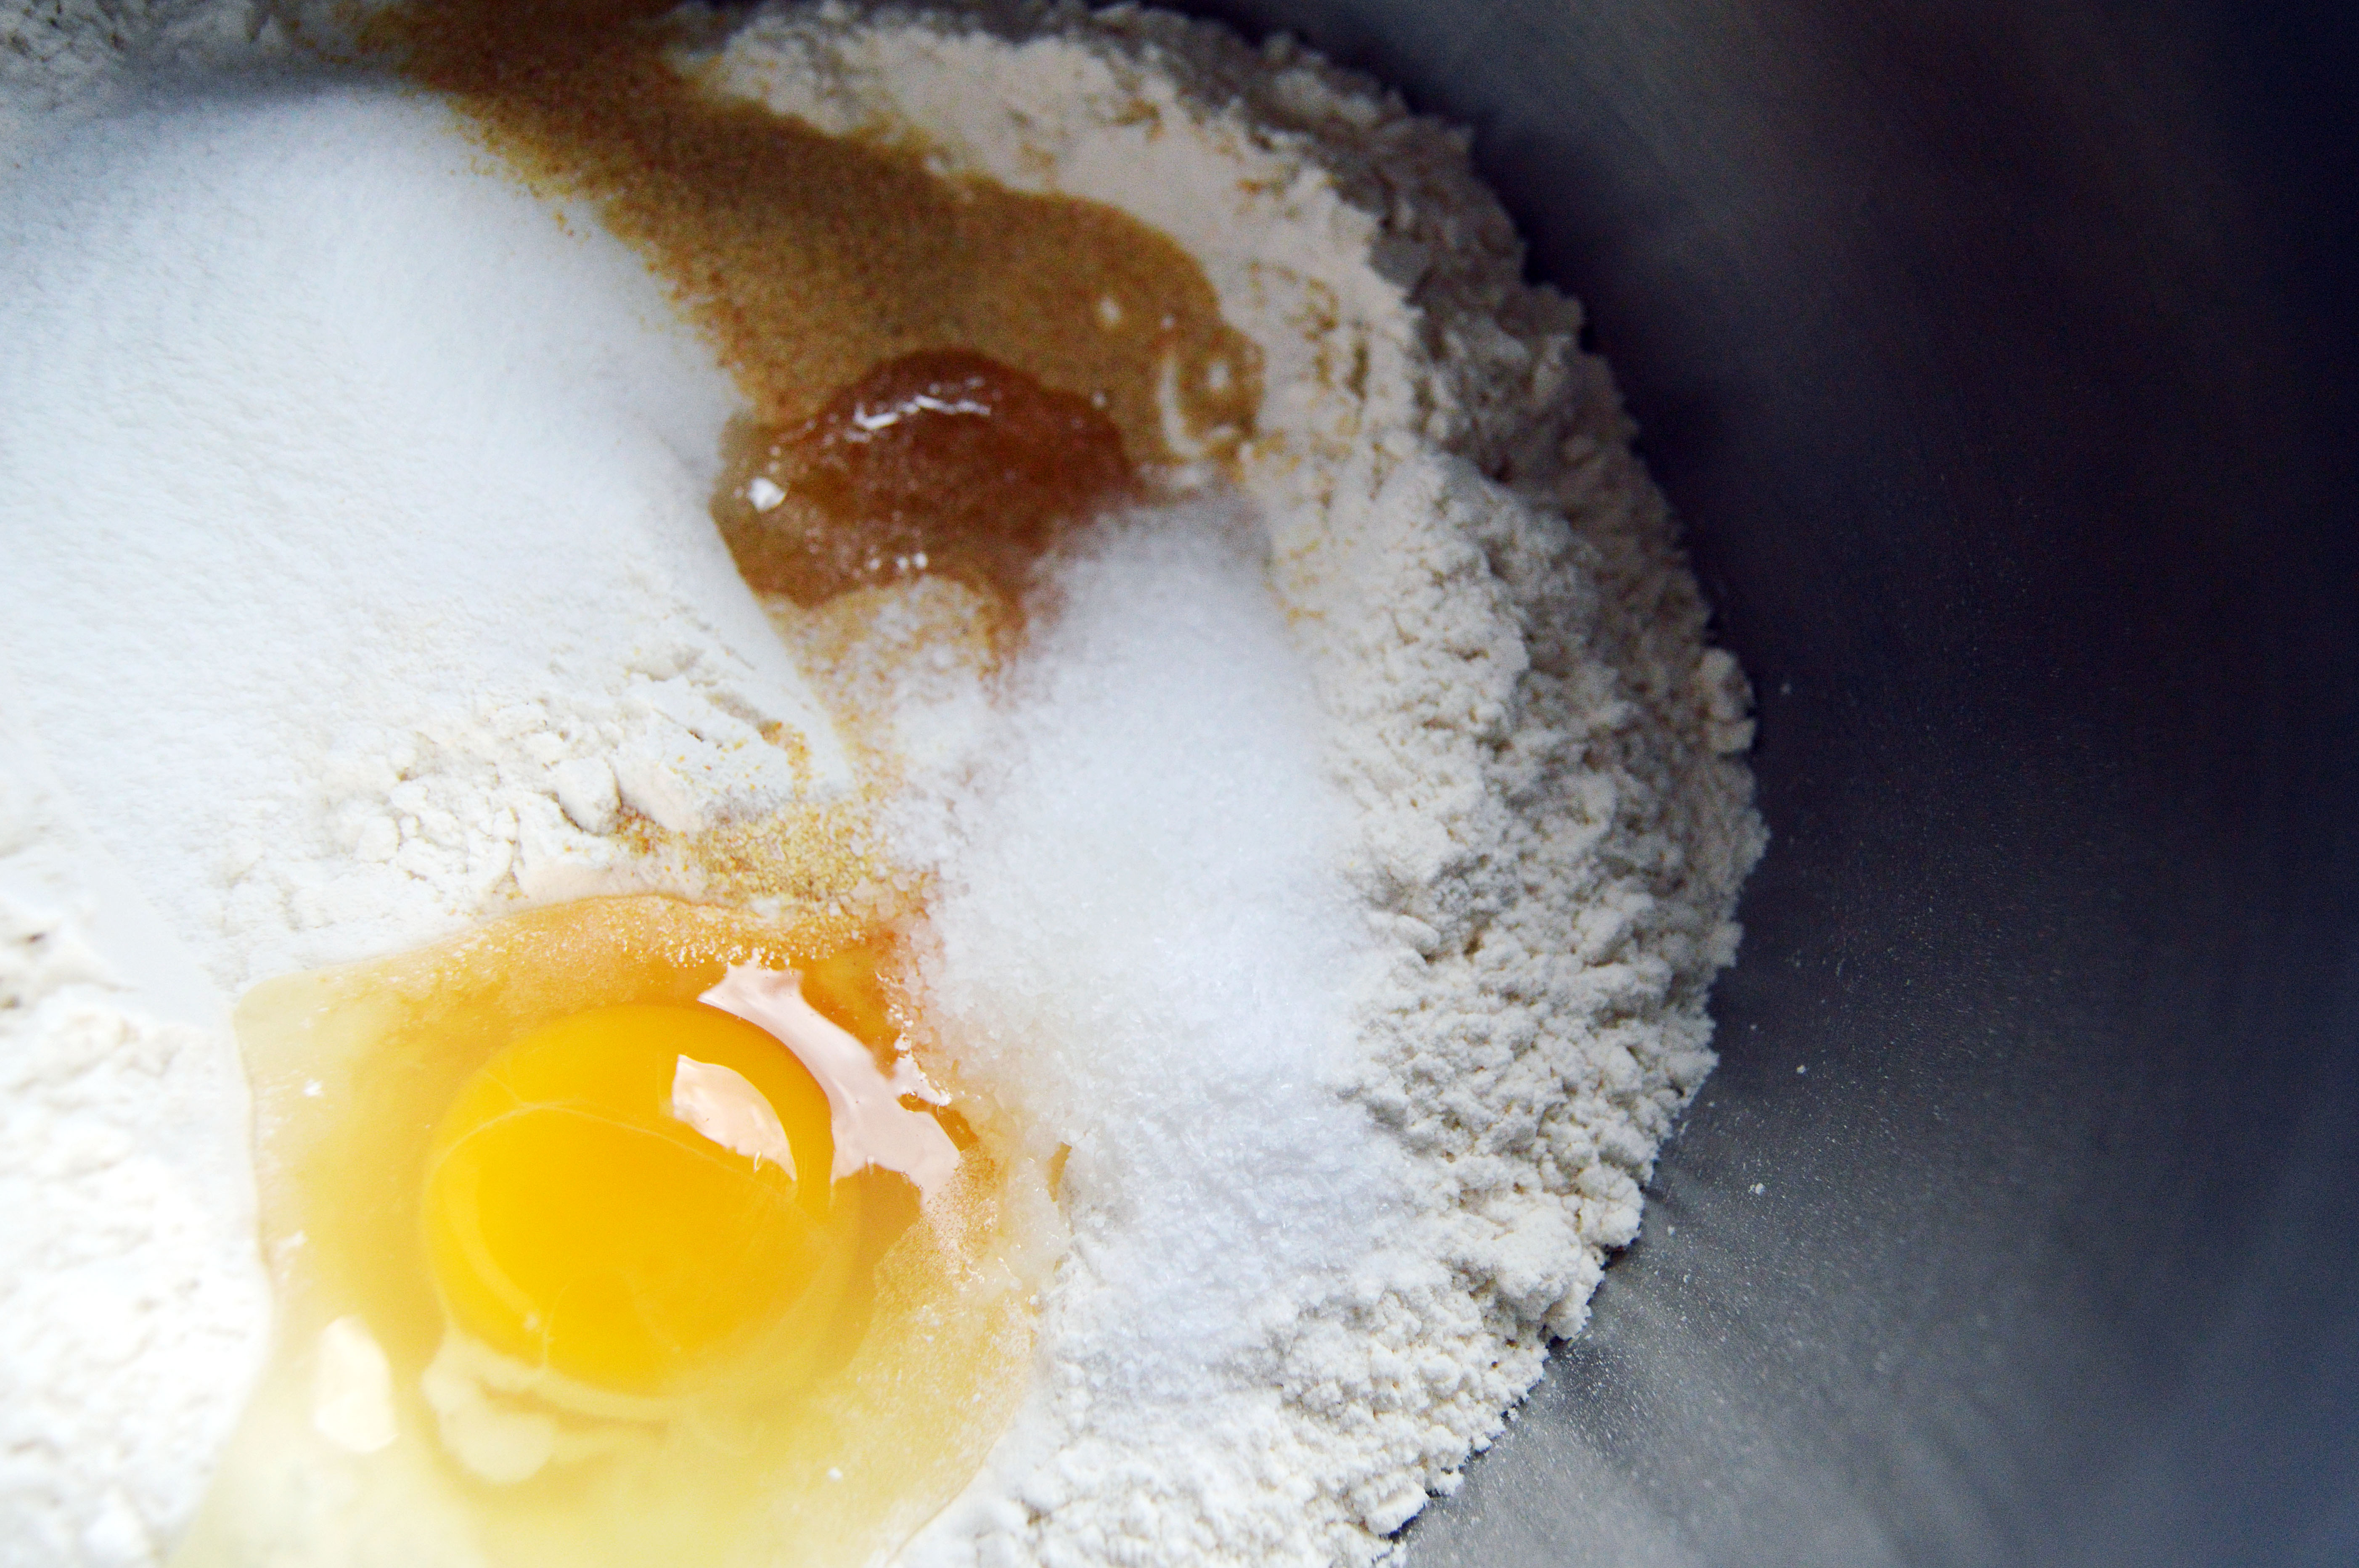
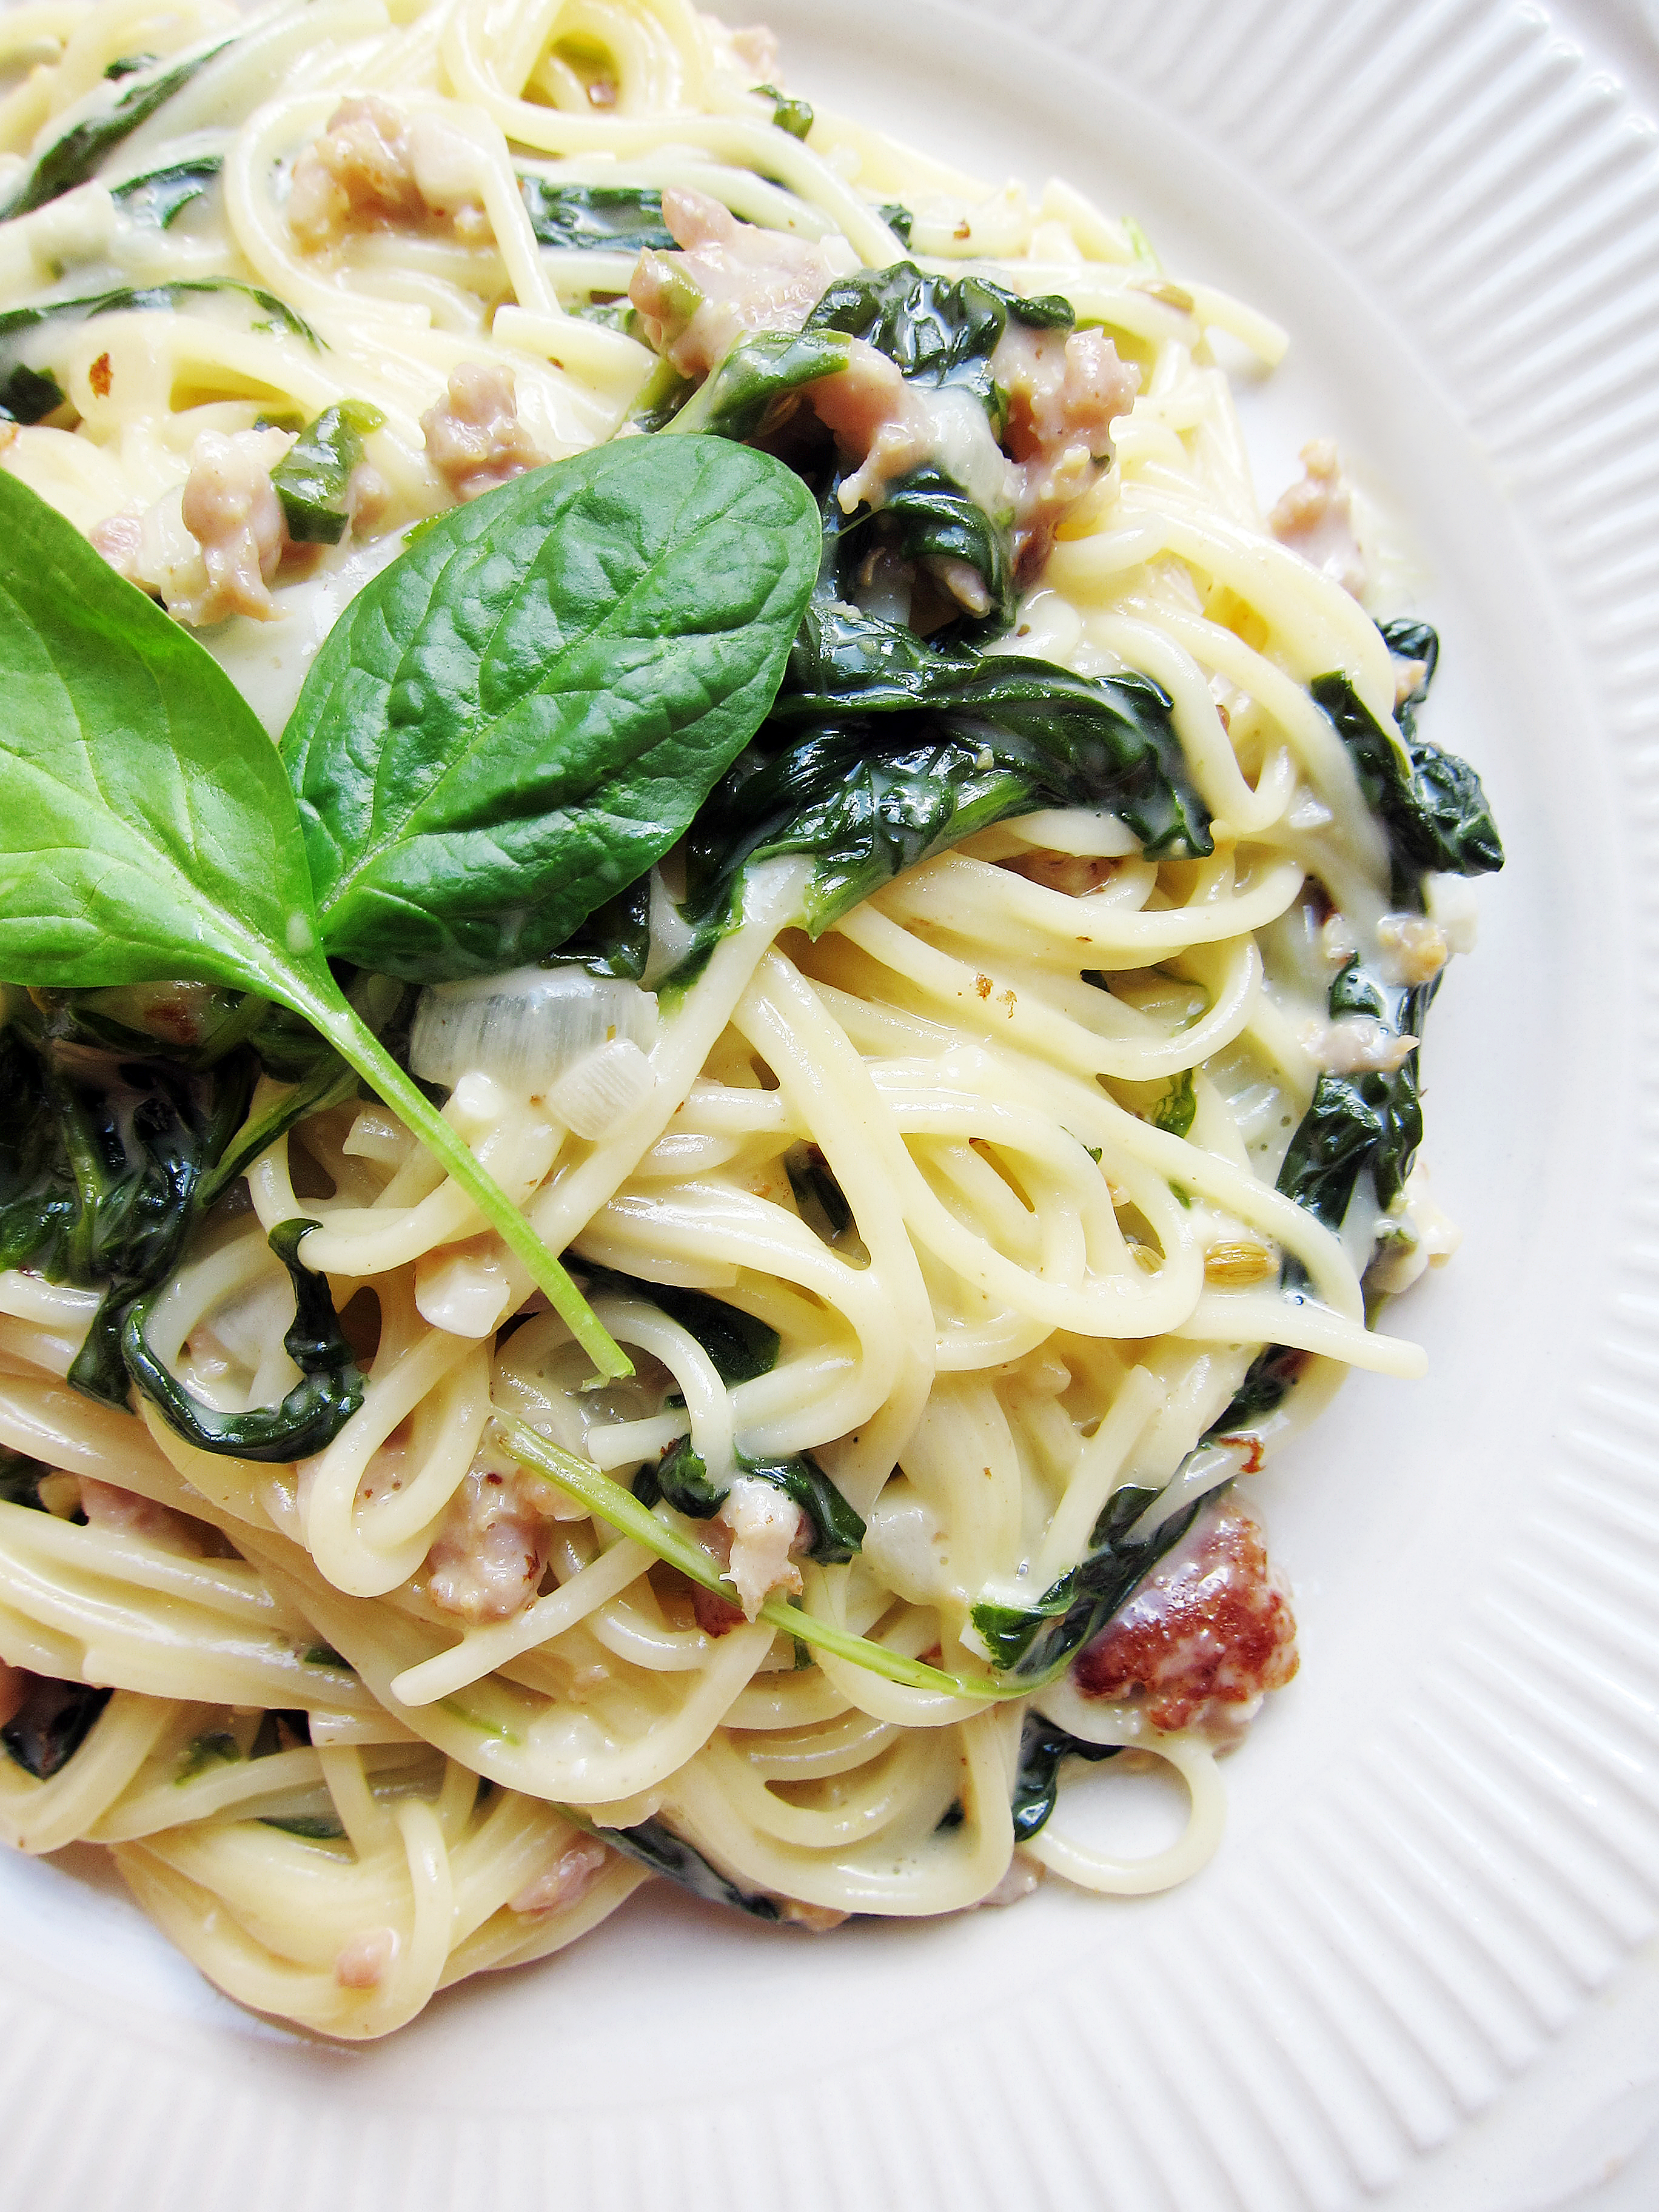
I found something that has changed my life: cook-and-serve flour tortillas from TortillaLand. After reading this post about these tortillas, the first thing I did was do a quick search and found that the only Walmart that carried them were over 10 miles away. Now, I know 10 miles is nothing in other parts of the country, but for me? 10 miles is far, especially when there is a Walmart less than 4 miles away. I almost gave up on them, but I was haunted by their flaky, perfectly puffed up pictures and I had to have them. So I dragged my butt over to the Walmart and acquired a package of it. And as much as I wanted to have them right away, I couldn’t! I mean, yes, I could’ve tossed in a few well-chosen ingredients and called it a day, but these were special and I needed the final product to be as special as its base.
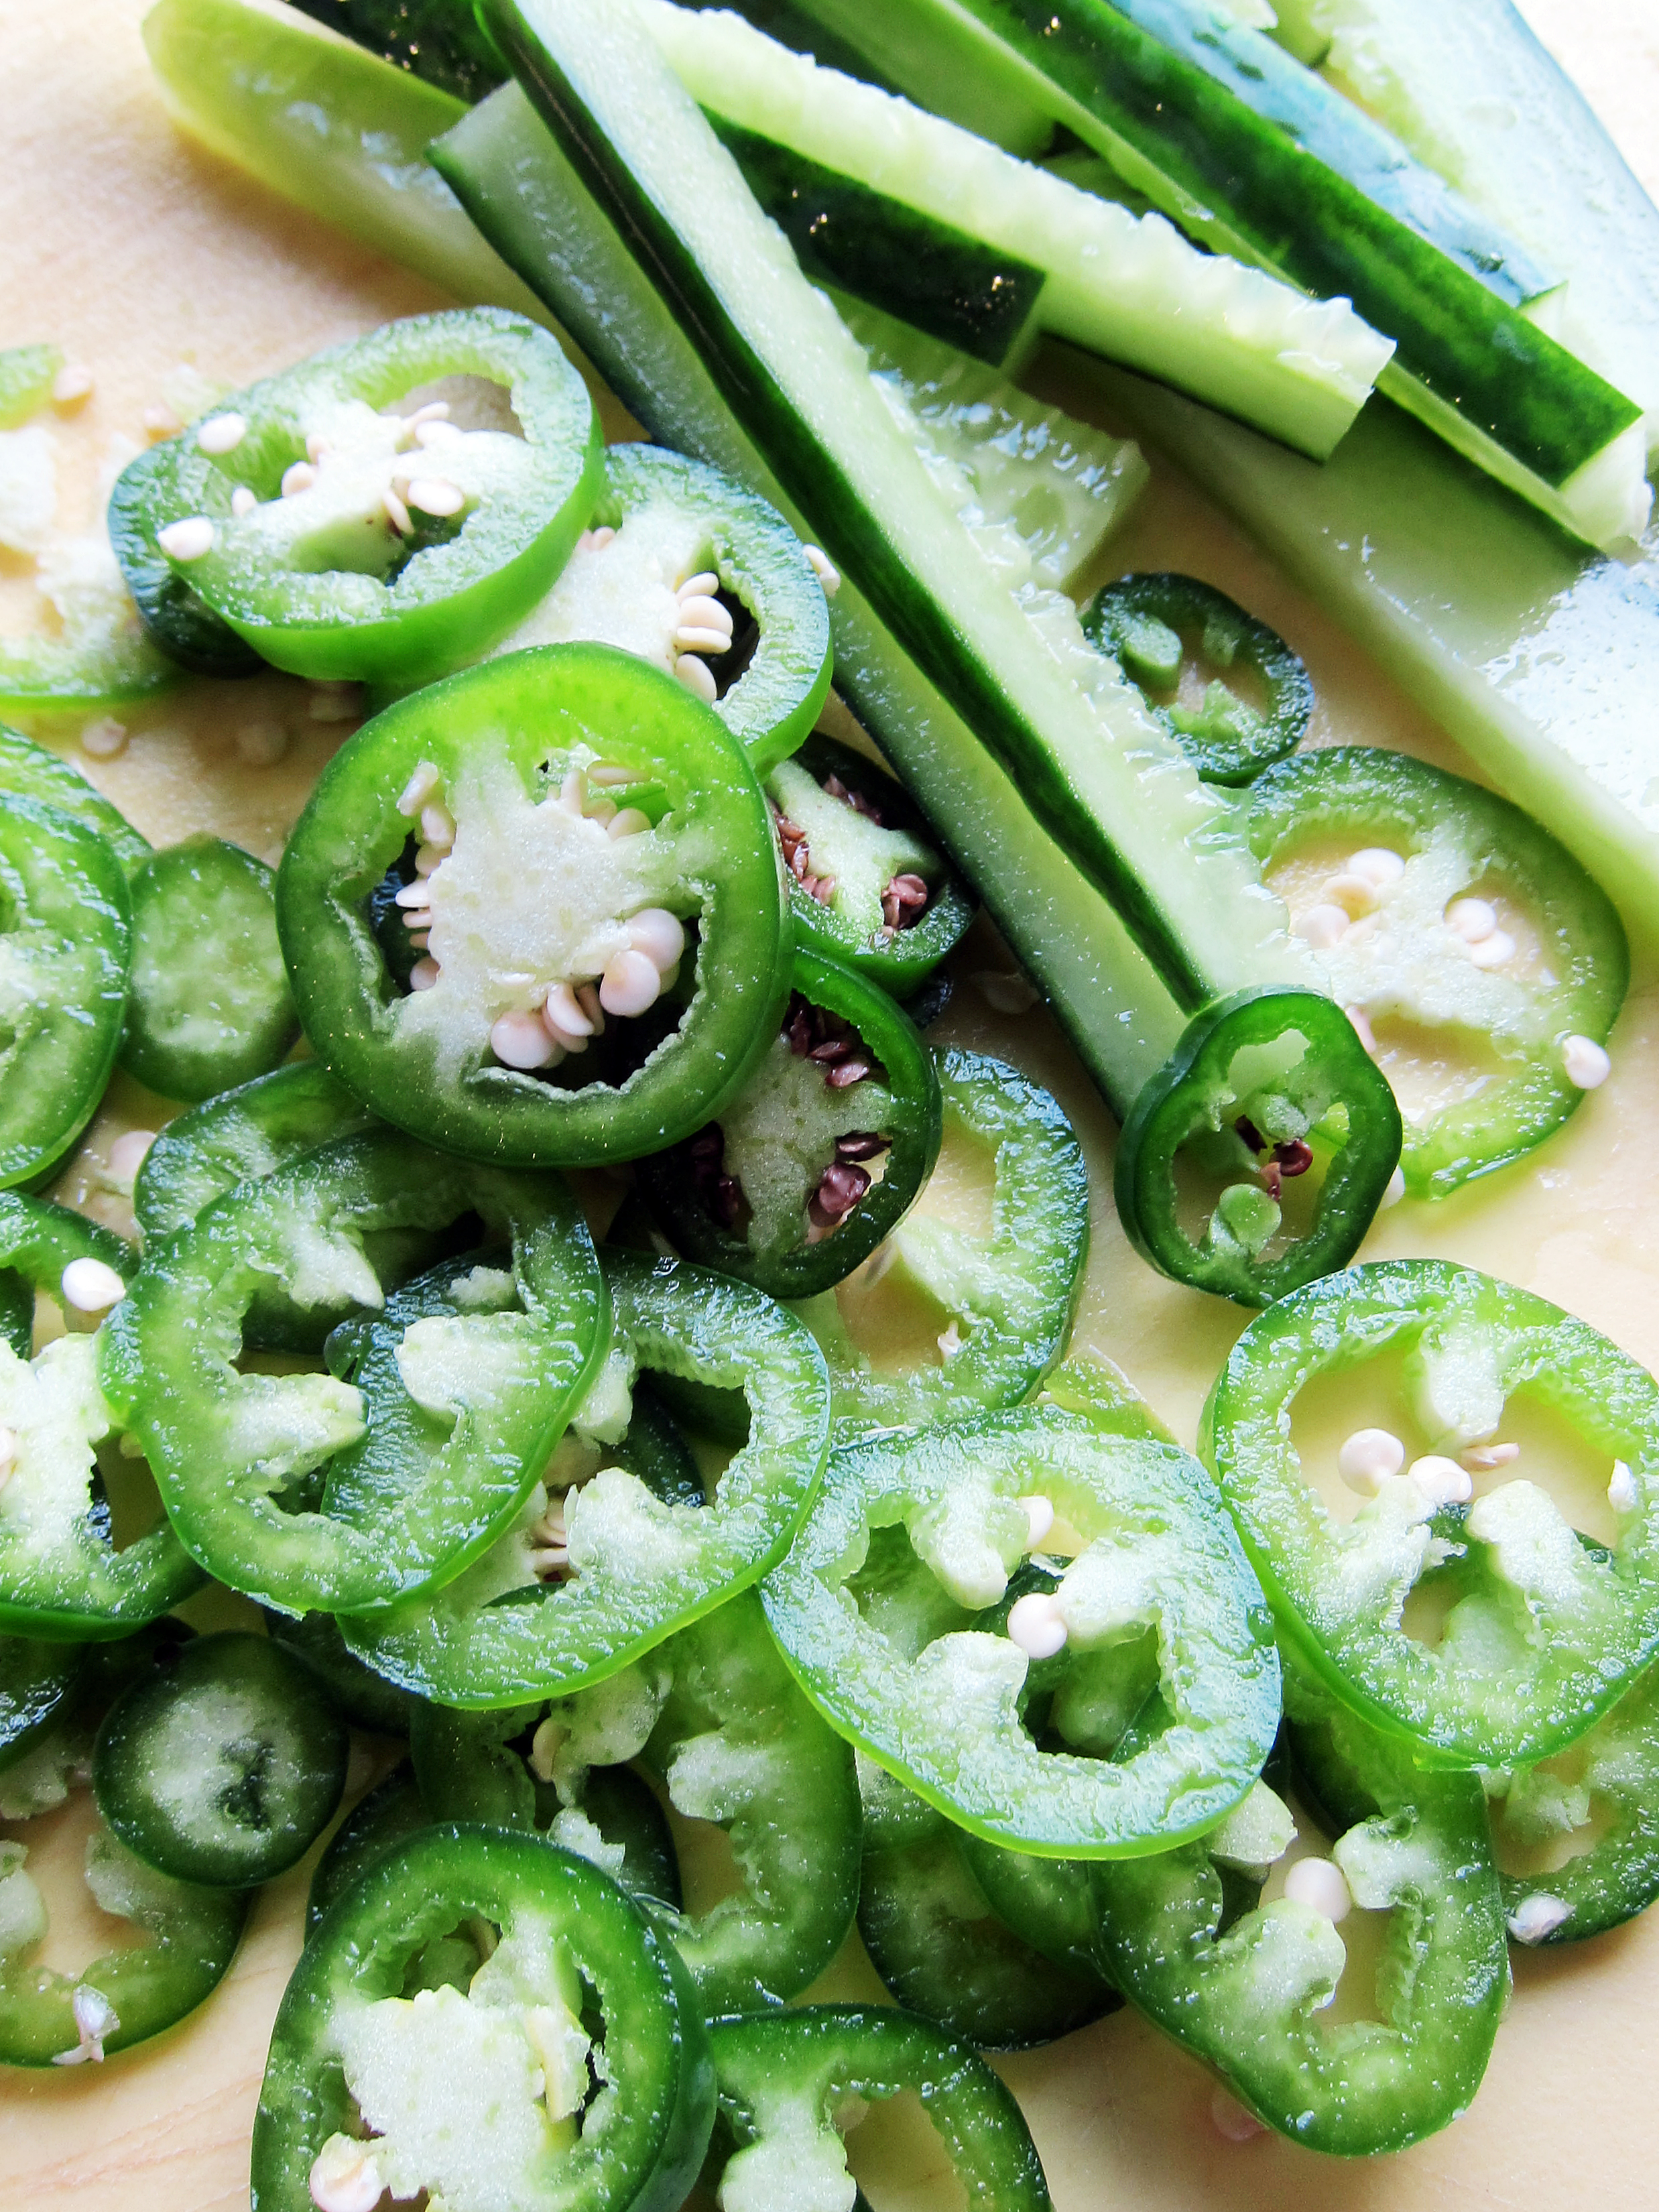
 If you are not familiar with a bánh mì, it is a Vietnamese sandwich that is filled with meat, a mayo-based spread, cucumber, pickled carrots and daikon, cilantro, and chili peppers inside a baguette. If you’ve ever had a great bánh mì, you would know that it is an explosion of flavor and contrasting textures. In this spinoff, the mayo spread is replaced with mozzarella cheese, the bread with the tortilla and the meat with a Vietnamese fish-sauce shredded chicken.
 Before I go on about the awesomeness of this quesadilla, I must warn you about this Vietnamese fish-sauce shredded chicken. It is a modified version of the famous Pok Pok’s wings. I’ve made the fried wings for this year’s Star Wars Day and it was the most delicious chicken wing I’ve ever put in my mouth (and I’ve had my fair share of fried chicken wings). The only downside is it will make your house smell like fish sauce. Now for some people, this might be a deal breaker but I swear to you, it is worth suffering a day of a fish sauce stink for it.
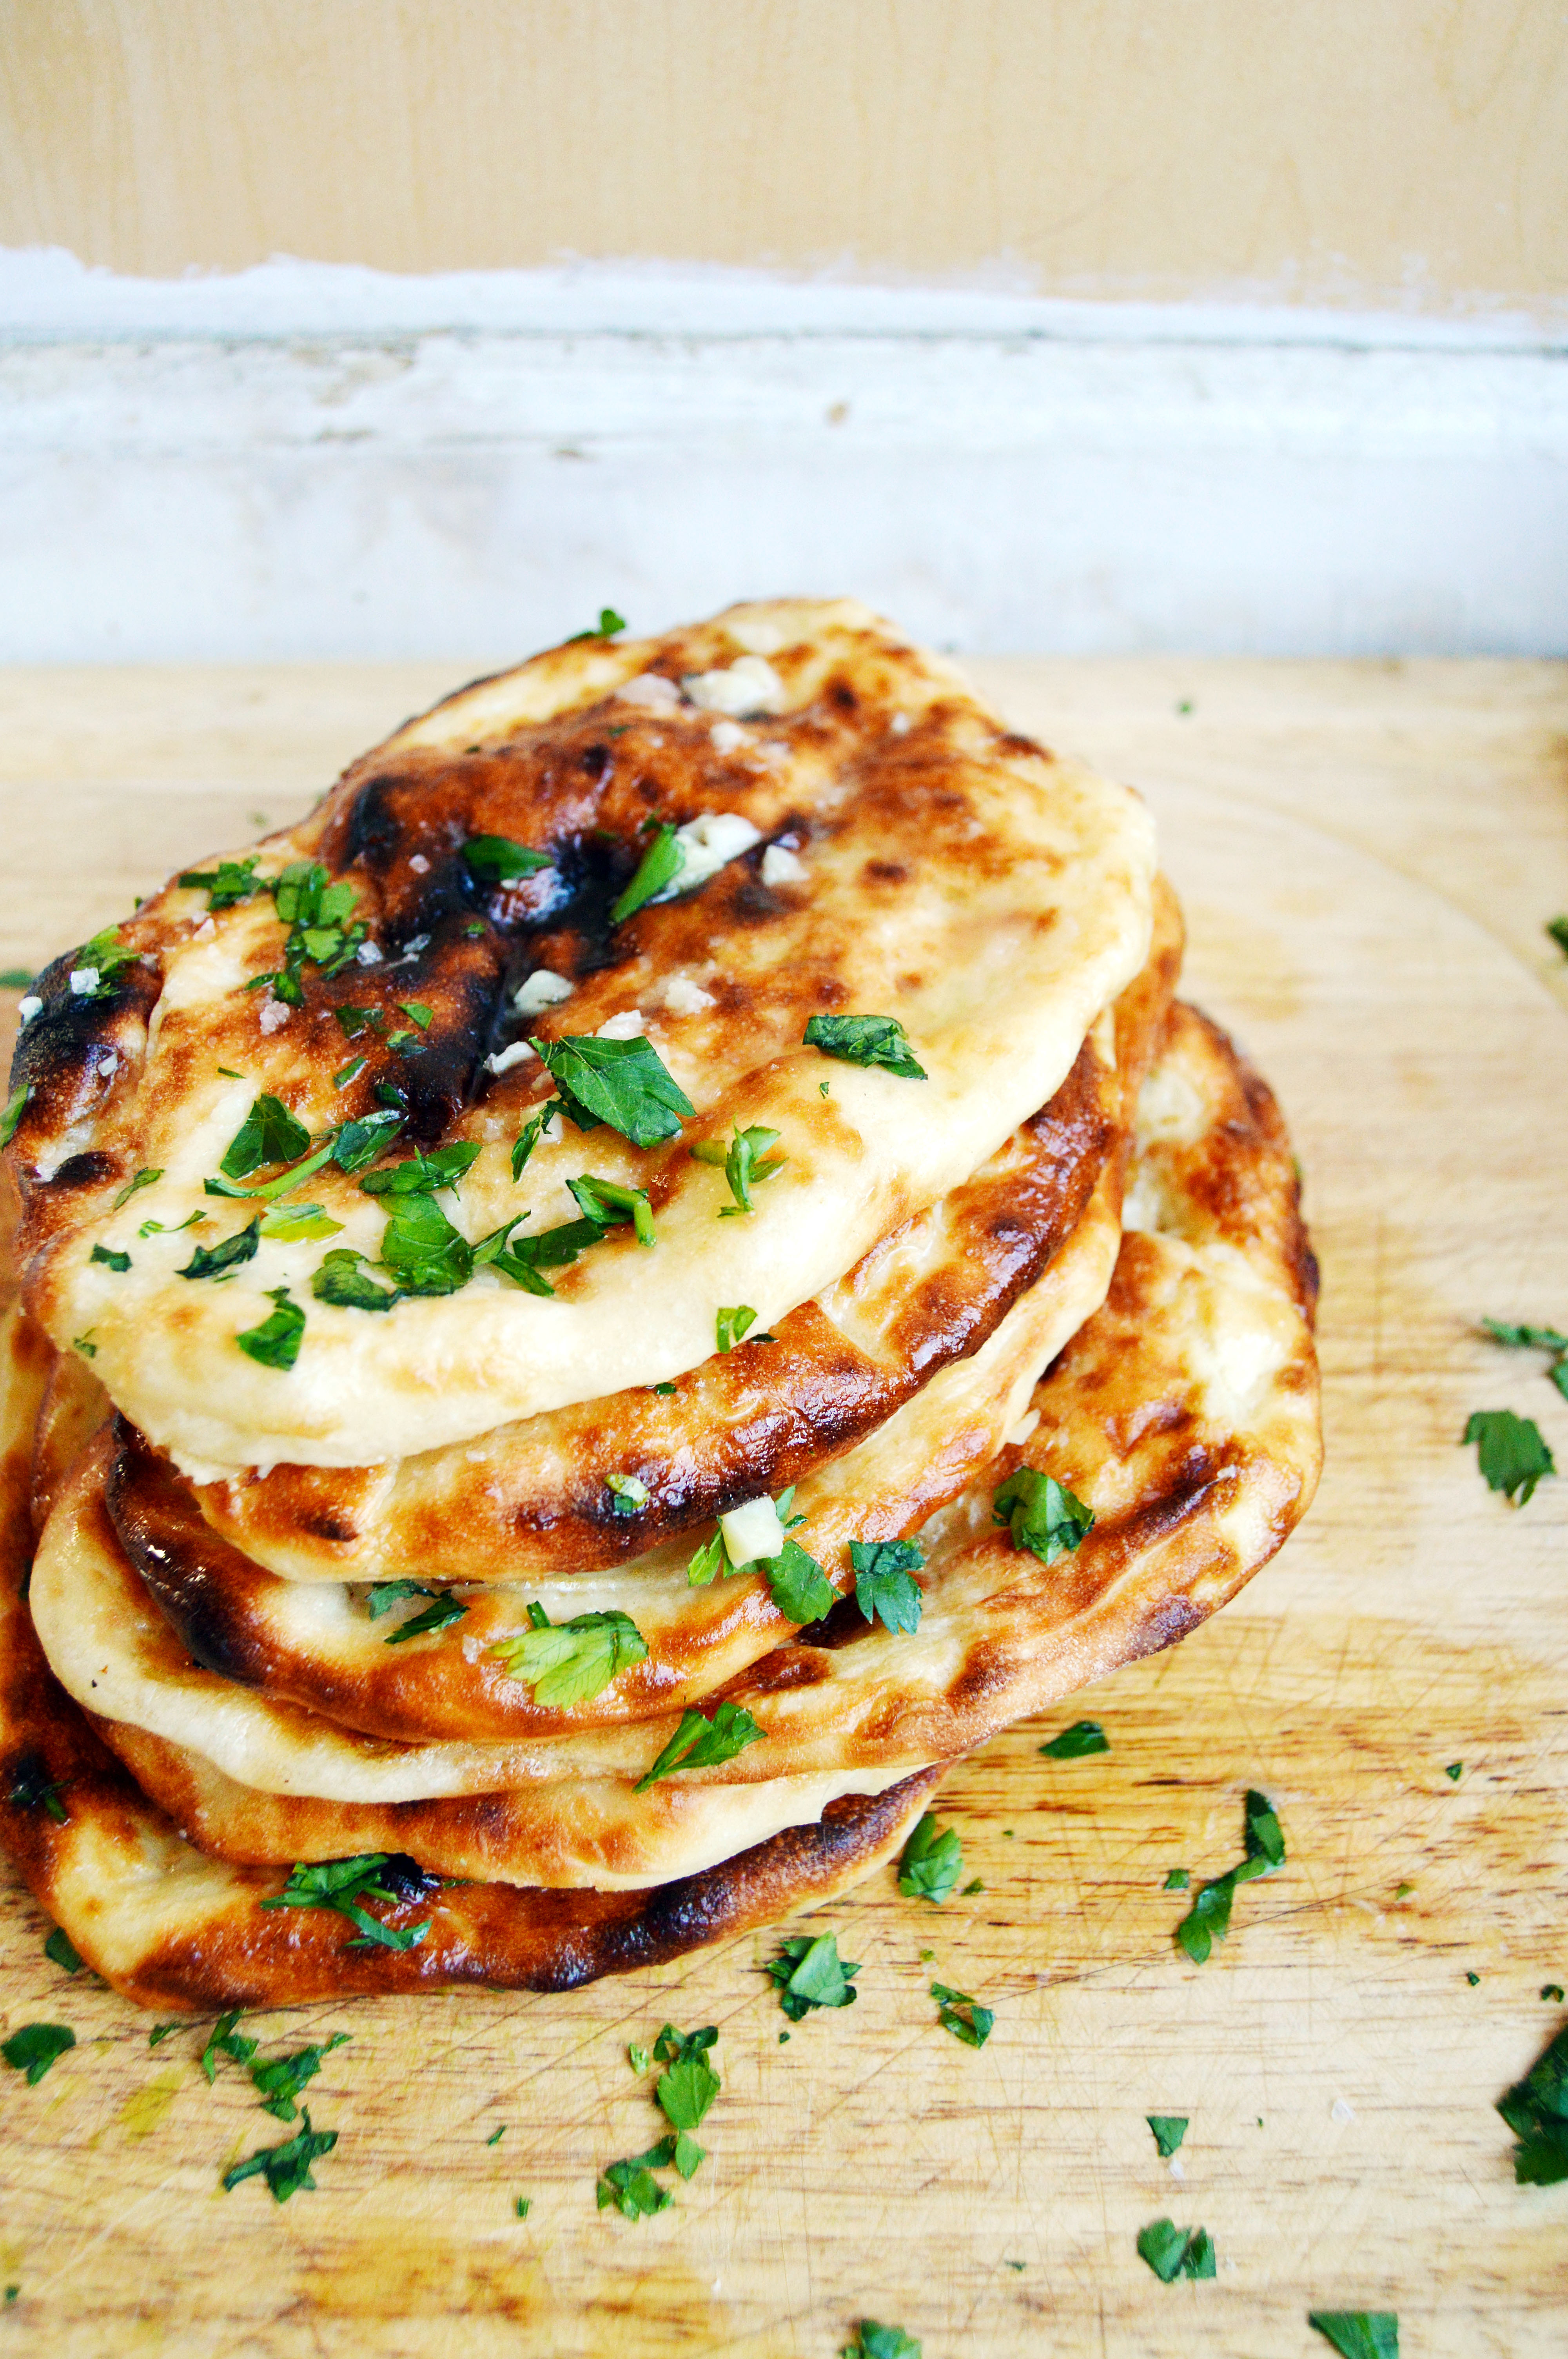
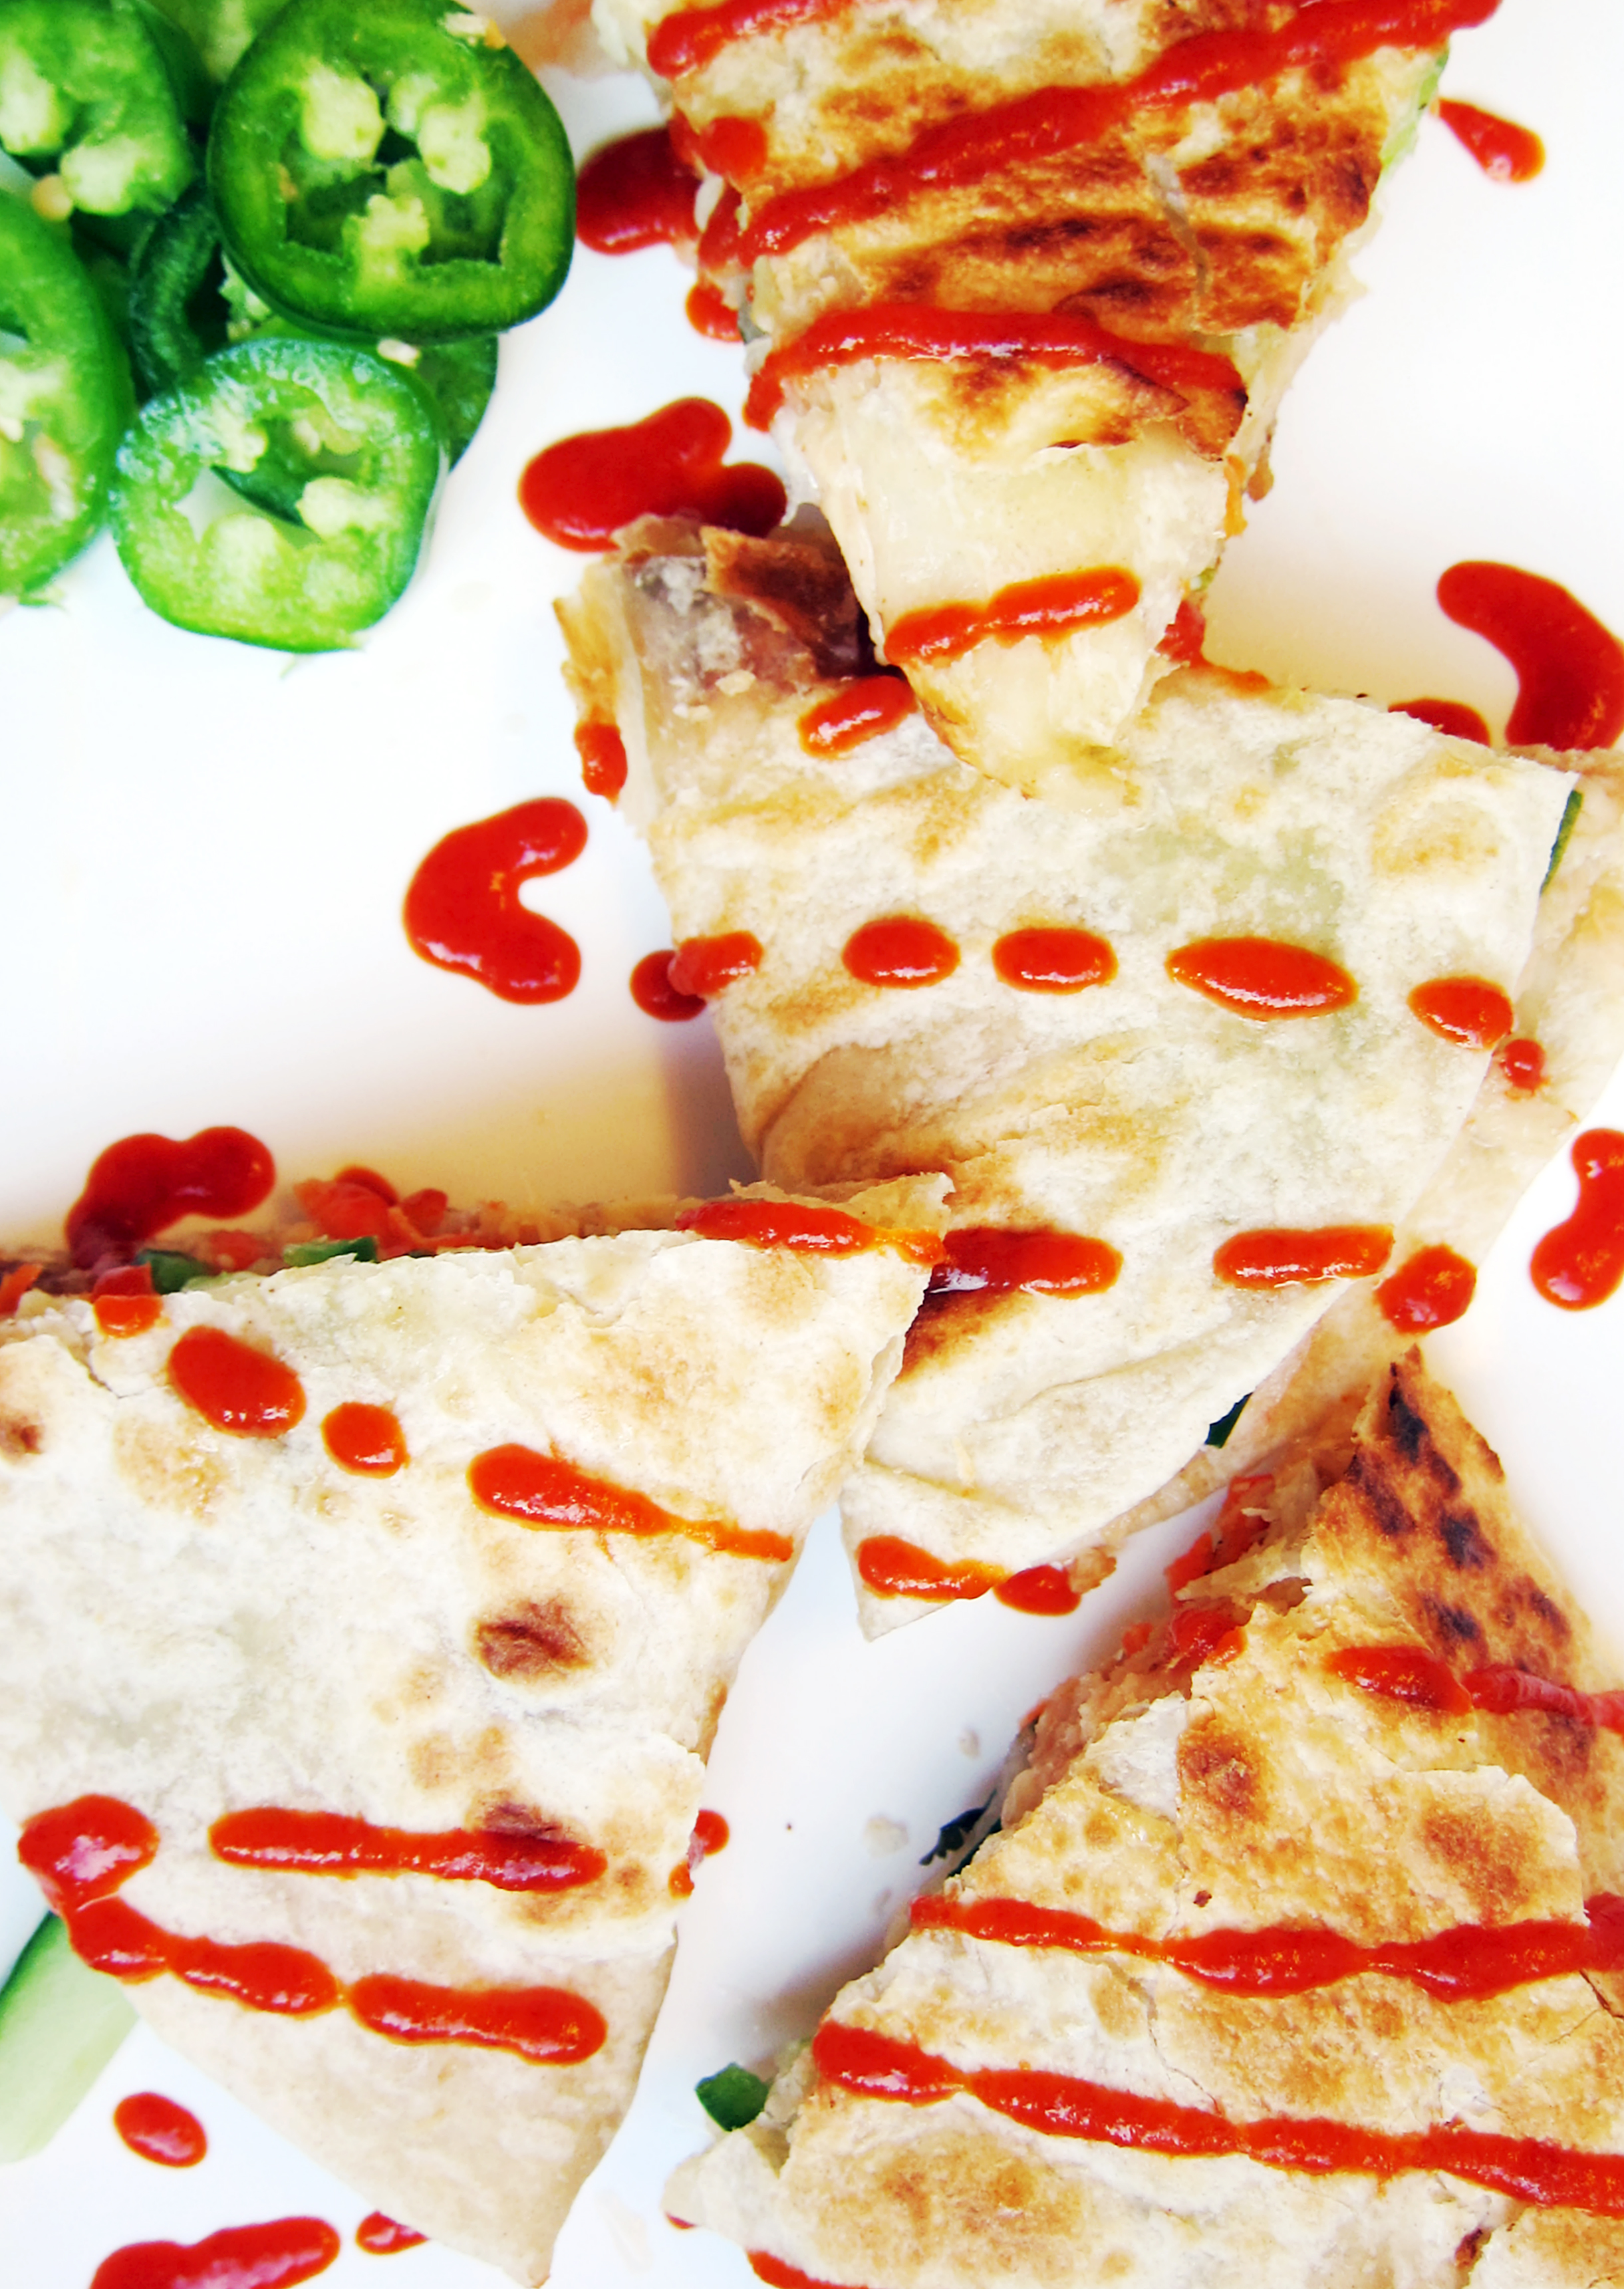
 This is a minimum two-day project. You need a day to pickle the shredded daikon and carrots. It wouldn’t hurt to make the shredded chicken a day before either because it’s a little complicated than the average chicken recipe. But when you bite into that crispy flaky tortilla filled with warm melty cheese, garlicky chicken, tangy pickled vegetables and the crisp crunchy cucumber and jalapeño, it will make you say, “I can eat this every day of my life.” Because I did… every time I made it this week.
 Bánh Mì Quesadillas (Vietnamese Quesadillas)
Pickled Daikon and Carrots
Ingredients:
1 large carrot
1 small daikon
2 tbsp. chopped fresh cilantro
½ c. vinegar
¼ c. sugar
½ c. water
Instructions:
- At least a day before making the quesadillas, grate the carrot and daikon over the large holes in a box grater.
- Heat vinegar, water and sugar together until sugar dissolves.
- Place carrot, daikon and cilantro in a heatproof bowl and pour the vinegar mixture over the vegetables.
- Once cooled, marinate in the refrigerator for at least 24 hours.
Vietnamese Fish-Sauce Shredded Chicken
Ingredients:
8 large cloves of garlic
½ tsp. kosher salt
¼ c. warm water
½ c. fish sauce
½ c. sugar
1 ½ lb. chicken, cooked and shredded
Instructions:
- Finely mince the garlic and place into a small bowl.
- Sprinkle salt over it and add warm water to the bowl and stir. Let rest for 5 minutes.
- Pour the garlic mixture over a sieve and push the garlic to extract as much juice as possible. Reserve the garlic juice and garlic bits separately.
- Stir fish sauce and sugar together with the garlic juice until sugar is dissolved.
- In a small pot, pour a few tablespoons of oil and heat until oil shimmers.
- Fry the reserved garlic bits until it turns golden brown and drain on a paper towel.
- Add the fish sauce mixture into the small pot and simmer until it becomes a thick sauce.
- Once thickened, pour over the shredded chicken and mix until completely covered.
- Add the fried garlic pieces and mix thoroughly.
Assembly
Ingredients:
pickled daikon and carrots
Vietnamese fish-sauce shredded chicken
seedless cucumbers, sliced into thin strips
mozzarella cheese, shredded
jalapeño, sliced thinly
flour tortillas*
Instructions:
- Heat a nonstick pan over medium heat.
- Toast the tortillas on both sides. (If using the cook and serve tortilla, cook the tortilla on both sides.)
- Spread mozzarella cheese evenly across a tortilla and melt.
- Once the cheese has melted, spread the shredded chicken over half of the tortilla.
- Layer the pickled daikon and carrots, followed by the cucumber and then the jalapeños.
- Fold tortilla in half and press down to secure the fillings.
- Remove from pan and cut into wedges.
- Enjoy
* I highly recommend the cook-and-serve flour tortillas from TortillaLand.
** Picked daikon and carrot adapted from All Recipes.
*** Vietnamese fish-sauce shredded chicken adapted from Pok Pok by Andy Ricker.

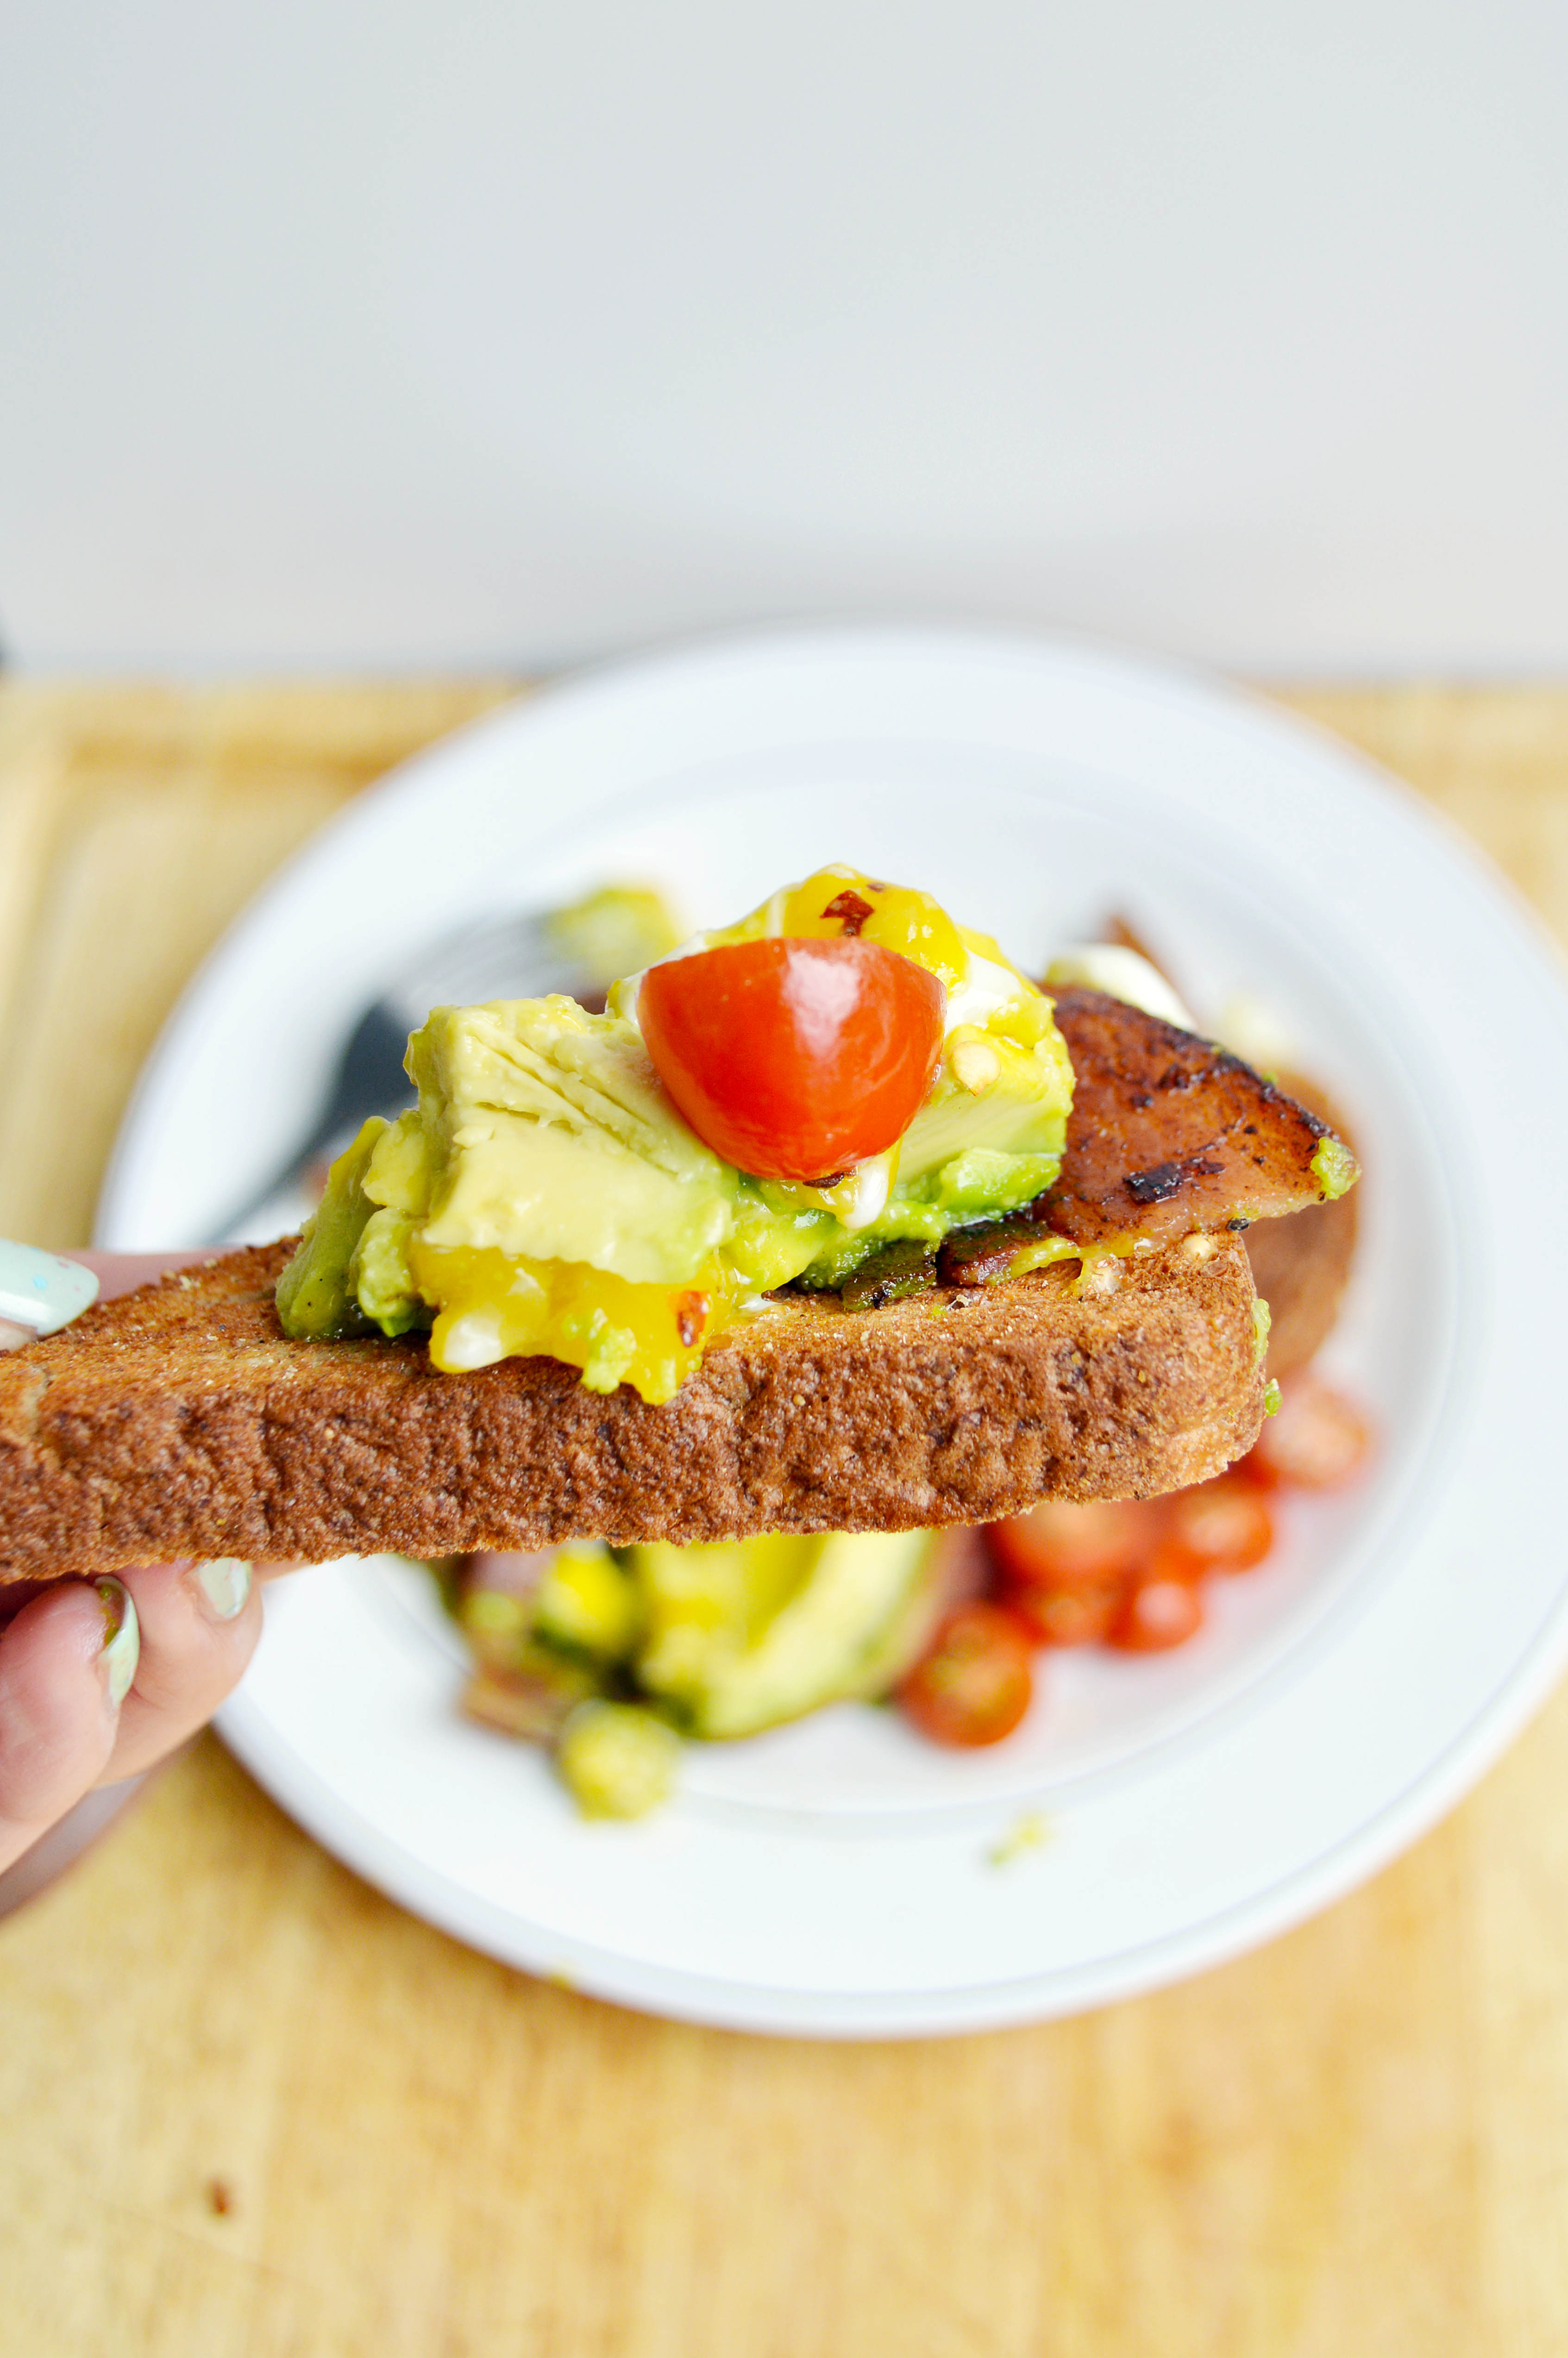
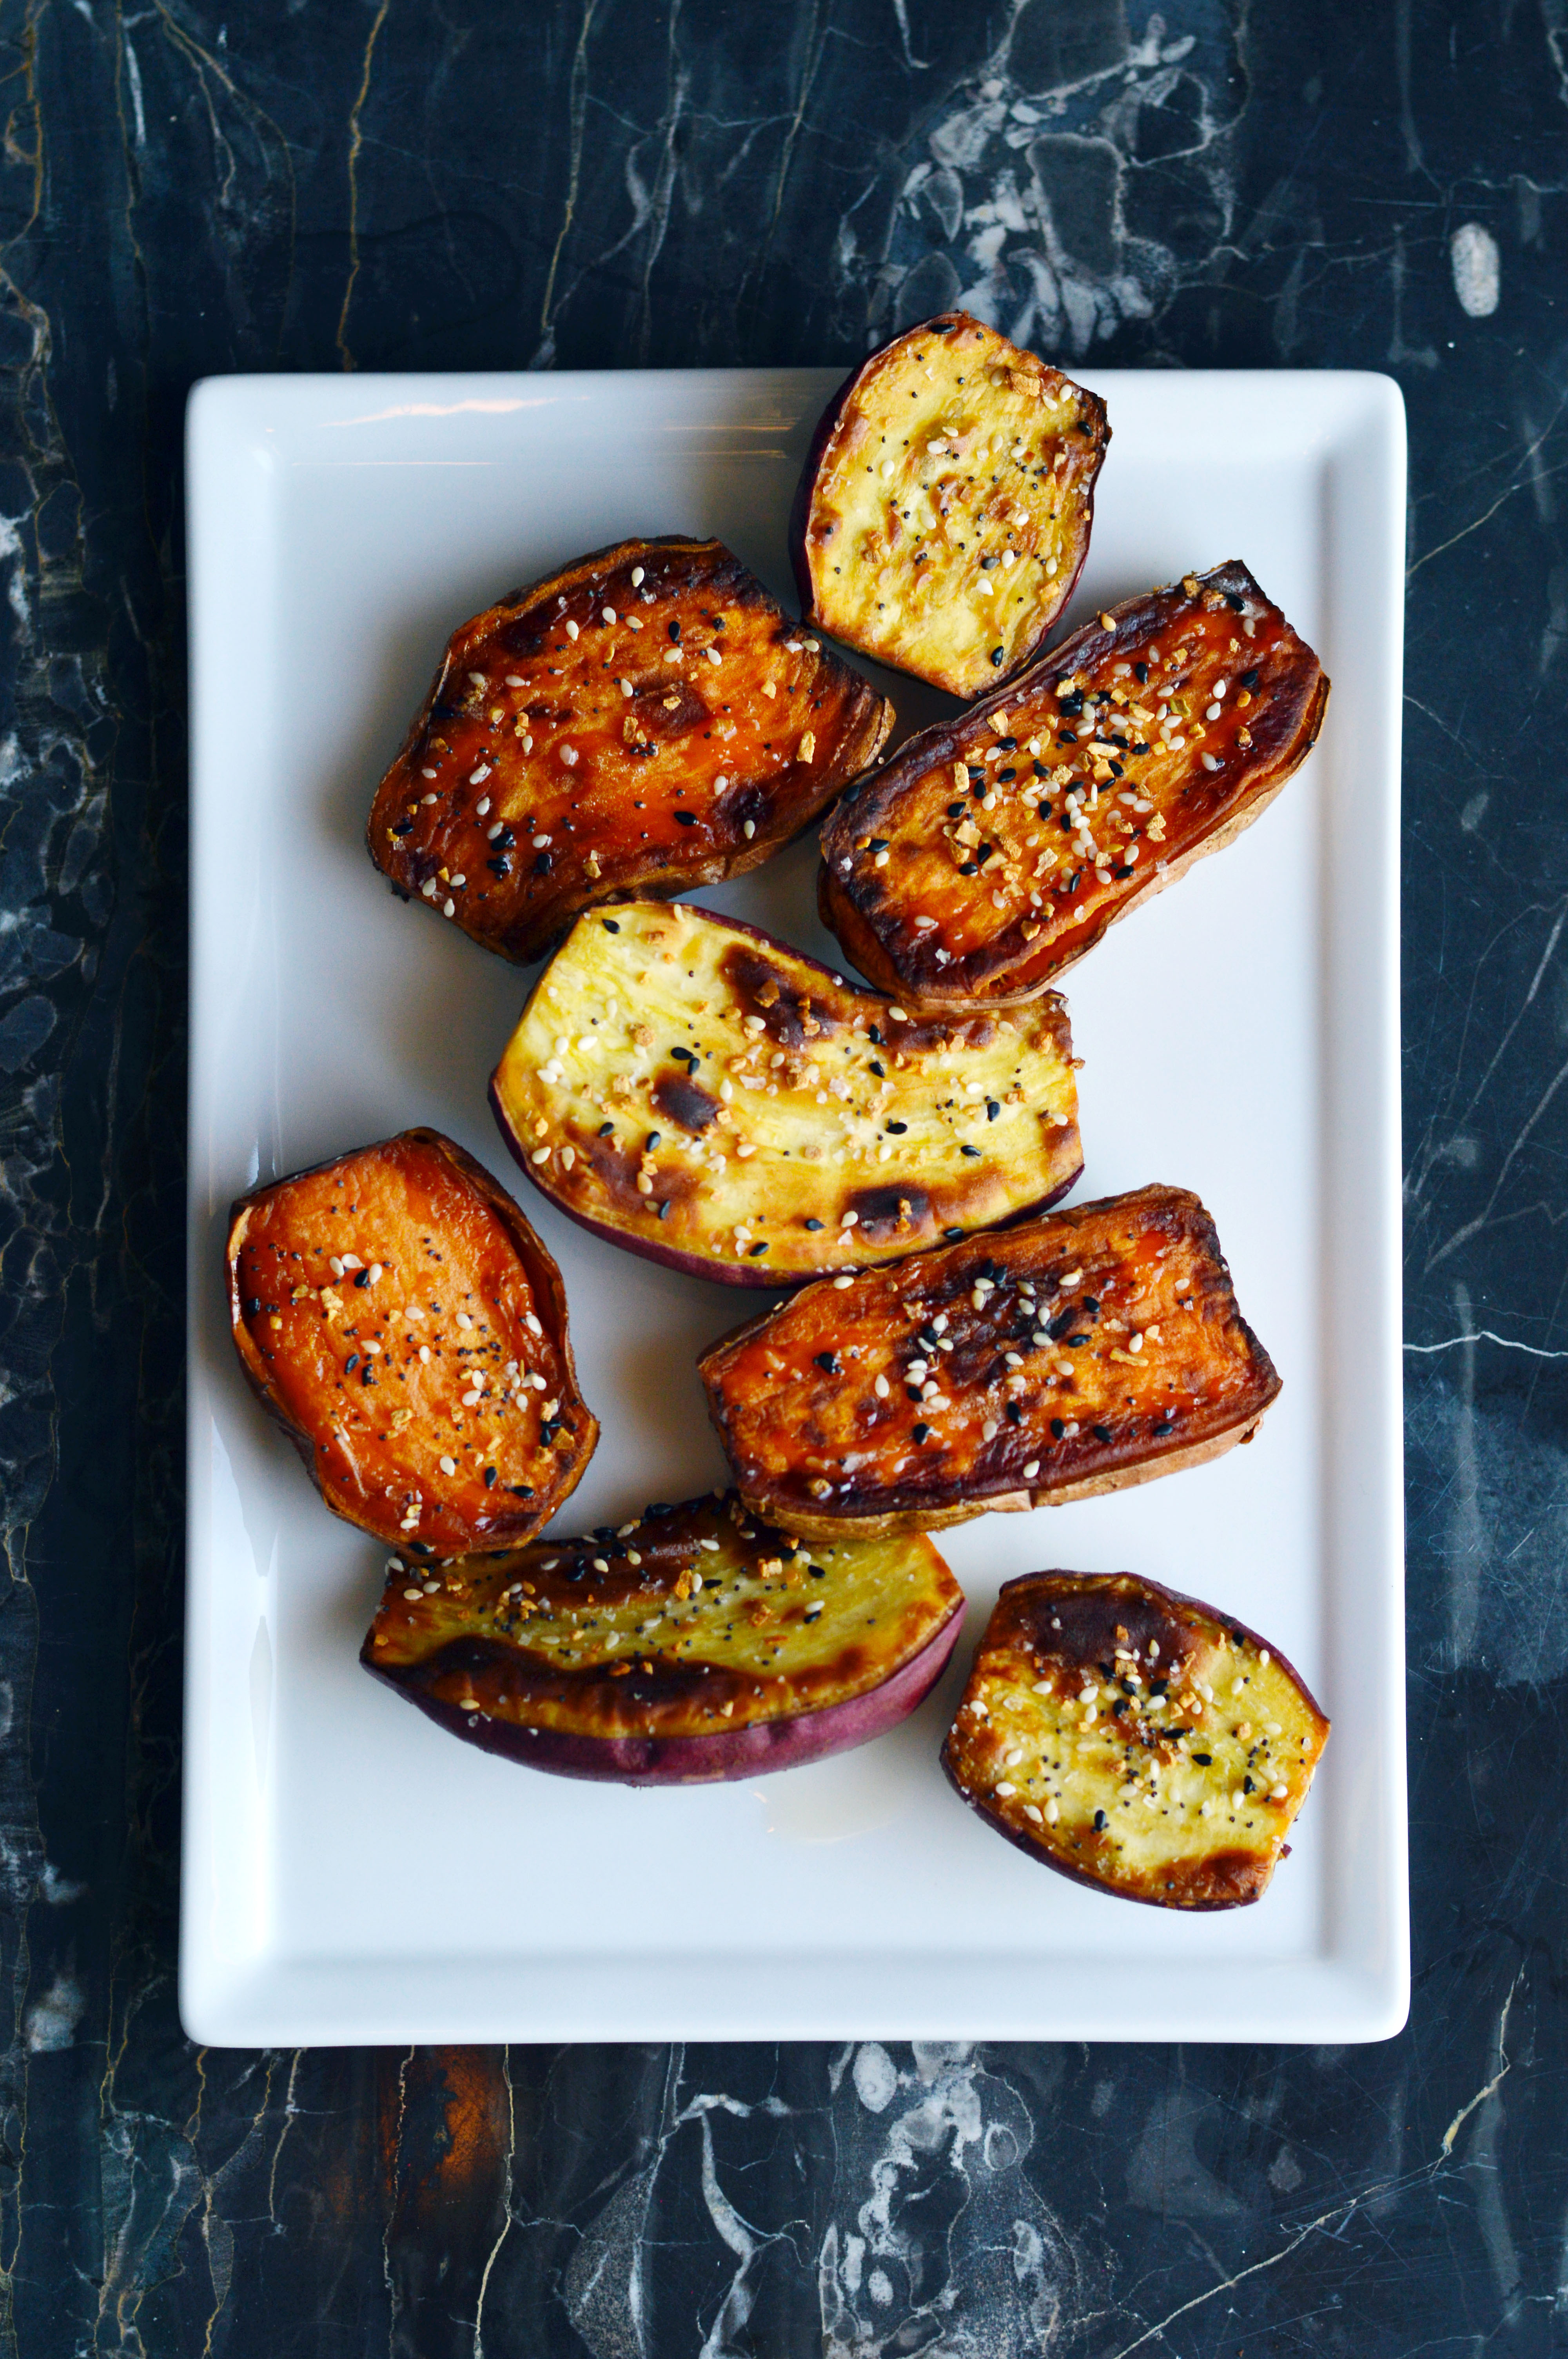 If you’ve been reading my blog for a while now, you would know how much I love sweet potatoes. (As evidenced here, here and here.) I love the soft texture it takes on when it is roasted well and the flavor, to me, is as comforting as chicken noodle soup. So when one of my favorite bloggers posted a video about “perfect sweet potatoes”, I had to give it a try.
 Well, it was quite delicious and nearly perfect! I just tweaked it a little by adding salt and omitting the freshly chopped garlic. (If you love garlic, or are in a garlicky mood, mince a few cloves of garlic and add it to the seasoning stage.)
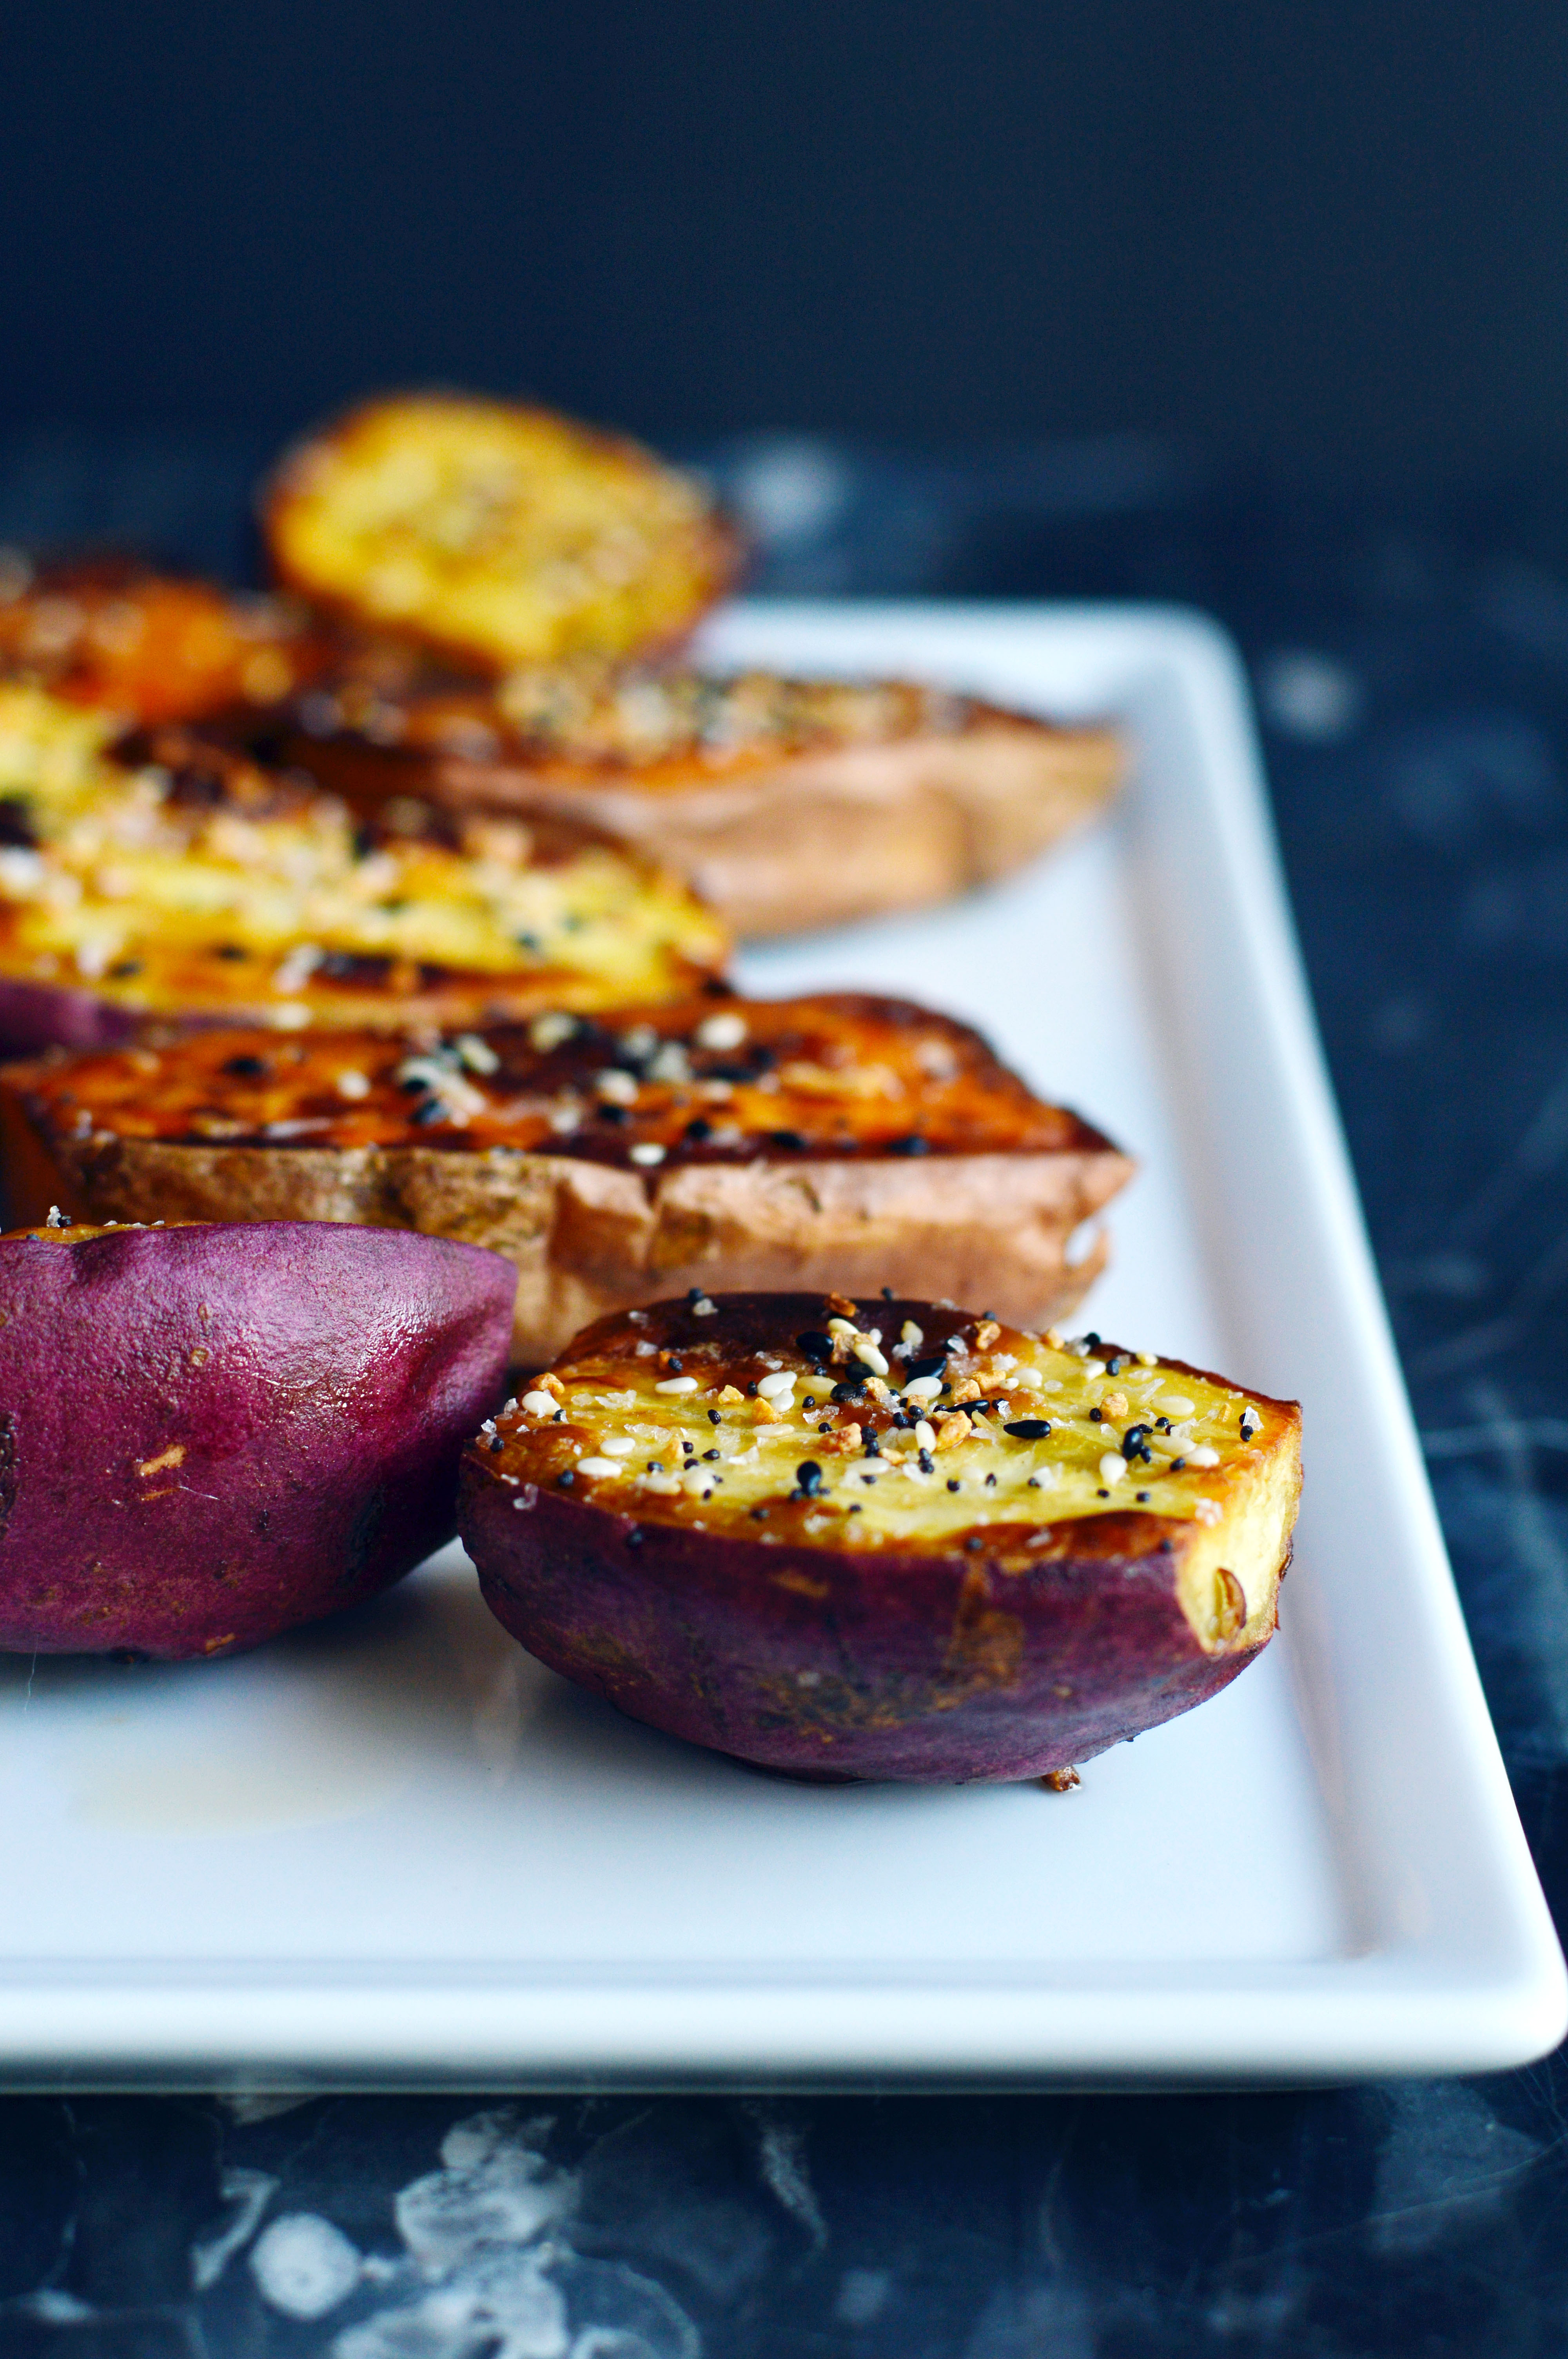 Aimee’s way of roasting the sweet potatoes gives it a crisp exterior and a smooth and buttery interior, and the addition of the “everything but the bagel” seasoning gives a savory edge to the sweetness of the sweet potato. We’ve been making these a lot in our house lately because it is Whole 30 friendly. My sister has been on the whole 30 diet and turns out no sugar, alcohol, grains, legumes, soy, and dairy really cuts down the things that you are allowed to eat. But this has been the sweet-savory snack that has been helping her stay on track.
 You can watch the video of Aimee making it here.


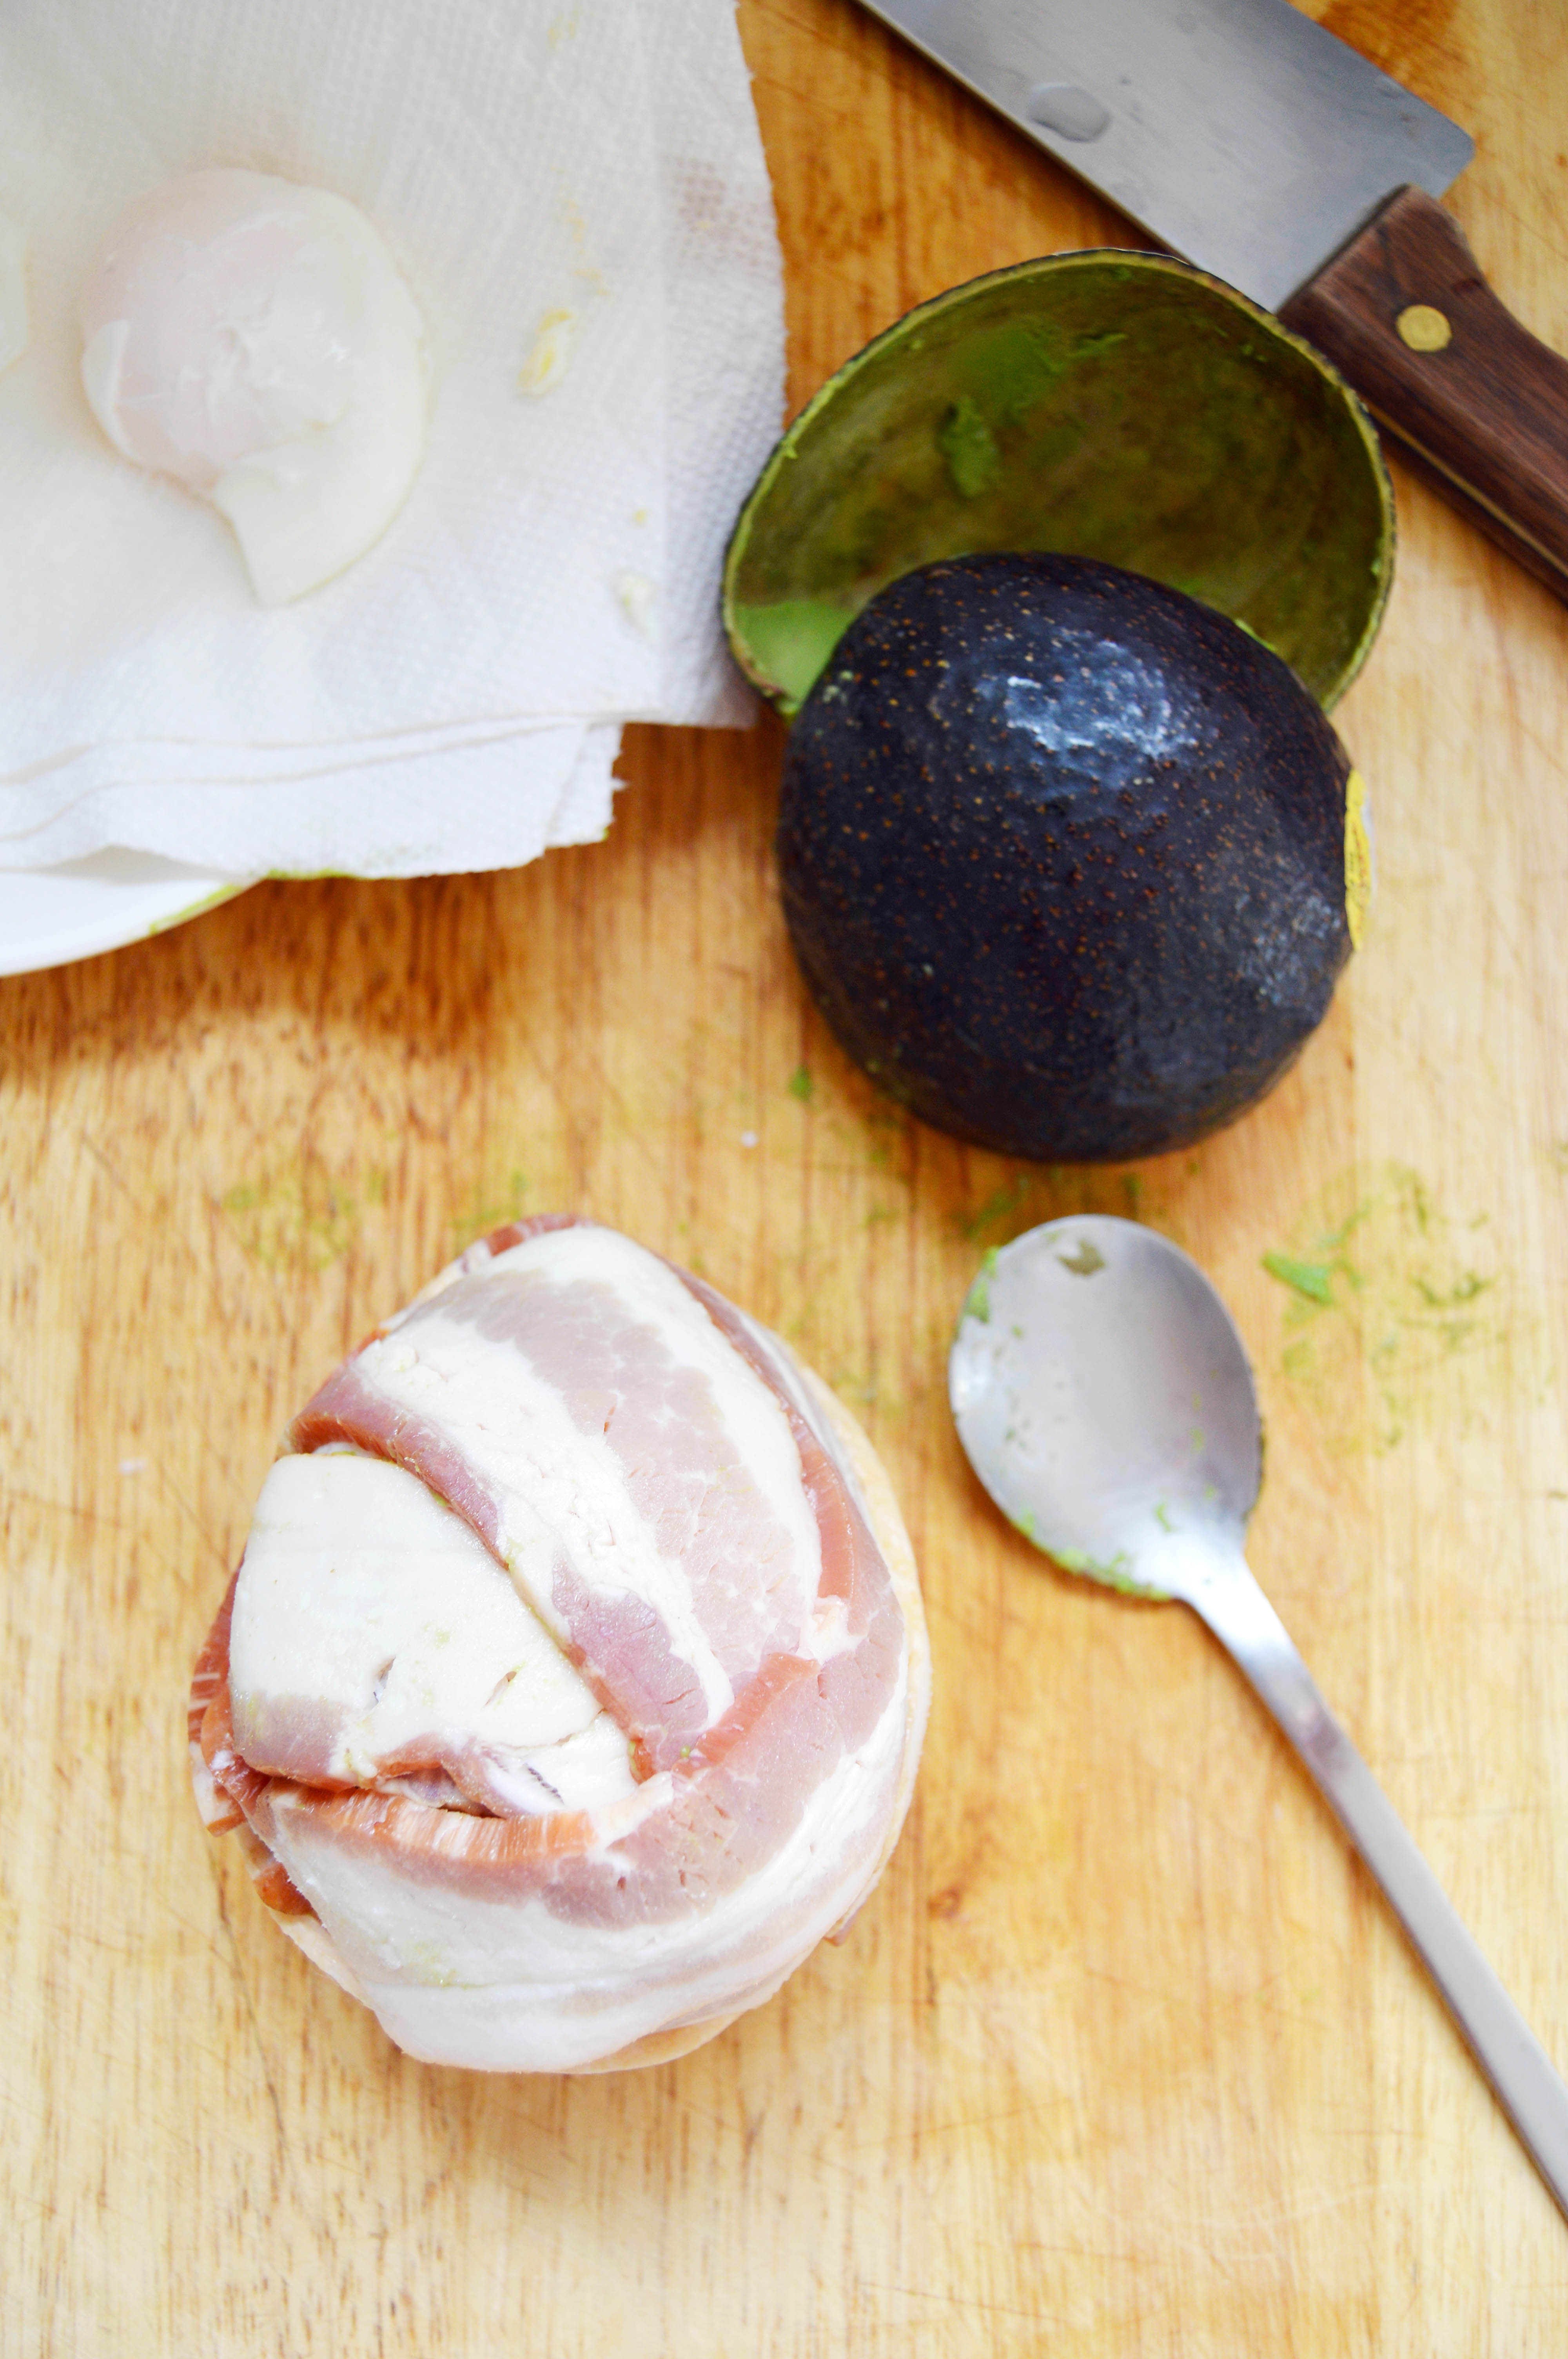

 Bacon Avocado Egg
 It’s officially fall. Only it’s too cold for fall. Last night it was 35 degrees outside and this morning there was a chance of snow for a couple of hours. As much as I love having four seasons, I feel like fall in New Jersey only lasts a few weeks. Whenever I’m on Pinterest or on Instagram I see posts of girls in short sweater dresses with ankle boots without tights or thick coats, I ask myself, “Just where do these girls live? And how can I get myself there?”
 Although it may not feel so much like fall, we can certainly eat like it is. The color orange seems to be the theme of fall food. Pumpkin, butternut squash, sweet potatoes, acorn squash… all of these have orange flesh that not only taste great but are healthy too. If you’ve never tried Kabocha squash, it also has an orange flesh but is sweeter than a butternut squash. Mix that with the salty bacon and the delicate fruitiness of the Enoki mushroom, you have a winner. I added a dash of Unagi sauce on one of them and it was the perfect touch.
 It is incredibly easy to put together and you don’t even have to put in the Kabocha squash or the Unagi sauce. It can be as easy as wrapping the mushroom with the bacon and you’ll still have a crowd-pleasing appetizer that can be made on the fly.
 I probably won’t be able to write another post before Thanksgiving. So, I hope you have the happiest of Thanksgivings with your loved ones this Thursday and I’m so thankful for all of you reading this. ❤


 But this, oh man… It is such a simple technique but it makes the average hot dog 10000% tastier than what it was before. You simply stick a skewer into the sausage, take a knife and create a swirl pattern along the meat, which will result in a Slinky looking piece of meat. It does not look like much but once you cook it, the increased surface to volume ratio creates extra crisp, juicy, meaty goodness.